When you click on links to various merchants on this site and make a purchase, this can result in this site earning a commission. Affiliate programs and affiliations include, but are not limited to, the eBay Partner Network.
Here she is, after replacing the trans and exhaust y-pipe...and doing a few other odds and ends.
Plan on doing a mildly ambitious build. Maybe a little lift, fab up a front bumper/with winch, assemble a roof rack, skid-plates (frt. and rear), add CDL linkage and SLABS from an 04 and some aggressive M/T tires.
Besides the trans and exhaust, I've replaced all four 02 sensors and added a up-graded front driveshaft.
Just wanted to start from the beginning, even though...it will move slowly. Since I'm pulling the engine out of my wife's 03 Discovery soon...and that will, and has, tied up quite a bit of funds.
Brian.
Last edited by The Deputy; 12-01-2016 at 03:14 AM.
Yep, we can get plenty of both...especially if you don't keep a vehicle clean. Both of ours are "not bad" by Michigan standards. There are no visible holes anywhere, but the whole underneath is rusty. So it makes working on them somewhat miserable...for now...I'll get them cleaned up eventually.
Removed SAI pump and relocated inertia switch and black canister/filter for evaporation system (?)...and mounted the washer bottle in the newly acquired space.
Mounting was pretty straight forward, found a couple pieces of metal for brackets, mounted them to the firewall and secured the washer bottle to them. Makes removing the bottle a lot easier having the extra bracket assembly.
Mounted the inertia switch down on the inner fender well (you can see it down below the washer bottle).
Mounted the evaporator canister to the cruise control unit's bracket
All wired up and spraying fluid like before, just need to add a bit more conduit on the wires closet to the pump motors to finish it off.
Tried to make some headway on the bumper today...but work didn't allow. Was hoping to add something of more substantial to the topic. But, moving the washer bottle was necessary for the bumper upgrade/change...plus, it didn't cost me anything. Wife's 03 has really cramped my style on moving forward with this mild build of mine.
Finally installed the exhaust manifold, thank you Paul Grant. Old one was sounding mighty ghetto...so I bit the bullet and dove in. Also removed the high dollar-exquisitely engineered SAI manifolds, both sides. Plugged them up by welding the hole in a 5/16 flat washer...and reinstalling the nut with that inside. A nickle worked great, but I couldn't see investing another twenty cents in this thing...lol.
Started her up and she was once again as quiet as a mouse.
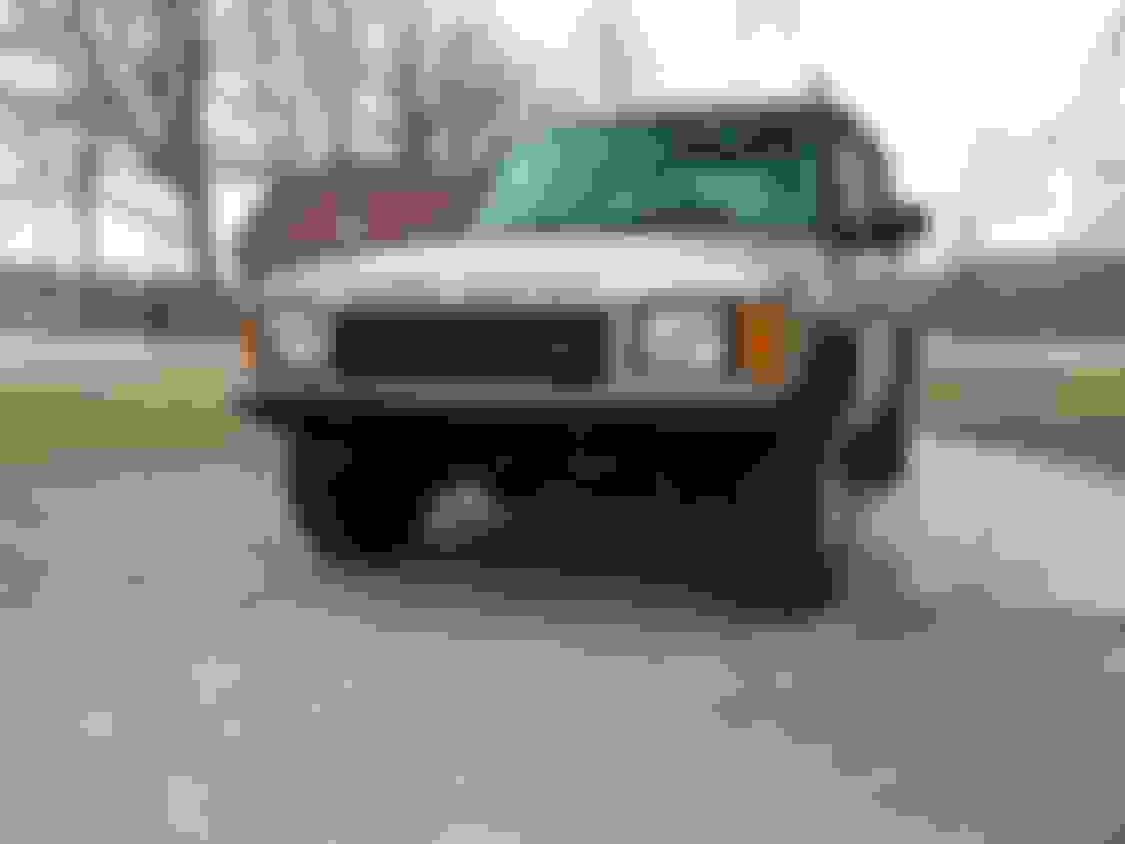
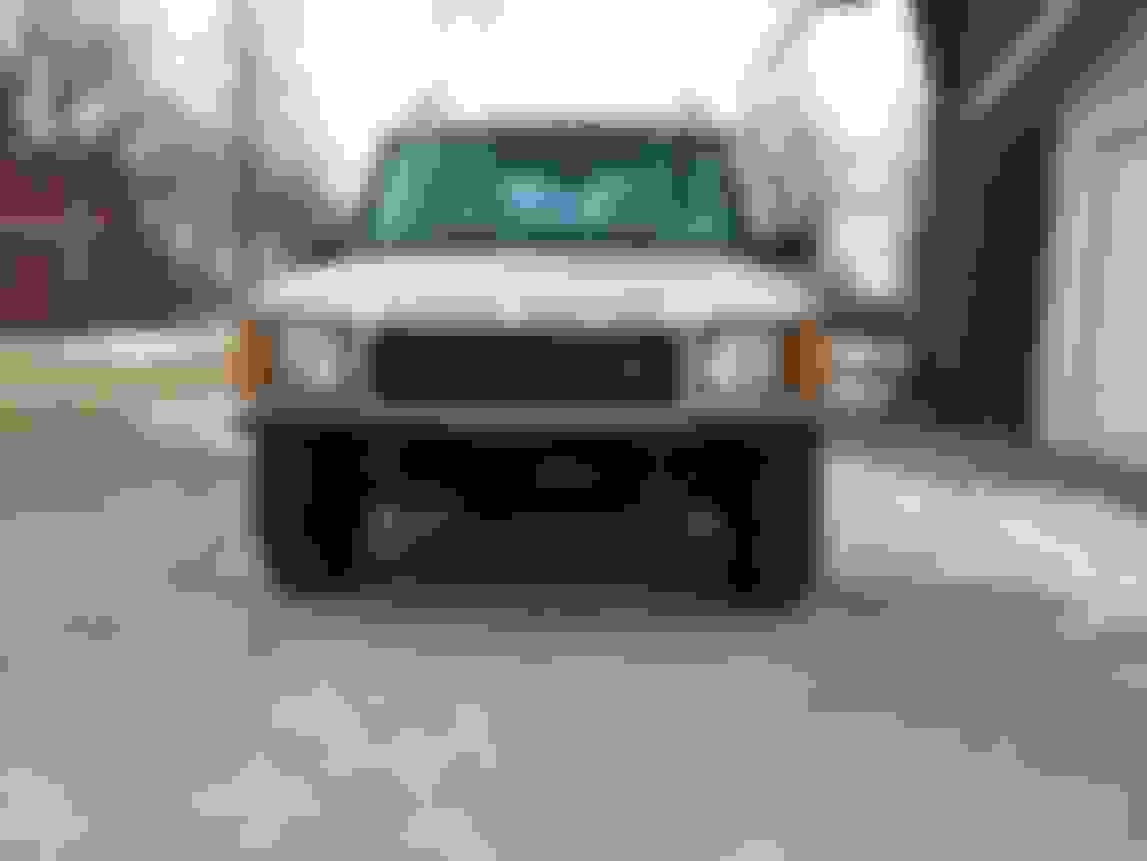
With that job done, and ending well, l moved on to the front bumper. Temporarily bolted up and painted...it will come off again and the lower center section will be removed...once my bank account sees enough money for a winch.
Turned out okay, and when I showed it to my wife...she said, "That looks tough".
Mission accomplished.
So, the mildly ambitious build continues, at a pace that can only be monitored by a hour glass.
And yes, "Detoured Discovery" is probably going to see "one of my mistakes" right off the bat.
I'd taken a vacation day, but went to work where l was welding up the bumper. Was working away unhampered by distractions for the most part, until one of the supervisors came in and asked me what I was up to. Well, I'm talking with him, while laying things out and trying to stay working on the job...because if I stop...he would've never left.
Well, for anyone that knows anything about box tubing...they know that it has a seam welded on one side. The side that a normal-semi-intelligent-IQ-greater-than-a-gnat person would mount on the bottom, out of view. Yep, after welding away for an hour or so...I realize my mistake.
I'll cover it with mud someday...and no one will be the wiser.
 11-28-2016, 07:27 PM