my 98 disco1
#1
 03-12-2013, 09:23 PM

here are a few pics I have done alot so far that can't be seen, gonna start doing some you can
so far I have done the following
fixed valve tap by replacing last rocker in the back on the pass side, tip was gone off rocker
intake gasket set
valve covers
coolant flush, hoses, thermostat, water pump
pcv hoses
flush brake fluid, pads all around, rubber line and caliper pass front
fix window ecu
instal factory running boards then remove them
remove lower bumper and factory driving lights, cut lower bumper corners(front)
fix pass rear window track slider
service trans
fix power steering leak
rebuild front drive shaft
both upstream o2 sensors with ntk (cheap from amazon)
replace sunroof sunshades
viscus fan clutch new OEM then died and installed s10 fan
fuel filter and rebuilt sendor with autozone pump
Replaced bad fuel sender
made saudi grille
replace muffler thrush welded
instal 12k hf winch in frame
changed shocks and springs
fixed cdl nightmare
fixed headlight washers
replace/upgrade sub woofers
replace tie rod at pass wheel front https://landroverforums.com/forum/di...od-ends-57946/
remove and reseal roof rails
rebuild drivers window reg.
Snorkel
Head gaskets
2" lowered shock mounts
Alum diamond plate cargo door panel
Alum diamond plate over rear a/c unit
Cb, and antennae mount
Royal purple in diffs
Magnecore 8mm wires
Tie rod at pit man arm
D2 headlights
Rear pinion skid plate
Weld on front diff guard
245/75/16 trazano a/t tires load E
d2 cup holders
Painted headliner shell
Bed liner floors
Full orange poly suspension
Rear ball joint
Relocate steering damper
Rear poly spring cones and retainers
Adjust swivel pre load
Remove lug nut caps to use d2 lug wrench
Aluminum rad from ebay
High mount d2 safety devices rack
Engine rear main seal
all Trans seals
all transfer case seals
drivers swivel ball with good used
drivers front caliper with used
All wheel bearings new
All hub seals new,double lip for defender
New stub axle seals in back rear
D2 modded hood release cable
Built cargo barrier
D90 vented front brakes
Volvo injectors
Pro line cranked rear trailing arms
Home built front winch bumper
Tjm synthetic winch rope
Cree off road lights china
Home built steering with 1.5" dom tube 1/4" wall
Added electric fans got rid of the clutch fan
aluminum gas tank skid
Deleted abs, remove pump
britpart HD rear bumper ( off road bumper)
4.6 crank and rods
Built small trailer for our camping gear to match rover
still to do:
Finish wireing off road lights
Upgrade to rear locker
sliders
cruise control
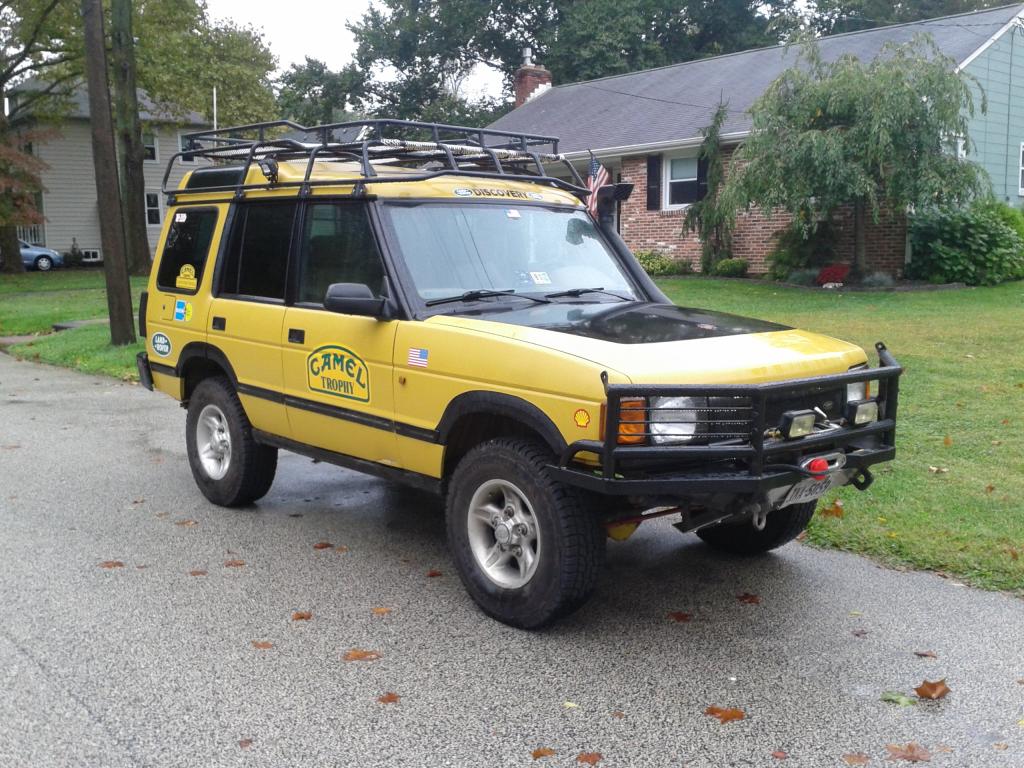
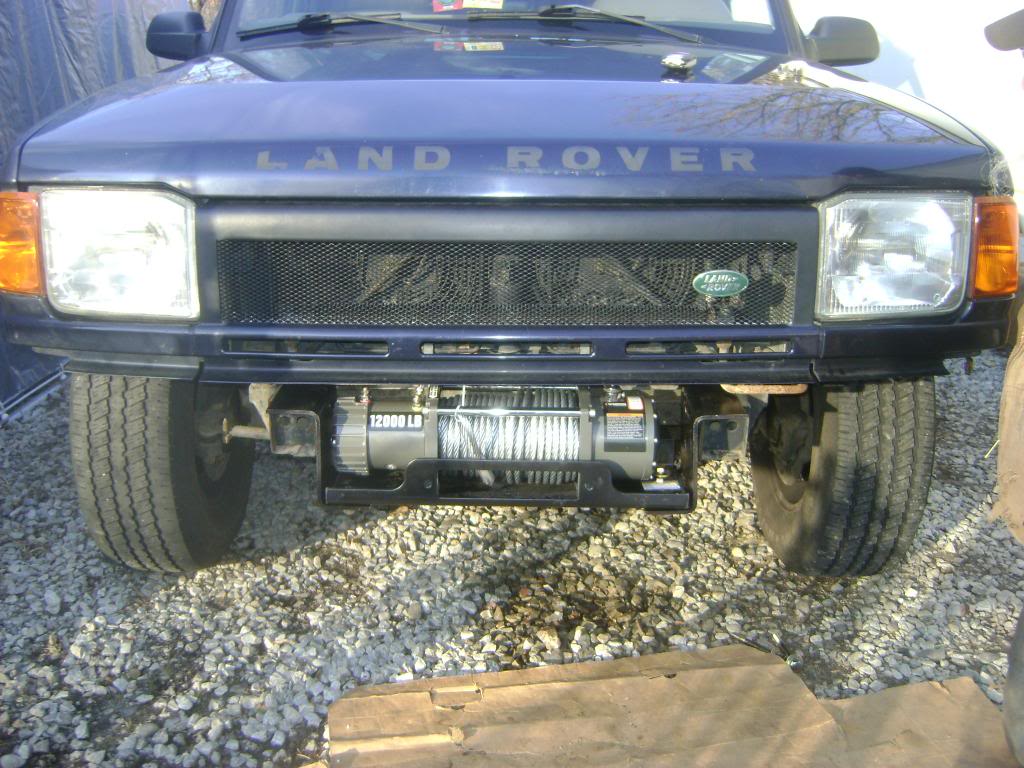
Current pic
so far I have done the following
fixed valve tap by replacing last rocker in the back on the pass side, tip was gone off rocker
intake gasket set
valve covers
coolant flush, hoses, thermostat, water pump
pcv hoses
flush brake fluid, pads all around, rubber line and caliper pass front
fix window ecu
instal factory running boards then remove them
remove lower bumper and factory driving lights, cut lower bumper corners(front)
fix pass rear window track slider
service trans
fix power steering leak
rebuild front drive shaft
both upstream o2 sensors with ntk (cheap from amazon)
replace sunroof sunshades
viscus fan clutch new OEM then died and installed s10 fan
fuel filter and rebuilt sendor with autozone pump
Replaced bad fuel sender
made saudi grille
replace muffler thrush welded
instal 12k hf winch in frame
changed shocks and springs
fixed cdl nightmare
fixed headlight washers
replace/upgrade sub woofers
replace tie rod at pass wheel front https://landroverforums.com/forum/di...od-ends-57946/
remove and reseal roof rails
rebuild drivers window reg.
Snorkel
Head gaskets
2" lowered shock mounts
Alum diamond plate cargo door panel
Alum diamond plate over rear a/c unit
Cb, and antennae mount
Royal purple in diffs
Magnecore 8mm wires
Tie rod at pit man arm
D2 headlights
Rear pinion skid plate
Weld on front diff guard
245/75/16 trazano a/t tires load E
d2 cup holders
Painted headliner shell
Bed liner floors
Full orange poly suspension
Rear ball joint
Relocate steering damper
Rear poly spring cones and retainers
Adjust swivel pre load
Remove lug nut caps to use d2 lug wrench
Aluminum rad from ebay
High mount d2 safety devices rack
Engine rear main seal
all Trans seals
all transfer case seals
drivers swivel ball with good used
drivers front caliper with used
All wheel bearings new
All hub seals new,double lip for defender
New stub axle seals in back rear
D2 modded hood release cable
Built cargo barrier
D90 vented front brakes
Volvo injectors
Pro line cranked rear trailing arms
Home built front winch bumper
Tjm synthetic winch rope
Cree off road lights china
Home built steering with 1.5" dom tube 1/4" wall
Added electric fans got rid of the clutch fan
aluminum gas tank skid
Deleted abs, remove pump
britpart HD rear bumper ( off road bumper)
4.6 crank and rods
Built small trailer for our camping gear to match rover
still to do:
Finish wireing off road lights
Upgrade to rear locker
sliders
cruise control
Current pic
Last edited by TOM R; 01-04-2016 at 11:54 AM.
The following users liked this post:
Brendon H (12-11-2019)
#4
03-16-2013, 07:18 PM
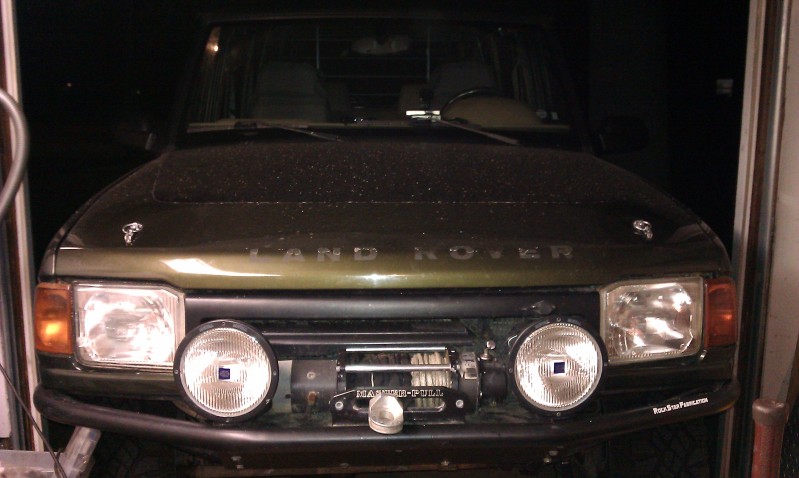
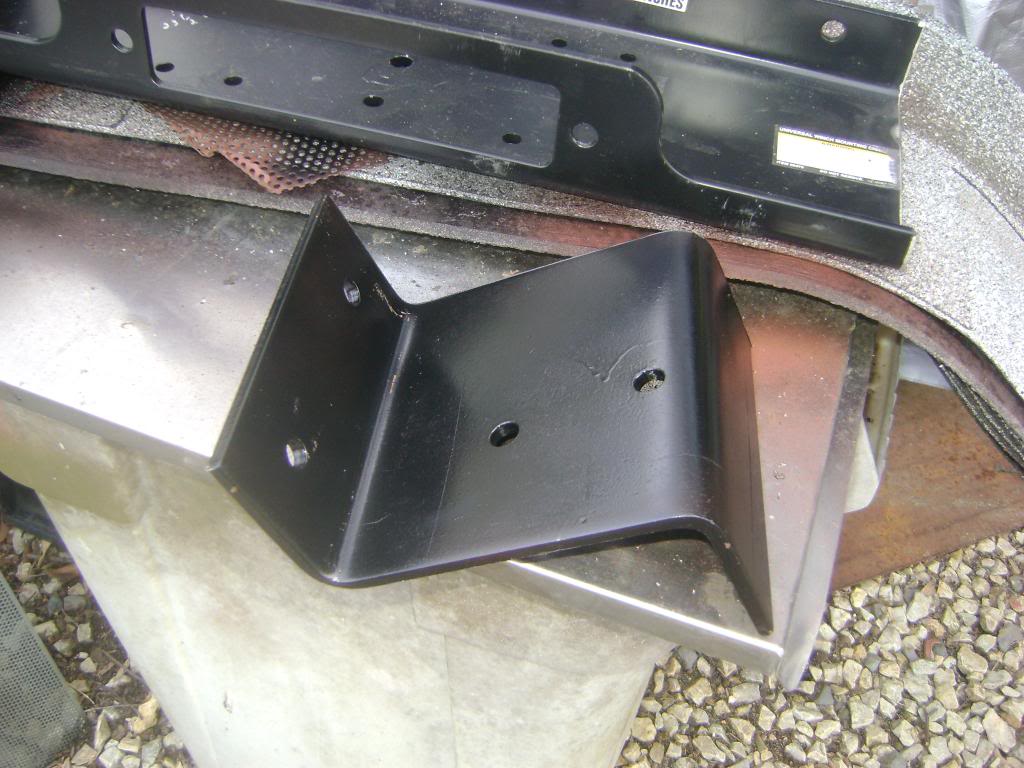
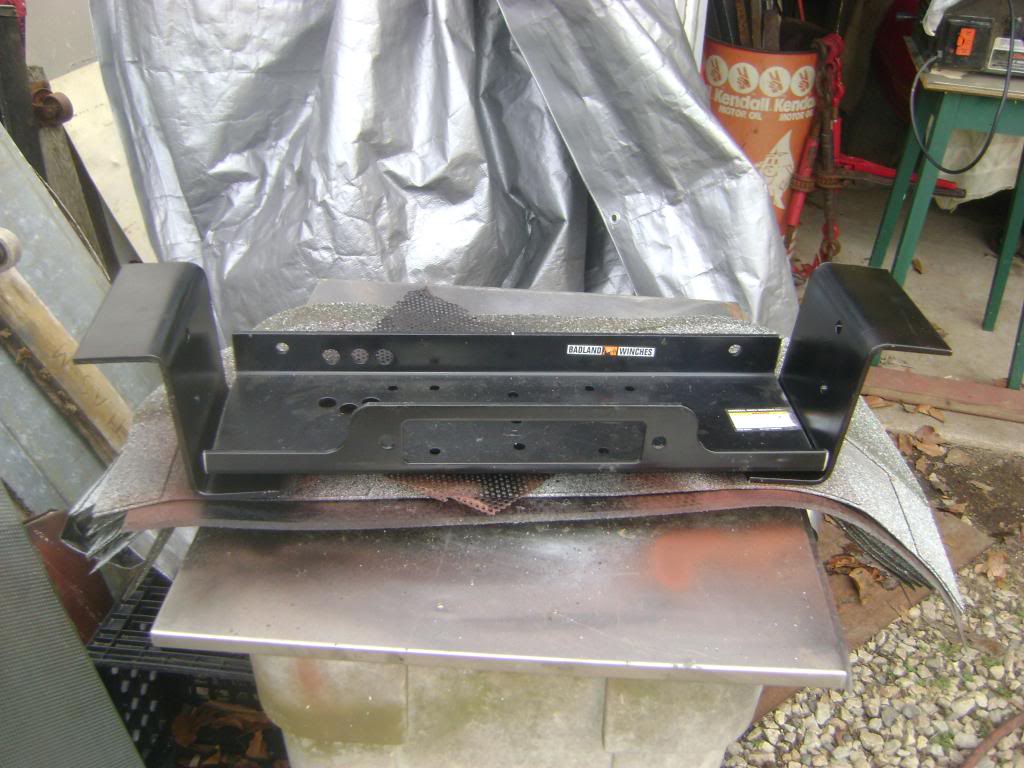
had some end plates bent up for my winch bracket, this is how it looks fabbed up
if I were using a non roller fairleed the height would be perfect for the stock bumper but since i am using the roller i need to drop it 1 " from what the pick shows
also I have to remake the winch plate since i measured center on the plate and cut it down only to find the winch is not symetrical and it is to close to the pass side bracket to get the bumper bolts through
all hardware is 1/2" grade 8, the bumper mount holes in the frame are 1/2" I just had to run a bit through to clean them but had to ream the holes in the bumper and brushguard
this is the harbor freight 12,000 lb winch, i got it 2 weeks ago at a store opening for $240 i have an older version of the same winch and have had it for almost 10 years and still works great
the bracket pictured will probly be 4 sale, for someone wanting to do the same and keep the stock bumper and pushbar but with a narrower winch this would be perfect
I just pushed up a little on the trans cooler line and it clears no problem
I did the endplates as Z so the top sits on the frame rail instead of the bumper bolts holding all that weight when I final assemble it the winch assembly will go on first as pictured then bumper with bolts part way through, then brushguard and push bolts rest of the way through and add nuts
measurements on pictured side plates are 3" lip top and bottom 6" drop and 6 3/4" wide made from 1/4" plate
new ones will be 7 1/4" drop
if I were using a non roller fairleed the height would be perfect for the stock bumper but since i am using the roller i need to drop it 1 " from what the pick shows
also I have to remake the winch plate since i measured center on the plate and cut it down only to find the winch is not symetrical and it is to close to the pass side bracket to get the bumper bolts through
all hardware is 1/2" grade 8, the bumper mount holes in the frame are 1/2" I just had to run a bit through to clean them but had to ream the holes in the bumper and brushguard
this is the harbor freight 12,000 lb winch, i got it 2 weeks ago at a store opening for $240
i have an older version of the same winch and have had it for almost 10 years and still works greatthe bracket pictured will probly be 4 sale, for someone wanting to do the same and keep the stock bumper and pushbar but with a narrower winch this would be perfect
I just pushed up a little on the trans cooler line and it clears no problem
I did the endplates as Z so the top sits on the frame rail instead of the bumper bolts holding all that weight when I final assemble it the winch assembly will go on first as pictured then bumper with bolts part way through, then brushguard and push bolts rest of the way through and add nuts
measurements on pictured side plates are 3" lip top and bottom 6" drop and 6 3/4" wide made from 1/4" plate
new ones will be 7 1/4" drop
Last edited by TOM R; 03-16-2013 at 07:48 PM.


#10
03-17-2013, 09:32 AM