The official TRIARII build
#1
 11-04-2014, 10:31 PM

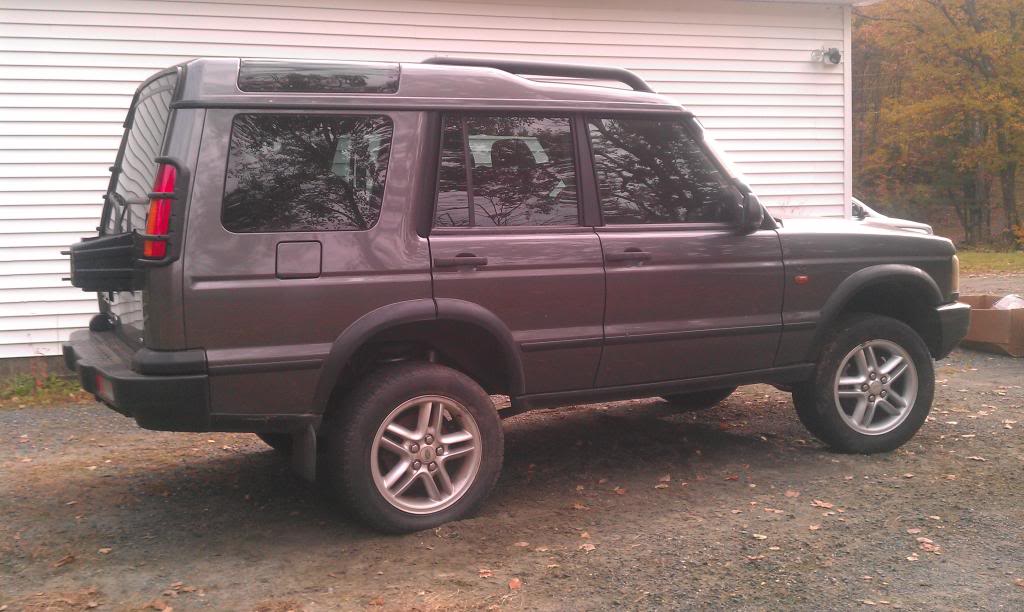
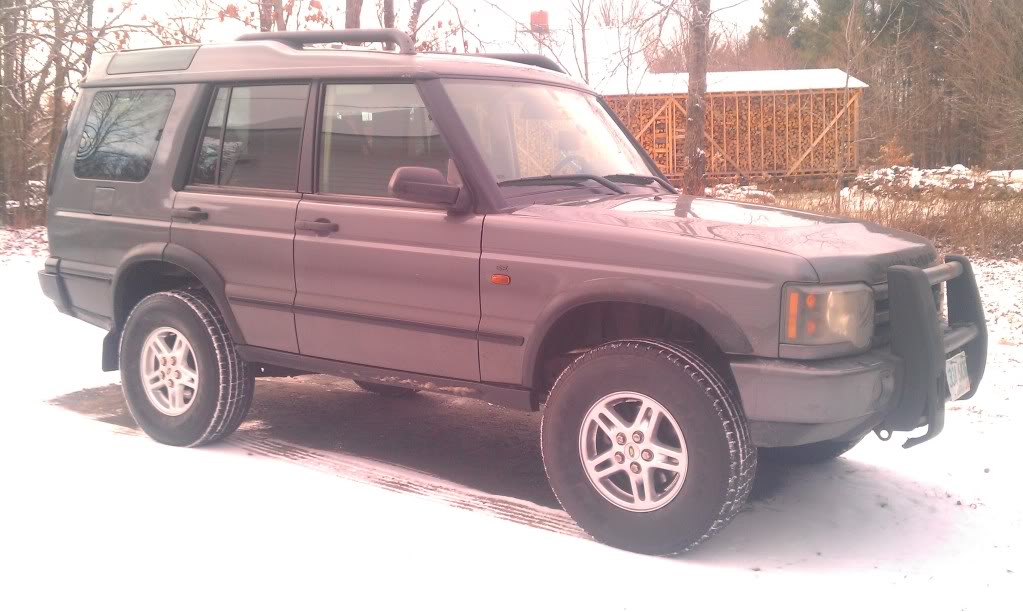
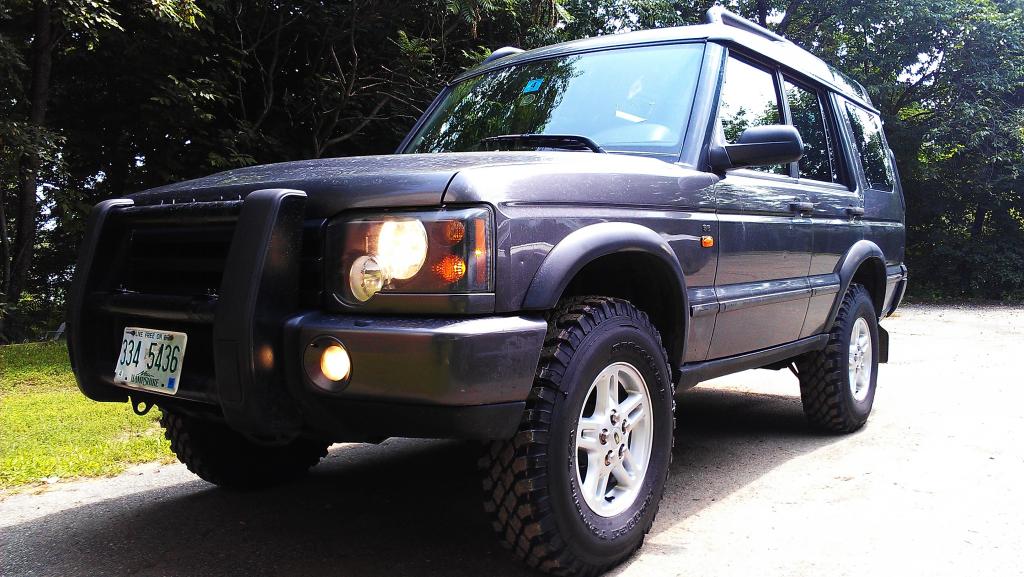
Searched for the right truck for over a year before finding this stock 2004 Discovery 2 SE Trail Edition. Has most of the basic equipment expected in a Discovery; black leather interior, heated front and rear windshields, heated front seats, power seats, power windows, 2 sunroofs, lumbar support, front bumper fog lights, 6 disk cd changer, center differential locker, traction control, hill decent control, high/low range, exterior temperature display, built in compass and even came with a engine block heater installed! She came with the original window sticker and all her service records. Serviced directly by Land Rover at every recommended service interval up to 90,000 so all around a good clean truck. All she needed was brake pads and 02 sensors. I purchased this truck in late 2012 with 130,000 on the clock. Almost 2 years later she now has 146,000 miles and is still running well for the most part. Ive addressed most of the quirks and am still working out a couple things but all in all she has been good to me. Now Im preparing her for a 4,700 mile cross country overland adventure. Here is a list of everything Ive done so far:
- water pump and coil replaced by previous owner
- upgraded to a serviceable Proshaft front prop-shaft
- rebuilt the rear prop-shaft and replaced the rubber flex coupler
- upgraded the brakes to drilled slotted rotors and ceramic pads
- replaced all 4 calipers
- replaced master cylinder and booster servo
- replaced brake light switch and rear upper tail lights, then added G4 upper lamp guards
- replaced the crankshaft position sensor
- upgraded to the 180 TD5 genuine thermostat
- upgraded TerraFirma 2" suspension lift and TF steering damper
- upgraded Britpart zinc coated heavy duty tie rod kit
- replaced power steering pump, ps reservoir and 2 ps hoses
- replaced serpentine belt
- replaced battery twice in 2 years
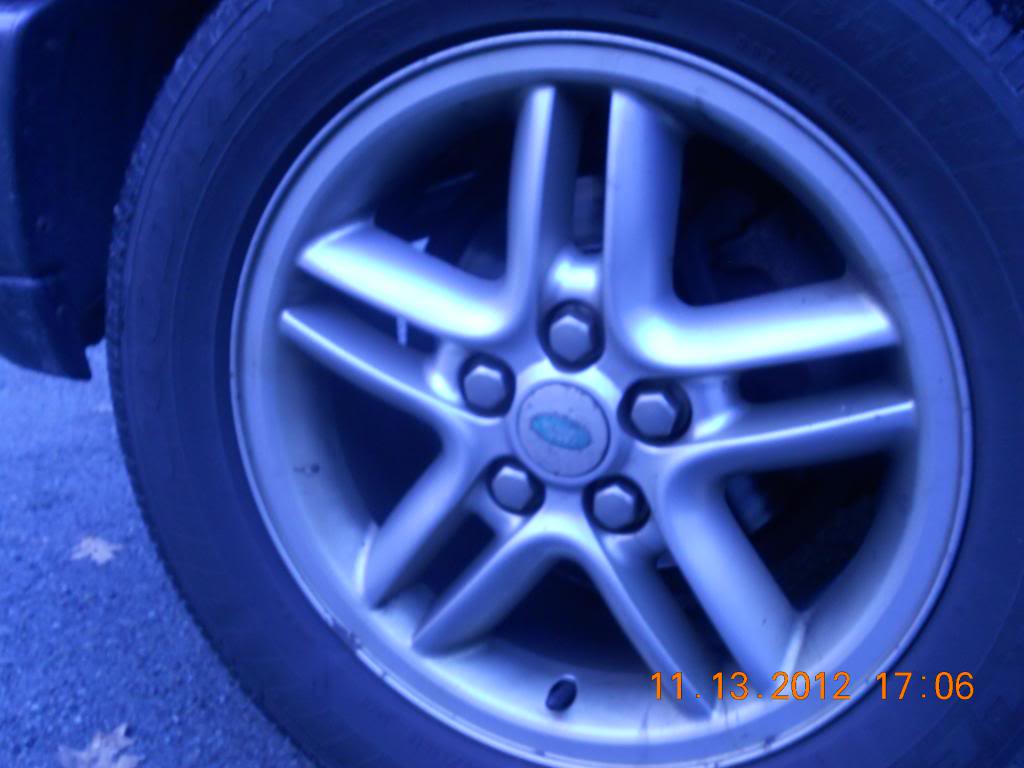
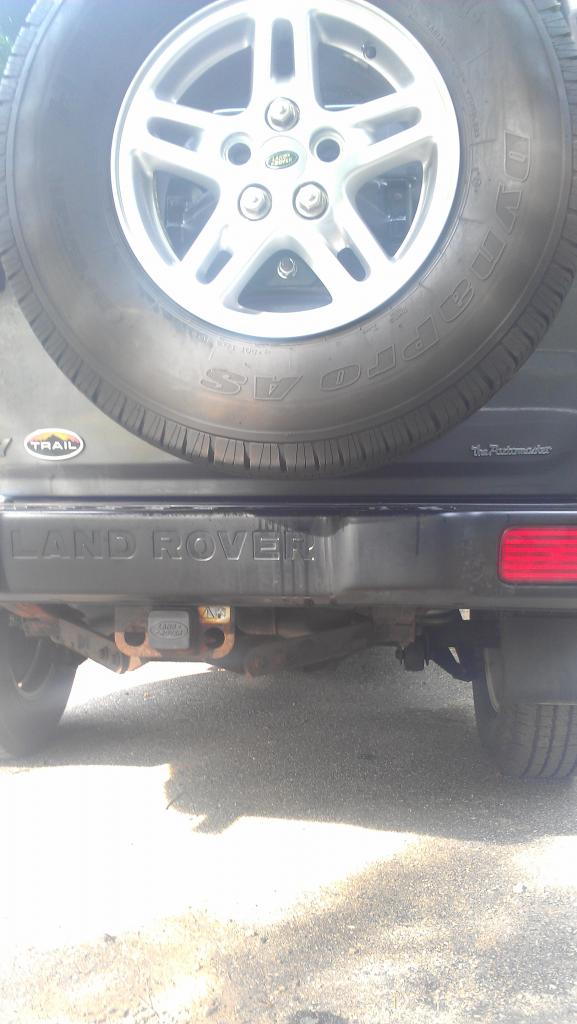
- swapped out my 18" hurricane wheels for 16" style 2 G4 wheels
- upgraded to Crawler 235/85R16 MT tires
- added a high profile Safety Devices roof rack
- added TerraFirma differential guards and upgraded the plastic diff plugs to copper plugs
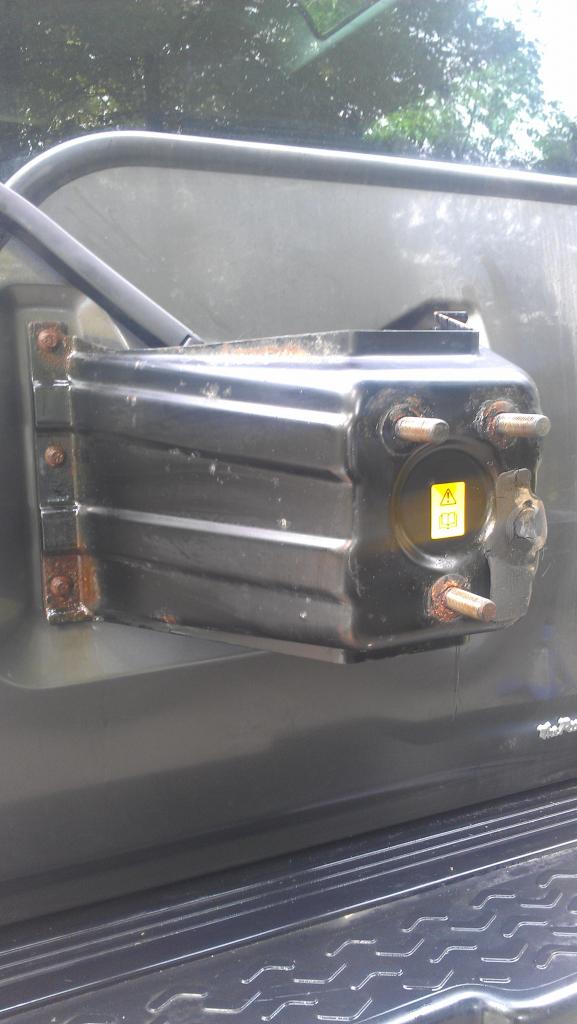
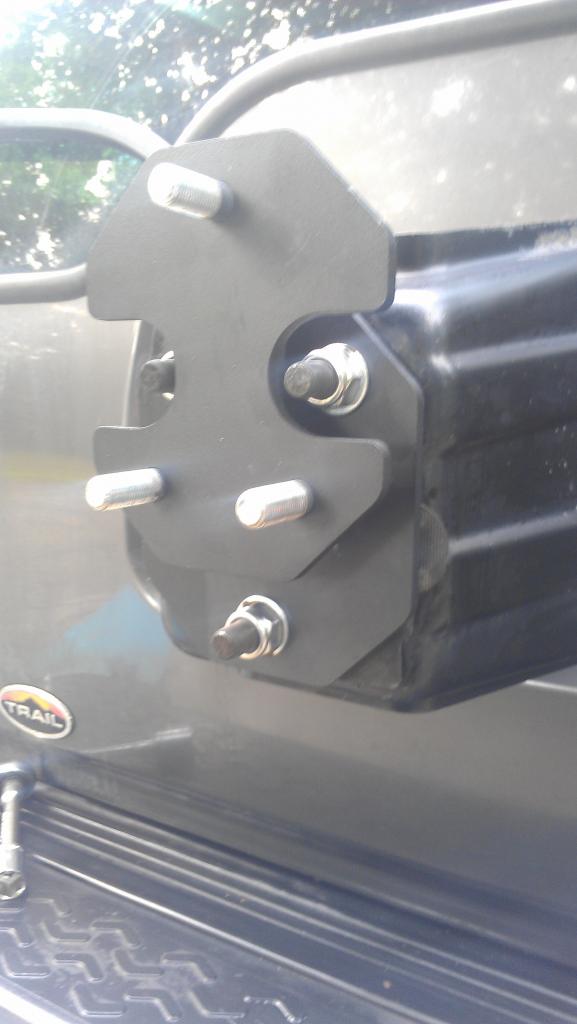
- upgraded the spare tire mount with a Lucky 8 spare tire relocator which allows you to mount up to a 33 tire on the back door without rubbing the rear bumper
- installed a lean-o-meter
- installed an UltraGauge
- replaced throttle body heater plate and gasket
- replaced both front wheel hubs and ABS sensors
- replaced both the middle and rear mufflers
- replaced the transmission filter and gasket
- replaced engine oil pan gasket
Flushed coolant system, changed differential fluids, topped off transfer case fluid, engine flush, rotella engine oil, aliment, wheel balancing etc
upcoming work:
- head gaskets
- valve cover gaskets
- valley pan gasket
- upper/lower intake manifold gaskets
- arp studs
- radiator, cooling hoses and coolant expansion tank
- front axle shaft seals
- rotate wheels, re-balance wheels
- 02 sensors
upcoming accessories:
- Ironman LED light bar
- front runner wolf pack containers x 3
- Jerry cans x 3
- rear work lamp
- recovery gear
- extra full size spare
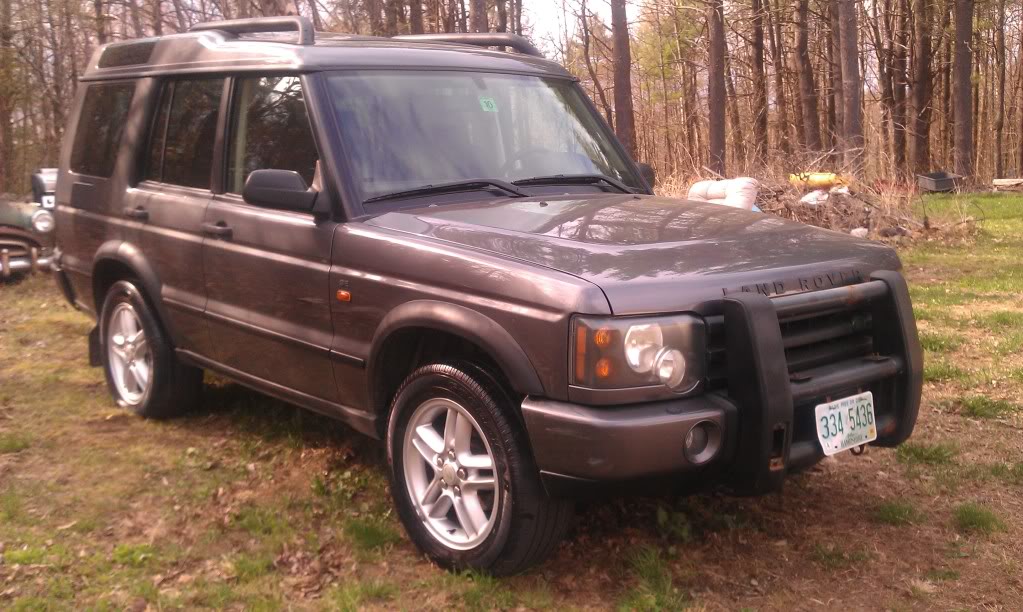
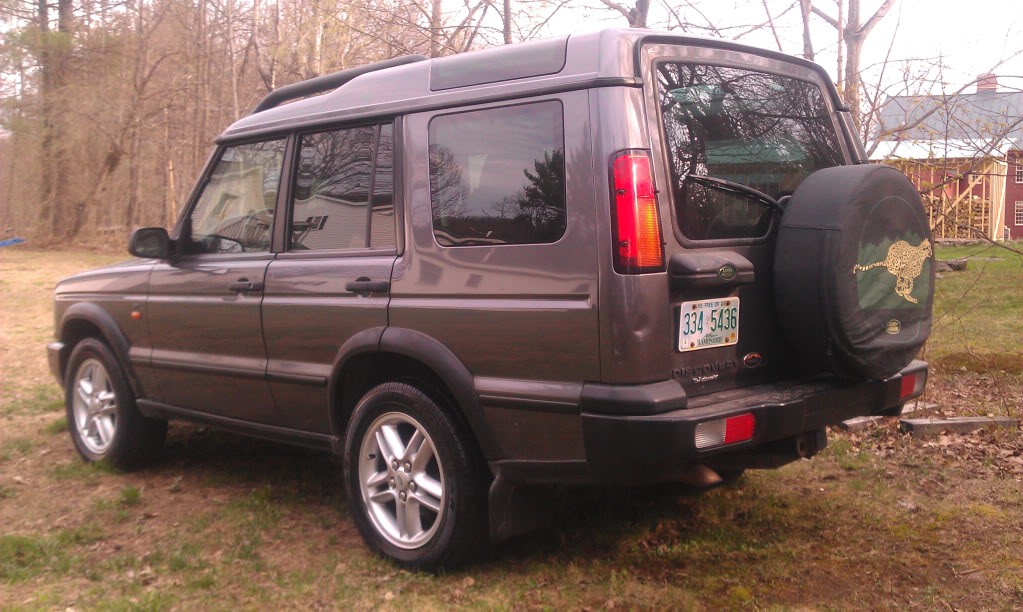
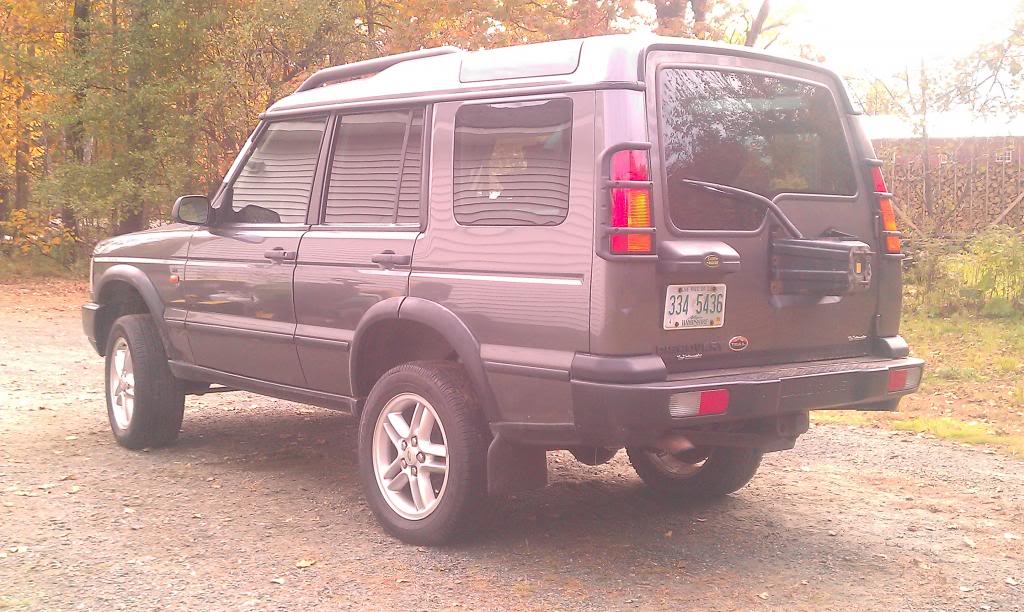
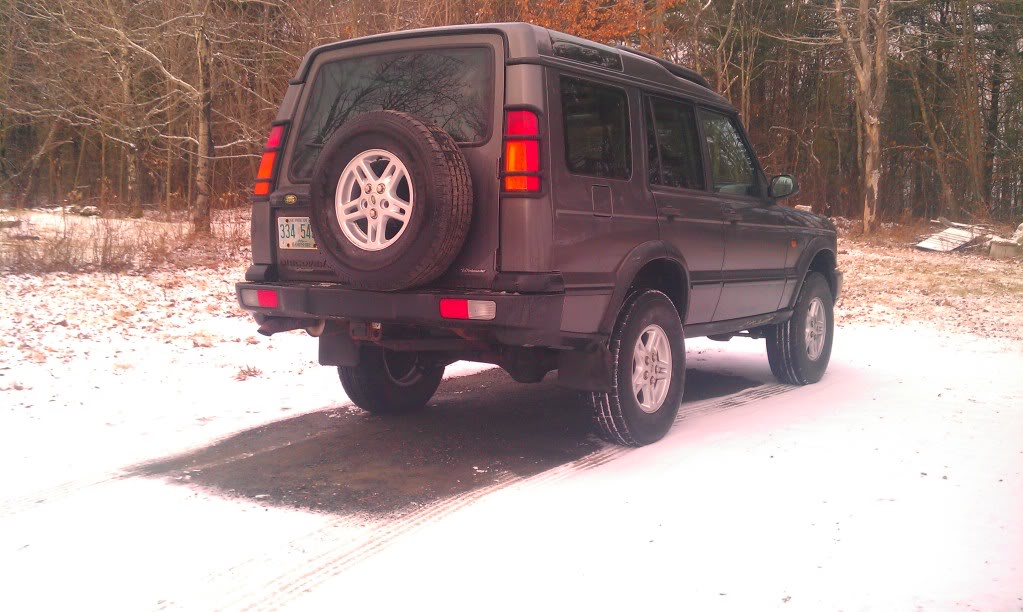
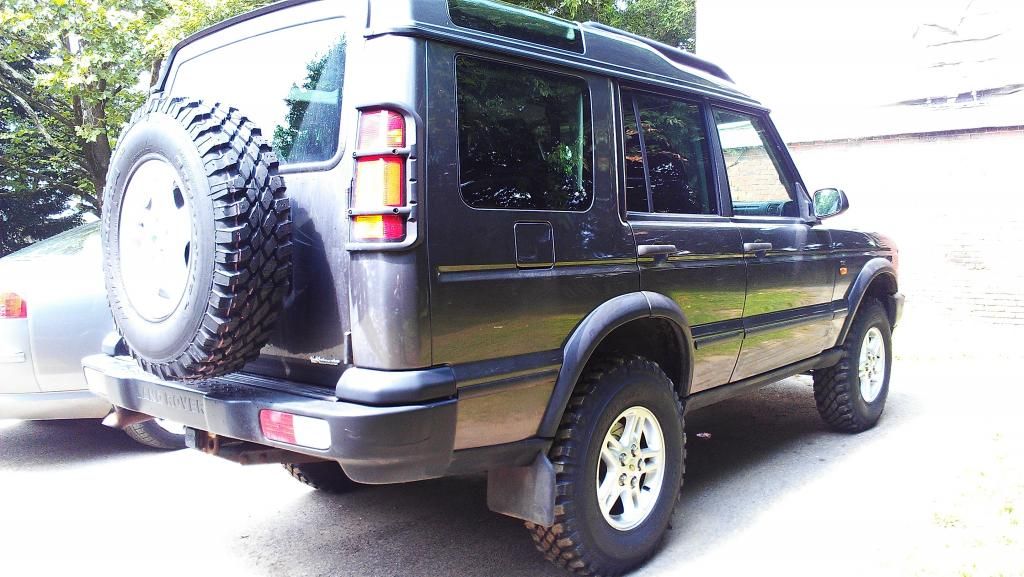
Heres what she looked like when I picked her up:
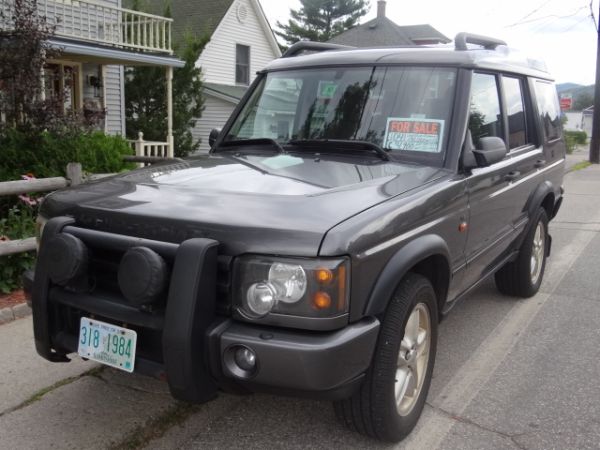
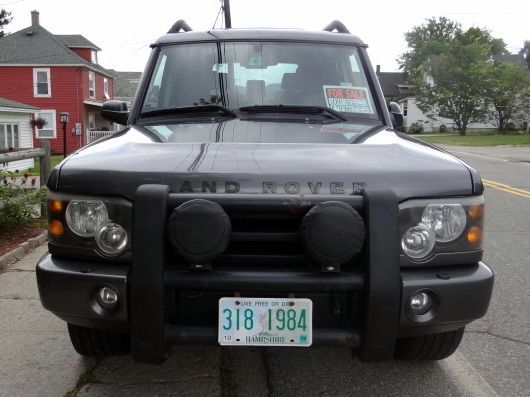
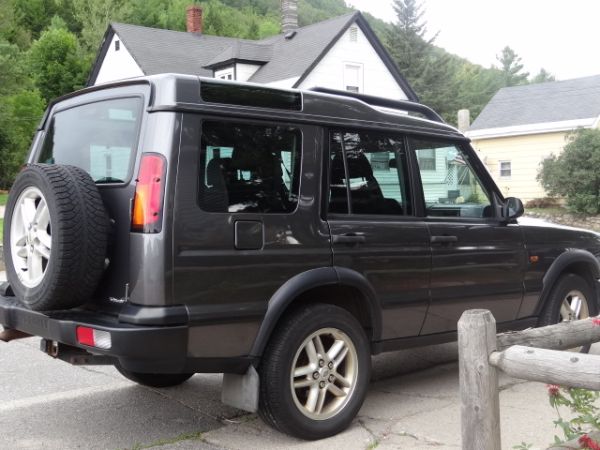
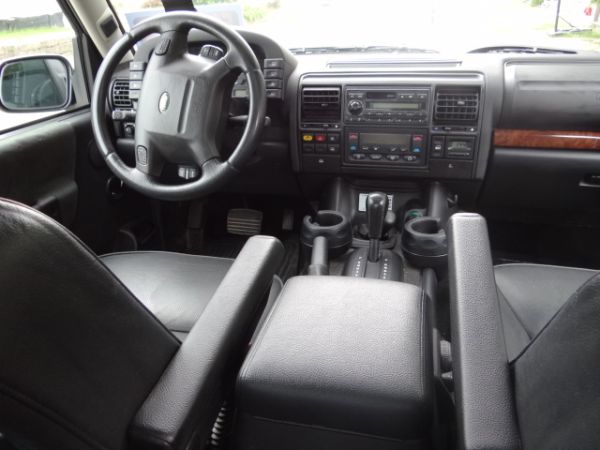
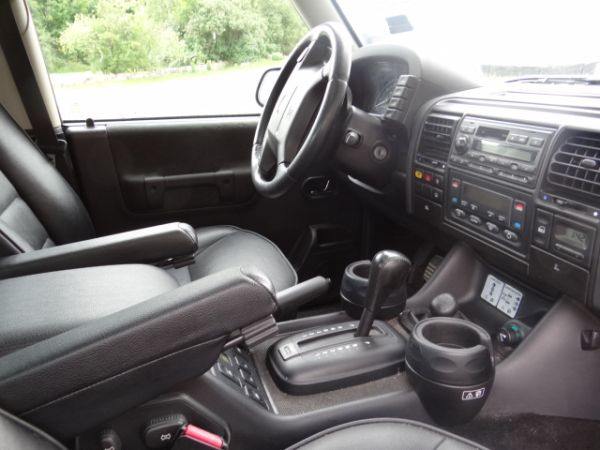

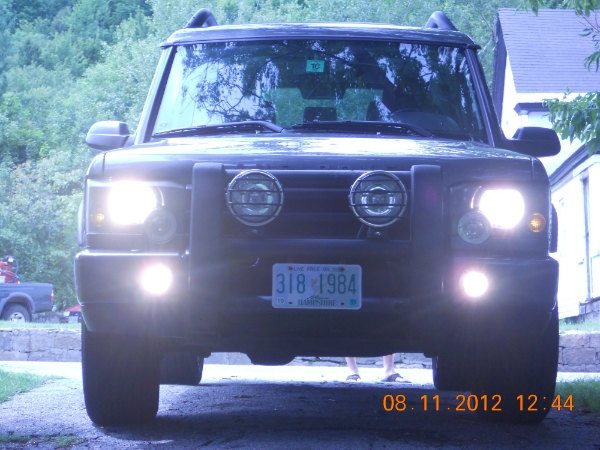
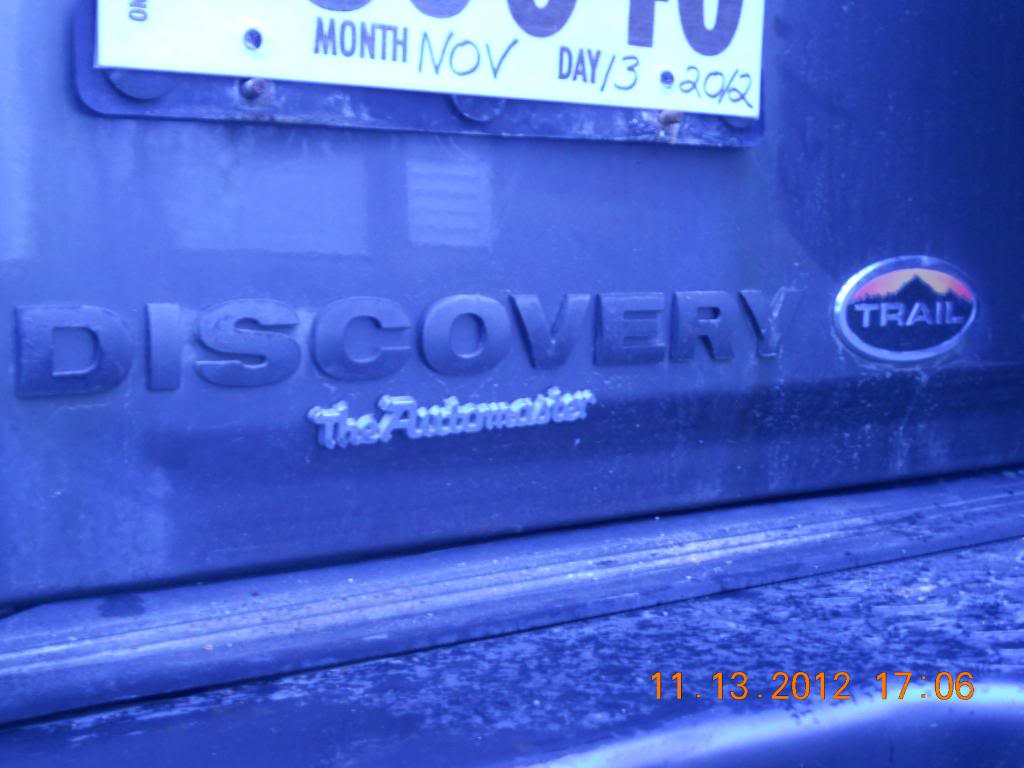
"Hibernation" May 2013: Still bone stock. Parked her in the back yard while I went up to Alaska to work a 6 month long season in the commercial fishing industry.
- water pump and coil replaced by previous owner
- upgraded to a serviceable Proshaft front prop-shaft
- rebuilt the rear prop-shaft and replaced the rubber flex coupler
- upgraded the brakes to drilled slotted rotors and ceramic pads
- replaced all 4 calipers
- replaced master cylinder and booster servo
- replaced brake light switch and rear upper tail lights, then added G4 upper lamp guards
- replaced the crankshaft position sensor
- upgraded to the 180 TD5 genuine thermostat
- upgraded TerraFirma 2" suspension lift and TF steering damper
- upgraded Britpart zinc coated heavy duty tie rod kit
- replaced power steering pump, ps reservoir and 2 ps hoses
- replaced serpentine belt
- replaced battery twice in 2 years
- swapped out my 18" hurricane wheels for 16" style 2 G4 wheels
- upgraded to Crawler 235/85R16 MT tires
- added a high profile Safety Devices roof rack
- added TerraFirma differential guards and upgraded the plastic diff plugs to copper plugs
- upgraded the spare tire mount with a Lucky 8 spare tire relocator which allows you to mount up to a 33 tire on the back door without rubbing the rear bumper
- installed a lean-o-meter
- installed an UltraGauge
- replaced throttle body heater plate and gasket
- replaced both front wheel hubs and ABS sensors
- replaced both the middle and rear mufflers
- replaced the transmission filter and gasket
- replaced engine oil pan gasket
Flushed coolant system, changed differential fluids, topped off transfer case fluid, engine flush, rotella engine oil, aliment, wheel balancing etc
upcoming work:
- head gaskets
- valve cover gaskets
- valley pan gasket
- upper/lower intake manifold gaskets
- arp studs
- radiator, cooling hoses and coolant expansion tank
- front axle shaft seals
- rotate wheels, re-balance wheels
- 02 sensors
upcoming accessories:
- Ironman LED light bar
- front runner wolf pack containers x 3
- Jerry cans x 3
- rear work lamp
- recovery gear
- extra full size spare
Heres what she looked like when I picked her up:
"Hibernation" May 2013: Still bone stock. Parked her in the back yard while I went up to Alaska to work a 6 month long season in the commercial fishing industry.
Last edited by TRIARII; 11-04-2014 at 10:42 PM.
#2
11-04-2014, 10:41 PM
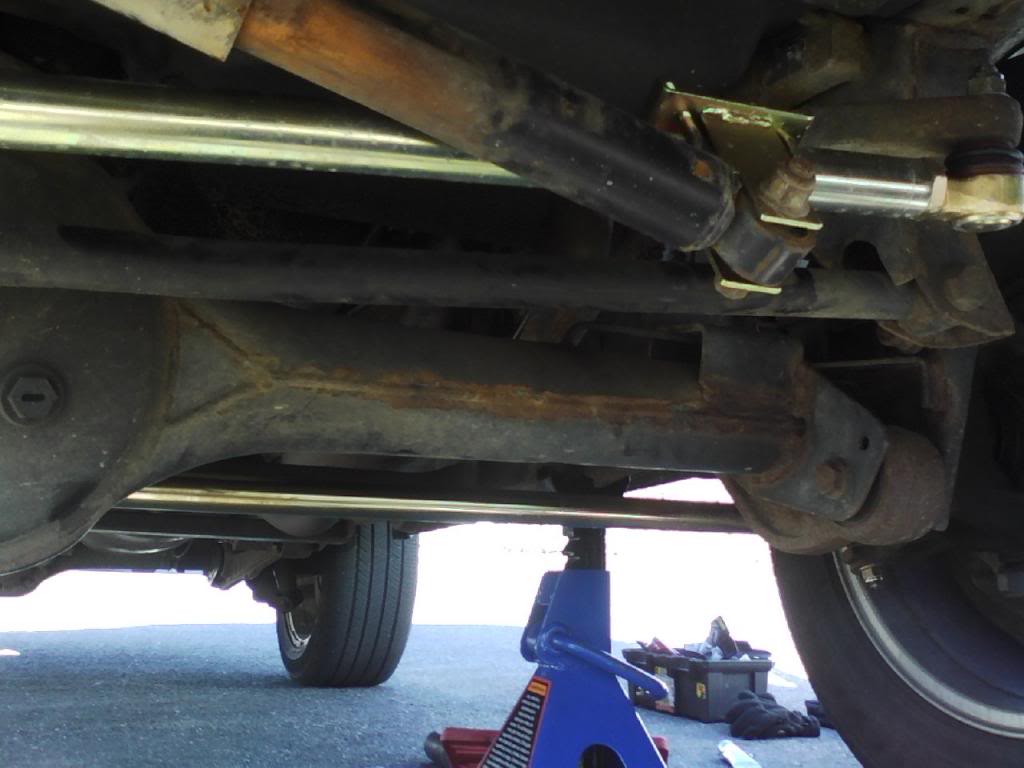
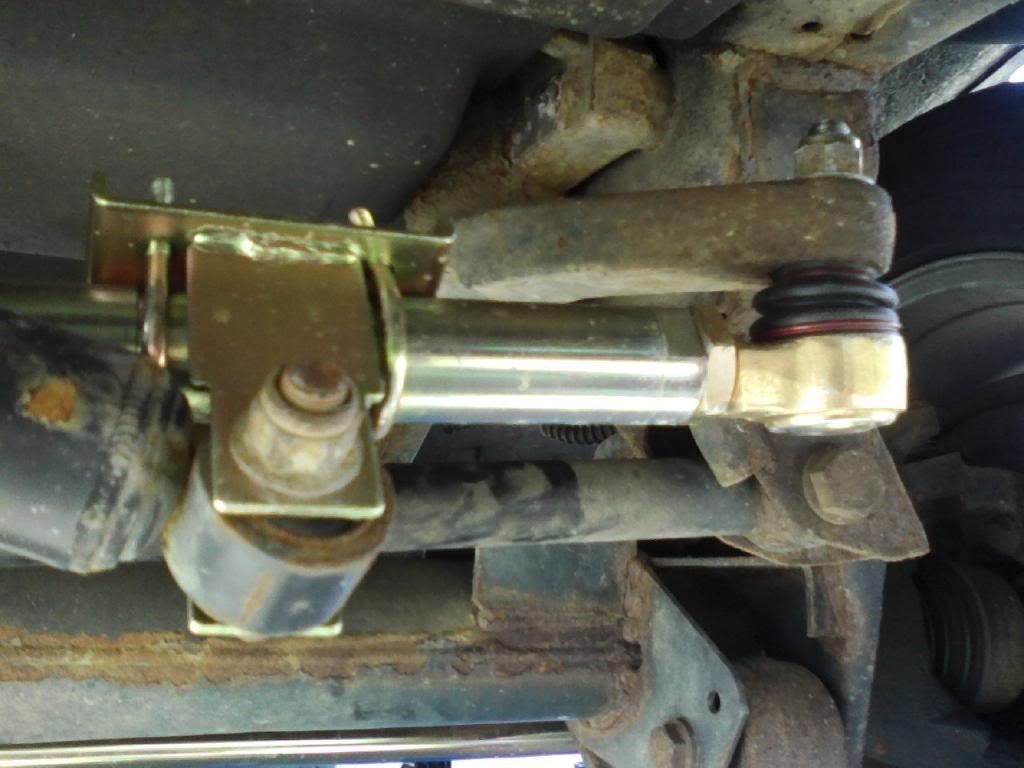
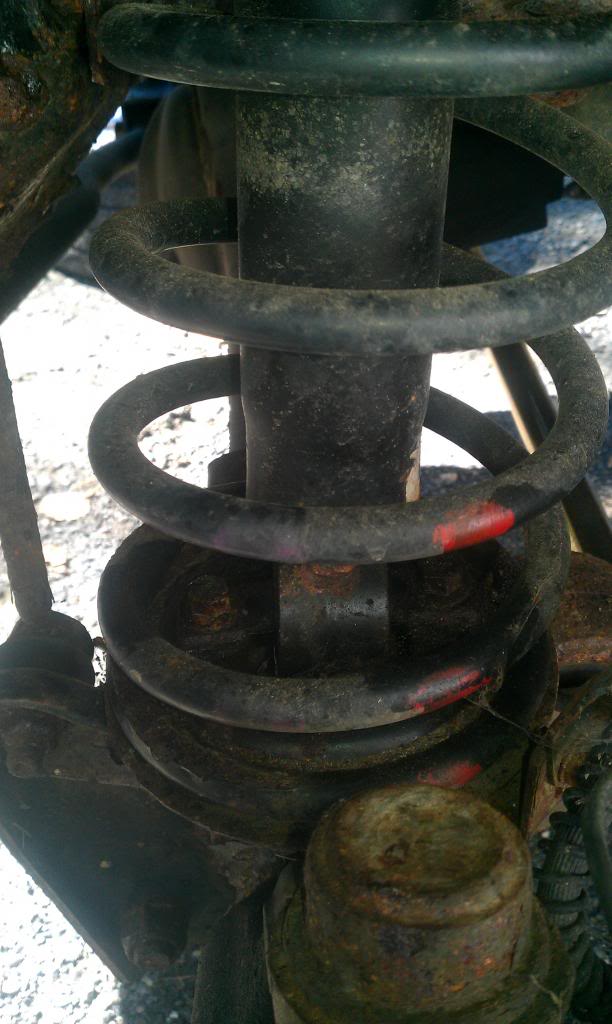
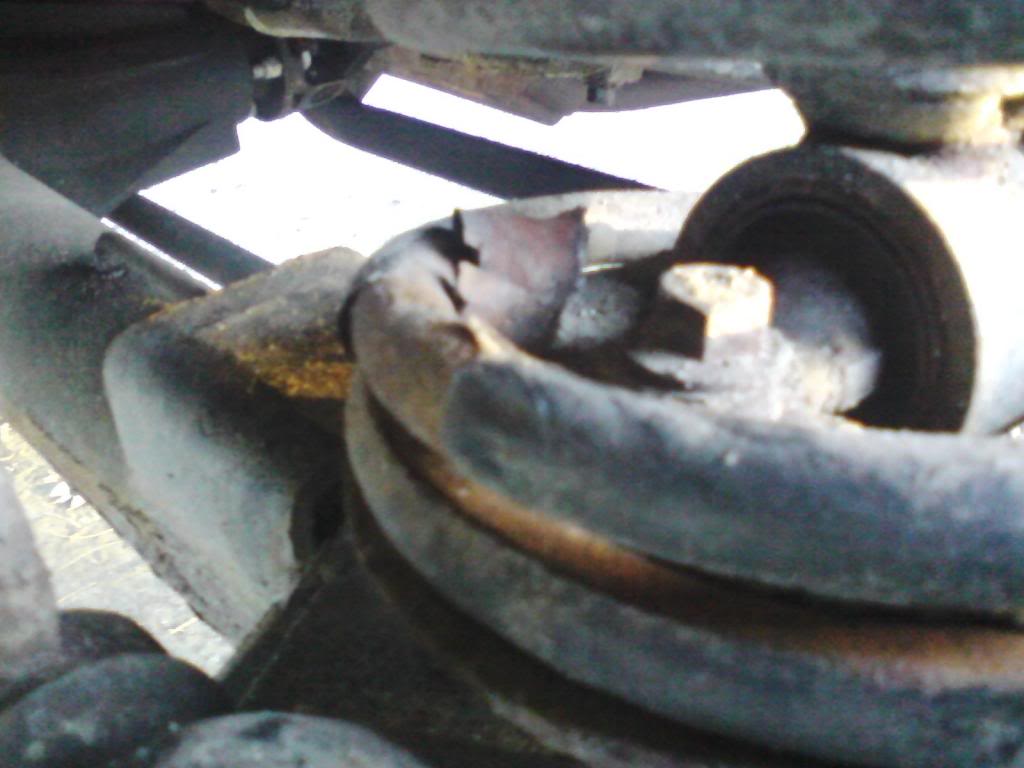
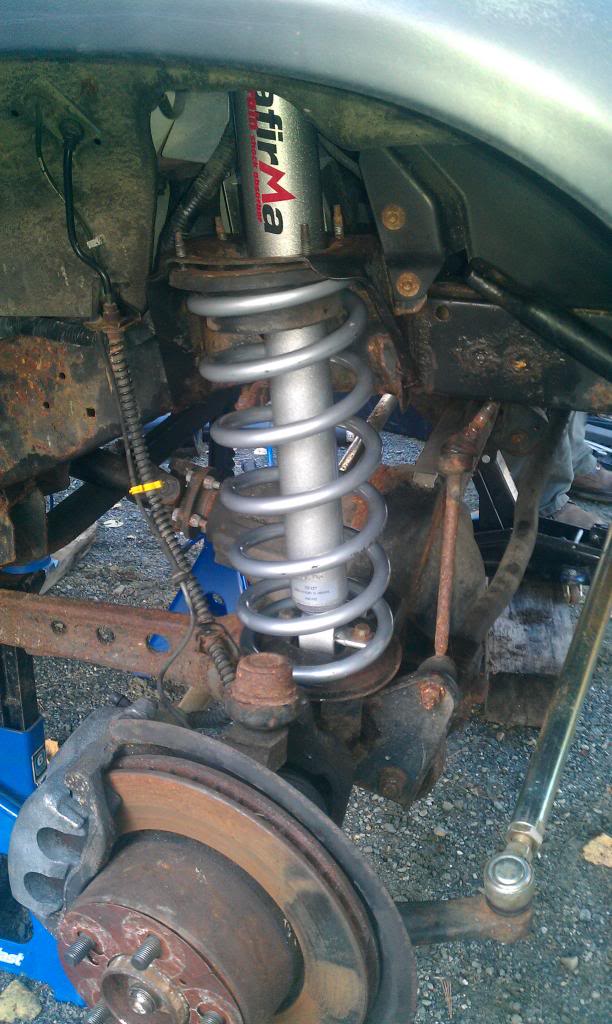
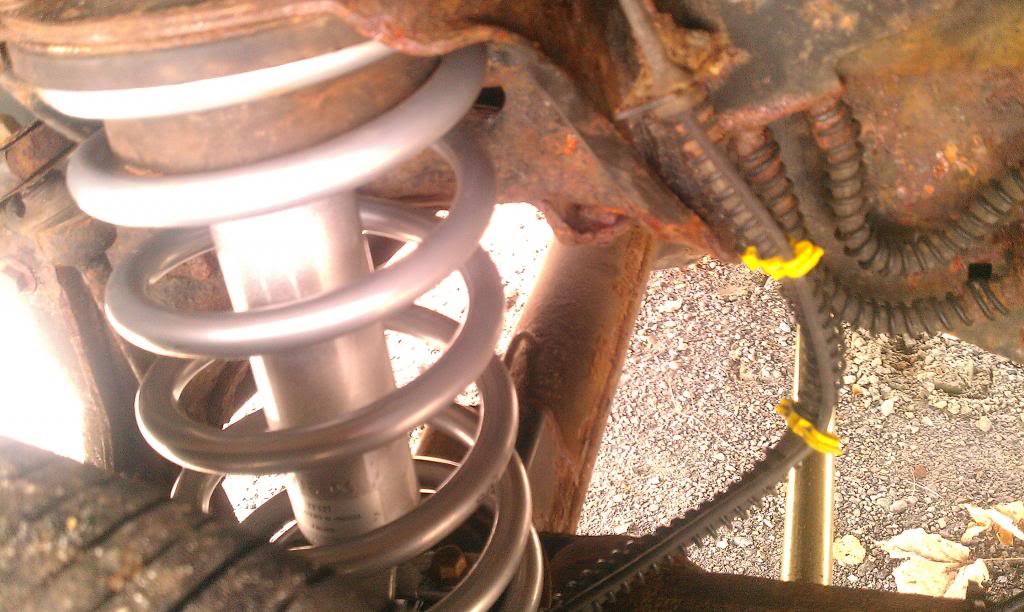
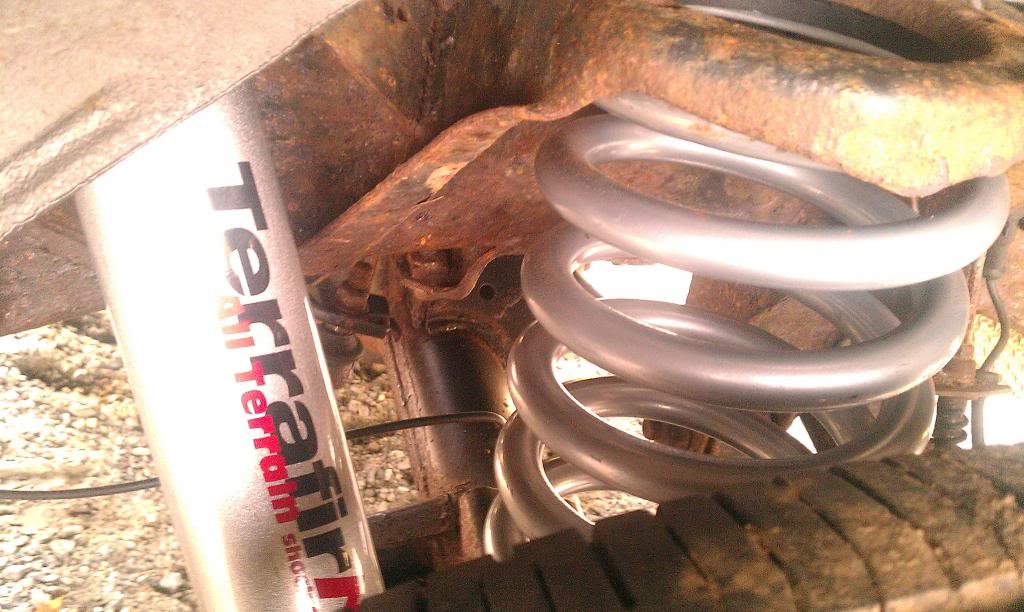
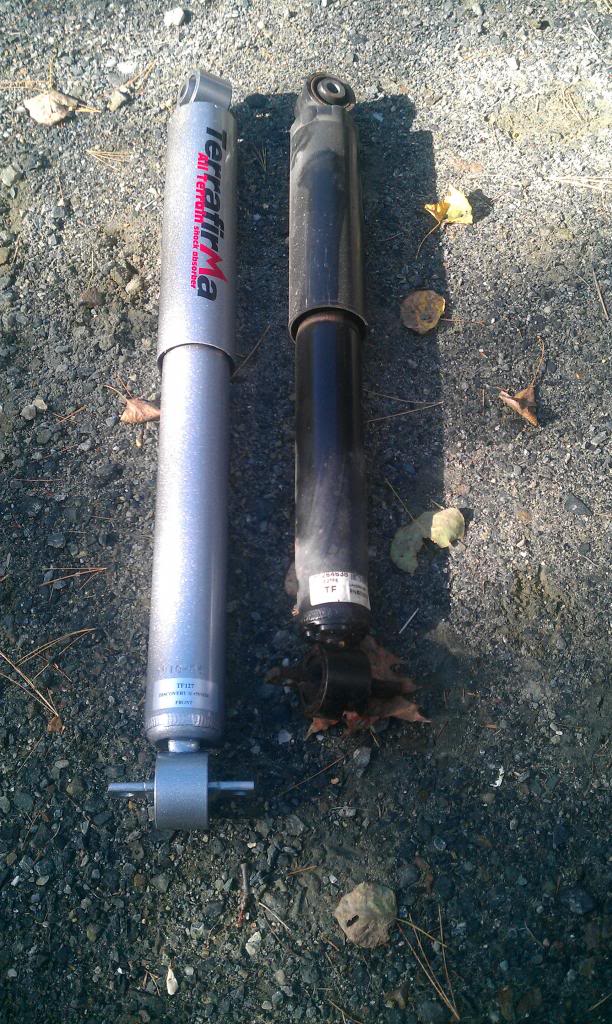
November 2013: Returned home and excited about opening all the Christmas presents I got from Rovers North and Atlantic British! Started with the tie rods. Next I got right to work installing my first suspension kit.
Out goes the old worn suspension and in with the TerraFirma
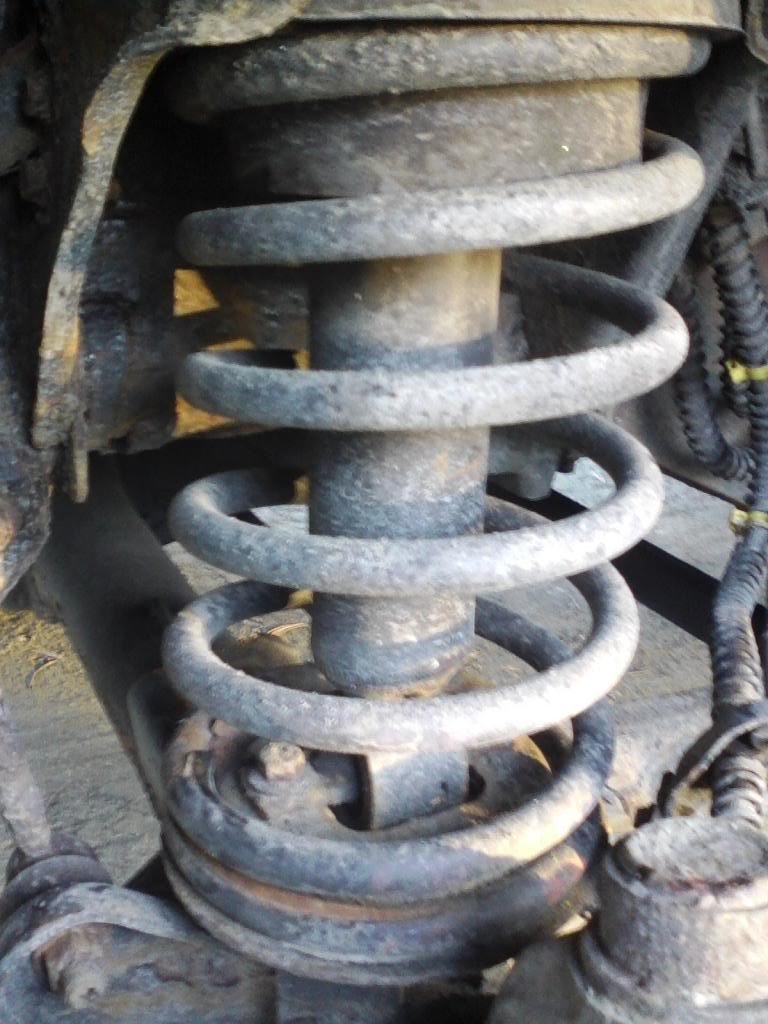
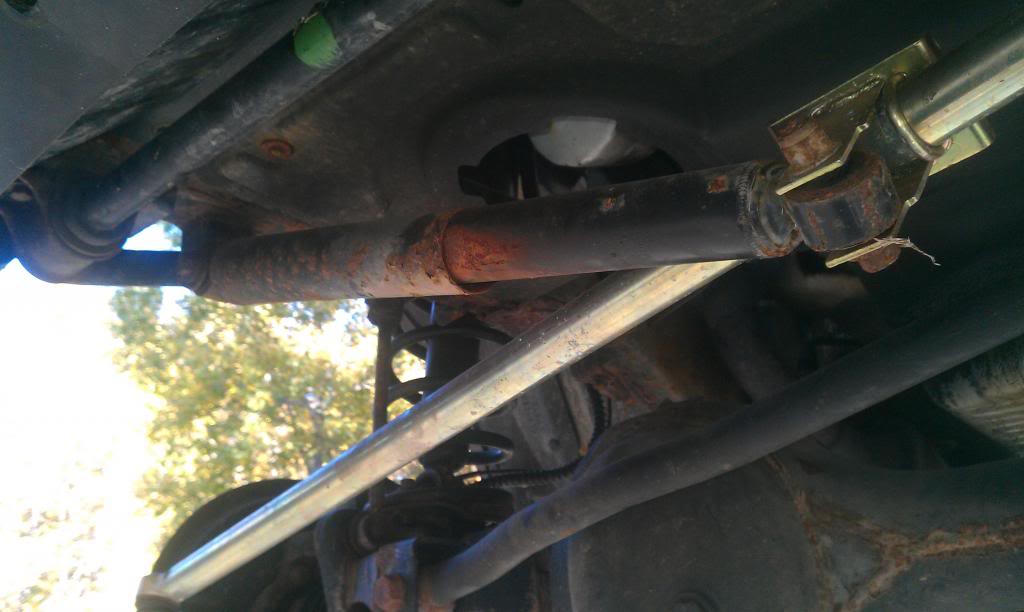
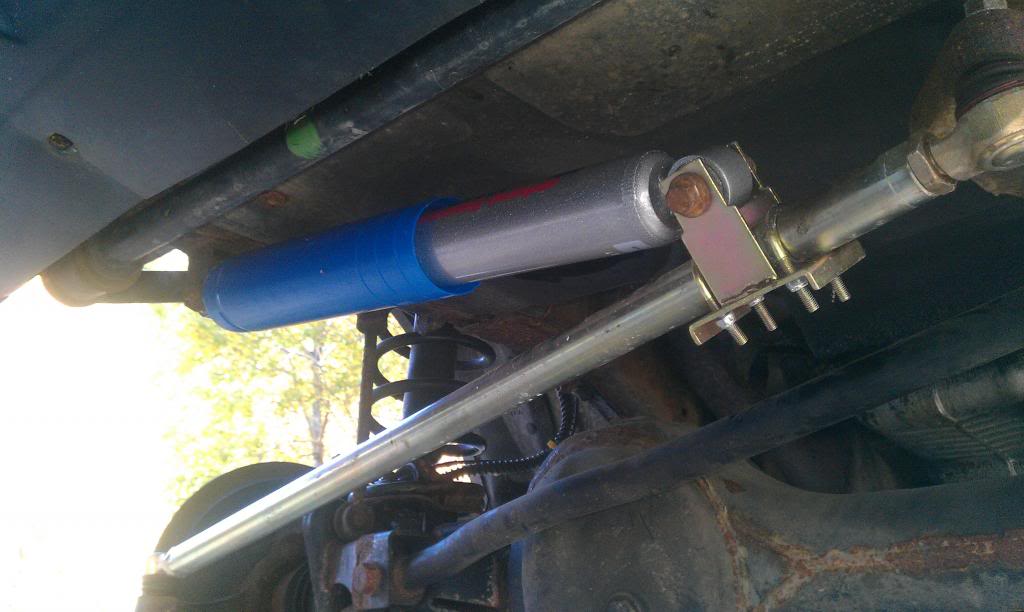
Out goes the old worn suspension and in with the TerraFirma
Last edited by TRIARII; 11-04-2014 at 10:51 PM.
#3
11-04-2014, 10:50 PM
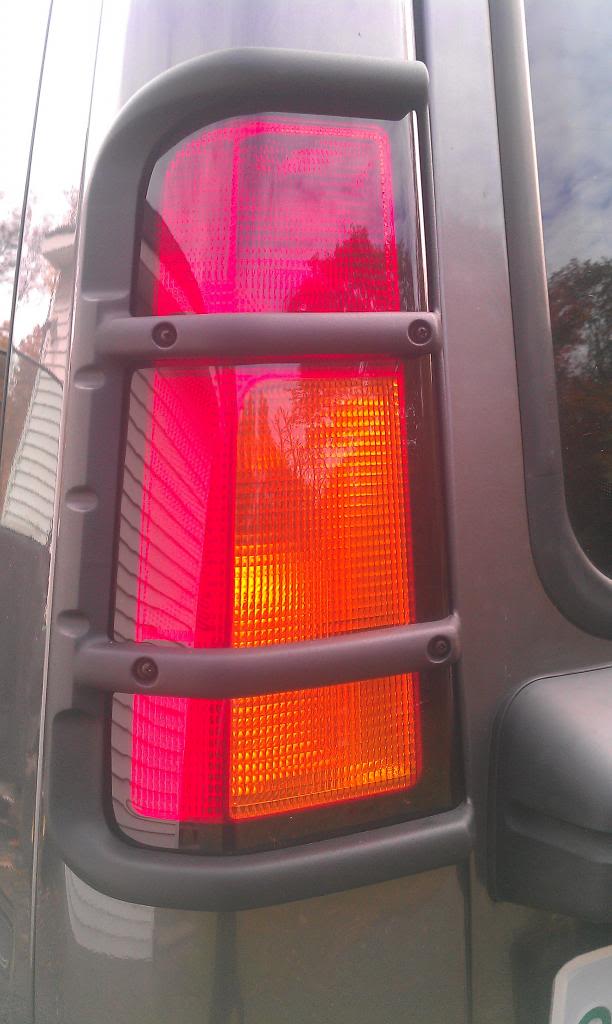
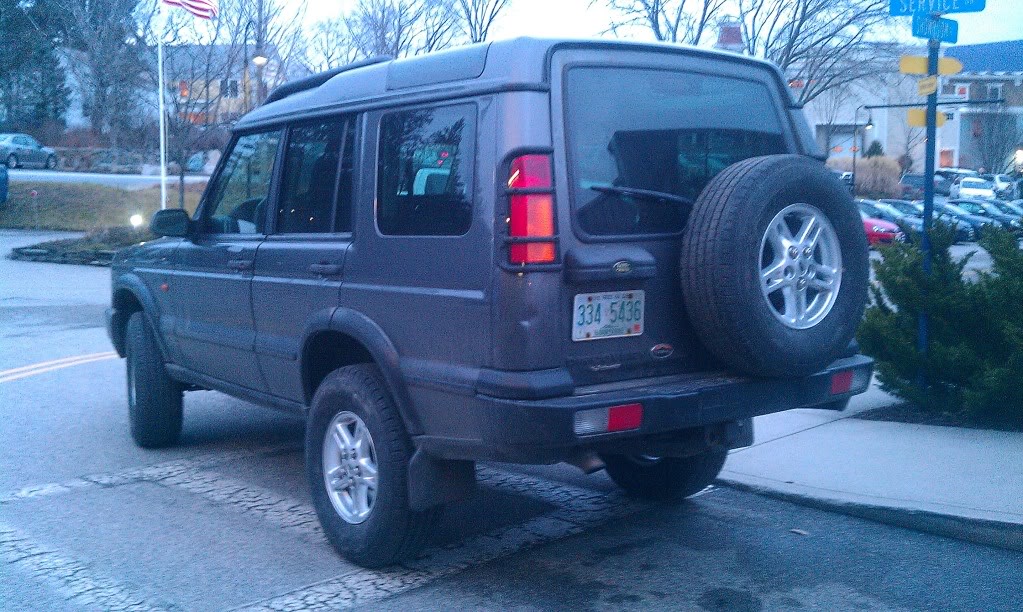
One of my rear upper tail lights was cracked so I opted to replace both of them with new assemblies and new bulbs. Was a good excuse to throw on some G4 guards:
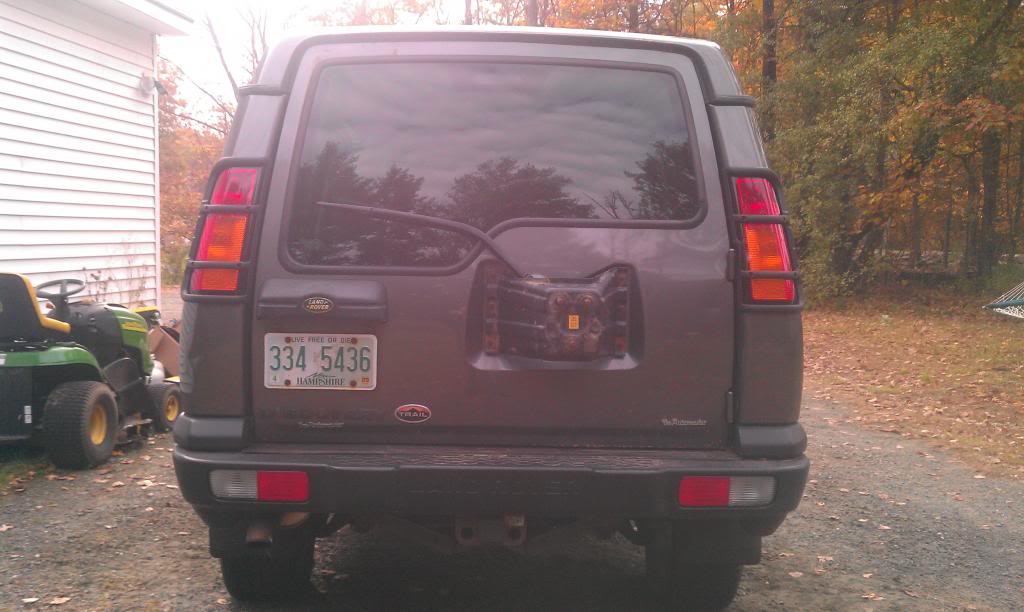
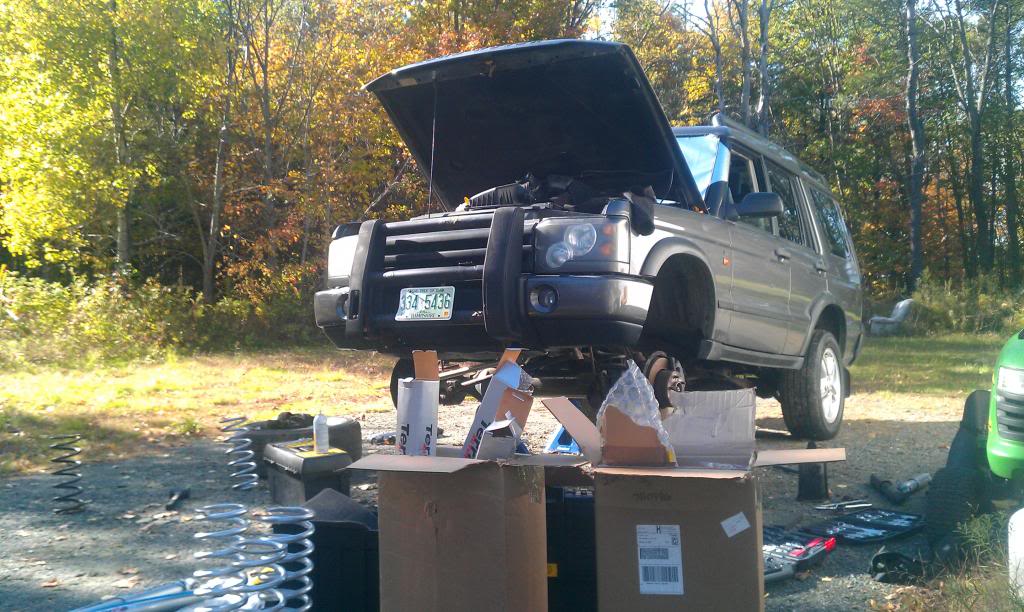
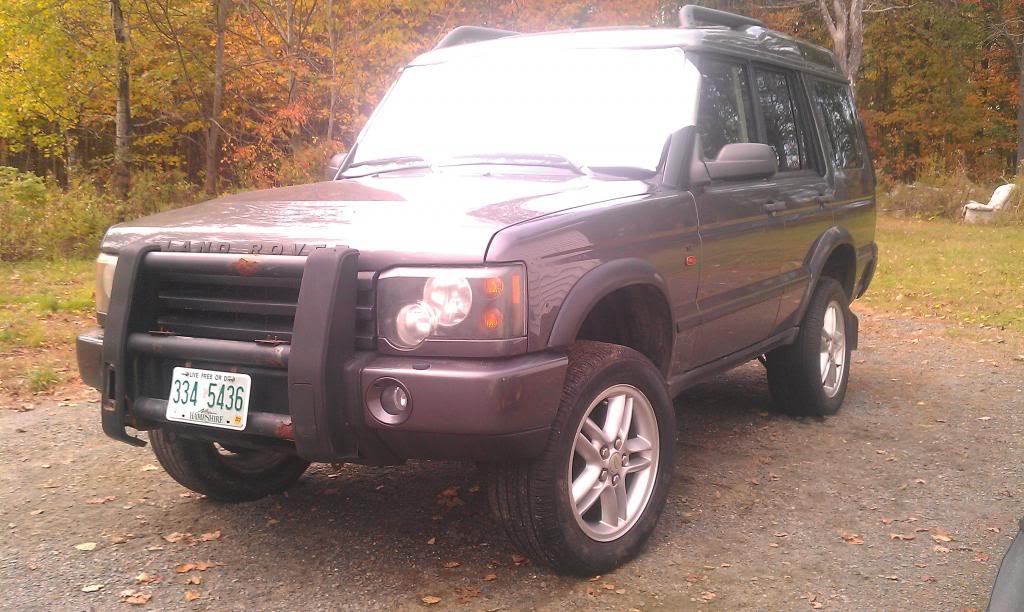
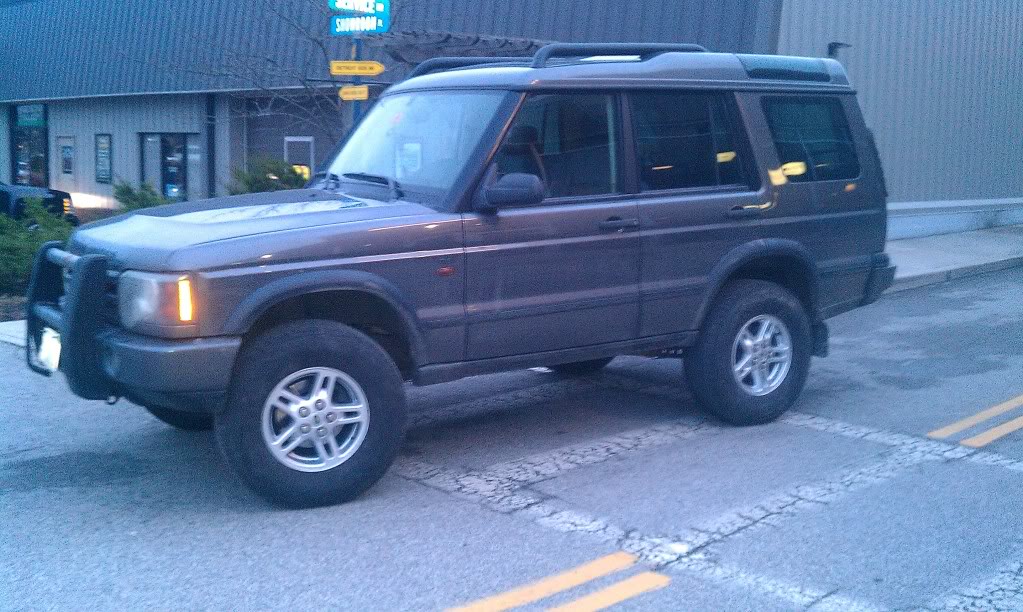
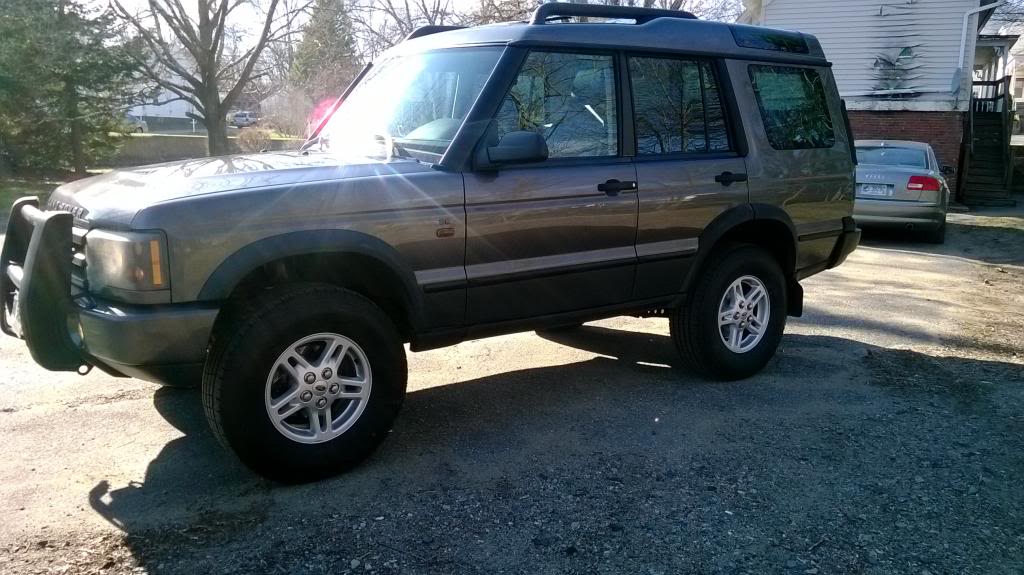
A work in progress. Heres how she looked with the new lift installed. Note the size comparrison pics below. The Nissan X-Terra has a body lift:
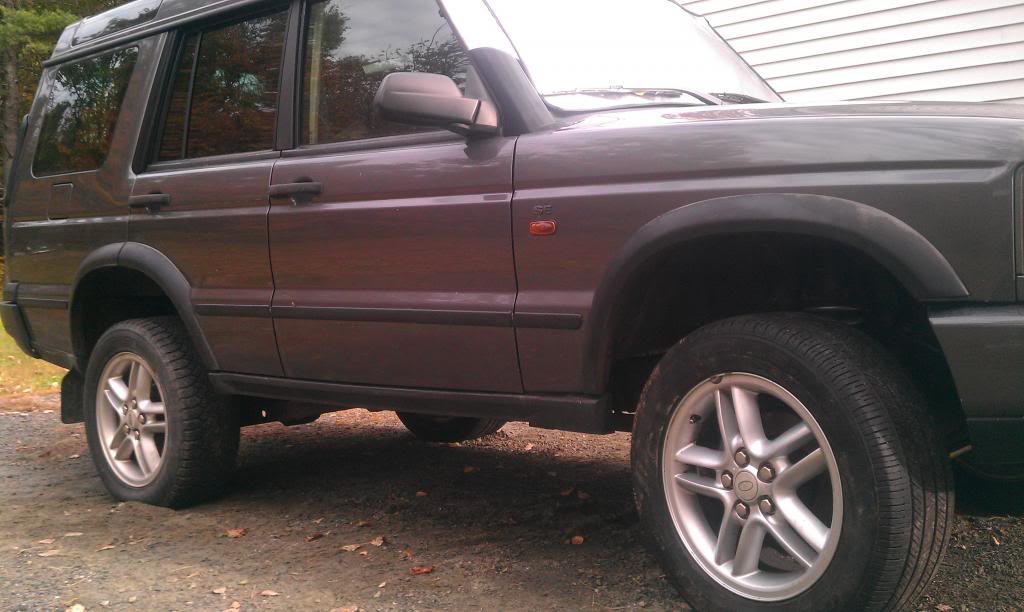

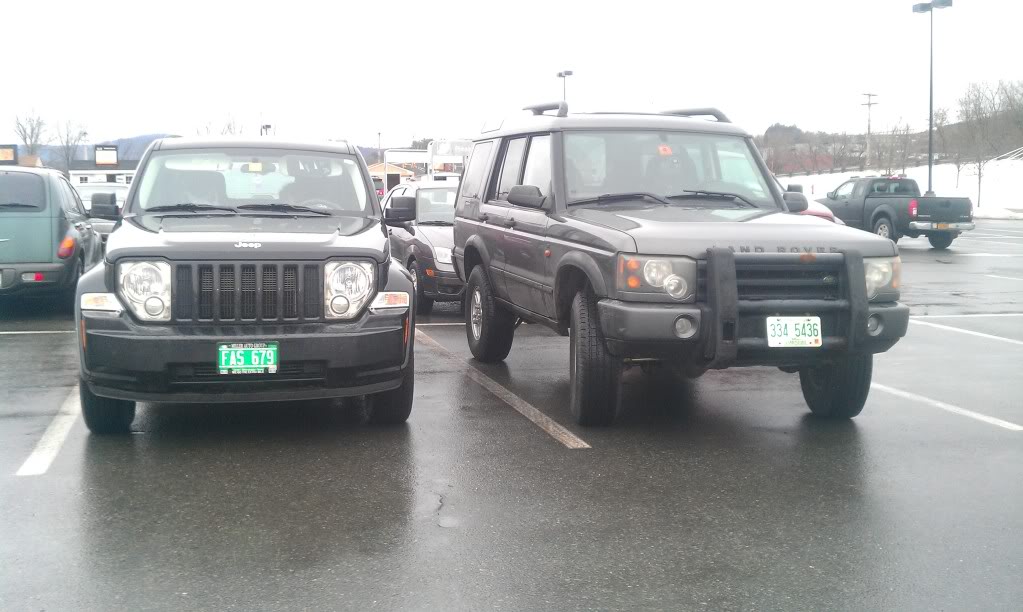
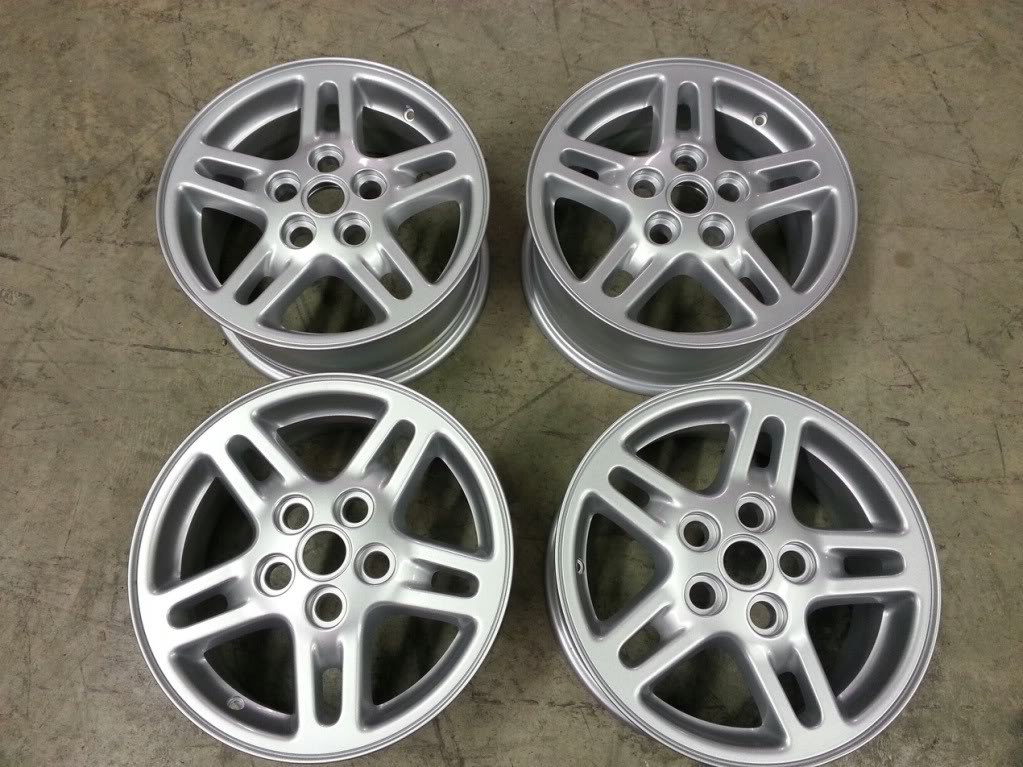
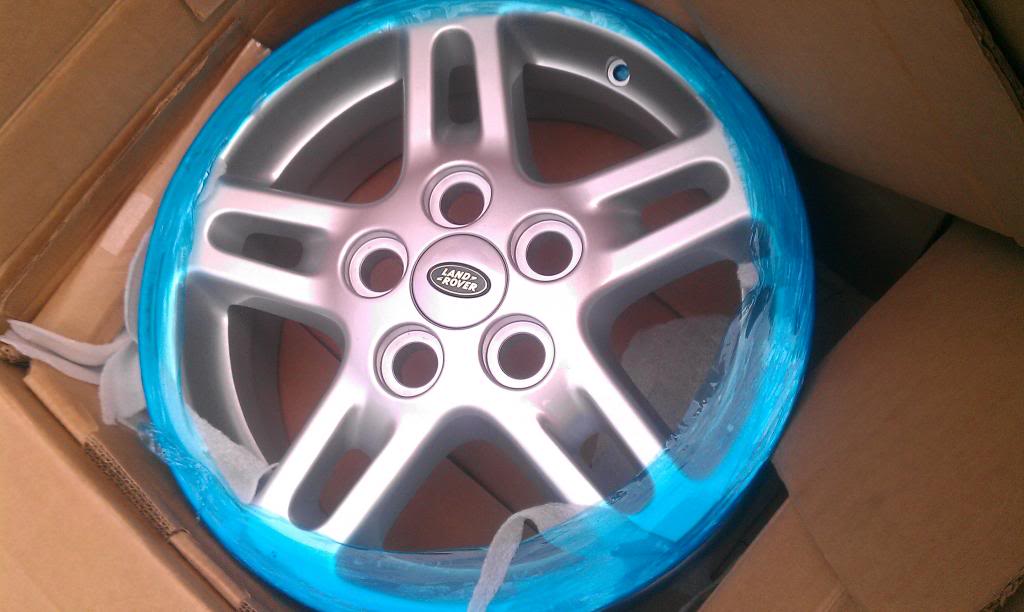
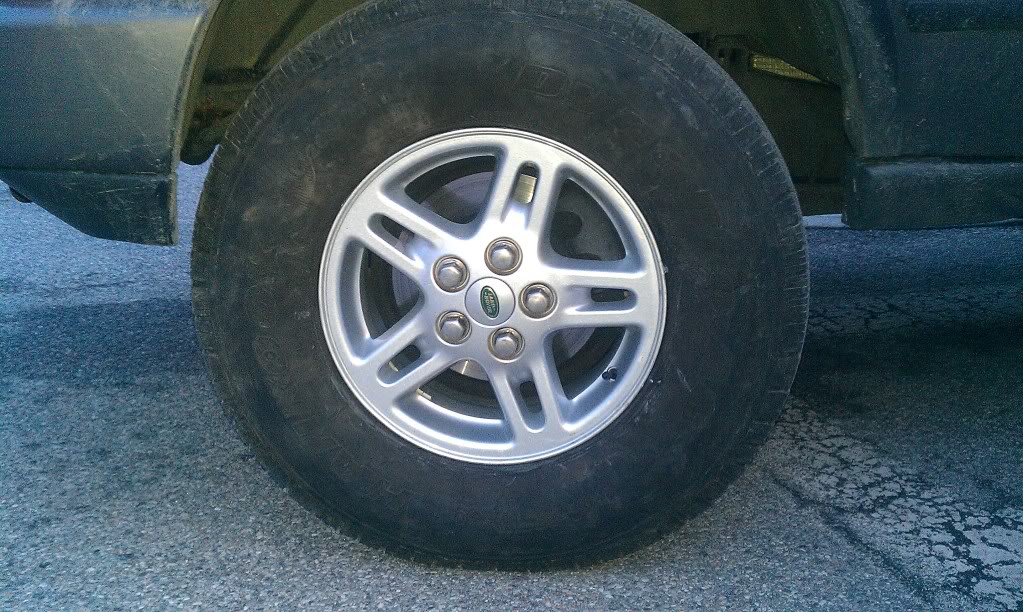
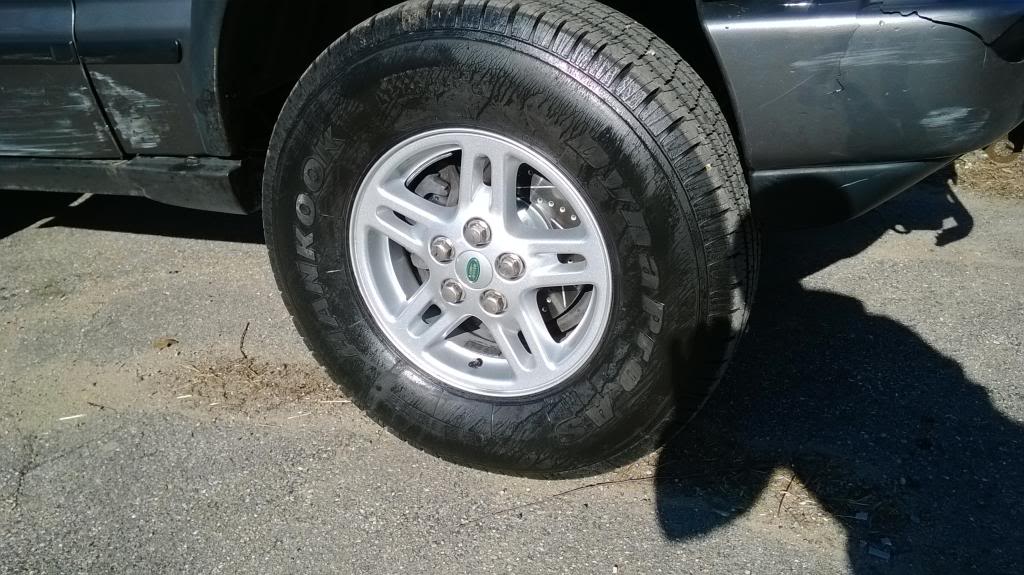
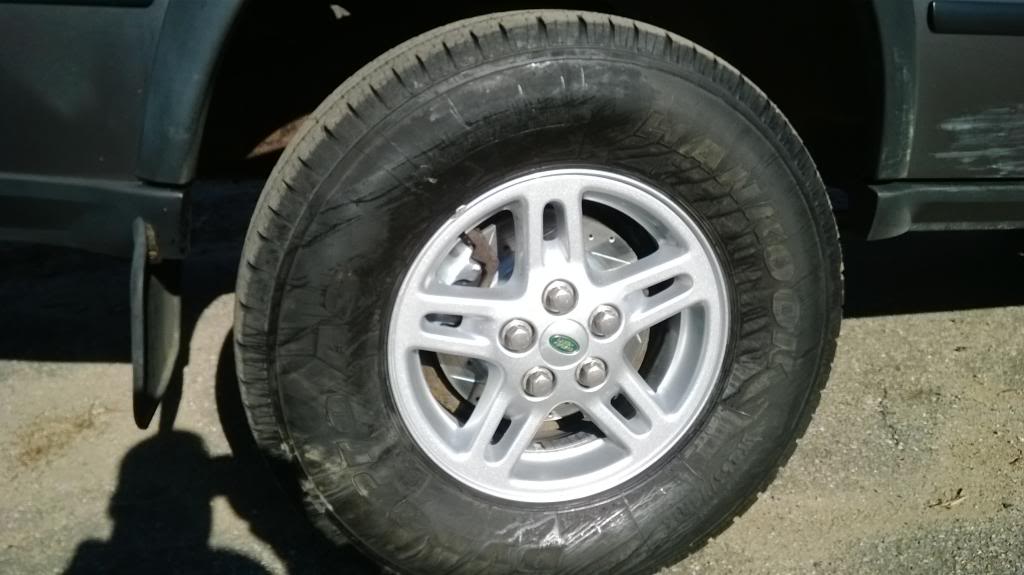
Next in line was the wheels. Wanted to downgrade from the 18" hurricane wheels but I did not like any of the 16" options available in the US market. Wanted something genuine, 16" and unique to my truck. Did alot of research and I found this picture:
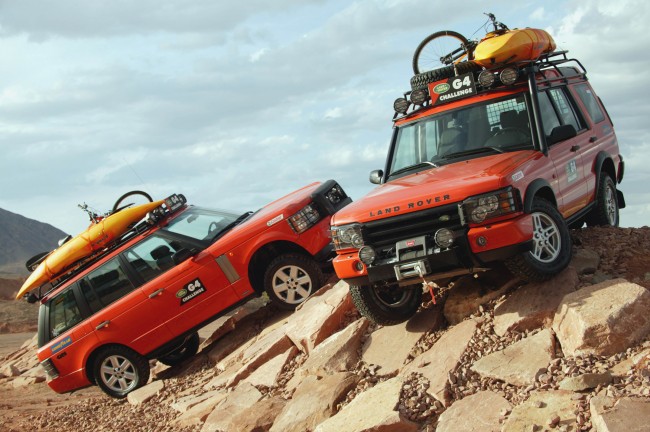
Did not reconize them at first but when I did the **** hit the fan and I was on the hunt. Found a set of 5 and quickly made the switch.
A work in progress. Heres how she looked with the new lift installed. Note the size comparrison pics below. The Nissan X-Terra has a body lift:
Next in line was the wheels. Wanted to downgrade from the 18" hurricane wheels but I did not like any of the 16" options available in the US market. Wanted something genuine, 16" and unique to my truck. Did alot of research and I found this picture:
Did not reconize them at first but when I did the **** hit the fan and I was on the hunt. Found a set of 5 and quickly made the switch.
Last edited by TRIARII; 11-04-2014 at 11:03 PM.
#4
11-04-2014, 11:17 PM
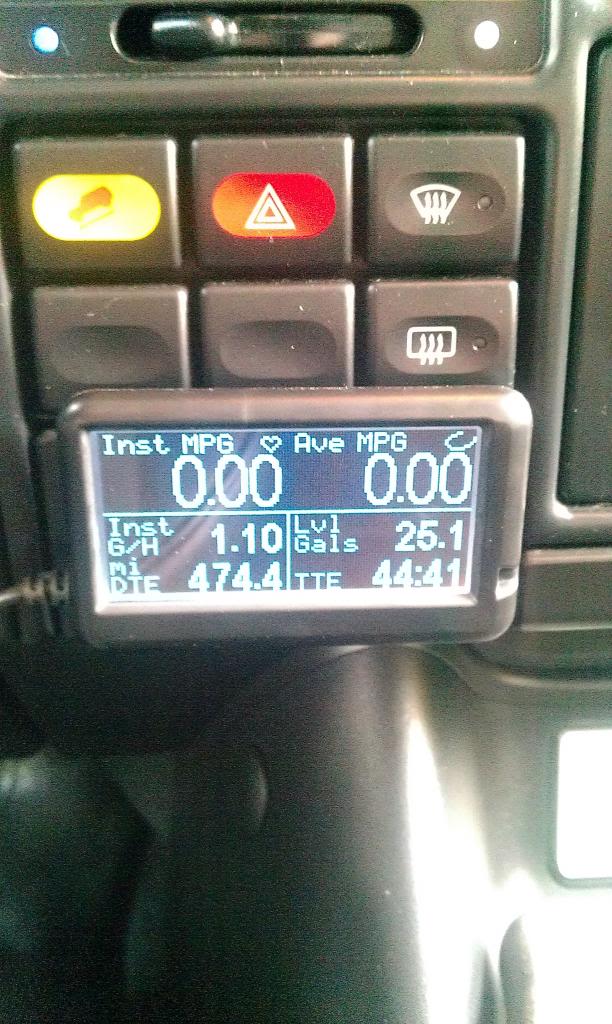
Finally got myself an Ultragauge:
Did my first brake job which turned out to be a new brake master cylinder, new brake servo booster, 2 new front calipers and all new rotors and pads. Thanks to AB I managed to acquire 2 new brake boosters that did not fit my truck plus my original booster. Took them a couple attempts to get me the correct replacement. Notice how think my D2 booster is compared to the thins ones. So back to those G4 wheels. Met up with some buddies to trade tires. Ended up meeting some of the Land Rover driving school staff and came face to face with the Discovery 4. Having recently purchased 5 new 16" wheels I still needed some cheap 16" tires so I could swap out my 18"s. Traded my 18" tires/wheels for a buddies 16" tires then we proceeded to the shop to get them mounted and balanced:

2 hours later, fresh out of the shop:
Just in time for winter 2013:

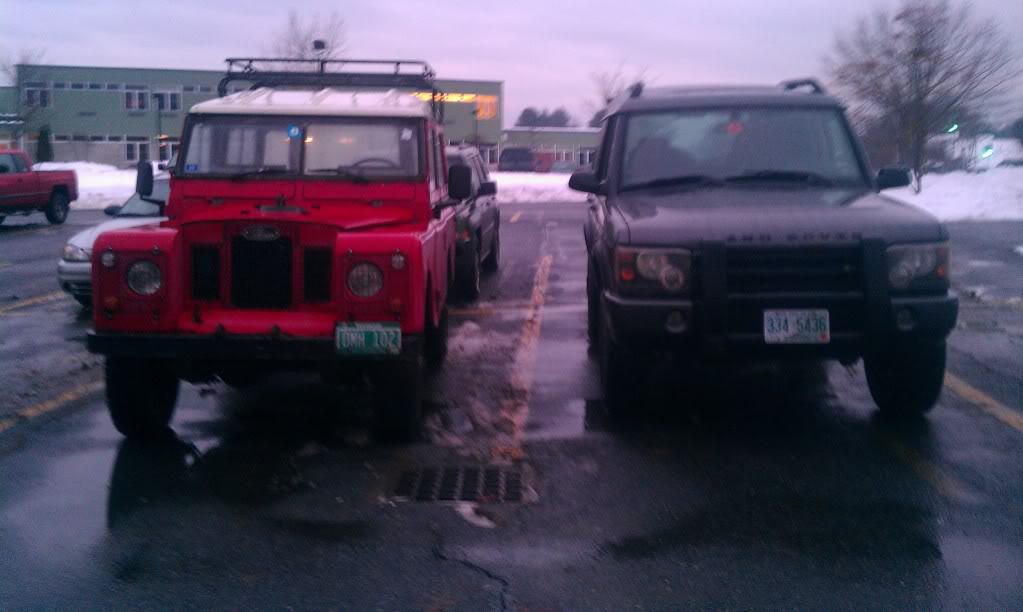
Met my supervisors Series:
Did my first brake job which turned out to be a new brake master cylinder, new brake servo booster, 2 new front calipers and all new rotors and pads. Thanks to AB I managed to acquire 2 new brake boosters that did not fit my truck plus my original booster. Took them a couple attempts to get me the correct replacement. Notice how think my D2 booster is compared to the thins ones. So back to those G4 wheels. Met up with some buddies to trade tires. Ended up meeting some of the Land Rover driving school staff and came face to face with the Discovery 4. Having recently purchased 5 new 16" wheels I still needed some cheap 16" tires so I could swap out my 18"s. Traded my 18" tires/wheels for a buddies 16" tires then we proceeded to the shop to get them mounted and balanced:
2 hours later, fresh out of the shop:
Just in time for winter 2013:
Met my supervisors Series:
Last edited by TRIARII; 11-04-2014 at 11:29 PM.
#5
11-04-2014, 11:27 PM
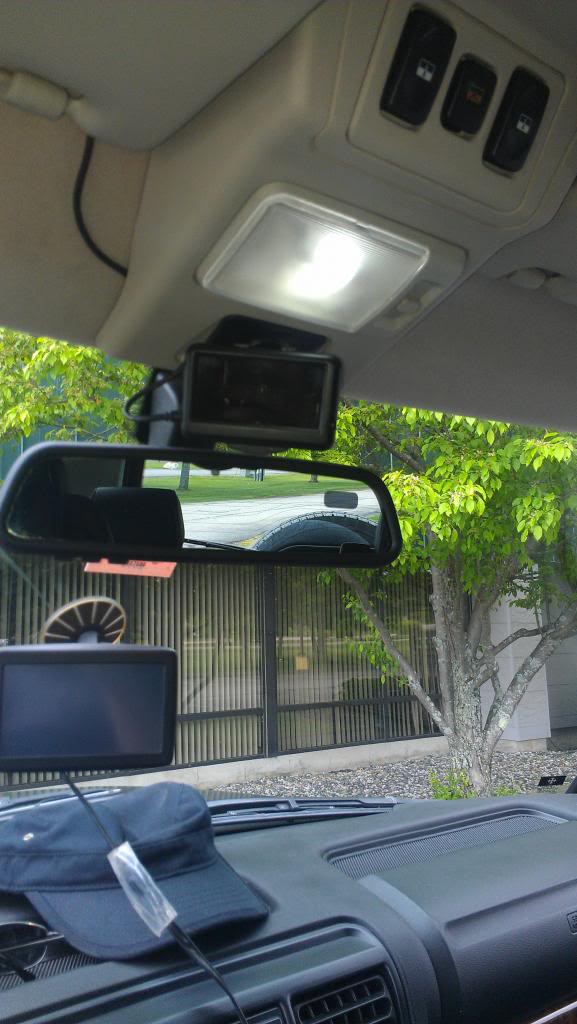
Early 2014 progress was slow but I finally found a permanent location for the UG:
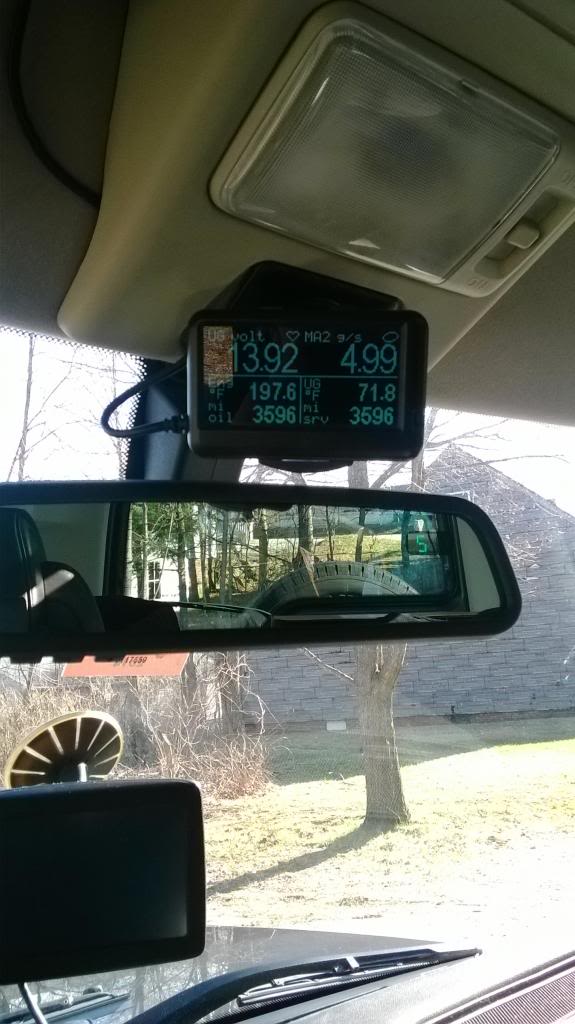
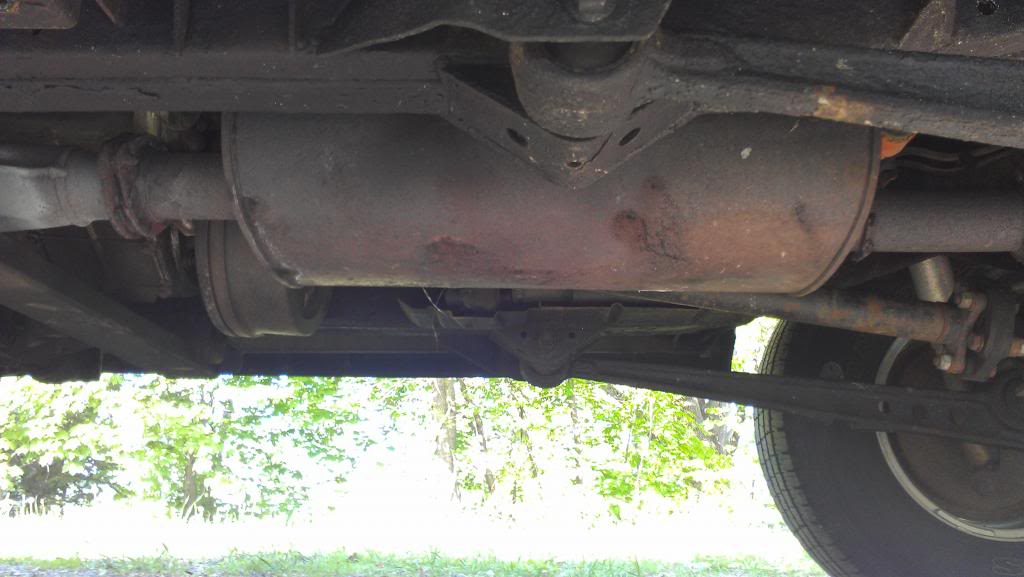
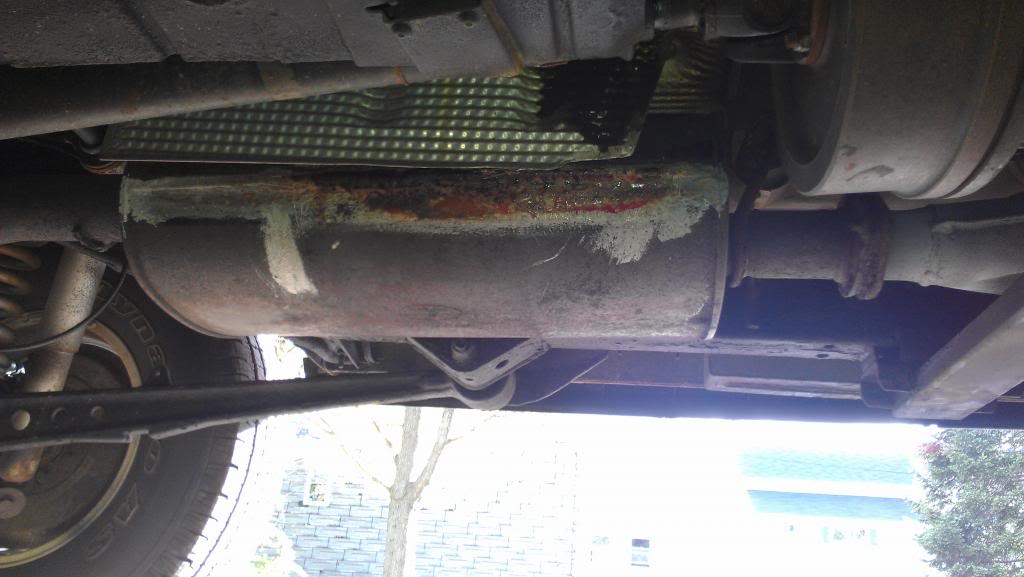
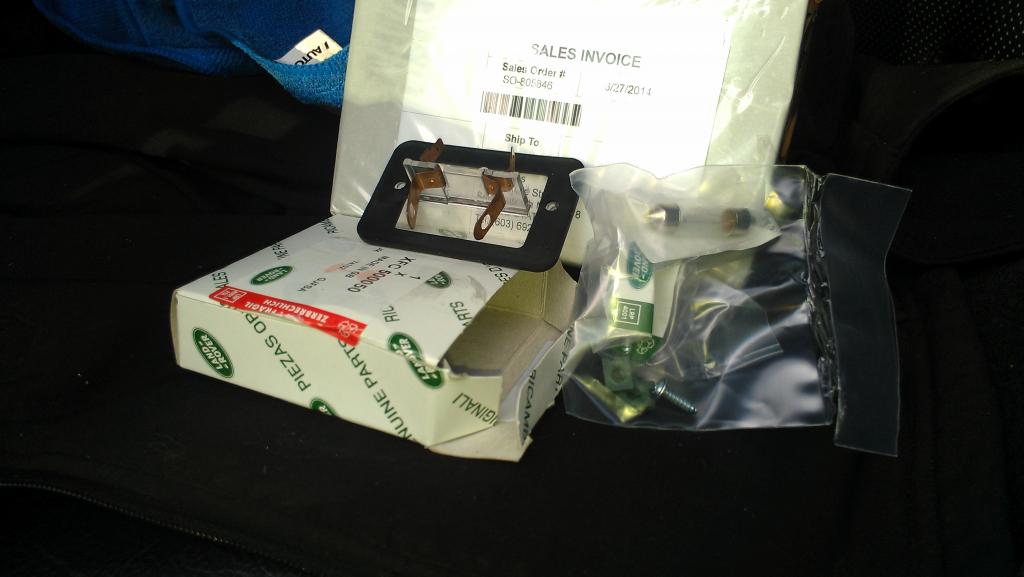
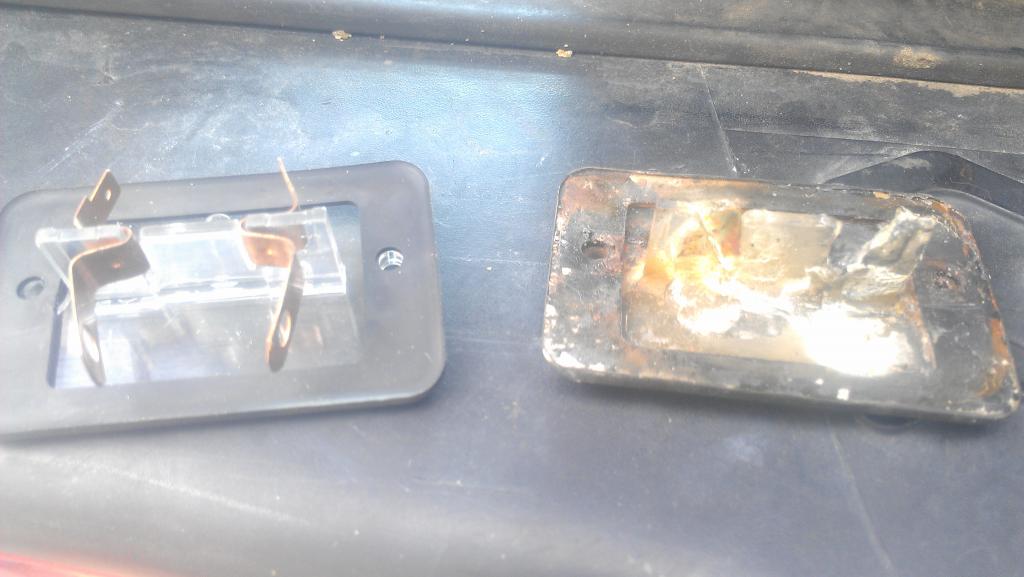
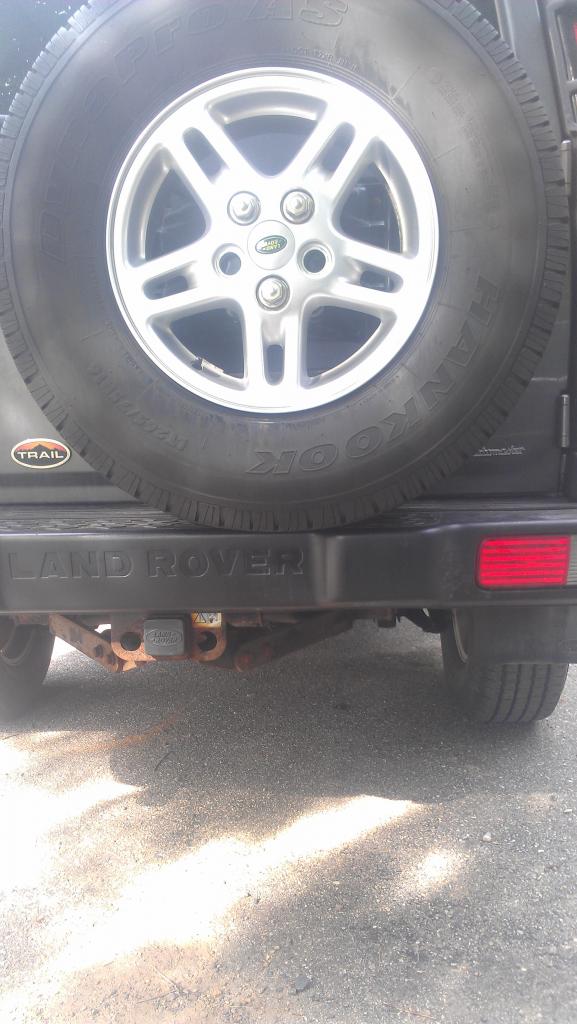
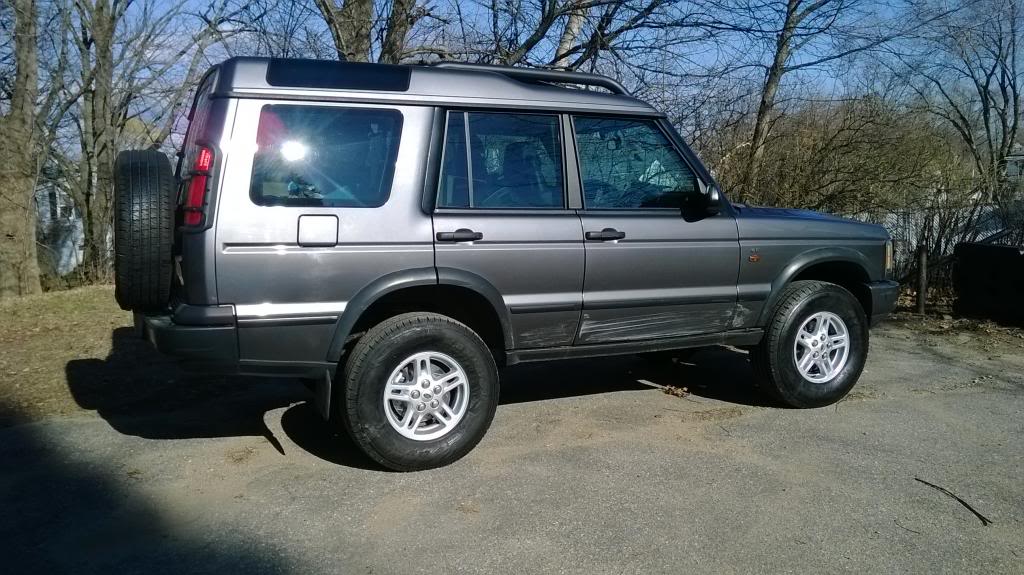
April 2014: Upgraded to the 180 TD5 thermostat from Rovers North and noticed a improvement immediately. Engine tick went away completely and my engine temps dropped from an average of 197 highway and 212 city to an impressive 188 highway and 197 city! Time for inspection and my center muffler had a hole in it so it was time for a new muffler. Fortunately the previous owner already replaced the rear muffler. One of my rear license plate bulb housings was corroded so i replaced with a new unit. Also purchased a spare tire re-locator from Lucky8 LLC. Its always nice to be able to close the rear cargo door without the tire rubbing against the bumper!


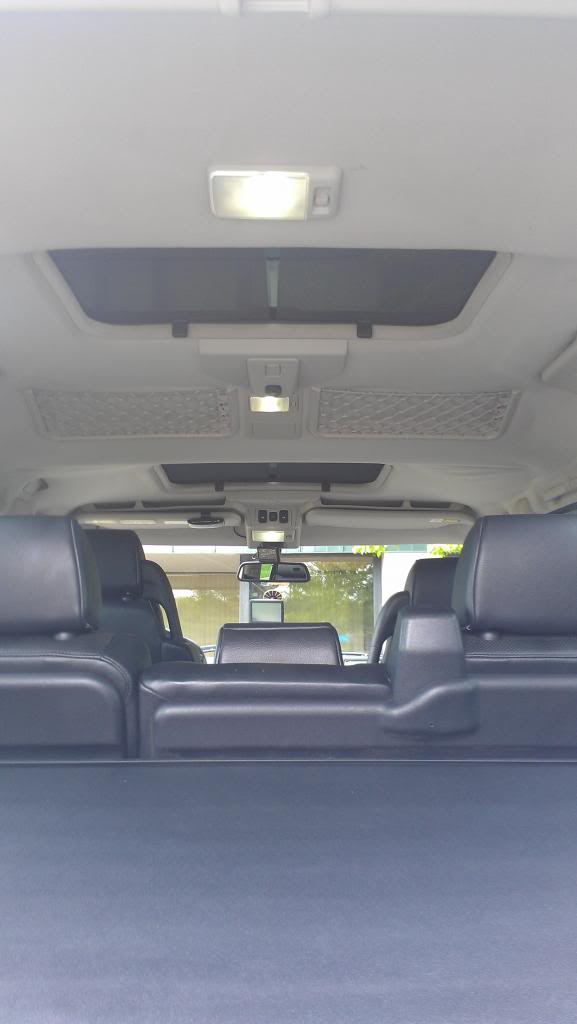
Purchased some cheap LED bulbs from Advanced Auto Parts for the interior. Not to bad but they are not as bright as I had hoped for:
April 2014: Upgraded to the 180 TD5 thermostat from Rovers North and noticed a improvement immediately. Engine tick went away completely and my engine temps dropped from an average of 197 highway and 212 city to an impressive 188 highway and 197 city! Time for inspection and my center muffler had a hole in it so it was time for a new muffler. Fortunately the previous owner already replaced the rear muffler. One of my rear license plate bulb housings was corroded so i replaced with a new unit. Also purchased a spare tire re-locator from Lucky8 LLC. Its always nice to be able to close the rear cargo door without the tire rubbing against the bumper!
Purchased some cheap LED bulbs from Advanced Auto Parts for the interior. Not to bad but they are not as bright as I had hoped for:
Last edited by TRIARII; 11-05-2014 at 12:42 AM.
#6
11-04-2014, 11:46 PM

#7
11-04-2014, 11:52 PM
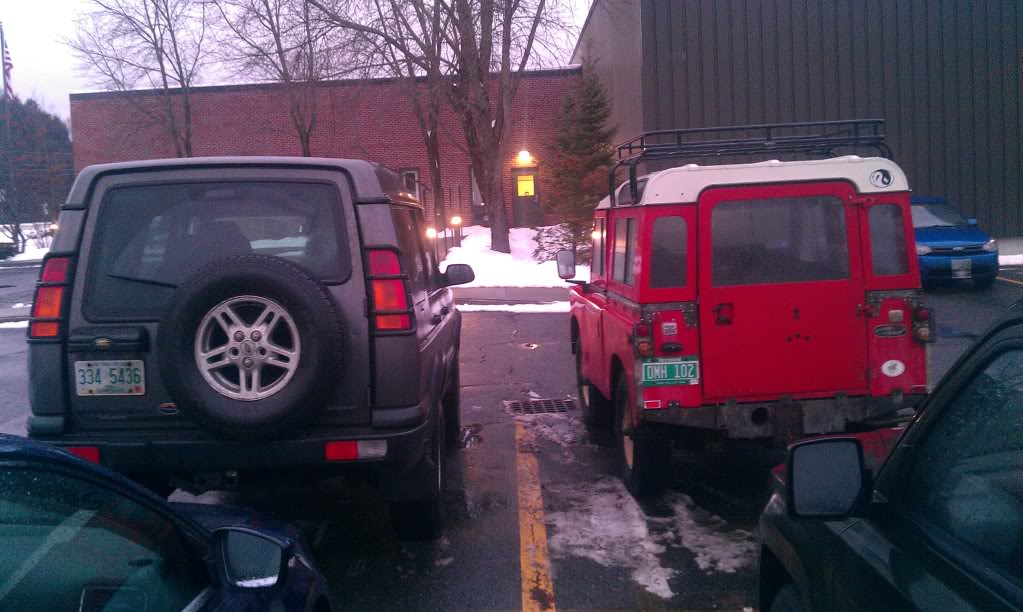
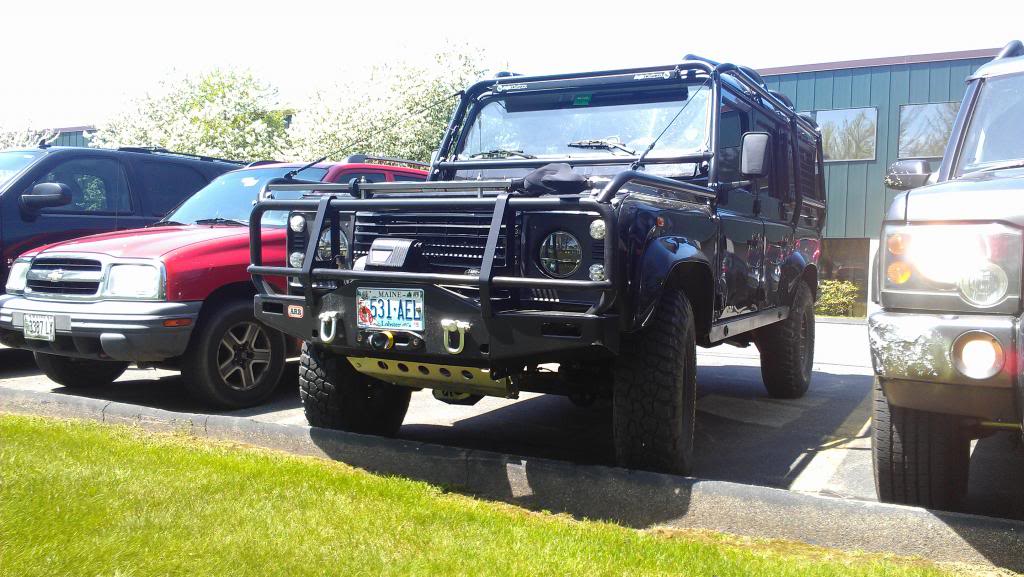
Moved to southern NH and got a new better paying job in Portsmouth. Was happy to learn that one of the people in the same parking lot owns a lovely Defender 5 door wagon. Still have not had the privilege of meeting the owner:
I knew I was in for another brake job when one of my rear calipers failed. Decided to replaced both rear calipers to and I upgraded to drilled/slotted rotors and ceramic pads. Was so sick my new wheels getting caked in brake dust. This time I had a shop buddy to the job, Im very picky about who puts their hands on my truck but I knew I was in good hands because the shop owner built this early D2!:


The new brakes installed:
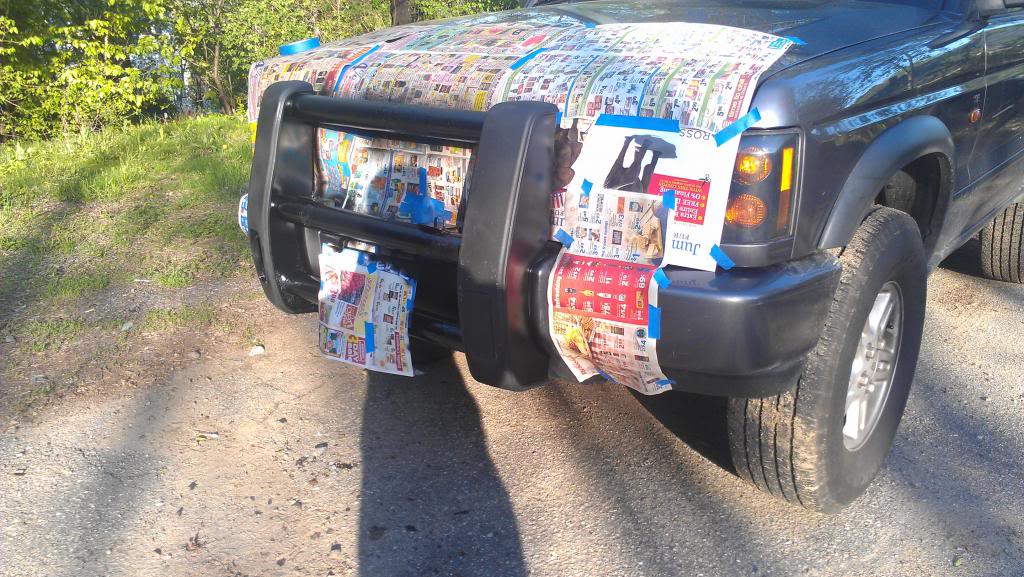
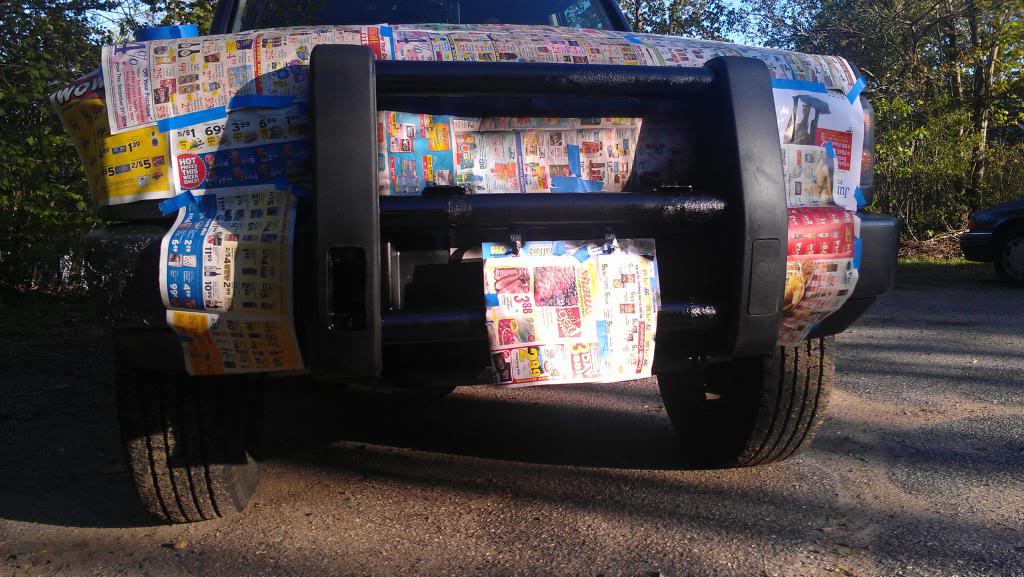
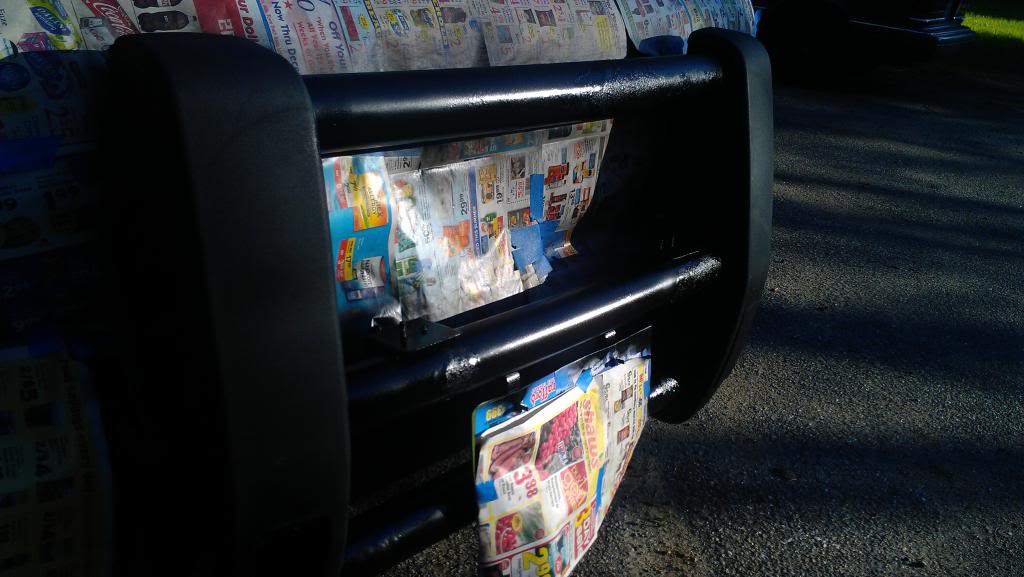
Decided to do a quick job on the front bumper. Hit a snow bank in winter of 2013 that put a hole and a couple cracks in the bumper. First time doing body work.....
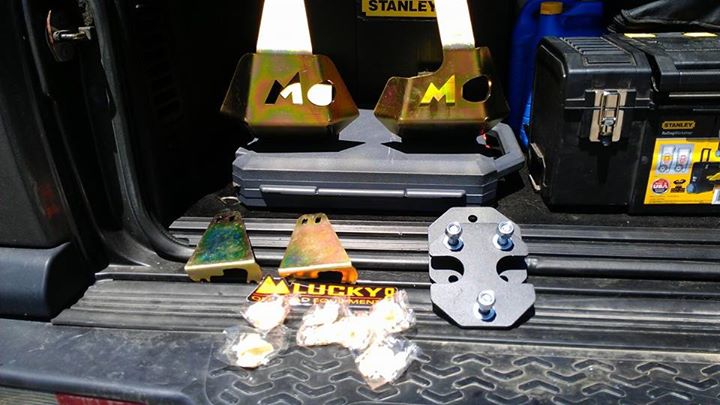
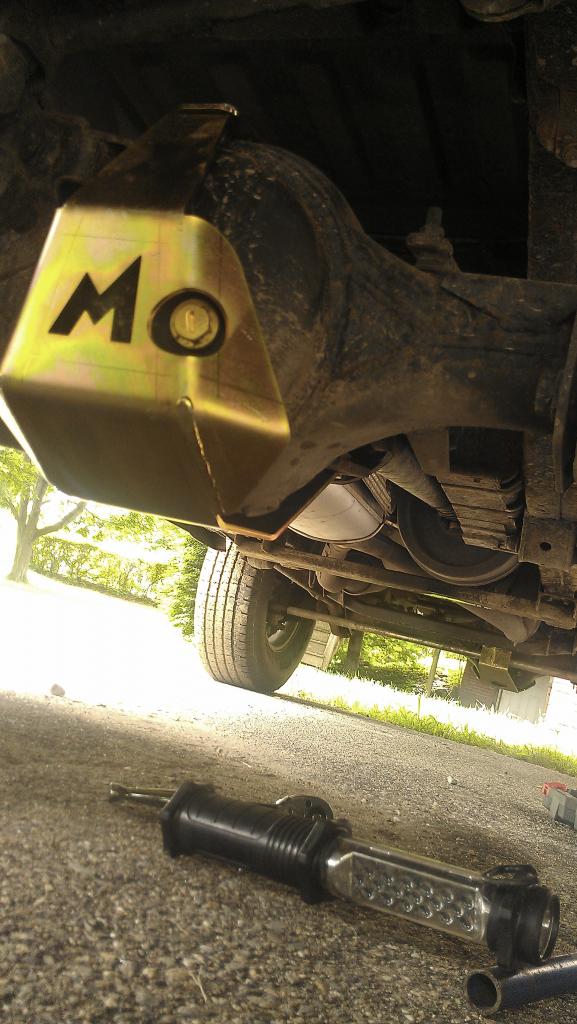
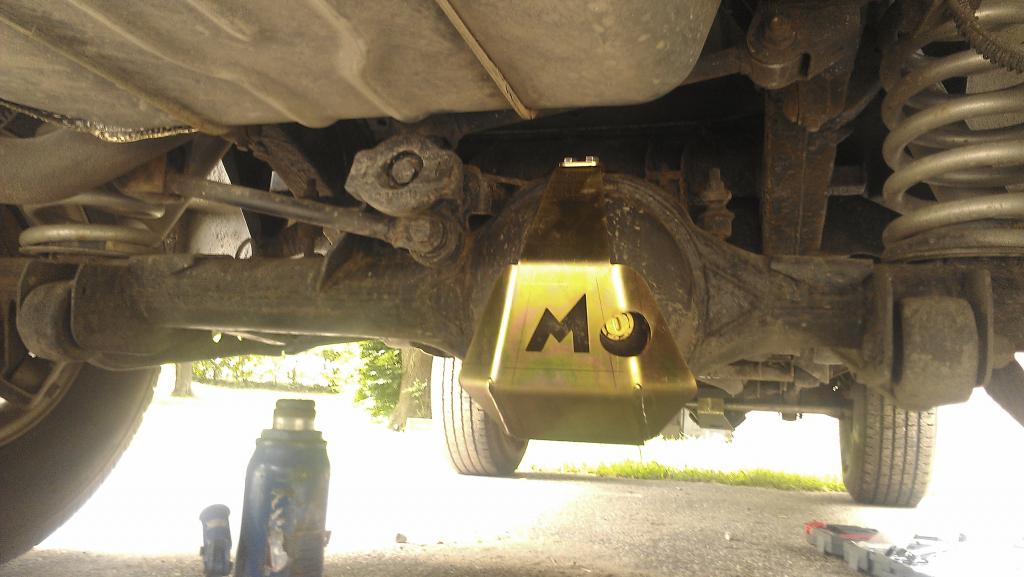
Next in line was a set of TerraFirma differantial guards and switching out the old plastic diff plugs to new cooper plugs.
I knew I was in for another brake job when one of my rear calipers failed. Decided to replaced both rear calipers to and I upgraded to drilled/slotted rotors and ceramic pads. Was so sick my new wheels getting caked in brake dust. This time I had a shop buddy to the job, Im very picky about who puts their hands on my truck but I knew I was in good hands because the shop owner built this early D2!:
The new brakes installed:
Decided to do a quick job on the front bumper. Hit a snow bank in winter of 2013 that put a hole and a couple cracks in the bumper. First time doing body work.....
Next in line was a set of TerraFirma differantial guards and switching out the old plastic diff plugs to new cooper plugs.
#8
11-04-2014, 11:55 PM
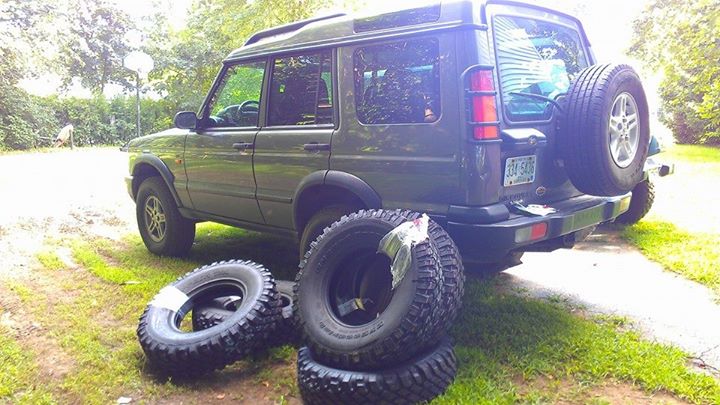
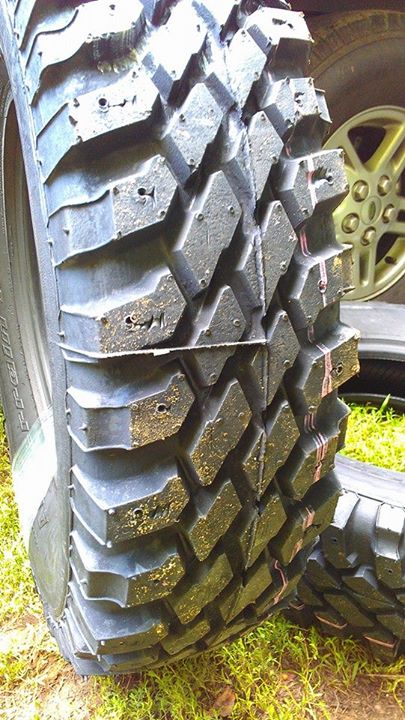
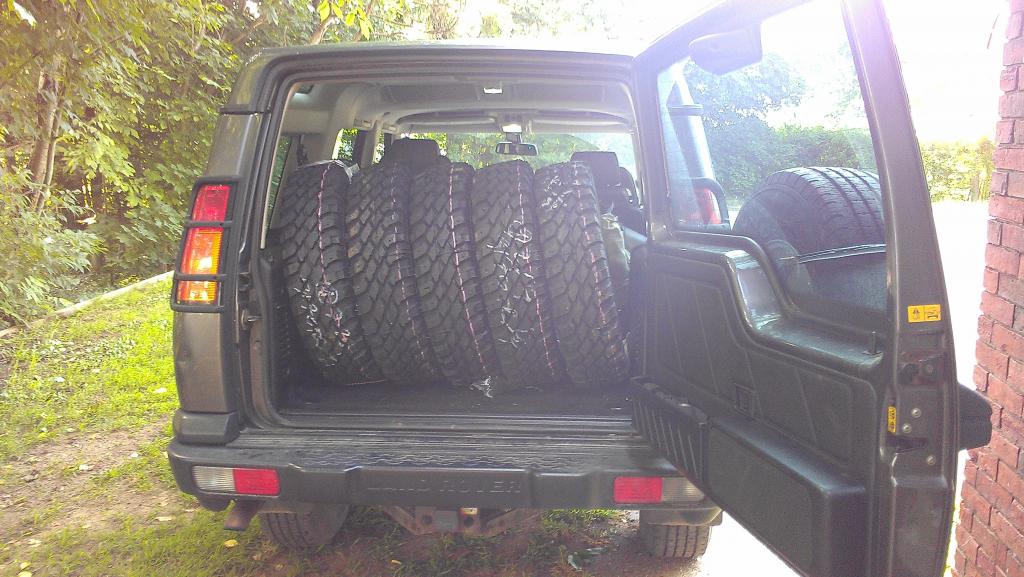
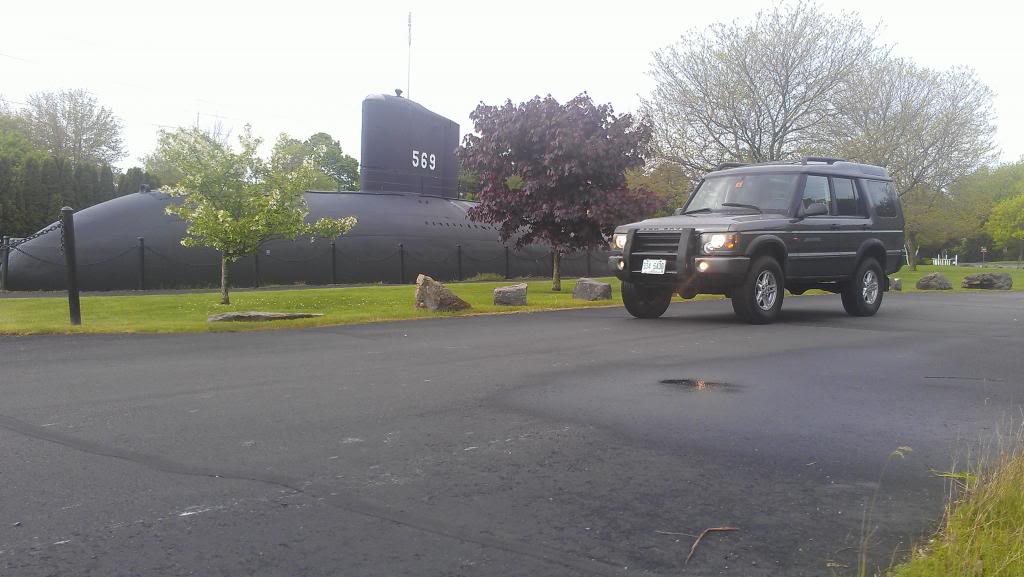
Finally got some appropriate tires to compliment the G4 wheels. TreadWright Crawler 235/85R16 MT's x 5! I wanted to break away from the norm and opted to go with rugged skinny tires instead of the traditional beefy wide tires that everybody else seems to prefer. I love the thinner look much more and it reminds me of the classic Series Rovers and old military vehicles.
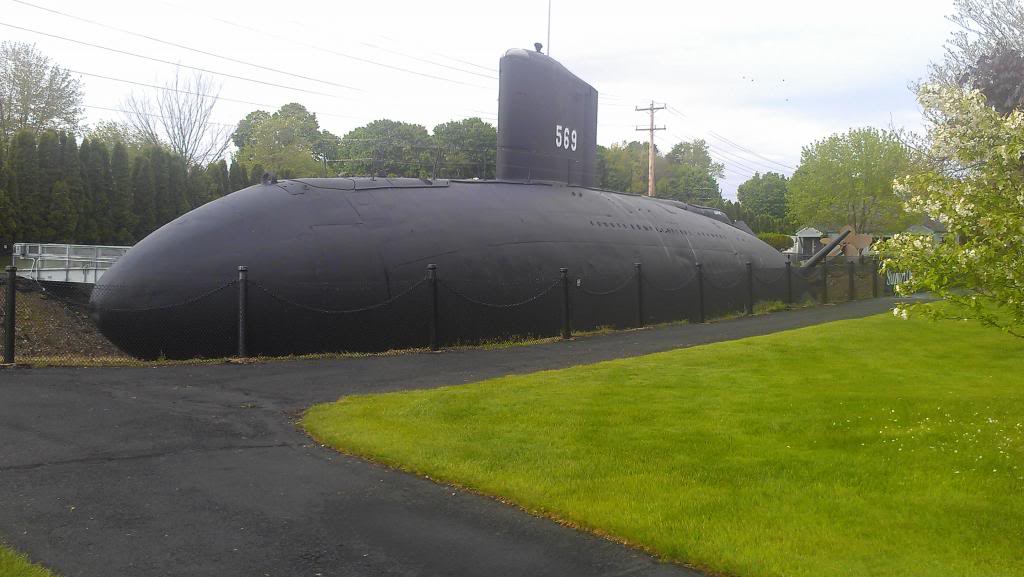
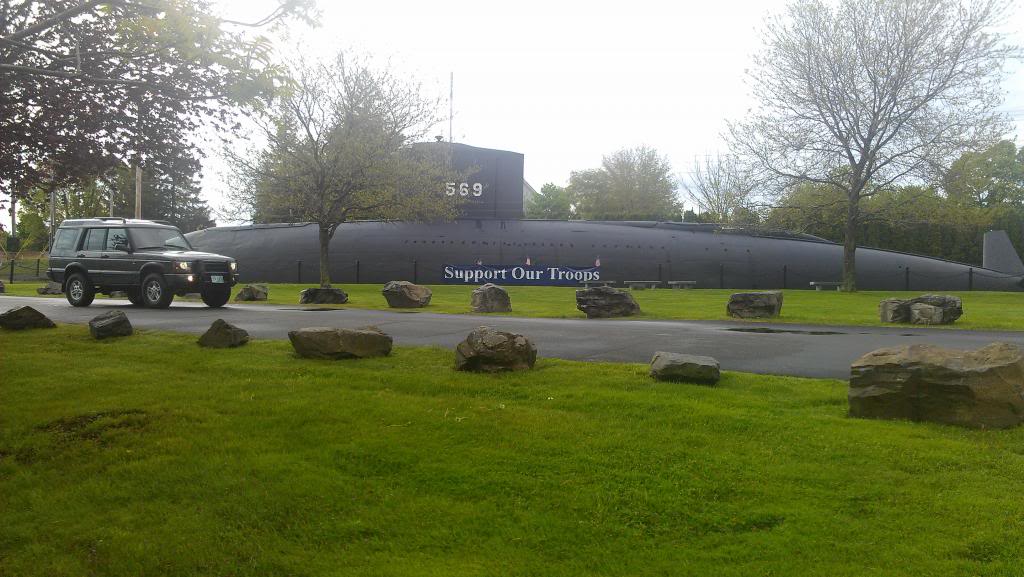
The USS Albacore:
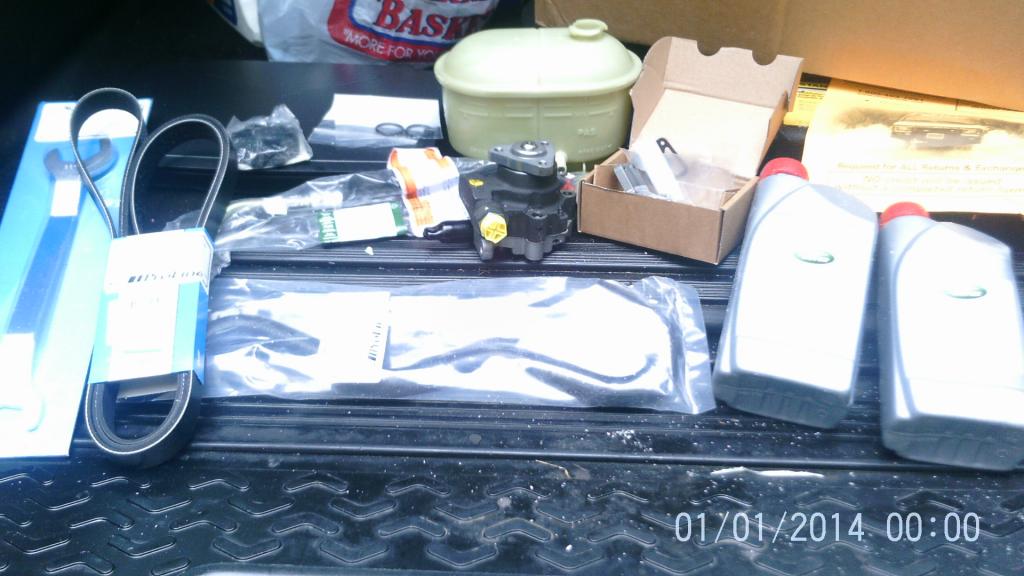
Then one day out of the blue the power steering pump started leaking and making the usual power steering squeals. Decided to to a overhaul. New pump, new ps reservoir and I replaced both rubber hoses. Crossed my fingers that the steering gearbox and the third metal hose was in good shape, after everything was said and done the leak stopped and the problem solved. Did the job on my own and it was a learning experience:

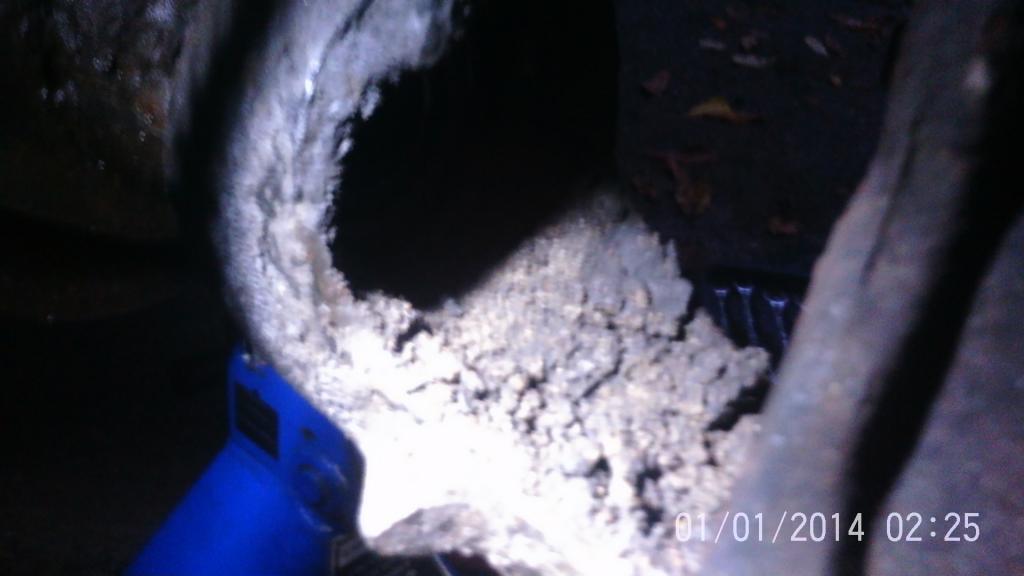
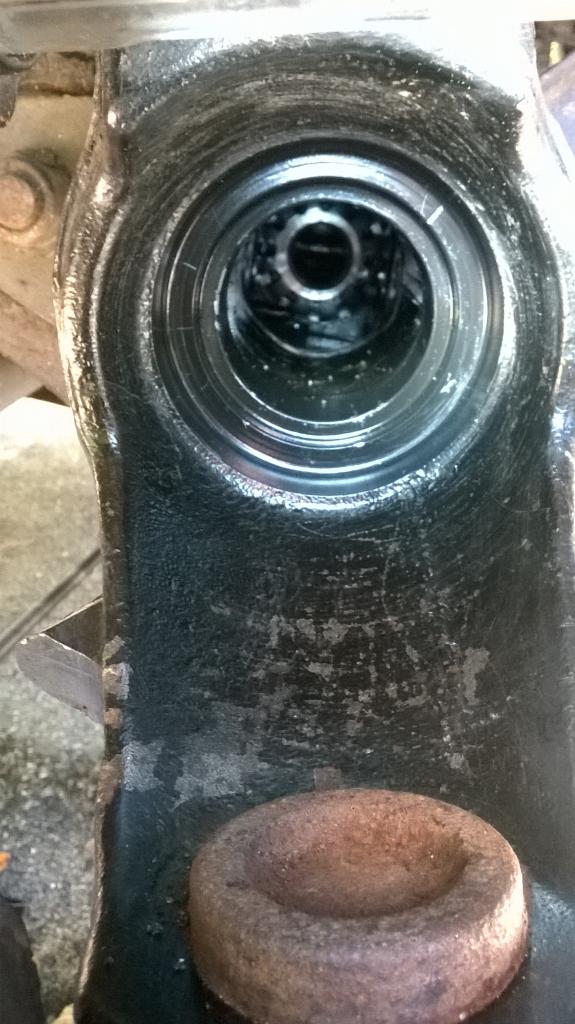
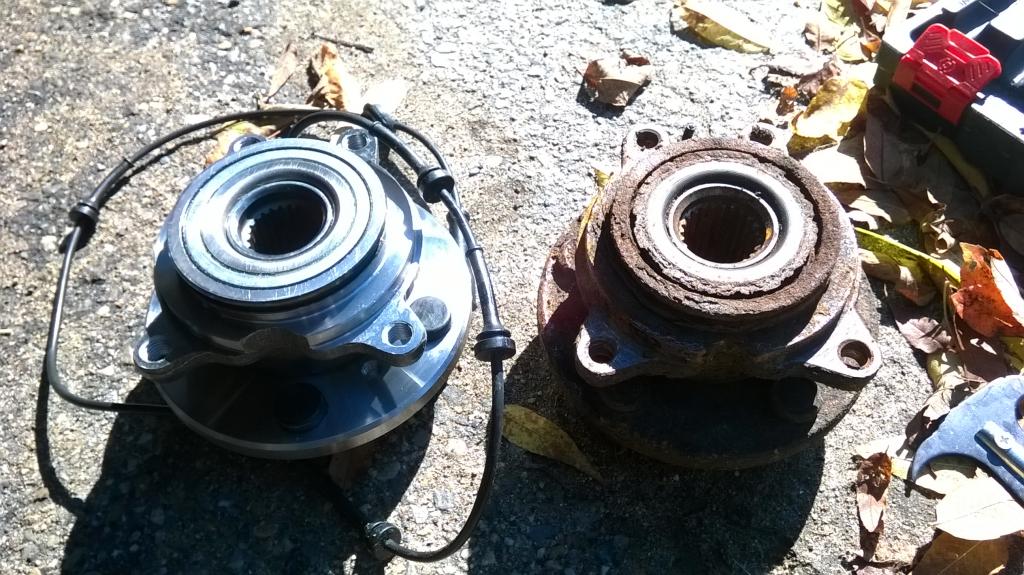
Couple months later my front passenger wheel hub began to show signs of wear and soon afterwards came the 3 amigos. Again I decided to do a overhaul. And another learning experience for this young aspiring LR mechanic:
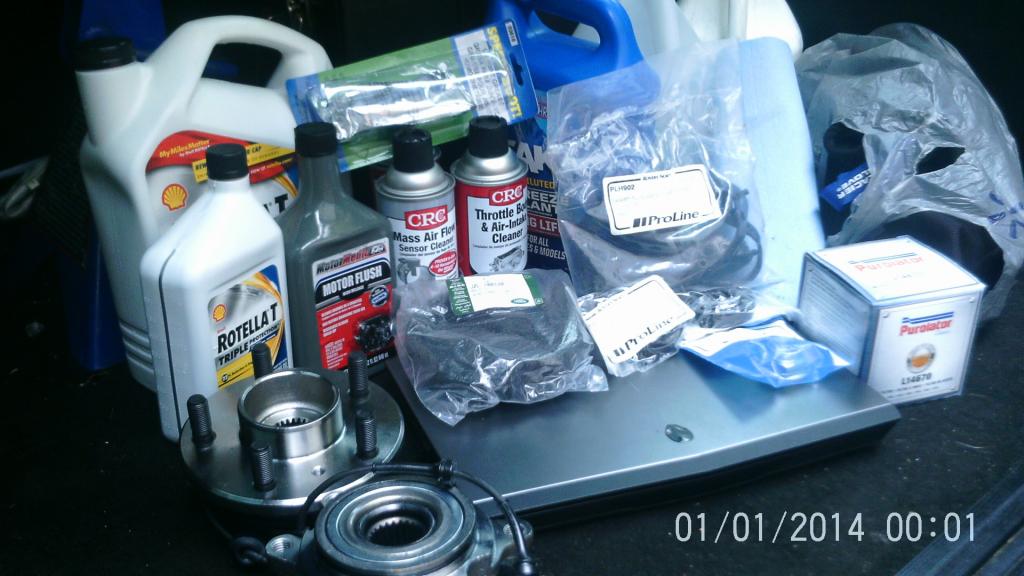
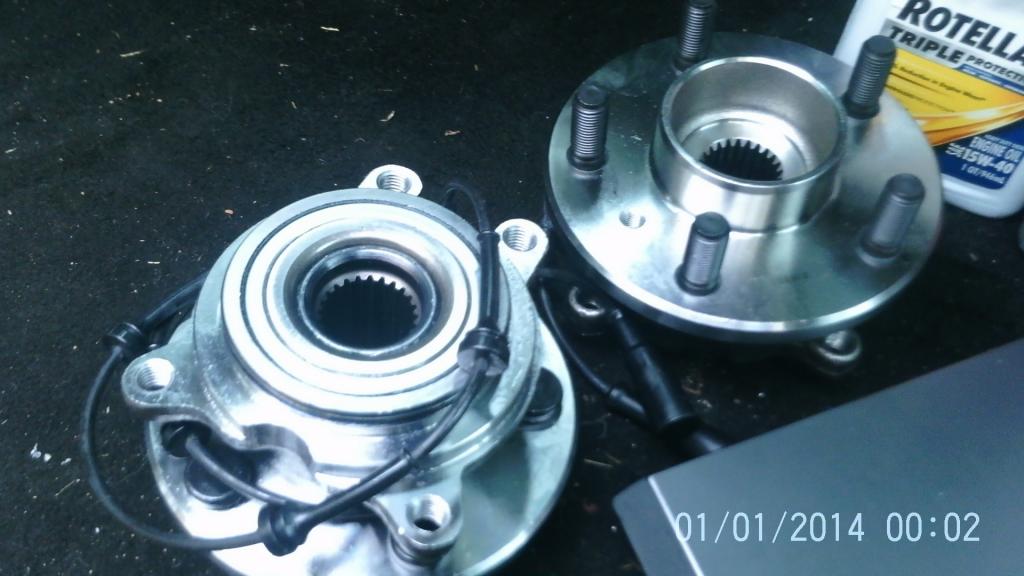
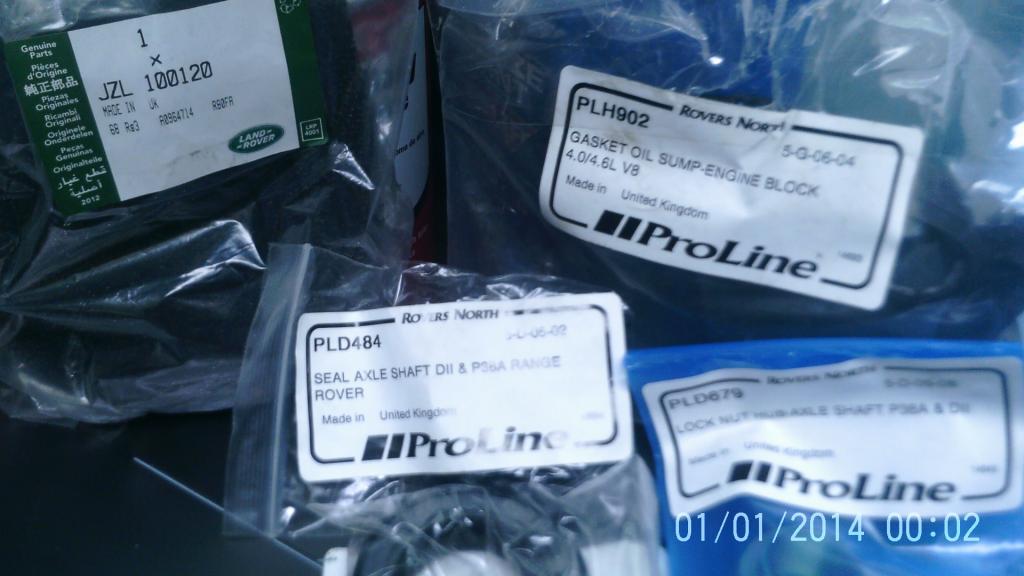

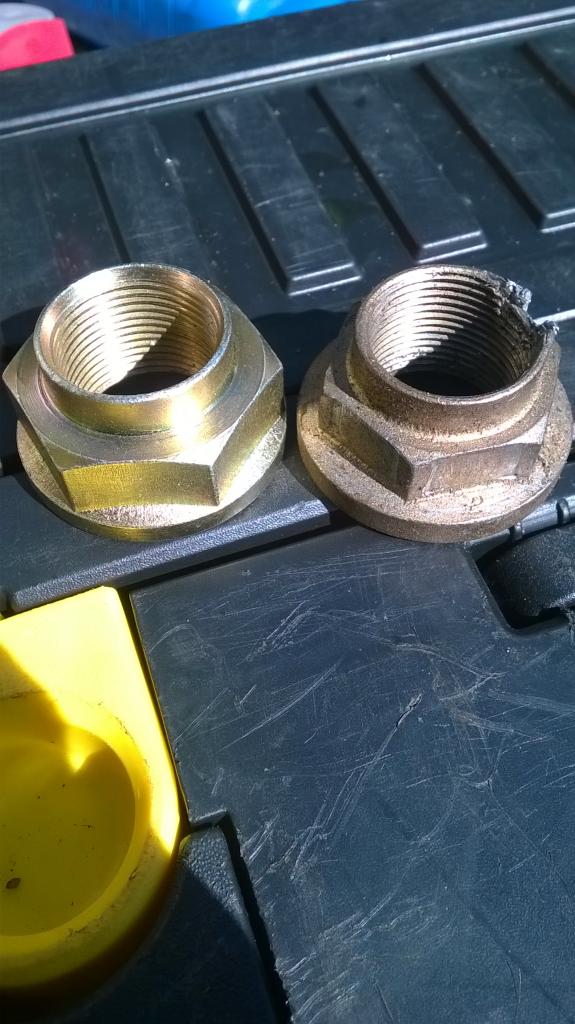
Ordered new axle shaft nuts from a vendor but unfortunately one of the ones they sent me was bigger than the nut that came off my truck, alas I had to re-use the old nut.
Funny how quickly I acquired a bundle of invoices....
The USS Albacore:
Then one day out of the blue the power steering pump started leaking and making the usual power steering squeals. Decided to to a overhaul. New pump, new ps reservoir and I replaced both rubber hoses. Crossed my fingers that the steering gearbox and the third metal hose was in good shape, after everything was said and done the leak stopped and the problem solved. Did the job on my own and it was a learning experience:
Couple months later my front passenger wheel hub began to show signs of wear and soon afterwards came the 3 amigos. Again I decided to do a overhaul. And another learning experience for this young aspiring LR mechanic:
Ordered new axle shaft nuts from a vendor but unfortunately one of the ones they sent me was bigger than the nut that came off my truck, alas I had to re-use the old nut.
Funny how quickly I acquired a bundle of invoices....
Last edited by TRIARII; 11-05-2014 at 12:18 AM.
The following users liked this post:
SadaJones (10-15-2022)
#10
11-05-2014, 12:26 AM
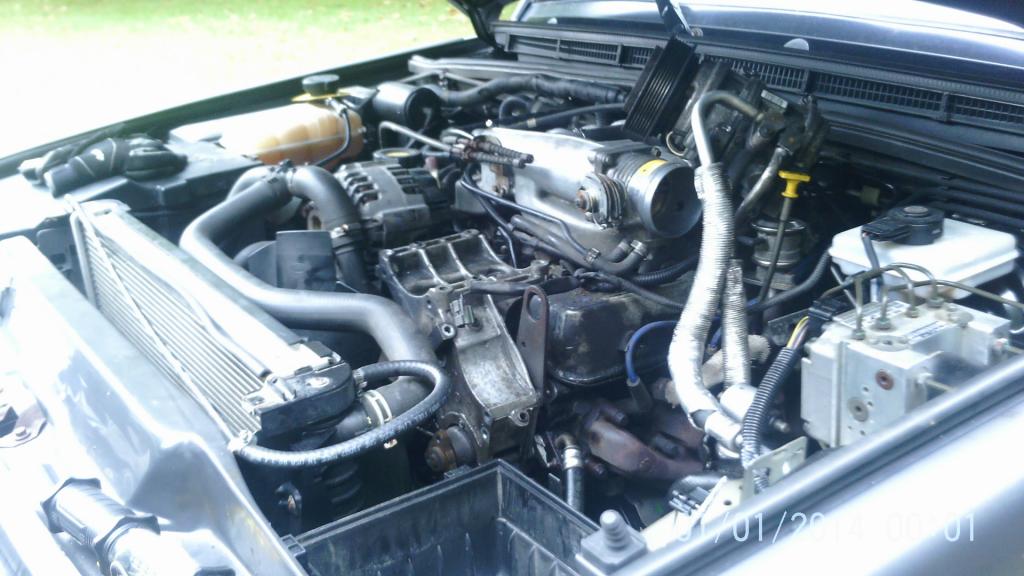
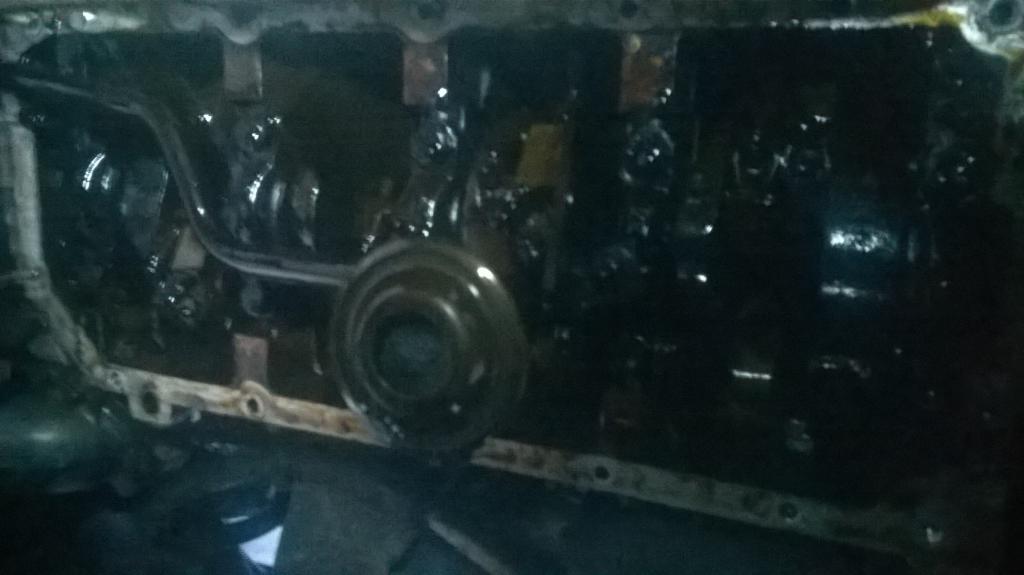
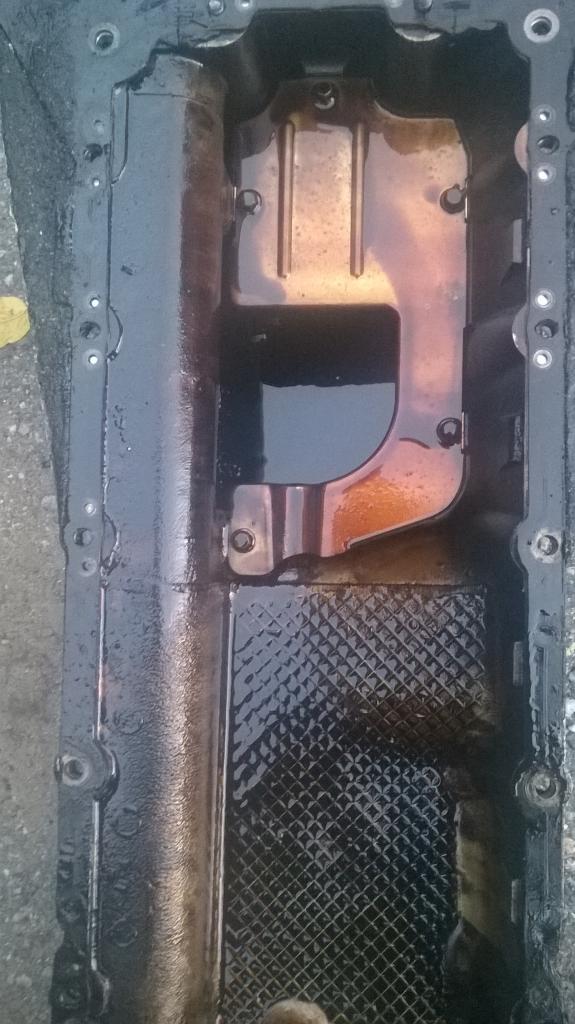
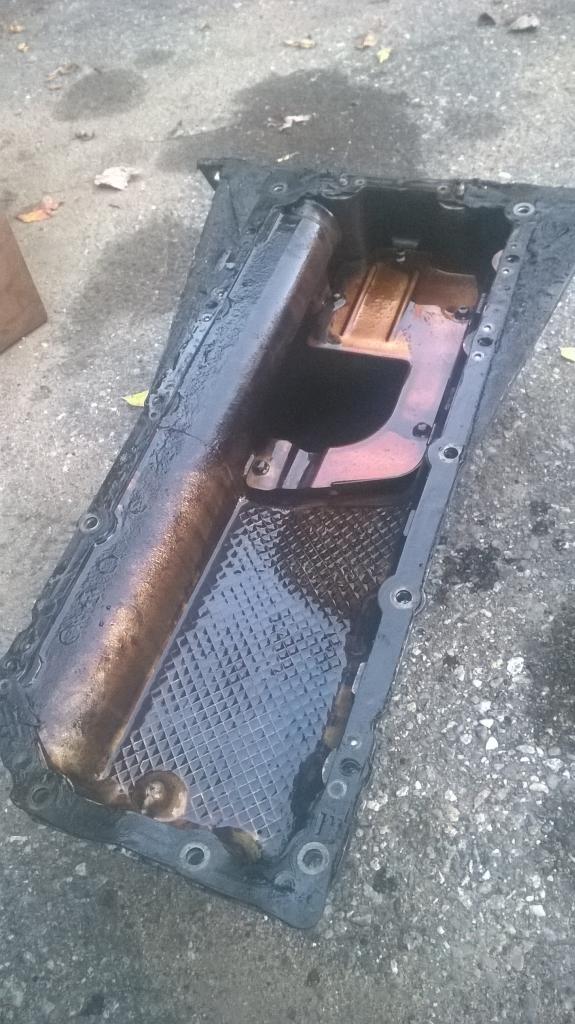
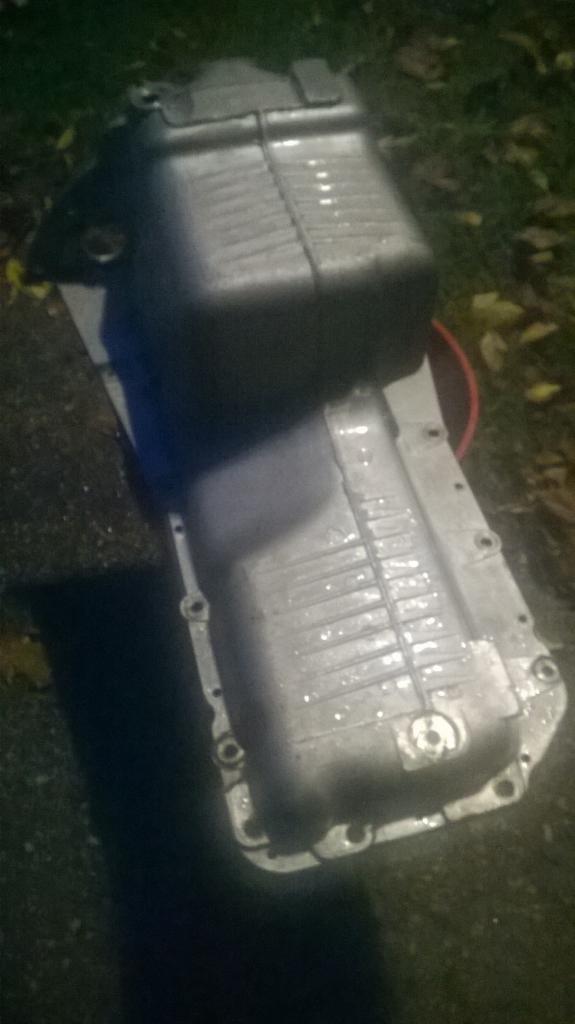
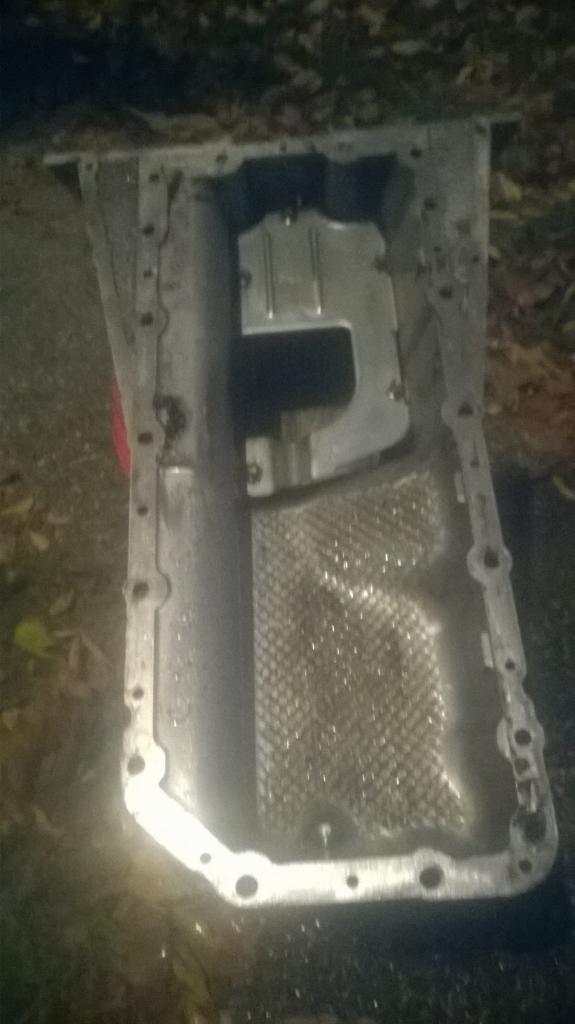
Moving right along now it was time to do an engine flush (mistake), oil change and install a new engine oil pan gasket. I was fortunate to learn (thanks to Drowssap) that you do NOT need to remove any cross members or front end suspension/steering components in order to remove the engine oil pan sump. All you have to do is jack up the frame of the track about half way back at the center location. Doing so will give you just enough wiggle room to rotate the pan and work it out and free so you can inspect and clean it and easily install RTV and the new gasket. Unfortunately I forgot to add some RTV before I put everything back together.... so far no major leaks but ive been eyeballing my engine oil every week now. Will drop pan and add the RTV when I feel motivated enough. Prior to performing the engine flush my engine was relatively quick as far as ticking is concerned, but ever since my ticking is back in full swing.... perhaps doing an engine flush is not the best idea?

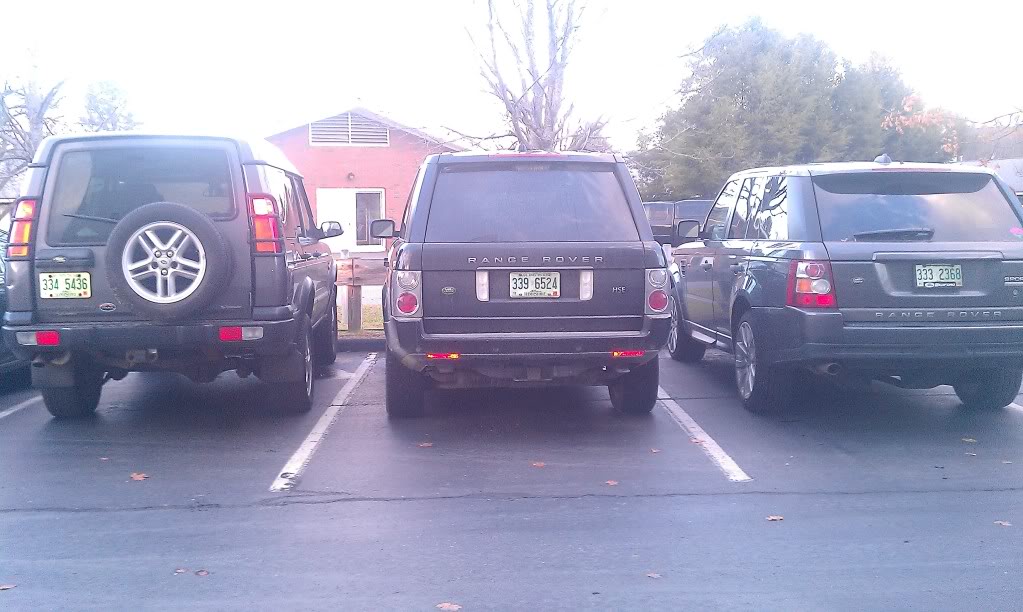
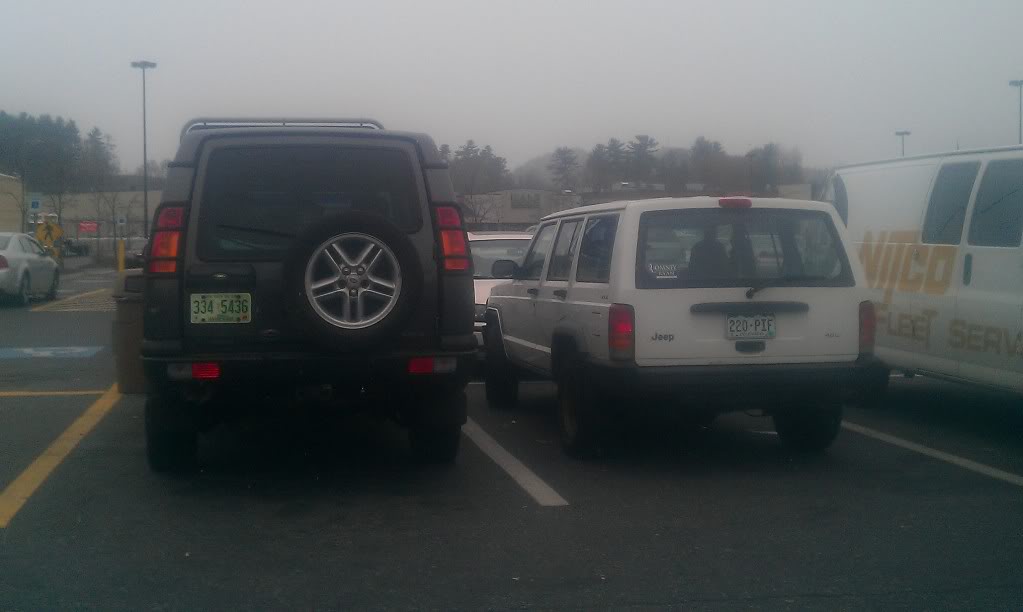
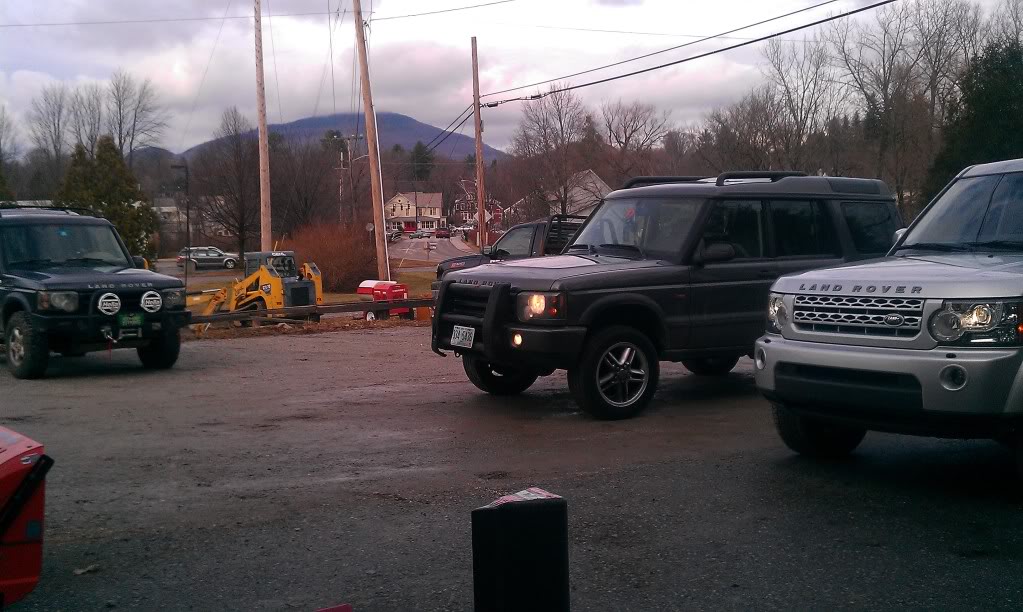
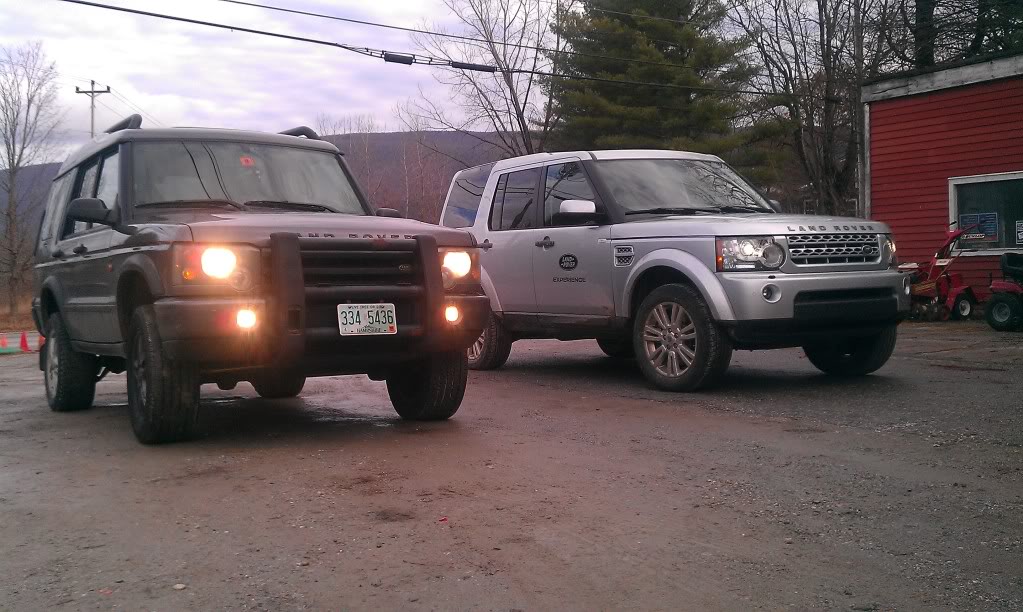
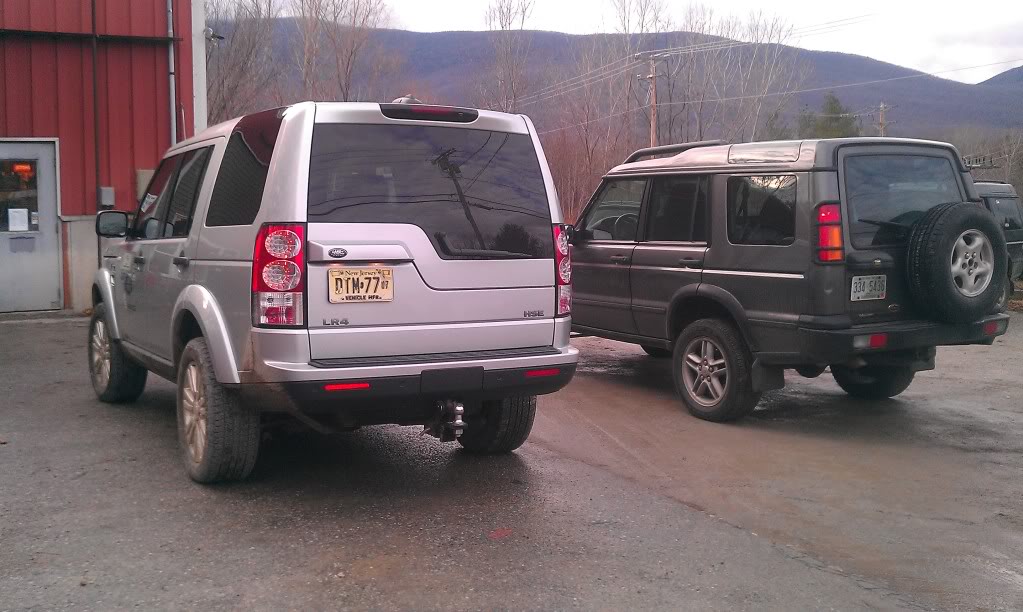
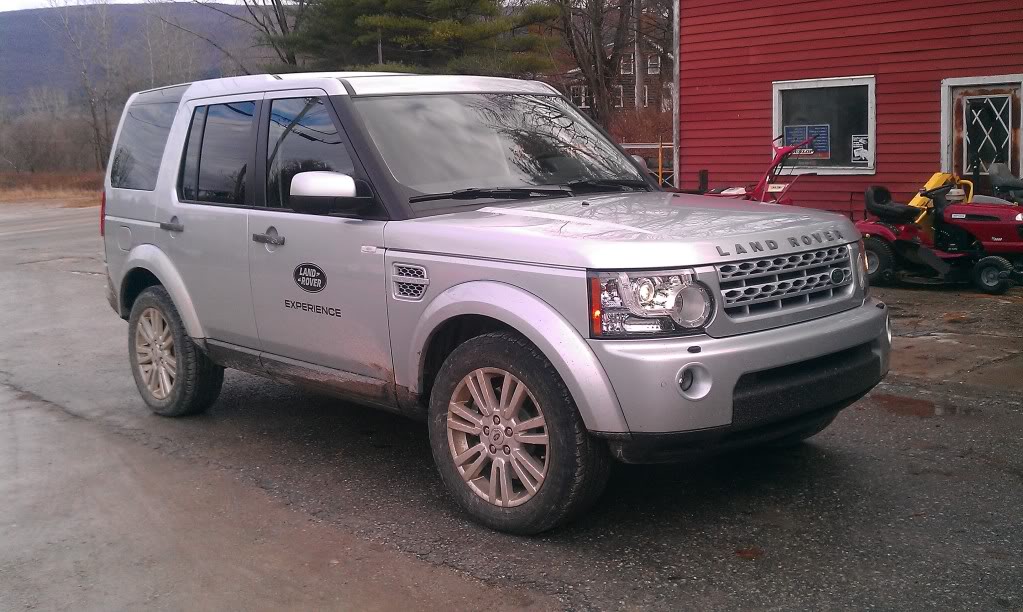
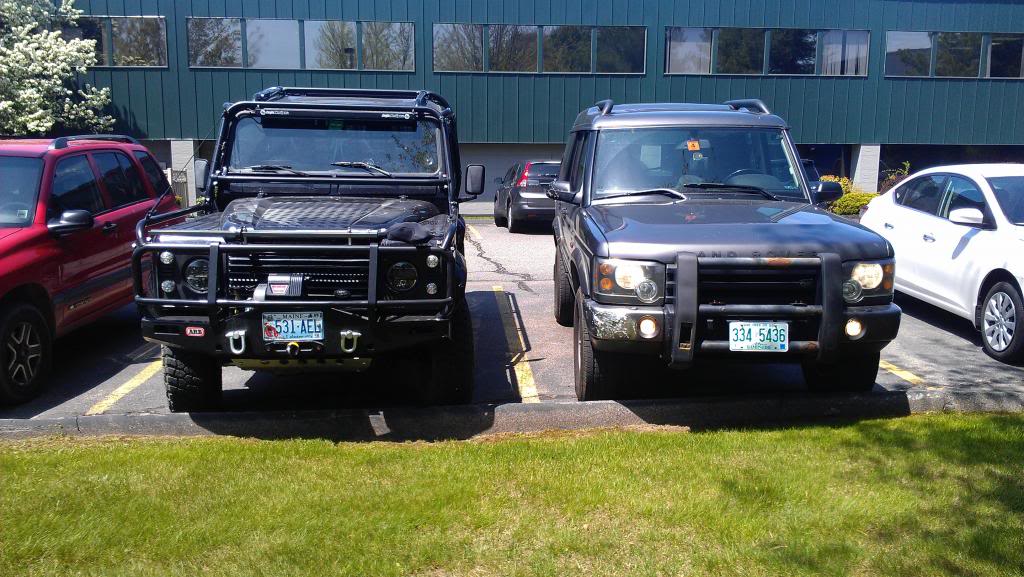
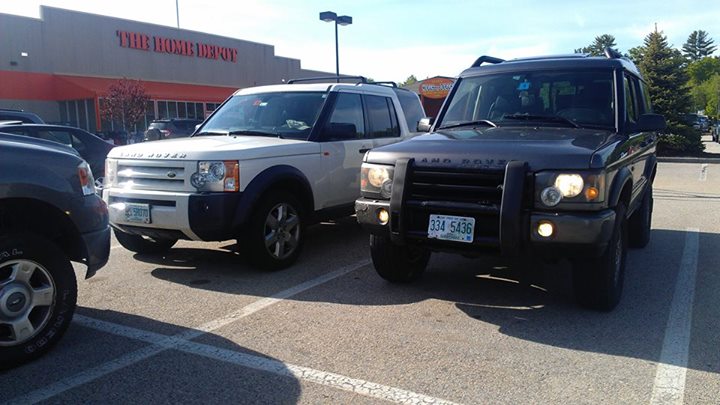
Unrelated I always wanted to get a size comparrison between my D2 and the Discovery 3/4 models. Grant I have a 2" lift but that aside the LR3 is not all that much bigger at least from a visual prospective:
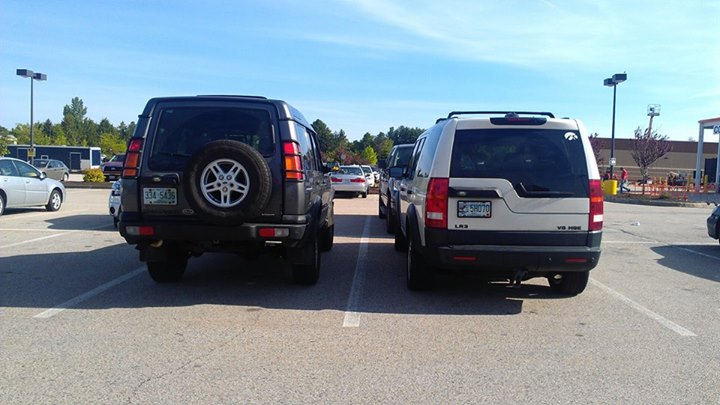
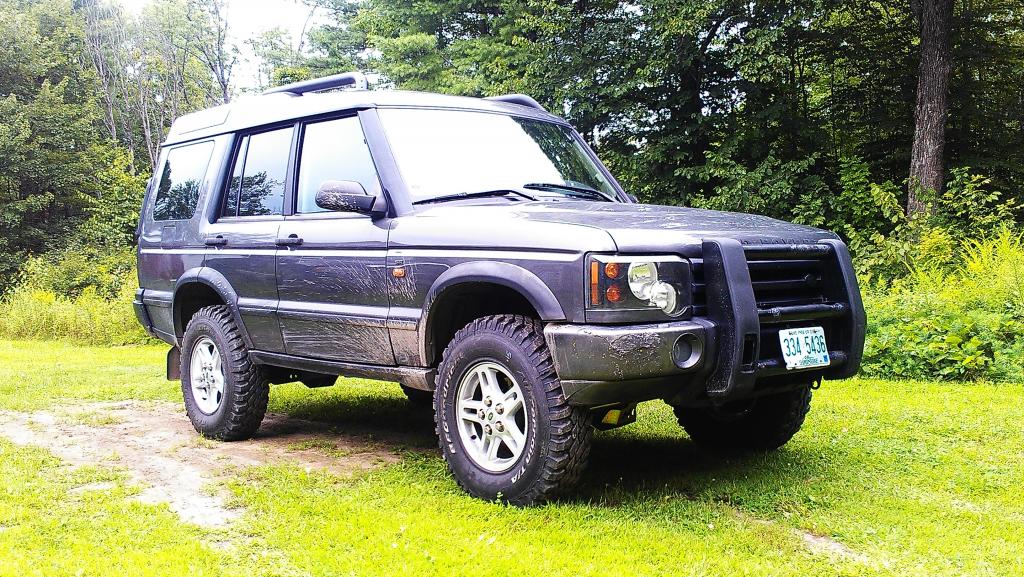
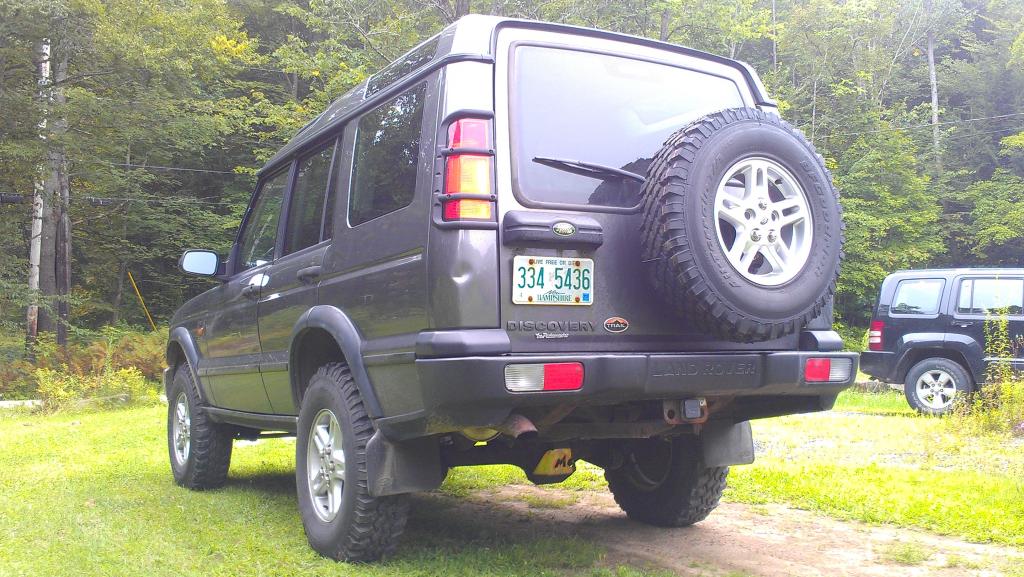
A visit to my parents house in Vermont. Perfect lighting out that day, could not resist some dirty pictures ^^
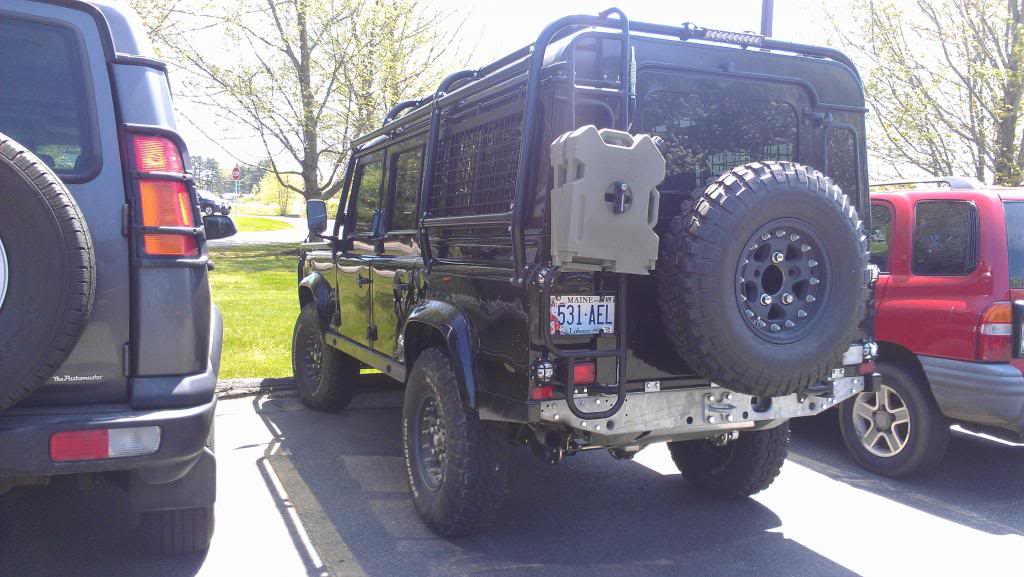
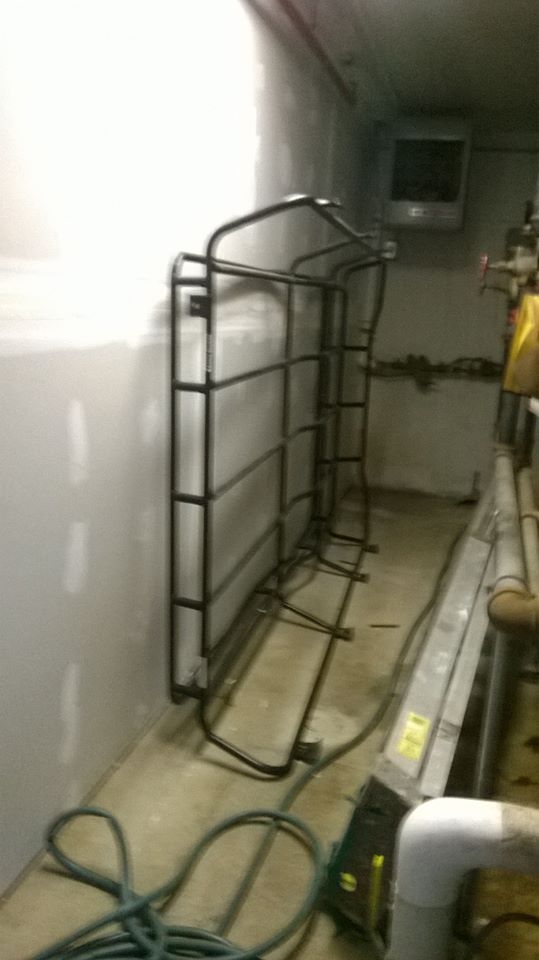
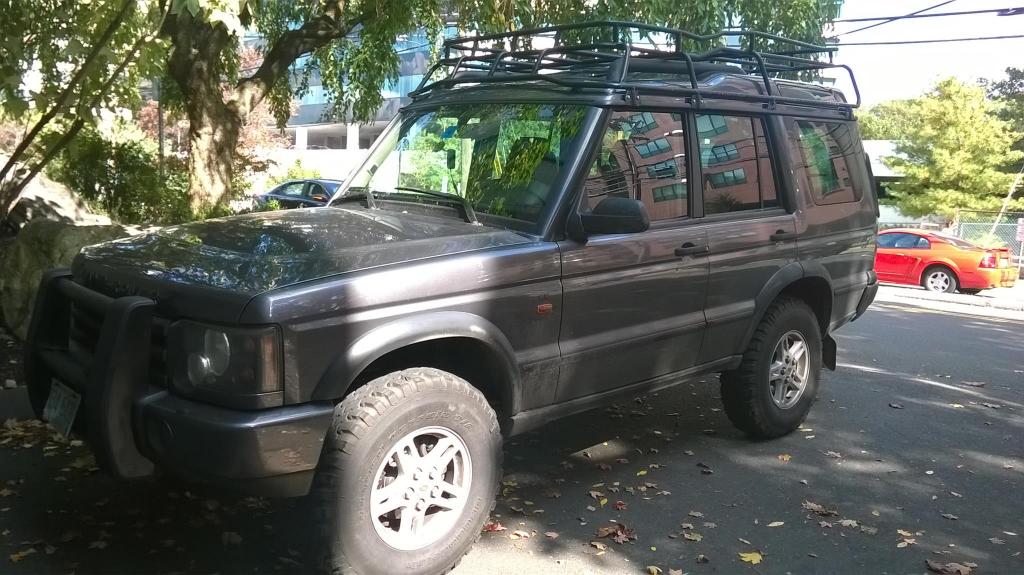
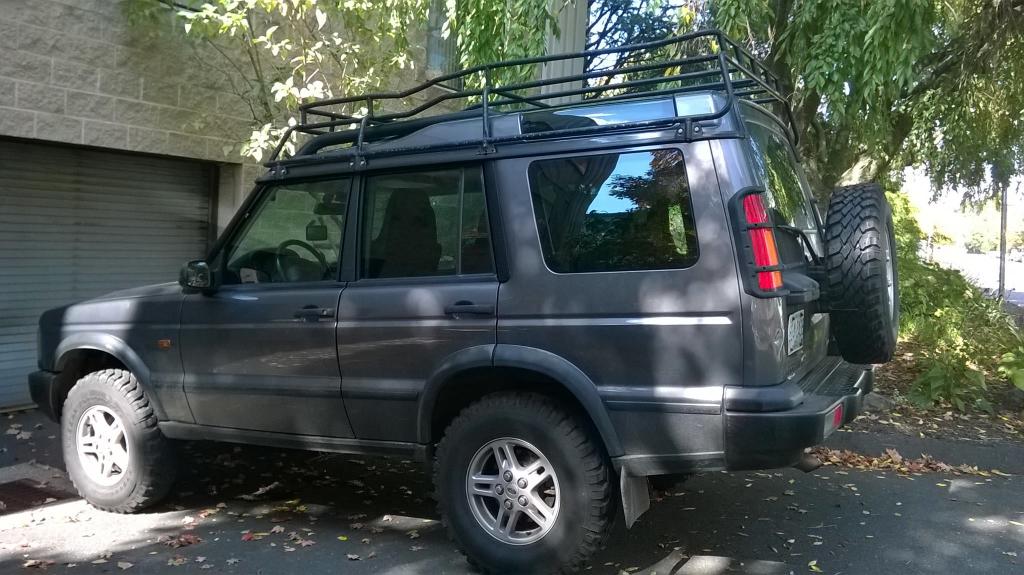
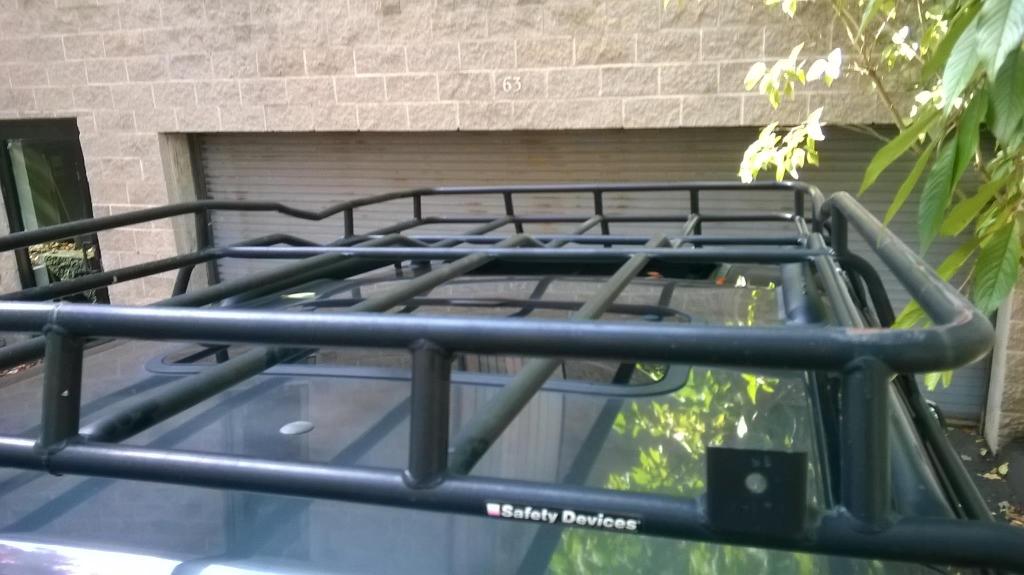
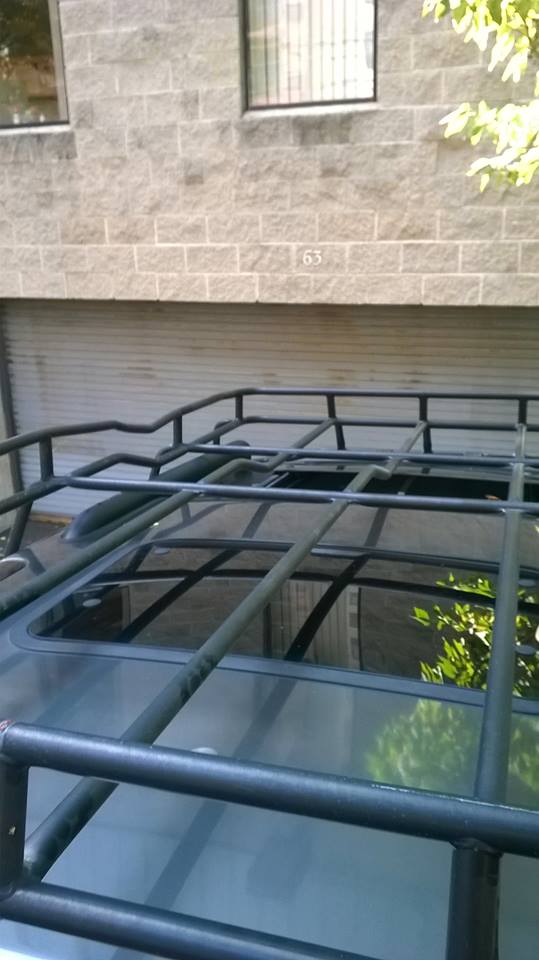
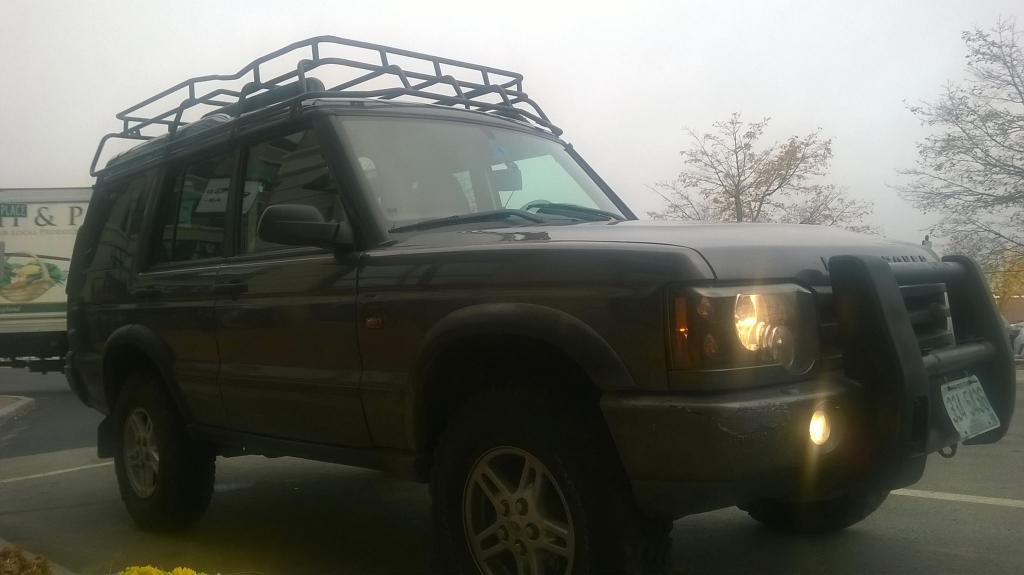
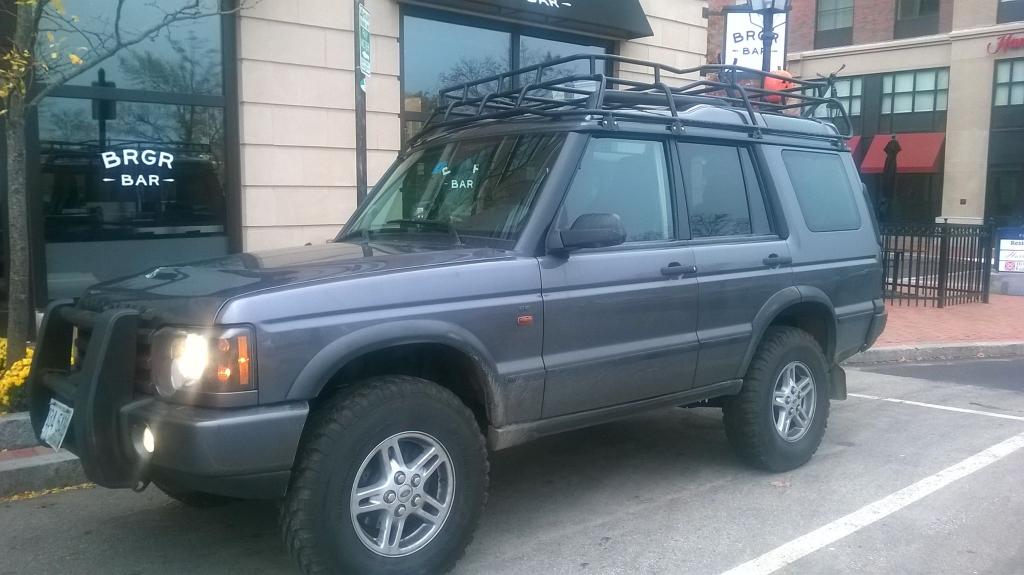
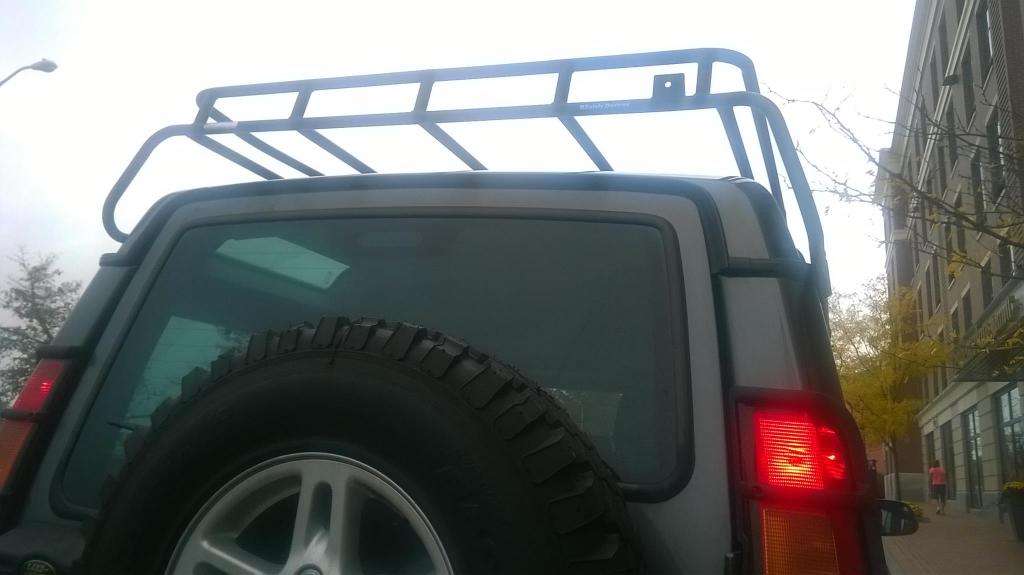
October 2014: SD roof rack!!!! Never thought I would see the day I got my hands on one of these. Always searching on craigslist for anything good and often times I search in other states. Believe my surprise the day I found this SD rack up for sale in Norwalk Connecticut. Seller was asking for $700 I think so I called him right up and asked if he would take $600 in light of a bend in the rack - we shook hands at $625 with labor included to install the rack! Drove nearly 3 hours one way but it was well worth it and I made the best of the trip. After I picked up the rack I met up with a fellow member in MA (4LRDux) and he cleared my 3 amigos that had been on since my front wheel hub **** the bed over a month prior. All in all a very good day indeed.
Unrelated I always wanted to get a size comparrison between my D2 and the Discovery 3/4 models. Grant I have a 2" lift but that aside the LR3 is not all that much bigger at least from a visual prospective:
A visit to my parents house in Vermont. Perfect lighting out that day, could not resist some dirty pictures ^^
October 2014: SD roof rack!!!! Never thought I would see the day I got my hands on one of these. Always searching on craigslist for anything good and often times I search in other states. Believe my surprise the day I found this SD rack up for sale in Norwalk Connecticut. Seller was asking for $700 I think so I called him right up and asked if he would take $600 in light of a bend in the rack - we shook hands at $625 with labor included to install the rack! Drove nearly 3 hours one way but it was well worth it and I made the best of the trip. After I picked up the rack I met up with a fellow member in MA (4LRDux) and he cleared my 3 amigos that had been on since my front wheel hub **** the bed over a month prior. All in all a very good day indeed.
Last edited by TRIARII; 11-05-2014 at 12:37 AM.