95 Disco I 3.9 to 300D Turbo Diesel Conversion
#21
 07-27-2013, 08:32 PM


Hi Charlie_V. Nice to have you in the conversation One of the challenges is the vacuum pump. I have two ports atop of my pump and one line is broke and there is no visible indication as to where it goes. I also turn the key off and have to push the STOP lever. I have no breaks and I get over boost slightly. The rocker or pivot point on the firewall is severely worn and needless to say, there is not reasonable reference from pedal position to actual throttle actuation. I have been waiting to fix my AC in the rover until the conversion is over. Leaky hose, Dryer and the evac/fill cost. Certainly not worth it as I have AC in rear. 8 ft of line and another evap coil. maybe about 5 lbs of oil and r34A ...? WE WILL SEE. Enjoy the ride. Glad to have you along.
#22
07-27-2013, 08:35 PM
I've gotten 30 to 32 in my Mercedes before, but I'd be surprise at more than high 20's in the rover.
#23
07-27-2013, 09:41 PM

Regarding the front, I still have my stock bumper (light) and the TF kit comes with MEDIUM springs only. I think the OM is fine on the medium springs but if you have a heavy bumper, or plan to add one, plus the weight of the OM diesel, then you might need to find longer HD springs elsewhere.
If memory serves, Jarek had a body lift too. But he had 37 inch tires and I wasn't clear whether the body lift made oil pan clearance possible or was just for the tires. I can take measurements with on mine if you like, but I imagine you won't know for sure until you dry fit the OM617. The lift does create clearance between the front axle, differential, etc. and the engine, but whether it is enough I don't know. It would really suck if you hit a big bump and took out your oil pan. With the 3" lift and a small amount of lift on my frame I can remove and replace my land rover oil pan from underneath, and I couldn't do that before the lift, so there is definitely more clearance under the engine.
Last edited by Charlie_V; 07-27-2013 at 10:02 PM.
#24
07-29-2013, 09:49 PM

Yesterday I fired up the Mercedes and just watched it. I have a vacuum leak in a line in the driver door so it let it run a bit then hit the big stop button on top of the valve cover. So simple. This thread motivated me.
I'm going to look closely at the OM617 videos online to see if I can spy an air conditioner compressor... I never noticed before. That would be a necessity where I live. The MB compressor is designed for R12 (mine is converted to R134) and I promise it will not do the job of cooling an SUV. AC is a necessity where I live (Texas). I will report back.
I'm going to look closely at the OM617 videos online to see if I can spy an air conditioner compressor... I never noticed before. That would be a necessity where I live. The MB compressor is designed for R12 (mine is converted to R134) and I promise it will not do the job of cooling an SUV. AC is a necessity where I live (Texas). I will report back.
 the AC compressor is in the spot where definately will interfere with the stearing box. so.... raised mounts, no, change mounting position of stearing box and build extended connecting / pittman arm linkage from box to stearing stuff?... maybe? or do I tilt my OM617 and get modifued oil pan? that would certainly change mount orientation. so you guys want hurdles? there you have the first few. anyone overcome this that you are aware of? LET ME KNOW
#25
07-29-2013, 09:55 PM
CAM00235_zps8f5d2803.mp4 Video by Raeuspius | Photobucket
is vid of my donor running, me narration and me getting interrupted... The arrhythmic clack you hear is combination of my fan clutch and my A/C compressor ... Engine is perfect with exception of vacuum issue that requires me to push red STOP lever to shut off. Cheers and Thank you for your patience.
is vid of my donor running, me narration and me getting interrupted...
The arrhythmic clack you hear is combination of my fan clutch and my A/C compressor ... Engine is perfect with exception of vacuum issue that requires me to push red STOP lever to shut off. Cheers and Thank you for your patience.
Last edited by raeuspius; 07-30-2013 at 09:34 PM. Reason: video chopped
#26
07-30-2013, 10:24 AM
I have same vacuum issue where I have to push stop button. check out http://i1328.photobucket.com/albums/...psf6652f7e.jpg and browse till you see a cylinder with one black hose to left and one aluminum to right and tell me where your black hose goes to if you have dual head vac pump. BWT the AC compressor is in the spot where definately will interfere with the stearing box. so.... raised mounts, no, change mounting position of stearing box and build extended connecting / pittman arm linkage from box to stearing stuff?... maybe? or do I tilt my OM617 and get modifued oil pan? that would certainly change mount orientation. so you guys want hurdles? there you have the first few. anyone overcome this that you are aware of? LET ME KNOW
the AC compressor is in the spot where definately will interfere with the stearing box. so.... raised mounts, no, change mounting position of stearing box and build extended connecting / pittman arm linkage from box to stearing stuff?... maybe? or do I tilt my OM617 and get modifued oil pan? that would certainly change mount orientation. so you guys want hurdles? there you have the first few. anyone overcome this that you are aware of? LET ME KNOW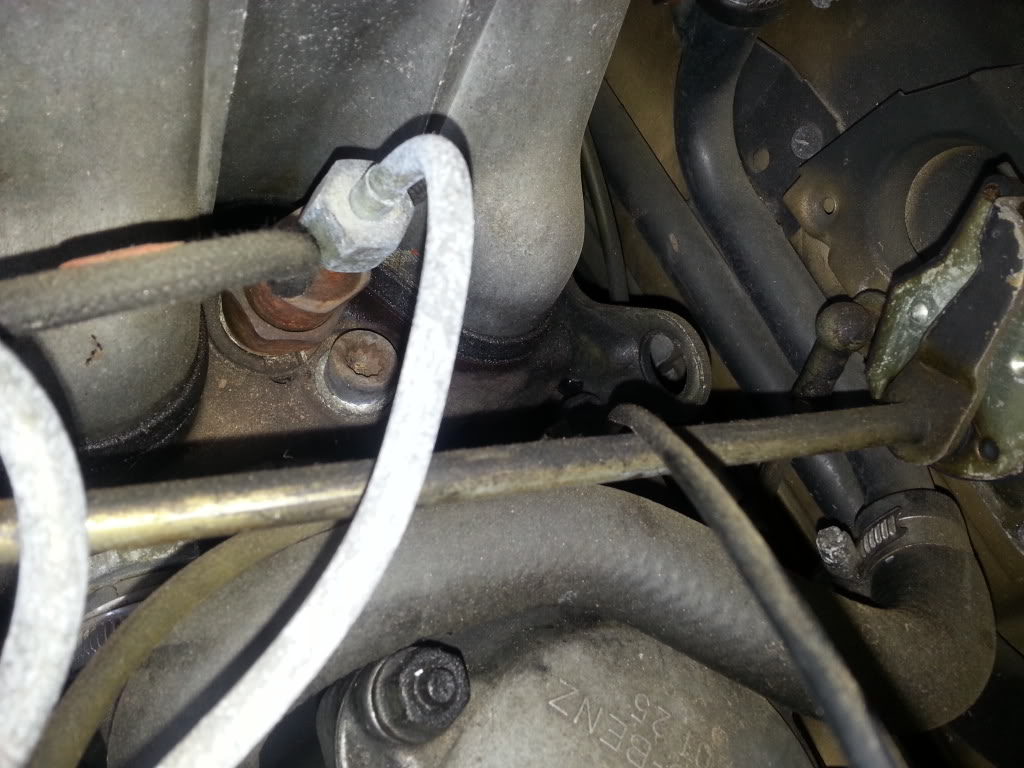
I thought I heard Jarek say (on his video) that there was plenty of room for the oil pan with his setup.
EDIT: Re-reviewing your pictures we have slightly different setups. I have a ONE HEAD vacuum pump. Sorry.
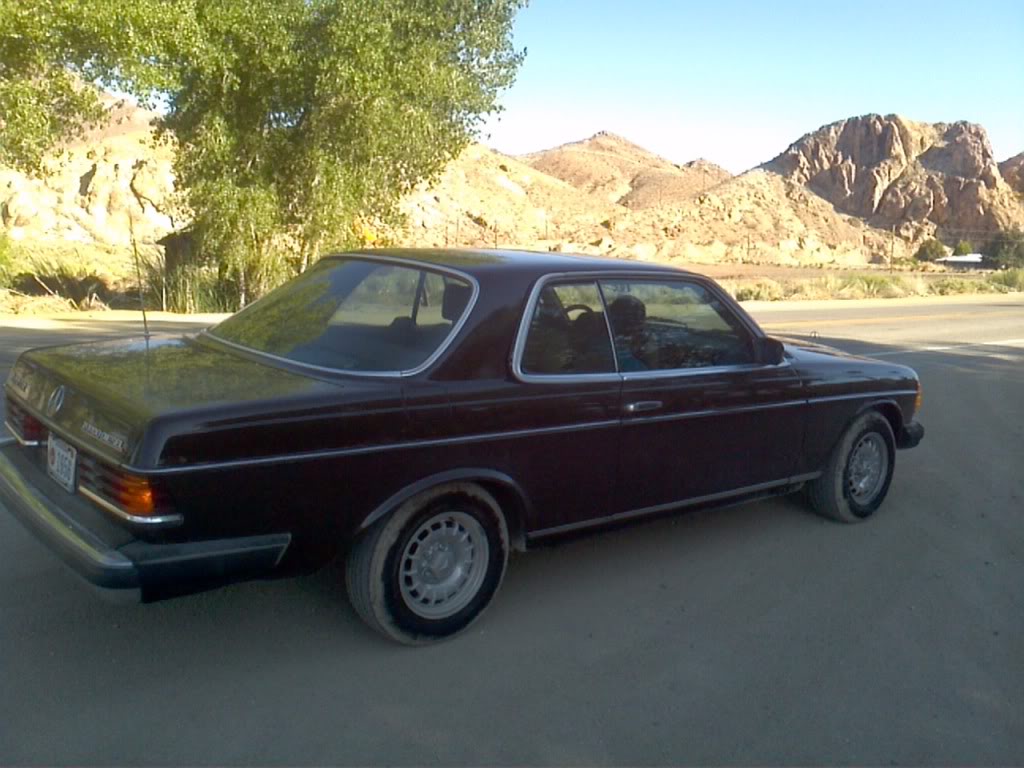
DONOR:
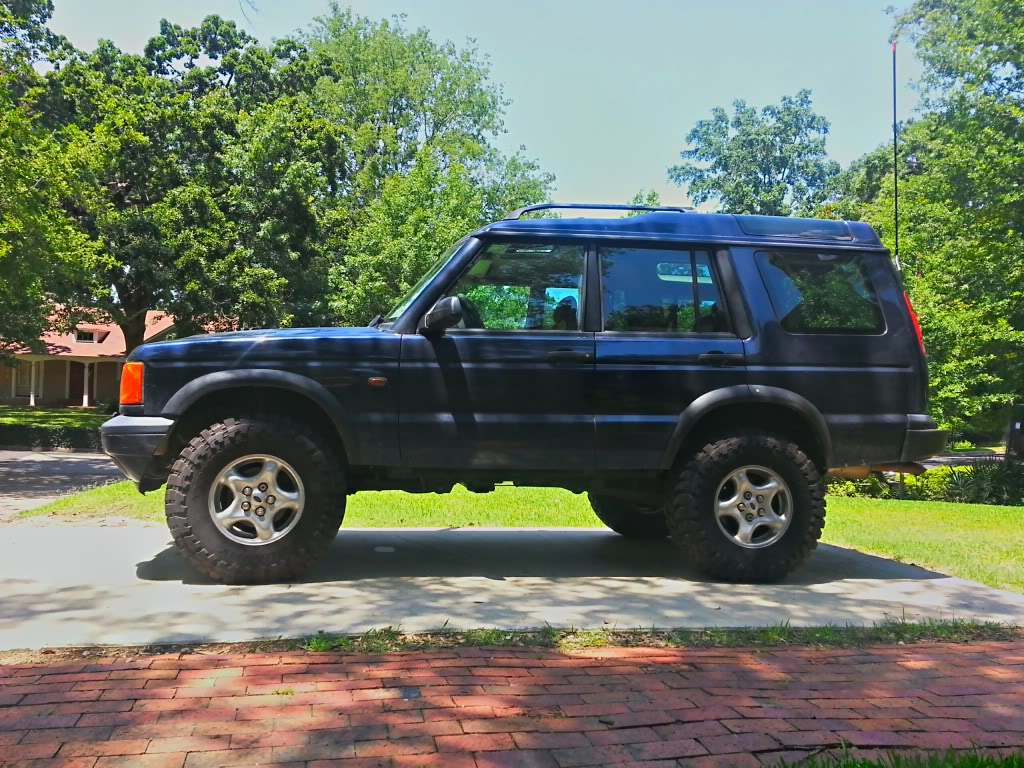
HOST (If I can ever figure it out):
Last edited by Charlie_V; 07-30-2013 at 10:33 AM.
#27
07-30-2013, 09:32 PM
Charlie_V
The black line running from the camera is a coolant pipe for the heater core, the canister in front of that is your oil filter and outlet to turbo lubrication. The vac pump is located on passenger right face of block between steering pump and AC compressor. I talked to a MB mechanic and I he thinks that someone fitted a early vacuum pump as a temp or hack fix. I saw a pic of a two port pump which left side (white) ran to atop of the cam cover where other models have emissions recirculation or re-breather from the cam cover to the intake housing. Then finally, the right side of which you see single an black main to the break vacuum assist drum and between are for fuel shut off, central locking and banjo bolt at turbo rear. Mine must be rigged. I will post pics in the morning, side by side of the car in question and another 83 300D I picked up today. you can decide. Not to make this about MB of course but one of the hickups I have come across.
The black line running from the camera is a coolant pipe for the heater core, the canister in front of that is your oil filter and outlet to turbo lubrication. The vac pump is located on passenger right face of block between steering pump and AC compressor. I talked to a MB mechanic and I he thinks that someone fitted a early vacuum pump as a temp or hack fix. I saw a pic of a two port pump which left side (white) ran to atop of the cam cover where other models have emissions recirculation or re-breather from the cam cover to the intake housing. Then finally, the right side of which you see single an black main to the break vacuum assist drum and between are for fuel shut off, central locking and banjo bolt at turbo rear. Mine must be rigged. I will post pics in the morning, side by side of the car in question and another 83 300D I picked up today. you can decide. Not to make this about MB of course but one of the hickups I have come across.
#28
07-30-2013, 10:14 PM
Charlie_V
If you watch jaraslow (jerek)
made in o9 you hear him say :30 he states he is in 36 " of snow with 5" of lift. whether it is springs or springs and body to frame lift combination. still the AC compressor he mentions at frame 10:43 of
moving between the thermostat housing and power steering pump ... starting 14:58 in same vid I get jacked every time it starts up...
If you watch jaraslow (jerek)
#29
07-30-2013, 10:23 PM
I am on youtube
and for r380 i quote from Daniel Marcello
"Aldo Lara 1 year ago
you need a 1 inch adaptor plate betwen the al plate of the flywheel and the tranny, this will give you just enough space for the actual oil pump inside the oil pan to clear the axle when you cut the oilpan from the back,another cut from the side to clear the ball of the axle,then i added 2 inches of spacers in the front coils to compensate for the weight of the engine and to improve the clearance of the oilpan,not a easy swap but is worth it, if any other questions just ask no problem "
"
This is consistent with Jerek's email to me regarding the adapter plate specifically.
Main point to clear the axle.
"Aldo Lara 1 year ago
you need a 1 inch adaptor plate betwen the al plate of the flywheel and the tranny, this will give you just enough space for the actual oil pump inside the oil pan to clear the axle when you cut the oilpan from the back,another cut from the side to clear the ball of the axle,then i added 2 inches of spacers in the front coils to compensate for the weight of the engine and to improve the clearance of the oilpan,not a easy swap but is worth it, if any other questions just ask no problem
" This is consistent with Jerek's email to me regarding the adapter plate specifically.
Main point to clear the axle.
Last edited by raeuspius; 07-31-2013 at 08:27 AM. Reason: formatting txt
#30
07-31-2013, 09:18 AM