Build Threads Create a build thread to compile pictures and descriptions of your LR build.

my 98 disco1

Thread Tools
 
Search this Thread
 
  #291  
Old 08-17-2014, 07:43 PM
TOM R's Avatar
Super Moderator
Thread Starter
Join Date: Mar 2009
Location: south n.j. and ne va.
Posts: 5,735
Received 226 Likes on 196 Posts
Default

Started to Fab my dog/ cargo barrier from some steel laying around the yard

Name:  IMG_20140817_175349_zpsqvf3xxev.jpg
Views: 299
Size:  84.0 KB

Name:  IMG_20140817_194801_zpsua9zur9w.jpg
Views: 330
Size:  98.7 KB

Name:  IMG_20140817_194819_zpskemses9o.jpg
Views: 313
Size:  70.0 KB
 
  #292  
Old 08-17-2014, 07:46 PM
TOM R's Avatar
Super Moderator
Thread Starter
Join Date: Mar 2009
Location: south n.j. and ne va.
Posts: 5,735
Received 226 Likes on 196 Posts
Default

Just need to Fab to brackets to the seat belts and paint it, for now gonna zip tie the current cheap barrier in side

Also fyi rover interior panels are extremely flammable just from hot metal touching it
 

Last edited by TOM R; 08-17-2014 at 08:39 PM.
  #293  
Old 08-18-2014, 06:45 PM
TOM R's Avatar
Super Moderator
Thread Starter
Join Date: Mar 2009
Location: south n.j. and ne va.
Posts: 5,735
Received 226 Likes on 196 Posts
Default

All done for now very secure, we fabbed 2 brackets to go under the seat belt bolts up top to hold the rack securely in place, I may change the tubes to mesh later or even add an upper shelf, total time was less then 8 hours cost was just me and dads time and some black krylon

Name:  IMG_20140818_160754_zps8qijyd4x.jpg
Views: 299
Size:  100.0 KB

Name:  IMG_20140818_160744_zpsqeivk7ma.jpg
Views: 309
Size:  104.5 KB
 
  #294  
Old 08-18-2014, 08:25 PM
TOM R's Avatar
Super Moderator
Thread Starter
Join Date: Mar 2009
Location: south n.j. and ne va.
Posts: 5,735
Received 226 Likes on 196 Posts
Default

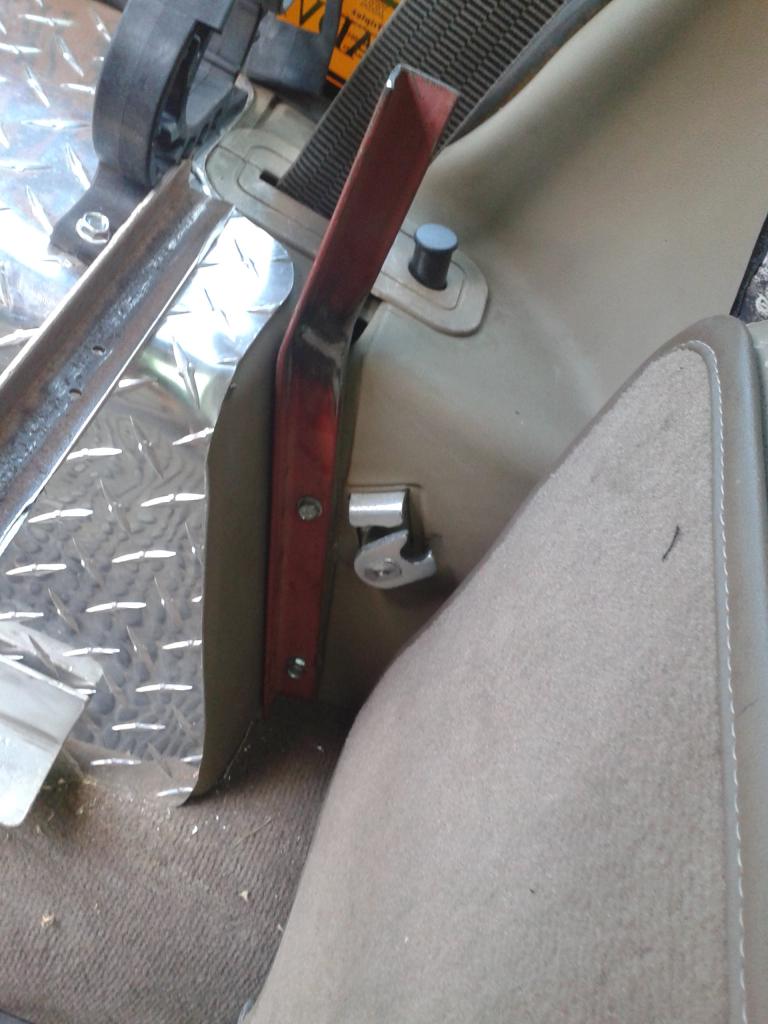
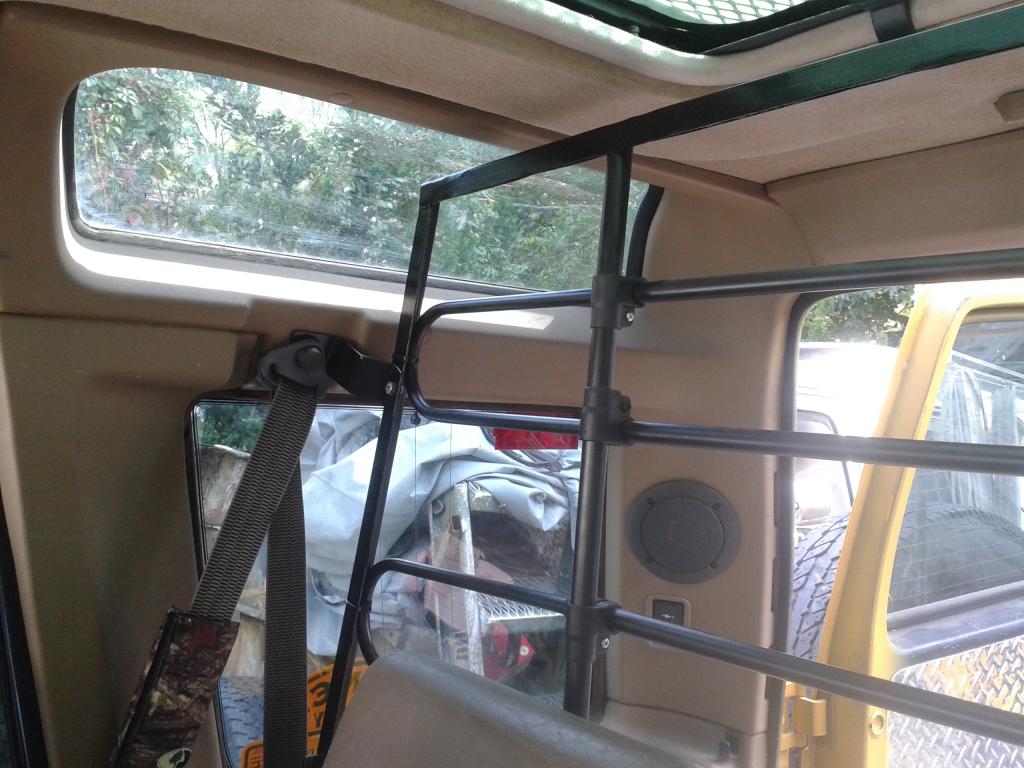
For some reason my ladder was not installed with bolts, had big stainless screws, bought a hf rivet nut tool, drilled the holes bigger and popped them in tool worked perfect and best part all the inserts are sae not metric

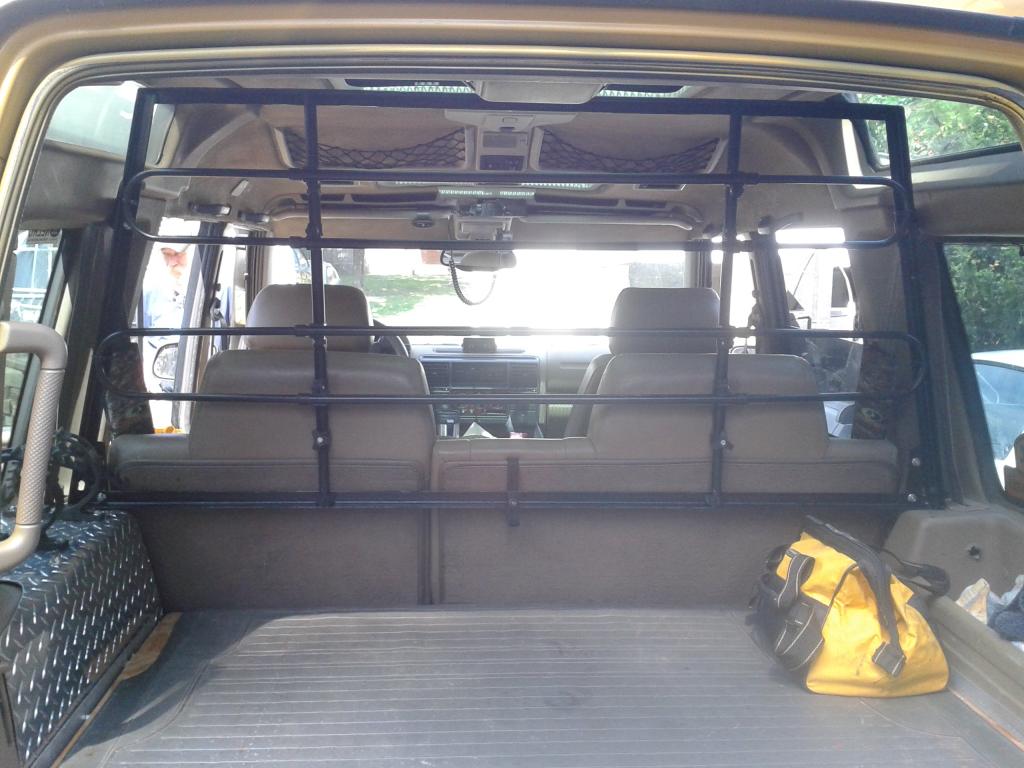
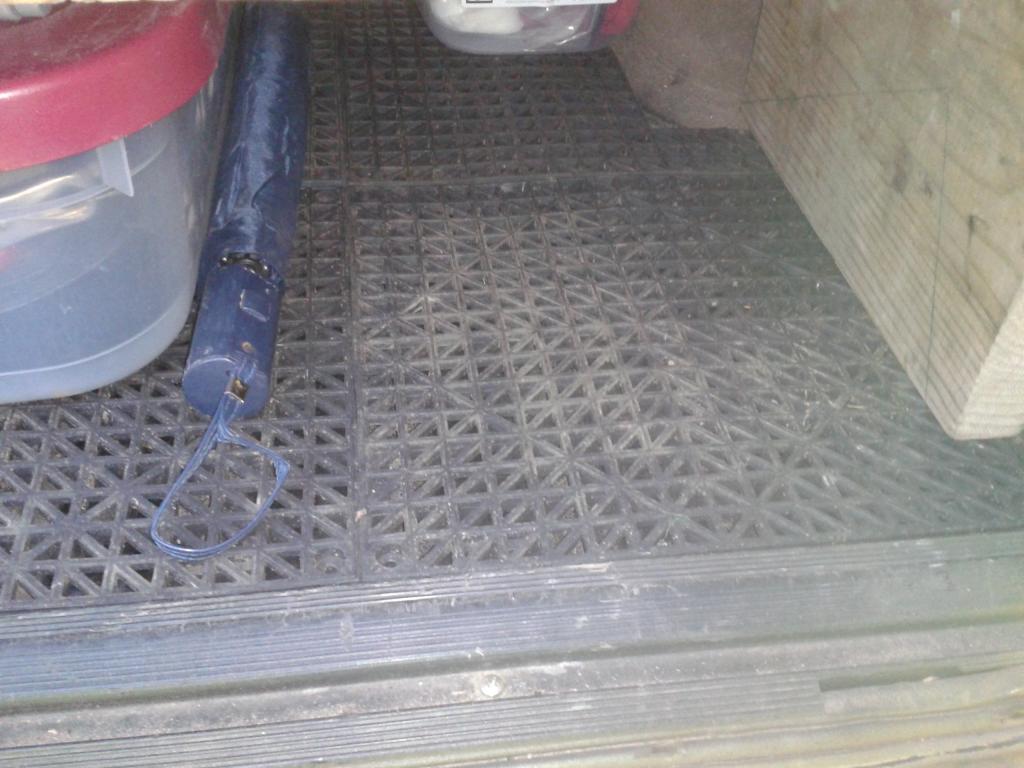
I also got rid of the heavy factory cargo rubber mat and installed these interlocking rubber squares we used in fire trucks

Name:  IMG_20140818_194812_zpsbbgy5jmf.jpg
Views: 296
Size:  92.8 KB
 

Last edited by TOM R; 08-18-2014 at 09:46 PM.
  #295  
Old 08-18-2014, 10:13 PM
Shiftonthefly1's Avatar
Pro Wrench
Join Date: Mar 2012
Location: Las Vegas
Posts: 1,900
Received 142 Likes on 113 Posts
Default

I love this thread. So cool.
 
  #296  
Old 08-19-2014, 12:34 PM
97GreenMeanie's Avatar
Three Wheeling
Join Date: Mar 2014
Posts: 98
Received 1 Like on 1 Post
Default

nicely done Tom!
 
  #297  
Old 08-19-2014, 03:56 PM
TOM R's Avatar
Super Moderator
Thread Starter
Join Date: Mar 2009
Location: south n.j. and ne va.
Posts: 5,735
Received 226 Likes on 196 Posts
Default

Thanks, I will have a d1 factory cargo mat for sale now
 
  #298  
Old 09-01-2014, 01:53 PM
TOM R's Avatar
Super Moderator
Thread Starter
Join Date: Mar 2009
Location: south n.j. and ne va.
Posts: 5,735
Received 226 Likes on 196 Posts
Default

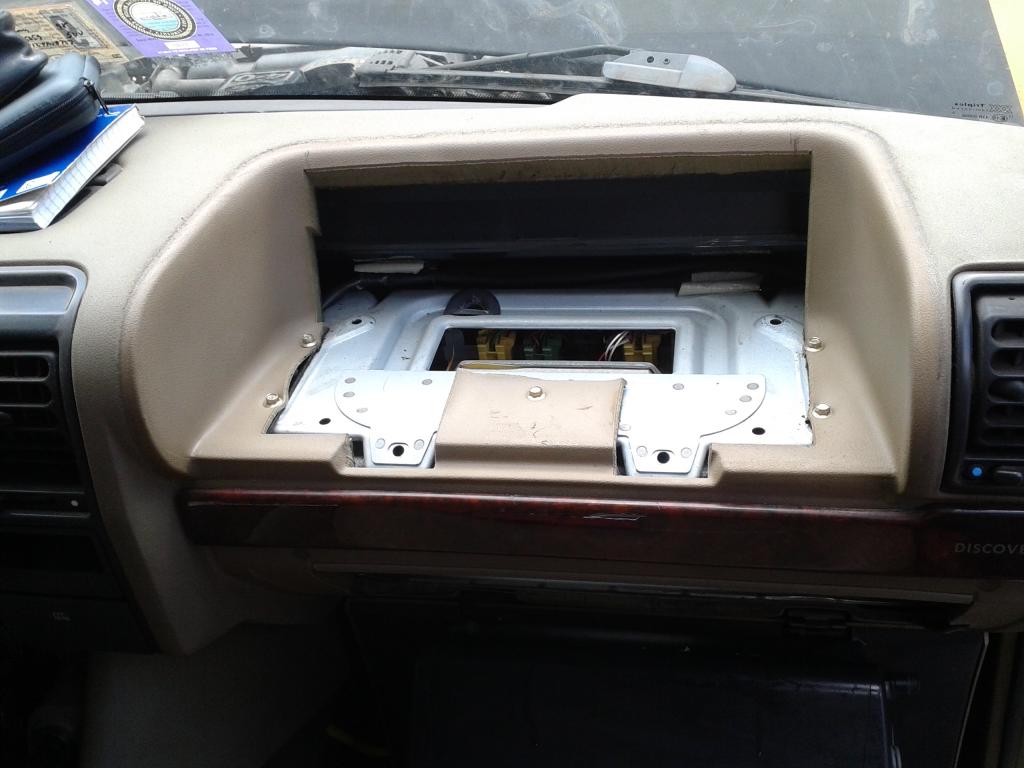
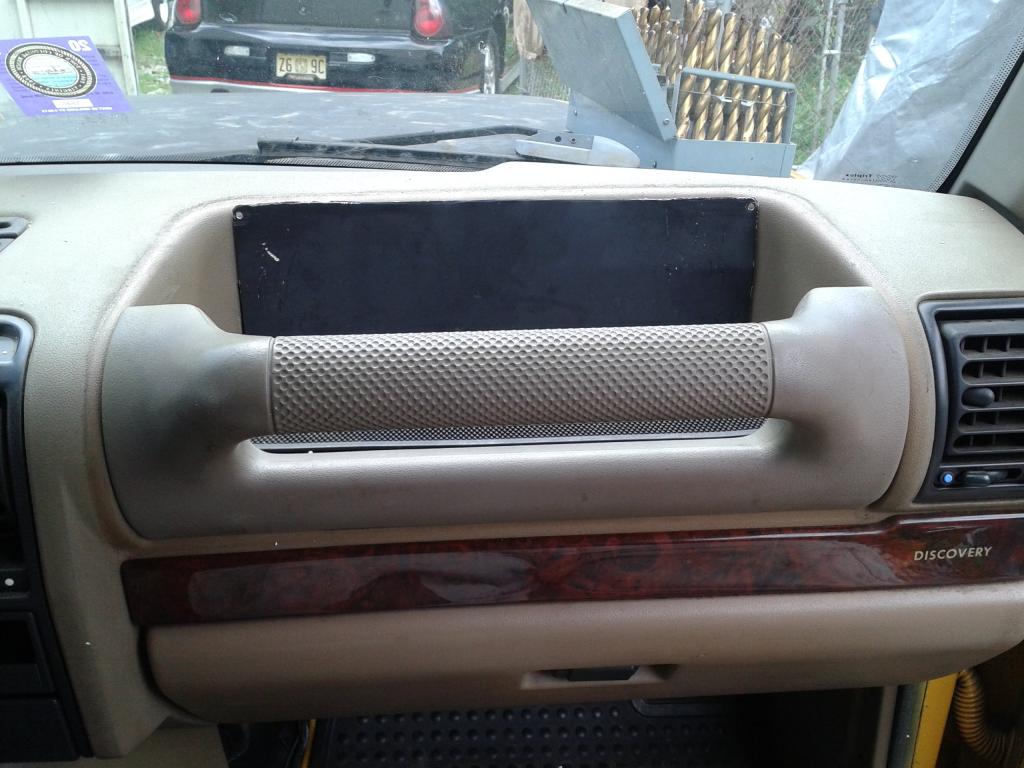
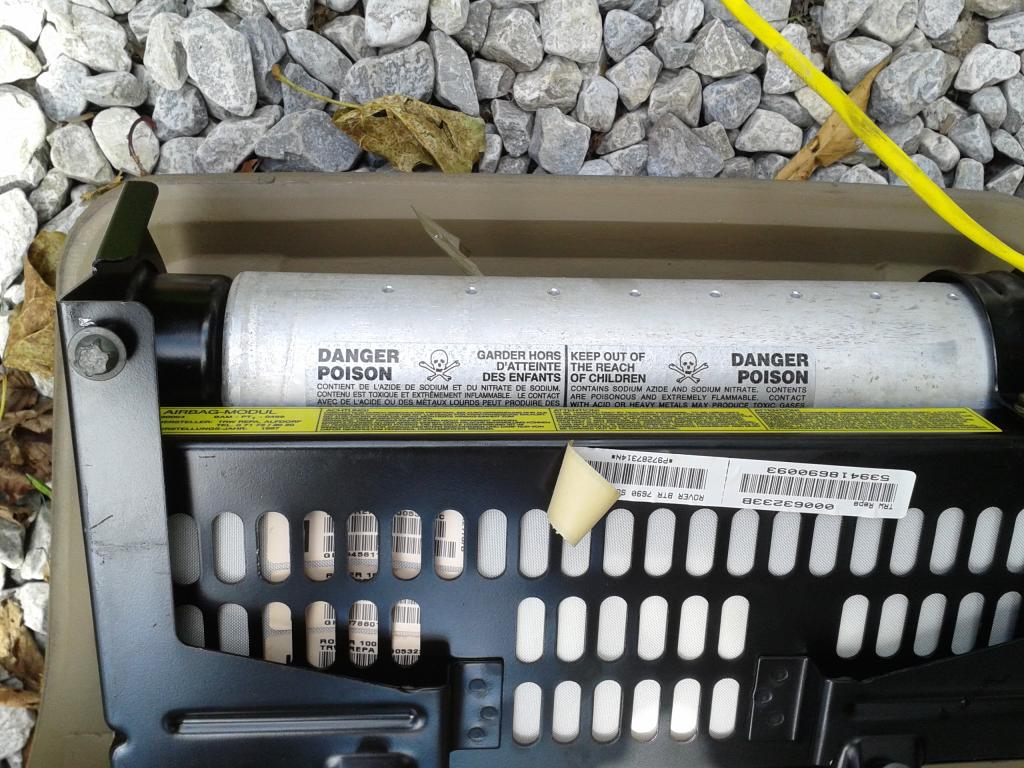
got the dash grab handle airbag delete installed, will probly modify tray that was included for nicer fit but the bag is gone
Name:  IMG_20140901_141307_zpsilax8wer.jpg
Views: 305
Size:  74.3 KB

Came with a dash mat like the center mat

Name:  IMG_20140901_144506_zpsxq3yc0ii.jpg
Views: 306
Size:  114.3 KB

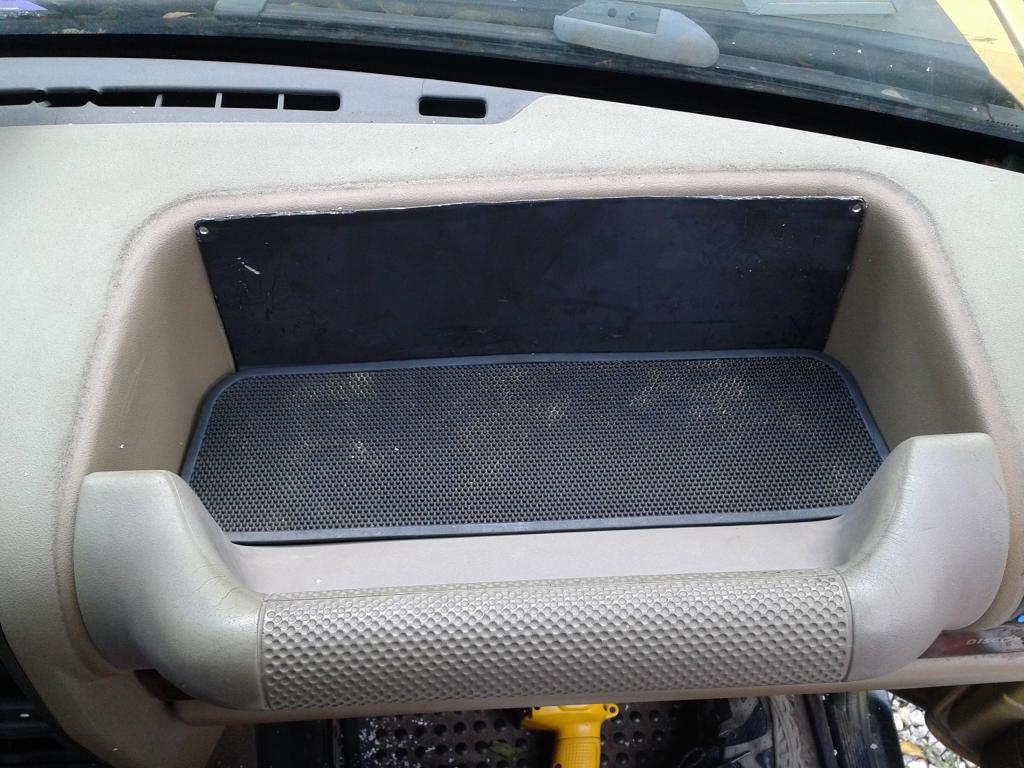
Color looks off but it matches the gabs on the doors

Name:  IMG_20140901_144500_zpsnjydtbea.jpg
Views: 289
Size:  96.4 KB

love how the bag says danger poisonous gas on the back of it

Name:  IMG_20140901_141406_zpsptbo7ooy.jpg
Views: 305
Size:  139.6 KB
 

Last edited by TOM R; 09-01-2014 at 02:13 PM.
  #299  
Old 09-01-2014, 05:13 PM
TOM R's Avatar
Super Moderator
Thread Starter
Join Date: Mar 2009
Location: south n.j. and ne va.
Posts: 5,735
Received 226 Likes on 196 Posts
  #300  
Old 09-02-2014, 12:39 PM
TOM R's Avatar
Super Moderator
Thread Starter
Join Date: Mar 2009
Location: south n.j. and ne va.
Posts: 5,735
Received 226 Likes on 196 Posts
Default

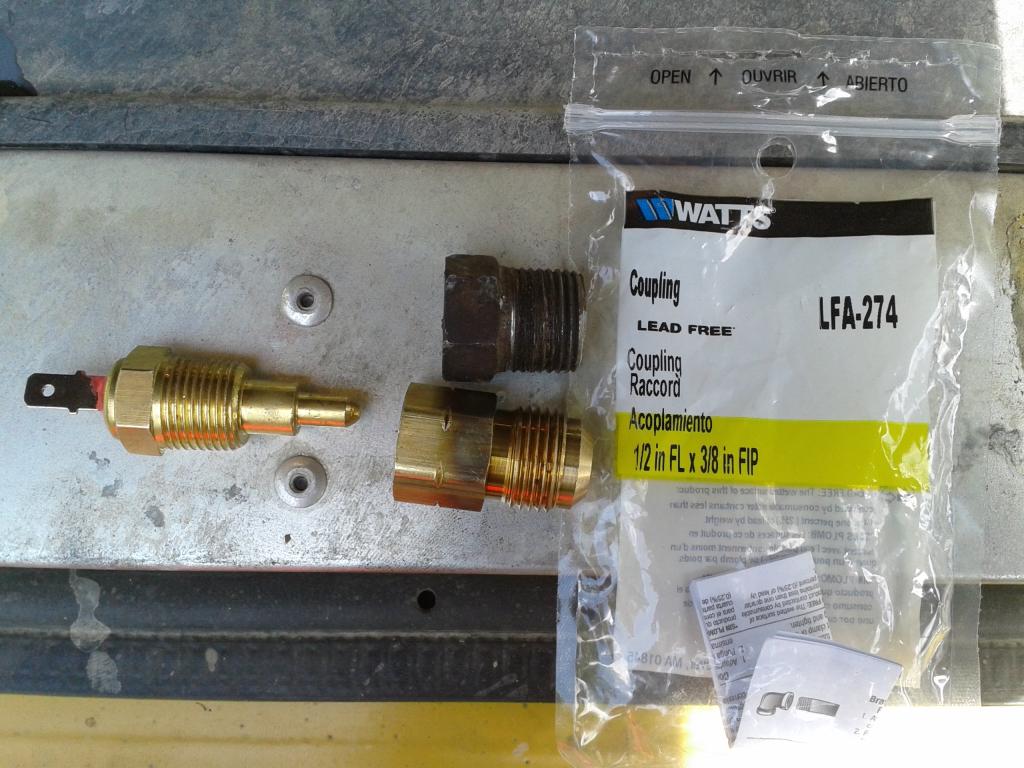
Got the temp switch for my e fan conversion installed in the aux port on the intake


link to temp switch pictured 175*-185* http://www.ebay.com/itm/171236949794...%3AMEBIDX%3AIT

It is 1/2" flare available at Lowes as pictured

Here is the pic top is plug bottom is adapter 1/2" male flare to 3/8" pipe thread to fit the switch I bought, I actually ground off the nipple on the pipe adapter it is not needed here and gets the temp probe closer to the coolant

Name:  IMG_20140902_125456_zps8ml6o9dj.jpg
Views: 310
Size:  114.7 KB

Install looks very clean, now onto the injectors

Name:  IMG_20140902_130810_zpsl0b3wjy1.jpg
Views: 287
Size:  96.0 KB


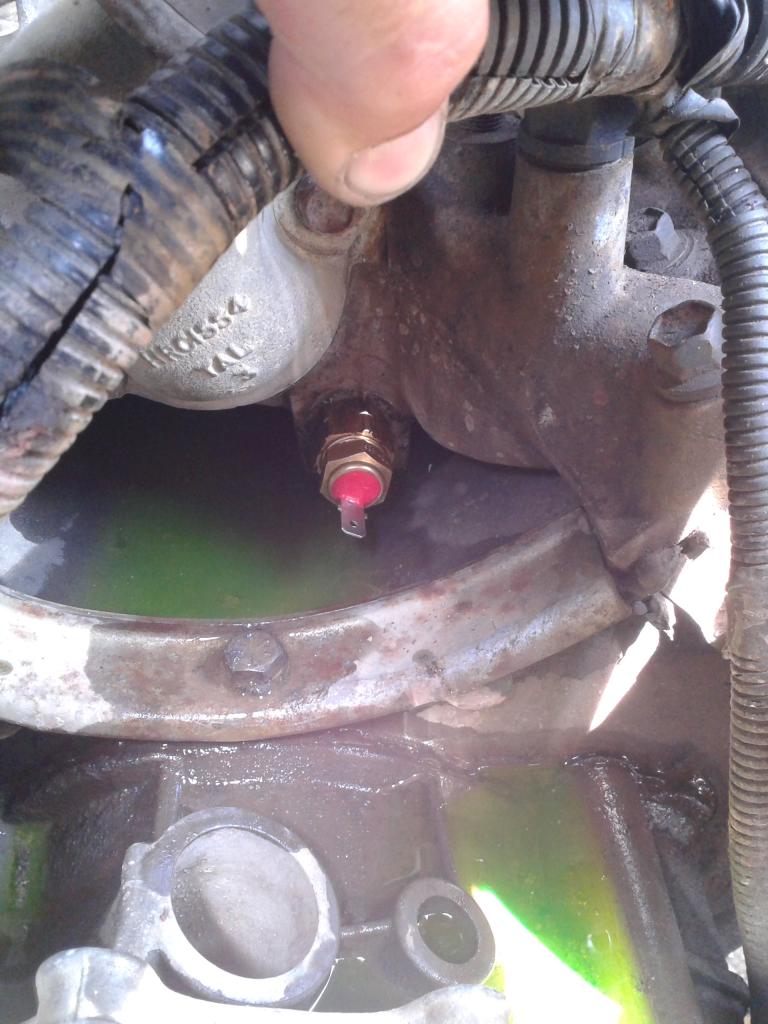
yes I know I need to wipe up the spilled antifreeze lol
 

Last edited by TOM R; 09-02-2014 at 06:51 PM.


Quick Reply: my 98 disco1


All times are GMT -5. The time now is 10:21 AM.