When you click on links to various merchants on this site and make a purchase, this can result in this site earning a commission. Affiliate programs and affiliations include, but are not limited to, the eBay Partner Network.
Well my emissions has gone back to the red light. I need to find someone with a more in depth ECU program. Until then I figured I can start putting the center console back together.
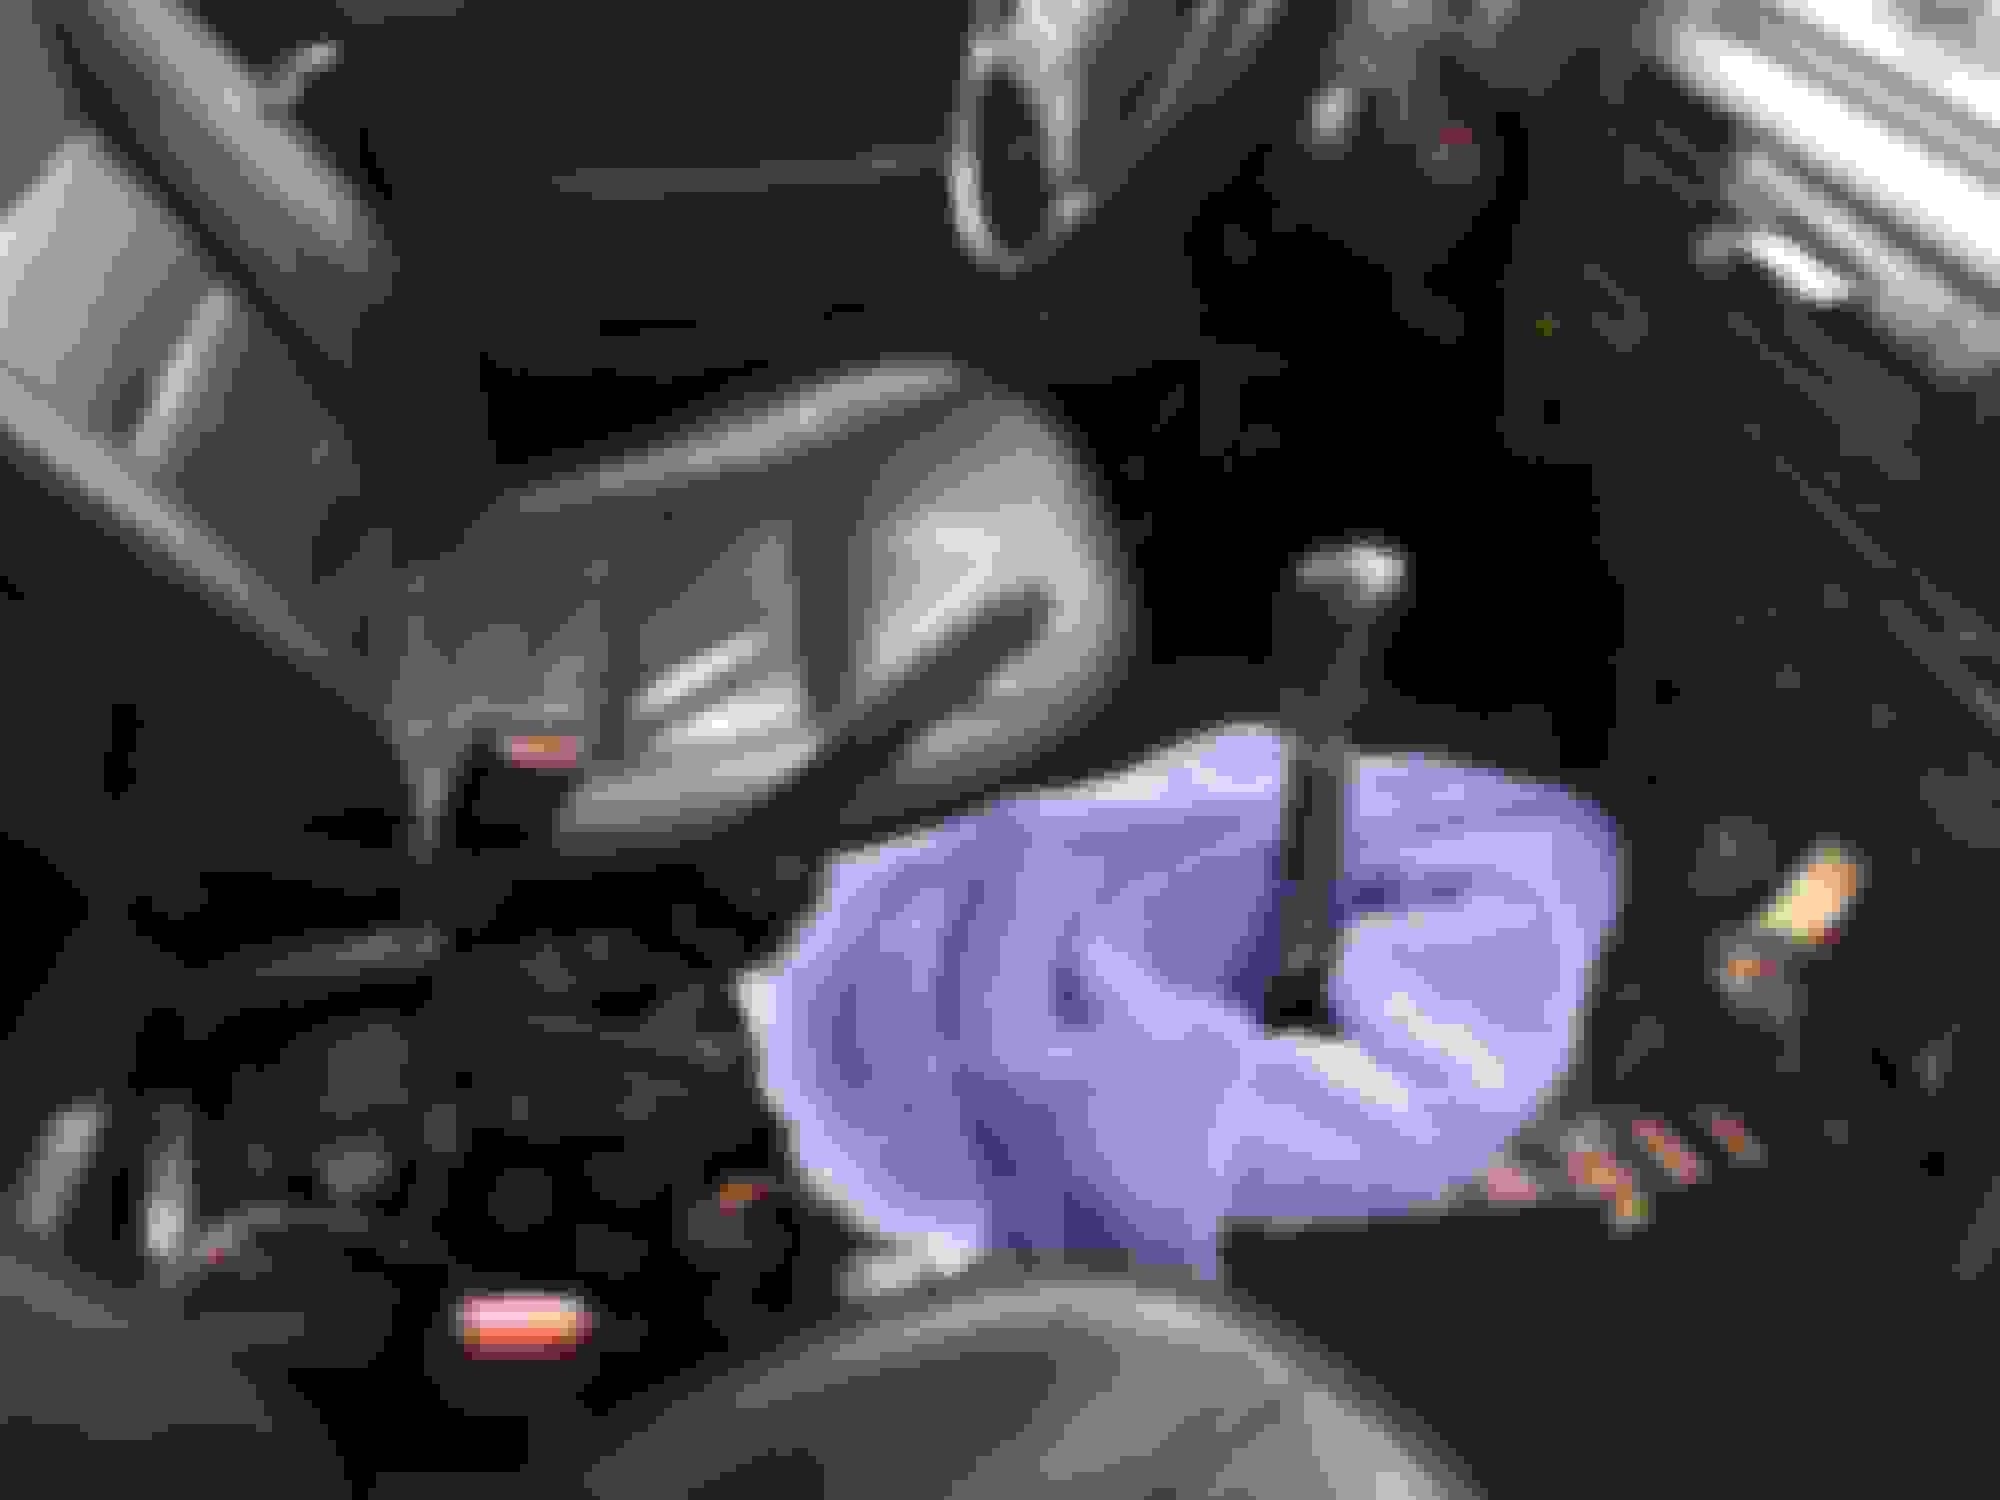
Here's what my console has looked like for the past few weeks. I used a towel to stop the hot air from the road and motor coming thru the shifter hole.
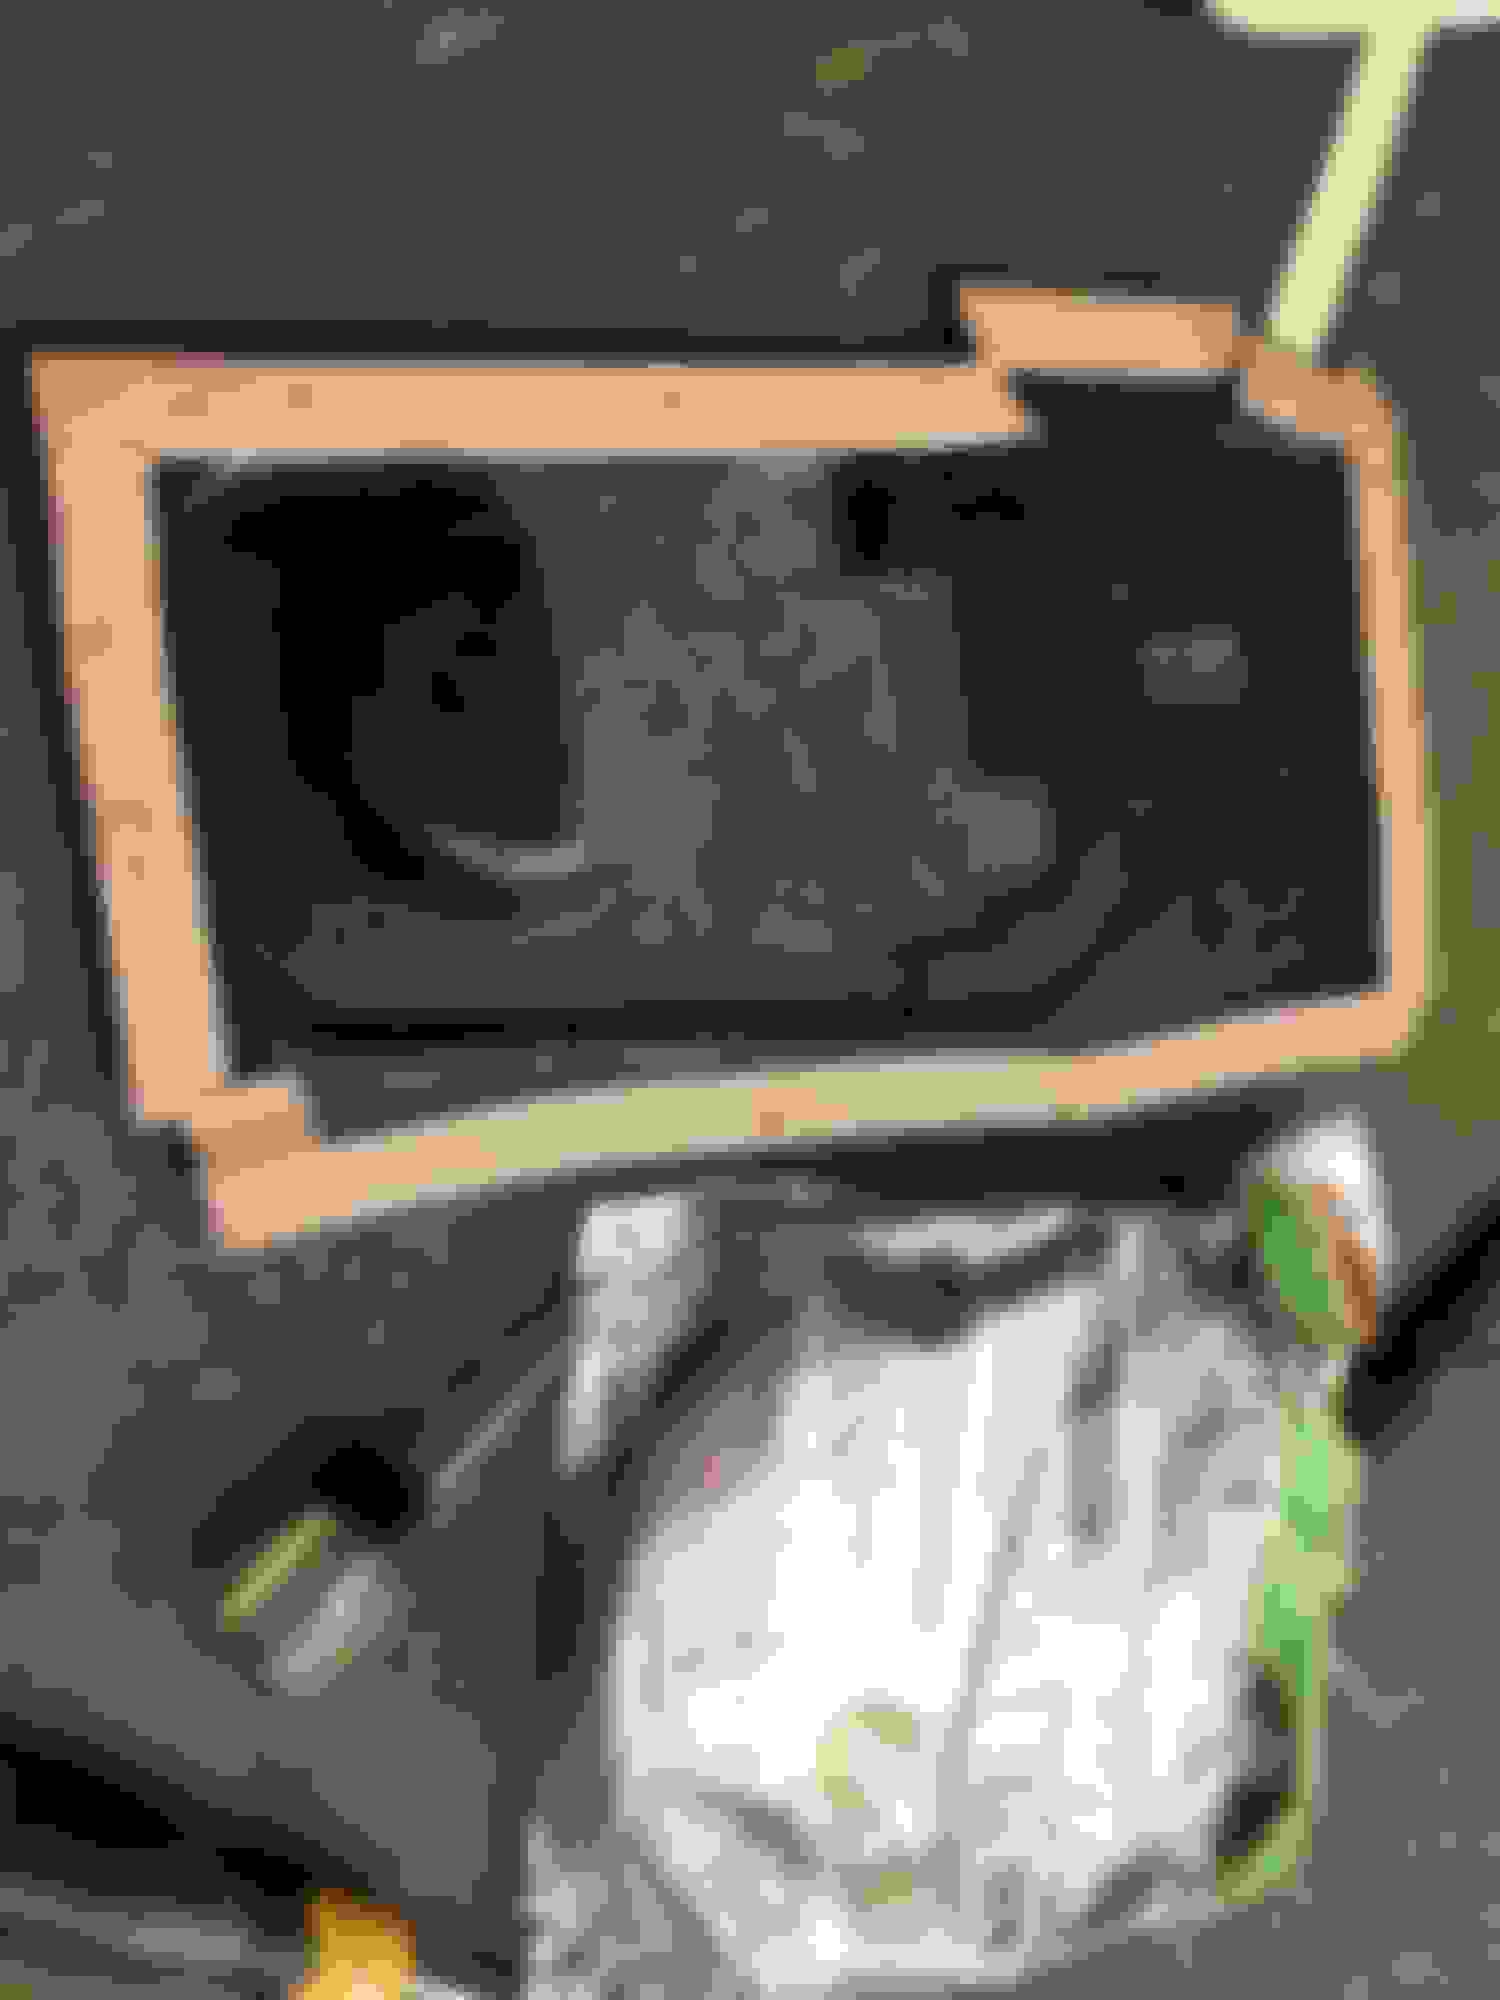
To re-install the center cover I bought some 1/4-20 speed nuts and some matching bolts from the local hardware store.
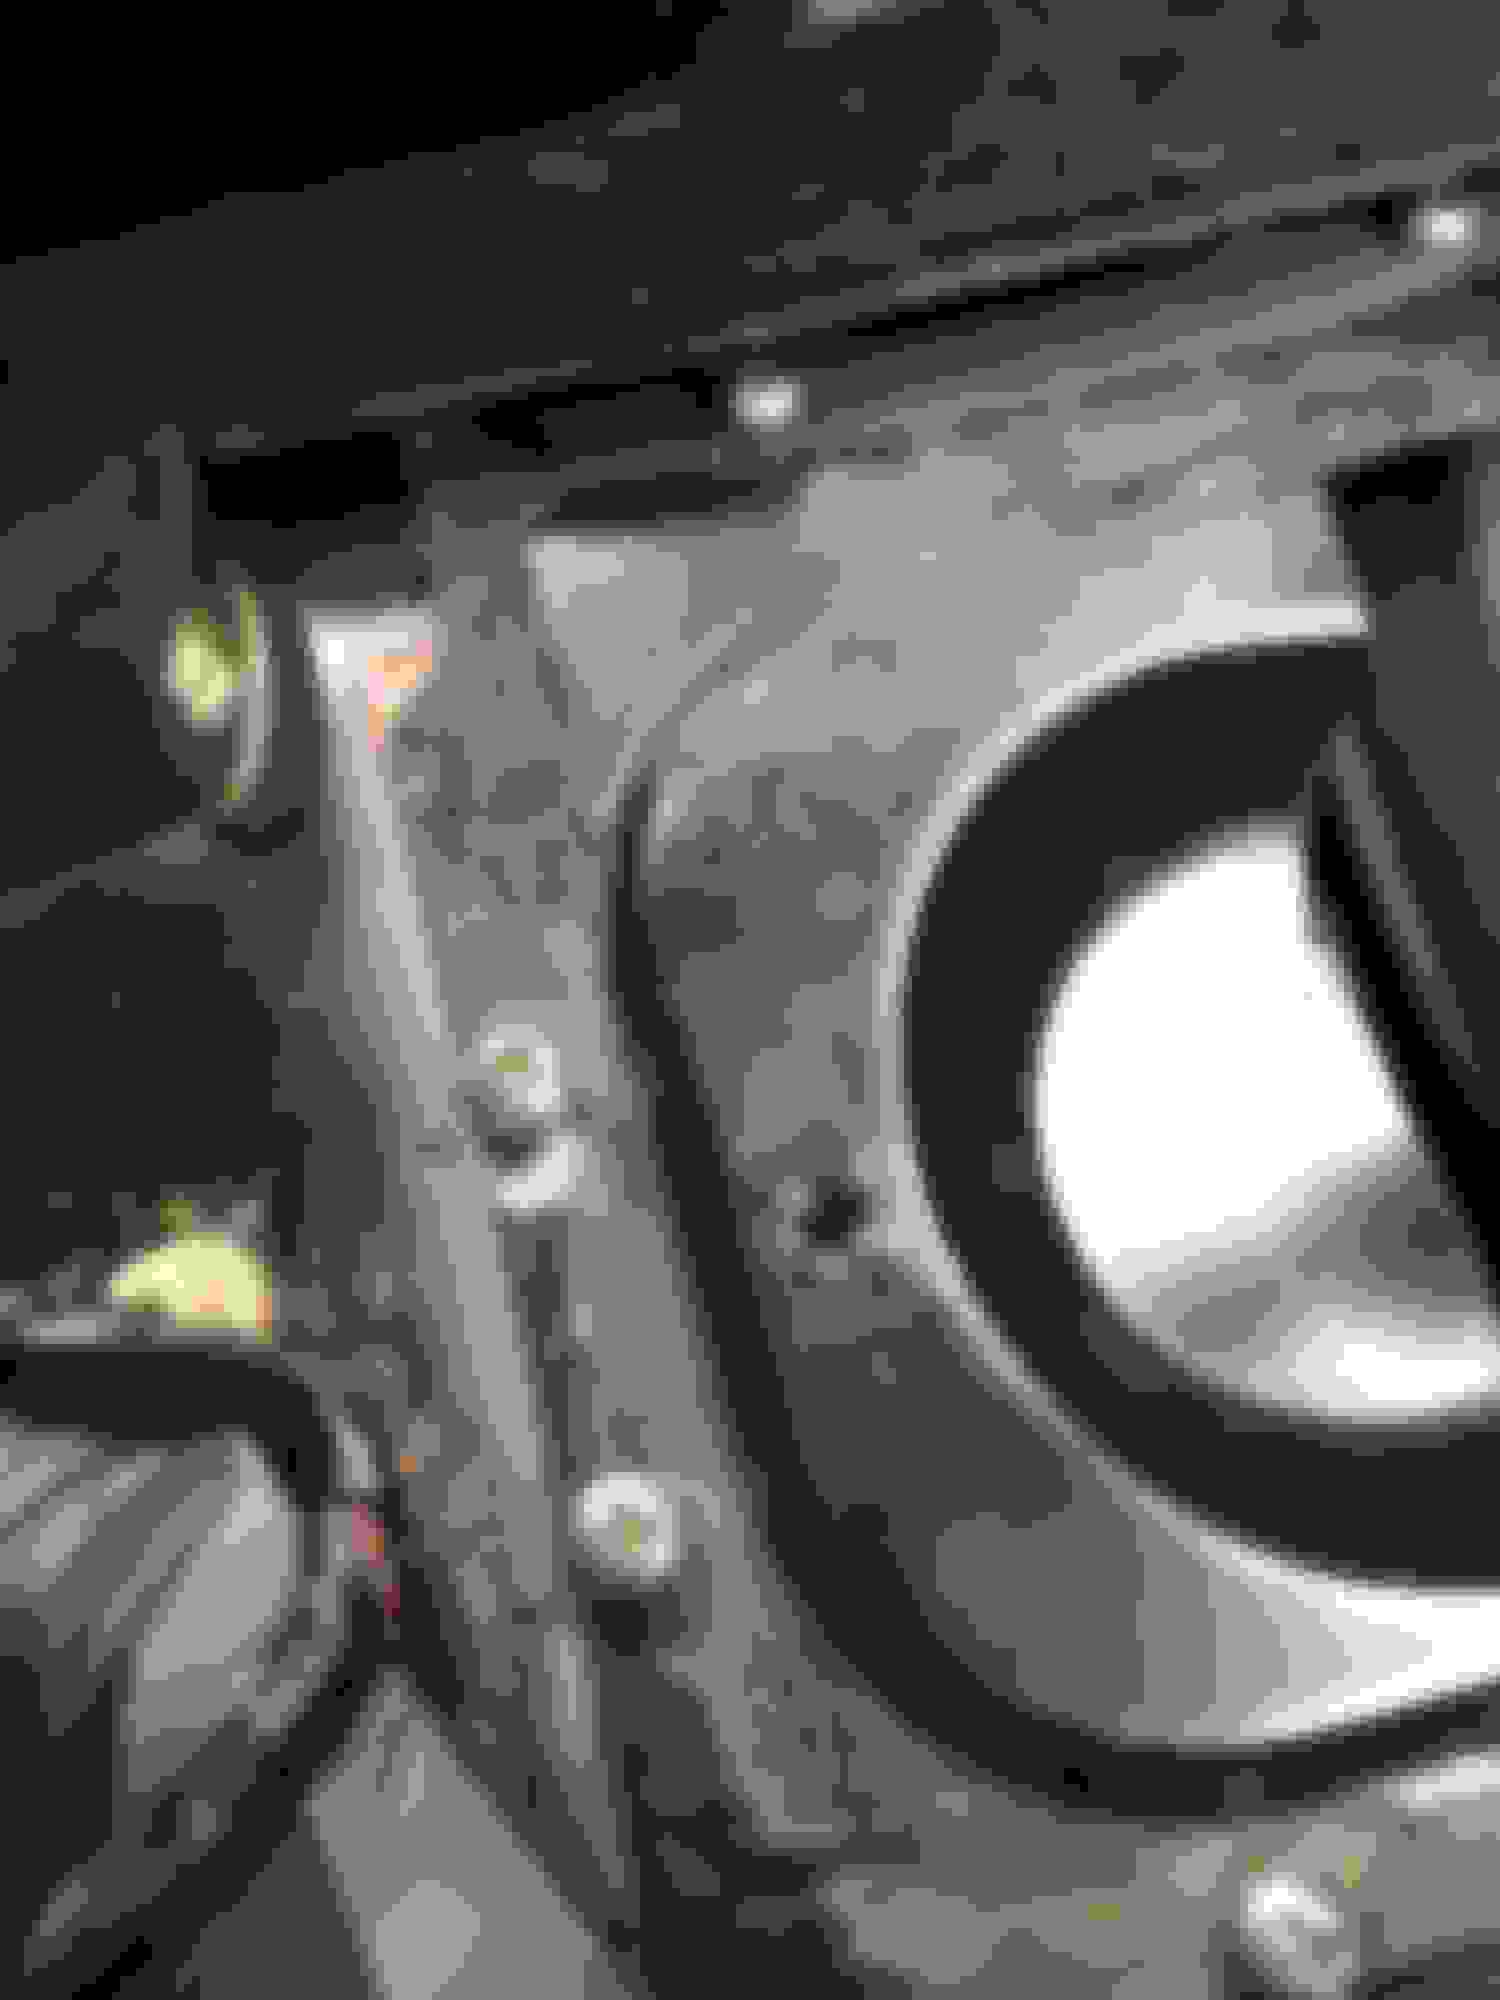
The speed nuts slip right over the lip of the body. I drilled out all the holes to 1/4 inch so the bolts will fit thru. It's a tight squeeze by the console to drill the holes. The bolts go right thru with ease.
I also drilled out the center cover plate with a 1/4 drill. I bought a roll of insulation, too. I poked thru the insulation so the bolts can screw thru. I didn't want any air or water to come thru the space between the cover and body.
3/4 inch wide x 7/16 thick weather strip.
Here's the cover installed with the 1/4 bolts.
I got some new M6 socket head cap screw for the transfer case shifter. Plus I scrapped off all the old weather stripping.
Before installing the cover plate. I hooked up the reverse lights. I bought a dead or broken XYZ switch from a Land Rover parts guy. It was really cheap since it was broken. I didn't want to cut the original wiring harness. So I cut the connector off the bad XYZ switch.
This is what you have when it's plugged into the wiring harness.
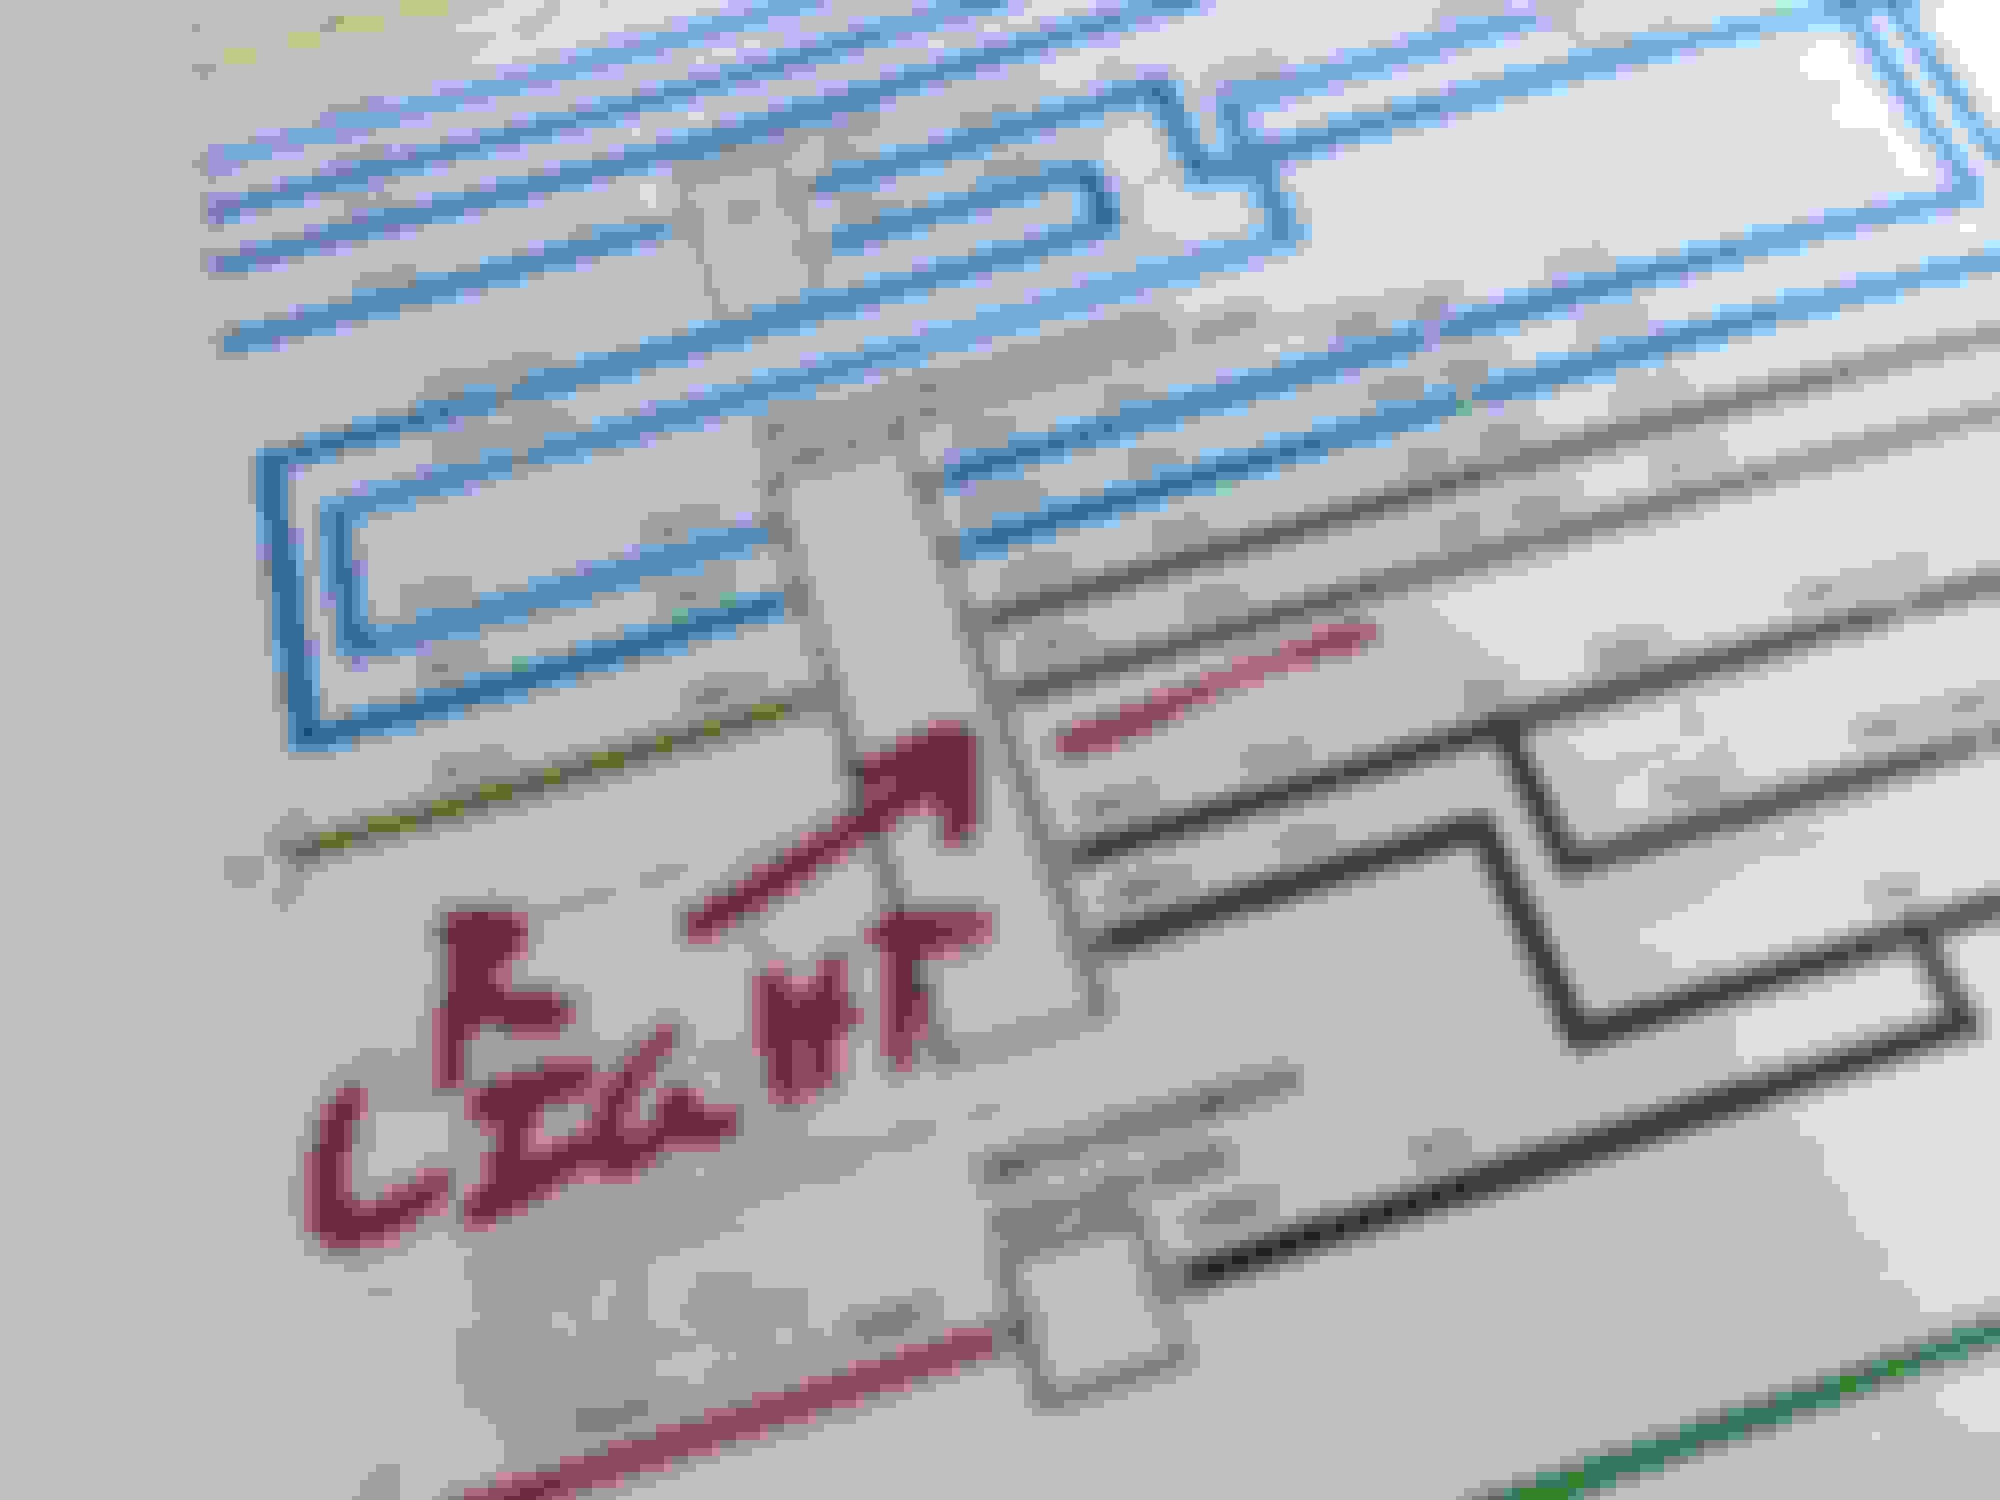
This is the wiring diagram for reverse (R) lights. The green/yellow wire is the power (+). The green/brown wire is the reverse light bulbs. This are the wire colors from the wiring harness. NOT the XYZ switch.
This picture shows the green/yellow and green/brown wires in the harness. If you decide to use the old XYZ switch. It's the red and blue wires. See how they're connected in the picture.
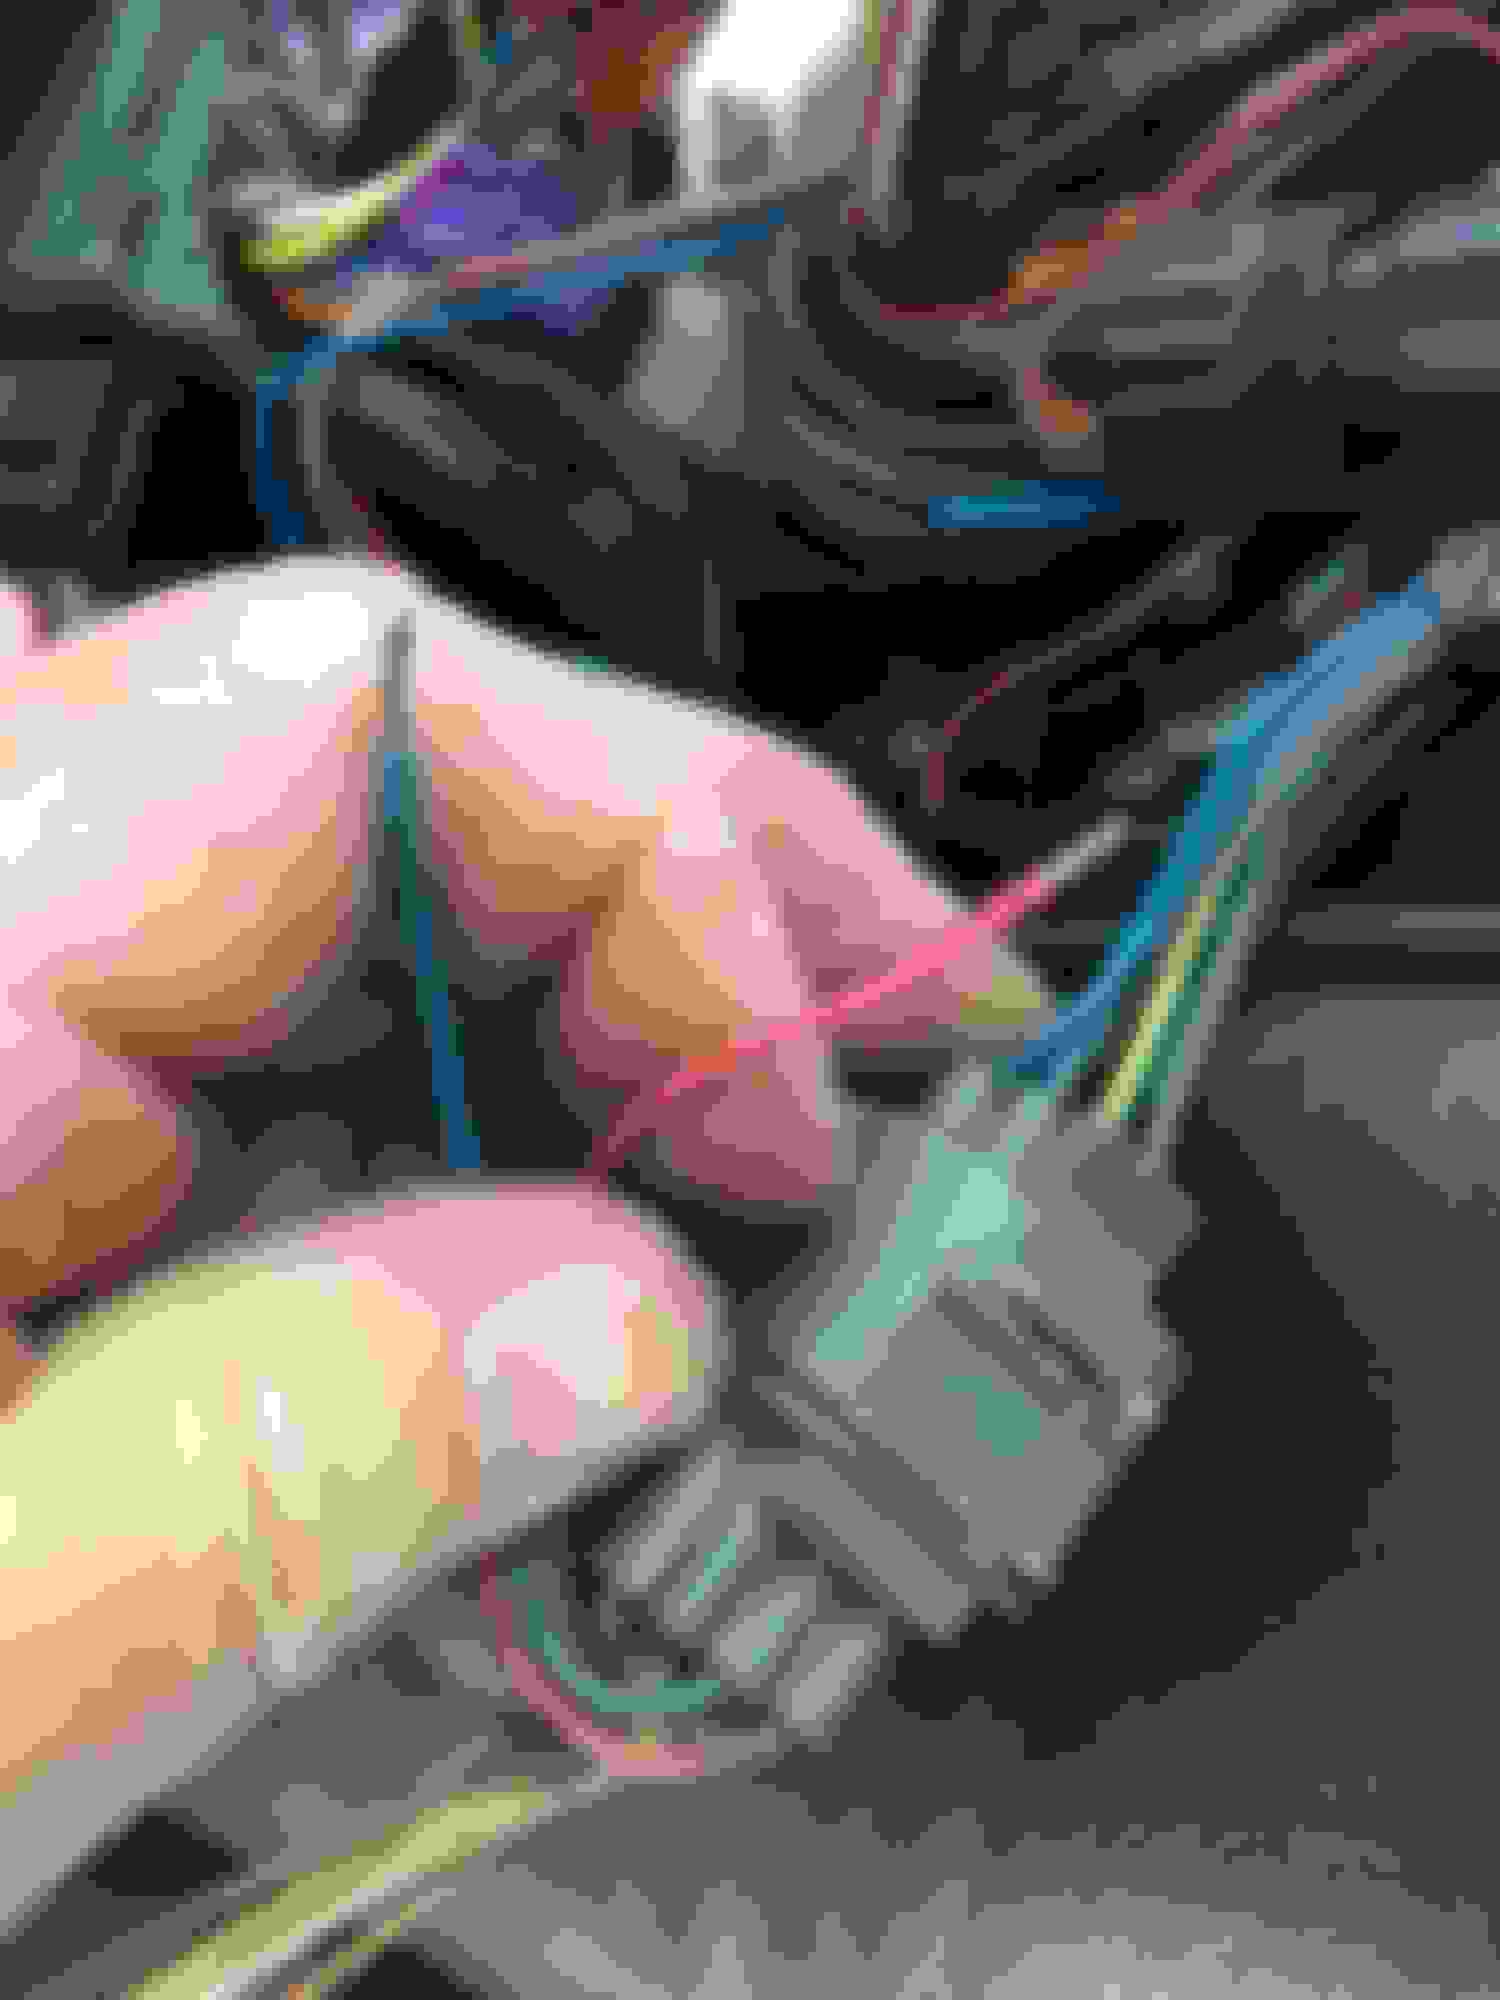
These are the 2 wires coming from the reverse light switch on the R380 trans. These should be standard for reverse light switch on manual trans.
To keep water out and make it easy for disconnection I used male and female connectors.
Here are the wires all connected. The reverse light switch is just a simple on/off switch. Nothing crazy here. I kept the wires on top of the transfer case. I zip tied the wires all together so they don't fall off.
Now to close up the open space for the shifter. It took much searching on Ebay. But I found a 68-72 Chevrolet Camaro rubber shifter boot will fill in the space. Anything around these years would work. I paid $13 shipped for the boot. The seller sent me dimensions of the rubber boot. The boot filled in the space perfect!!
I bought a piece of 3/4 inch wide X .125 inch thick X 3 feet long of Aluminum from the hardware store. Plus some 3/4 inch long sheet metal screws.
I took the shifter **** off. Put the shifter boot over the shifter. Then I just cut pieces off aluminium bar to hold the base of the rubber boot down. I used 2 screws for each piece and cut them as I made my way around the shifter boot. The aluminum pinched the boot down to center cover.
I'd suggest pre-drilling the screw holes with a drill bit in the boot and the center plate so the screw go in easier. I used the pieces of aluminium as the template for the pre-drilled holes.
Here's the final product. I put a zip tie to hold the top of the boot by the shifter.
Close up of the aluminum hold downs. It's all custom cut to fit. No exact measurements here. The best part is no more bath towel as a center console!! ha ha!!
I fitted the center console. Of course the shifter hit the center console. I had to trim a little away from the front of the console so I can shift into 1st, 3rd and 5th gears.
The center console in with shifter hitting the console in first gear.
Closer shot of it hitting the console.
Shifter in 3rd gear with plenty of space in the back.
I drew a line around with a marker and cut it out with a Dremel. Now there's room for the shifter.
Mollusc,
I know the blue bath towel was quite fashionable but since winter and cold weather is coming. I figured it's about time to finish the center console. haha!!
I did the final install of the center console. I had to trim the foam padding to clear the rubber boot. It wouldn't let me shift into 2nd and 4th smoothly. In the picture I used the D1 rubber mat that came with the parts. It covers up the large hole in the center console where the auto shifter use to sit.
I made a little bracket to hold the Ultragauge. Now the engine temp and oil pressure gauge sit nicely together.
Closer look at the padding. Future is to make a leather boot for the shifter and transfer case shifter. For now it's working.
 10-04-2016, 01:55 PM