My DIY Cylinder Liner/Sleeve Removal & Top-Hat Install - VIDEO & PICS inside
#1
 03-28-2013, 11:24 PM


Some of you may have read my thread on my DIY engine rebuild I posted earlier in March - CLICK HERE FOR THREAD. I bought a 2003 SE7 for $1,800 with a known blown head gasket. Unfortunately, during disassembly, I discovered the number 4 cylinder was steam-cleaned. After not wanting to believe what several forum members wanted to tell me - I finally came to grips with the fact I had a cracked block. I made some aluminum block-off plates and pressure tested the block up to 60 psi. No leaks - that was odd. Then I researched the core exchange programs out there for around $1,500. The problem was I am on a tight schedule and no shops had blocks ready to ship. So I looked into getting the sleeves and after calling both major sleeve suppliers in the US (Darton & LASleeves), and all the major parts suppliers & engine rebuilders - nobody had sleeves in stock with the bottom o-rings. I finally found them cheaper and faster from England (48 hr shipping) at Turner engineering (GREAT customer service, seriously, Frida is awesome).
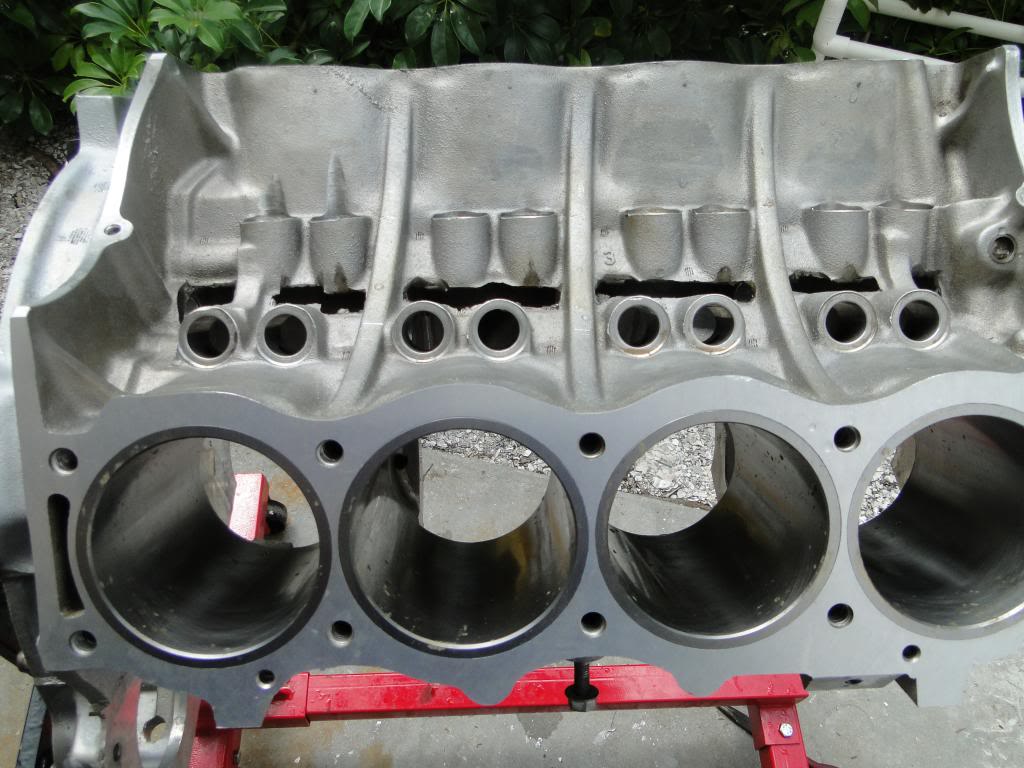
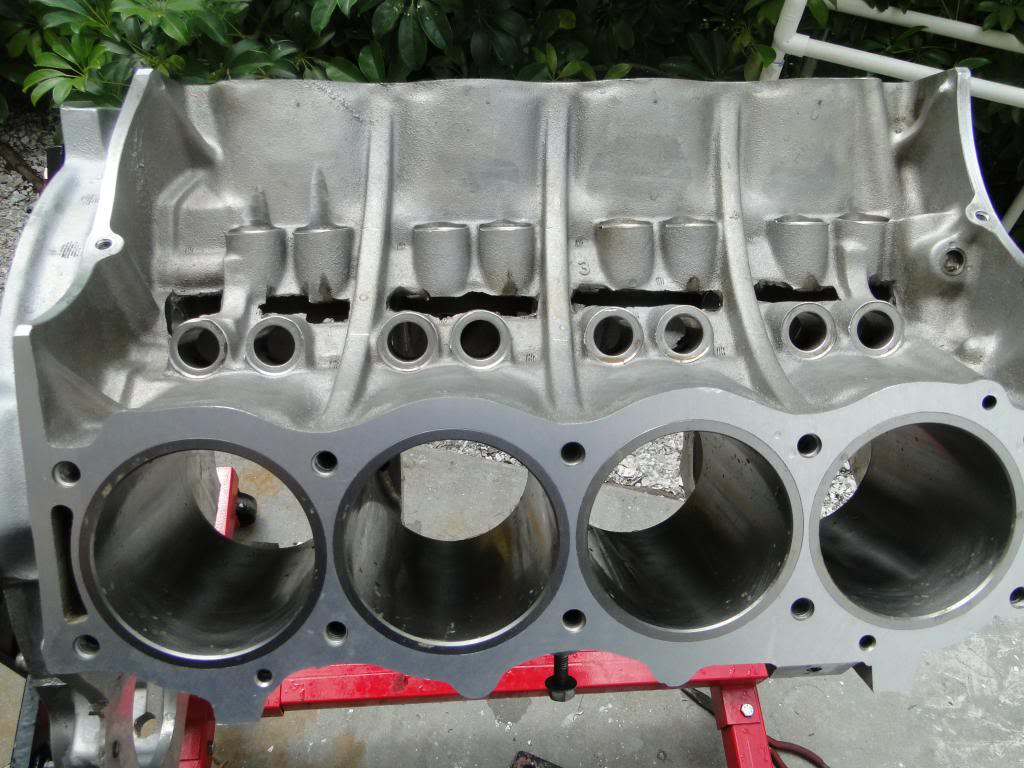
Today I got my propane tank exchanged for a full one with the correct threads and readied my large propane torch. It was actually pretty easy and took less time than putting it in my oven (it did fit - I checked). The only liner that gave me trouble was #4, the one that ended up having a pin-hole leak.
After removing the liners, I pressure tested the block again with water and air up to 40 psi. Behold the 2 pin-hole leaks in cylinder #4:
The block goes tomorrow to the machine shop to be bored for a .003-.004 inch interference fit (basically .003-.004" smaller in diameter than the average outer diameter of the Darton sleeves) and have a lip cut for the top-hat liners. I will then heat up the block again with the propane torch, as Turner recommended, and drop in the new liners. Then I'll quickly bolt on the cylinder heads before the cooling aluminum block tries to squeeze the new TIGHT liners out. Then after waiting 4 hrs for cool-down, I'll drop it off at the machine shop again to get decked and the cylinders honed to each individual piston. I'll update tomorrow with more info and organize the post better.
Last edited by jthomas; 03-28-2013 at 11:42 PM.
The following users liked this post:
LR03NJ (01-30-2016)
#2
03-29-2013, 01:30 AM

Super Moderator
#3
03-29-2013, 07:32 AM

Thanks for taking the time to document/share the entire project.
Its kind of disheartening to see that the leak didn't show during the initial(cold) block test. I rented the kit to do that test on mine and it should be here Monday. I was hoping it would give me a definite answer as to the integrity of my block. I don't have it out just down to the heads and don't want to build it up if the block is FUBAR. Maybe ill fill the coolant ports with boiling water.
That Disco is going to be bulletproof when you are done.
Keep us updated


#7
03-31-2013, 10:34 AM

Recovery Vehicle

#9
03-31-2013, 03:16 PM

Jthomas,
You are certainly ambitious!
Lots of energy.
Firstly,
THANK YOU for documenting your work!
I am enjoying following your adventure.
Not many people have the daring spirit to repair a block at their house.
I saw your torch.
How do you heat the block with that torch to get a liner out?
Seems you would need a lot more fire and heat.
yet, I saw the liner exit your block in your video.
Well done!
Please keep us informed.
#10
04-20-2013, 10:21 PM
Update:
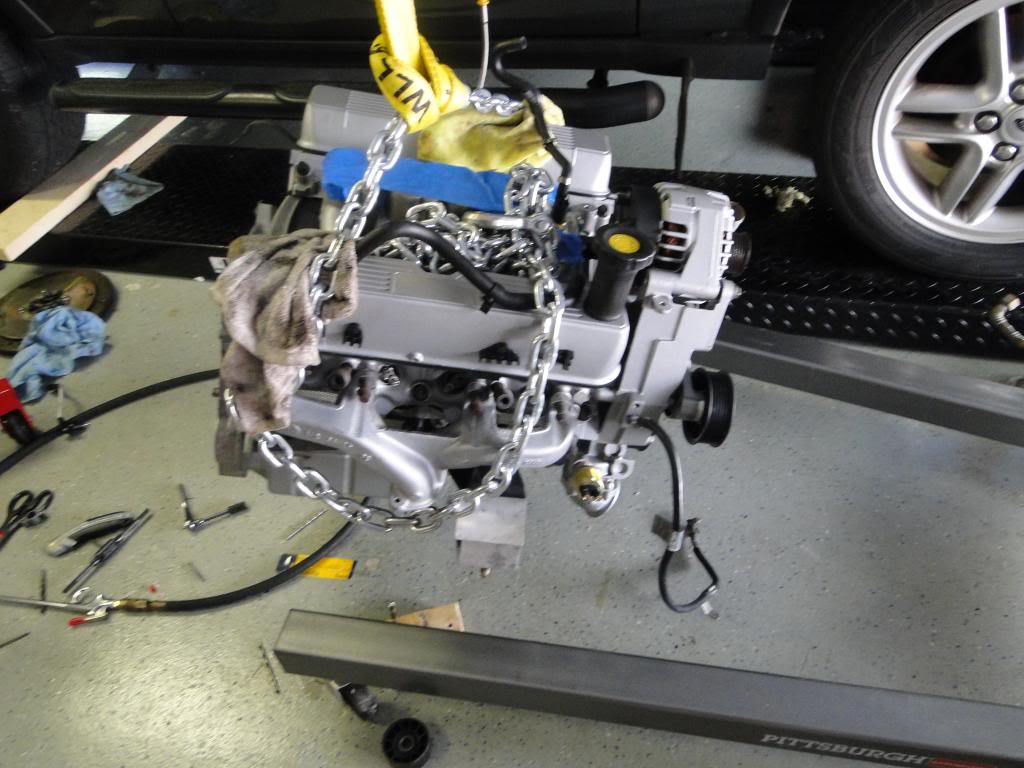
Engine is in the car, have to install radiator, coolant temperature sensor gauge, hook up oil pressure gauge, rebuild driveshafts, change transfer case oil, and then I can start it up.
Some pictures to look at until I upload all my engine assembly videos in glorious 720p High Definition.
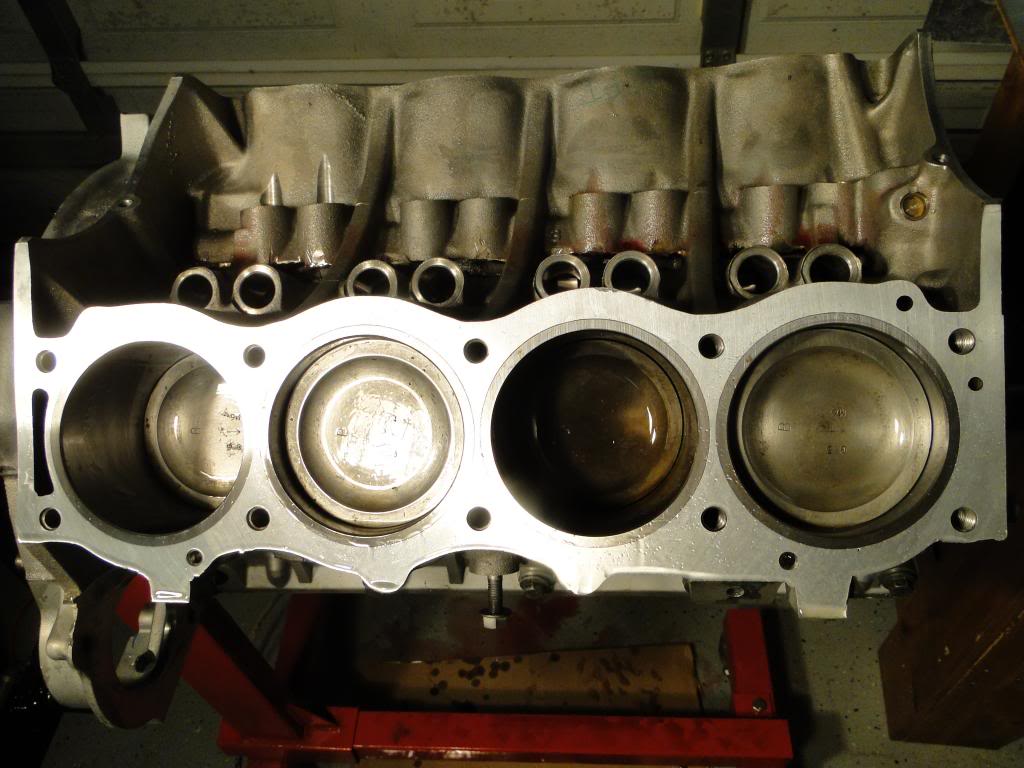
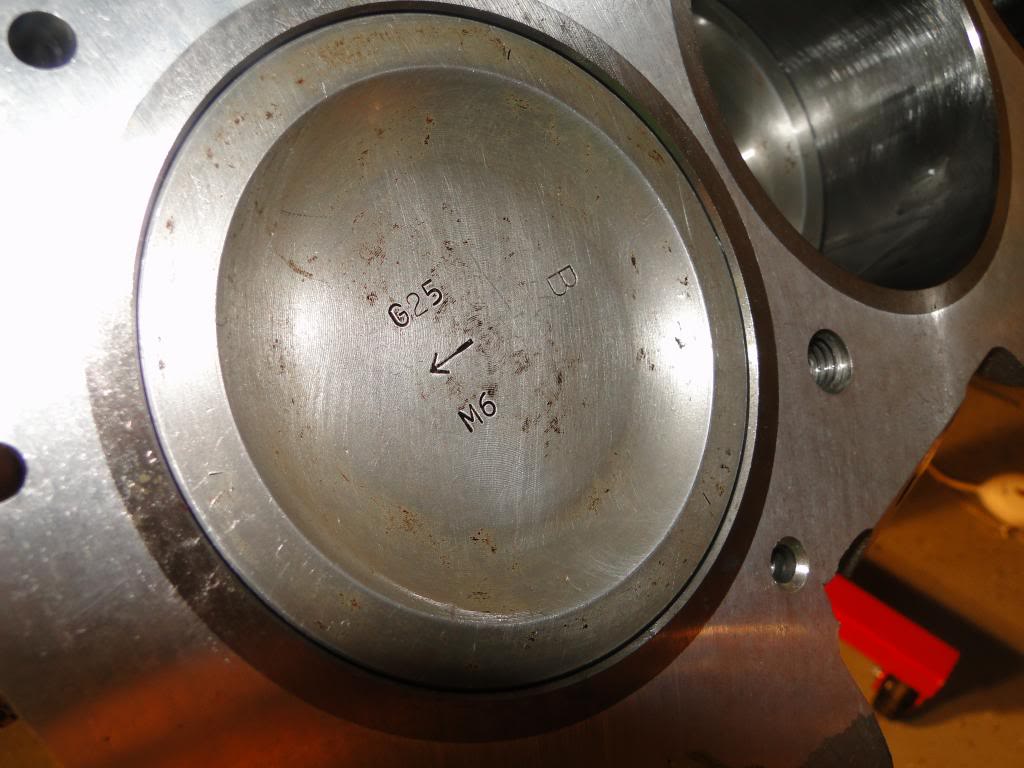
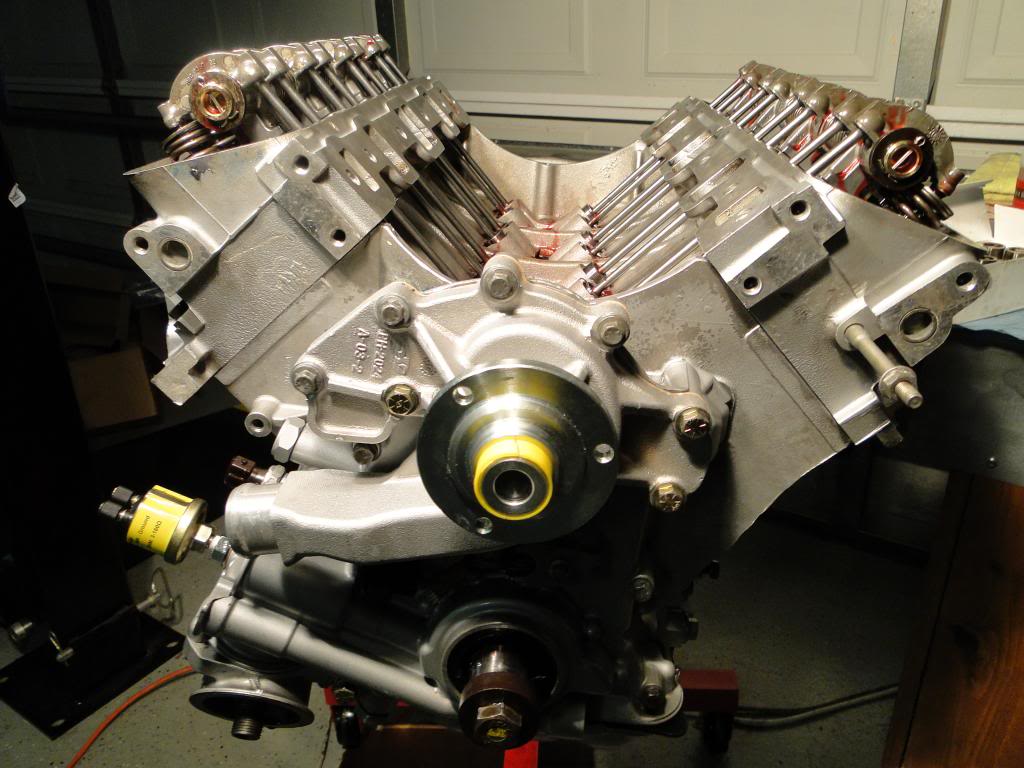
Block back from machinist - $510 total for boring lip and large cylinder diameter to accept sleeves, install sleeves, hone each cylinder to each individual piston, resurface block. Took a week because they had 2 aluminum cutting bits break on my block.
Pistons Installed:
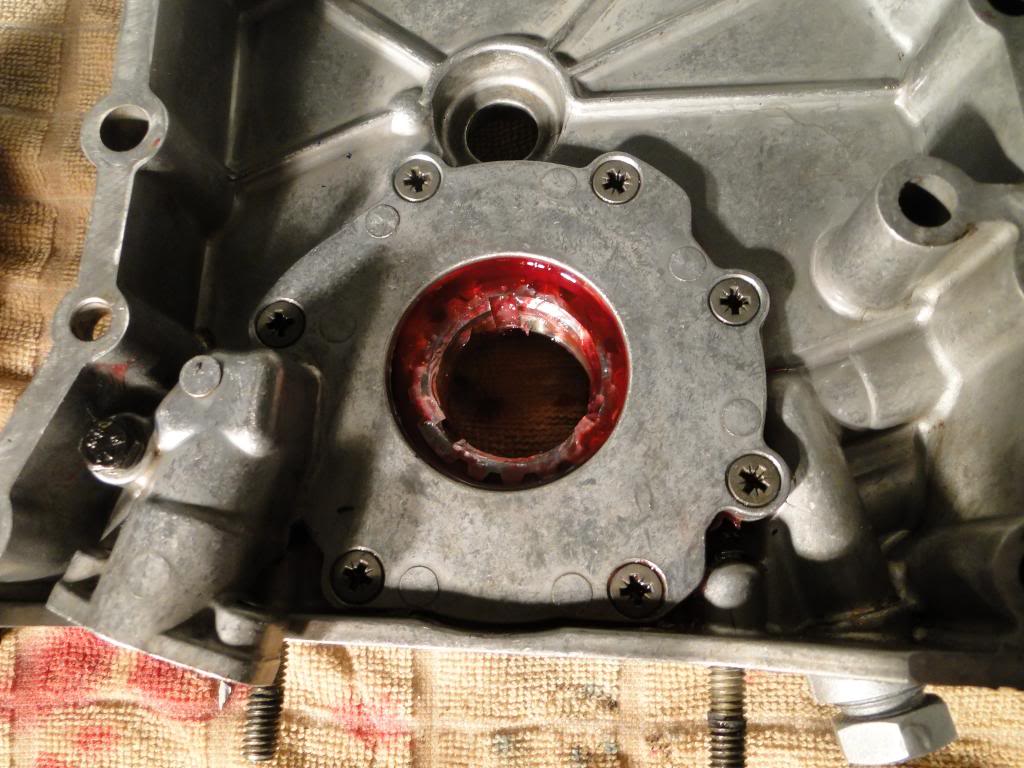
Oil Pump Gears Installed & Packed With Vaseline/Permatex Red Assembly Lube Mix:
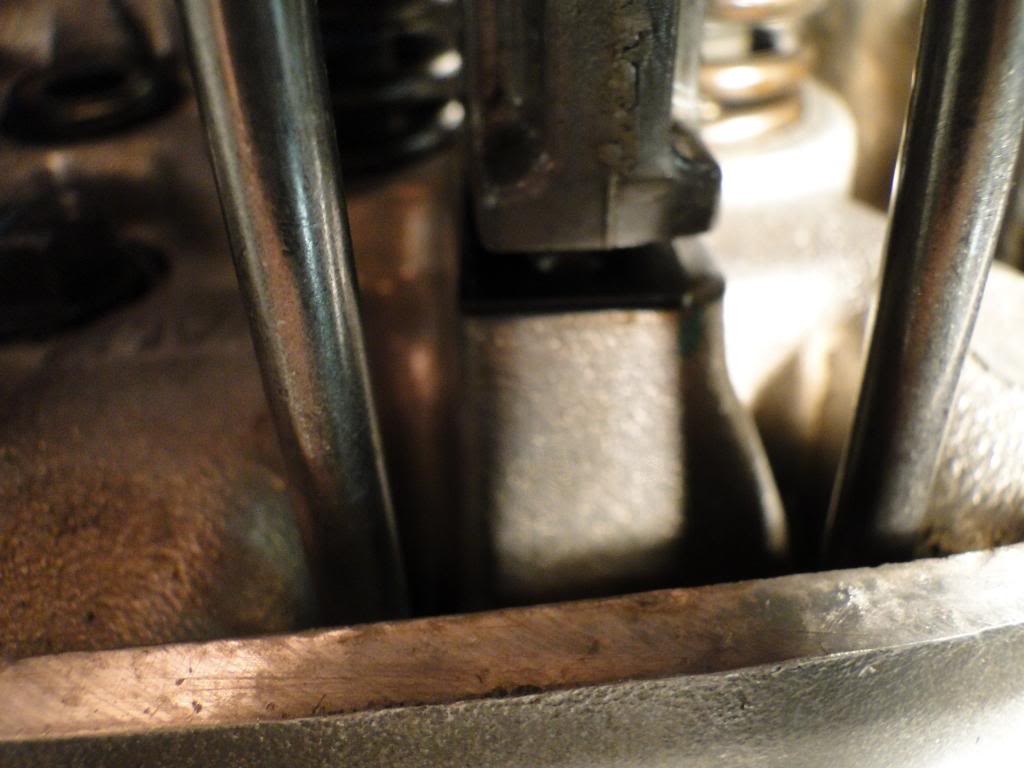
Installing Rocker Shims/Calculating which size shim to use:

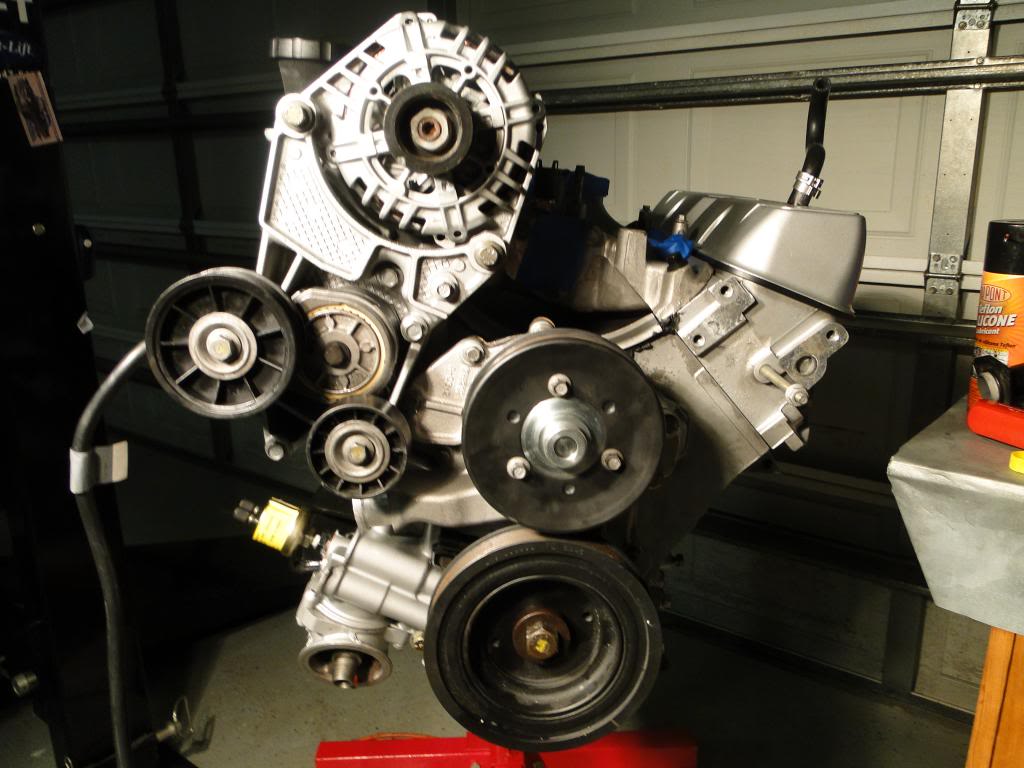
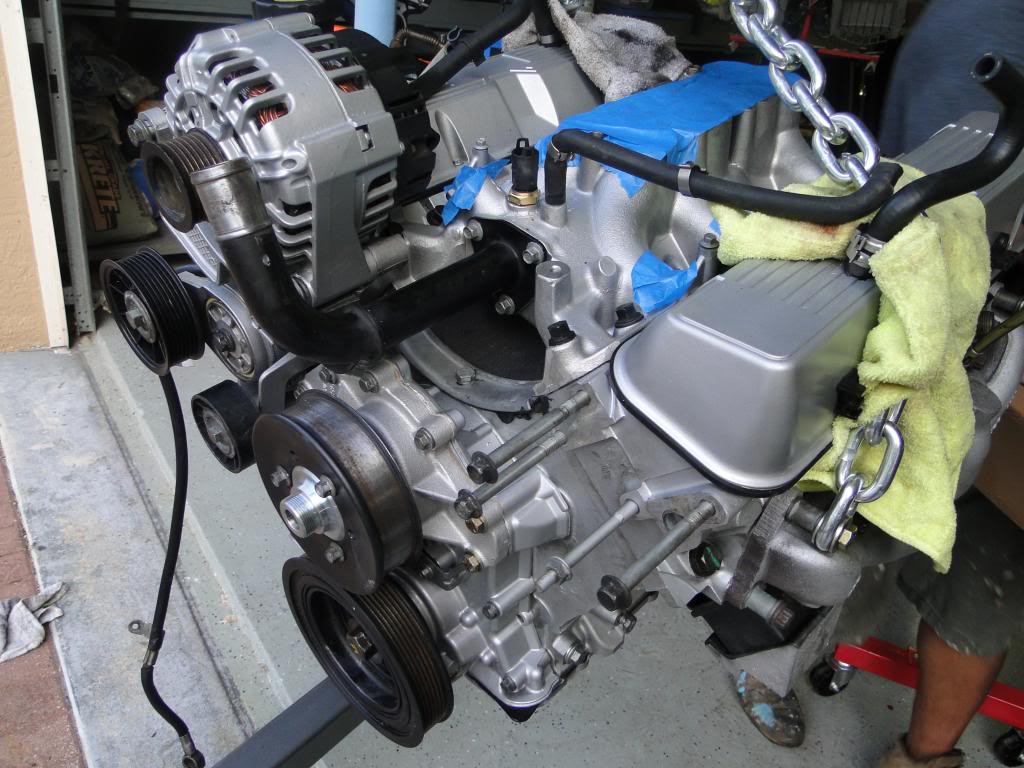
Accessories Installed:
Engine is in the car, have to install radiator, coolant temperature sensor gauge, hook up oil pressure gauge, rebuild driveshafts, change transfer case oil, and then I can start it up.
Some pictures to look at until I upload all my engine assembly videos in glorious 720p High Definition.
Block back from machinist - $510 total for boring lip and large cylinder diameter to accept sleeves, install sleeves, hone each cylinder to each individual piston, resurface block. Took a week because they had 2 aluminum cutting bits break on my block.


Pistons Installed:


Oil Pump Gears Installed & Packed With Vaseline/Permatex Red Assembly Lube Mix:

Installing Rocker Shims/Calculating which size shim to use:


Accessories Installed:


