AB Extended Stainless Steel Brake Lines installed!
#1
 08-30-2010, 10:43 PM

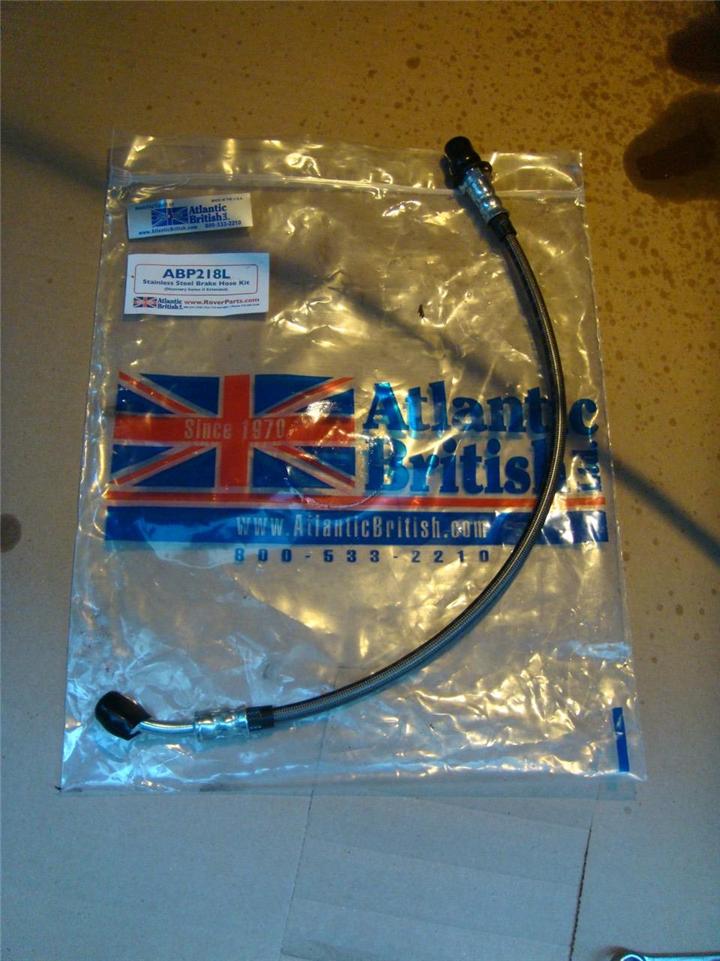
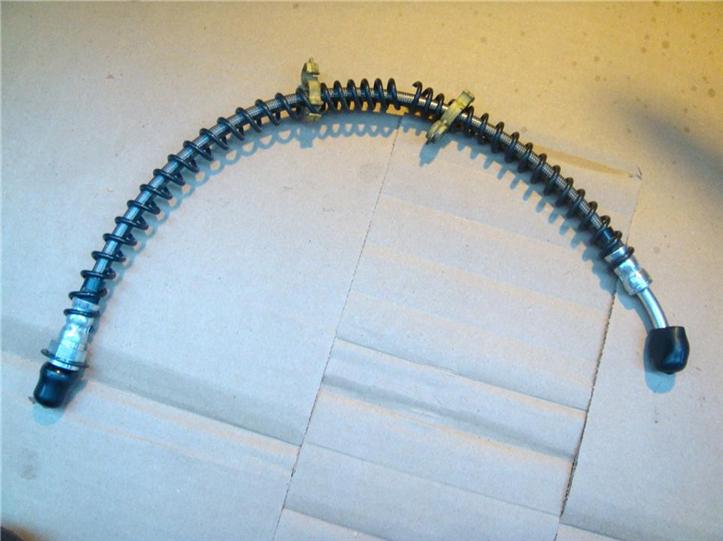
Well I needed to rotate my tires this oil change and decided to install the AB Stainless steel lines at the same time. The AB SS lines seem nice quality. I got them for $99 on sale which is about $50 less than the Goodridge SS lines. I called to find out where AB gets them. They said they make them in-house with some other parts in Australia.
http://www.roverparts.com/Parts/ABP218L.cfm
2nd check to see that you can loosen the bleed screw. If it turns counter clockwise continue the install if not go figure that out. Otherwise you cant bleed your brakes after the new SS line is installed!
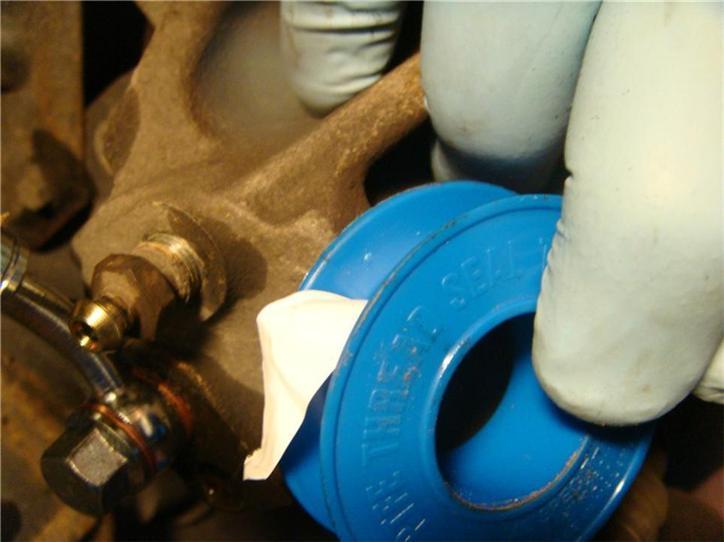
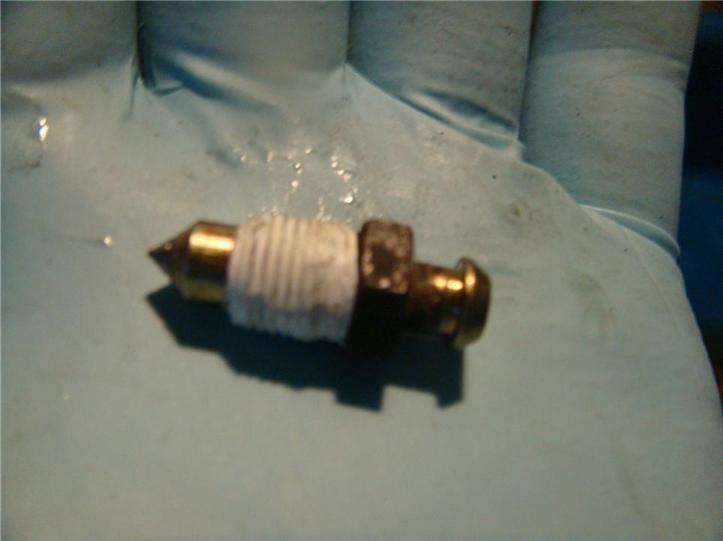
Add some Teflon plumbers tape if you want for brake bleeding later. And your bleeder screw is loose now with a wrench on it.
This may prevent air from seeping in the threads while bleeding.
This is a rear line(The way to tell is there is not an alumium mid-line holder as on the fronts)
Gently disconnect the ABS line from its yellow clips. Also remove yellow clips from old brake line.
Now put a 15mm socket on the back of the caliper brake line bolt. Gently loosen it. Good, now tighten it back and start on the top.

Clamp off the old brake line with ViseGrips or a clamp. This will keep a lot of fluid from seeping out while you loosen the top & Bottom.
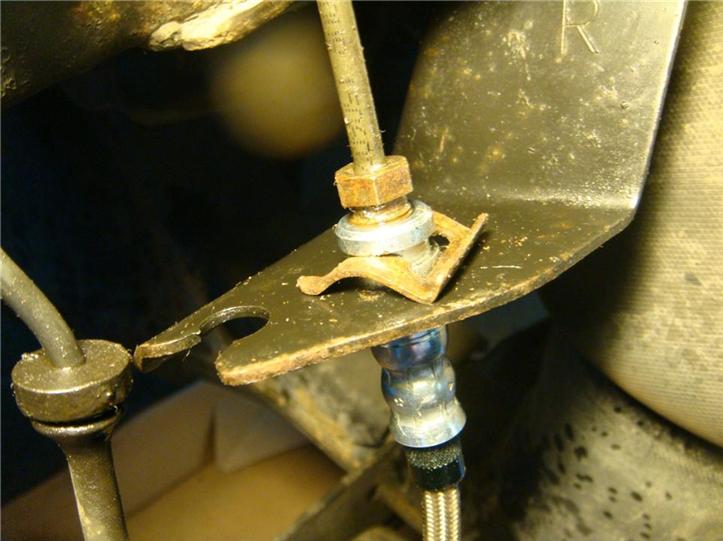
Now use a 11mm open ended wrench to turn toward the front of you car to loosen the top brake line. You may need to oppose the line from under the holder so it will not twist the hard line. Remove spring clamp holder once bold it loose. Brake line should drop through hole. This is the hard part! Now remove the line from the back of the brake caliper. Make sure oil pan is positioned.
If you prefer add back the black plastic coil protector to the new lines. Also add back the yellow plastic ABS line holders.

Ready to install rear line
Now connect up the new line to the top hard brake pipe and attach spring clamp. You may need to bend spring clip more to make it hold tight. I discarded the C-clips included with the lines. The original spring clips hold the line better.
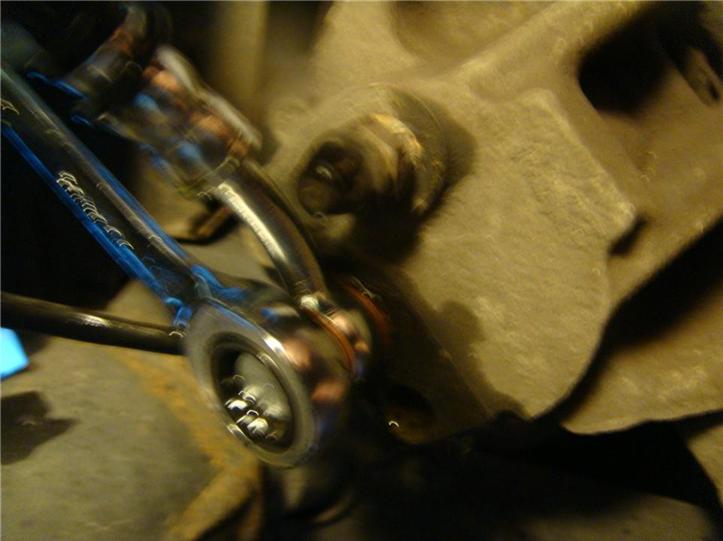
Now install the low part of the new line to the brake caliper.
Sorry for the blurry picture. Its a different size bolt. Use a new copper crush washer in the inner & outer of new bolt.
Now repeat for all other wheels. Follow Flush brake fluid instructions from the forum. I used a clear hose to see bubbles. It was remarkable easy to bleed the brakes. I used over 2 quarts of Valvoline synthetic DOT4 brake fluid as seen in the Flush brake fluid for a full flush. All fluid looked new coming from the calipers. Also I put a 2x4 of wood behind the brake pedel. I had friends mess up their master cylinder by pumping all the way to the floor while bleeding brakes. I dont know if this is true for the Rover but it couldnt hurt. Good luck! I also rinsed down wheel well areas with Simple Green then shot it off with the power washer. Brake fluid is very corrosive. I didn't want it eating parts away after my install. Also get a full box of Nitril gloves & double them up. You don't want DOT4 on your hands. Eye protection is also advisable.
Flush brake fluid
The SS lines feel solid. The pedel response is firm and i can feel a difference in hard stops and normal driving.
http://www.roverparts.com/Parts/ABP218L.cfm
- The install was really straight forward but I will include some instruction to the pictures I posted and throw in some wrench sizes. I would say you could do this in about 4 hours with the brake bleeding included. Maybe faster if you have a partner or are lived a previous life as a Midas Tech.
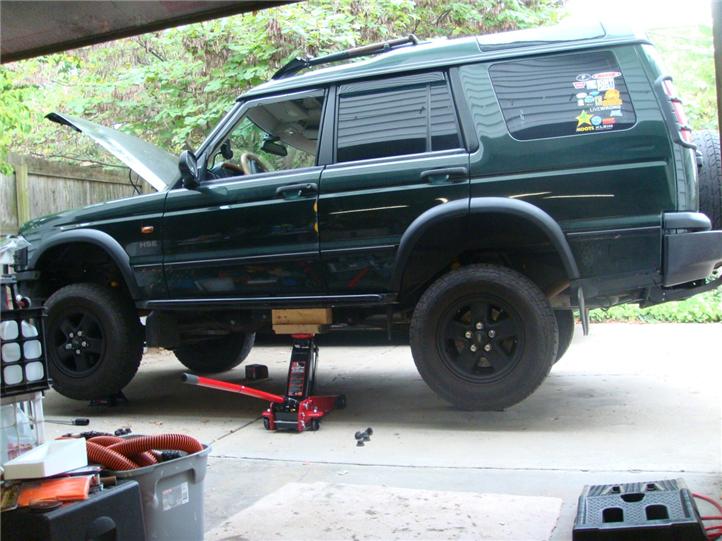
- First off I started on the Right Rear wheel as prescribed on the order to bleed your brakes. (RR, RL, FR, FL) I dont know that this really matters but thought I would follow directions from the RAV.
- I also wanted to try out my new Torin 3ton jack.
2nd check to see that you can loosen the bleed screw. If it turns counter clockwise continue the install if not go figure that out. Otherwise you cant bleed your brakes after the new SS line is installed!
Add some Teflon plumbers tape if you want for brake bleeding later. And your bleeder screw is loose now with a wrench on it.
This may prevent air from seeping in the threads while bleeding.
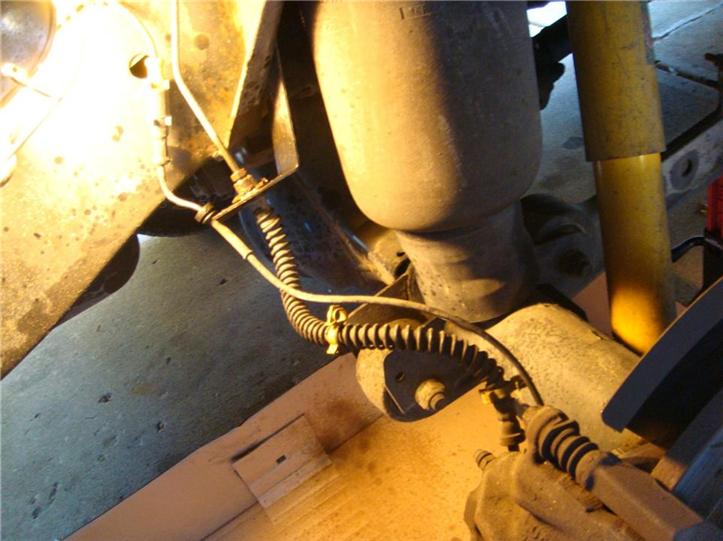
This is a rear line(The way to tell is there is not an alumium mid-line holder as on the fronts)
Gently disconnect the ABS line from its yellow clips. Also remove yellow clips from old brake line.
Now put a 15mm socket on the back of the caliper brake line bolt. Gently loosen it. Good, now tighten it back and start on the top.
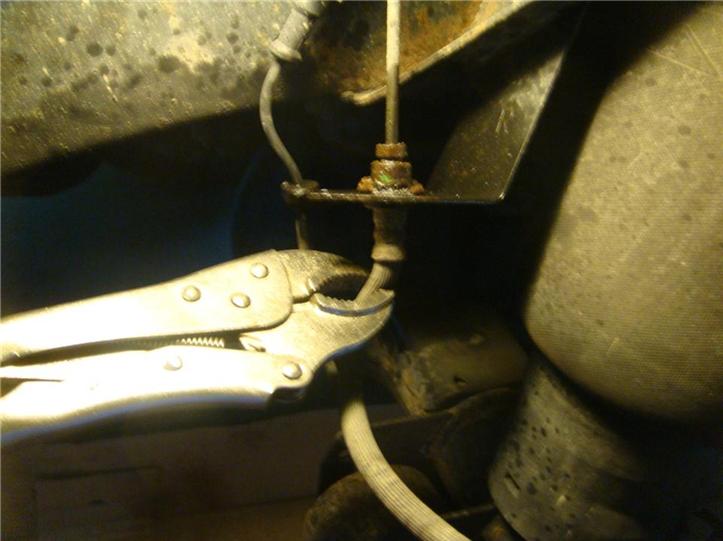
Clamp off the old brake line with ViseGrips or a clamp. This will keep a lot of fluid from seeping out while you loosen the top & Bottom.
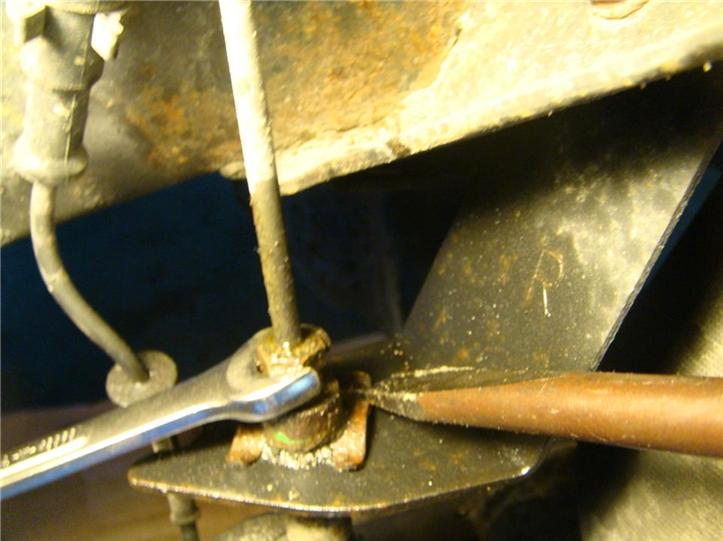
Now use a 11mm open ended wrench to turn toward the front of you car to loosen the top brake line. You may need to oppose the line from under the holder so it will not twist the hard line. Remove spring clamp holder once bold it loose. Brake line should drop through hole. This is the hard part! Now remove the line from the back of the brake caliper. Make sure oil pan is positioned.
If you prefer add back the black plastic coil protector to the new lines. Also add back the yellow plastic ABS line holders.
Ready to install rear line
Now connect up the new line to the top hard brake pipe and attach spring clamp. You may need to bend spring clip more to make it hold tight. I discarded the C-clips included with the lines. The original spring clips hold the line better.
Now install the low part of the new line to the brake caliper.
Sorry for the blurry picture. Its a different size bolt. Use a new copper crush washer in the inner & outer of new bolt.
Now repeat for all other wheels. Follow Flush brake fluid instructions from the forum. I used a clear hose to see bubbles. It was remarkable easy to bleed the brakes. I used over 2 quarts of Valvoline synthetic DOT4 brake fluid as seen in the Flush brake fluid for a full flush. All fluid looked new coming from the calipers. Also I put a 2x4 of wood behind the brake pedel. I had friends mess up their master cylinder by pumping all the way to the floor while bleeding brakes. I dont know if this is true for the Rover but it couldnt hurt. Good luck! I also rinsed down wheel well areas with Simple Green then shot it off with the power washer. Brake fluid is very corrosive. I didn't want it eating parts away after my install. Also get a full box of Nitril gloves & double them up. You don't want DOT4 on your hands. Eye protection is also advisable.
Flush brake fluid
The SS lines feel solid. The pedel response is firm and i can feel a difference in hard stops and normal driving.
Last edited by bosshogt; 08-31-2010 at 11:52 AM. Reason: Because I can
The following users liked this post:
JUKE179r (09-24-2016)
#2
08-31-2010, 07:04 AM

Winching
Join Date: Aug 2010
Location: Charlotte NC
Posts: 655
Likes: 0
Received 0 Likes
on
0 Posts
Very nice boss. Should of removed the calipers while you had the chance and painted them suckers candy red. For performance of course....
________
CUMSHOT HOMEMADE
________
CUMSHOT HOMEMADE
Last edited by sloan74; 03-24-2011 at 07:48 PM.
#3
08-31-2010, 07:40 AM

Administrator
#4
08-31-2010, 10:35 AM

Baja
Teflon tape should really only be used on tapered pipe threads, it's not meant for parallel threads and can come off inside (though not too likely on a bleeder screw).
Opening a bleeder and depressing the brake pedal all the way then blocking it down will lessen fluid loss and air ingress while changing hydraulic components.
Opening a bleeder and depressing the brake pedal all the way then blocking it down will lessen fluid loss and air ingress while changing hydraulic components.

#8
09-05-2010, 11:19 PM

Nice, thanks Boss! I plan on doing this when I install performance rotors & pads in a couple months.
+1 vote on the sticky. I'd like to see more stickies, AAMOF. What I've been doing as a new Roverite is bookmarking useful posts like these, but it'd be nice to see a repository of useful how-tos for newbies. I know there are several personal websites out there for this sort of thing, but there doesn't seem to be community contribution.
+1 vote on the sticky. I'd like to see more stickies, AAMOF. What I've been doing as a new Roverite is bookmarking useful posts like these, but it'd be nice to see a repository of useful how-tos for newbies. I know there are several personal websites out there for this sort of thing, but there doesn't seem to be community contribution.
#9
09-05-2010, 11:41 PM
+2 on the sticky. If it was not for the great brake bleed sticky, I would have taken my Rover to Midas to have the brakes bled. Turns out, bleeding the brakes on the Discovery is super easy even without a helper. That said your brake system has to be in good working condition in the first place. This is a cool $100 mod that is a doable Saturday job.


Thread
Thread Starter
Forum
Replies
Last Post
potxoli
Retired - Private For Sale/Trade Classifieds
0
09-03-2013 03:04 PM