Operation Magpie.
#441
 09-16-2018, 04:57 PM

Super Moderator


#443
09-22-2018, 04:38 PM
Had some time today to do some things..
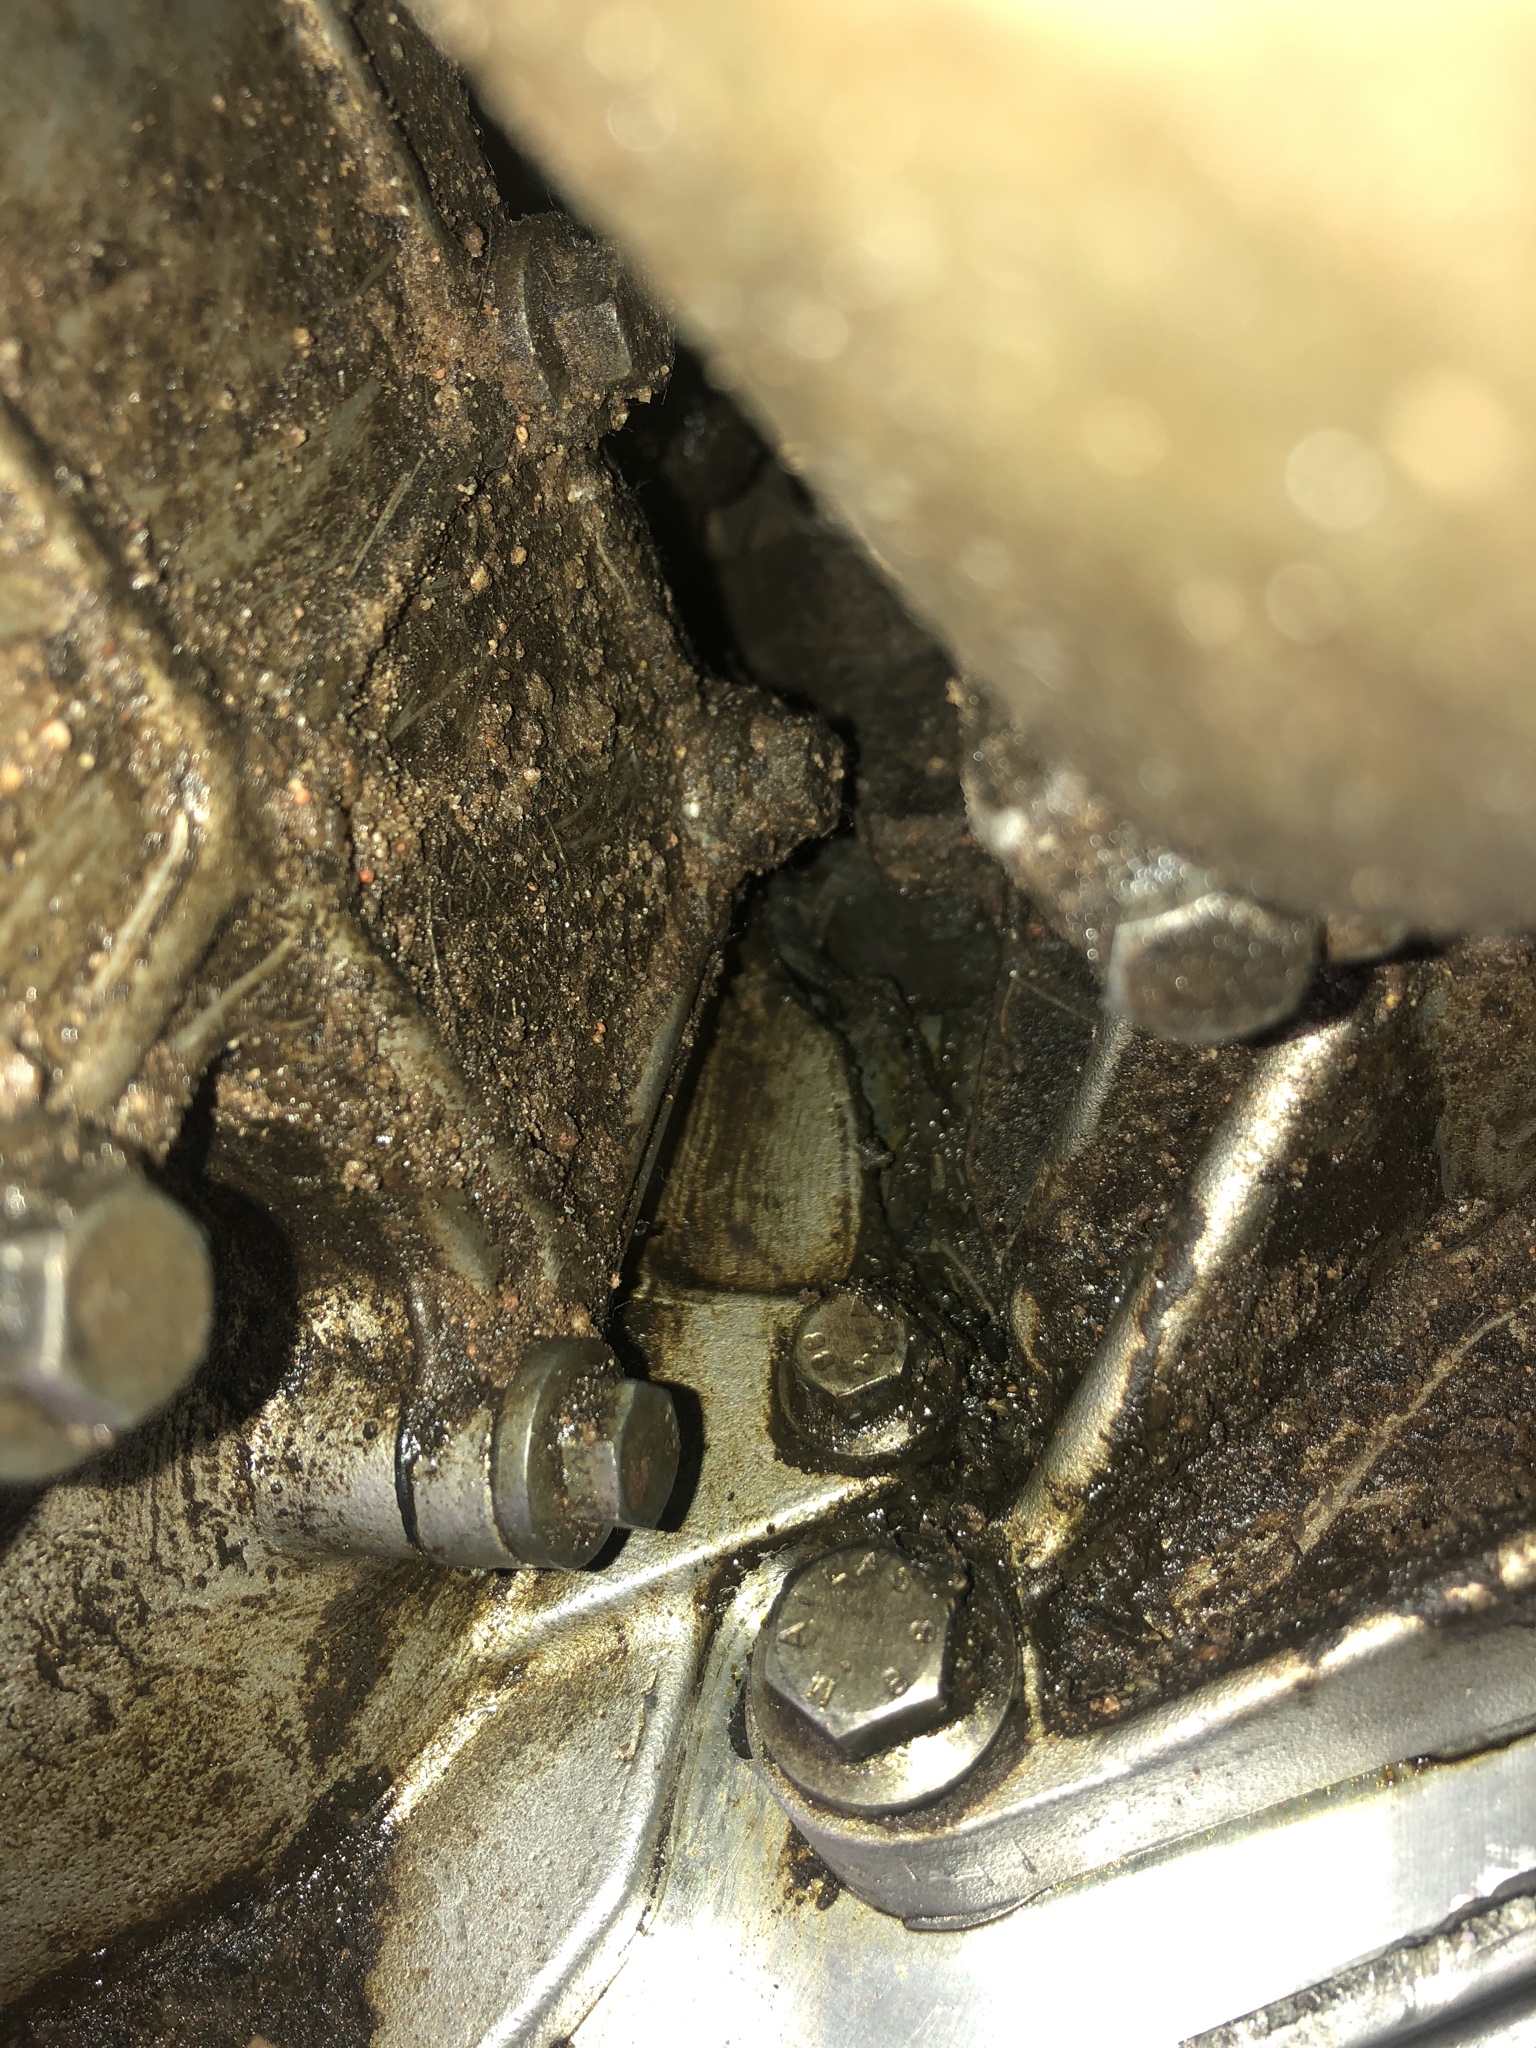
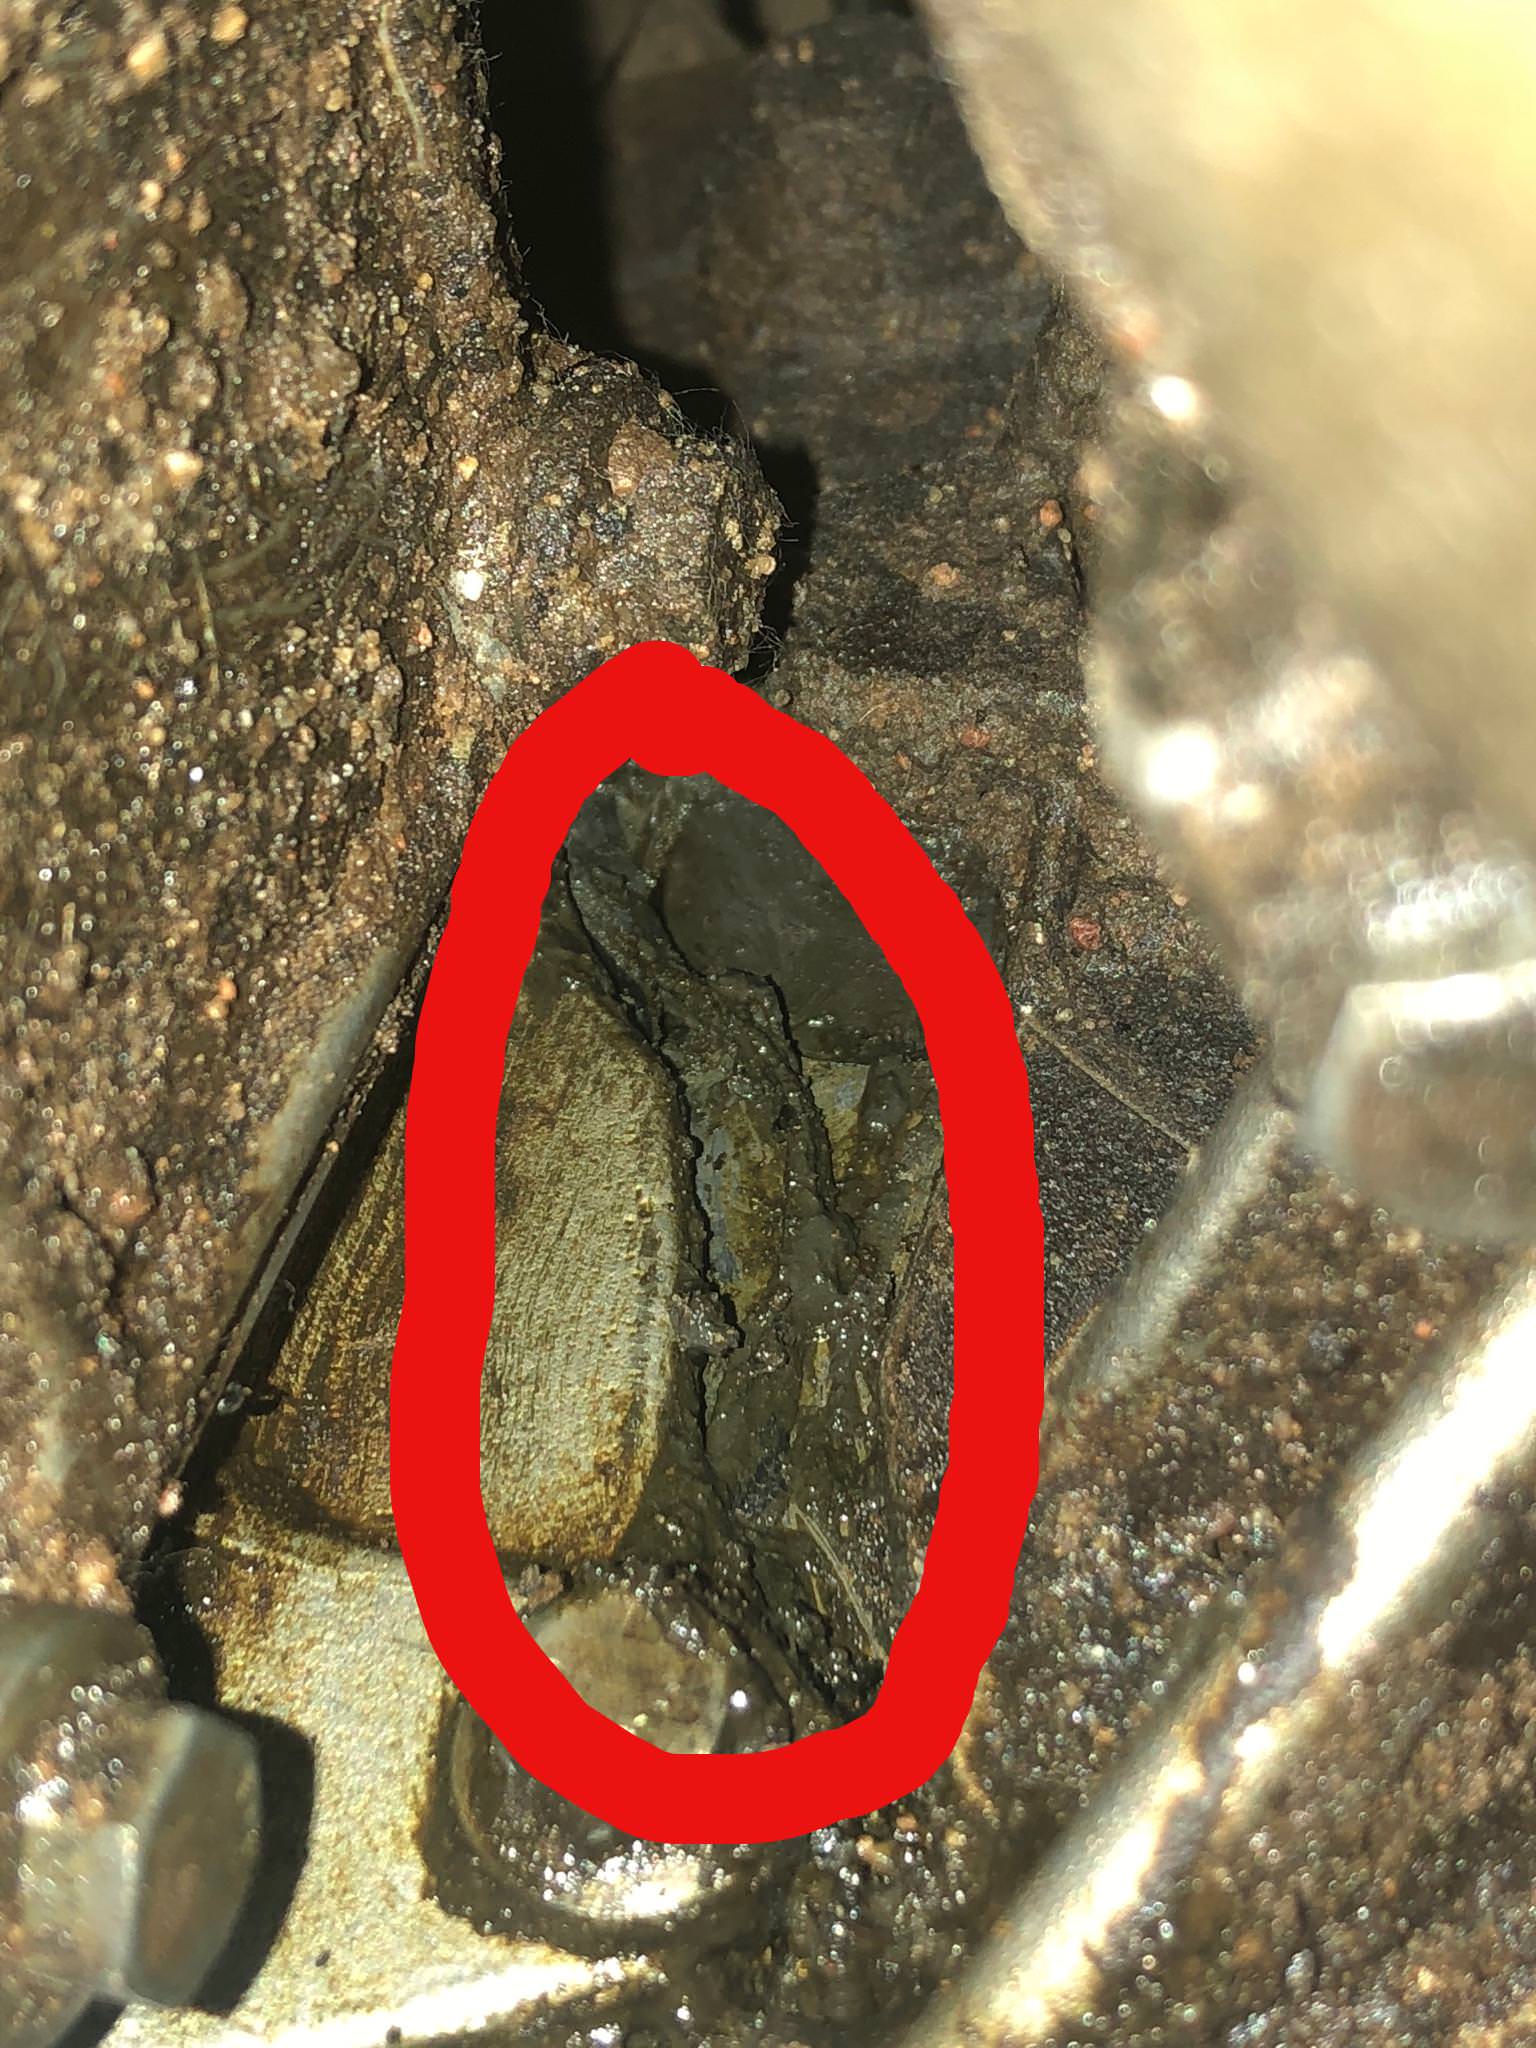
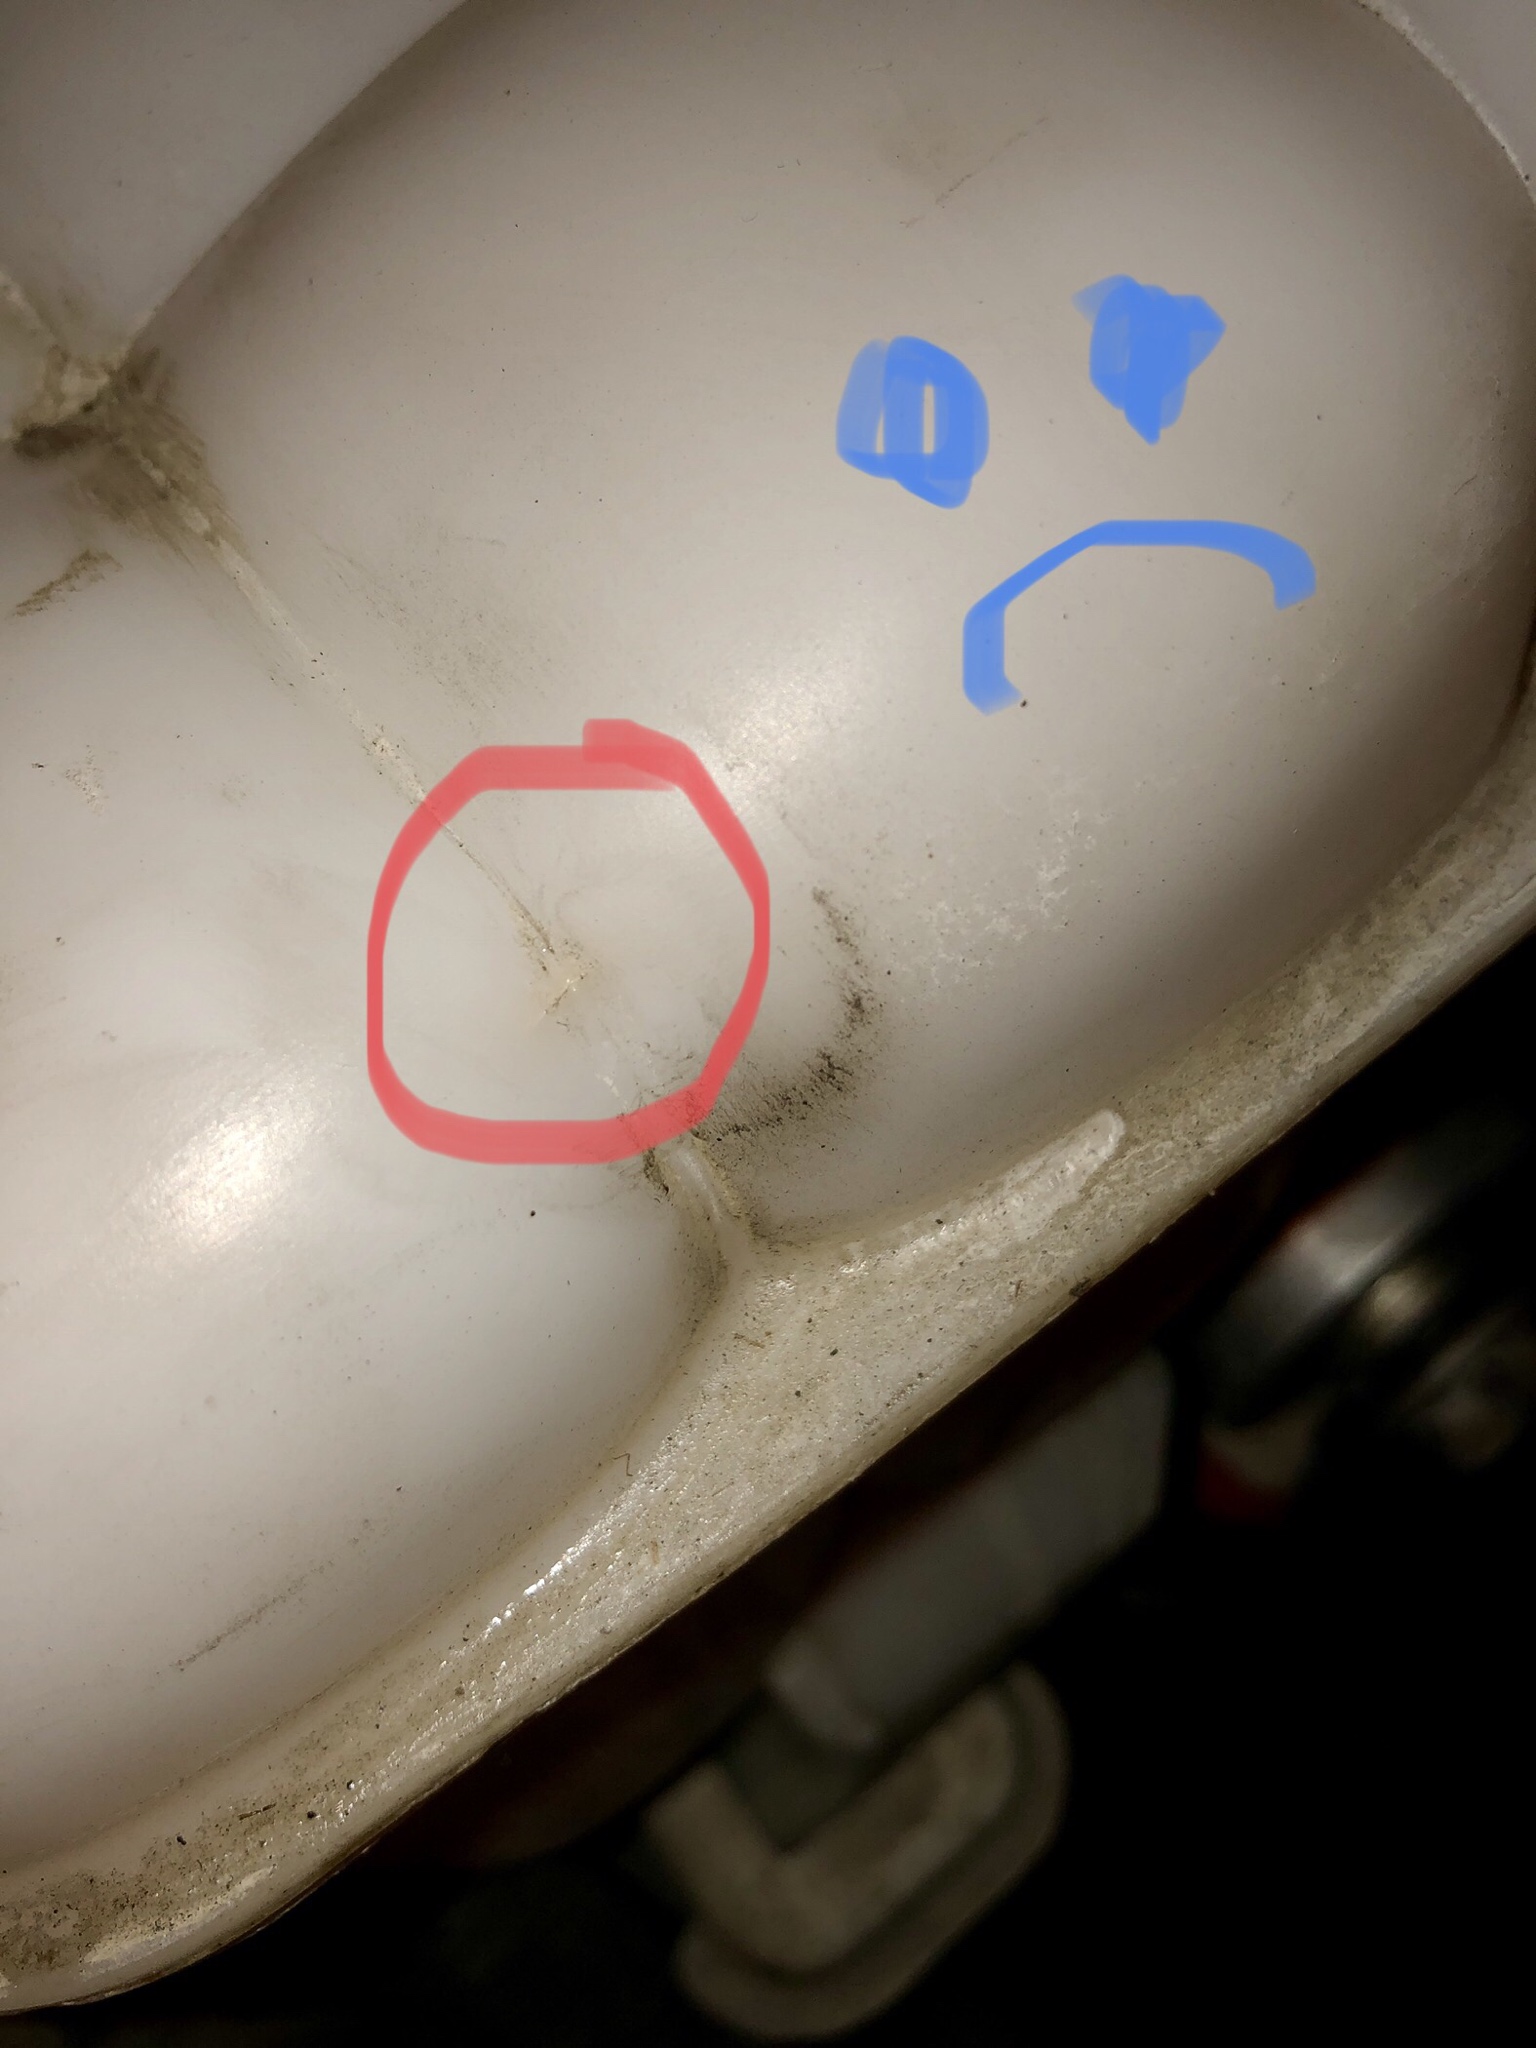
I think the leak in my tcase is.. not a good one. I am now convinced that this tcase has been pulled apart at some point and put back together with liquid gasket. The leak appears to be where the front ouput case mates with the main casing -- at least i think this is what is going on. Its kinda hard to see in the pics below but you can see the bit of liquid gasket that has pulled apart from the case -- looks like string cheese! I didn't have the means to yank the case and fix things properly at this time, so i just cleaned everything as best i could and just smeared on some more liquid gasket on the exterior in hopes of bandaid'ing this problem until i can fix it properly.
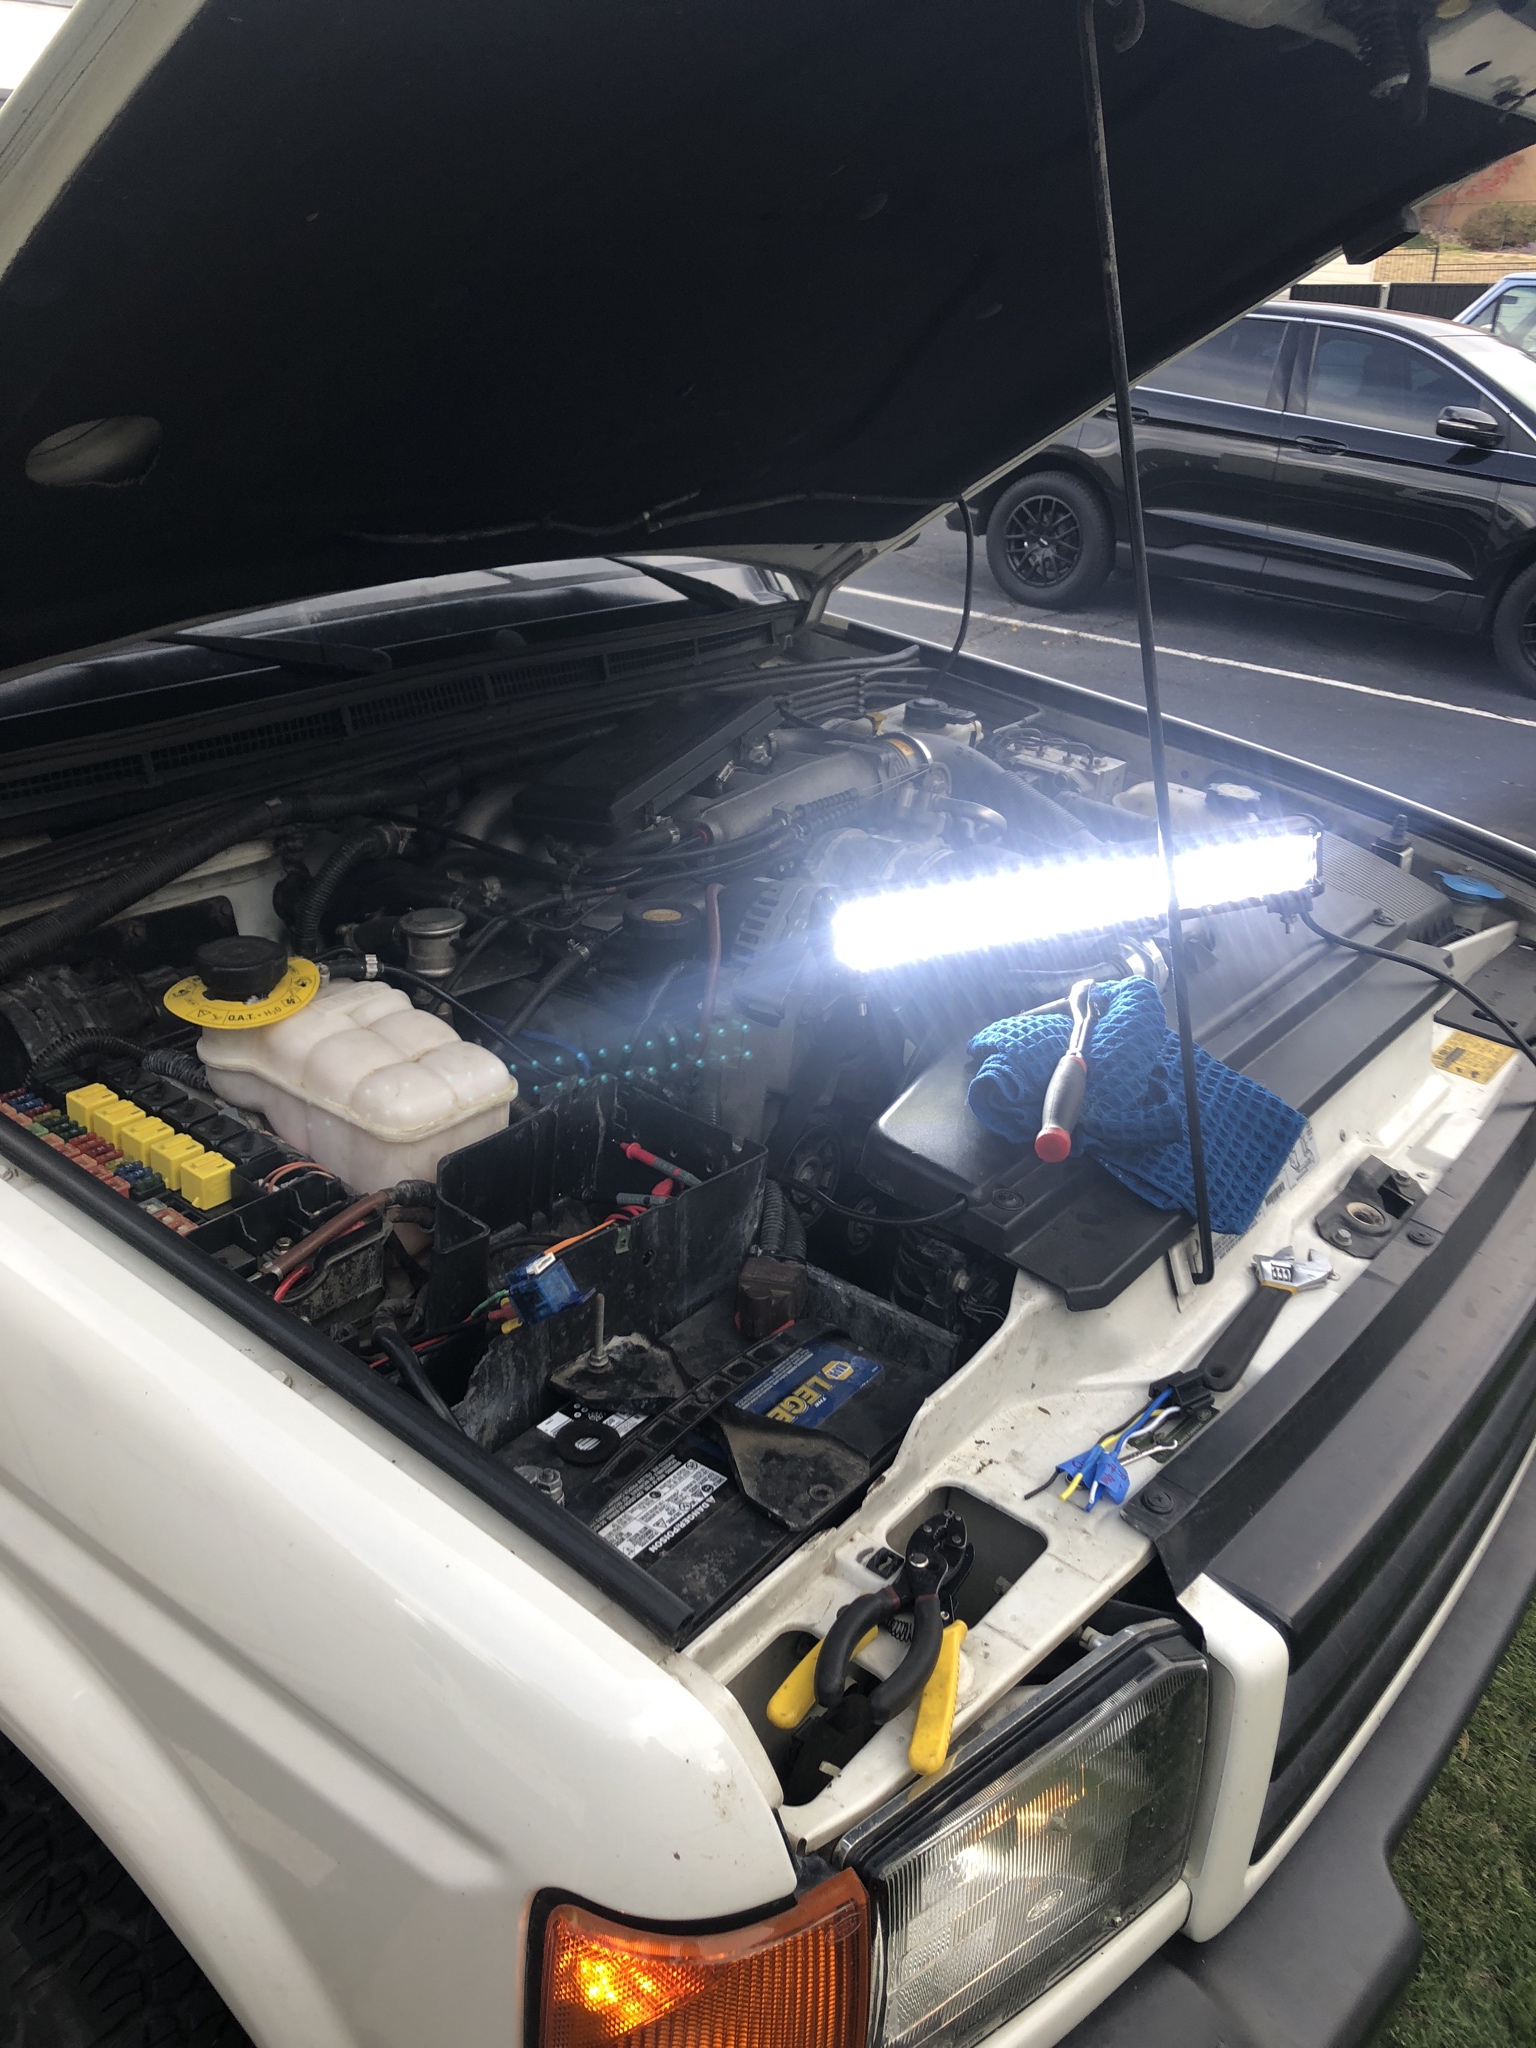
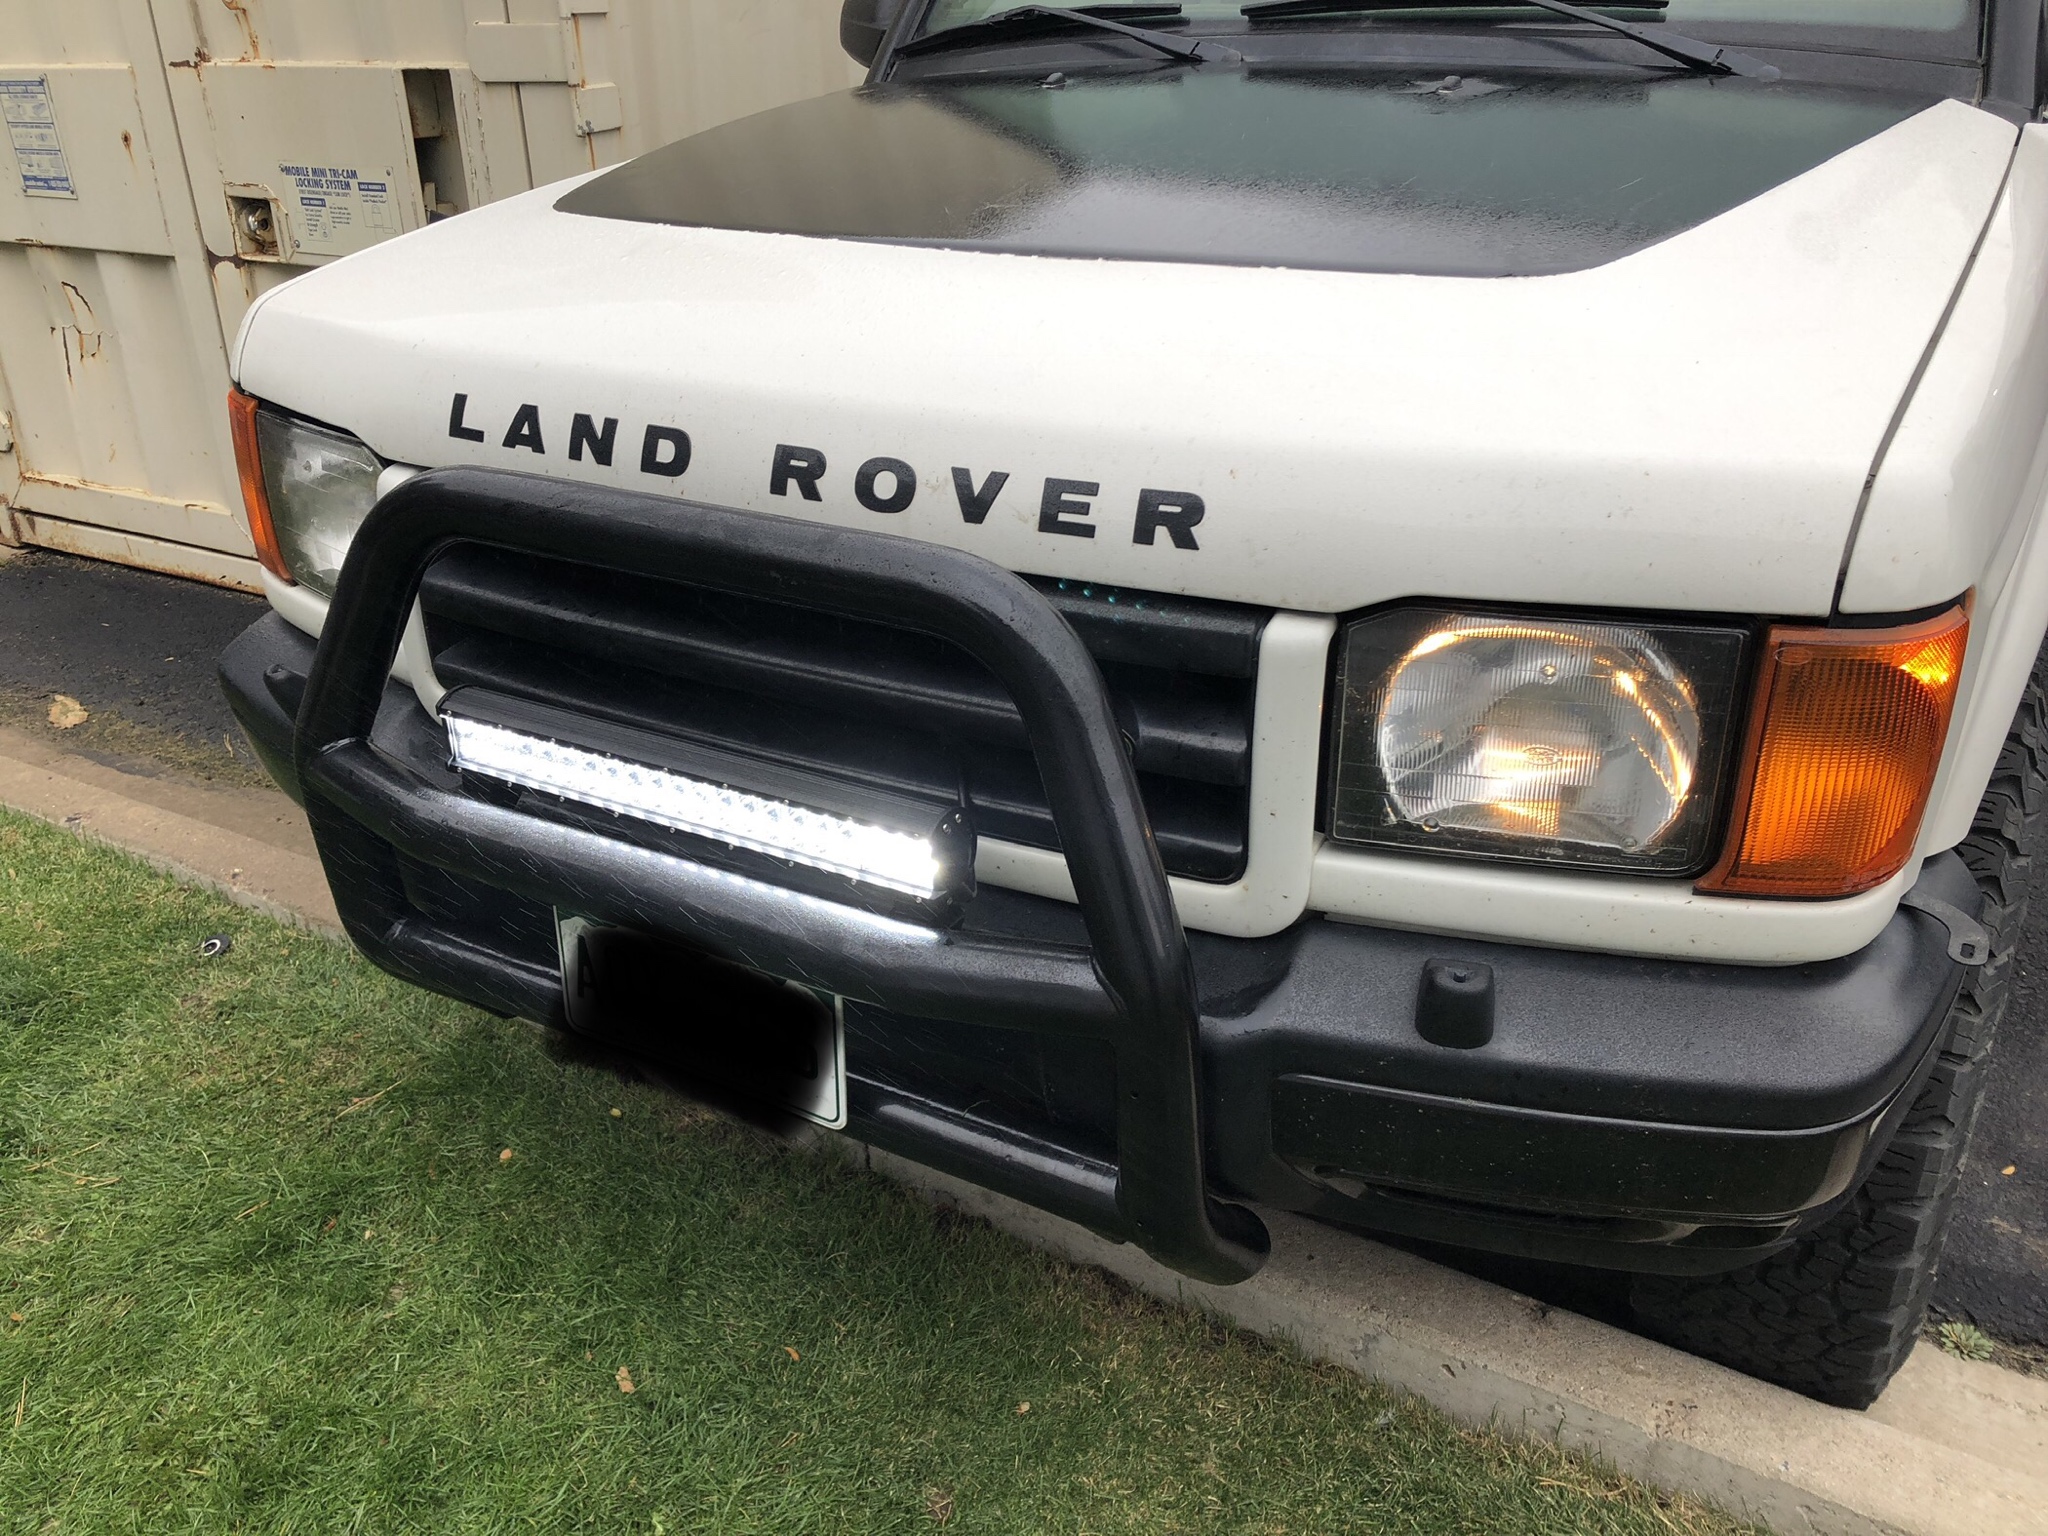
After that, i wanted to start figuring out the wiring for the 20" LED bar i picked up from Amazon that'll mount on the OEM bull bar i have. Finally (literally) scraped off all the old plastic coating on the bar, just need to flapper disc it and then spray it with some bed liner. The PO or POO had done some wiring for lights in the front but it wasn't relayed etc so i wanted to figure out what is what and get things cleaned up in order to do things right. I decided to yank the wiring that was for the CB as well. I had picked up some OEM lights switches for the bezel with pig tails from the junkyard, so gotta figure out how to wire the switch up with a relay and i'll be in business. Really just gotta figure out the pin out for the switch, relay wiring is easy!
I think the leak in my tcase is.. not a good one. I am now convinced that this tcase has been pulled apart at some point and put back together with liquid gasket. The leak appears to be where the front ouput case mates with the main casing -- at least i think this is what is going on. Its kinda hard to see in the pics below but you can see the bit of liquid gasket that has pulled apart from the case -- looks like string cheese! I didn't have the means to yank the case and fix things properly at this time, so i just cleaned everything as best i could and just smeared on some more liquid gasket on the exterior in hopes of bandaid'ing this problem until i can fix it properly.
After that, i wanted to start figuring out the wiring for the 20" LED bar i picked up from Amazon that'll mount on the OEM bull bar i have. Finally (literally) scraped off all the old plastic coating on the bar, just need to flapper disc it and then spray it with some bed liner. The PO or POO had done some wiring for lights in the front but it wasn't relayed etc so i wanted to figure out what is what and get things cleaned up in order to do things right. I decided to yank the wiring that was for the CB as well. I had picked up some OEM lights switches for the bezel with pig tails from the junkyard, so gotta figure out how to wire the switch up with a relay and i'll be in business. Really just gotta figure out the pin out for the switch, relay wiring is easy!
#445
09-28-2018, 01:07 PM
Ive noticed that after removing that extra wiring, UG is showing me mid 14 volts now which is about .5 volts more that it was previously. 
Finally got the stupid bull bar all cleaned up and removed all of the lame plastic covering -- defo had a few rust spots but I'll be painting it with Por-15 so i'm not really worried. Ordered a gallon which should be here on Monday -- gonna start doing the frame / axles!
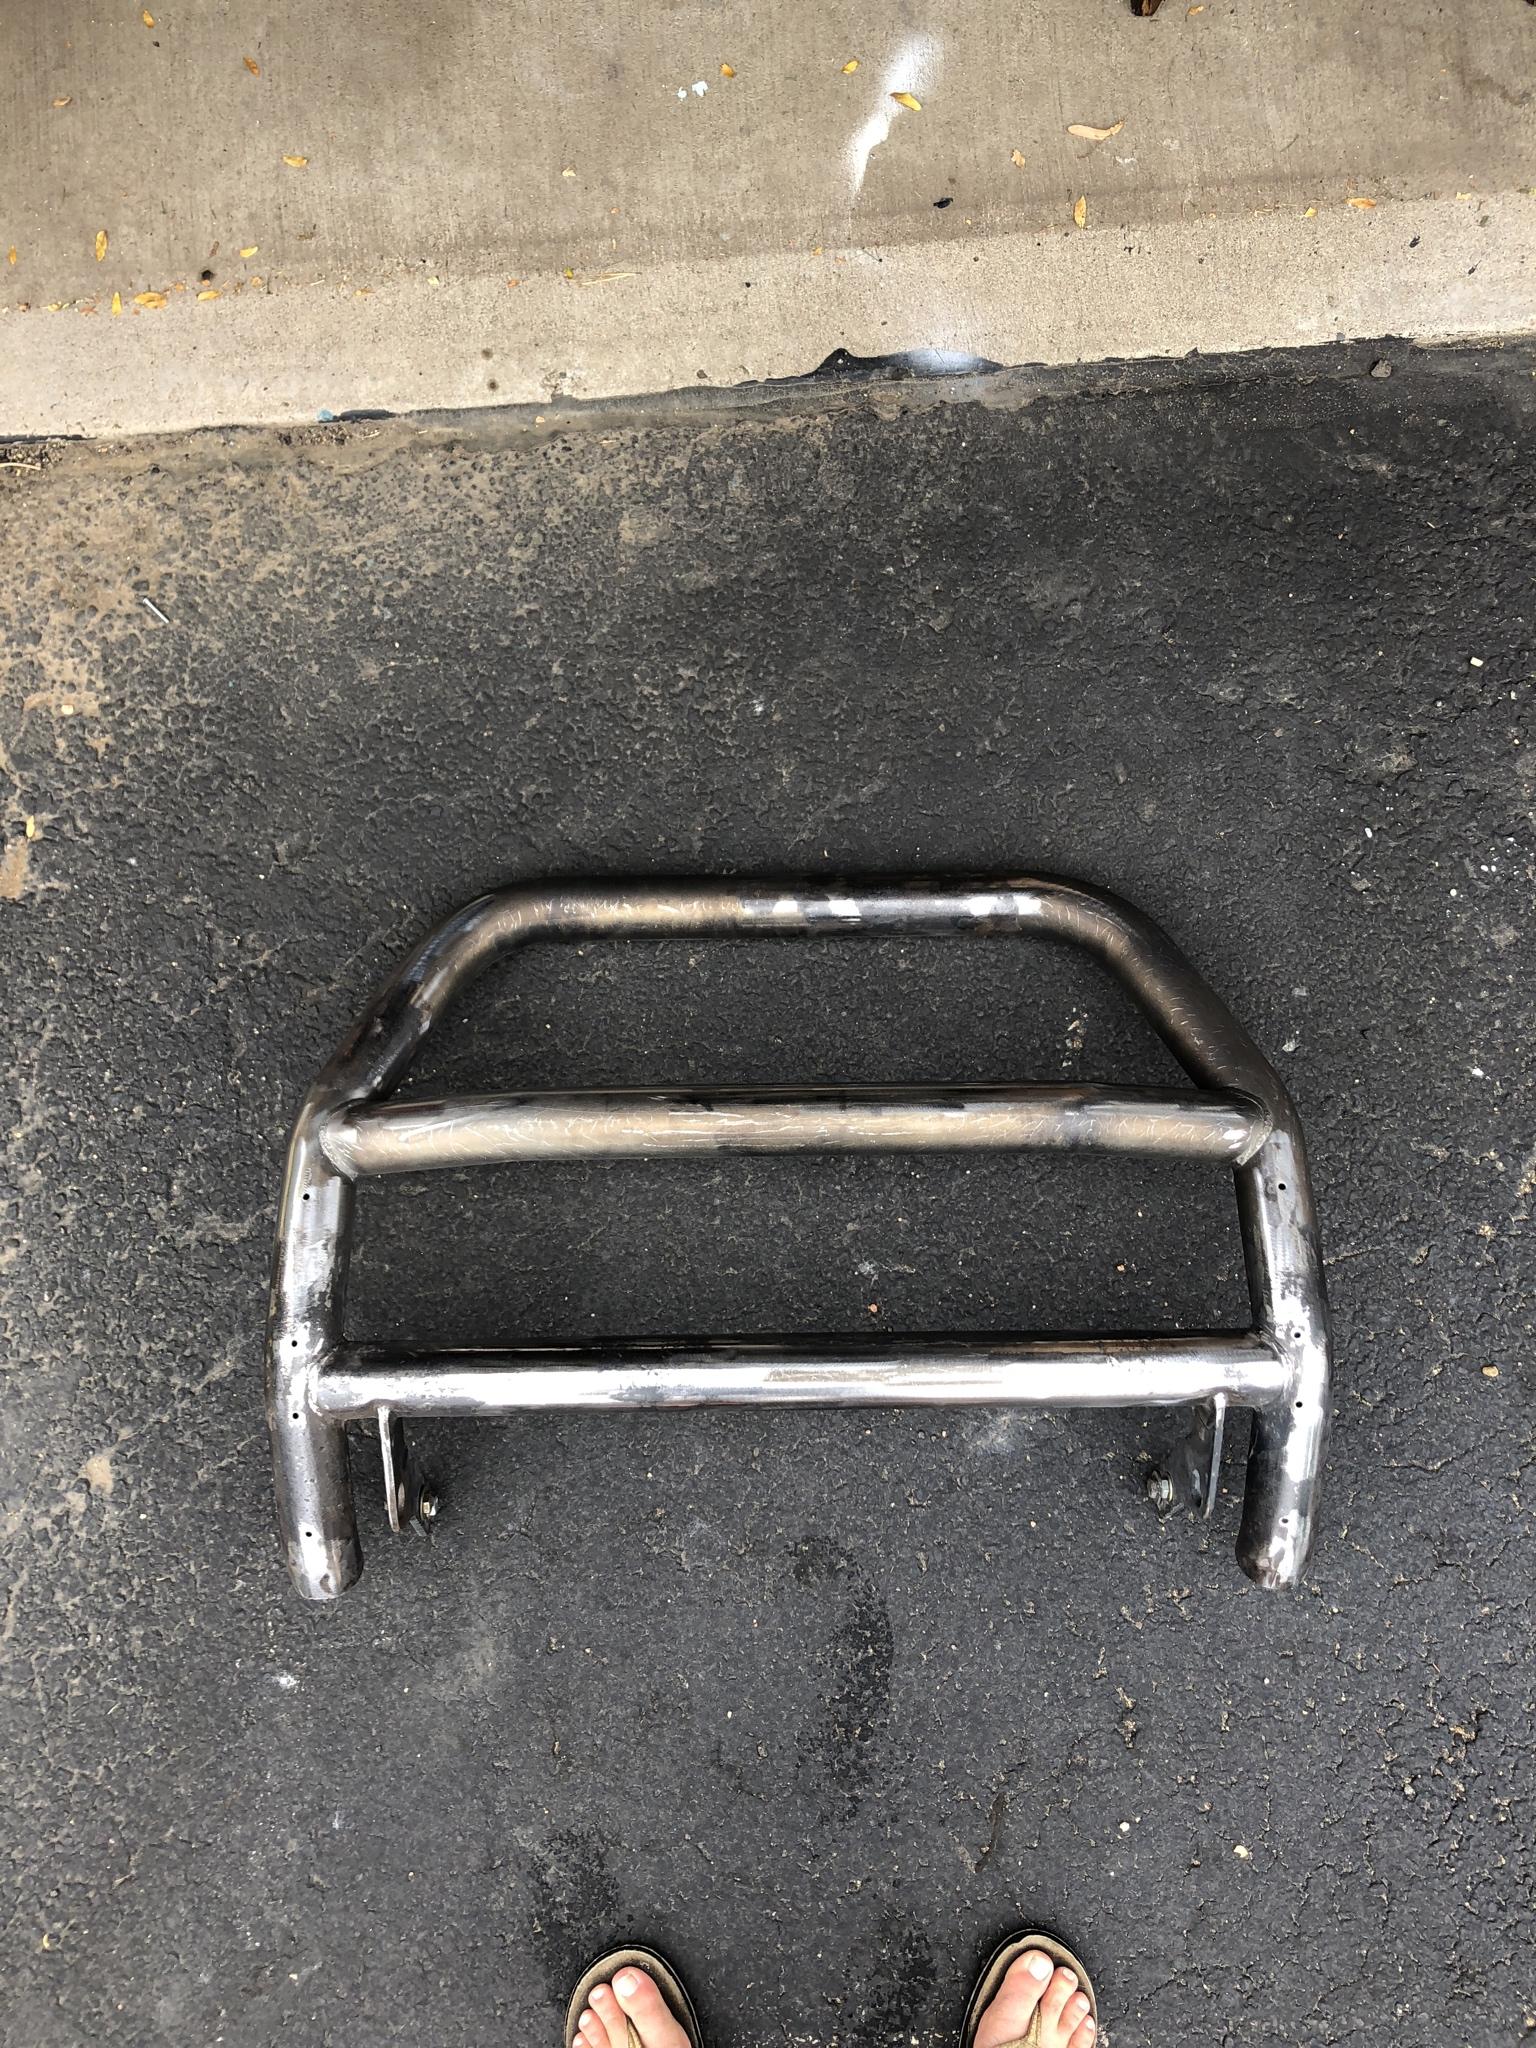
Finally got the stupid bull bar all cleaned up and removed all of the lame plastic covering -- defo had a few rust spots but I'll be painting it with Por-15 so i'm not really worried. Ordered a gallon which should be here on Monday -- gonna start doing the frame / axles!
Last edited by Saturnine; 09-28-2018 at 01:24 PM.
#446
10-04-2018, 09:21 PM
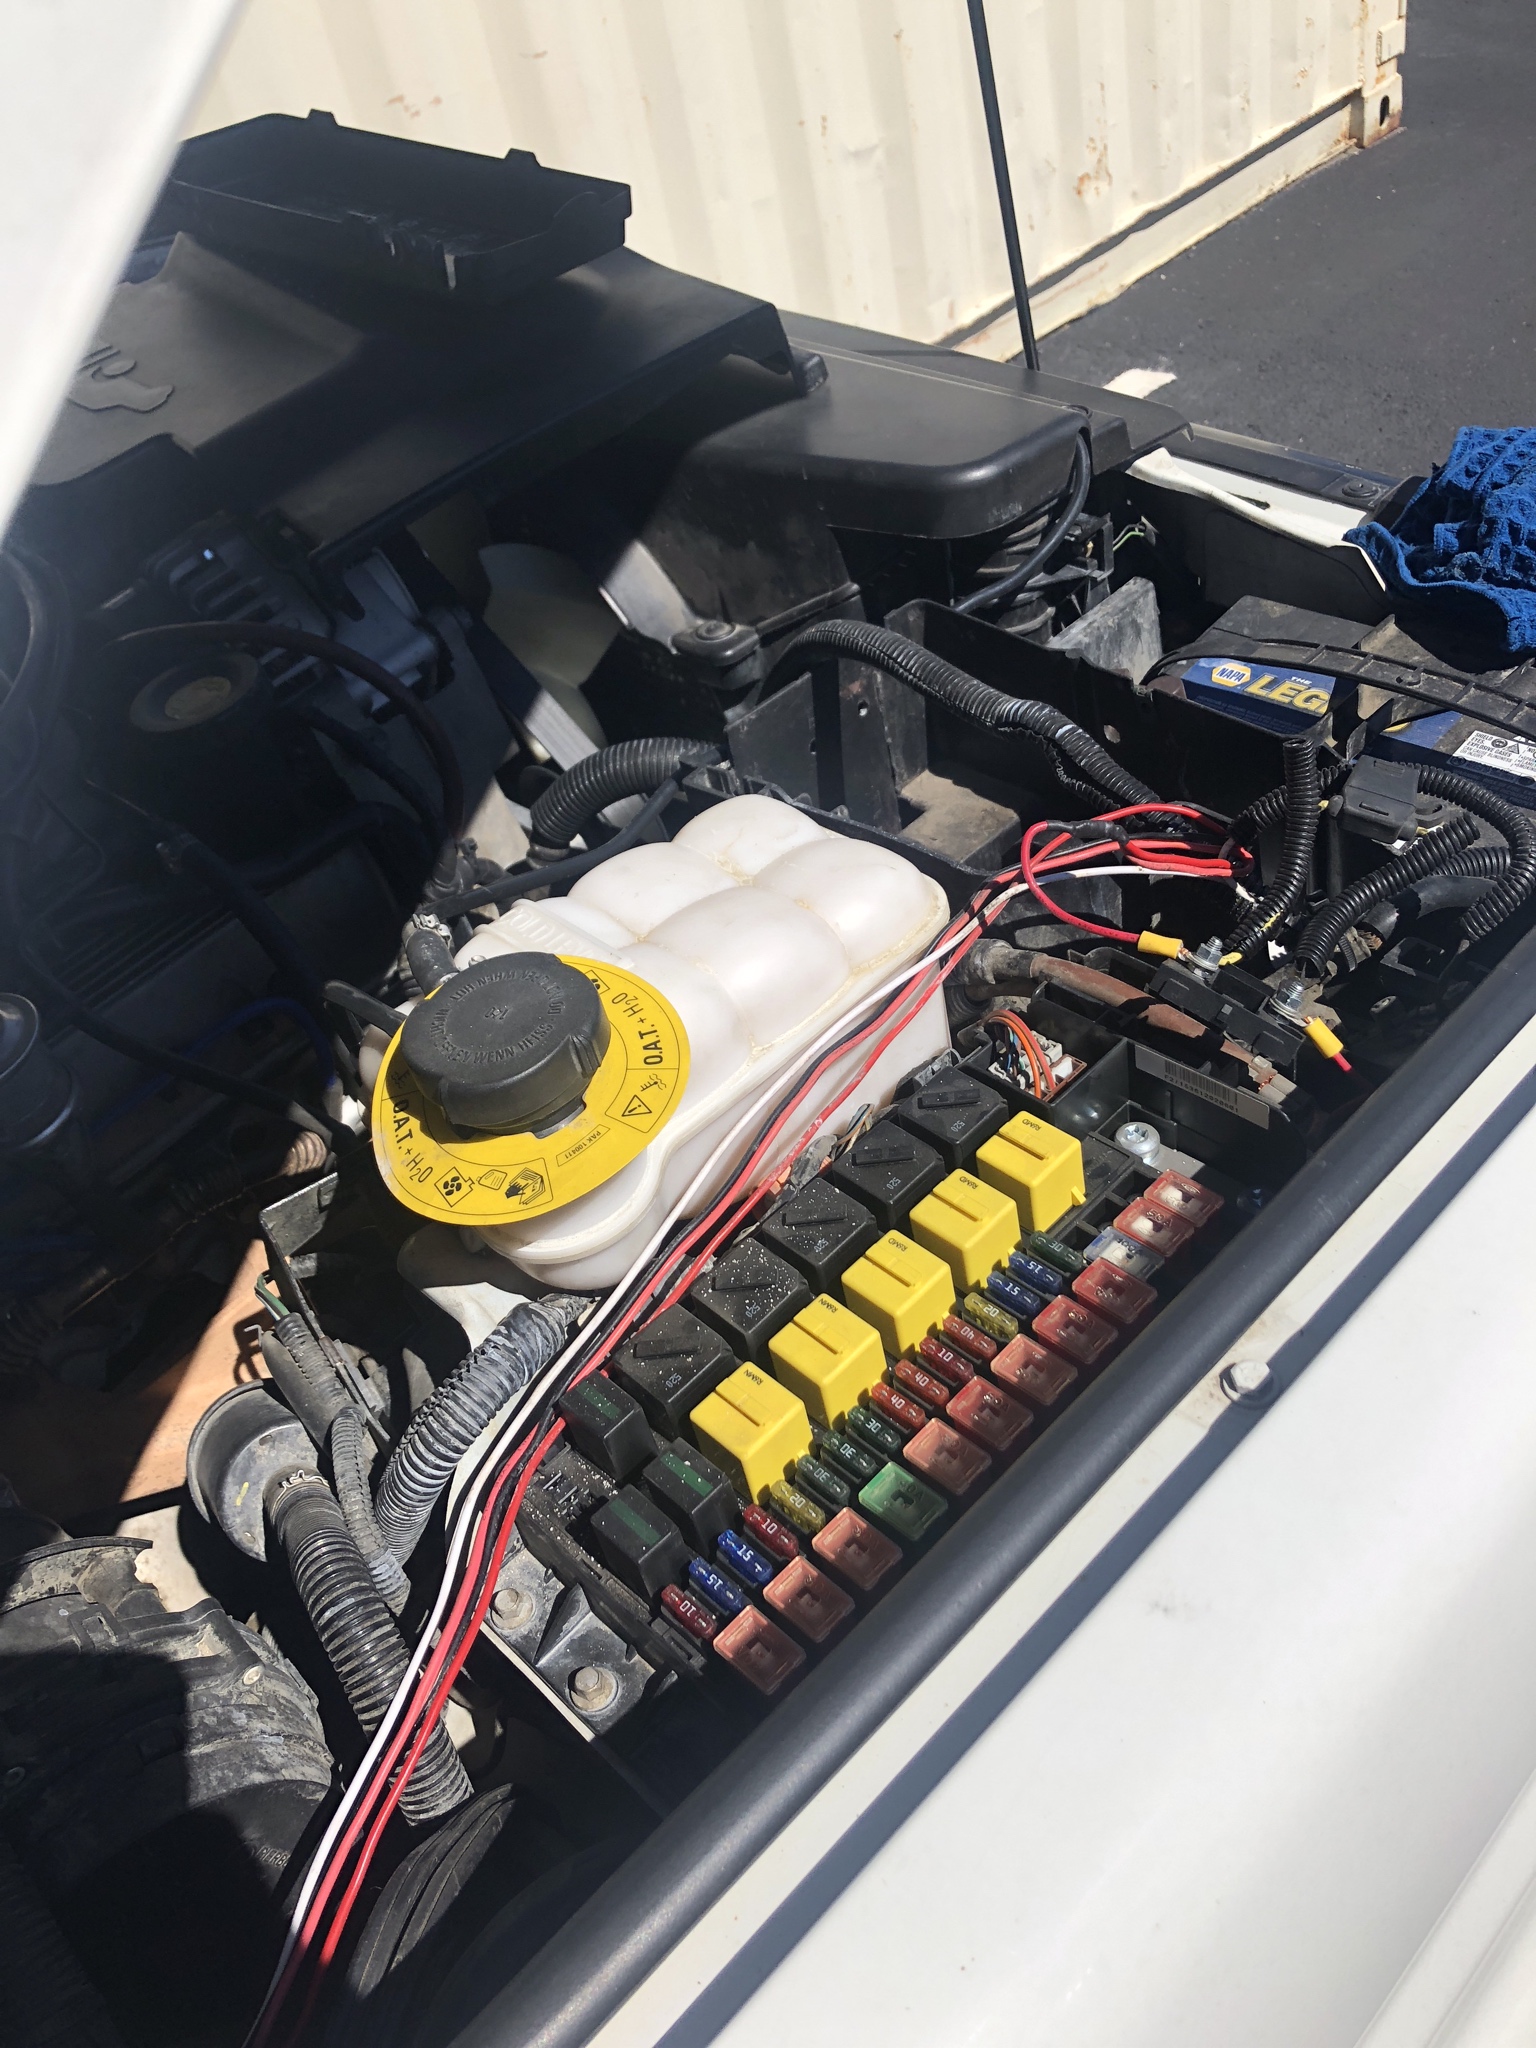
Fiddled with more wiring / lights stuff and found a crack on my expansion tank. Wired up the extra LED pod i had to the rear foglight and mounted it under the rear bumper on the left side. Should make for backing up easier using the side view mirror as the other LED pod is is mounted above the bumper on the right side
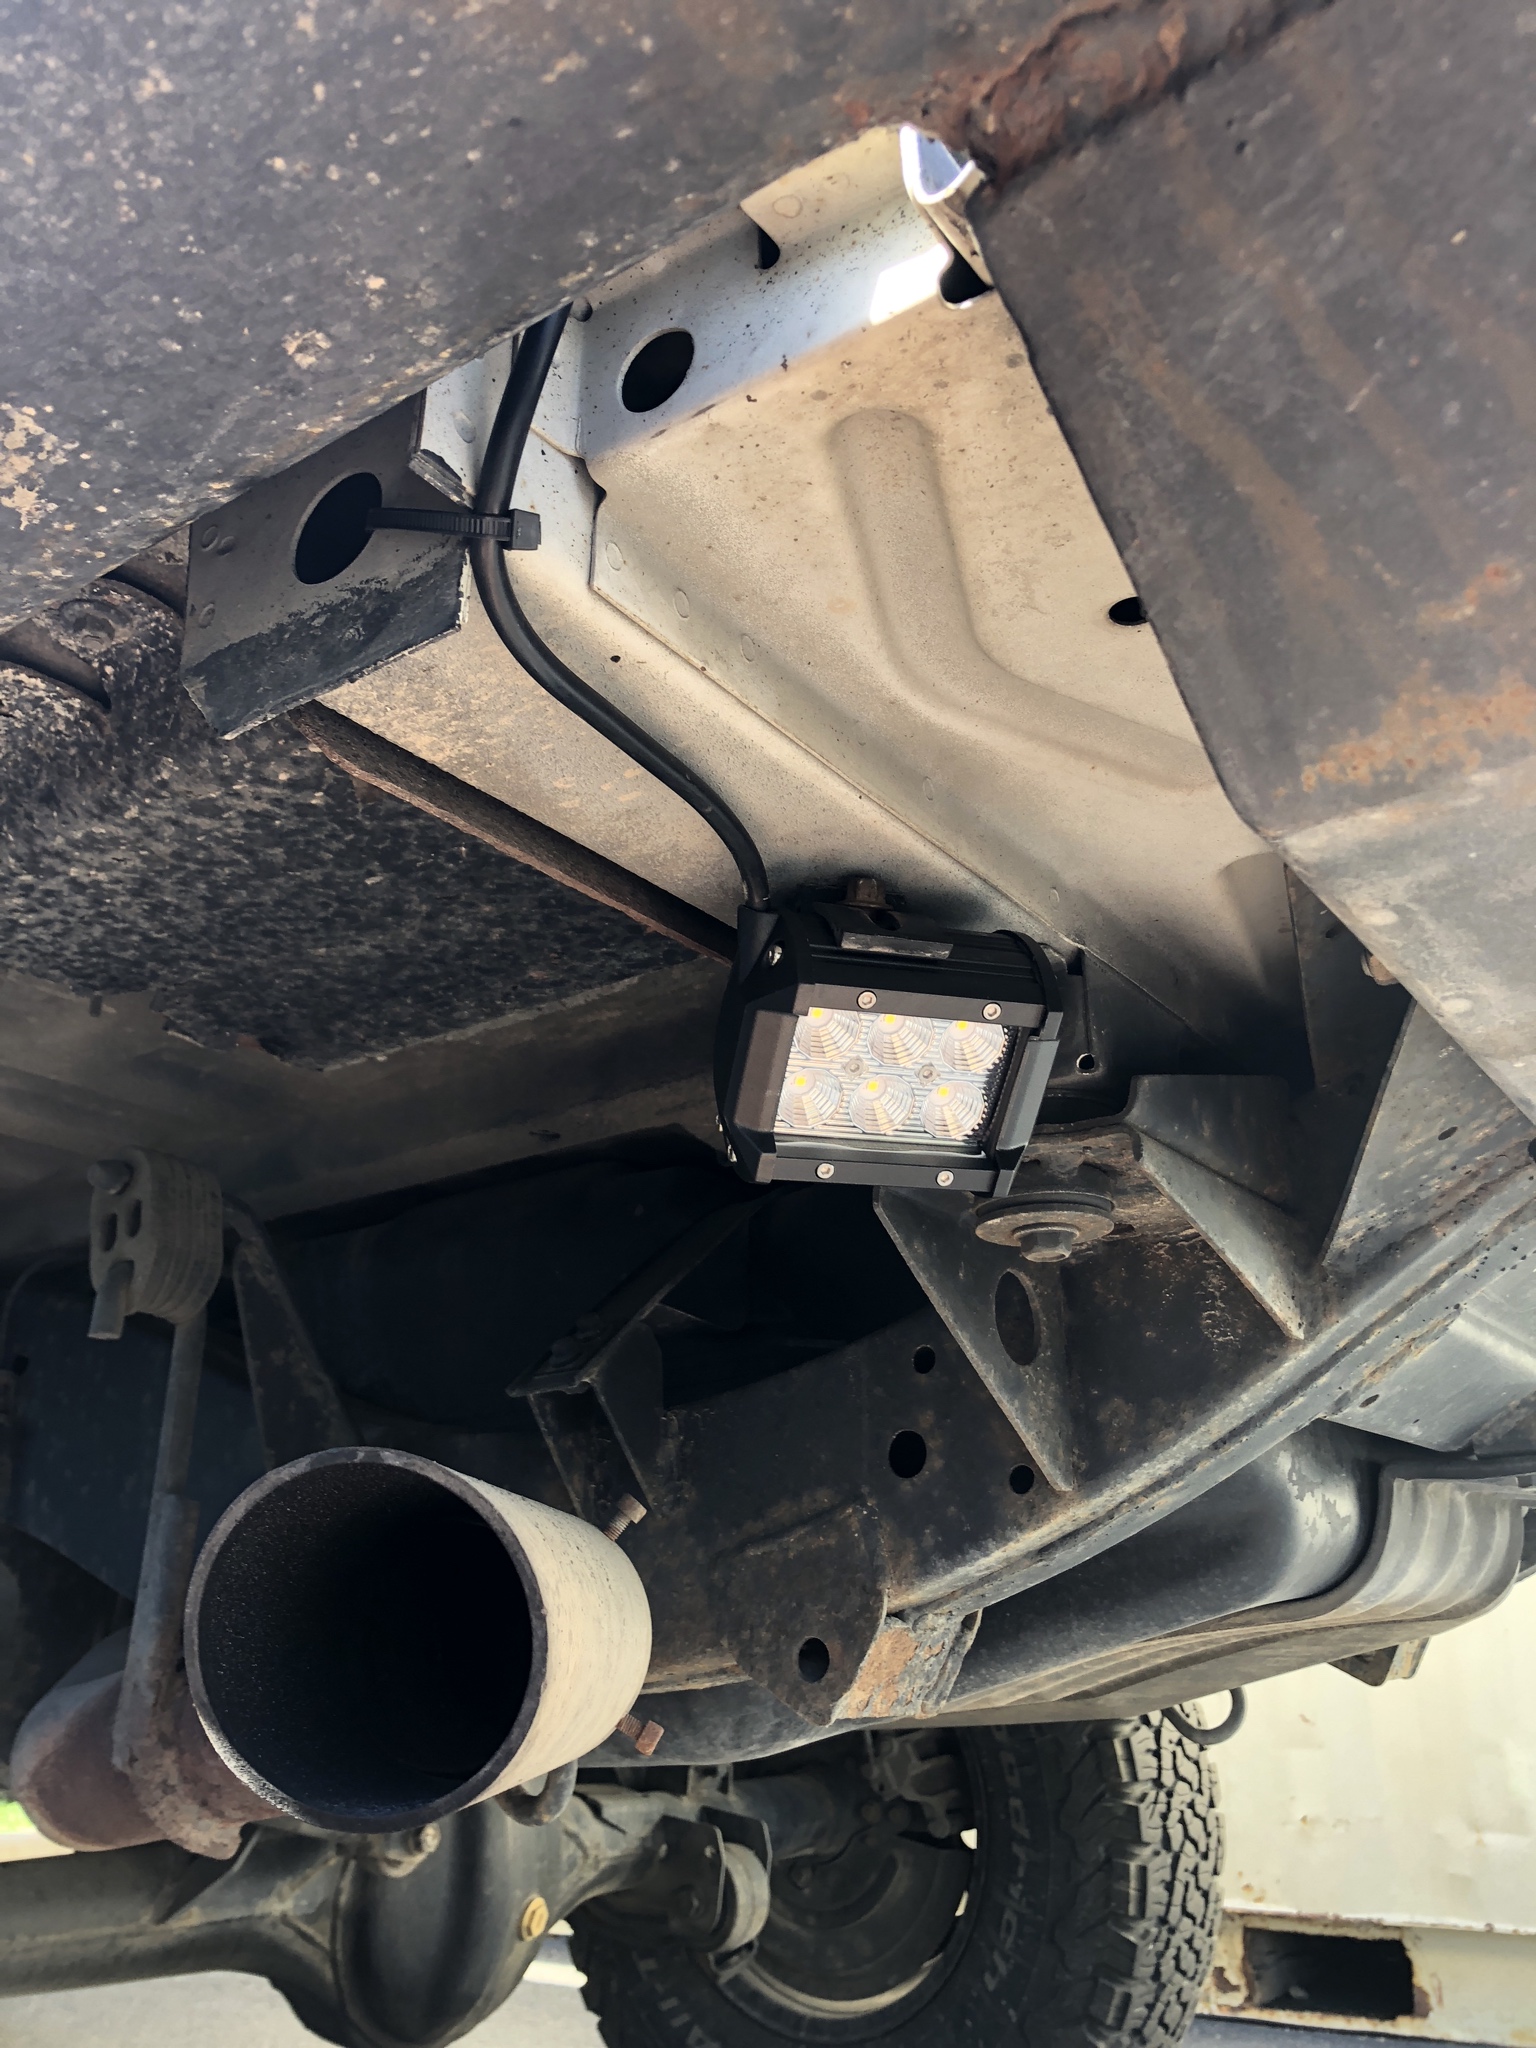
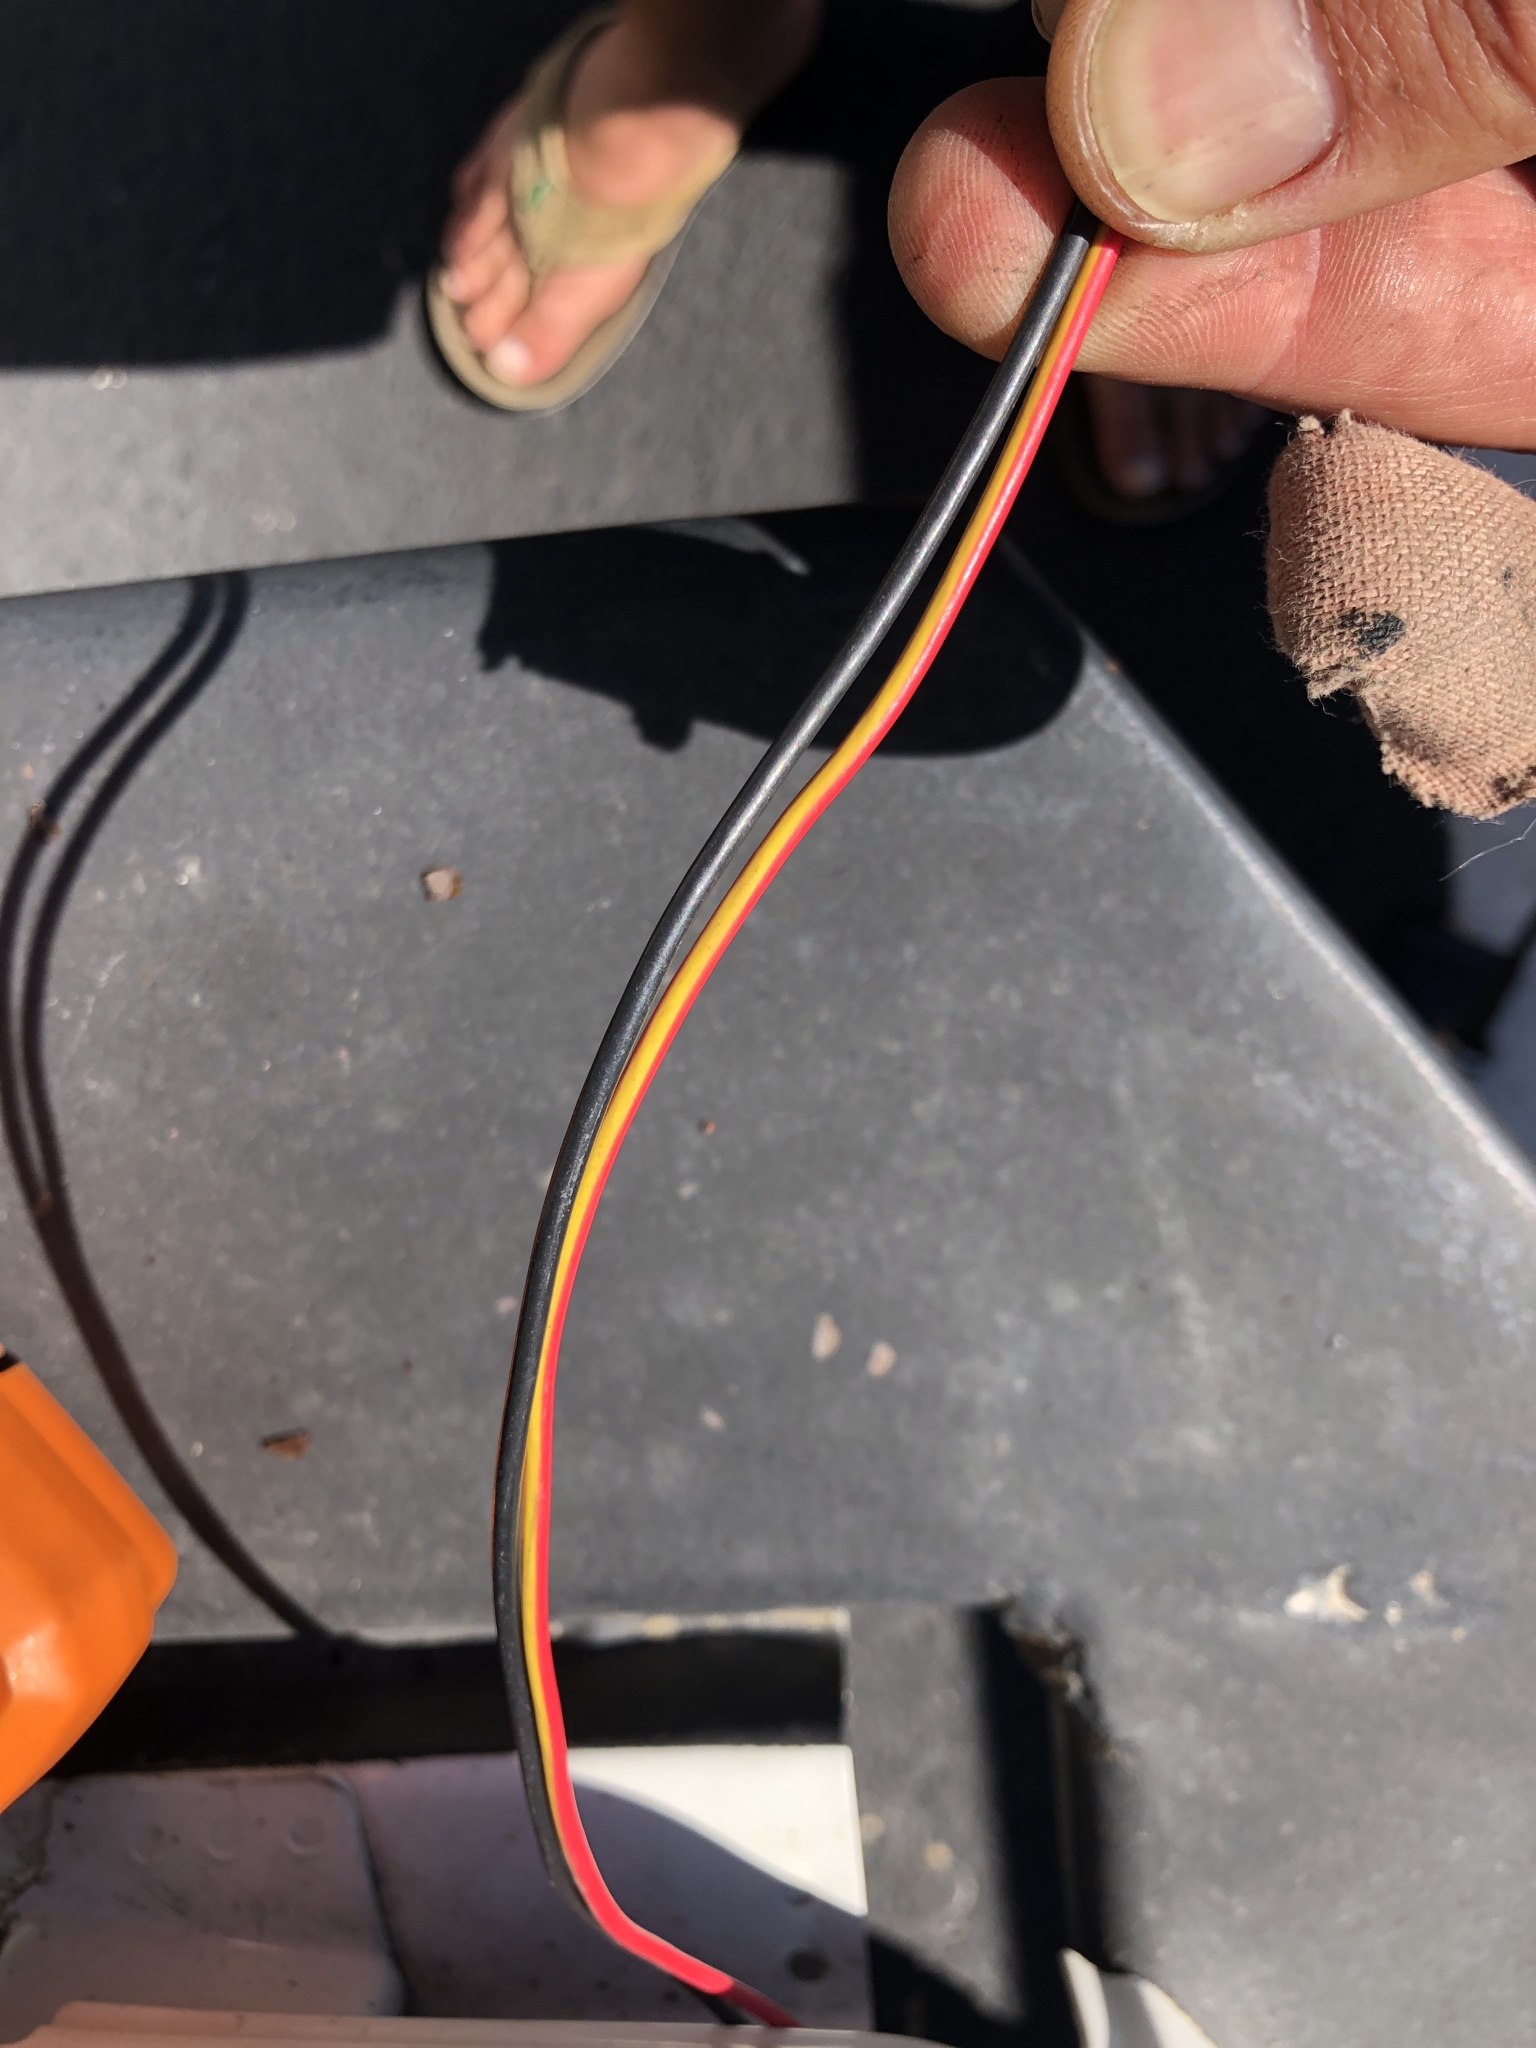
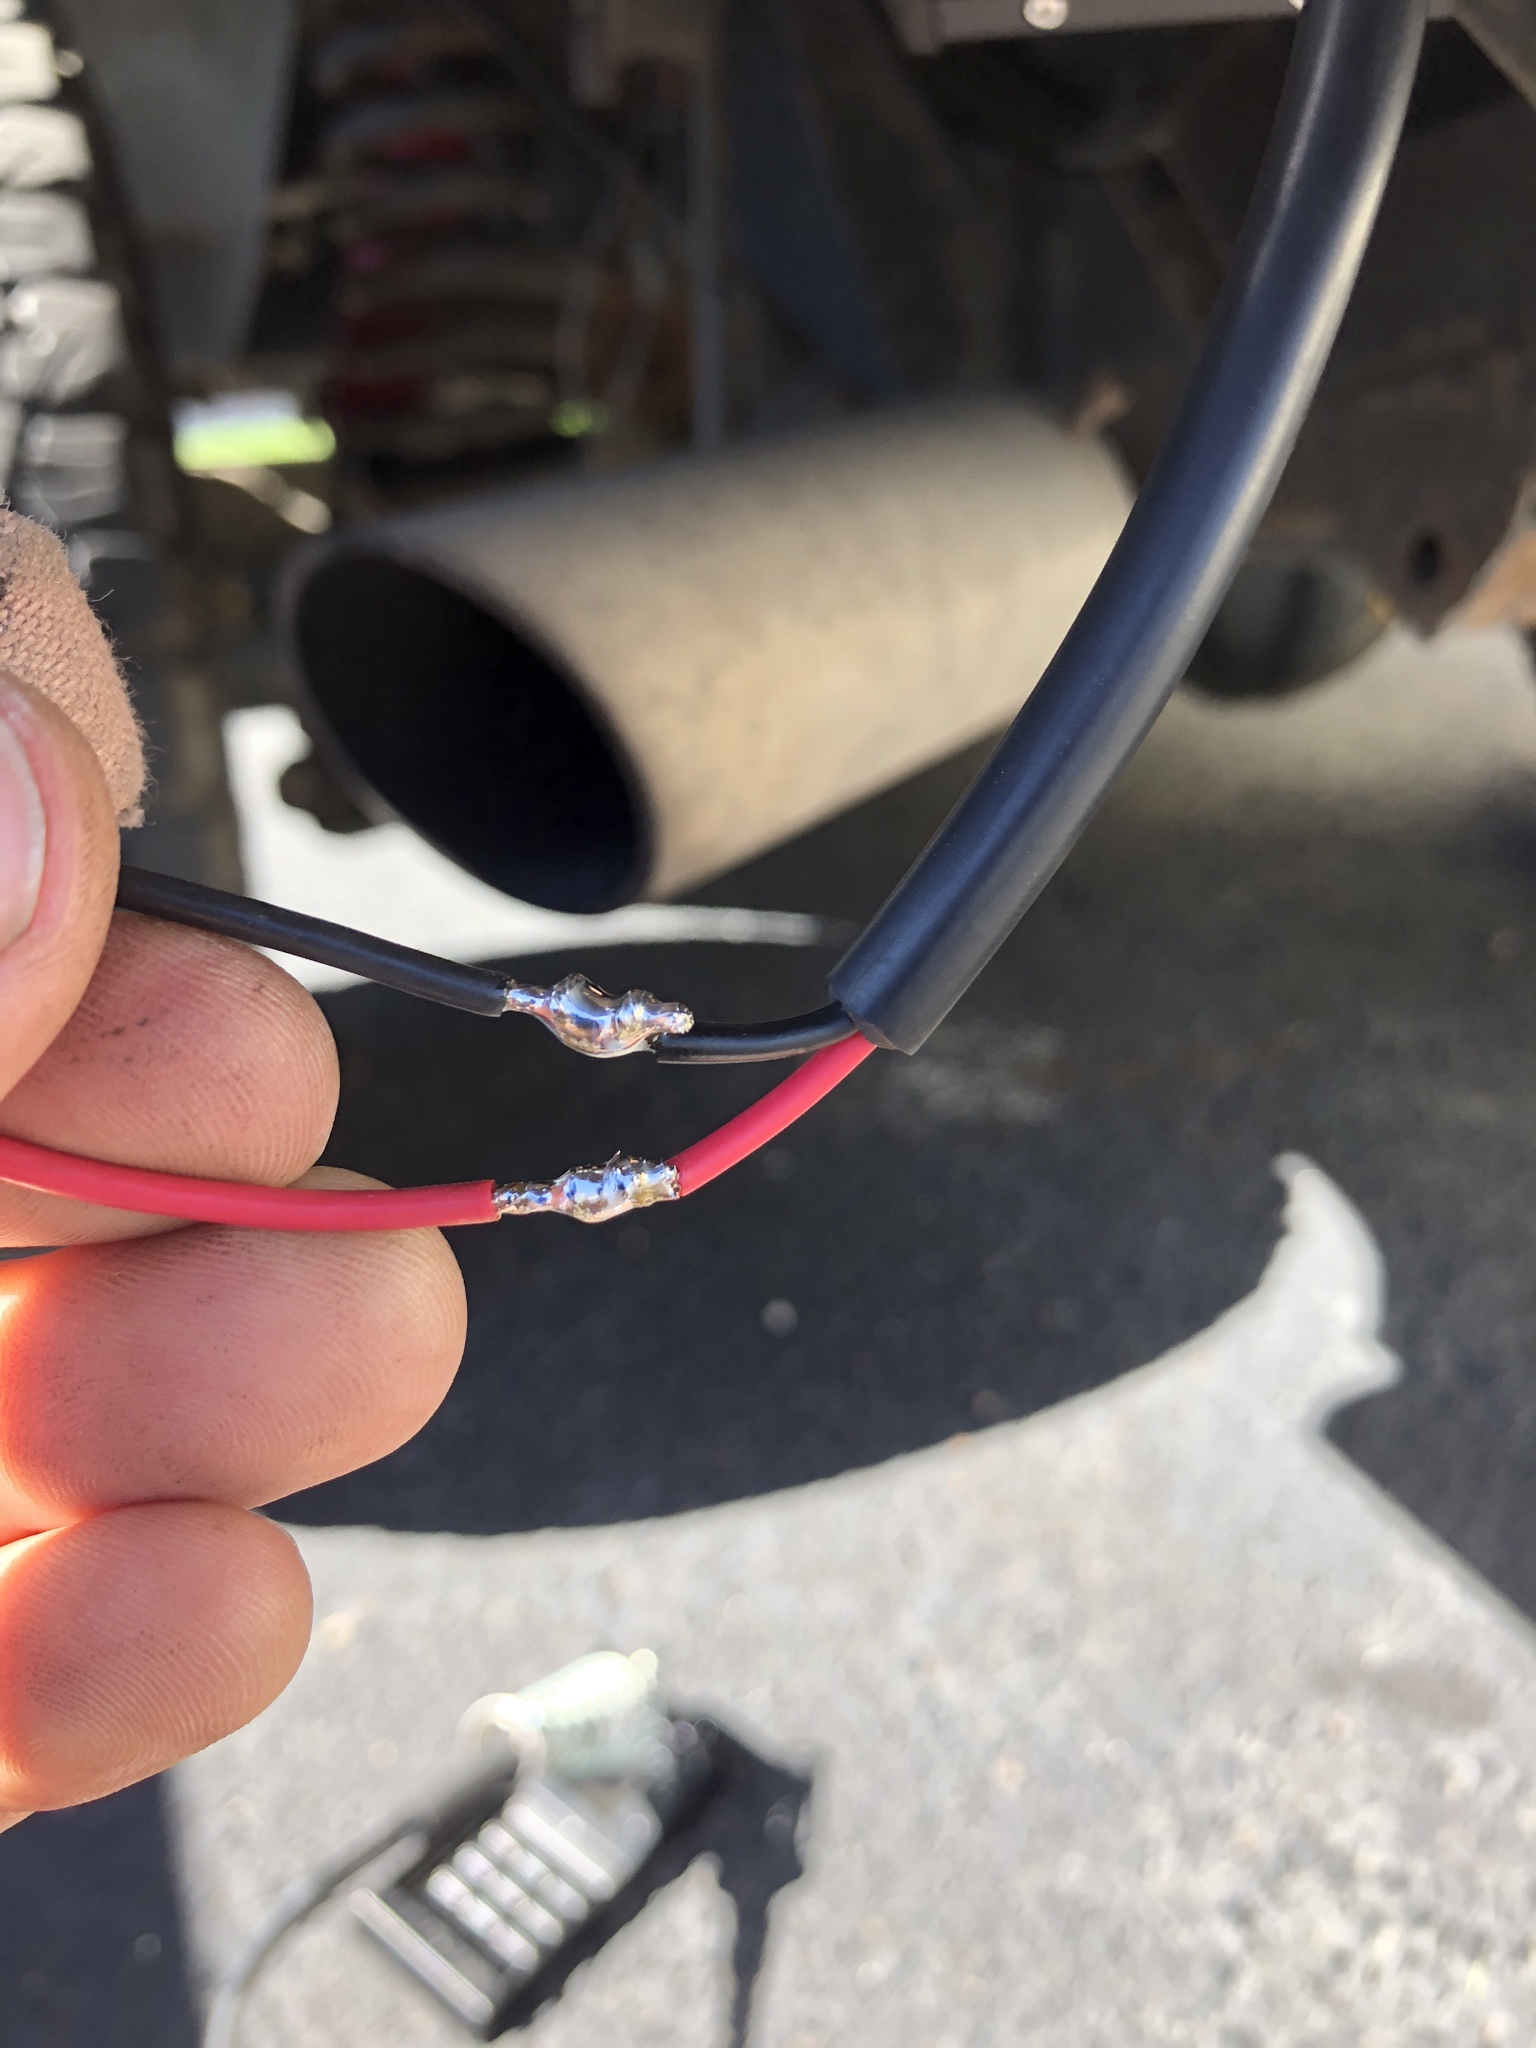
Since i don't have the OEM rear bumper, all the lights in said bumper have just been cut off. Already fixed the reverse light situation, but in doing so I had an extra LED pod. I had thought about just wiring it up to the reverse lights but i thought that would be overkill. The Deputy's thread on rear fog lights got me thinking so I just decided to hook up the extra light to that circuit. Found the red/yellow wire on the drivers side tail light and just extended the wires, soldiered and mounted the light. Job done.
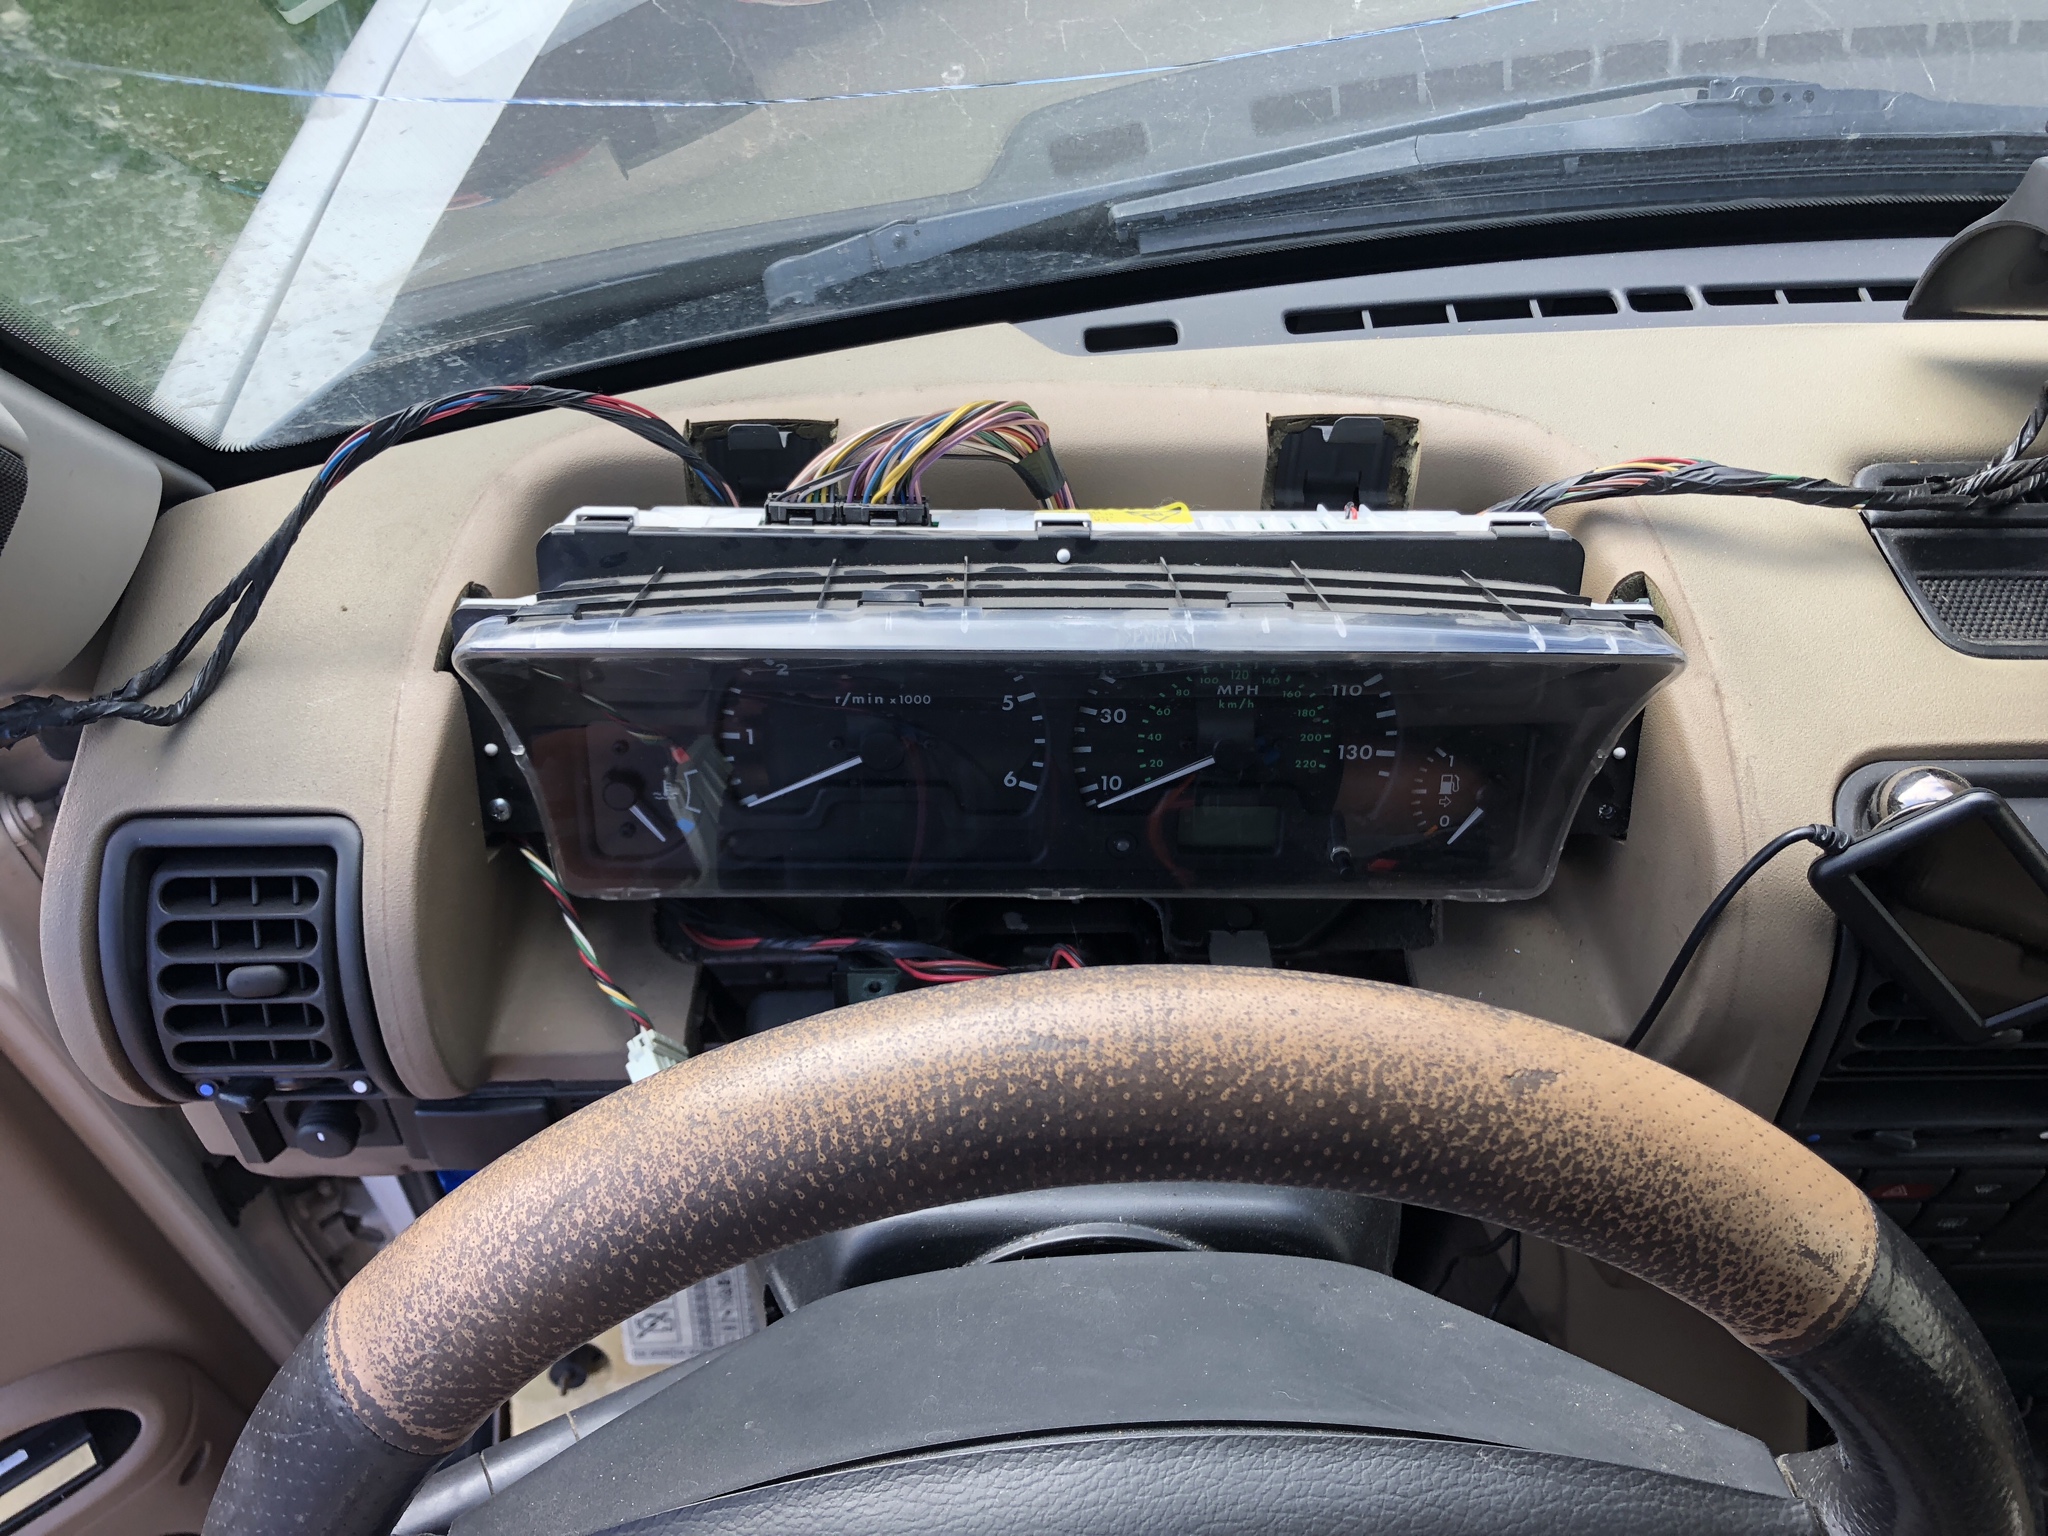
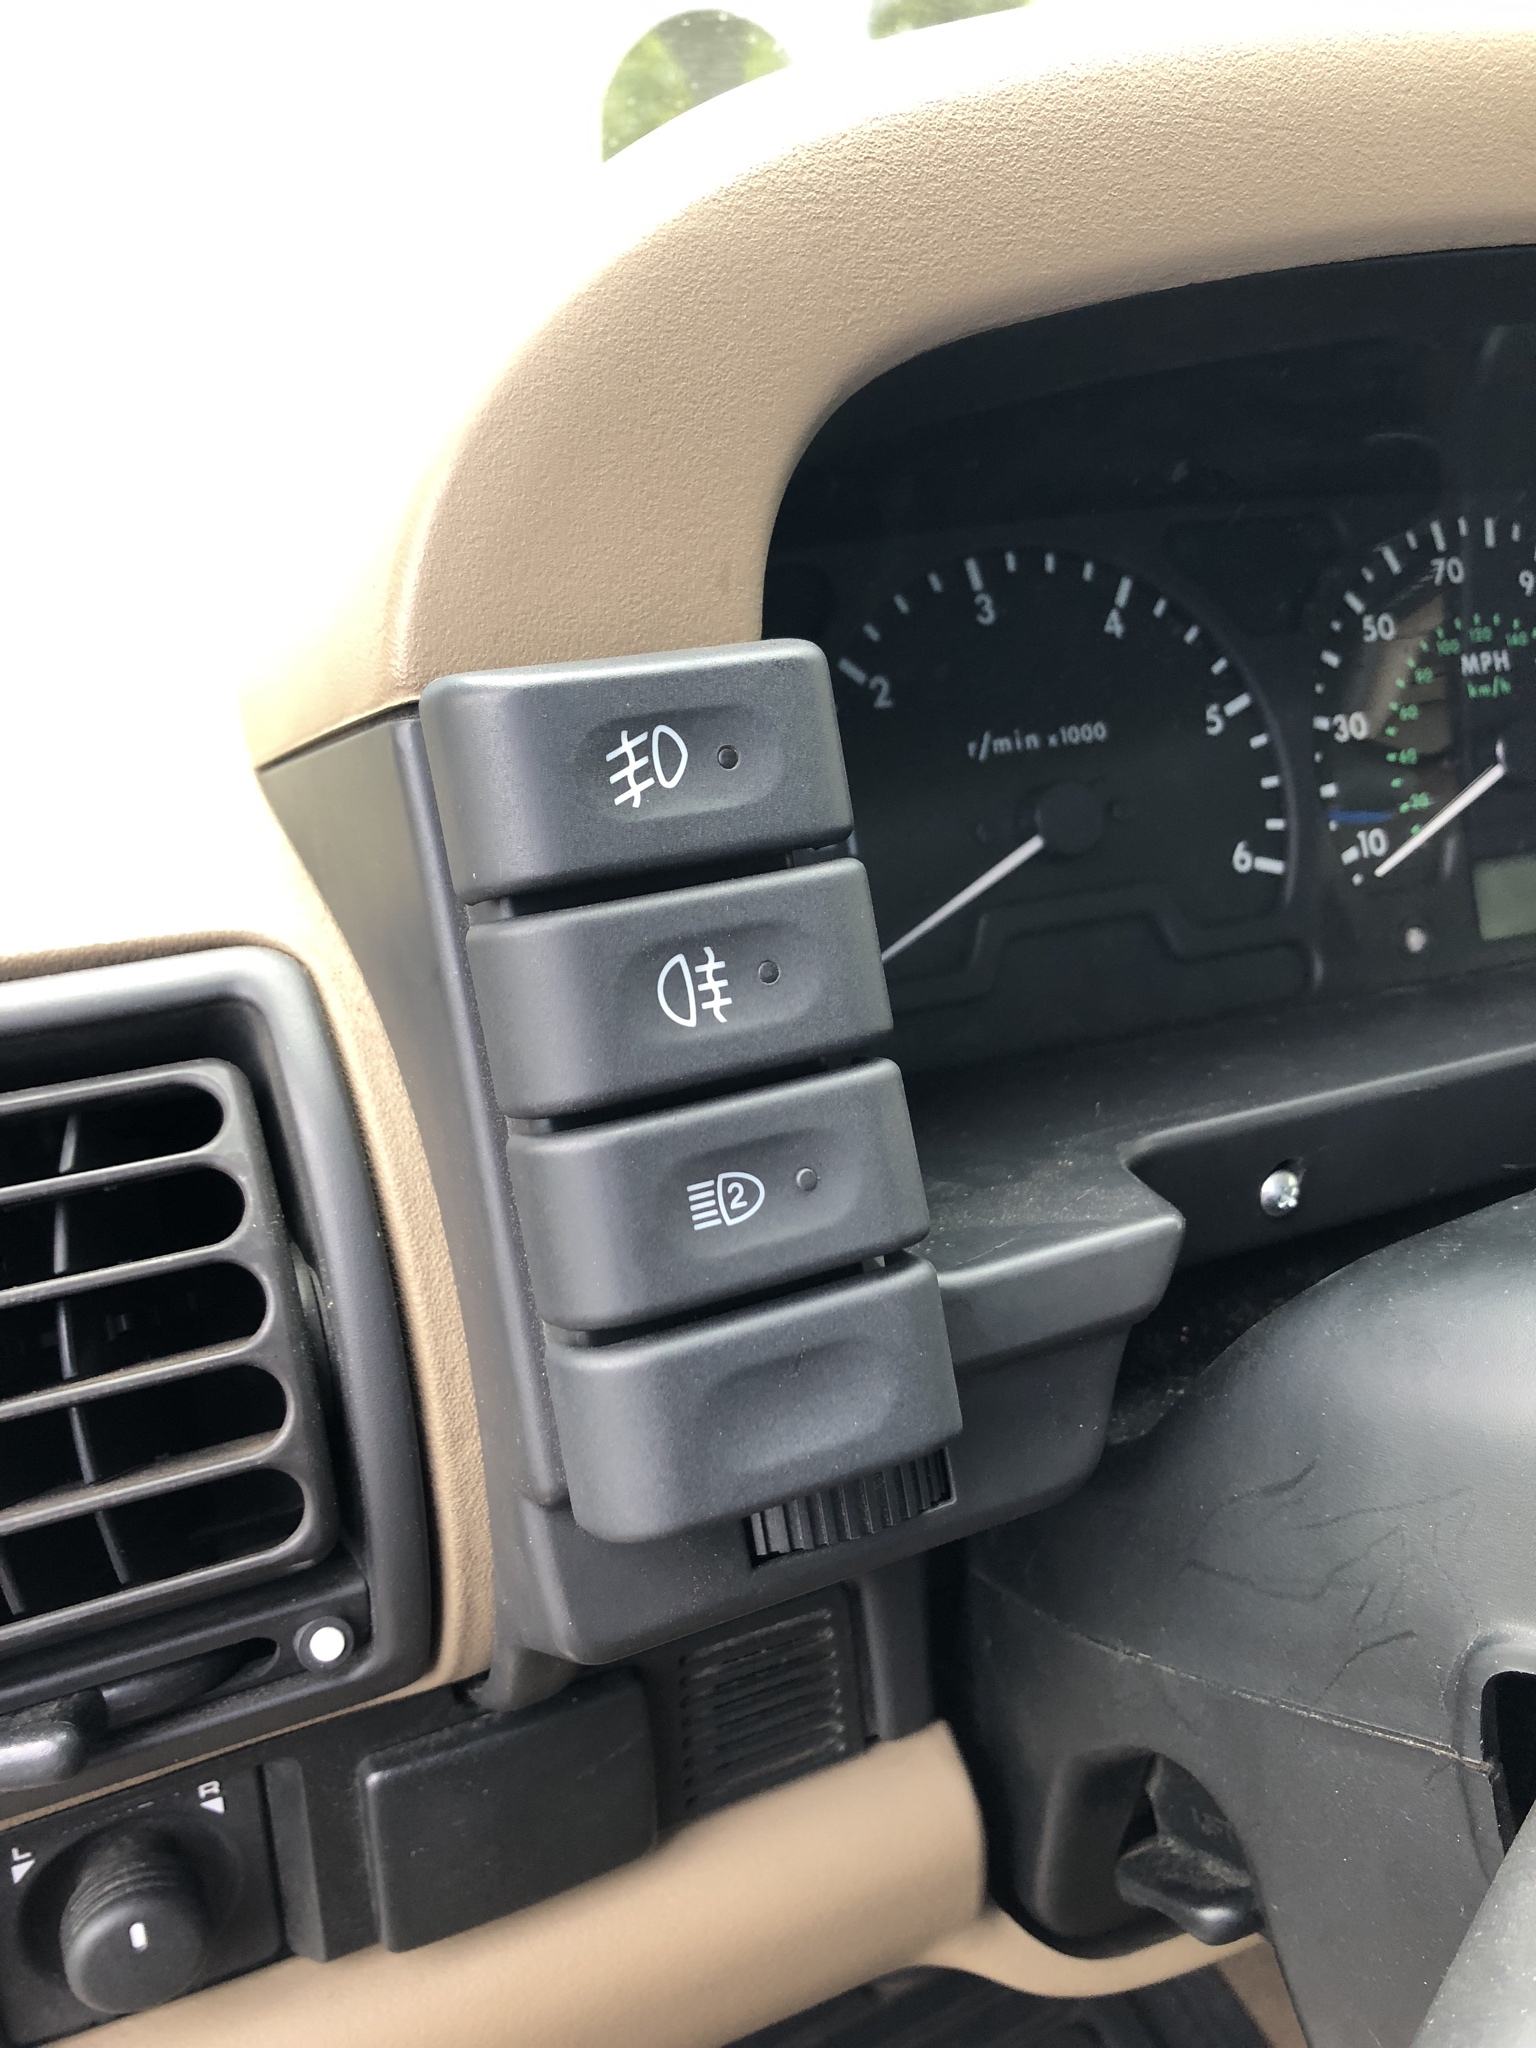
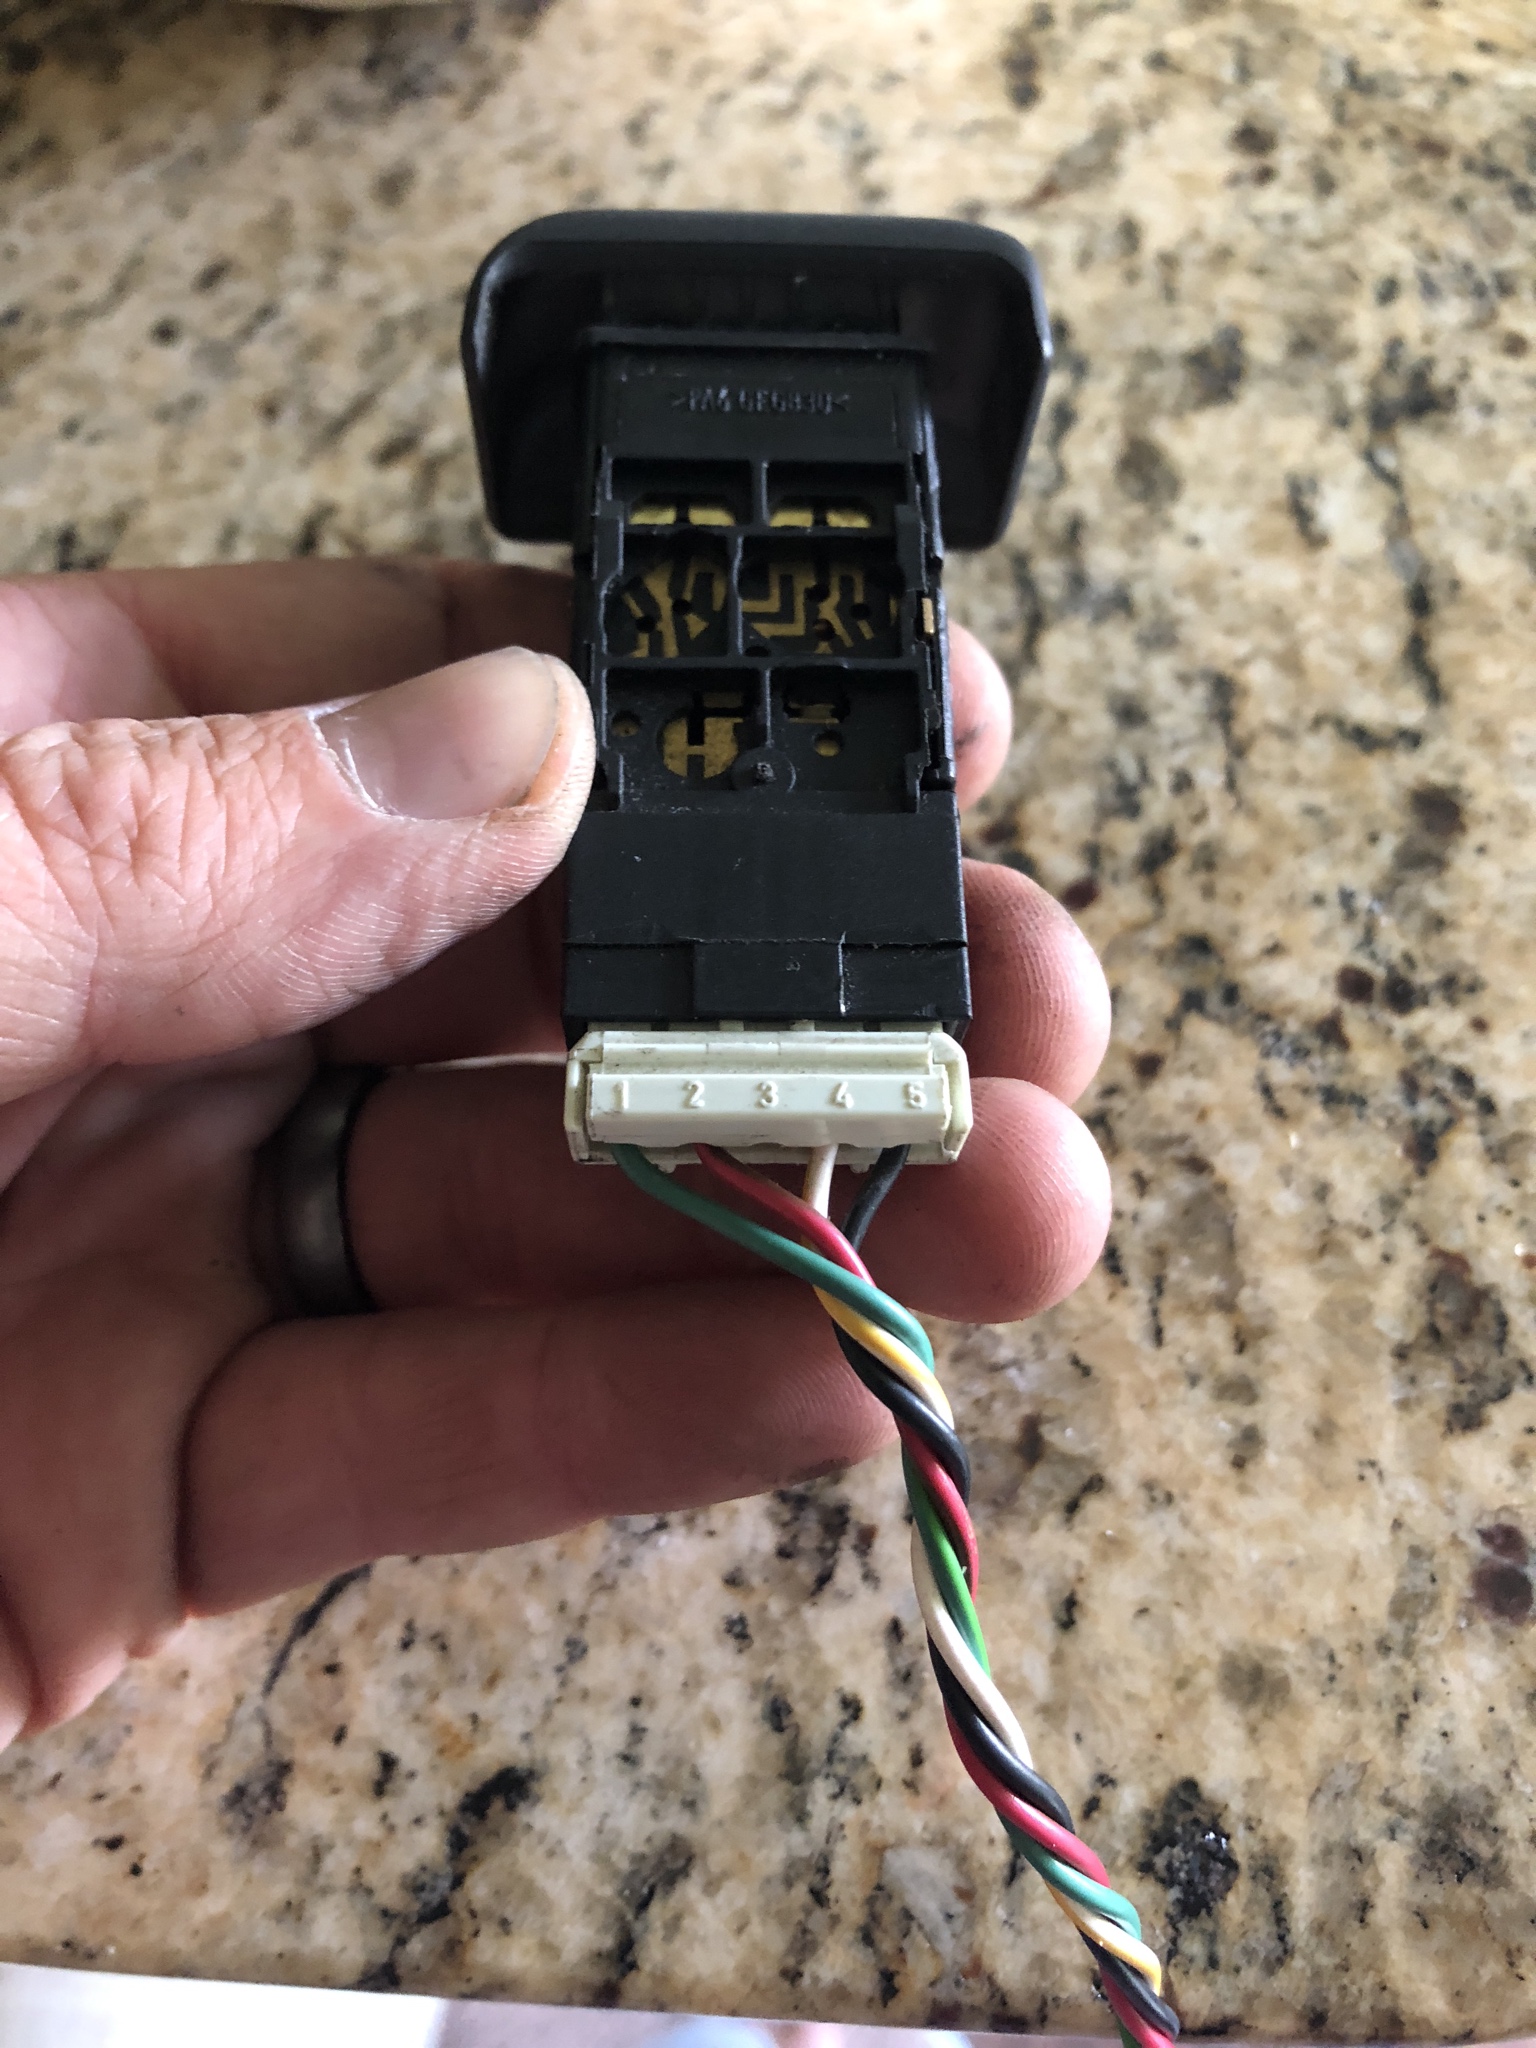
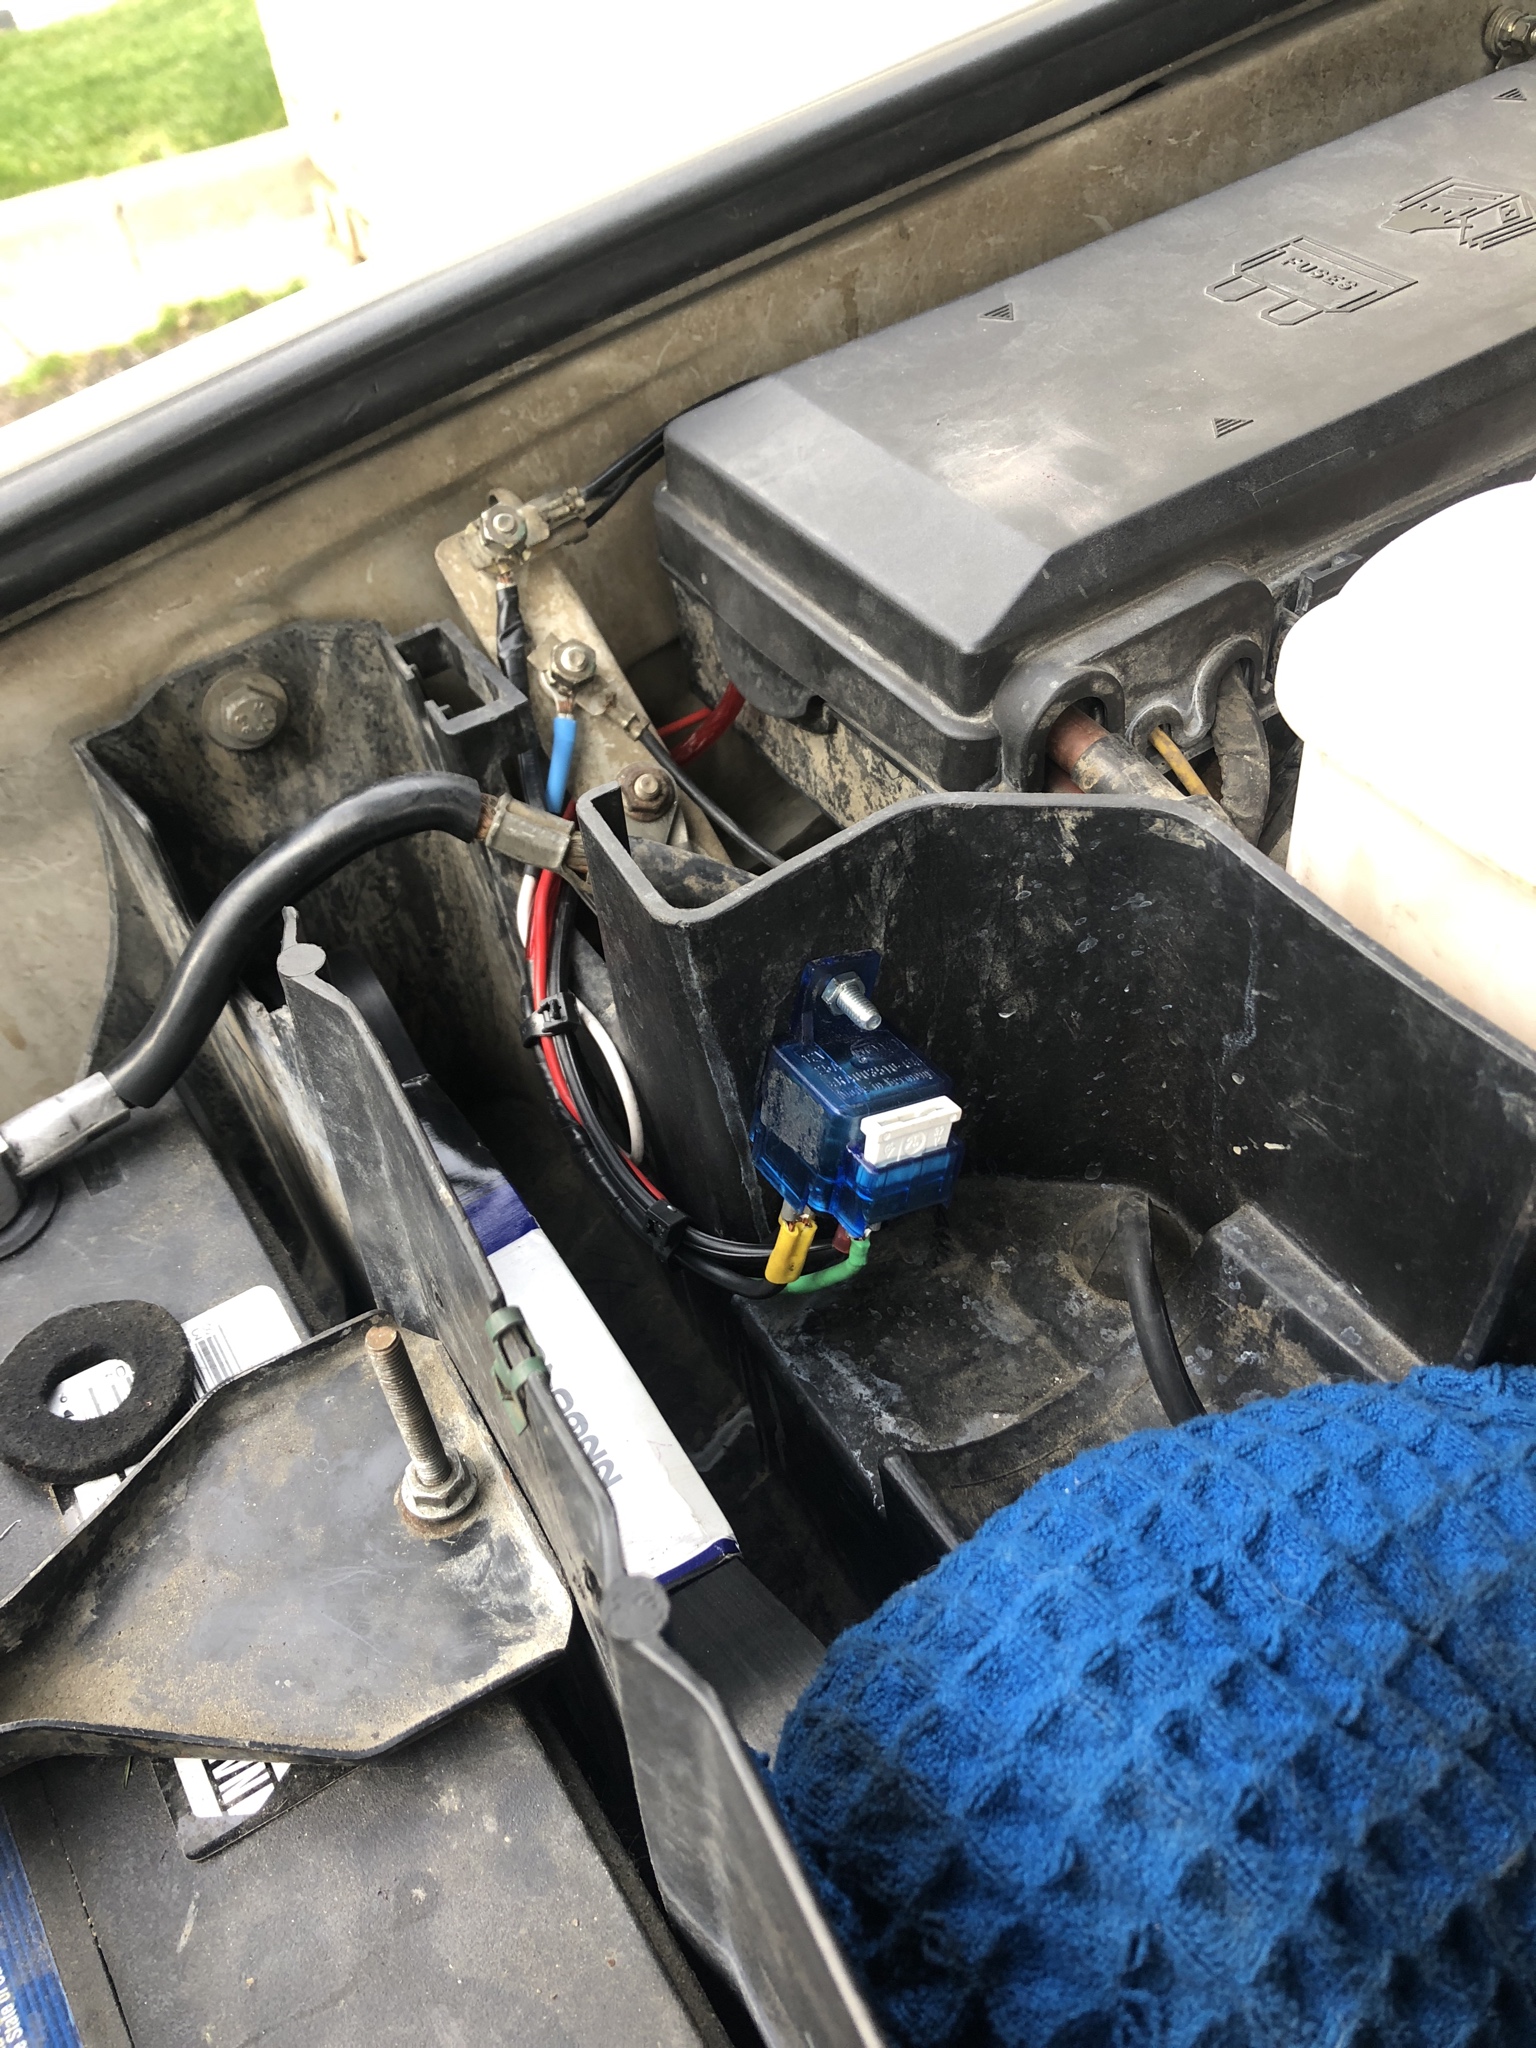
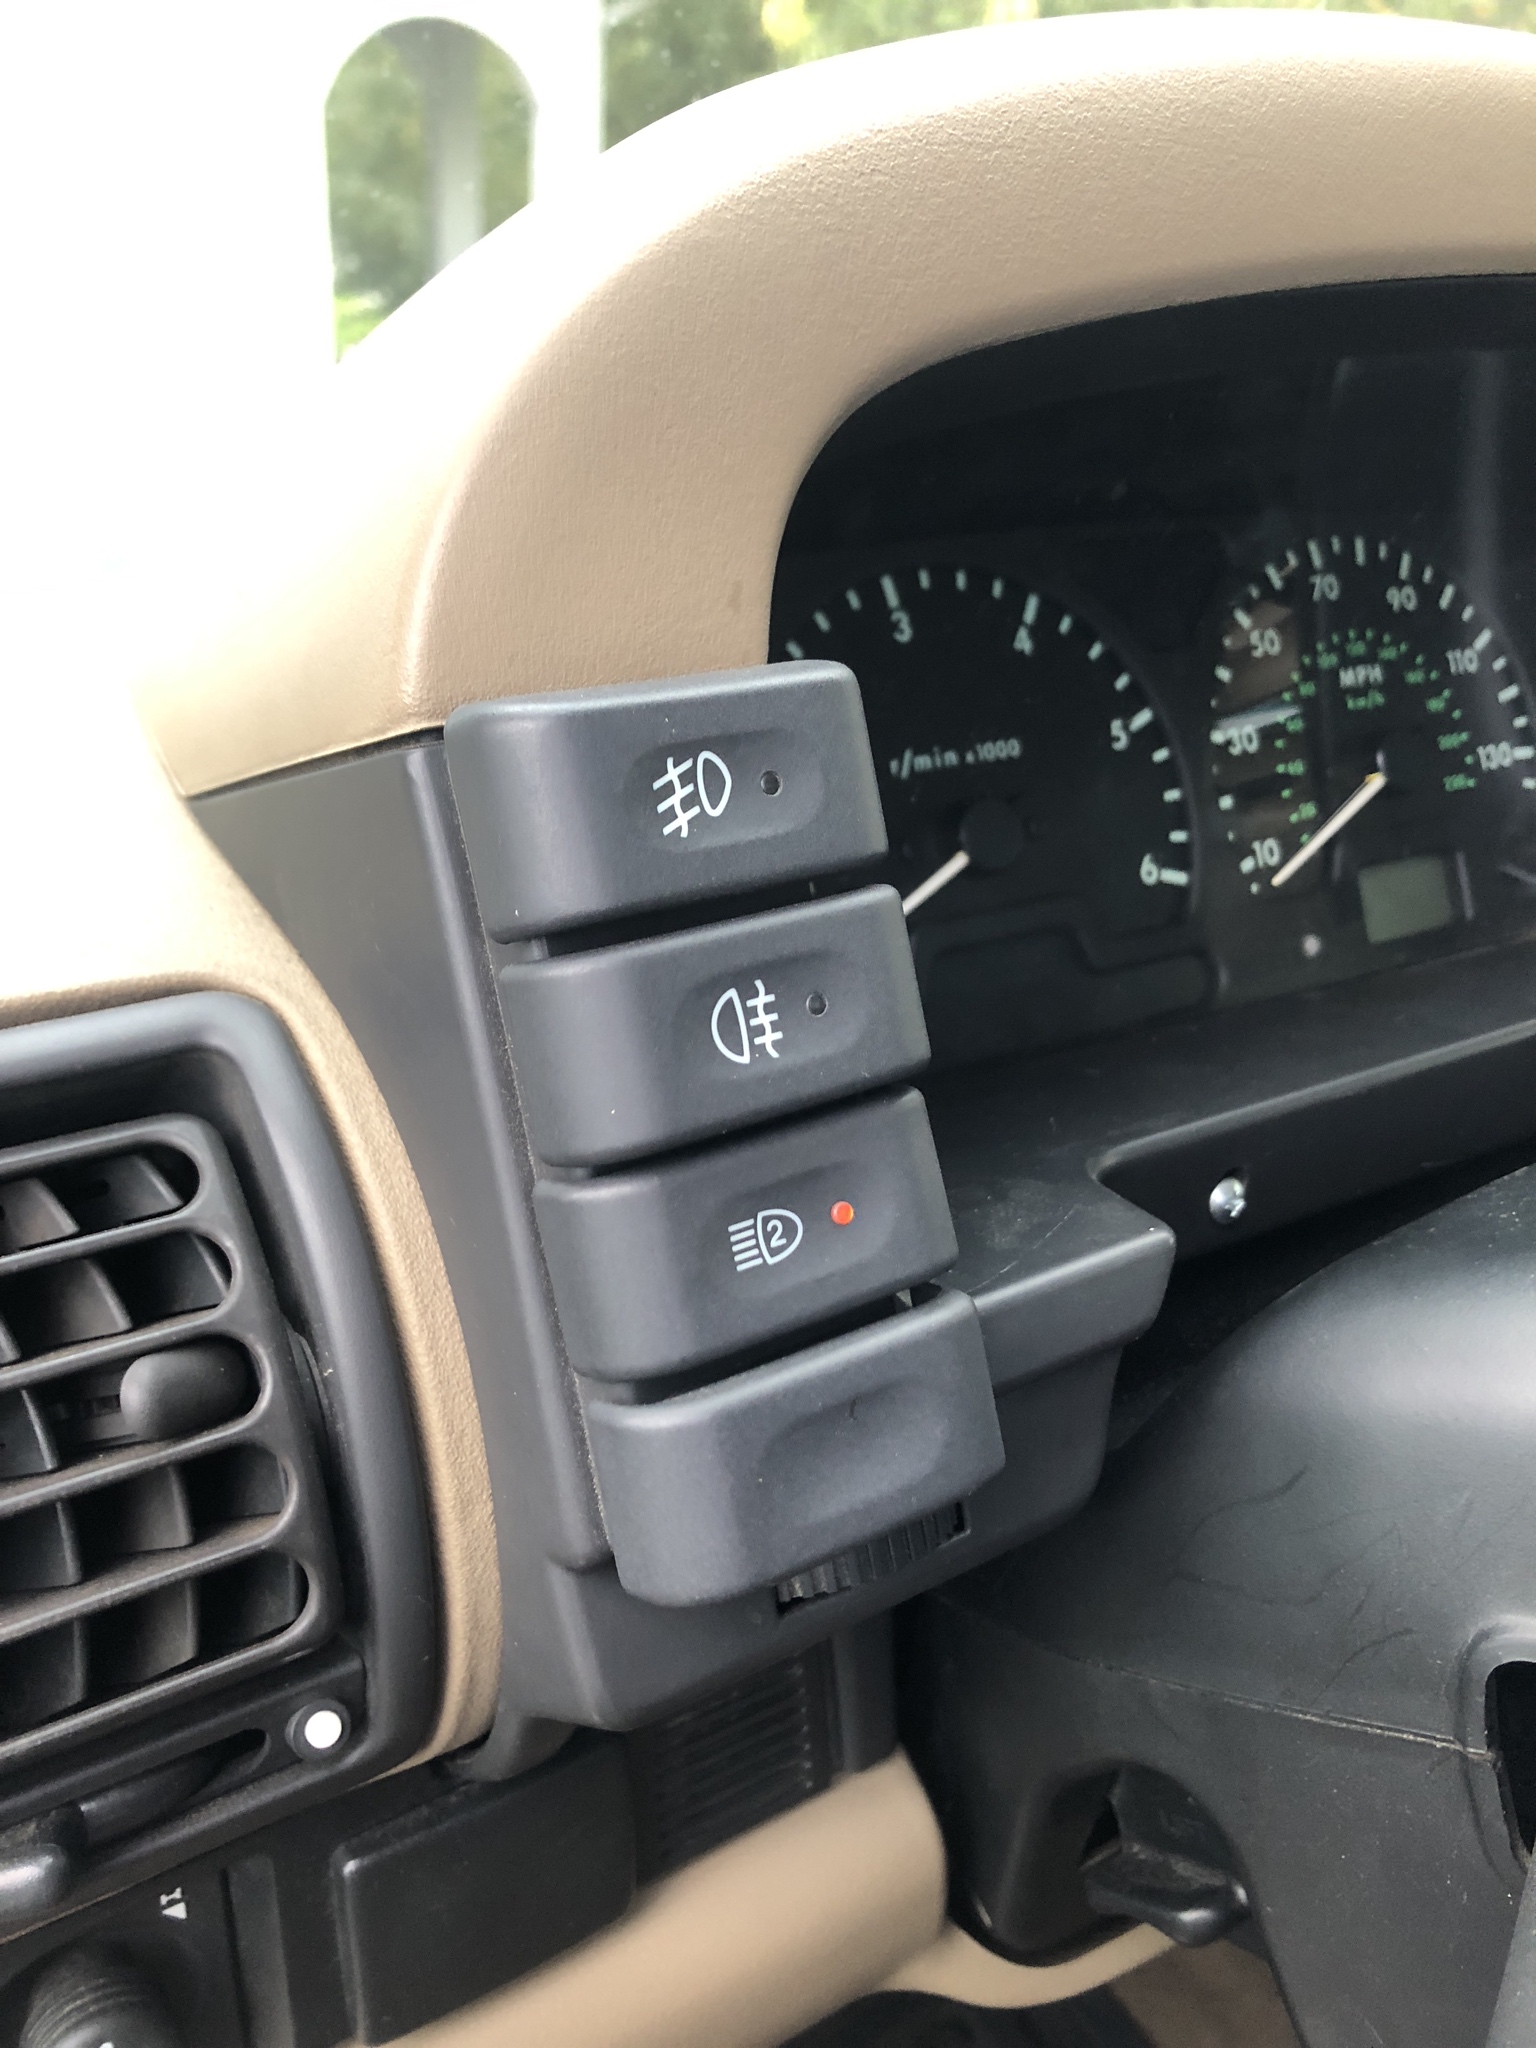
As for the dash wiring, just marked up the cruise control switch for what wires go where, fished the wires through and mounted the switch. As a reminder, if you want to wire up aux lights with the OEM switches you can only use the CC switch. All the other switches are momentary where as the CC is latching. Just pop off the cover and slick on the light cover -- job done. Already have a wiring from the dash to the engine compartment done (PO did it) so just need to mount the relay and connect everything up.
Also gave the bush bar a coat of Por-15, need to a second tomorrow.
Since i don't have the OEM rear bumper, all the lights in said bumper have just been cut off. Already fixed the reverse light situation, but in doing so I had an extra LED pod. I had thought about just wiring it up to the reverse lights but i thought that would be overkill. The Deputy's thread on rear fog lights got me thinking so I just decided to hook up the extra light to that circuit. Found the red/yellow wire on the drivers side tail light and just extended the wires, soldiered and mounted the light. Job done.
As for the dash wiring, just marked up the cruise control switch for what wires go where, fished the wires through and mounted the switch. As a reminder, if you want to wire up aux lights with the OEM switches you can only use the CC switch. All the other switches are momentary where as the CC is latching. Just pop off the cover and slick on the light cover -- job done. Already have a wiring from the dash to the engine compartment done (PO did it) so just need to mount the relay and connect everything up.
Also gave the bush bar a coat of Por-15, need to a second tomorrow.
The following users liked this post:
The Deputy (10-05-2018)
#447
10-06-2018, 07:19 PM
Got everything all wired up and set to go. Just waiting for the paint to dry on the bull bar then i can do a final install. For the switch, i simply taped into the harness going to the dimmer switch (12v+, illumination light, ground) and then ran the 4th wire to the relay in the engine bay. Wiring everything else to the relay was cake after that. Since the switch is tapped into the dimmer harness which is controlled by parking lights circuit (i think?) the front light can only be run while the parking / lows are on.
The following users liked this post:
The Deputy (10-09-2018)
#449
10-07-2018, 06:45 PM
Got everything all wrapped up today, it was cold and started to rain. Stupid bull bar tipped over while drying last night so almost every front facing surface got scratched which is really annoying. I installed it anyways because i just wanted to be done with this project and i can always touch it up later
The loom from the relay has a connector on it so making changes to lighting in the future will be a breeze -- everything was zip tied to the front grille.

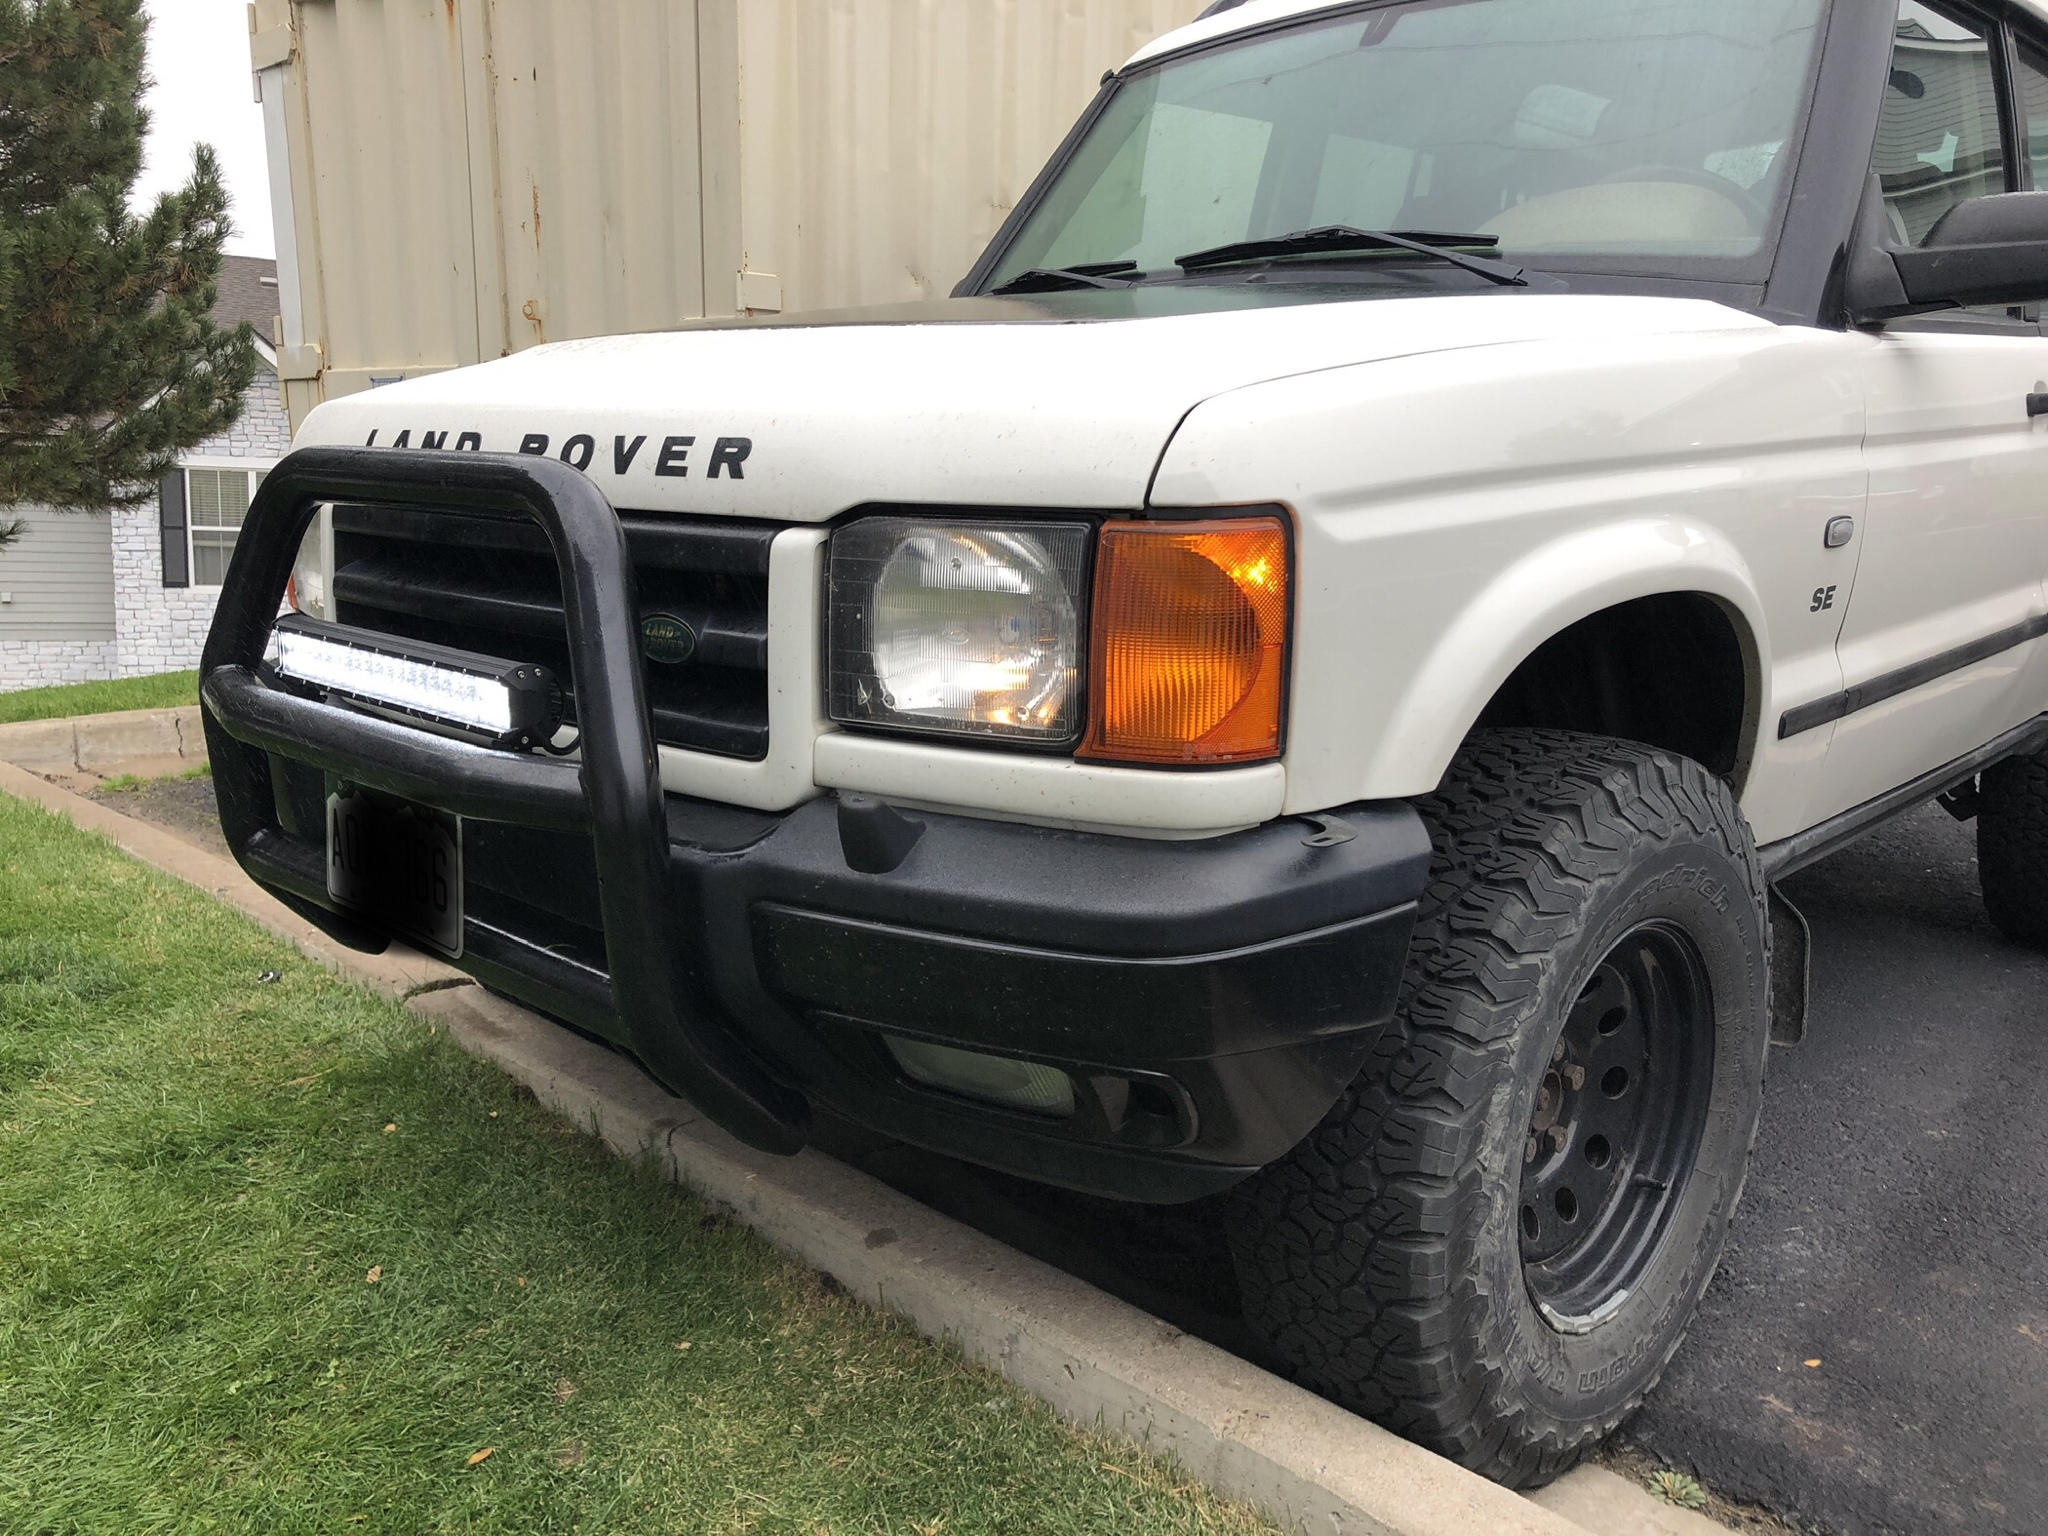
The loom from the relay has a connector on it so making changes to lighting in the future will be a breeze -- everything was zip tied to the front grille.
#450
10-30-2018, 06:46 AM
Nothing really to update about honestly I've noticed that when its cold out my turn signals don't work which is.. interesting. Rebuilding the wiper stalks has been on my list for a little bit because my intermittent wiper function doesn't work either..
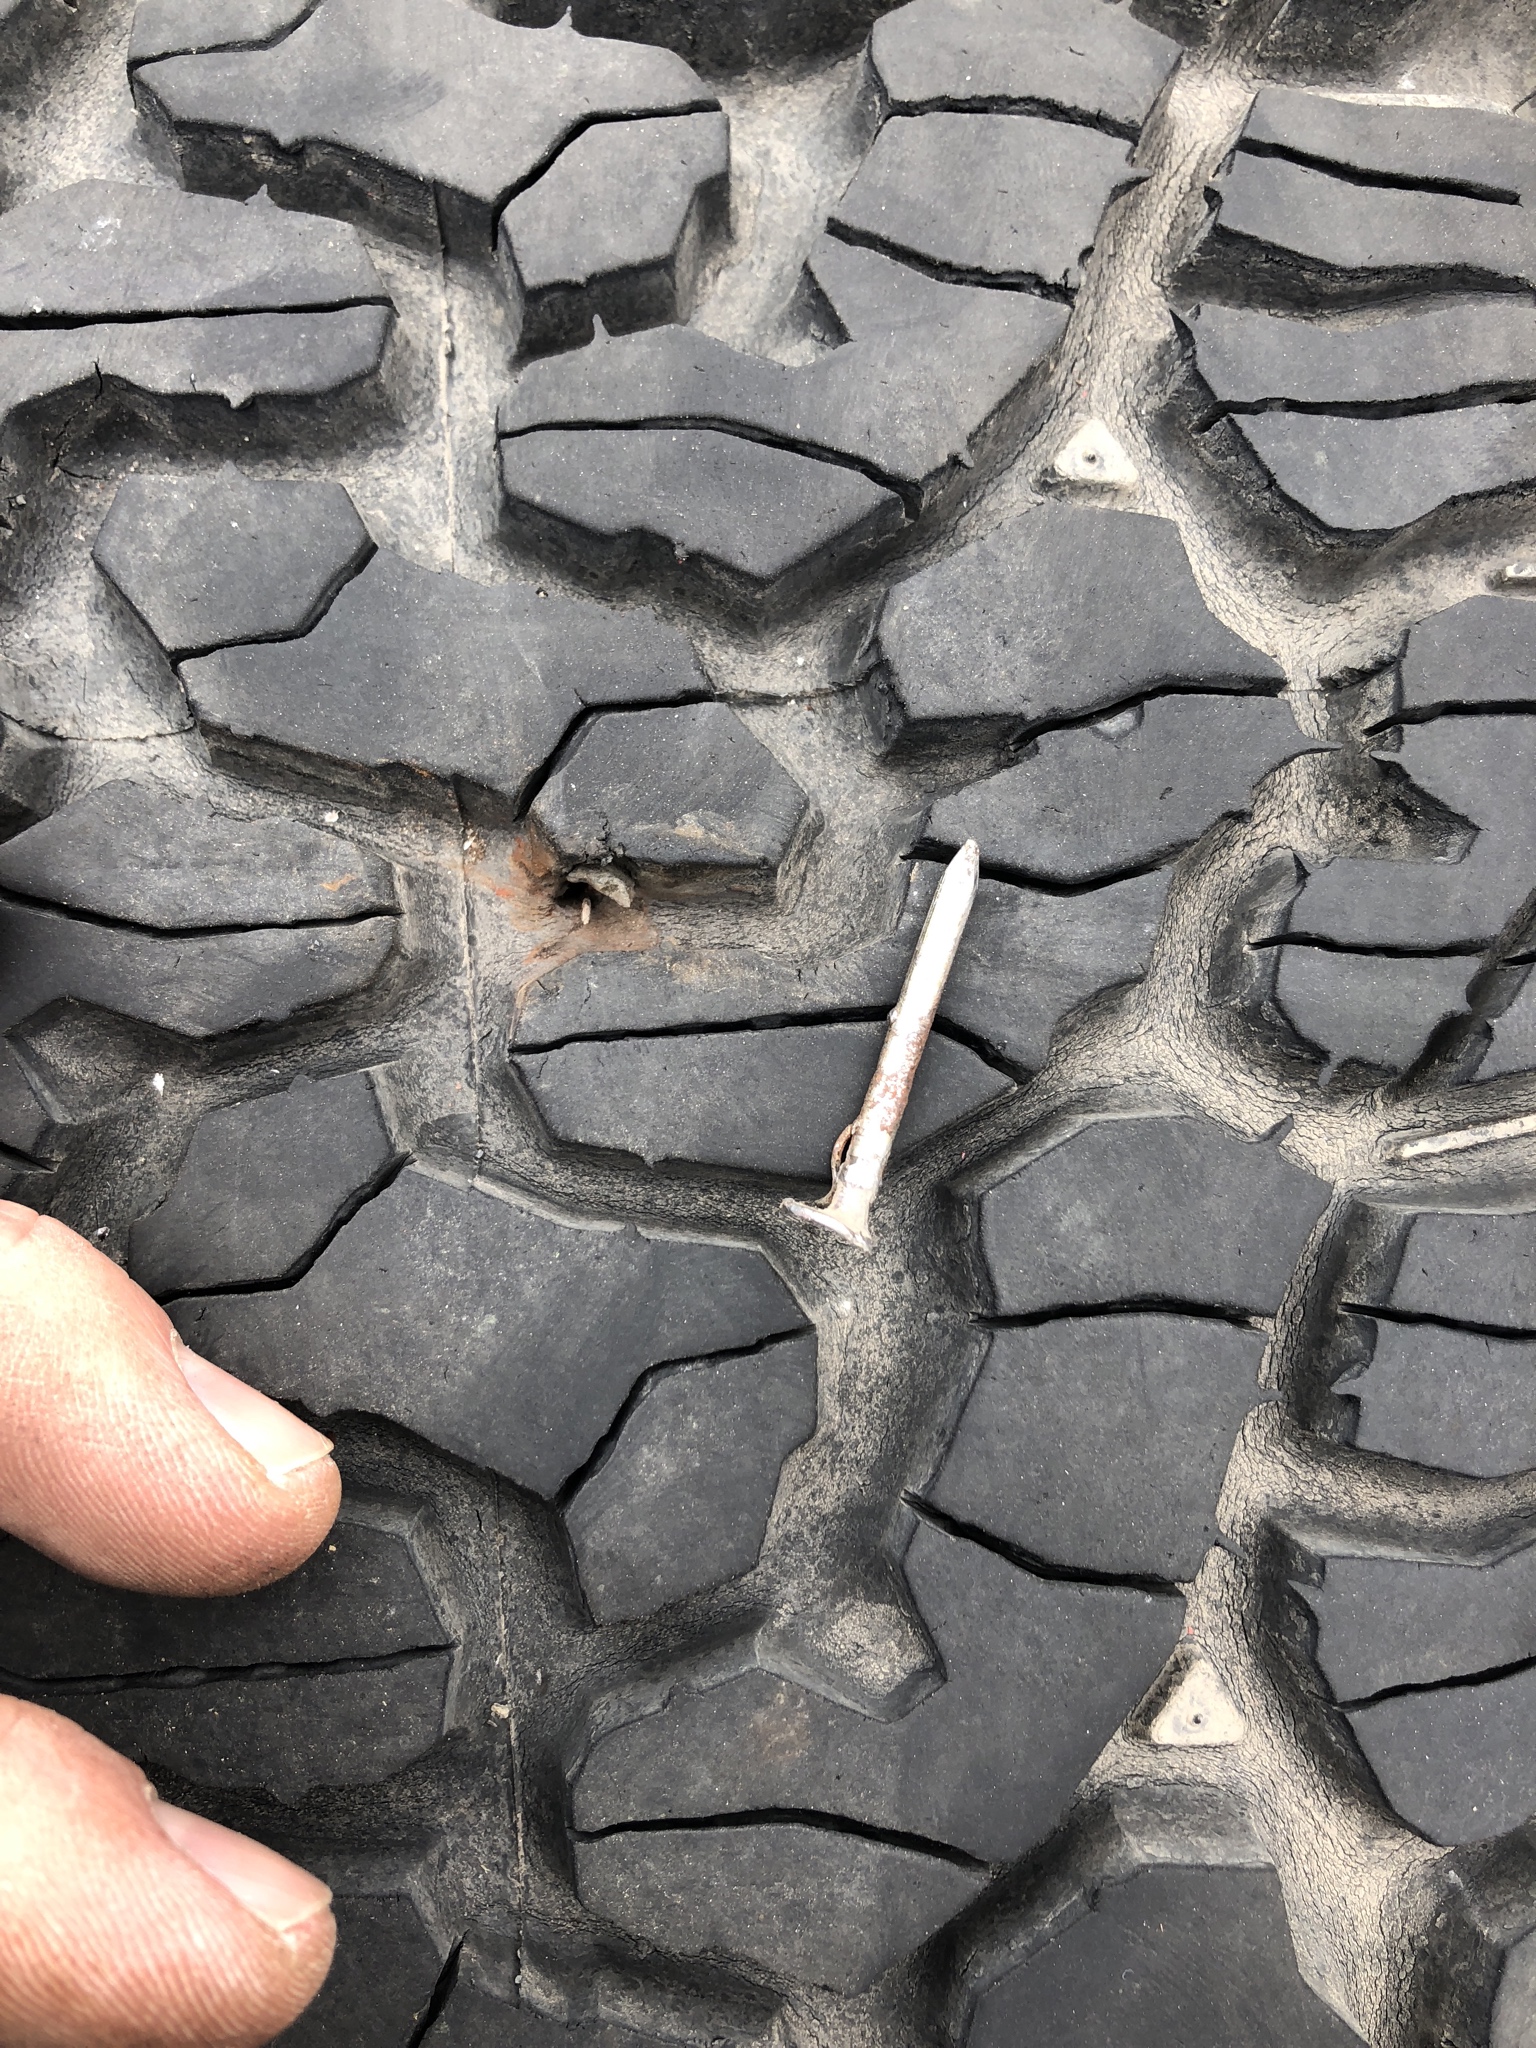
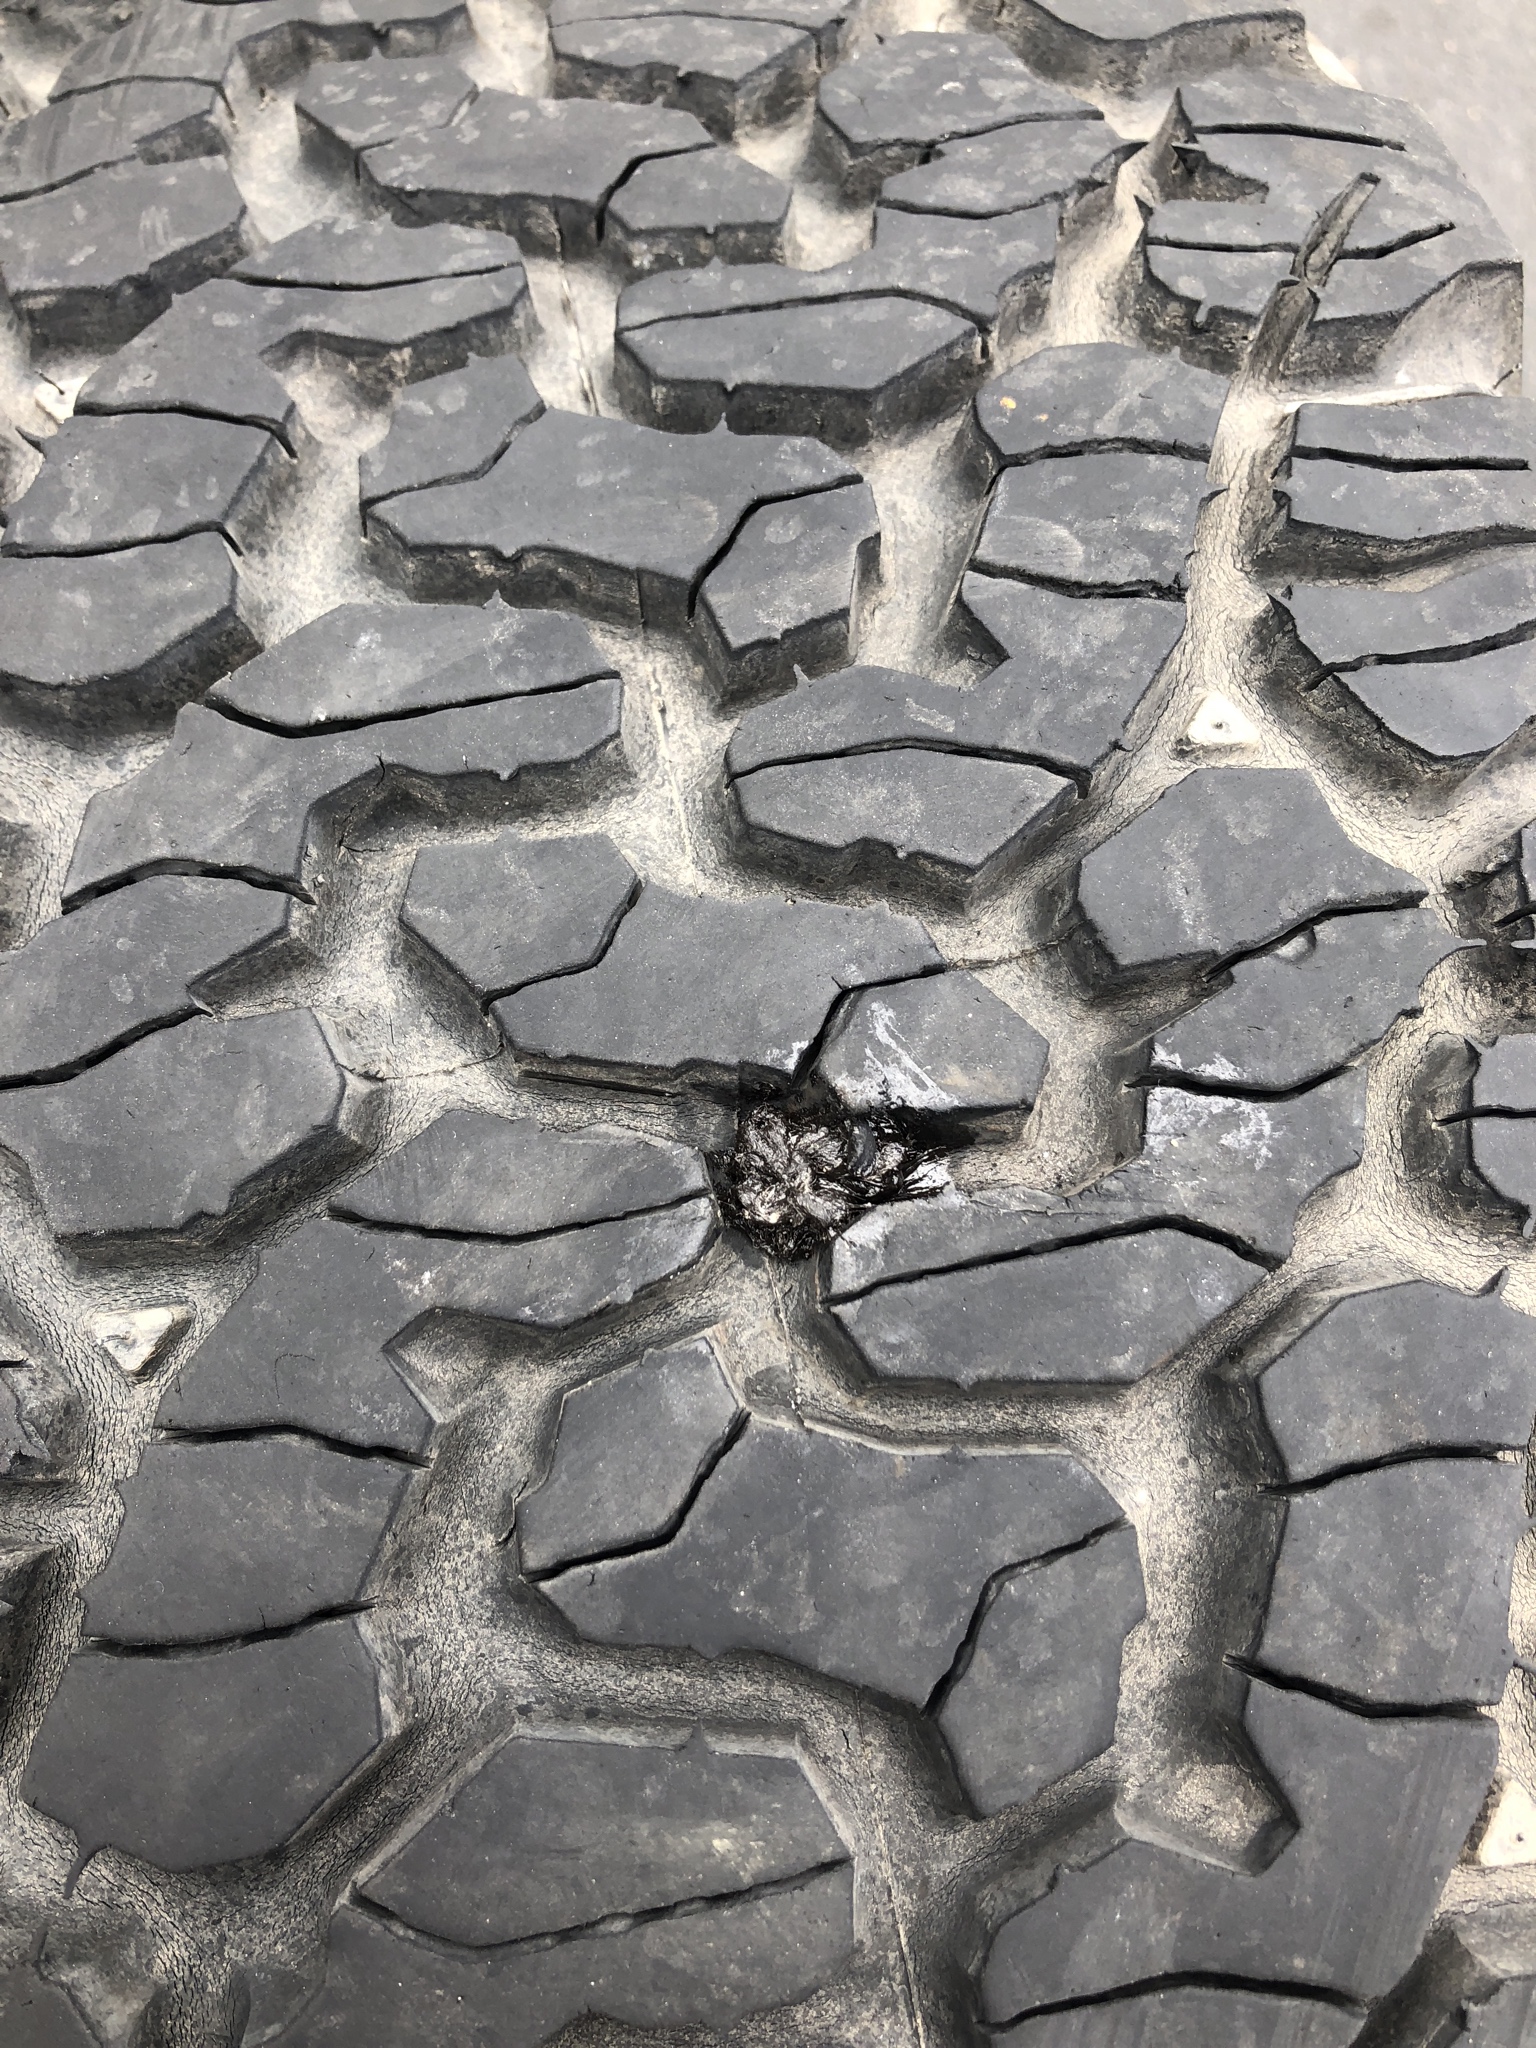
BUT i am happy to say that i fixed my first flat this past weekend! This one tire had a slow leak from a nail but i wasn't ever super worried about it because i was filling the tire with air probably every 2-3 weeks -- seriously a slow leak. MagPie came with the means to fix it via a plug and tools so i finally just decided to try it It was a little tougher than i thought it would be but ended up not being a bad job at all. Passed a leak test so should be good to go for when the (now) spare is needed!
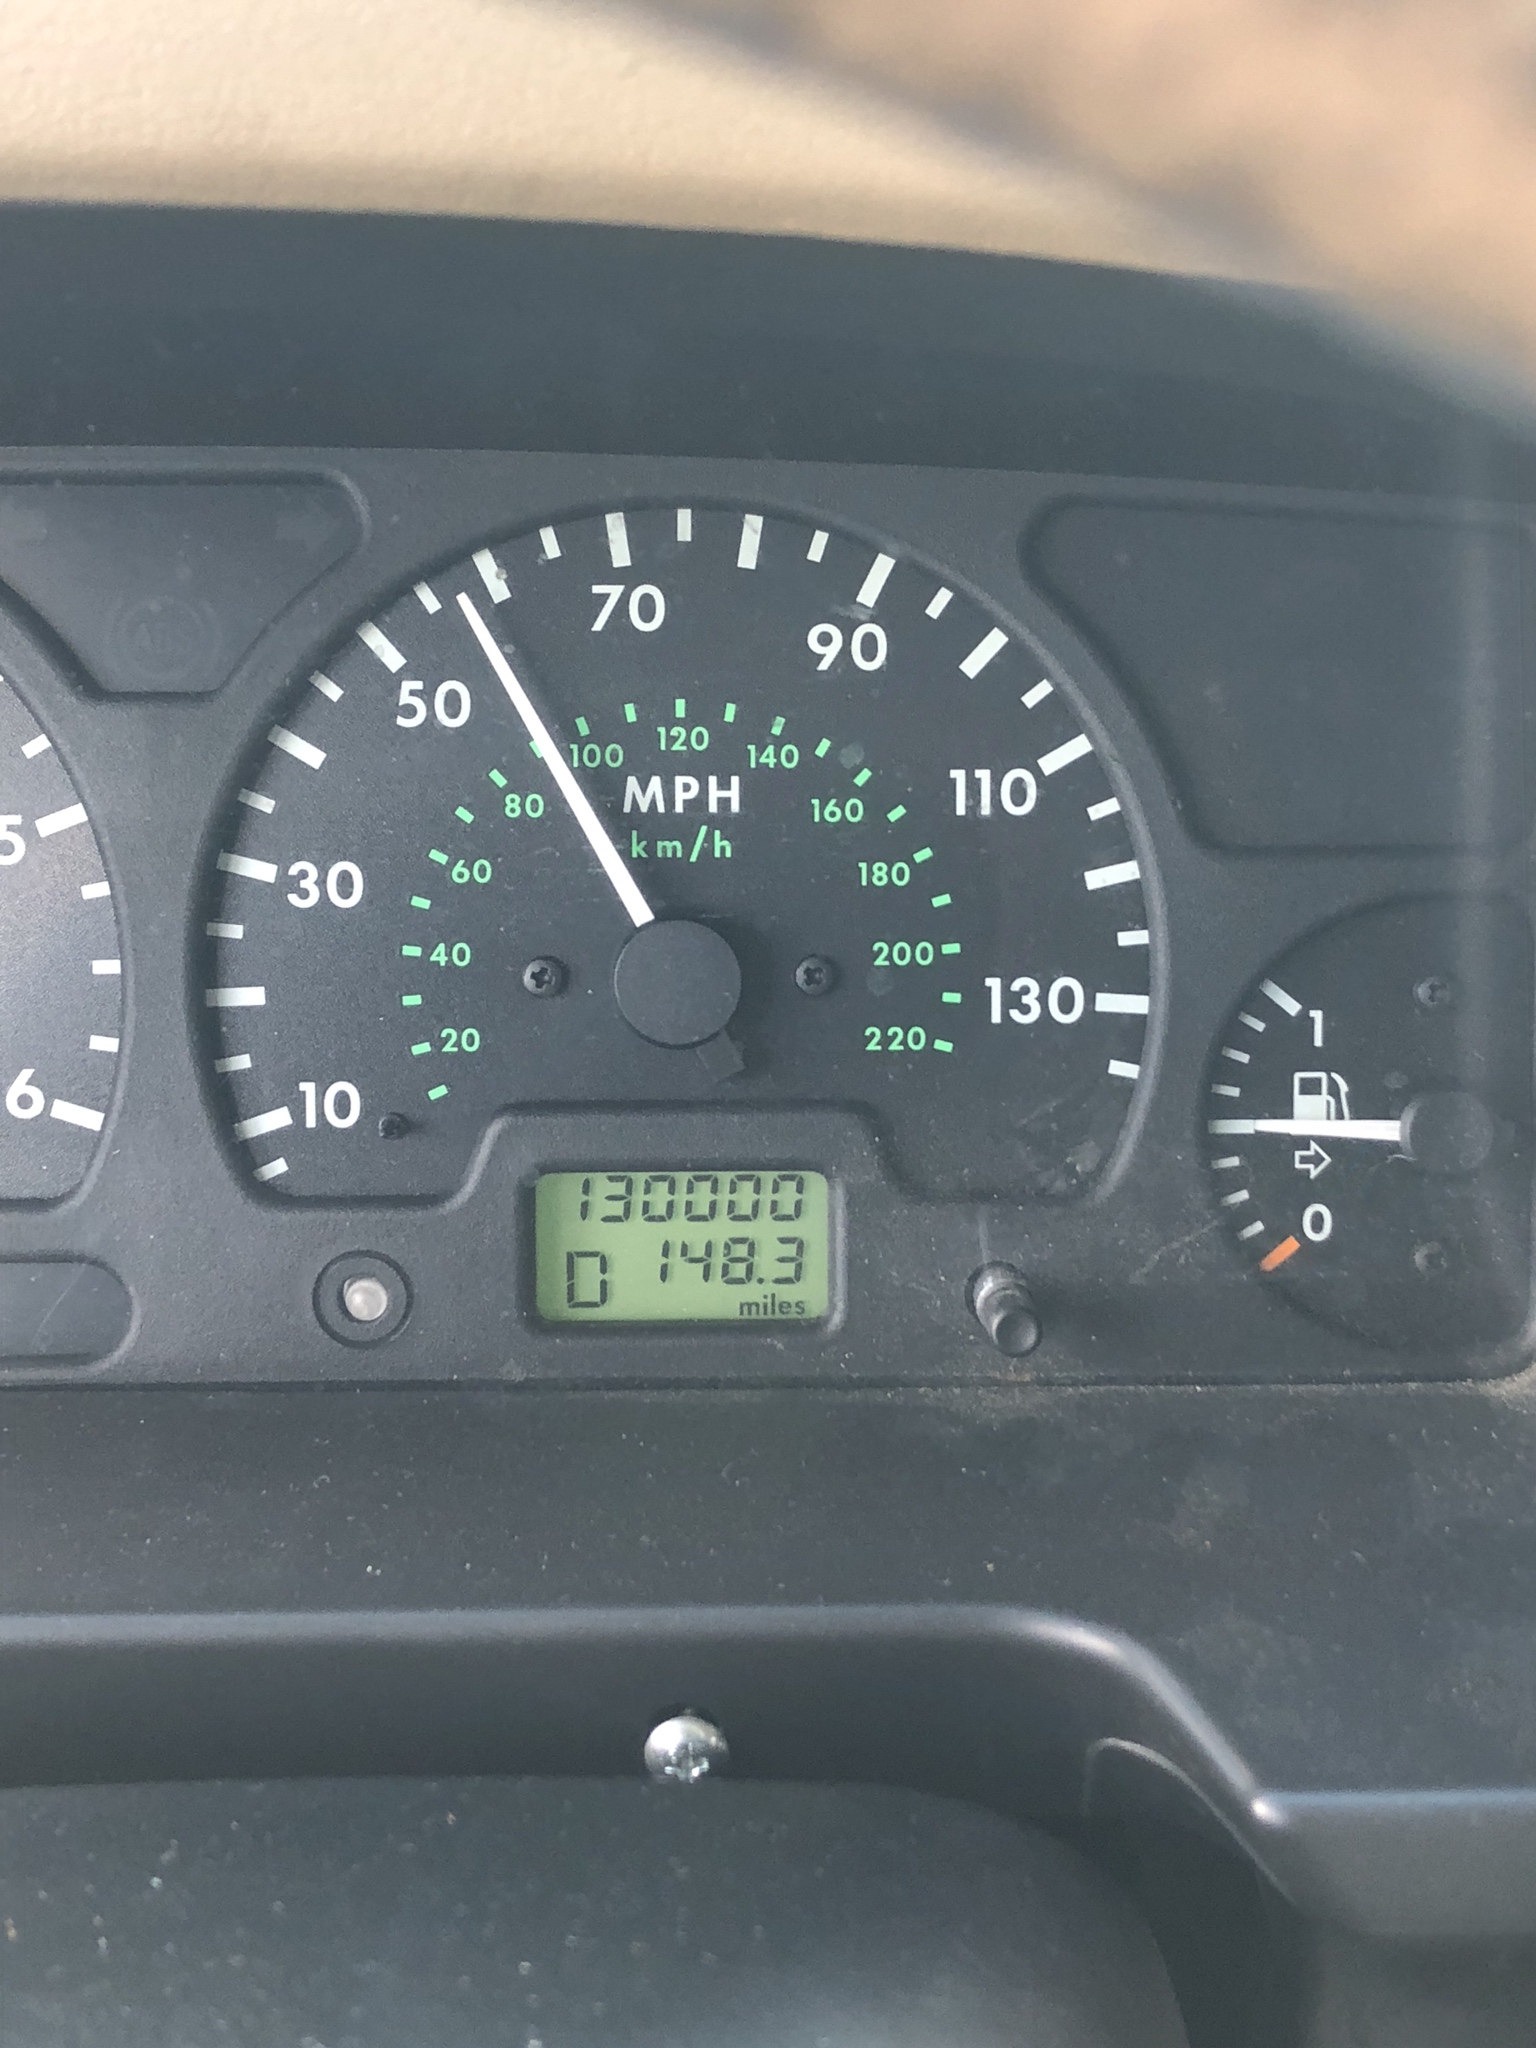
Oh yah, this happened.. Almost 7k miles since the rebuild!
I've noticed that when its cold out my turn signals don't work which is.. interesting. Rebuilding the wiper stalks has been on my list for a little bit because my intermittent wiper function doesn't work either.. BUT i am happy to say that i fixed my first flat this past weekend! This one tire had a slow leak from a nail but i wasn't ever super worried about it because i was filling the tire with air probably every 2-3 weeks -- seriously a slow leak. MagPie came with the means to fix it via a plug and tools so i finally just decided to try it
It was a little tougher than i thought it would be but ended up not being a bad job at all. Passed a leak test so should be good to go for when the (now) spare is needed!Oh yah, this happened.. Almost 7k miles since the rebuild!

