Project Dirty White
#51
 05-21-2017, 03:59 PM


#52
05-21-2017, 04:03 PM

Super Moderator
#53
05-21-2017, 05:05 PM
Ok. Think I've got it. I can see oil in the galley. No more tapping. Ugh what a mess.
Tomorrow I'm gonna hook up my oil pressure gauge and verify pressure just to be sure. Still some small bugs to work out. Still not sure of the original problem. Right now I've got the flame thrower coil hooked up. I'm gonna try it w the OEM coil too.
For now it's Miller time. Actually it's Dogfish 90 min IPA time.

#55
05-21-2017, 07:22 PM
Super Moderator
I've been tinkering with my 99 D2 here lately as all the big projects are done. I just started mounting sleeping bags (in a military webbing sling I made from left over cargo webbing), 2 fire extinguishers, a machete, a flashlight, and a misc tool box/bag for tools onto my rear aluminum door panel, and I still have a few other things to mount. I ditched the subwoofer so I have a decent amount of space to put stuff that normally just floats around in the back.
#56
05-28-2017, 07:41 PM

Mudding
You should just drive out here to Pasadena and pick up this SWB I got from you a while back. I don't have time to do what I wanted to it and no one seems to want it for the 500 bucks I've been asking and hell that includes all new hoses, water pump, fan clutch and ignition parts..........
#57
05-28-2017, 08:36 PM
You should just drive out here to Pasadena and pick up this SWB I got from you a while back. I don't have time to do what I wanted to it and no one seems to want it for the 500 bucks I've been asking and hell that includes all new hoses, water pump, fan clutch and ignition parts..........
I'd love that. No way to tow that turd back here. I'd LOVE that locker from your disco. Pretty please.
#58
06-01-2017, 09:01 PM
I finally finally got it. Good GAWD what a pain in the A$$!!
After setting the timing at TDC a dozen times and pointing the rotor at #1, I began to realize the distributor would not seat exactly lined up it always turned slightly as it seated. I assumed this was the cam gear engaugment. I was wrong. It was the oil pump engaugment. As it would go down it was slightly cocked and I'd have to wiggle the rotor to get the distributor to seat. Then it was about 25 degrees out of time. Once I used long needlenose pliers to line up the pump and rotor to the timing of the engine it dropped right in. Started with the first chirp of the key.
Boom. Even though it was stupid and I should have seen it earlier, it feels good to hear it run good again.
I had to return the new Petronix distributor. They confirmed it was defective and gave me a refund. So that whole side distraction was completely pointless and a waste of time.

#60
06-03-2017, 11:47 AM
Now that I've got the truck up and running again I think it's ok to keep moving with the small projects I've got going. I've still got to do my tune up and a radatior. I want to drive it a little before I tear it down again.
The door panels are an eye sore to me so I was determined to find something to make them presentable. I finally found it on YouTube. I was looking for something to clean plastic and I stumbled upon a video how to clean a textured shower floor.
Baking Soda/water. Right in front of my face. It works really well to get the engrained dirt out of the plastic. However it's super messy using it vertically. I used a small plastic bristled brush. Scrubbing in small circles. I was able to get out not only the dirt/grease but also the embedded rust stains as well. Zero damage to the door card. I tried using my DA sander with the brush attachment...supremely BAD idea. I've got to clean baking soda off half my interior now.
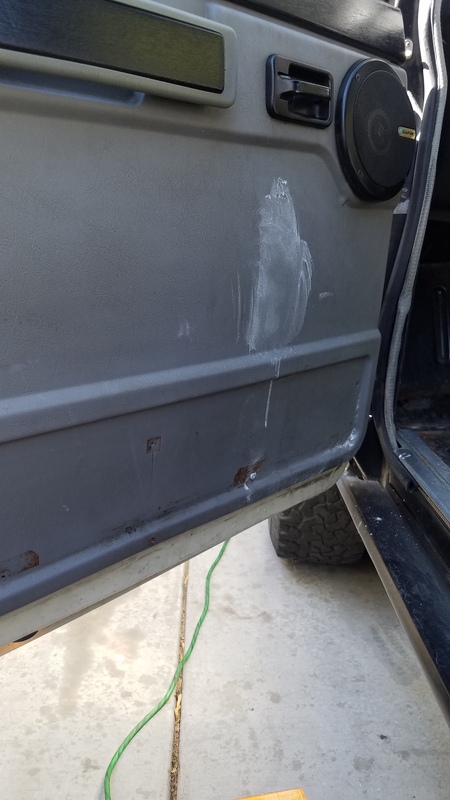
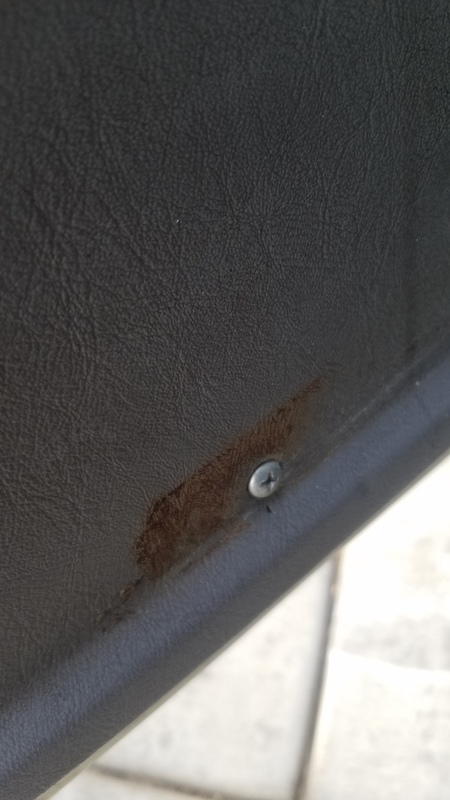
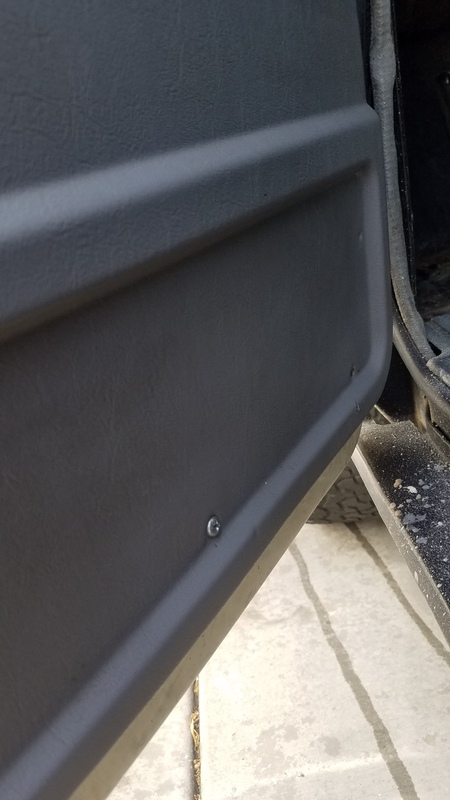
The downside is the baking soda is hard to remove as well. If you don't get it all off ironically the panel becomes chalky and blotchy. I followed up the soda with a mix of dish soad/white vinegar/ water. That got the remaining dirt away.
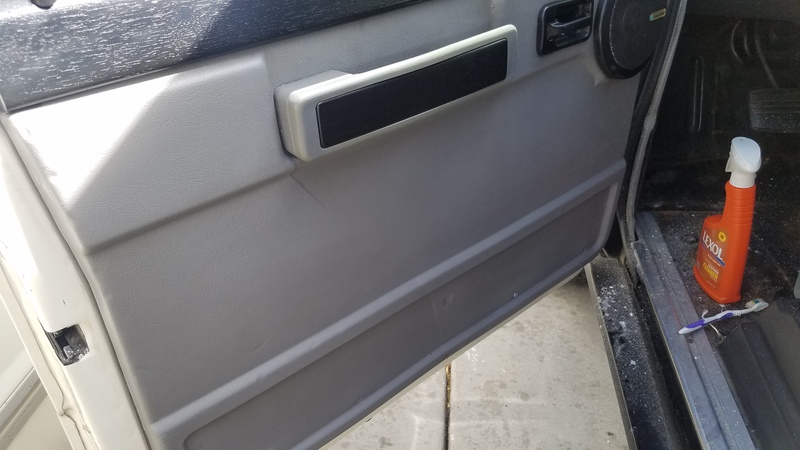
Finally I hit the whole panel with leather cleaner so as to not make it shiney. I don't like afro jizz on my door panels. This panel still needs work but it's vastly improved. Now I know to do this while it's disassembled on the other 3 panels.
The door panels are an eye sore to me so I was determined to find something to make them presentable. I finally found it on YouTube. I was looking for something to clean plastic and I stumbled upon a video how to clean a textured shower floor.
Baking Soda/water. Right in front of my face. It works really well to get the engrained dirt out of the plastic. However it's super messy using it vertically. I used a small plastic bristled brush. Scrubbing in small circles. I was able to get out not only the dirt/grease but also the embedded rust stains as well. Zero damage to the door card. I tried using my DA sander with the brush attachment...supremely BAD idea. I've got to clean baking soda off half my interior now.


The downside is the baking soda is hard to remove as well. If you don't get it all off ironically the panel becomes chalky and blotchy. I followed up the soda with a mix of dish soad/white vinegar/ water. That got the remaining dirt away.
Finally I hit the whole panel with leather cleaner so as to not make it shiney. I don't like afro jizz on my door panels. This panel still needs work but it's vastly improved. Now I know to do this while it's disassembled on the other 3 panels.

Last edited by Shiftonthefly1; 06-03-2017 at 12:38 PM.