D1 Transfer Case Shifter Rebuild: Advice Needed
#1
 09-18-2011, 05:54 PM


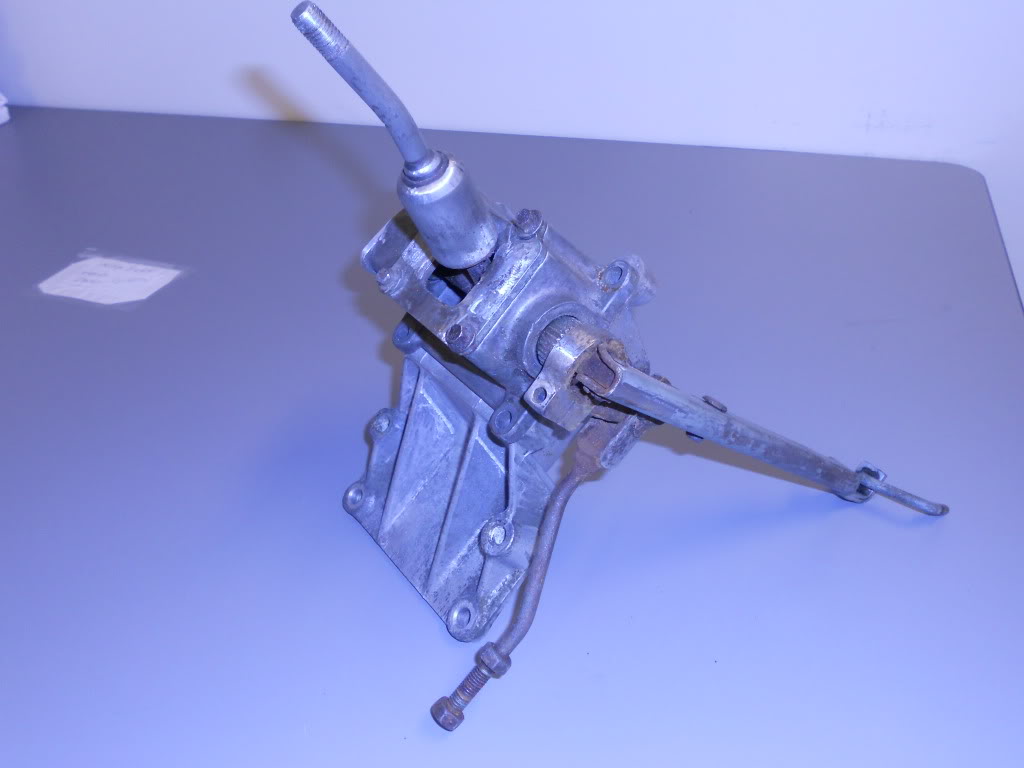
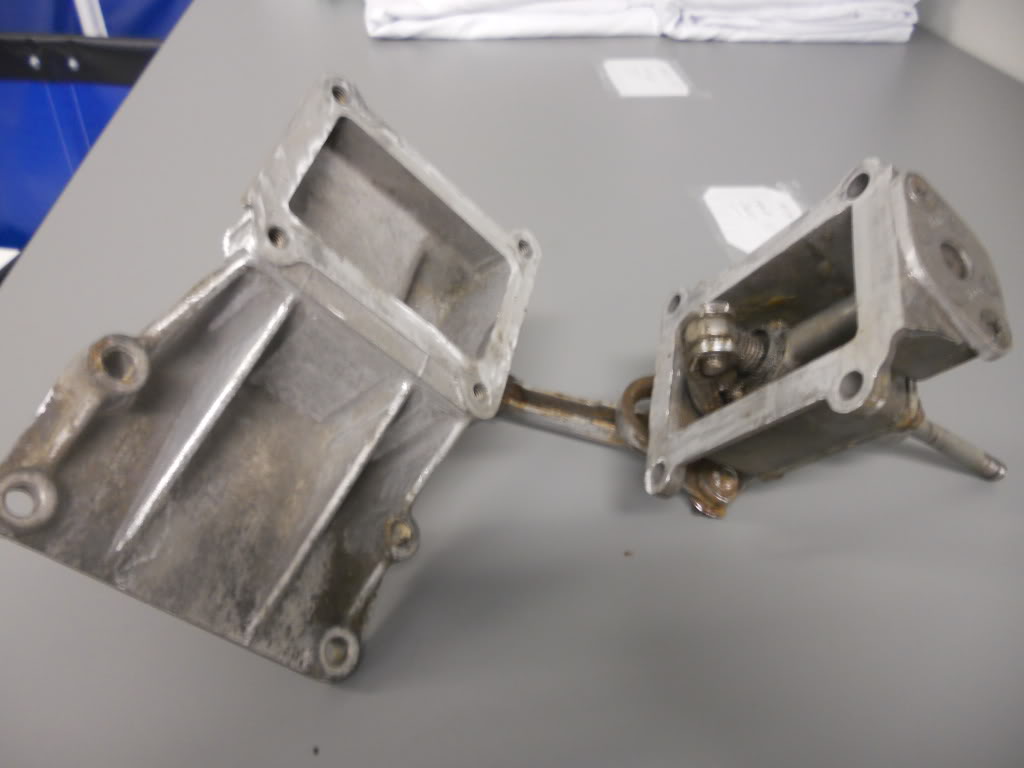
I recently pulled this from my former D1 with high hopes of performing a "DIY" cleanup and rebuild. Shifter is stuck as usual. Just finished step 2: degreaseing, but now I need to determine what if any parts are still good or otherwise should be replaced. I'm aware that afew pieces are missing (including the transfer linkage piece - LAND ROVER PARTS - CLEVIS - TRANSFER LINKAGE LT 230) so I'm putting together a list of all the parts I will need to order from RoversNorth in order to get this shifter fully functional again. I think I can save the larger pieces so lets focus on the smaller pieces. Please examine the provided pics and let me know what you think I should save and what I should replace. In the mean time I'll continue working on the detailing aspect via my handy Dremel. This shifter assembly was black and rusted to all hell when I removed it from the D1!
Thanks in advance.
#2
09-18-2011, 06:48 PM

Winching
#3
09-18-2011, 09:52 PM
Recovery Vehicle
that thing looks pretty damn clean.. I broke mine free with a lot of pb blaster and working it side to side gently with a rubber mallet. Obviously be careful and lube everything when you're done and you should be fine. If you're extremely worried about it you could rebuild the entire thing but you're just going to be throwing money at it for no reason.
#4
09-19-2011, 01:36 PM

TReK
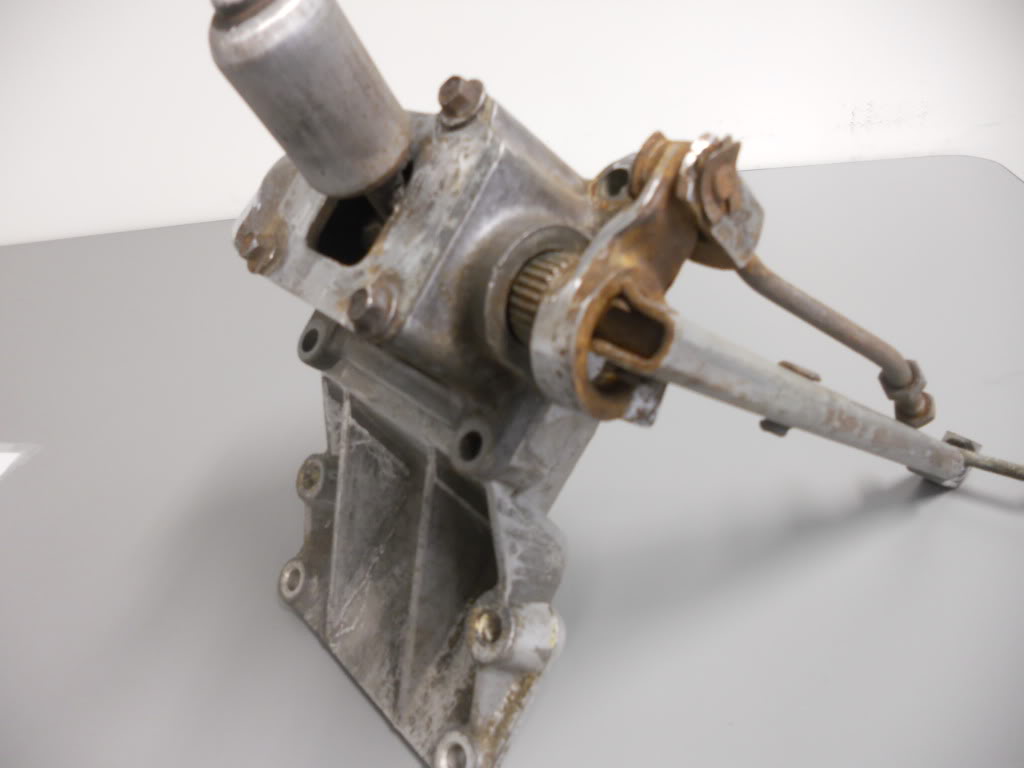
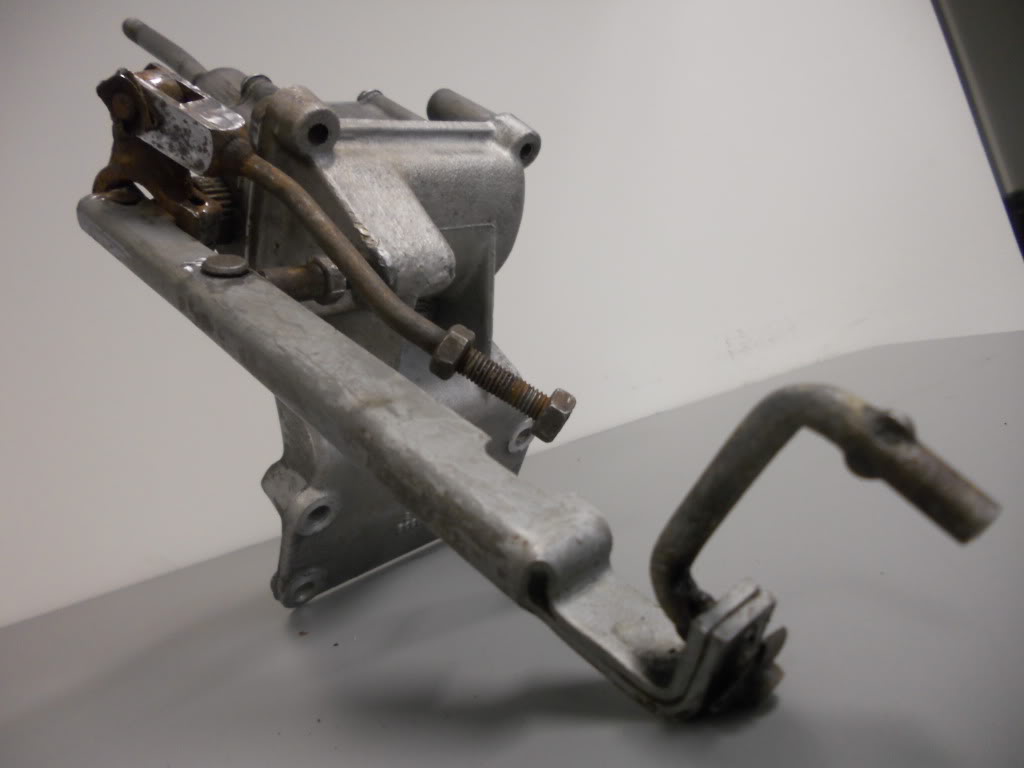
Don't wack the shifter itself. You may break something. Try putting the assembly in a vice and using a punch to tap both ends of the rod that runs through the upper cover for the shifter. That rod gets seized in place from non use especially at the end where the cover is secured with two screws (your last photo). Tap gently from side to side, use PB Blaster or similar and once the rod is moving freely, pack the area with grease.
#5
09-19-2011, 03:52 PM

Baja
Join Date: Mar 2010
Location: Pittsburgh PA suburbs.
Posts: 5,584
Likes: 0
Received 7 Likes
on
7 Posts
Do you have any oil laying around? You could take a large zip lock baggie, place the entire assembly in the bag and pour a liberal amount of any kind of oil on it and let it soak for a few days.
All the surfaces probably have a pretty fair amount of corrosion particulates that significantly increase the surface tension and increse the friuction between the mating surfaces significantly. That is what has it basically immobile.
To get it to move at all, you have to apply enough force to overcome that surface friction. The amount of force required to move it can be significantly reduced by the liberal application of lubricant. It could be PB Blaster, WD40, old motor oil, any opened container of oil that you may not want to put in an engine, cooking oil, or any other such oil. The viscosity is really insignificant, you just want to penetrate the layers of corrsion that still linger after your degreasing. So lube it up good, handle it with finesse instead of beating the hell out of it.
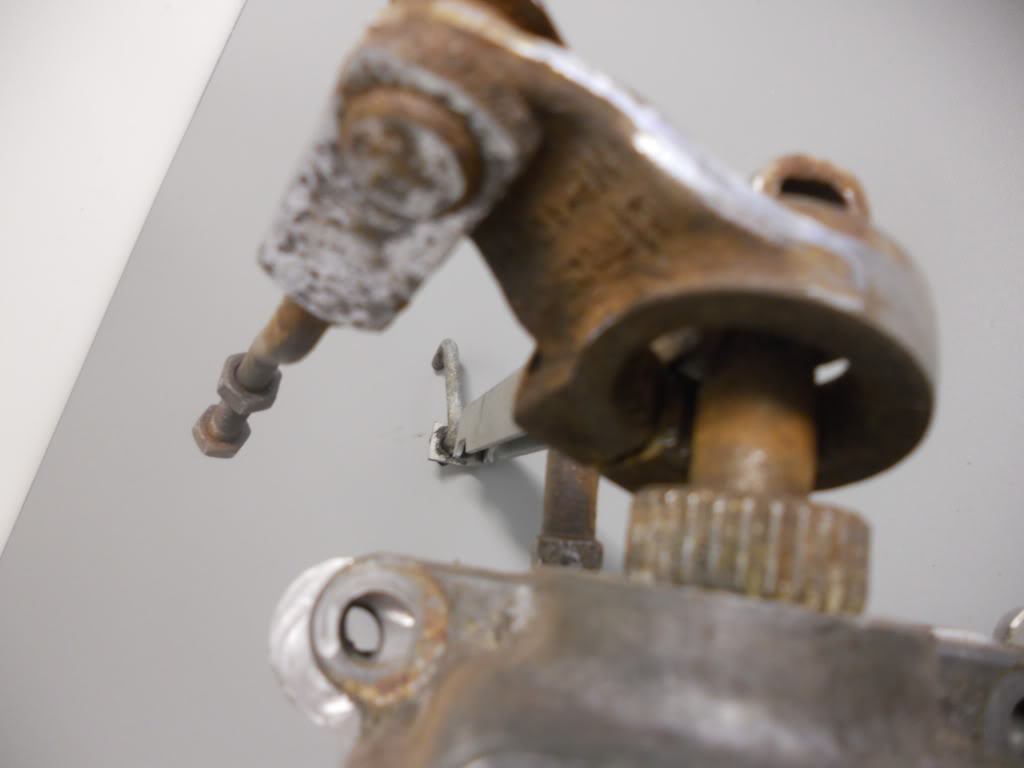
That the physics side of it to a microscopic or molecular level. The laws of physics still apply. It should free up. Mine had some pieces that did have visible physical wear and I replaced the majority of the small clips, pins and the pawl with the internal splines due to visible wear.
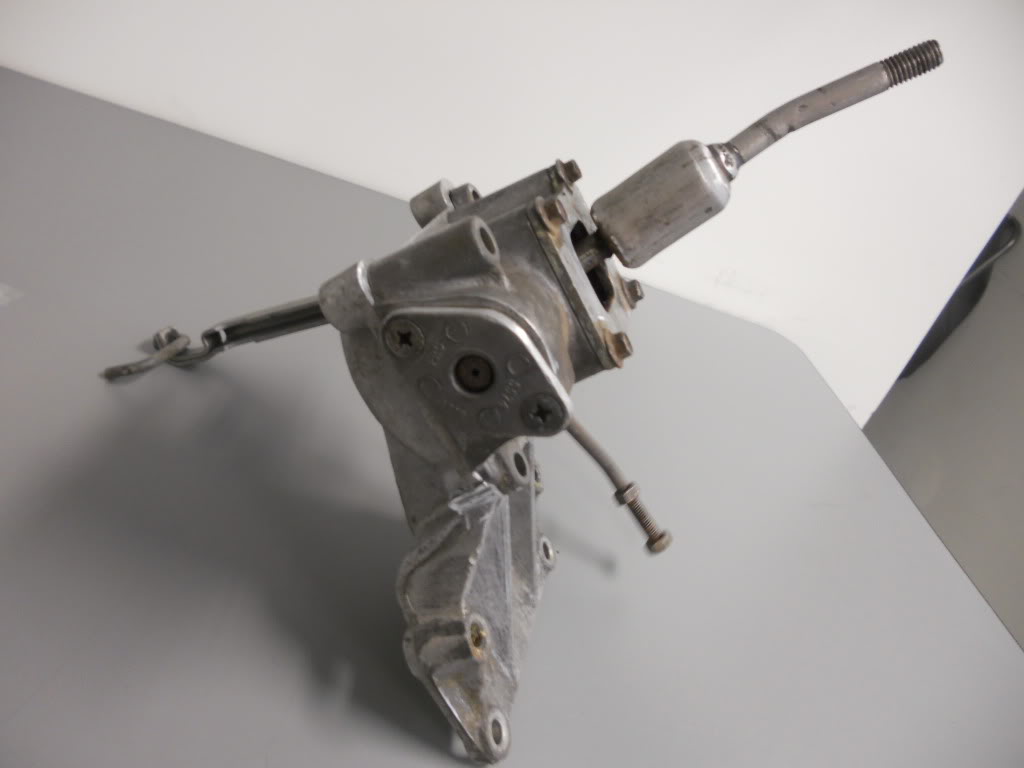
All that linkage does is transmit the motion down to the selector plate at the bottom of the unit where that u-shaped piuece attaches. Rotation of the selector plate engages the diff lock.
The unit is exposed to all the road grime so lubing it good upon getting it to move is the key to keeping it in working order. That and frequent movement of the linkages will help keep it from freezing up again.
All the surfaces probably have a pretty fair amount of corrosion particulates that significantly increase the surface tension and increse the friuction between the mating surfaces significantly. That is what has it basically immobile.
To get it to move at all, you have to apply enough force to overcome that surface friction. The amount of force required to move it can be significantly reduced by the liberal application of lubricant. It could be PB Blaster, WD40, old motor oil, any opened container of oil that you may not want to put in an engine, cooking oil, or any other such oil. The viscosity is really insignificant, you just want to penetrate the layers of corrsion that still linger after your degreasing. So lube it up good, handle it with finesse instead of beating the hell out of it.
That the physics side of it to a microscopic or molecular level. The laws of physics still apply. It should free up. Mine had some pieces that did have visible physical wear and I replaced the majority of the small clips, pins and the pawl with the internal splines due to visible wear.
All that linkage does is transmit the motion down to the selector plate at the bottom of the unit where that u-shaped piuece attaches. Rotation of the selector plate engages the diff lock.
The unit is exposed to all the road grime so lubing it good upon getting it to move is the key to keeping it in working order. That and frequent movement of the linkages will help keep it from freezing up again.
#6
09-20-2011, 04:50 PM
I agree with Grant, I really dont want to break anything - best to just take my time on this project. I'll try the PB blaster this week, then I'll take Dannys advice and soak the assembly in oil for afew days. While we are on the subject of oil - does it matter if the oil is clean or dirty? Dont have any old oil laying around so I was thinking about buying a jug of new engine oil and soak the assembly in that for afew days. Whats your take on this Danny?
#7
09-20-2011, 05:24 PM
TReK
#8
09-21-2011, 08:43 PM
Update:
Making progress on freeing up the shifter, it now moves in full rotation as it should thanks in part to PB Blaster, but there's still some friction. Just started soaking the assembly in fresh engine oil - plan on soaking for 3 days. Issue arose with the end cover piece while I was attempting to remove the 2 screws that secure the cover in place. One screw completely stripped and now I cannot get the screw off conventionally. I gave the cover a love tab and the center rod piece poped out slightly as seen in the video. Not sure where to go from here at this point. Not sure if the rod is broken, but its no longer flush with the cover as it was prior. Any input greatly appreciated.
D1 Transfer Case Shifter rebuild - YouTube
#9
12-03-2011, 10:19 PM

Three Wheeling