When you click on links to various merchants on this site and make a purchase, this can result in this site earning a commission. Affiliate programs and affiliations include, but are not limited to, the eBay Partner Network.
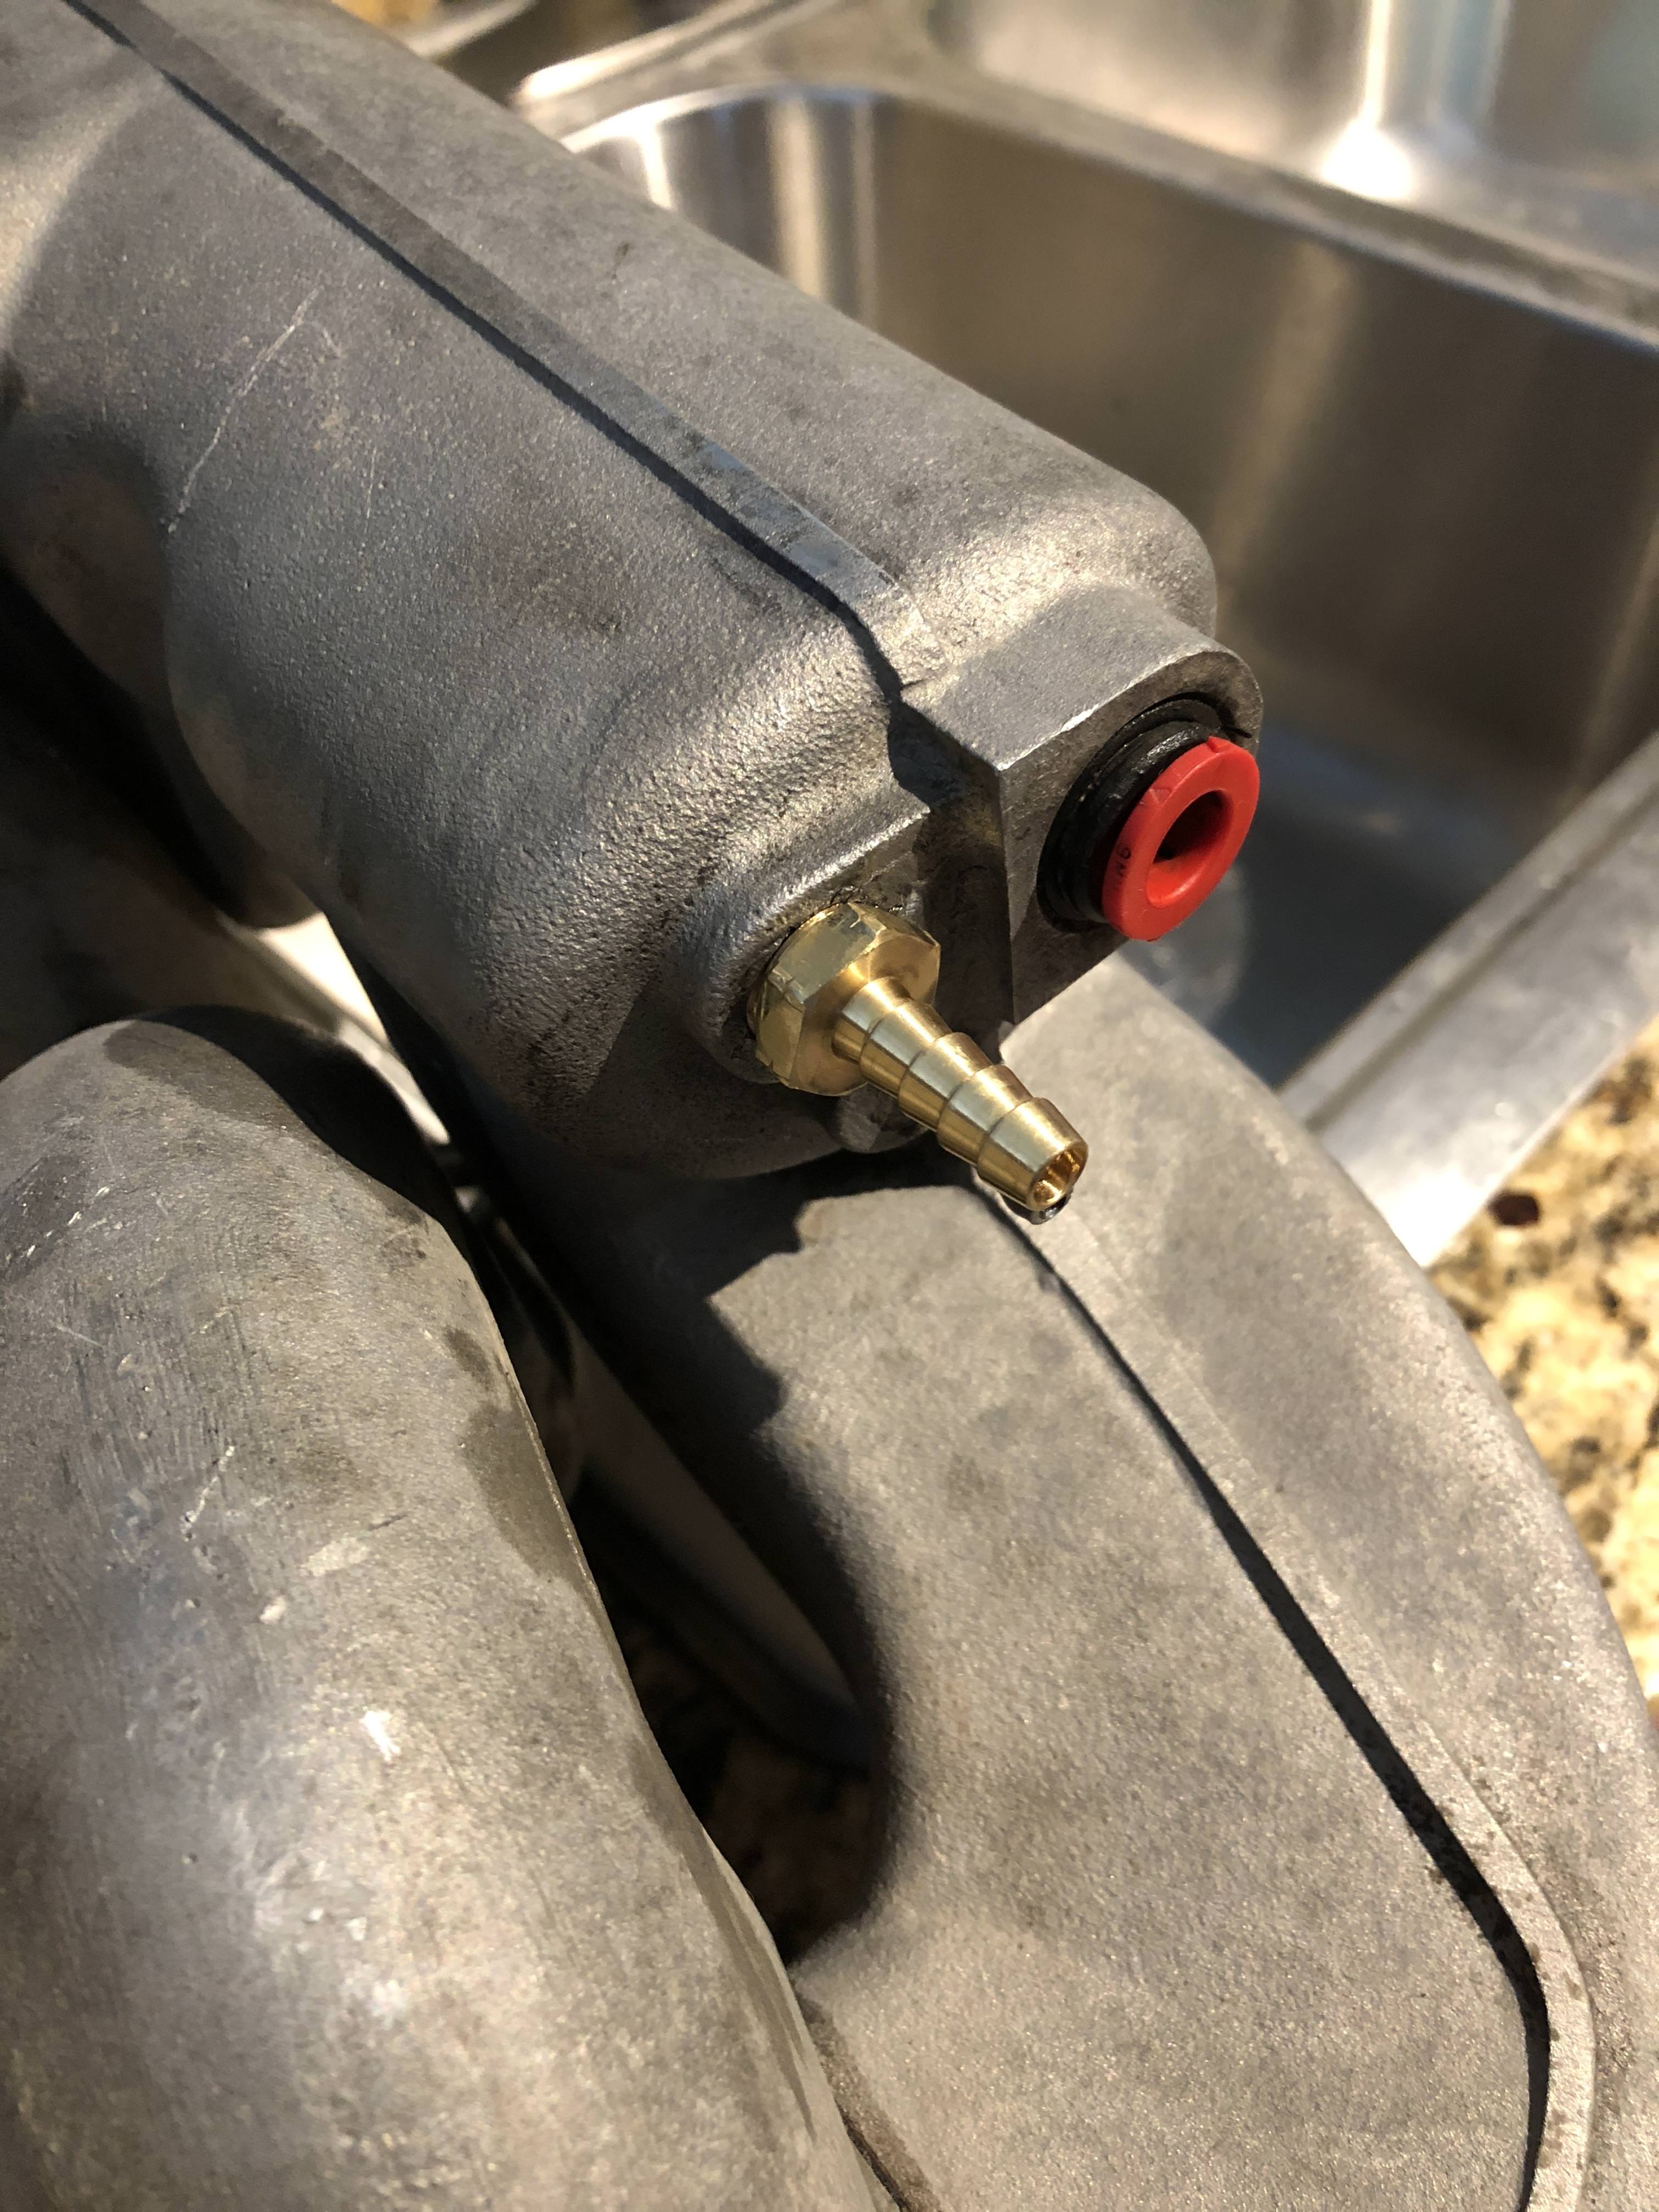
The thing in the middle of the Watts is called a snowman, apparently.
I replaced mine because it was clunking all the time, but on the new one the bushing in the central piece is a bigger diameter than the one I took off so the clunking is even worse than before. I am working on trying to make a sleeve as an interface between the new and the old sizes.
Anyway... it's not a tricky job at all, but it may not be the last time you have to work on it.
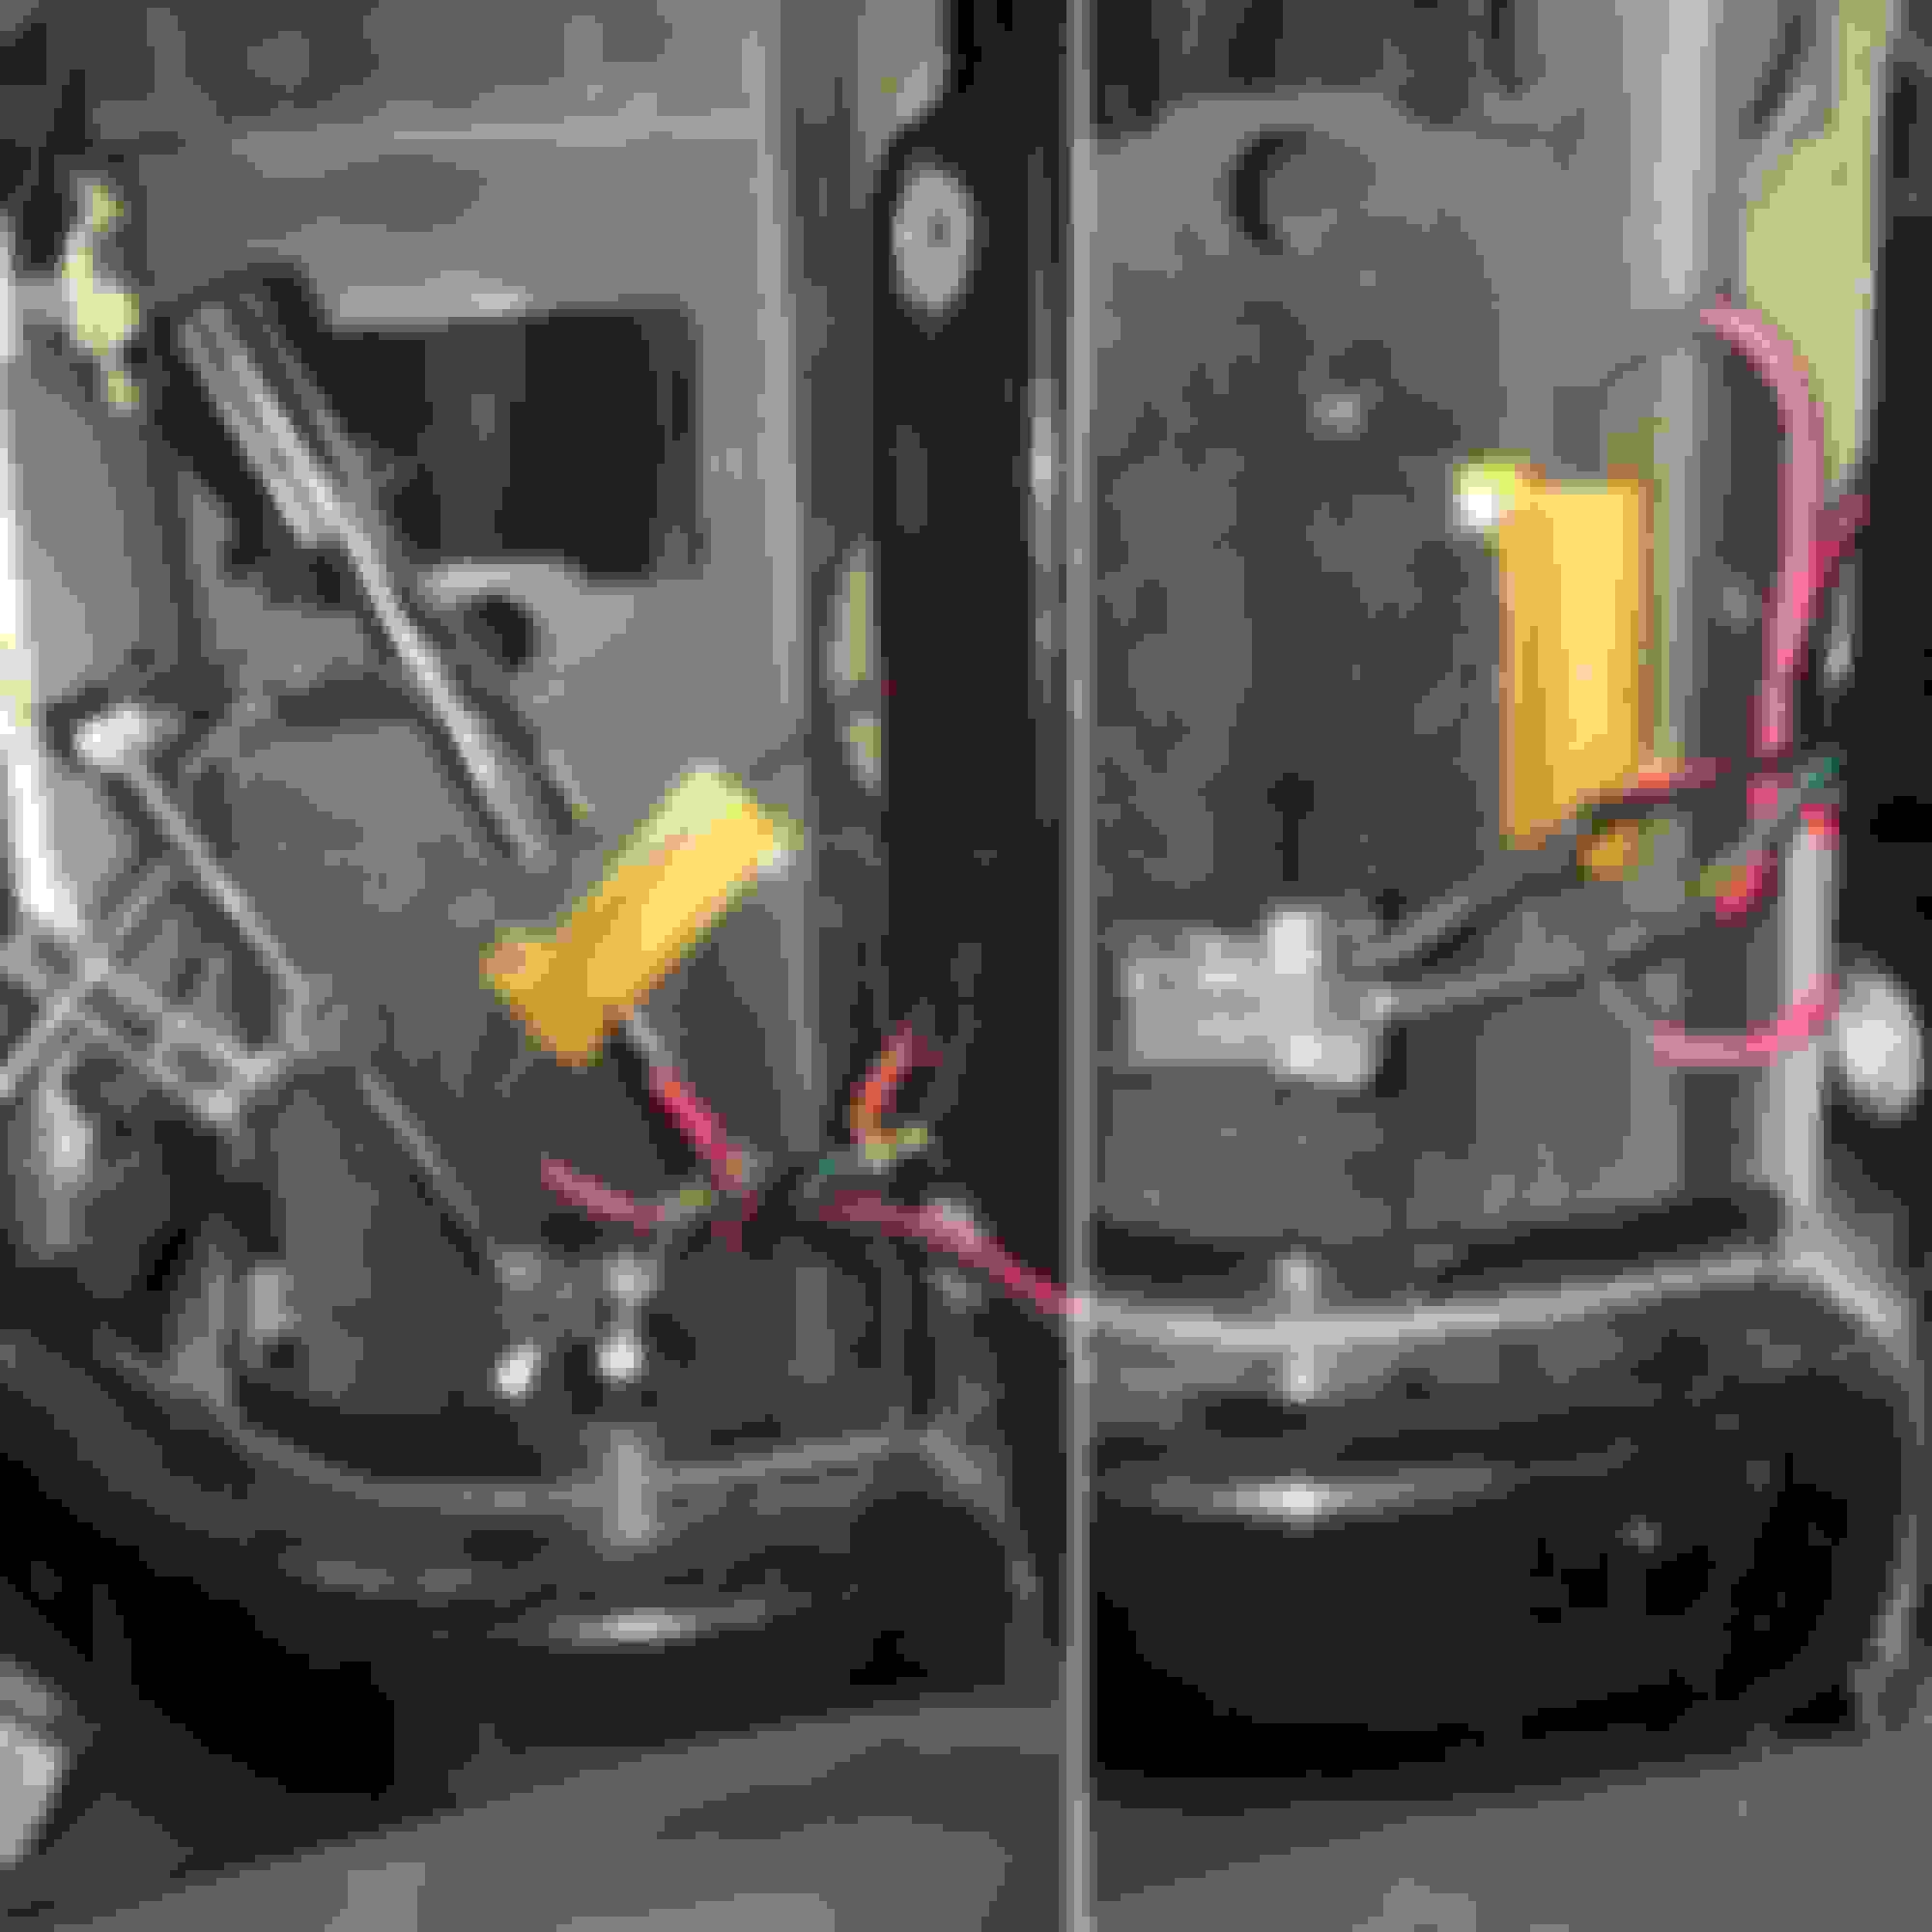
I finally fixed the hyper flash for all 6 LED turn signals that I installed years ago.
I soldered one 50 watt 6 ohm resister in parallel for each of the 1156 front turn signals.
After I verified the turn signals and hazards worked all around without smoke or fire, I mounted them onto the panel with sheet metal screws for heat disapation. 50W 6Ohm resister in parrallel with front turn signal to stop LED hyper flash.
Next up... I’m adding these same resistors to my LED brake lights. Hopefully that will enable my cruise control to work again.
Changed the oil, new battery, air filter, installed 1Factory Radio, added USMC sticker to rear window and by my calculations that sticker has given me 20% more HP and 40ftlbs more torgue. (don't be jealous) AND it is just now 830AM.
Just might have time to do total resto before the news comes on tonight.
****NOTE my math may be a bit off on those calculations. +/- 20 and 40 respectively.
Good to see I didn't run you off. So with that to do list you started at what 0825?
Ever since I changed to a Hayden Automotive 2781 Premium Fan Clutch, a Dorman 620-112 Radiator Fan and a 180 degree thermostat my mpg went from 10.4 to an average 13.5mpg as long as I don't have a lead foot around the city.
*EDIT*
here is a pic of the fan from the left driver's side you asked for ...
I installed the Hayden fan clutch while I was rebuilding my motor. Hopefully I'll have some good mpgs to report after a full tank of fuel or two.
All new bearings in the block, new Crower performance cam, and Hayden fan clutch.
I bench tested all of my fuel injectors during my rebuild, and they all flowed well with good spray patterns.
Pre-rebuild I had moved up to 20W50 oil. Now post-rebuild I'm back to 10W30 for the break-in period.
Also, new coil packs, plug wires, and spark plugs.
Good to see I didn't run you off. So with that to do list you started at what 0825?
I was over in London for a bit, woking with Metropolitan's counter terrorism bubbas. London was essentially shut down last week due to a storm 'the Beast from the East" It was cold and they got a little snow but they were in full panic mode. Even closing doggone train stations that were covered due to risk of slippery platforms. Was crazy...
My counter part over there just bought a McLaren MC12 I was hoping we'd get to take it out and maybe become a terrible news story but that didn't happen. I just got to look at pictures of it and that is frankly boring. Then we discussed the price differences on Defenders in the UK and Defenders here in California. If I had a tiny lue about importing them and selling them I'd at least look in to it but the best I can do is ask a guy named Bob if he thinks it is a good idea. He said no and since he had a British accent I have to assume assume he is right.
Originally Posted by JUKE179r
I only get 10% more HP with my USAF Rescue Jolly Green sticker.
Yeah but that 10% is cleaner and more efficient horsepower so it all evens out in the end. At least by my calculations....
Last edited by TriggerPuller; 03-05-2018 at 08:42 AM.
Long weekend working on the Rover, but nice nonetheless...
1. Replaced both rear door actuators - locks work again!
2. Replaced 2nd row seat switch so I don't need a pair of pliers to lift the seat forward
3. Center Console replaced (window back-panel was broken out and it needed a new one)
4. Oil/Filter Change
5. Installed a Rear Door Ladder
Tonight:
1. Windshield Cowl
2. LH C Pillar Replacement
Basically tore down the top 1/4 of the engine today -- realized that i had wired up the plug wires wrong. Decided to remove the IM and go that route which led me to drain the coolant, replace the lower rad hoses, expansion tank and low temp t-stat. Had to order some more parts before going all back together (might as well do new coils) from Lucky8 -- Eric rocks.
Managed to get this done today though. More pics in my build thread..
The FIRST time that I pulled the IM, I drained the coolant, removed the fan clutch and serp belt, moved the AC out of the way, unbolted the single-bolt metal heater tube, and then unbolted the IM.
The SECOND time that I pulled the IM, I removed the serp belt, moved the AC out of the way, unbolted the single-bolt metal heater tube, and then unbolted the IM.
The THIRD time that I pulled the IM, I just unbolted the single-bolt metal heater tube and then unbolted the IM.
This motor doesn't have SAI so it might be different from many other 4.6s.
There are 6 main 10mm bolts for the IM, plus 2 small 5/16" bolts hold on the top of the coil pack bracket to the IM (and 2 more 8mm bolts hold the bottom of the coil pack bracket to the block).
Of course, you also have to disconnect the two throttle body heater hoses, the idle air intake hoses+elec, the throttle position sensor elec, and an air hose to the throttle body, plus disconnect the cruise control and throttle cables. And the MAF+plastic air input tube.

 03-01-2018, 04:07 PM