The Bigger is Better '95 DI build.
#11
 05-13-2015, 09:01 PM


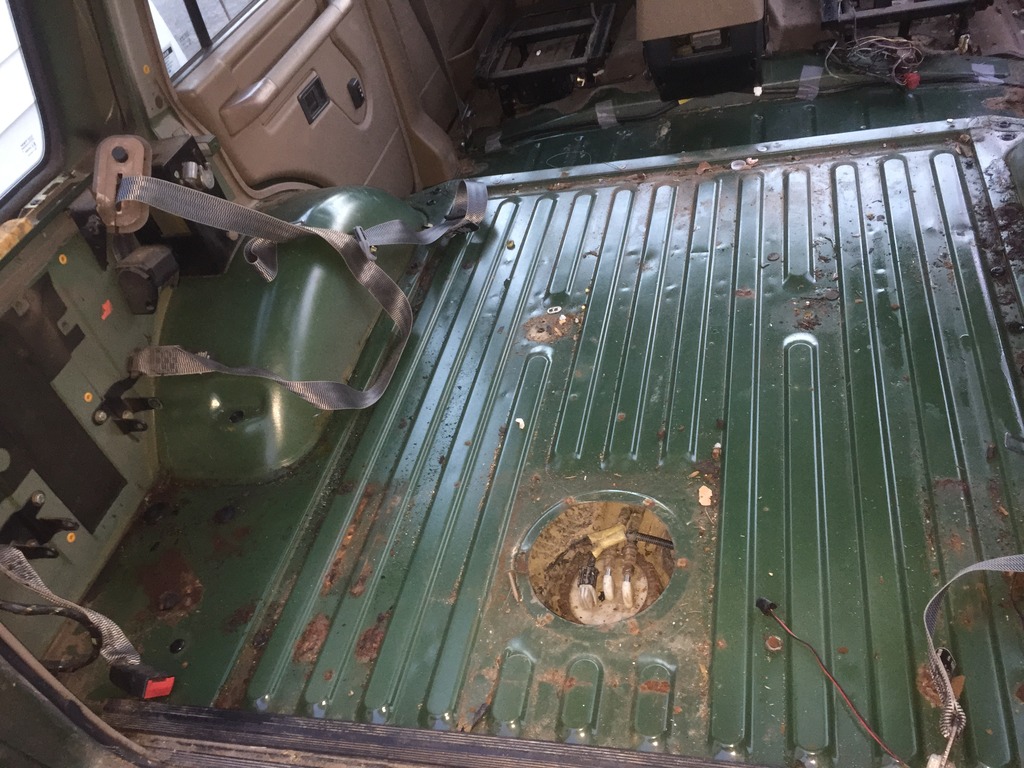
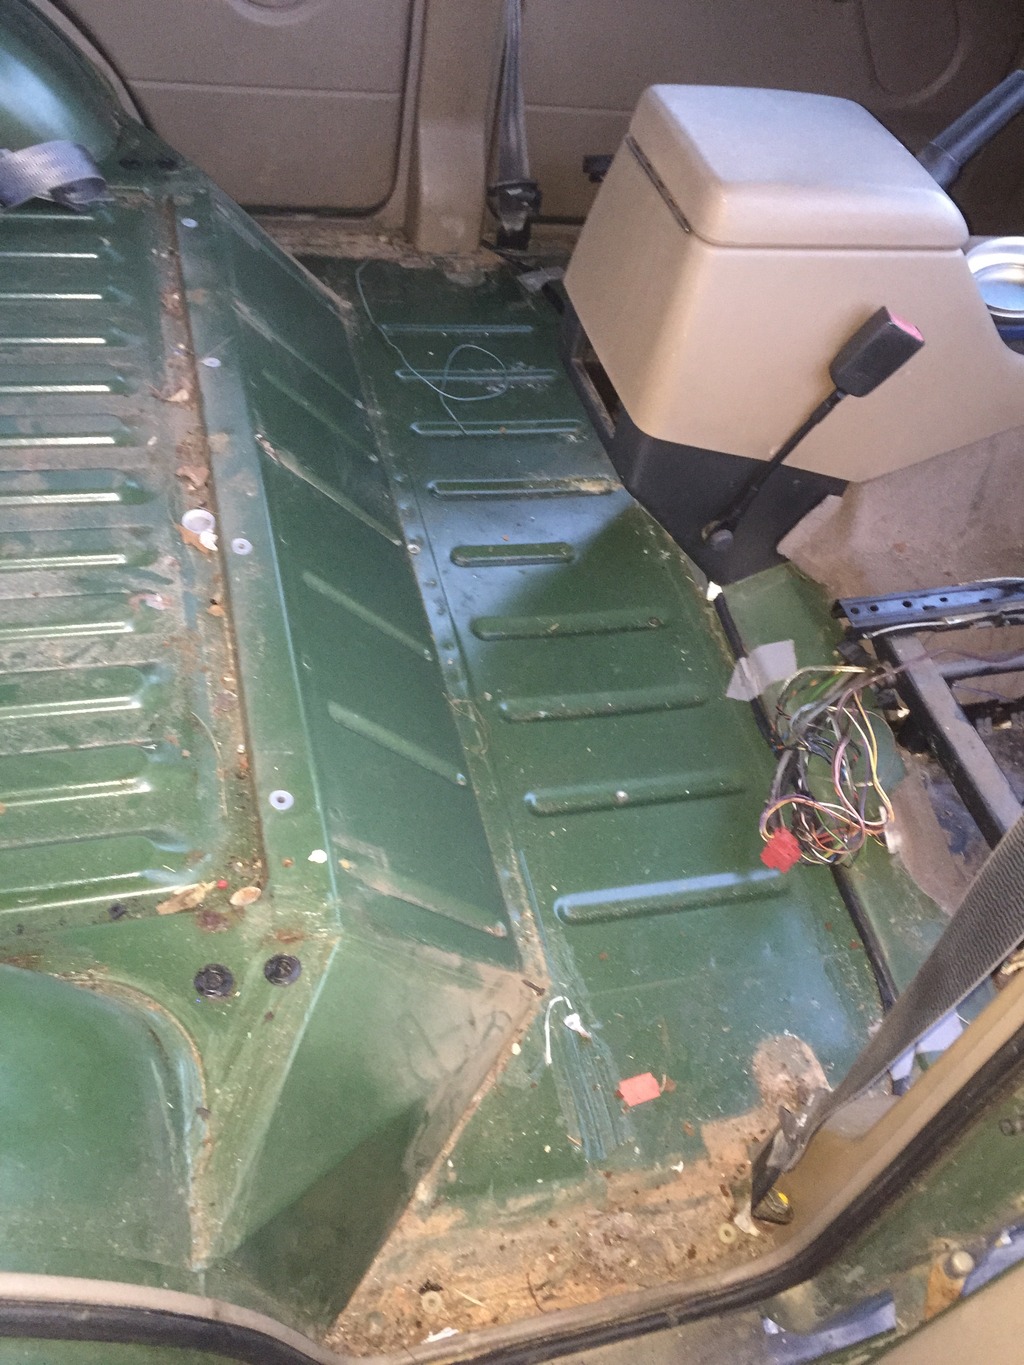
Started stripping out the interior. It was pretty nasty in there. I got the headliner out and got most of the rear stripped. Still have to remove the seat mounts and center console then pull the carpet in the front.
There is some rust in the rear bed but nowhere near the worst I've seen. The rear floor is almost spotless.
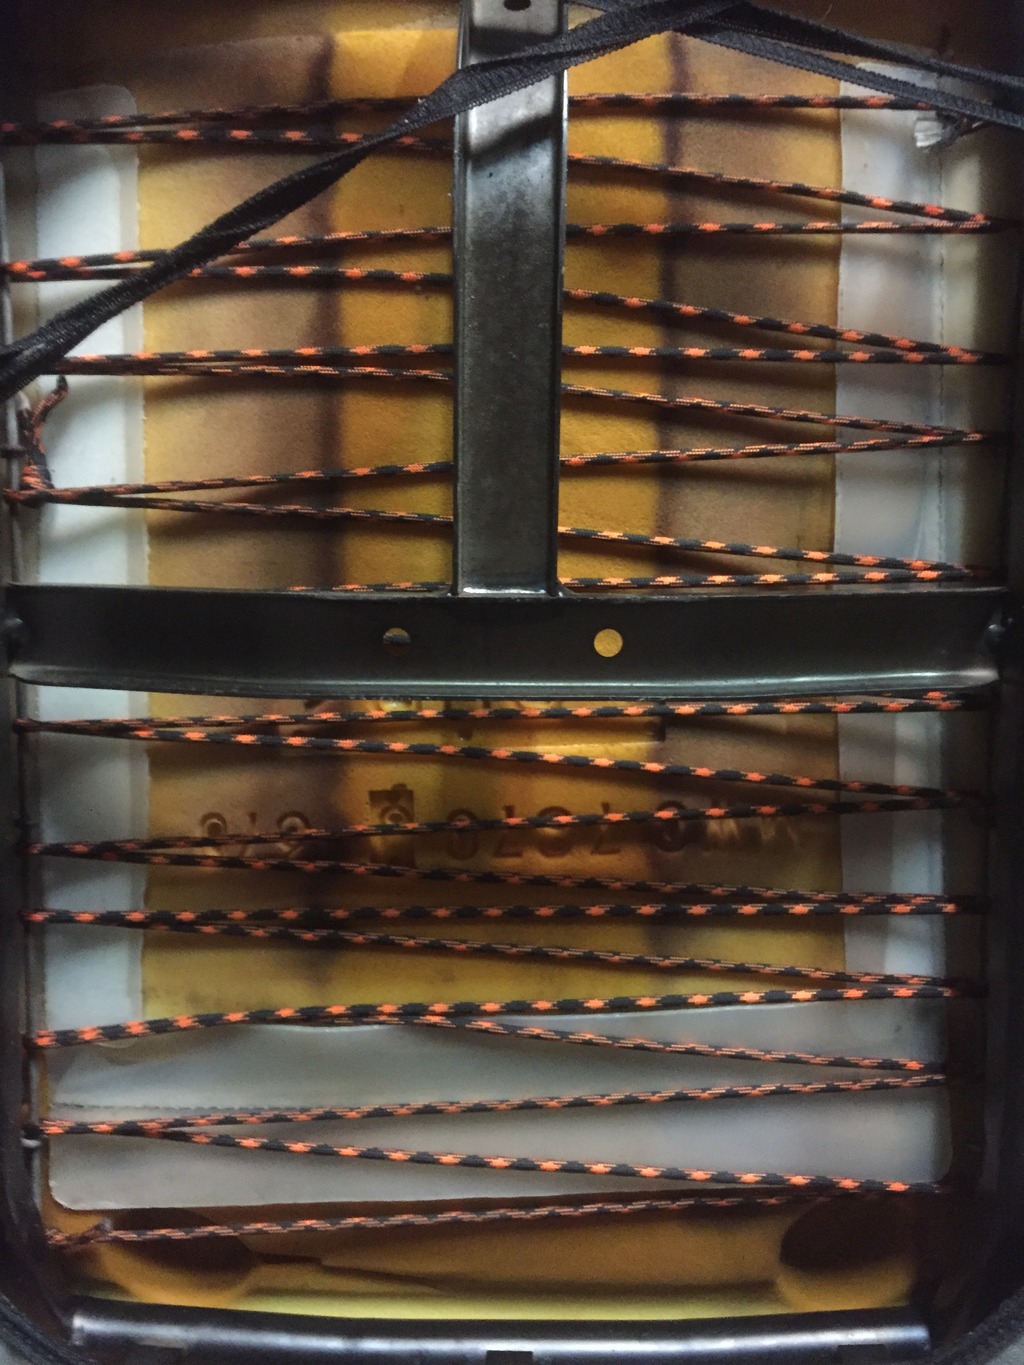
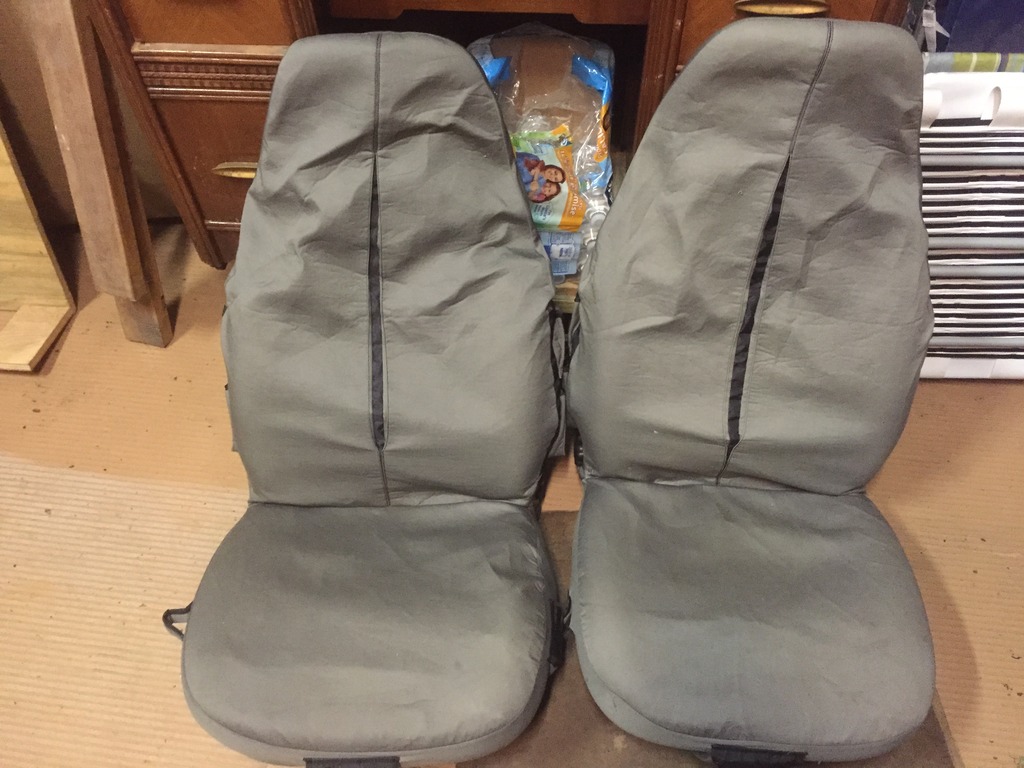
The seats were pretty rough but I decided to fix them so I could use them until I buy some new suspension buckets. I fixed the bottoms using some para cord. I got most of the mold cleaned off but decided to added some old seat covers.
There is some rust in the rear bed but nowhere near the worst I've seen. The rear floor is almost spotless.
The seats were pretty rough but I decided to fix them so I could use them until I buy some new suspension buckets. I fixed the bottoms using some para cord. I got most of the mold cleaned off but decided to added some old seat covers.
#12
05-13-2015, 09:16 PM

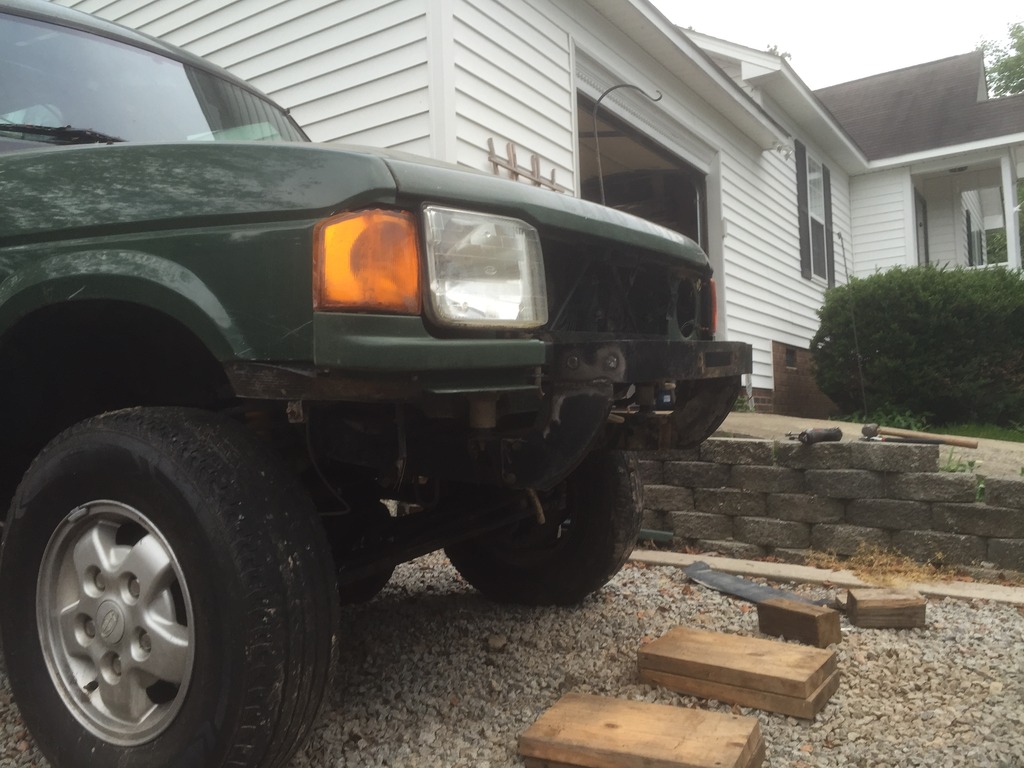
I think you're getting the trucks confused. The green truck has the 2" + 2" lift. It clears the stock size tires just fine. 
The white truck is my current trail truck. I just added the picture of it for reference as to what my first build looked like. The swampers are size Q78 (roughly 35.5x9.5). It has around 5"-6" of lift with lots and lots of trimming and pretty much everything upgraded.
The white truck is my current trail truck. I just added the picture of it for reference as to what my first build looked like. The swampers are size Q78 (roughly 35.5x9.5). It has around 5"-6" of lift with lots and lots of trimming and pretty much everything upgraded.
#13
06-02-2015, 10:02 PM
Made a little more progress over the last week. I managed to get the rest of the interior out. I'll need to grab some pictures but it's not too bad rust wise mostly just where the mud flaps bolt up.
I pulled the seat bases and got them cleaned up.
I touched them up with some POR and they look pretty clean. I'll have to get pictures of them later.
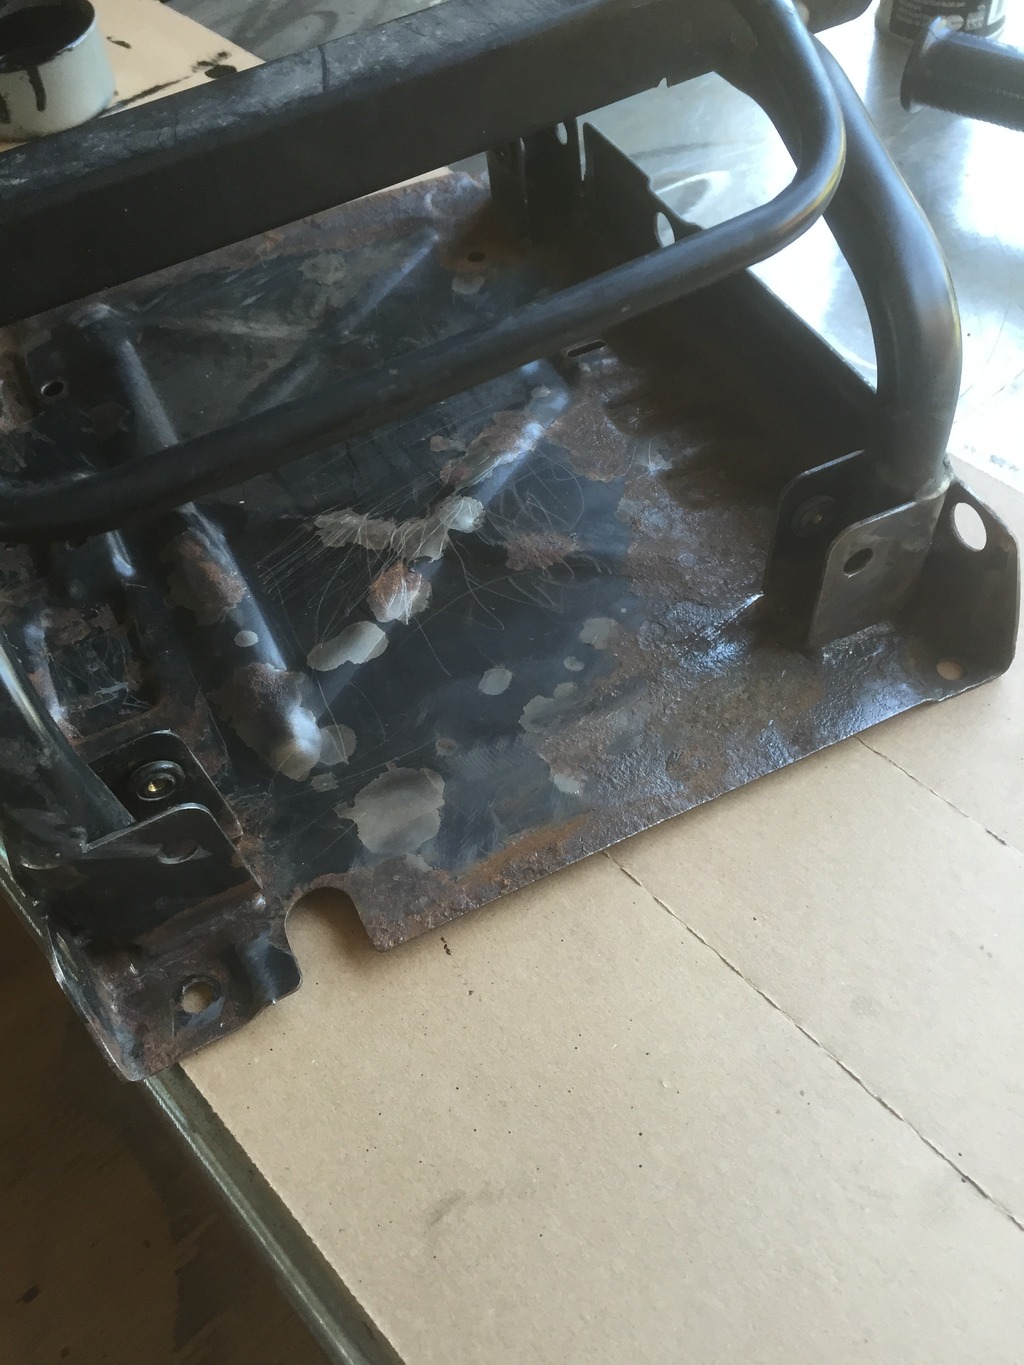
Stripped down the winch tray. It has definitely seen better days.
Before
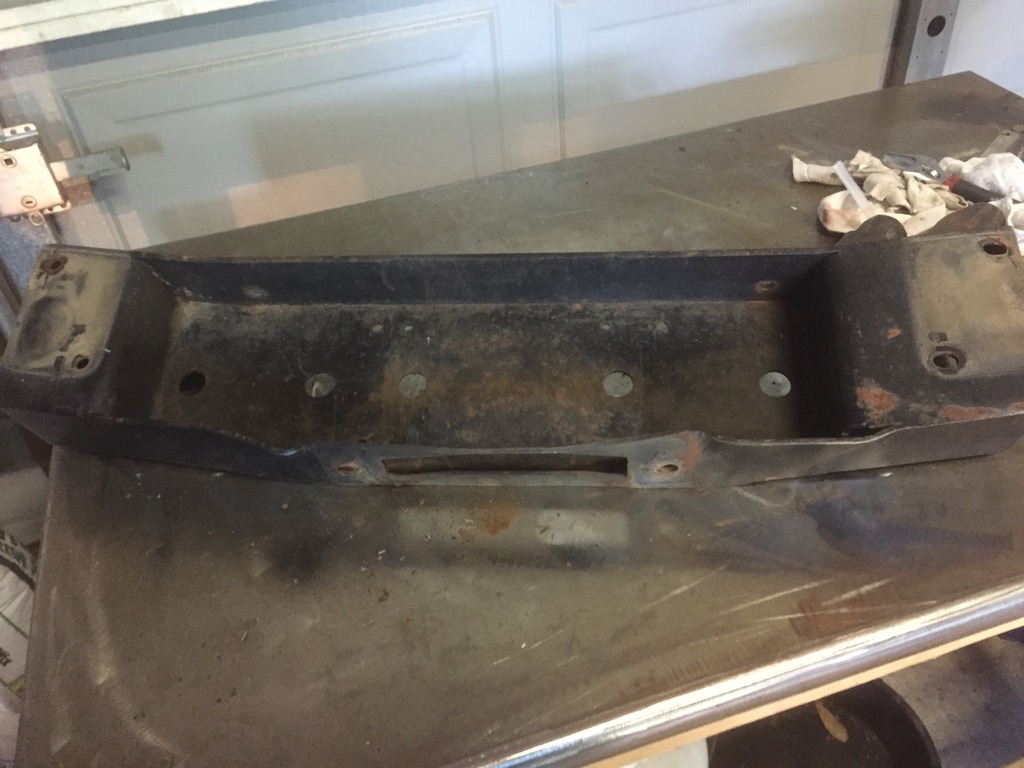
After
I pulled the seat bases and got them cleaned up.
I touched them up with some POR and they look pretty clean. I'll have to get pictures of them later.
Stripped down the winch tray. It has definitely seen better days.
Before
After
#14
06-02-2015, 10:14 PM
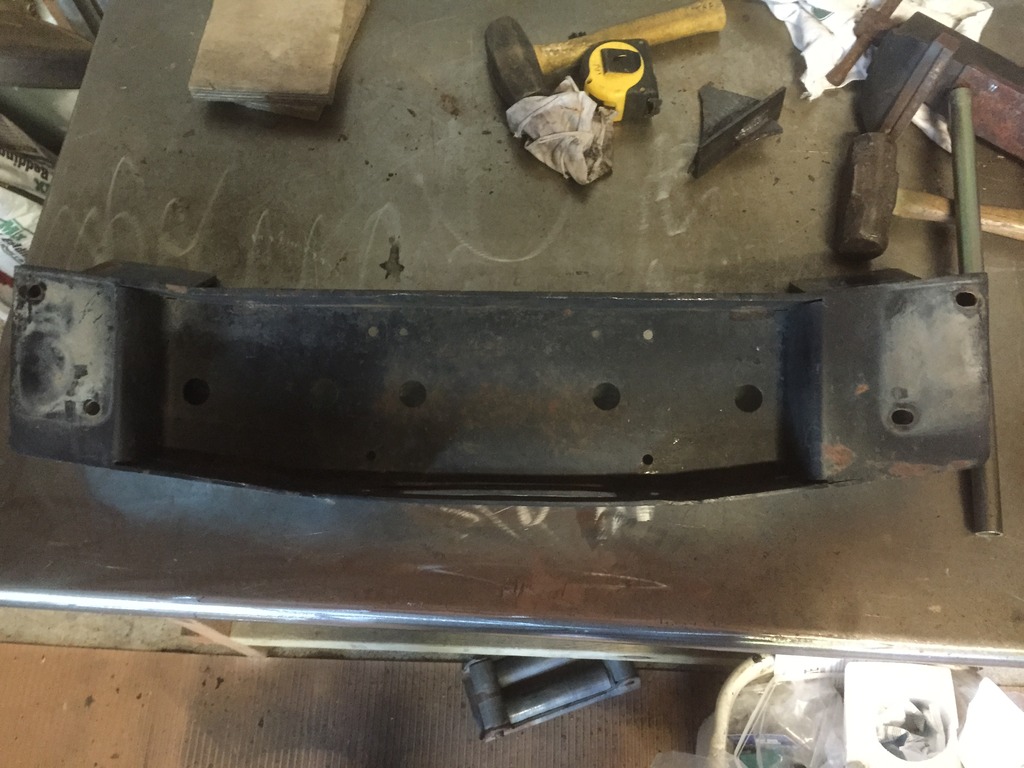
Kind of putting the cart in front of the horse here but decided to start mocking up the winch tray.

Managed to reuse the original mounting brackets. It sit's a little high but I think it will work out ok once it's all done. I'm definitely not going to cut those mounts out at this point.

Another angle
I still need to create the inside mount brackets, add recover points, box in the the bottom of the tray and re-weld some of the factory joints.
Unfortunately, I'm going to have to put this on the back burner for a little longer. At least until I swap the engine out in the white truck. Which will hopefully happen over the next month.
Managed to reuse the original mounting brackets. It sit's a little high but I think it will work out ok once it's all done. I'm definitely not going to cut those mounts out at this point.
Another angle
I still need to create the inside mount brackets, add recover points, box in the the bottom of the tray and re-weld some of the factory joints.
Unfortunately, I'm going to have to put this on the back burner for a little longer. At least until I swap the engine out in the white truck. Which will hopefully happen over the next month.
#15
06-03-2015, 06:19 AM

Baja
#16
06-03-2015, 07:49 AM
Tom, I definitely agree with you and it's one of my concerns about the current mounting location. It's really only ~1.5" higher than the RTE body lift bumper and they seem to do alright. So I think it would be "OK" in it's current location. Especially considering that when it's done the mounts will be boxed in and it will have the tube fenders welded to them. But I might drop it 2" anyway, right now I just don't like the idea of having to cut the whole thing apart. But I'm going to let it sit until I finish the engine swap on the '97 and then think about it again.
#17
06-04-2015, 08:24 AM
When mounting a winch the ideal, from a strength perspective, is to mount it so the pull is inline with the chassis.
I would seriously consider reinforcement of the chassis side rail horns as during a heavy pull you're going to be putting a lot of leverage on the mounting points.
I would seriously consider reinforcement of the chassis side rail horns as during a heavy pull you're going to be putting a lot of leverage on the mounting points.
#18
06-04-2015, 09:06 PM
Baja
Thanks Tom, so after you basically restated what I was already thinking. My obsessive brain kicked in and I could not stop thinking about it all day at work. So much to my wife's dismay I went back out to the garage last night and cut the mounts back off and notched them to lower the tray 2". I still need to tack it back together and test fit it. But I think I'm going to be much happier with the end result.
My wife is enough to deal with when skipping house improvements to work on vehicles.
Thanks heaps.

