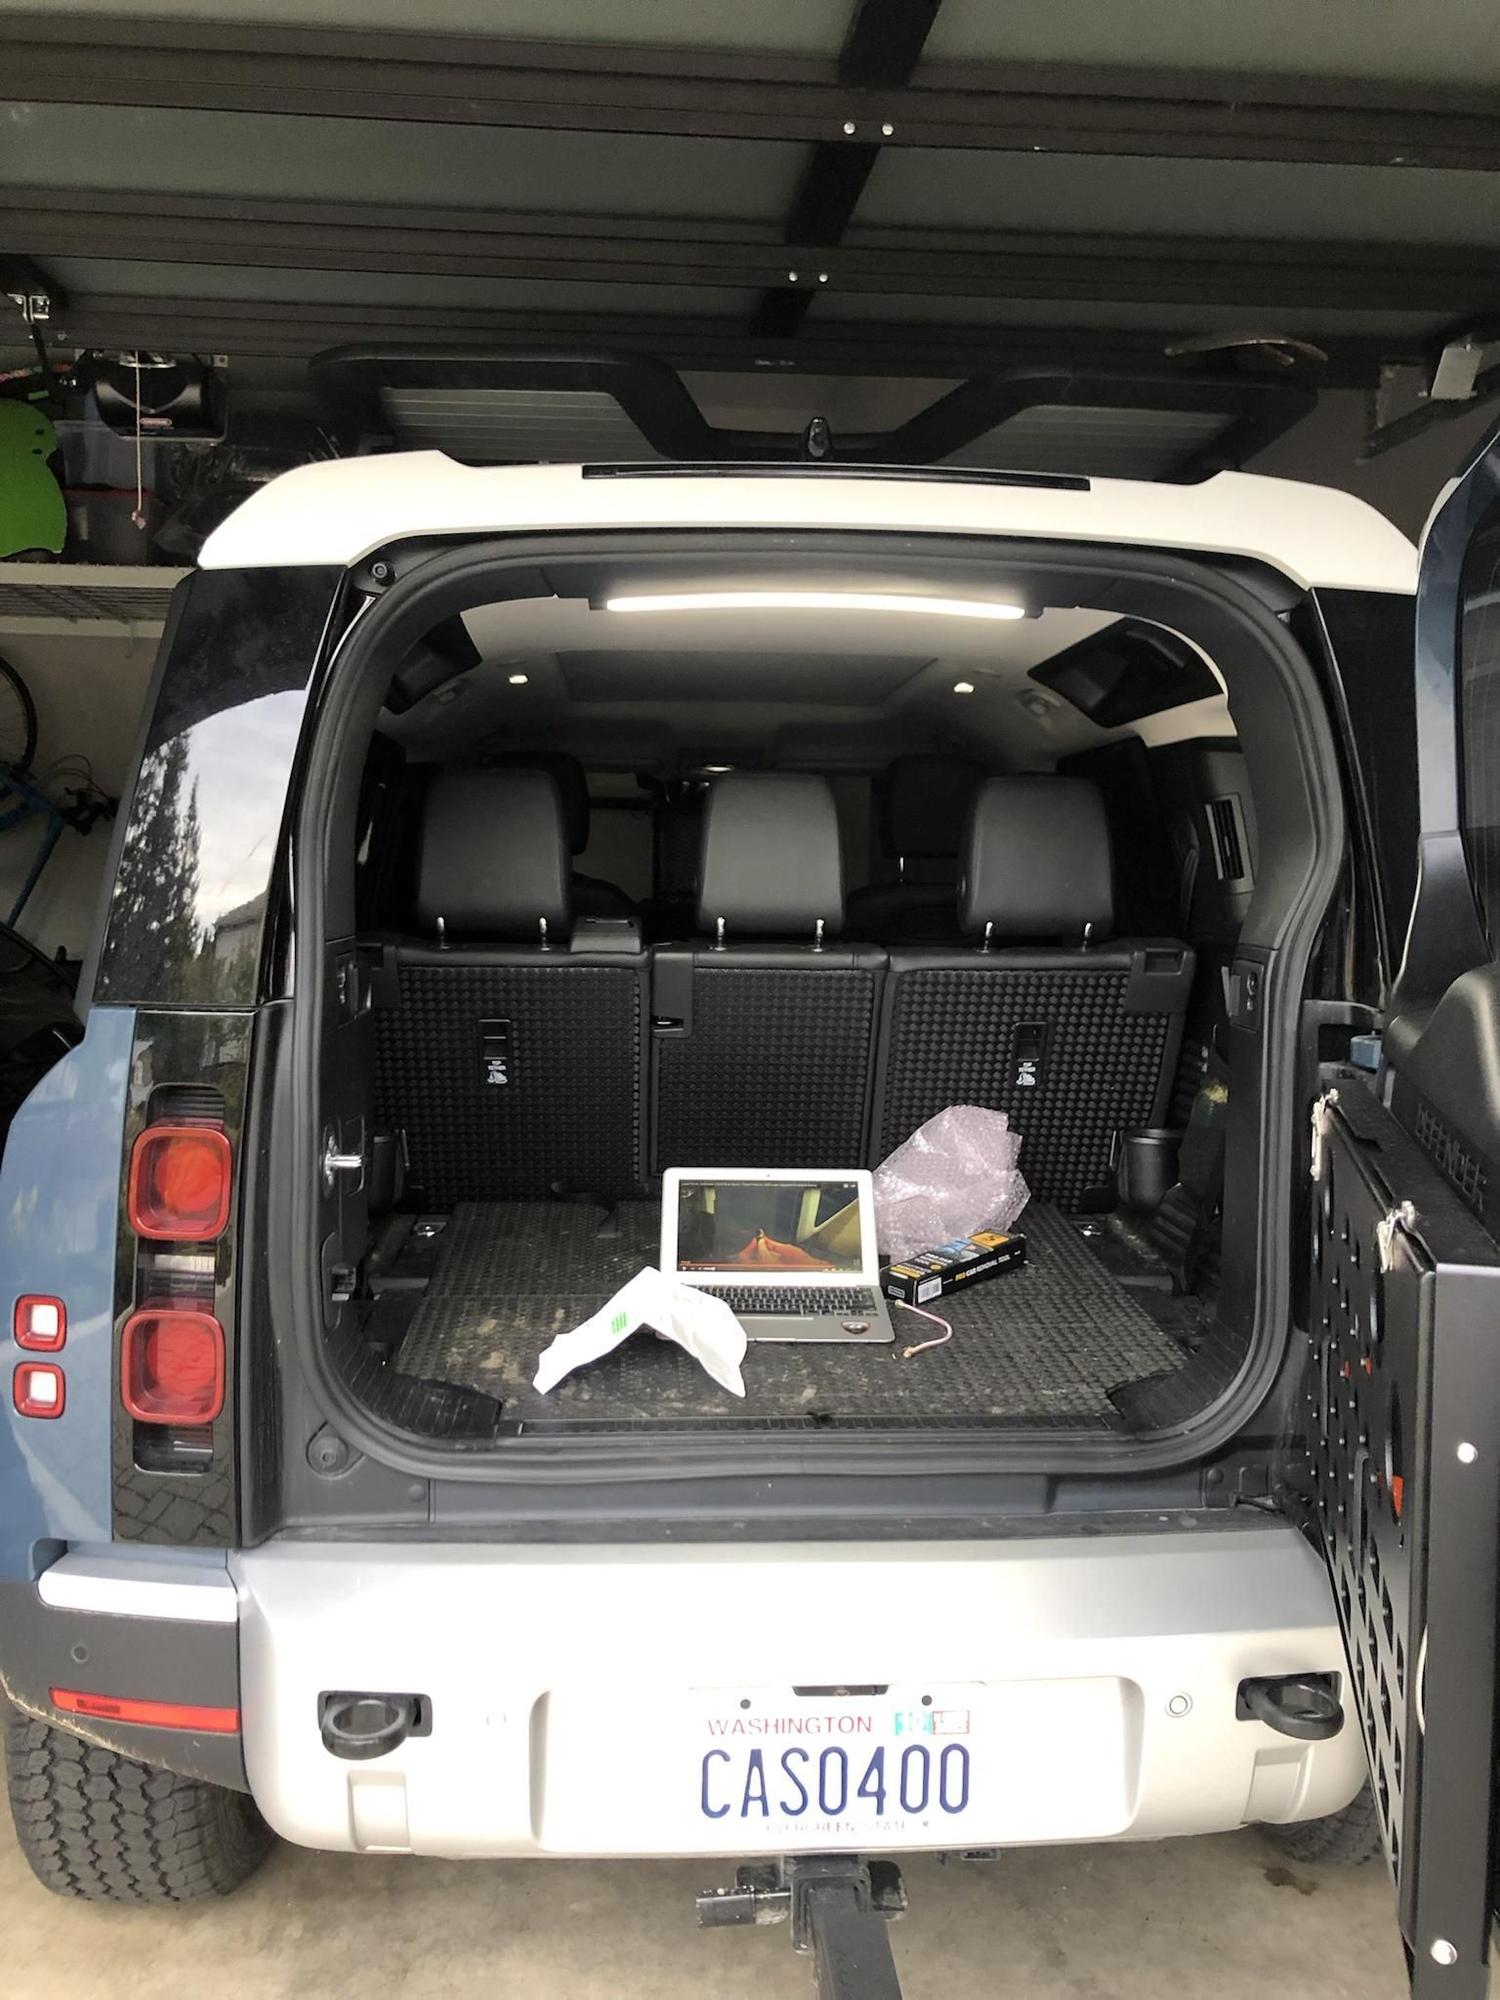
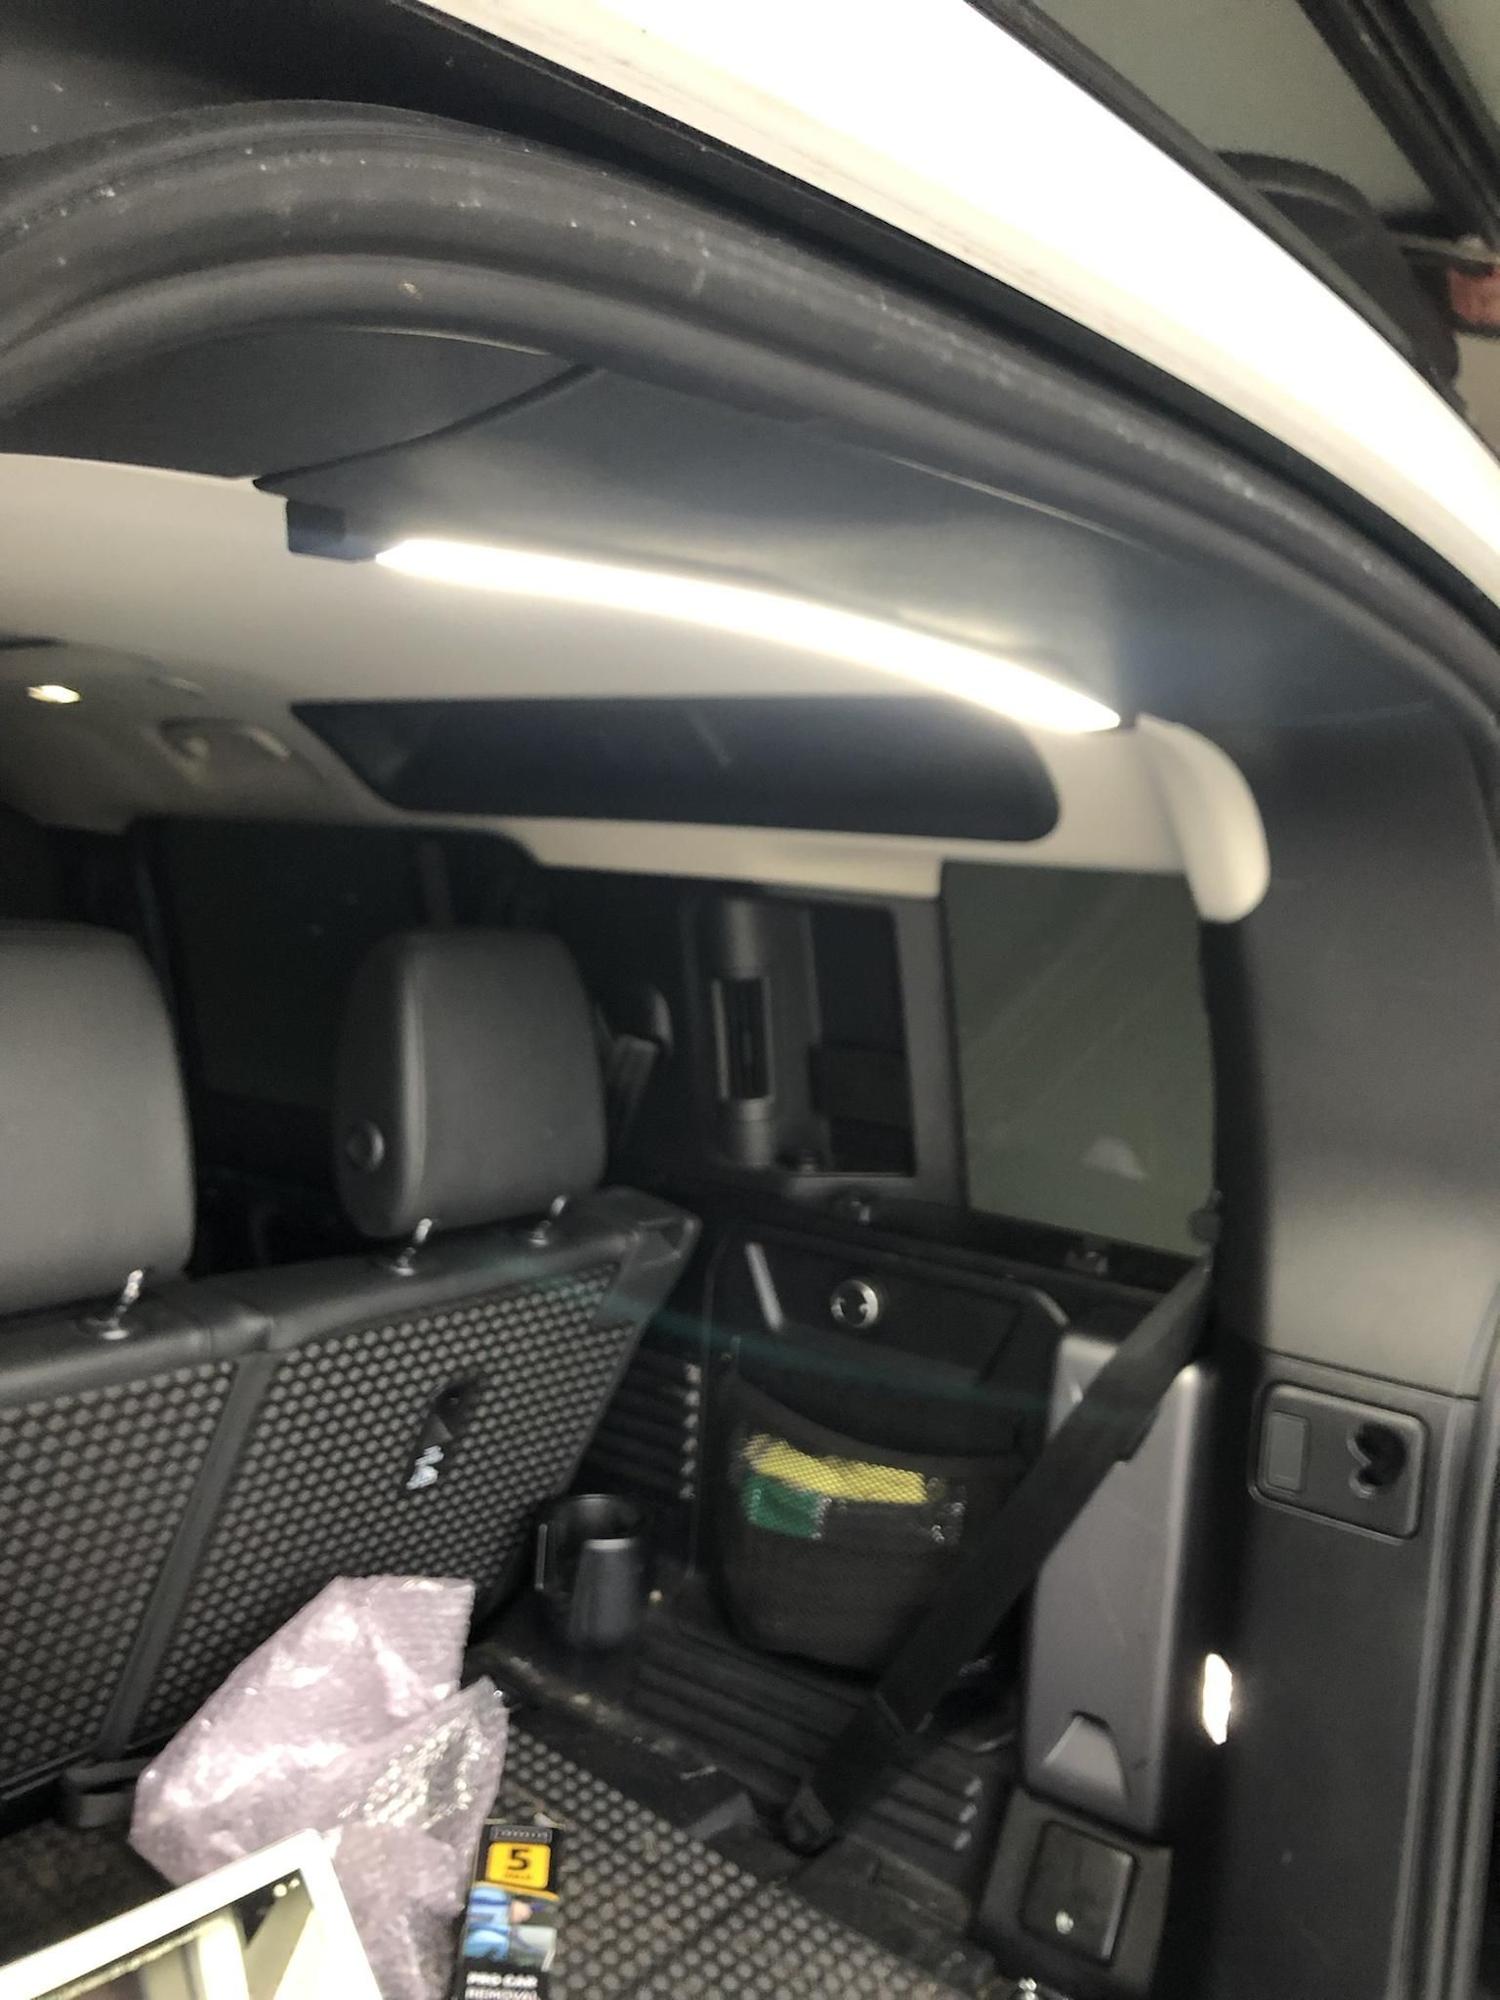
Defender 3d LED cargo space light + switch
#11
That rotary switch is to control the fan speed of the rear air blower, but I've never used it since you can control it from the Pivi screen up front. I just turn it off and on when the dogs are back there in the summer.
he rear air only has one vent and its on the C pillar on the other side.
he rear air only has one vent and its on the C pillar on the other side.
The following users liked this post:
LRDEF2LR (05-10-2022)
#12
Has anyone tried ordering this light from https://www.4x4overlander.com/produc...adspace-light/? They have the honesty to not charge VAT to US orders, so the cost is £54.17 instead of £68, but I'm having trouble with placing an order for shipment to the US.
#13
#14
Very interesting. I just went and checked mine outside, has two vents, one on either side. I have a 7 seater, I guess that's the difference in the rear cool assist (so perhaps it goes like.... 5 seater with rear cool assist has one vent on left side, the 7 seater with the same option has two vents, one on each side).
Last edited by nashvegas; 01-16-2022 at 11:27 PM.
The following users liked this post:
drcoop (01-18-2022)
#16
Funny you posted this. I ordered and received the light (as well as a folding rear table) back when this thread was new. They have sat on my garage projects shelf for however many months that is and yesterday morning as I was filling out my schedule for this week I put down “Install rear light and table in LR” for tomorrow. Now I have no excuse to worm out of it. 

#17
#18
looks great! thanks for sharing. any comments on color temp of the light vs the factory lights in the vehicle? for example are the factory lights in the 2700k range and the new cargo light at 5000k… so that it looks out of place when on compared to the other interior lights? thanks!
#19
I'm not that brilliant (pardon the pun) with the differences, but it is MUCH brighter and likely much higher in the color temp scale. It absolutely looks out of place. Plus it lights up your back storage which shows everyone else what's back there. Since I don't feel comfortable with that, I installed the switch and now I control when I want the operating room brightness and when I'm good without it. I only turn it on when I actually go back there.
#20
Just installed the light and the little Amazon rocker switch, as linked by Dr. Coop. Easy as pie. If you do this job without the switch it shouldn’t take more than 10 minutes, including laying everything out. And this is important:
Go back and look at Dr. Coop’s switch install instructions for removing the little panel. There’s a hidden screw. You can’t just pry the panel off.
Then I installed the LK8 tailgate table. Also easy. Took 18 minutes because that’s how long Simon’s video takes . Lot’s of talking back and forth between him and Tyler. The only mod I made to that one is with the thumbscrews that hold the table in the stowed position. They have a lot of threads and so if you want to grab whatever is stored behind the table in the cubby (gloves, tire gauge and a few other odds and ends for me) it takes longer than I wanted to spend unscrewing and rescrewing them. So I grabbed a couple of M6 nuts (happened to have a set of black metric hardware so it looks good) and screwed them onto the thumbscrew, with a split washer between the nut and the thumbscrew. This reduced the thread length to about the minimum you can use.
Go back and look at Dr. Coop’s switch install instructions for removing the little panel. There’s a hidden screw. You can’t just pry the panel off.
Then I installed the LK8 tailgate table. Also easy. Took 18 minutes because that’s how long Simon’s video takes
 . Lot’s of talking back and forth between him and Tyler. The only mod I made to that one is with the thumbscrews that hold the table in the stowed position. They have a lot of threads and so if you want to grab whatever is stored behind the table in the cubby (gloves, tire gauge and a few other odds and ends for me) it takes longer than I wanted to spend unscrewing and rescrewing them. So I grabbed a couple of M6 nuts (happened to have a set of black metric hardware so it looks good) and screwed them onto the thumbscrew, with a split washer between the nut and the thumbscrew. This reduced the thread length to about the minimum you can use.


