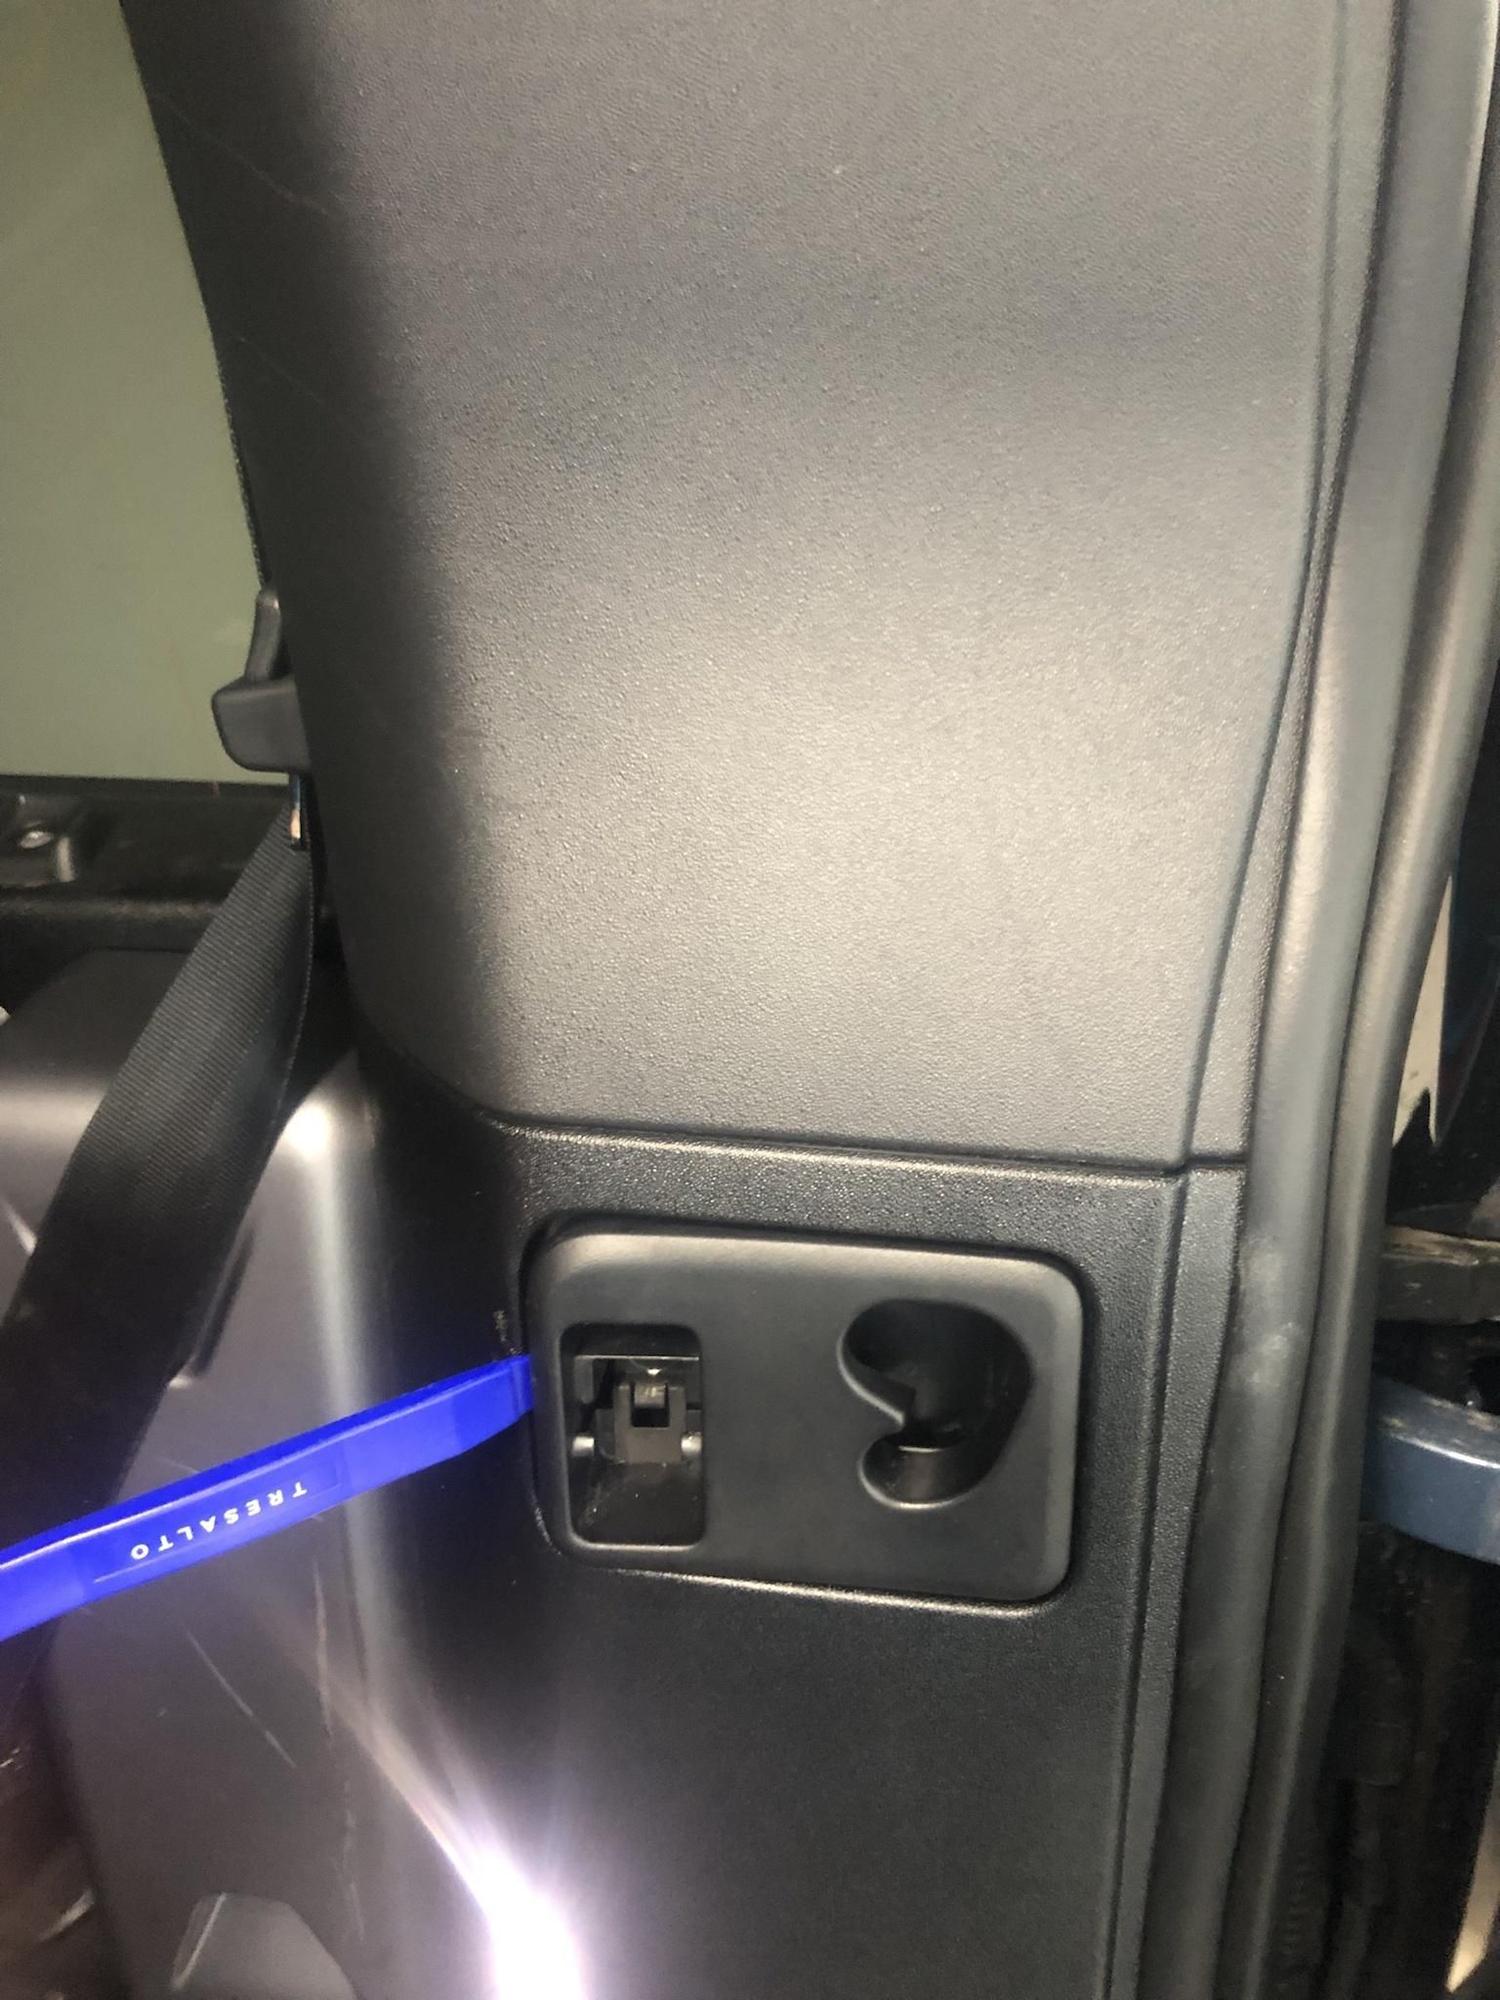
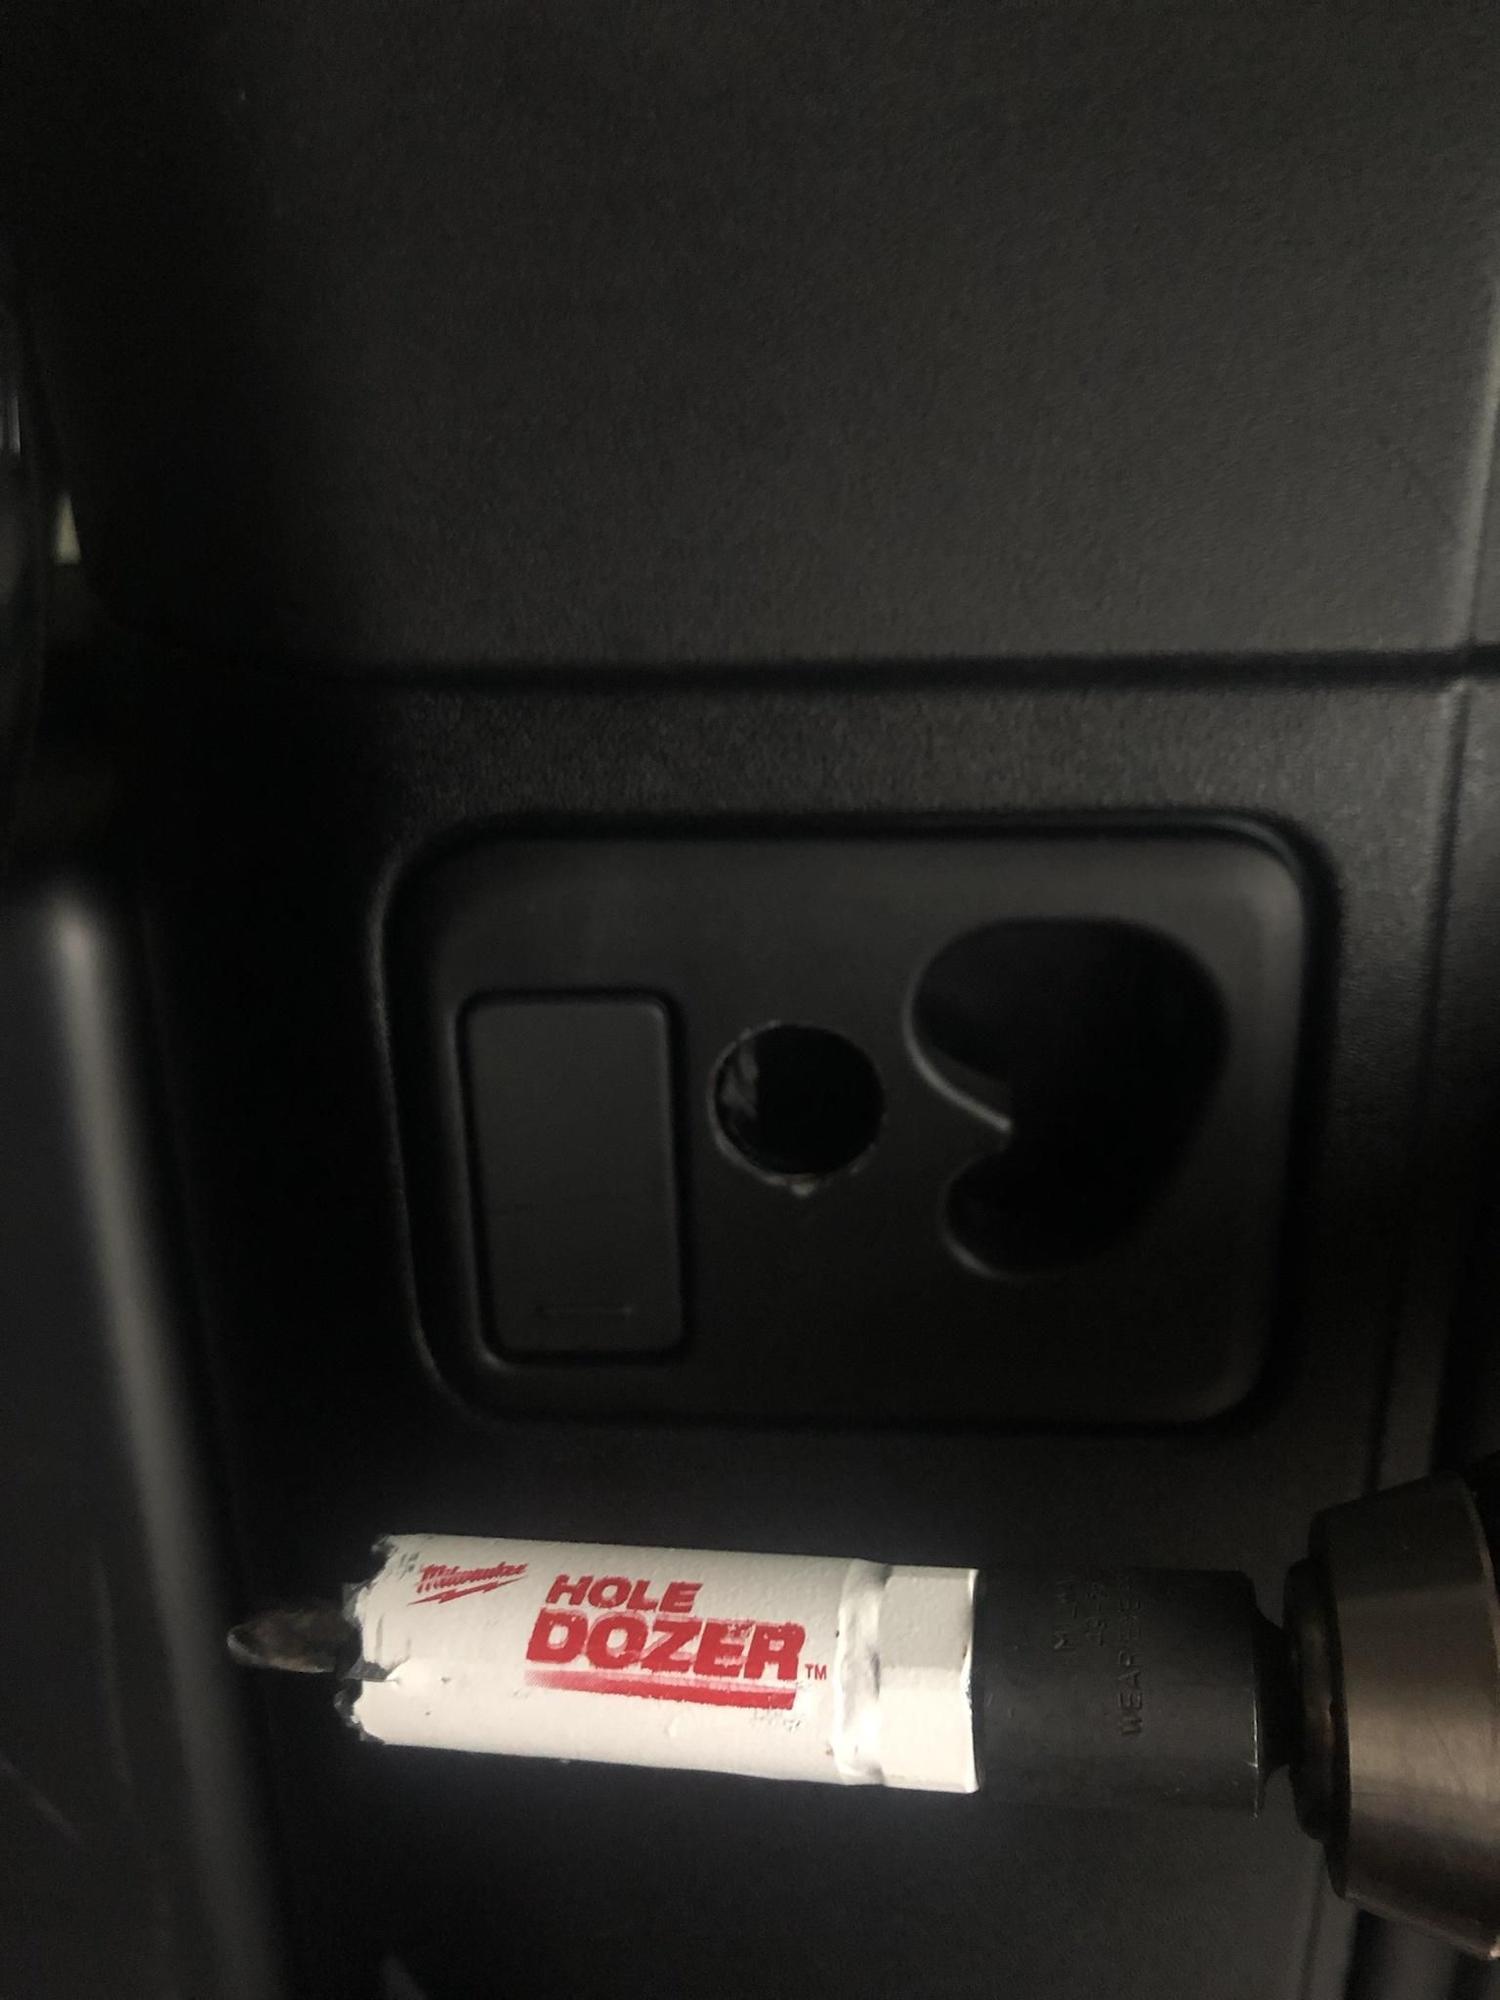
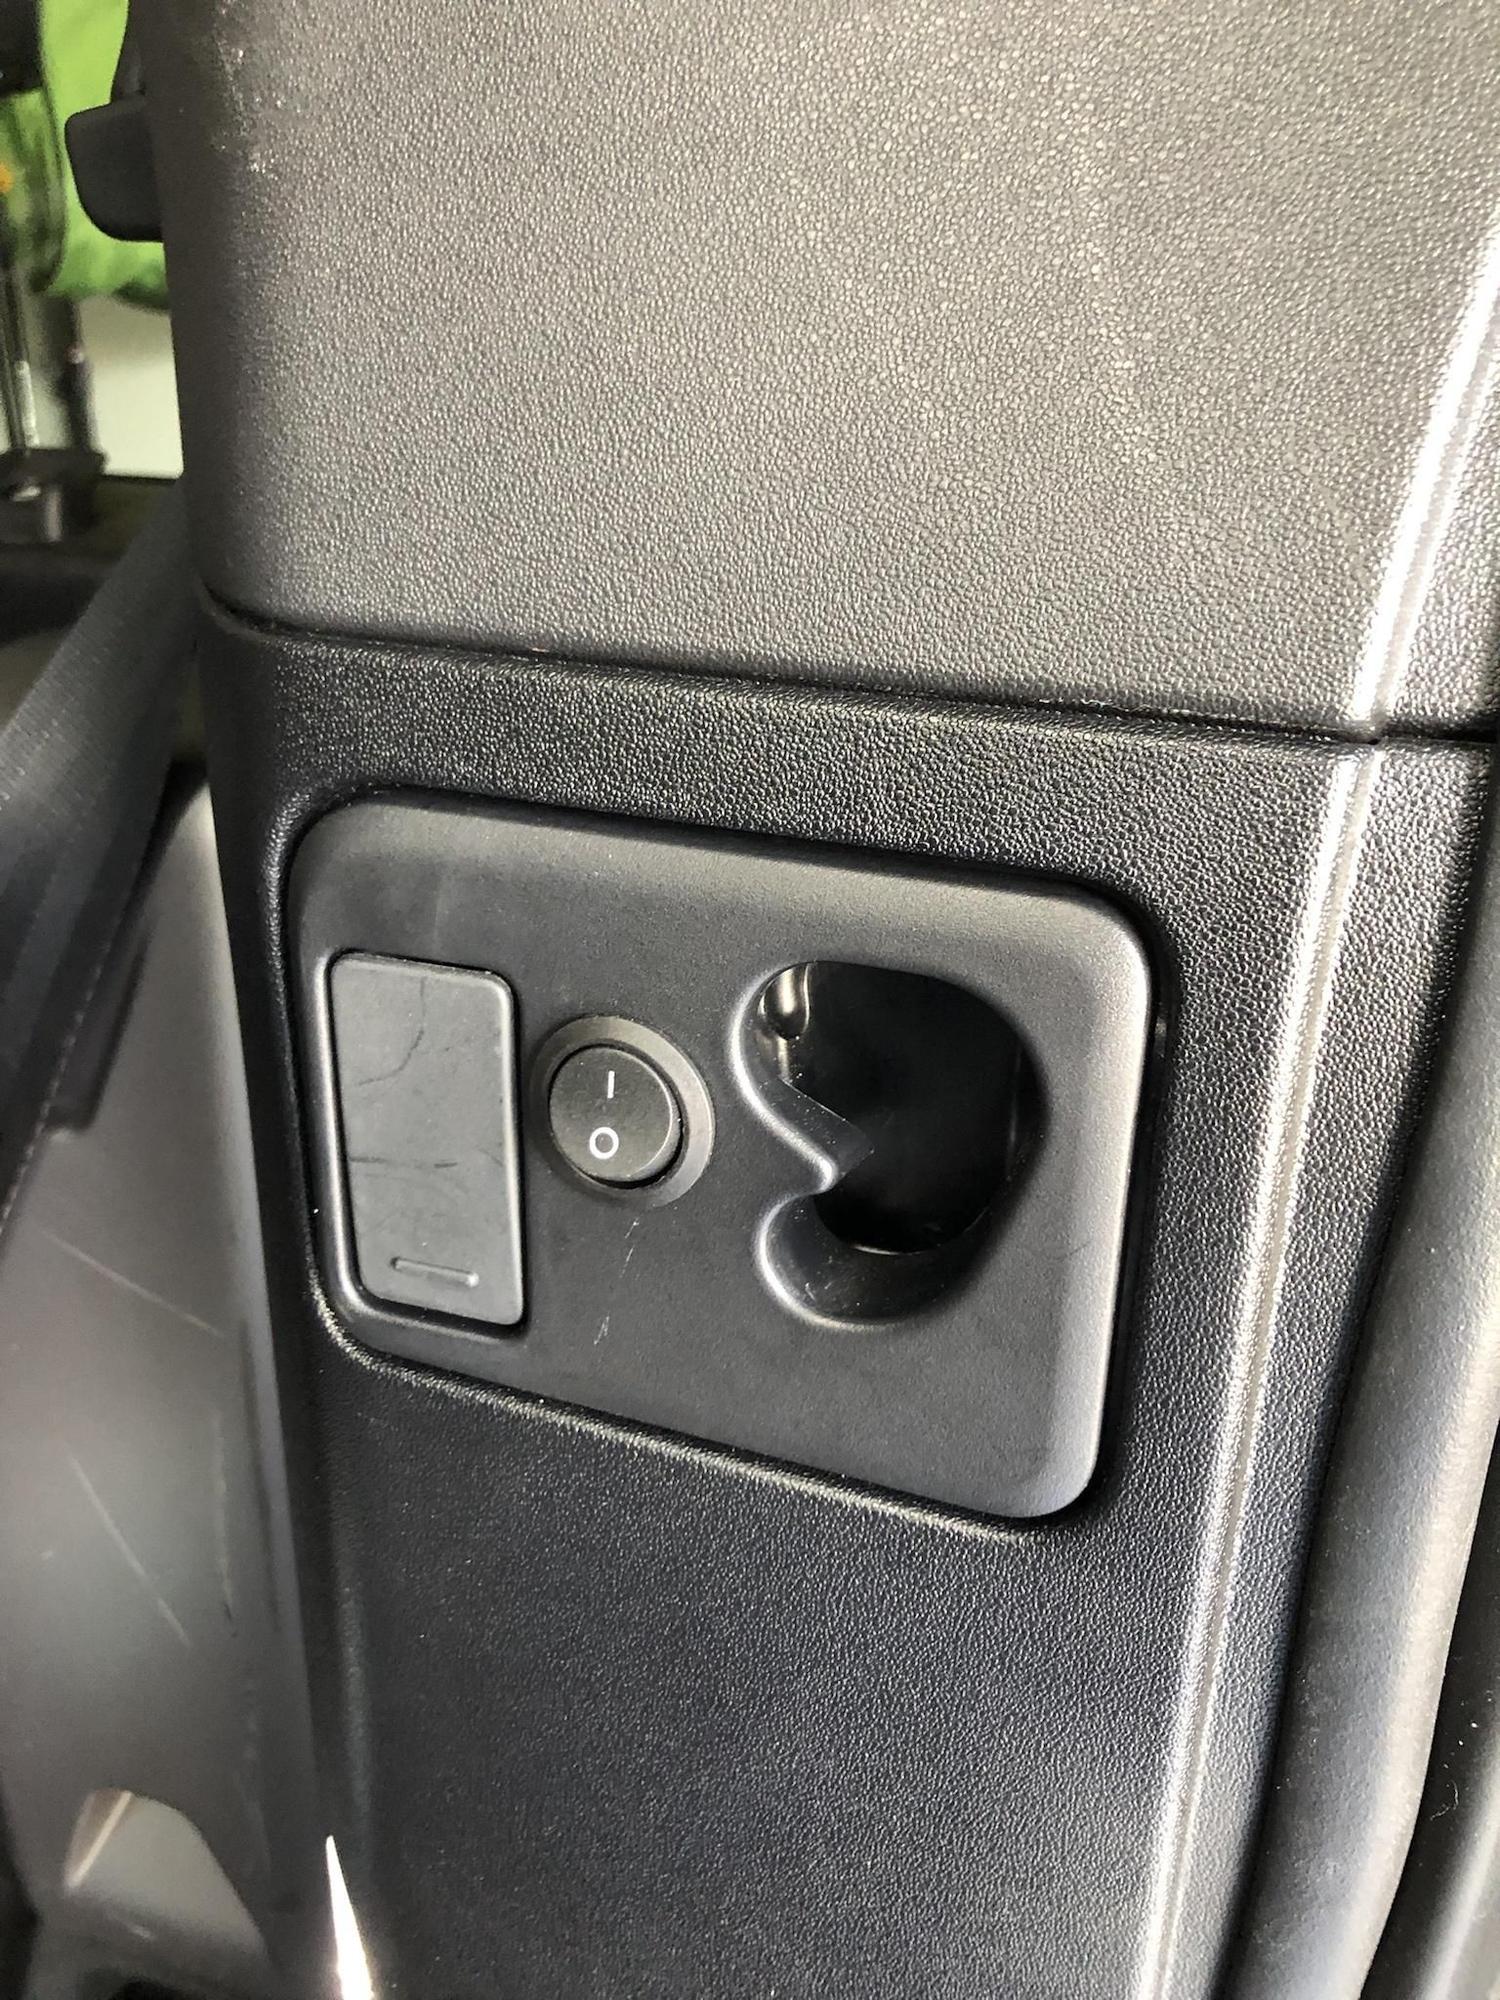
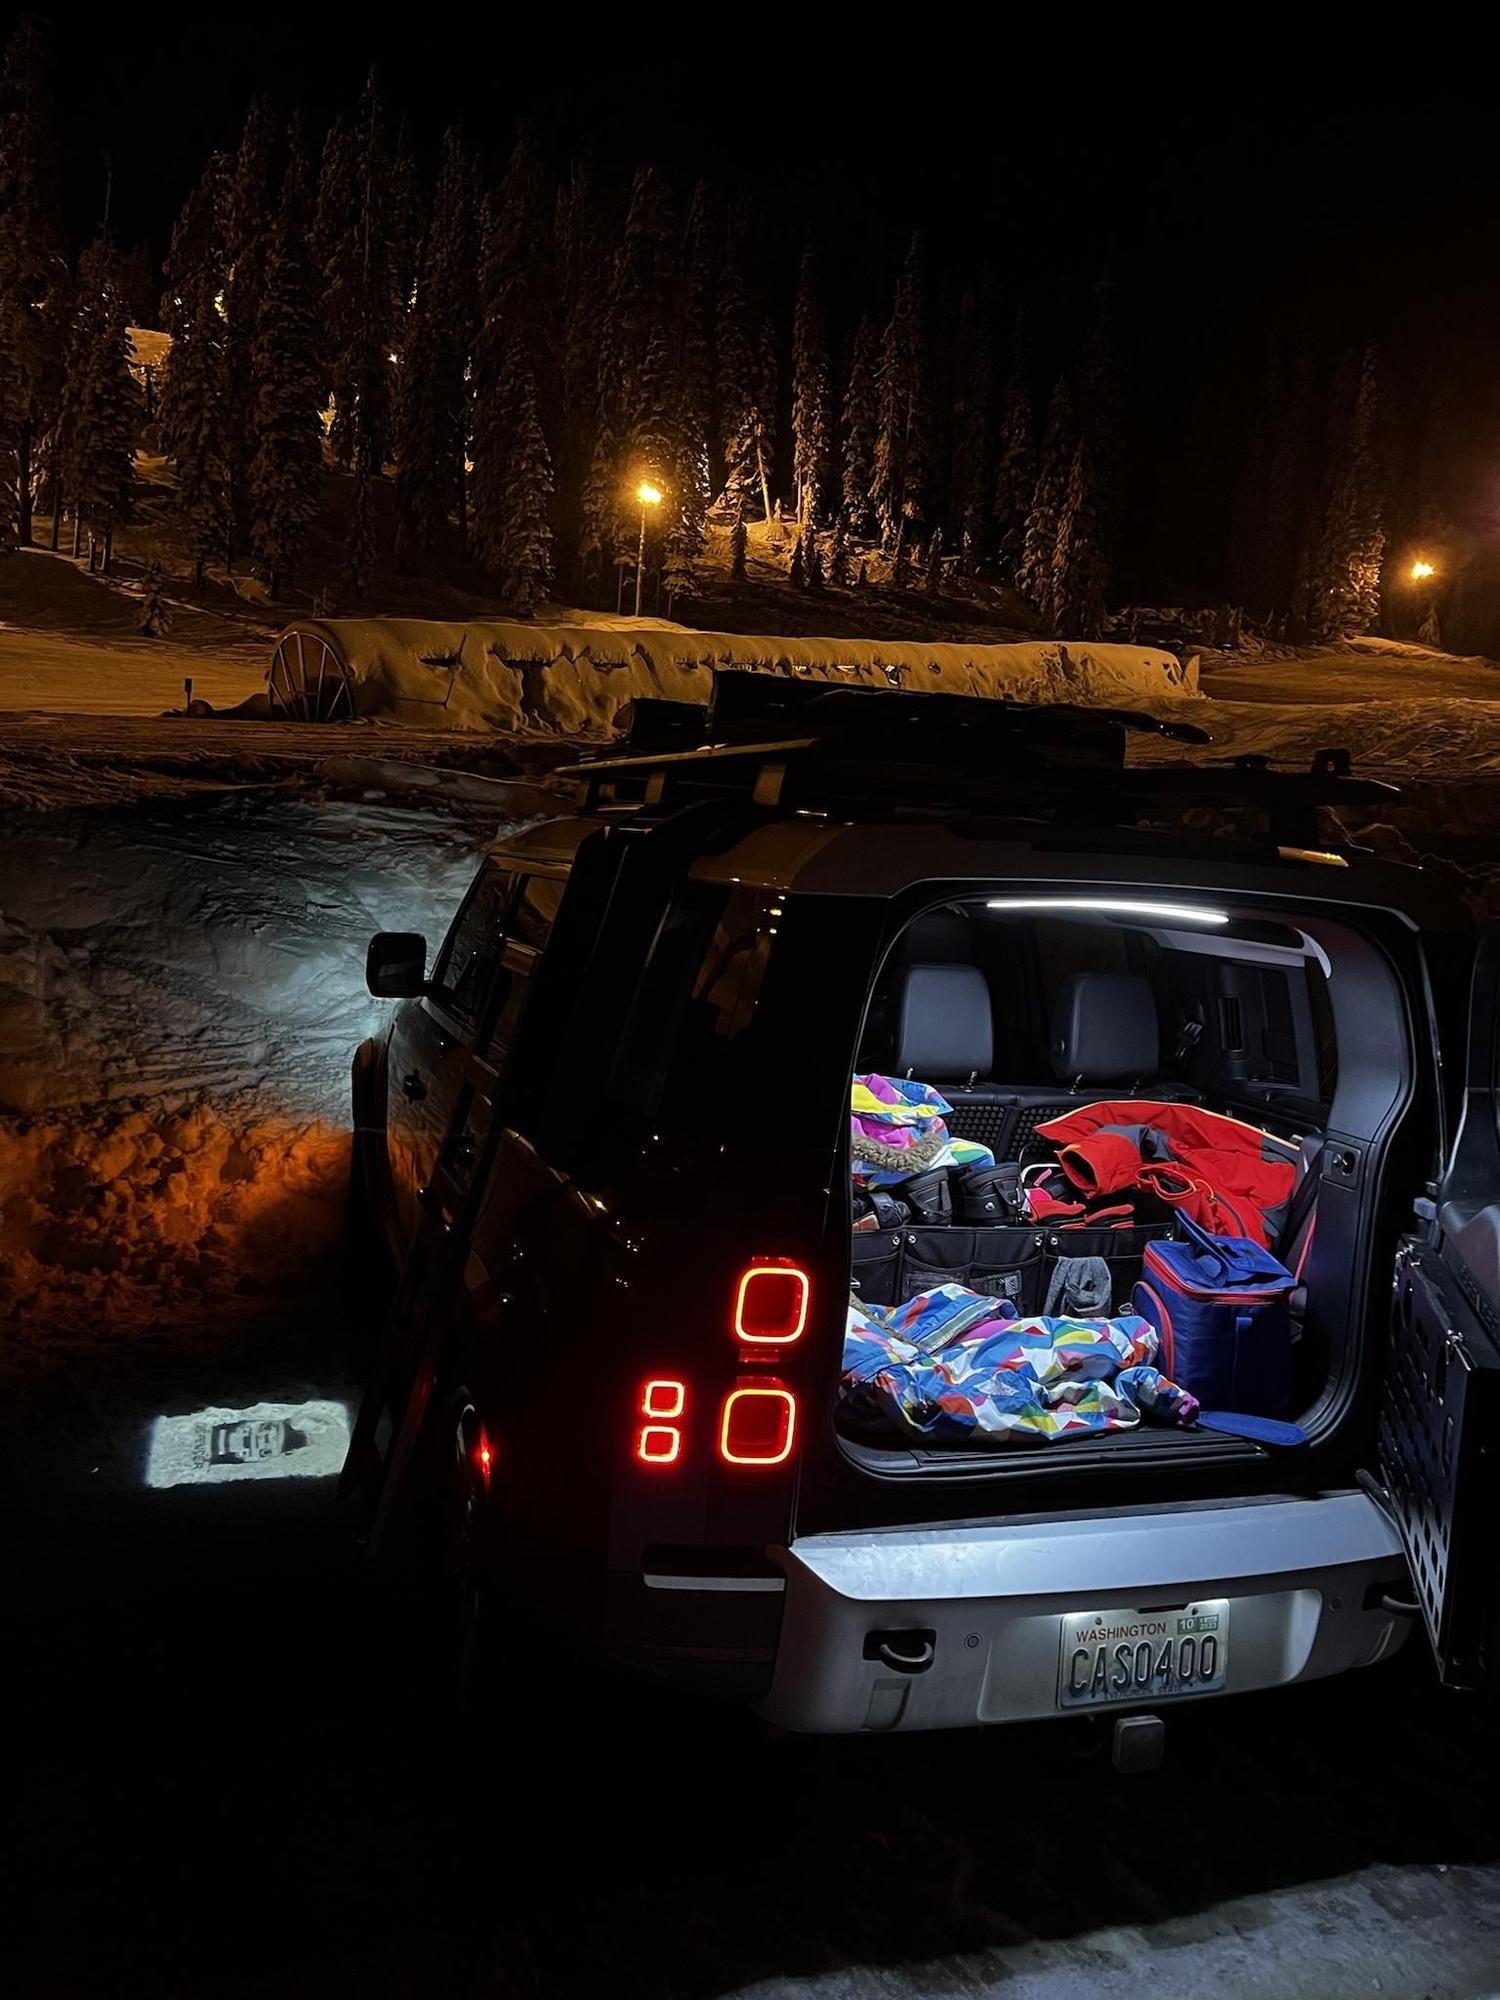
Defender 3d LED cargo space light + switch
#31
#33
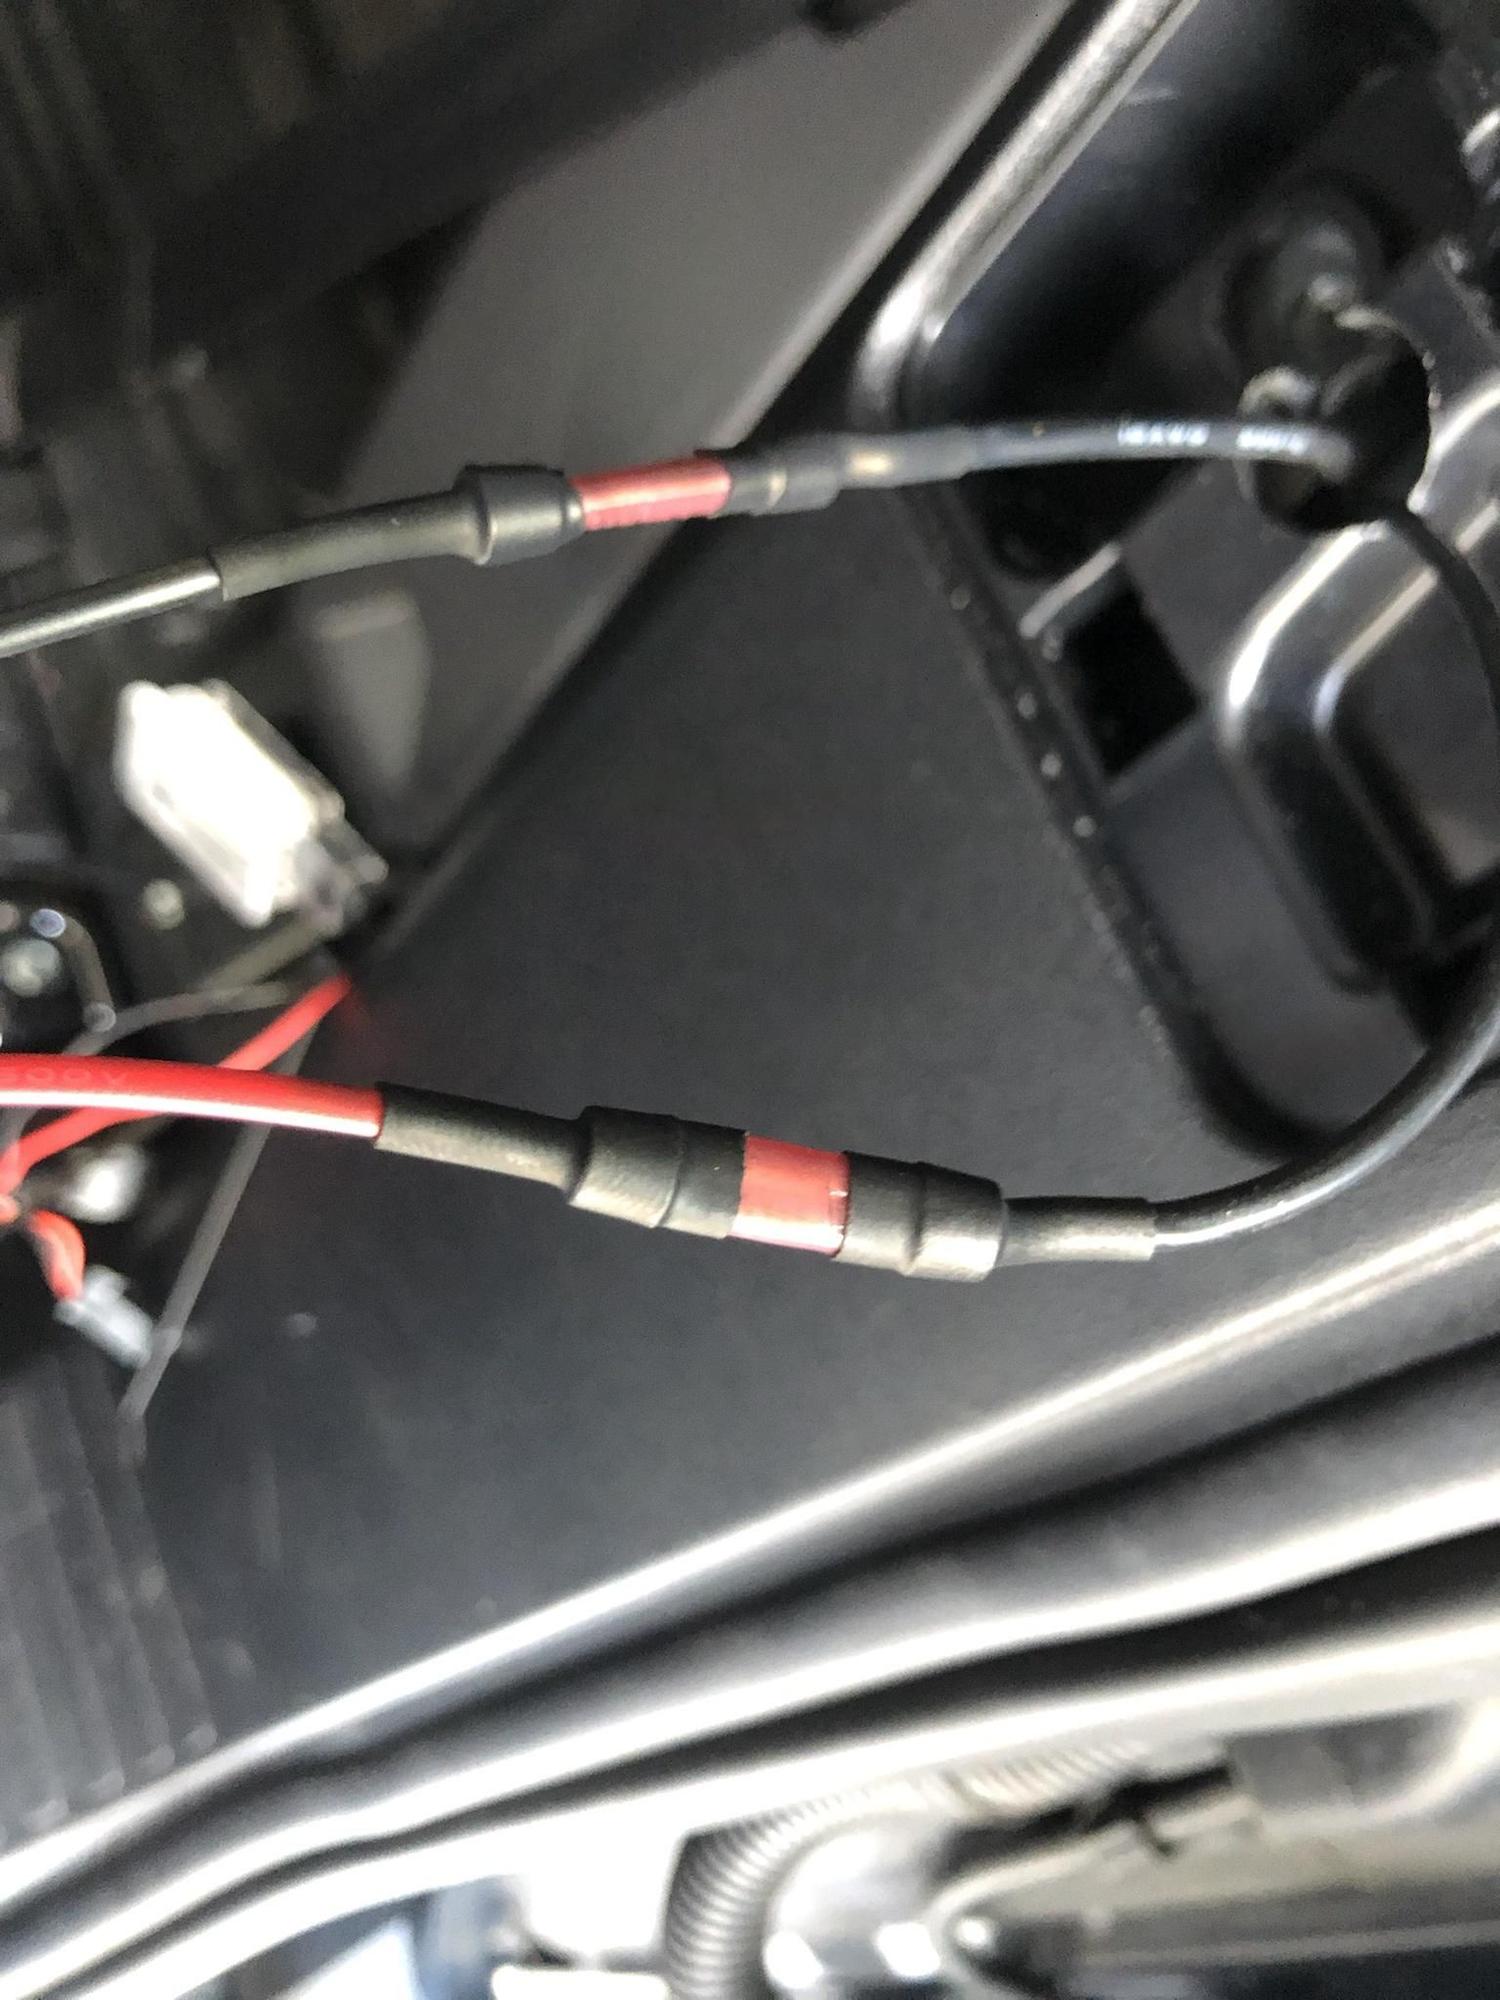
You want to be on the “downstream” side of the OEM light, otherwise it will be switched as well. So strip the black outer sheath, exposing the red and black wires that run to the new light. Take a good 3” of that outer sheath off so you have plenty of room to work with.
fish two 15” pieces of jumper wire down from the hole you just cut in the little panel to come out the hole the OEM light sits in. Strip all 4 ends.
Now snip the recently-exposed red wire going to the light, leaving two ends which you will strip. Connect the lower end of each of the jumper wires to one of the ends of the red wires, doesn’t matter which. You just effectively made the red wire long enough to reach up to the switch location. For connections I just used small wire nuts, taped hell out of them for insulation and mechanical strain relief. Fancy people will use more sophisticated methods. I leave that to your discretion
Take the two upper ends of jumper wires which are sticking out of your newly drilled hole and either a) wire-nut them to the pigtail wires that came with our switch, or eliminate those pigtails and crimp appropriate sliding connectors onto the ends of jumper wires if you have them.
Tape everything up nicely, insert switch into hole, insert OEM light back into hole, after testing to make sure it all works.
@NoGaBiker nailed it. In a moment of complete stupidity (not uncommon with me) I put the switch on BOTH wires running to the new light. When I figured out what went wrong I had a grand laugh and now another "dumb 'stuff' I've done" story. Pro tip: Follow EXACTLY what @NoGaBiker wrote and do it to the RED line only and that is on the new light only.
Oh, and I'm one of the 'fancy people' which is in direct conflict with my typical dumb-arsed, red-necked core. Once you buy heat shrink connectors you will ALWAYS look for a use for them. I never do electrical connections without them. When I worked on my 1964 Series IIa, I used electrical tape and wire nuts. It led to a lot of "mysterious" problems that took a while to track down. I figure the L663 has enough of those on its own without my contributions. Around the time of my '94 Defender I started to change. Either way works great, but as you can tell from the above story - I have a lot of "user errors" and heat shrink makes them less likely.
Oh, and I'm one of the 'fancy people' which is in direct conflict with my typical dumb-arsed, red-necked core. Once you buy heat shrink connectors you will ALWAYS look for a use for them. I never do electrical connections without them. When I worked on my 1964 Series IIa, I used electrical tape and wire nuts. It led to a lot of "mysterious" problems that took a while to track down. I figure the L663 has enough of those on its own without my contributions. Around the time of my '94 Defender I started to change. Either way works great, but as you can tell from the above story - I have a lot of "user errors" and heat shrink makes them less likely.
#34
#35
#36
#37
if the LED driver circuit is dimmable. Otherwise it might work but with funny effects and low dimming range.
#38
Thread
Thread Starter
Forum
Replies
Last Post
Ben Hedrick
Retired - Private For Sale/Trade Classifieds
20
07-30-2016 07:12 PM


