When you click on links to various merchants on this site and make a purchase, this can result in this site earning a commission. Affiliate programs and affiliations include, but are not limited to, the eBay Partner Network.
Being a bit of a traditionalist (aka, last century curmudgeon), the plastic diamond plate on the L663 really irritates me. So when New Defender Mods announced they were going to have replacements, I was all ears. I get that if I hit a pedestrian, it is one of the innumerable things that may decapitate them. But I don't plan on hitting pedestrians and Texas is the least pedestrian friendly location on the planet. FAR fewer people walk to destinations in this state than in other locals. So I think the probability is that more armadillos are hit than people. Feel free to post your flames, I mean opinions - I get it. You do you, I'll do me.
Anyway, when they finally arrived I ordered. I still like them in concept, but I'm not a raving fan in execution. There were several things that bummed me out. I LOVE the company and will readily order from them. I just think this is a Gen 1 product. Ymmv and hopefully they will improve over time. Here's my journey and results. I'll post pictures of decapitated deer if I ever eject one during a collision.
Here's the product Link. They don't make a lot in each batch, so keep checking until you get lucky. They are about $100 more than I wanted to pay, but it's not like these are on Alibaba or there are tons of them. I don't mind rewarding innovation and first movers.
First off, you have to remove the old bonnet checker plates. That was straight forward. They recommend putting tape on your Defender body panels when you pry the trim off so as not to mar the paint. I just opened the hood and went in at the side. It was MUCH easier that way. I pulled both off with NO damage to the trim in what has to be a first for JLR. Finally designed trim that didn't explode the tabs on first removal. I saved the pieces for later in case something happens. Apologies for the legendary Texas Cedar pollen. I washed the Defender AFTER putting them on. Should have taken more pics.
Original trim ready to be ripped off. Actually best to take a flat trim tool in from the side after opening hood. Trim with NO damage after removal. It's a miracle!
Next came the biggest PITA of the entire project. You have to insert about 9 rivnuts on each side. Fortunately for me, I already had a pretty good tool. Unfortunately for me, I'm not a pro with the thing. I do not recommend this if you are afraid of taking chances, totally worried about F'ing one up, have great anxiety about cursing loudly when things go wrong, don't have some spare rivnuts, are **** about accuracy, or aren't fluent with red-neck engineering when recovering from problems. As my dad would say: "Master mechanics aren't because they don't make mistakes, it's because they know how to recover from their mistakes." If you can't "recover from mistakes" (yours or engineered), forget it.
Rivnuts almost always need to be "tuned". In this case, you are give ONE extra (for real? $300 bucks and there's one spare??) and nothing to experiment with. Fortunately for me, I had lots in the M5 size and I didn't mind winging it. I pressed them in until I felt they were secure. UNFORTUNATELY, one wasn't. And when I went to put in one of the last nuts to attach the panels, it spun the rivnut free and seized. THIS was the biggest PITA. I should have taken a lot of pictures here. This was the pucker factor pain in the butt that I spent about an hour dealing with. If you F' it up like I did, here's how I recovered. This will scare the crap out of many of you. It scared me!!
- Opened the hood and removed all the nuts but one.
- Cover the windshield because I feared when I cut the bolt free, the trim would fall and smash my windshield. I couldn't log that one to JLR's fault...
- Tape the two pieces together so they wouldn't fly apart.
- Leave one loose bolt in to keep the entire thing together
- Duct tape a "handle" onto a hacksaw blade
- Tape the edge of the hood so as not to "scratch" the part that you would see when you opened the hood.
- Carefully spend much of an hour hand hack sawing the bolt off so I can get the plate off and go at the rivet
- No scratching on edge of hood, minimal where the nut / trim attaches
- Then take a cutting wheel on a dremel tool (it at least had the flex shaft option to make it almost like a dentist's drill) and SLOWLY & CAREFULLY grind the rim of the rivnut so thin that you could flake it off
- Then the rivnut will fall thru. Unfortunately it is a blind rivnut because the inside is covered by the inner layer of the hood
- Hope that sometime before I sell it that the rivnut finally rattles free in one of the weep holes. I think in a few weeks I may find myself posting a new thread about how to remove this strange rattling sound from the hood....
Now that I took care of that "witch" without the w, I had to go meditate before putting another rivnut in. Oh, gee, they gave me one extra! Definitely should have taken pics of this part. I carefully taped off a large area knowing I would have metal dust around. Also put lots of protection around so that hot metal didn't scorch any paint not under the trim. Carefully wiped and cleared everything up. It was an epic PITA. Yeah, my fault. Get REAL good with a rivnut setter or be prepared for your own journey thru the best words your father taught you.
Side note. Two of the places that they wanted rivnuts were too "shallow". The inner hood panel came too close to the trim hole where the rivnut was supposed to go. So off to my bench sander to grind it about 1/8" - 3/8" shorter.
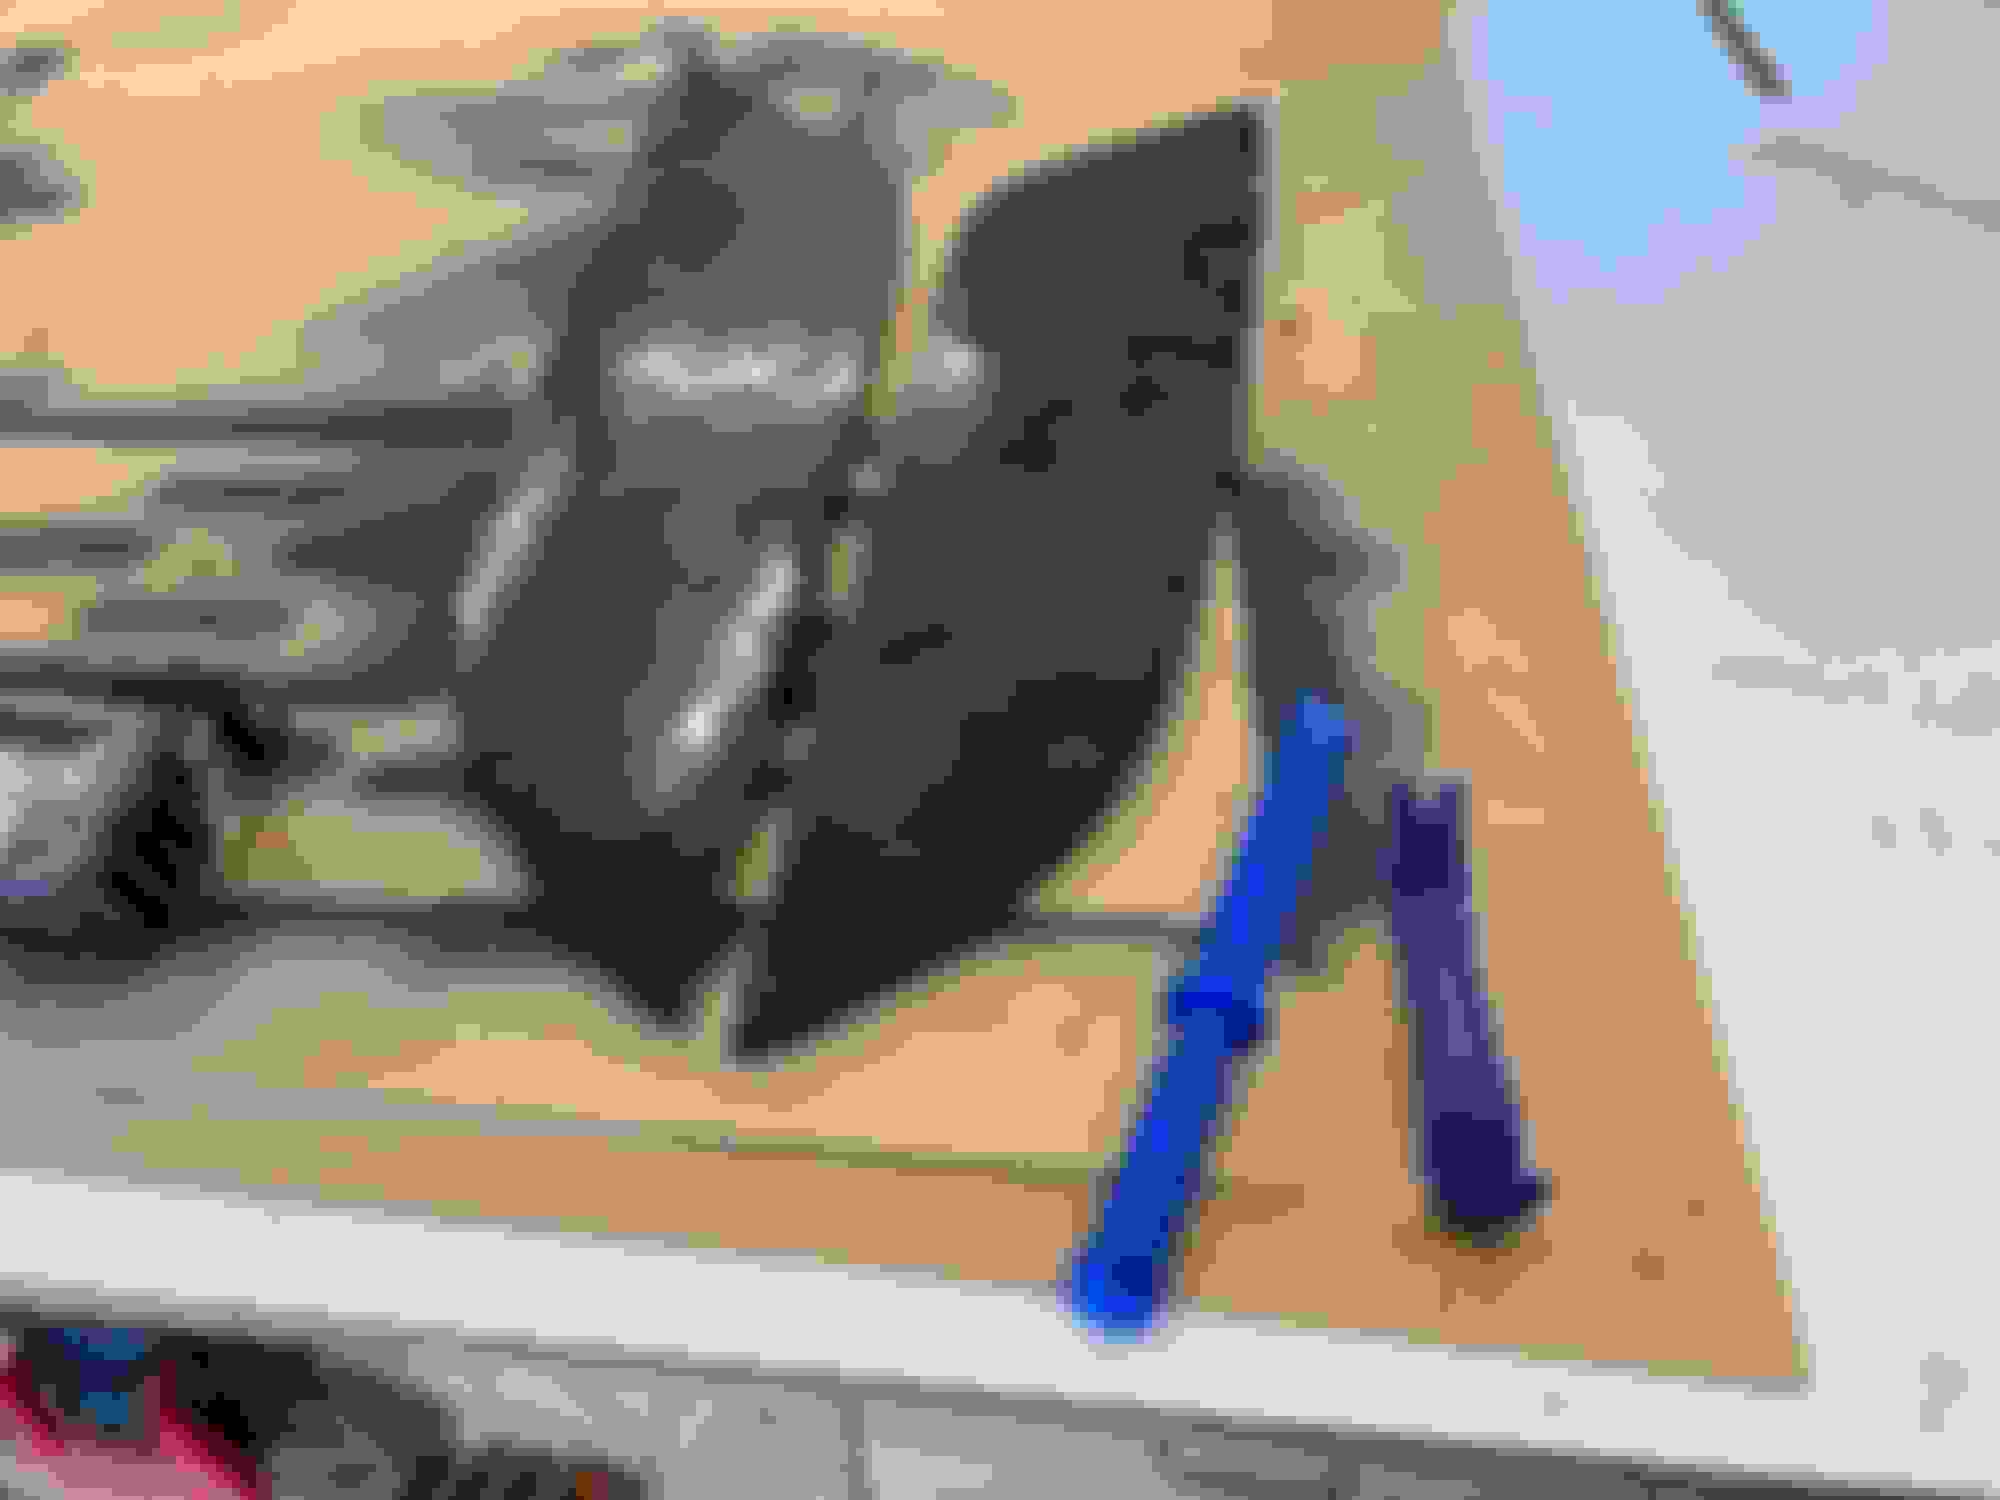
Back to the steps. Imagine you are now here with all the rivnuts set. The next PITA is that the Checker plates are dead straight. The instructions say to manually curve the two pieces of metal (there's an inner smooth, grey aluminum liner/spacer and an outer black diamond plate aluminum). You are to "manually curve it" into the appropriate shape. WTF? I'm going to manually match the beautiful lines of the Defender? I can see myself bending a crease in it. DEFINITELY a Gen 1 design. I just started securing the screws at the back and slowly working forward. I did NOT secure them all, but like any smart (ok, nothing about me working on this was smart, let's say "experienced") person - don't secure all the bolts until all are in. Then I secured it down.
The problem that I now realize is that there is NO flipping (insert better profanity than "flipping") way that the alignment was as good as the trim. Each one of the 9 rivnuts has about 1mm of opportunity to wiggle around or not perfectly orient. So the gap between the Bonnet plate and the rest of the hood is not as "good" as I would like. It's OK for my beast because I don't love it as well as most. But if you're the person who will never take it off road, stores it always in the garage, never washes it except by hand or otherwise cares - it will REALLY **** you off. It only minorly pisses me off. I'm convinced I'll keep the trim in case someone wants to go back. I'm an expert at grinding rivnuts now!
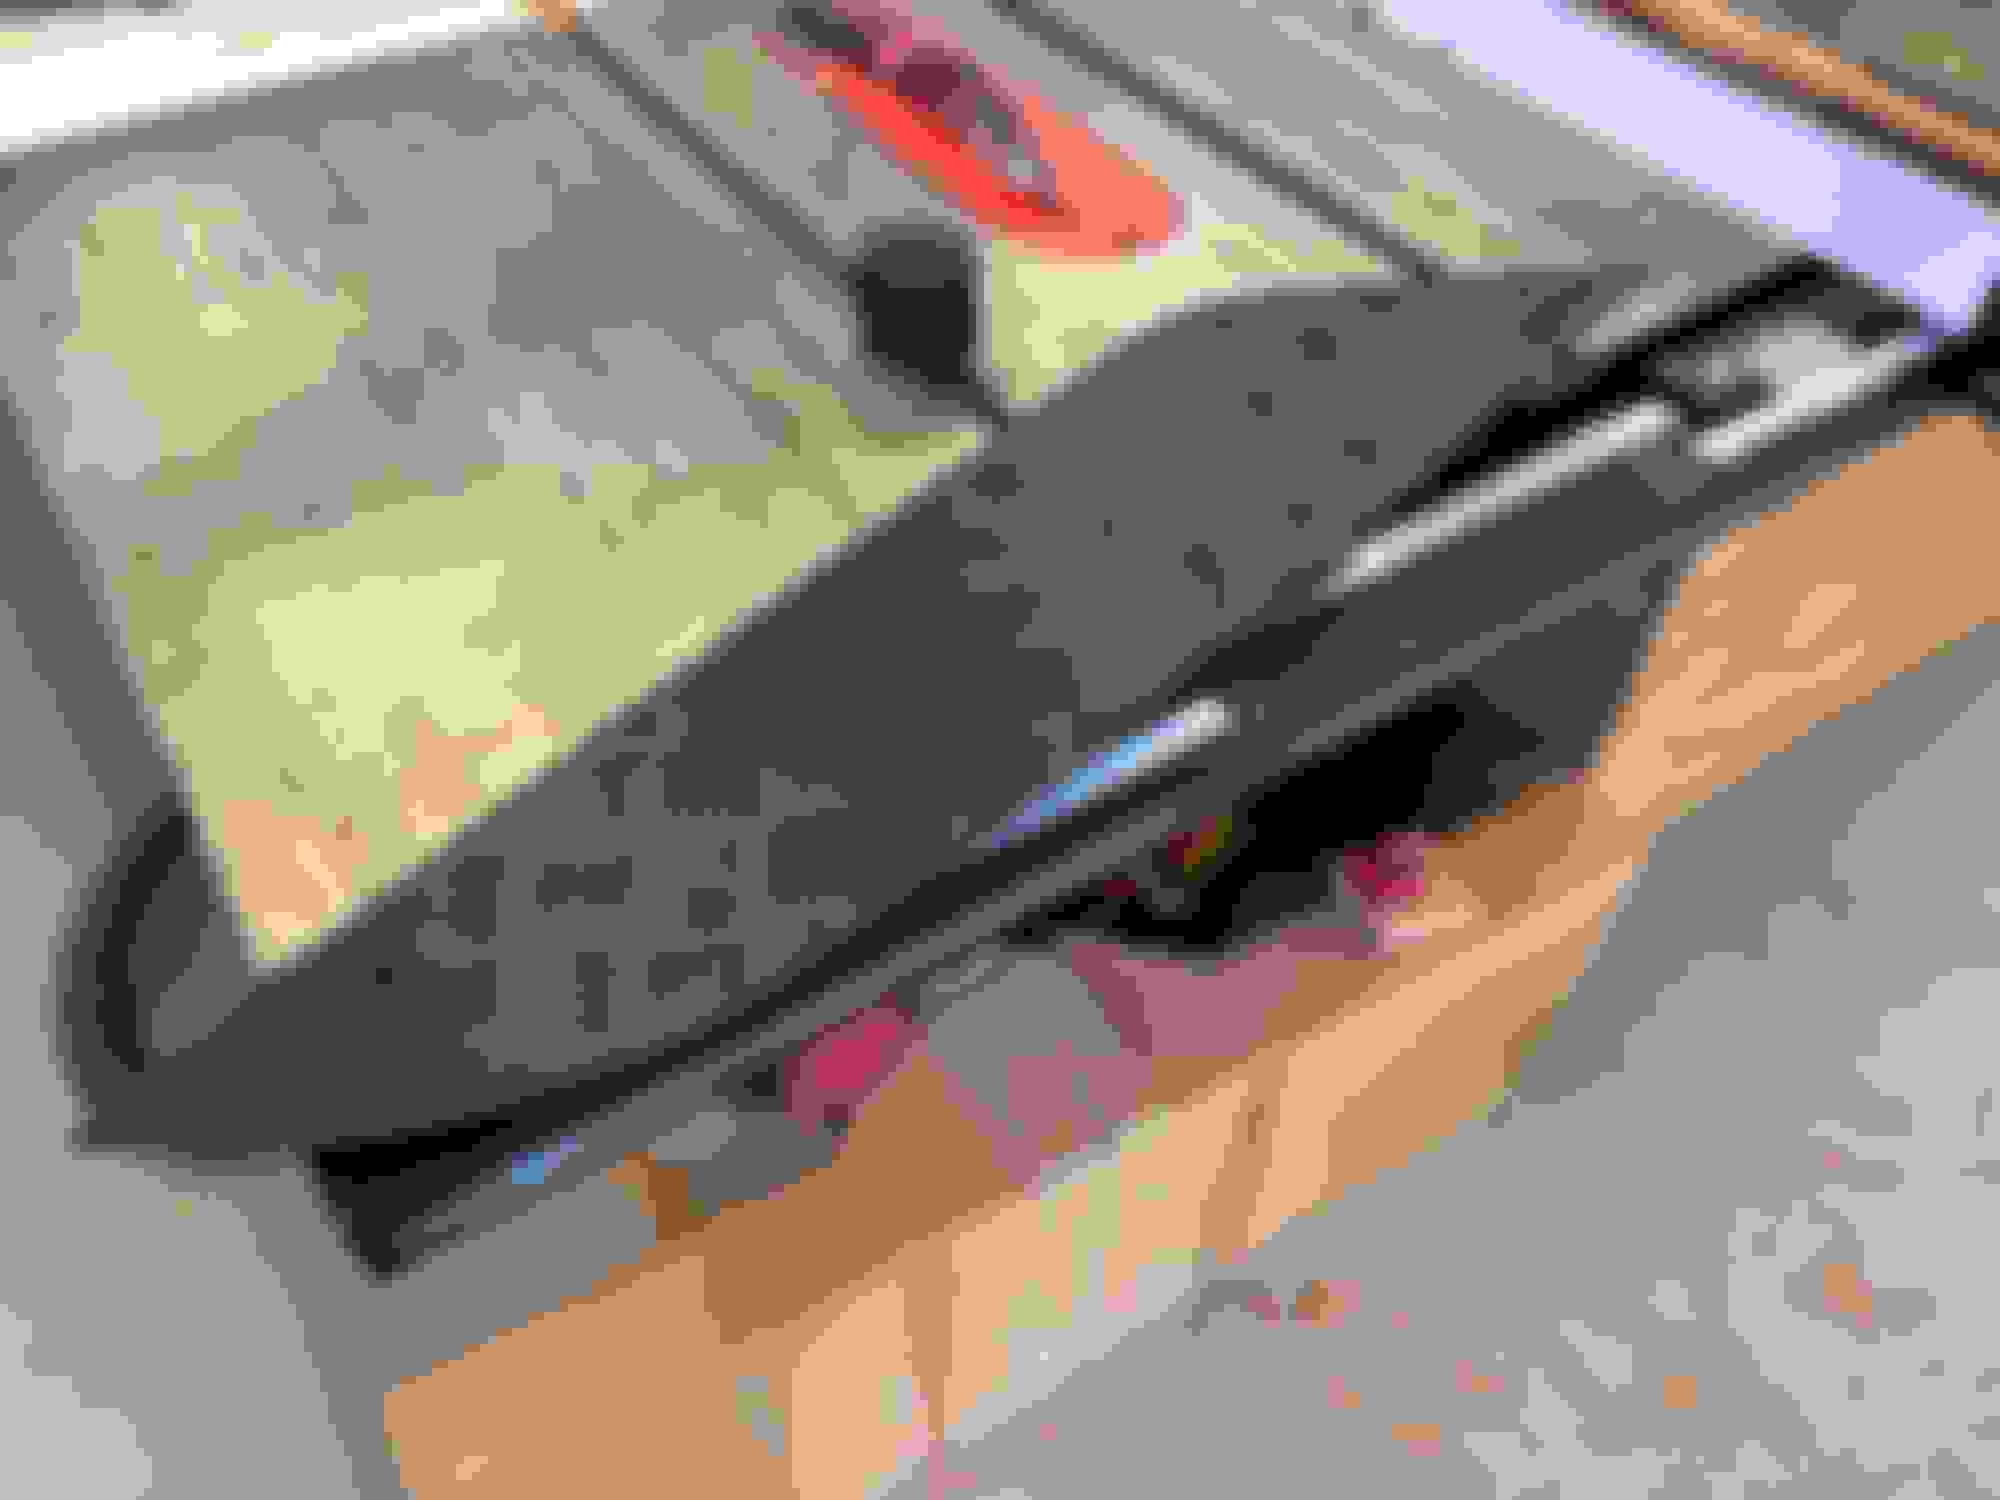
Final warnings and experience. Again, things that could/have been cured. 1) the inner spacer/liner is aluminum colored. This does a great job in highlighting the manufacturers brand but really peeves you if you don't want to lead with it. I just took a can of black rattle paint and hit it before installation. Now much more subtle. I may do something more lasting later. 2) All the freaking bolts (M5x16) are silver. Like it costs a lot to get them black oxidized?? If you like the clashing colors, go for it. I figure most folks will go on ebay (scored mine) and order a handful. This pic shows them "native". Wednesday my order from McMaster.com arrives and I'll switch.
In summary, this is like some of the top BBQ joints in Texas: I liked it, but it wasn't worth the effort.
Flat as a pancake. You are "instructed" to manually bend it to the shape that approximates the actual trim. The rivnuts don't allow it to line up as well as you will like. I personally disliked the silver flat headed screws. Maybe it was intended to match the interior "industrial" look. Right...
Oh, final disappointment. I literally dropped a tool on the drivers side plate and scratched the aluminum. WHAT a poorly painted trim piece. I "touched it up" but am very committed that I'm going to have to get it powder coated later once it gets hit by a few bugs, etc. The paint was not as rugged as I had imagined. Again, I'm hopeful this was just a Gen 1 miss.
I'm sure the fine folks on NewDefenderMods will say all of these problems (or most of these) are my fault. I would not disagree. But the point here is that I'm willing to take more of a risk than most. Either hire it, be prepared to fix your mistakes, or wait for Gen 2 (or maybe 3).
Hmmm� I�m liking my plastic treadplate more and more!
I hate blind rivnuts with a fiery passion. Had to use them to install flat fenders on the Jeep. Two-day job and I think there were two of the bastiges I never did get to not spin. Maddening. But I used the fenders for 5 years before selling it and nothing ever happened so I guess they worked.
Excellent write up - thanks for taking the time! (And being the guinea pig for the greater good)
I was looking at these as I compile a collection of items as I wait for my truck to arrive. I contacted New Defend Mods regarding these specifically to see if I would order them without the letters cut into them (NO). Sorta happy they said no.
Honestly I don't see these as an improvement in looks at all. Granted all my taste is in my mouth (I like white lettered tires) but these look too "aftermarket" for my poor taste.
If that was supposed to be an improvement, it didn’t work. The originals plates look much better compared to those aftermarket ones, and that is without all the hassle and damage of the so-called upgrade. I’ll keep mine the way they are, thank you.
So what's the point? You had black fake treadplate that you can't walk on. And now you have black metal treadplate that fits poorly that you still can't walk on.


 04-18-2022, 05:47 PM