When you click on links to various merchants on this site and make a purchase, this can result in this site earning a commission. Affiliate programs and affiliations include, but are not limited to, the eBay Partner Network.
Background:
There are many styles of red-necks and being from the Appalachians I am entitled to call myself a Redneck with pride, humor and humility. And rednecks are known not only for their engineering but for their rage. I'm still raging about the "screw" up that JLR corporate did. It has nothing to do with the supply chain. I ordered a MY21 and they gave me a MY22. Without telling me or my Dealer (if they did, it was **** poorly communicated) and as a result the ClearSight which was standard in my model dropped to "optional". Rather than letting me choose to pay $450, it was just dropped. I would have paid! Any time they do that "$ick move" they should inform the customer and get consent or choose the option.
Anyway, I really wanted it and was forced to install it myself. First, I looked everywhere how to after market install it. I had visions of me following @Mark1107 and being the pioneer install. Couldn't find parts on ebay for most of a year. Because of the stupid random drop of features due to supply chain, I couldn't find a Copart vehicle with them on them (inability, not that they didn't) and the prices of Defender X's were crazy. New was out too. Mirror = $1,250, Fin Camera = $500, Cables = $250. What broke it for me was that I would have to remove the headliner and ALL the trim touching it as well as find a way to dark magic reprogram things. I'm willing to do that, but not until after warranty is up. So I was screwed.
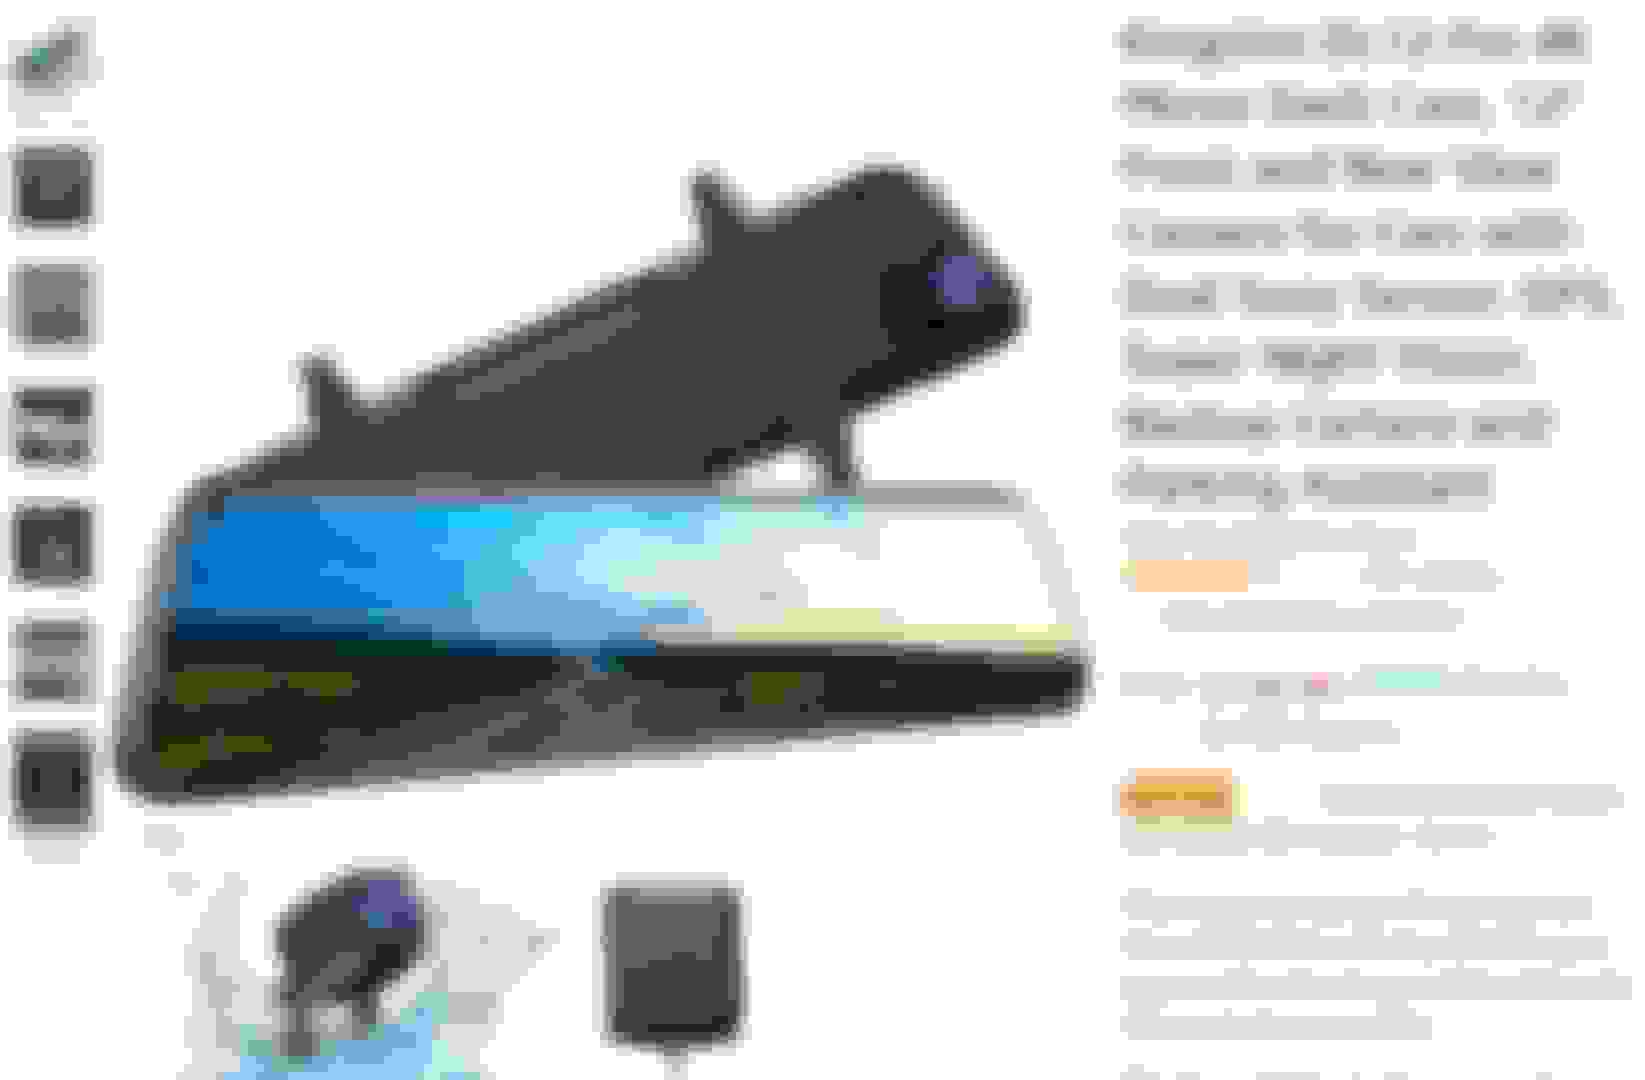
Until I saw something on FaceBook or Instagram. I forget which. I knew what most of the electronics on his dash was but one. He said it was "night vision". I was very intrigued until I researched it. Having thermal scopes, I have had experience with different flavors. This was a decided "Gen 1" device and I quickly lost interest. Then I had an epiphany! I could use that type of set up (not the night vision part) as both a dashcam AND a ClearSight. I was planning on adding JLR's dashcam set and this solved both problems for 1/2 the price of the native dashcam with higher resolutions.I did research of mirror based dashcams and came up with this one – “Kingslim DL12 Pro” (
) I thought, what the heck. I’ll experiment with $200. It will be the cheapest thing I do to my Defender. Here’s a video review of the product, ymmv and you may pick your own of the same style (EDIT: New link because old one died
). The camera is a newer model now with a different bracket.
First, I just put the mirror on top of my mirror, put the gps on the dash, plugged in the lighter power, ran the cable across the seats and just duck taped it outside. I ran it for a week before I went all in. It worked great!
Installation:
1) I wanted a power source that wasn’t as jinky as the cigarette lighter. The power needed for the mirror came from a USB Mini-B connection. So I picked up PowerfulUK’s “Dash Cam Overhead Console Wiring Kit – Tap-in Loom + USB-A Adapter (Link) and a short USB-A to mini-B right angle cable (
). The installation was flawless following my fellow rednecks Simon & Tyler. I label them that in good humor and as a great honor. Here’s a link to their video (
2) I then routed the GPS using the same video to the same location that they placed their dashcam. I debated the GPS. I didn’t really need it, but as long as I was there and it came with it – what the hey! I doubt if I’ll ever use it.
3) Then I did the biggest PITA of the entire project. I routed the camera cable thru all the trim back to the rear of the Defender. There’s a reason Simon does everything but trim work. He leaves that to Tyler. That crap HURTS. I never work with removing trim without painful, cat attacked fingers. Buy a trim kit like this on Alibamazon and you will be good to go (
) . There’s a billion other choices out there. For the life of me I can’t find Tyler’s “Orange Pen” or that big, blunt orange knife thing he uses. But the above works.
Follow PowerfulUk’s video for JLR dashcam install and watch the parts about routing the rear camera (
). You’re going to have a choice. If you want to mount the rear camera where they did, follow the entire video. If you want to mount it outside, follow from there and then read on. I went outside. Note that they cheated. They removed ALL the back trim and never told you how to do it. I’d LOVE for them to have shared their journey, trips or mistakes. Me, I just removed all the loadspace “storage” Styrofoam and routed it along the bottom. MUCH easier to follow their trim removal to the back seats, poke thru to the area where the MHEV electronics are and route to the back.
If you want, you can follow along with the JLR dashcam instructions (Link). It was minorly helpful.
What was really nice about the Kingston is that the camera had ~18” of cable and then a thin connector. I installed the camera and then routed the mirror to camera cable. When I got them together I just connected the two and for extra security wrapped it with electrical tape.
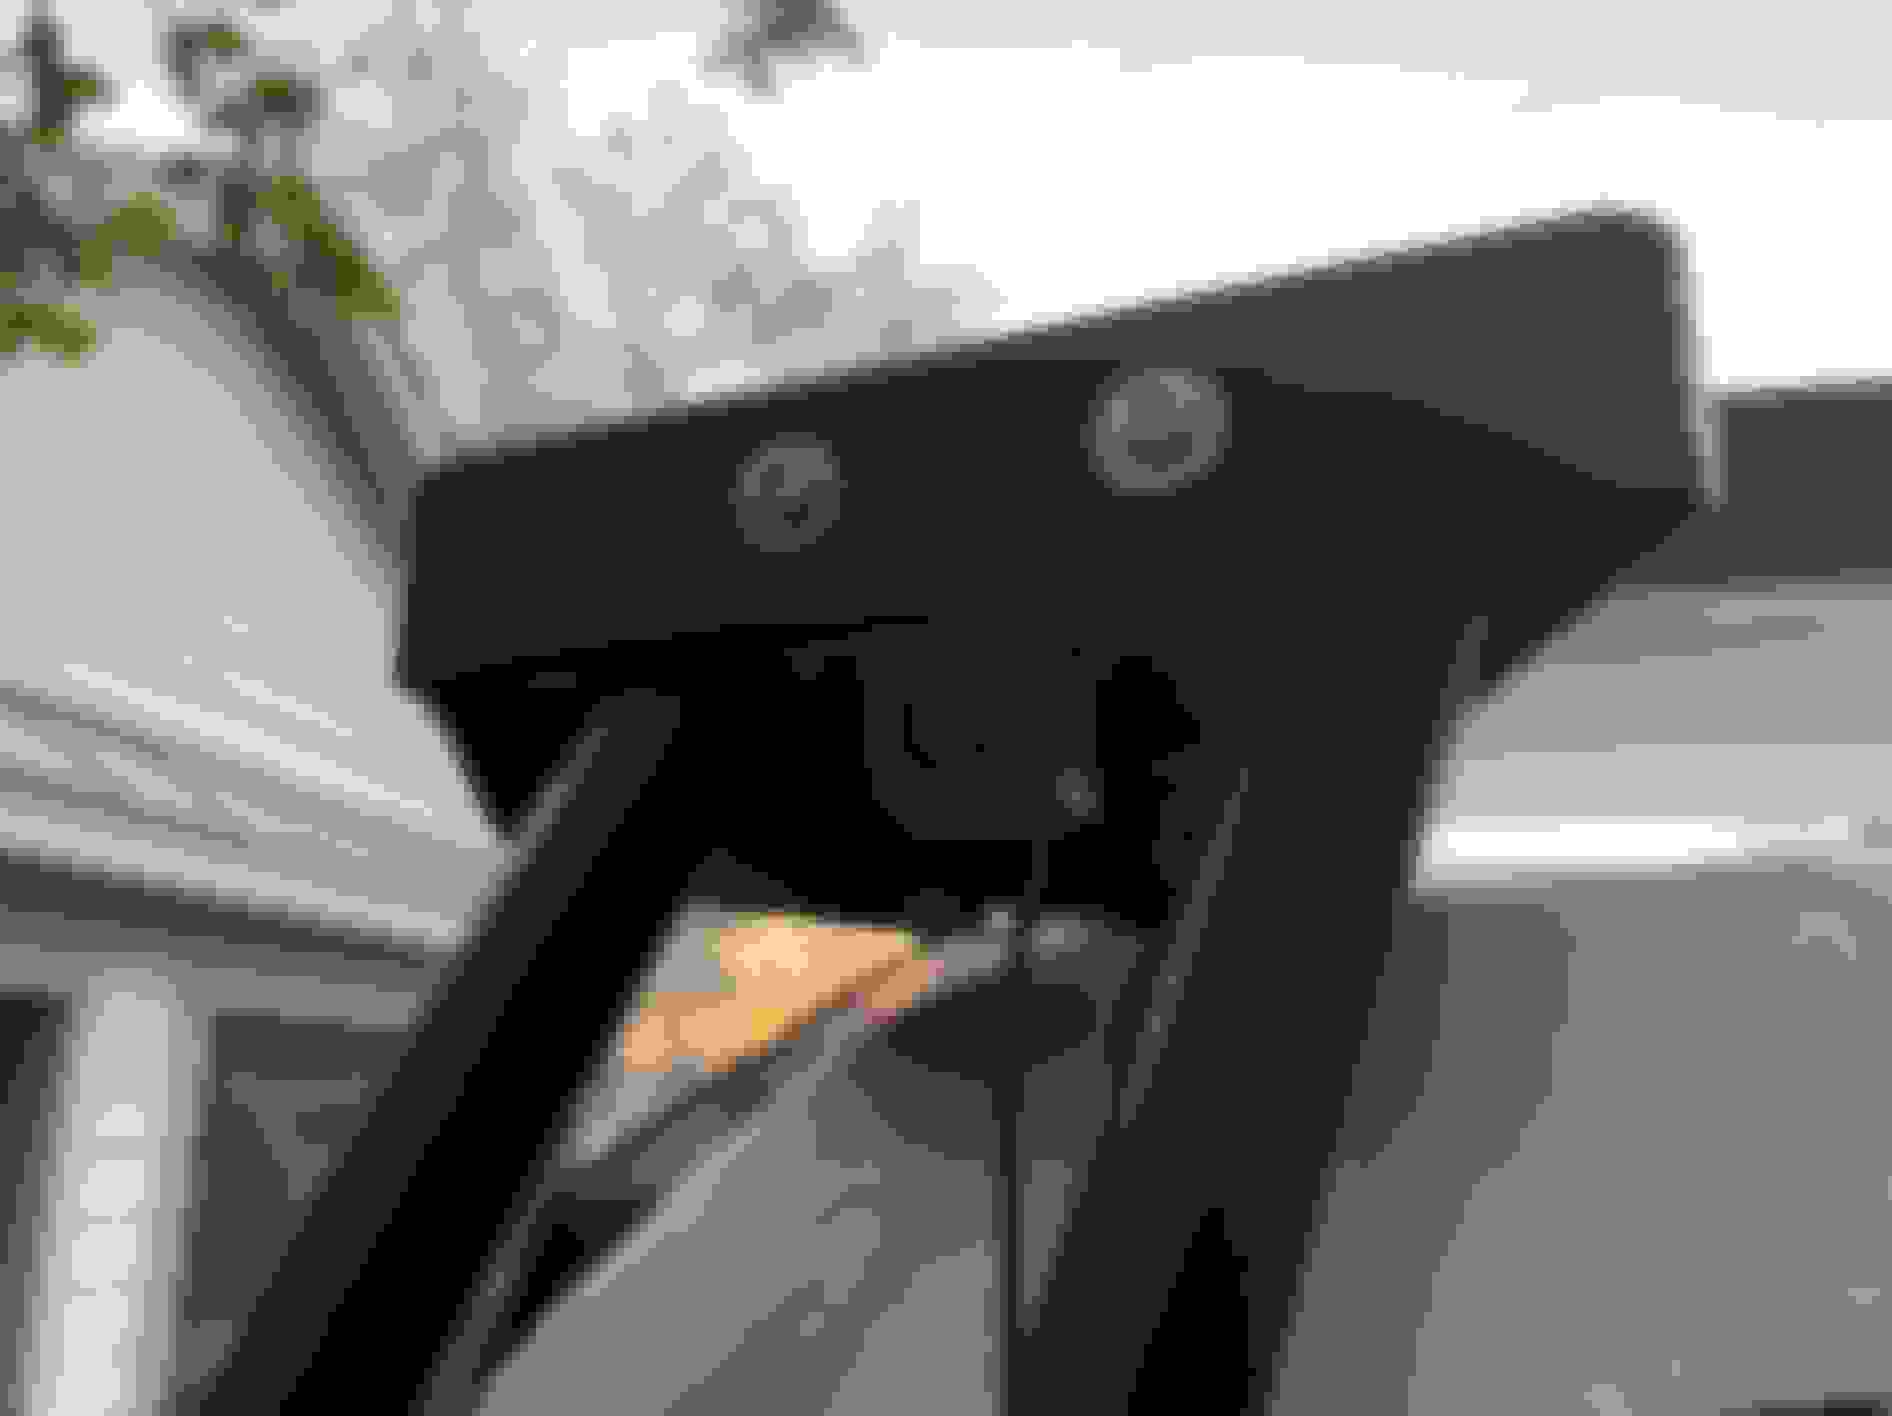
I decided to go outside with my camera. I have the Lucky8 ladder (Link) and right under the upper bracket is a nice protected external area for the weatherproof camera.
Tucks right under the ladder bracket and used some stainless hardware.
If you don’t have this ladder or another good spot, I would recommend you follow JLR/PowerfulUK and go to the upper left corner inside the door. Mount it with 3M tape and you should be good to go. I used spacers and stainless steel hardware, then touched it up with black “Rustoleum” paint. In high school I had a CJ-5 Jeep. I am an expert using Rustoleum paint on things…
You could also 3M tape it here if you go JLR's way.
Ok, this is where I’m going to freak out a lot of people. I saved the best for last. I originally wanted to get my inside cable to the outside cable around the trim. I planned to connect the two within the vehicle to minimize potential weather incursion, but the camera cable route between the rear upper quarter panel trim (black plastic piece). At first, I wanted to route through the body of the land rover and around the corner trim. Once again, PowerfulUK came to my rescue. They actually sell those corner pieces (Link). My Plan B was just to spend 65 pounds on a new one and then I could do ANYTHING. Watching their video on how to remove them, I was amazed that the two pros broke both of them (
). It seems that those quarter panels are made of an external shell that is poorly heat welded to the inner framework that uses various trim clips to secure it to the body. I was resigned to just buying a new quarter trim, but wanted to save the money so I looked up the trim removal on the workshop manual.
Pull off the rubber door seal and angle here for best results. Then cross your fingers.
This really helped! Unfortunately, I still popped a few welds. I cursed my beloved JLR over that one. I was inspired when Simon & Tyler riveted the two back as a joke. That opened up my “give a ‘crap’”. At that point, I no longer cared about the corner panel. I decided to just drill straight thru to route the cable!! On the inside of the Defender body, there are two rubber grommets to seal the body. That was perfect. I poked a slight hole and routed thru. Then silicone covered it. Very similar to running things thru the firewall for lights. No problem there. I drilled a 3/8” hole 2” down the center of the outside trim. That made it a straight run from inside, thru grommet, outside and to camera. I have ordered rubber grommets from McMaster (Link). As soon as they come in I’ll post which of the various sku’s I ordered worked. For now, it’s just an open wound. To be clear, the route of the cable at the back goes under the inside trim, then thru the inside body panel, then thru a rubber grommet on the outside body panel (which is further siloconed), thru the black corner exterior things "inner" plastic framework, thru the black corner exterior thing's hole I just created (which will have another grommet/silicone shortly), up to the camera under the ladder. I'm wildly confident about how water tight and contained the "inside" of the Defender will be.
Horror!! Grommet on order, "After" pics soon.
Results:
I am pretty pleased with the entire set up. For ~$200 all in and a few hours of finger trauma, I’ve got both a 4k dashcam (front & rear) and an effective ClearSight. Here’s some random thoughts:
- The mirror is much wider. Almost like when we had a child mirror up there. Great, beautiful wide views from the back (it can show front, rear, both – I keep it on rear). Button under it goes to standard mirror when wanted / needed.
- The mirror sits on top of the original mirror. No problems reaching all of the buttons underneath to operate my garage opener or gate openers. It's just a "fat mirror".
- During normal lighting conditions and low level, it is fantastic.
- At night it is useless in city conditions. I go to “standard” mirror. This really shows the limit of the electronics. I would DEFINITELY pay up if I could find a better quality camera/mirror camera. I’ll leave it to someone else to explore up. I’ll use it and plan to replace it annually. I would really like to keep/reuse the camera, but I’m totally willing to do an annual refresh.
- When the sun is setting behind, the glare/sunlight piling in either overloads the camera or the mirror. A lot of folks talk about how they can’t see the ClearSight because they actually see the mirror bleed thru. In these cases, it is definitely that. It only happens late in the day and traveling in the wrong cardinal direction. Again, I think this is limited to the “cheesy” system that I found. I thought it was the best but I guarantee I’m going to start being a pro with these things and will likely improve over upgrades.
- Mirror functions as normal. Just adjust the mirror and the Kingston on top moves with it.
- As people have noted, I don’t have enough experience with these to have a good sense of distance. I NEVER rely on it backing up. I go with the sonar pings, the PiviPro mirror, and my own eyeballs looking back.
- For >95% of the time it is perfect for what I wanted. For the remainder, I just put it in normal mode and no harm, no foul. If you really want ClearSight and don’t mind <$300 investment (inclusive of a new rear trim panel to replace when you resell), then this is absolutely the way to go.
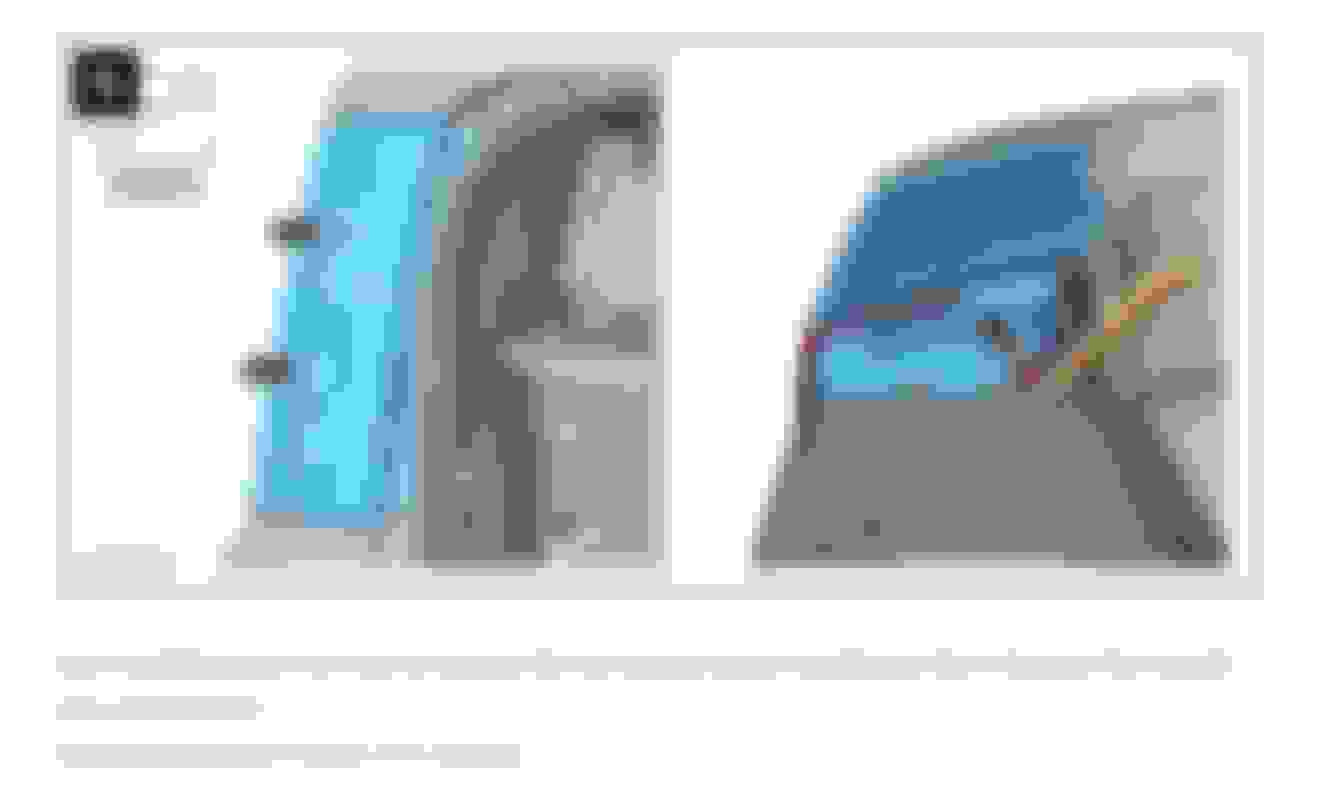
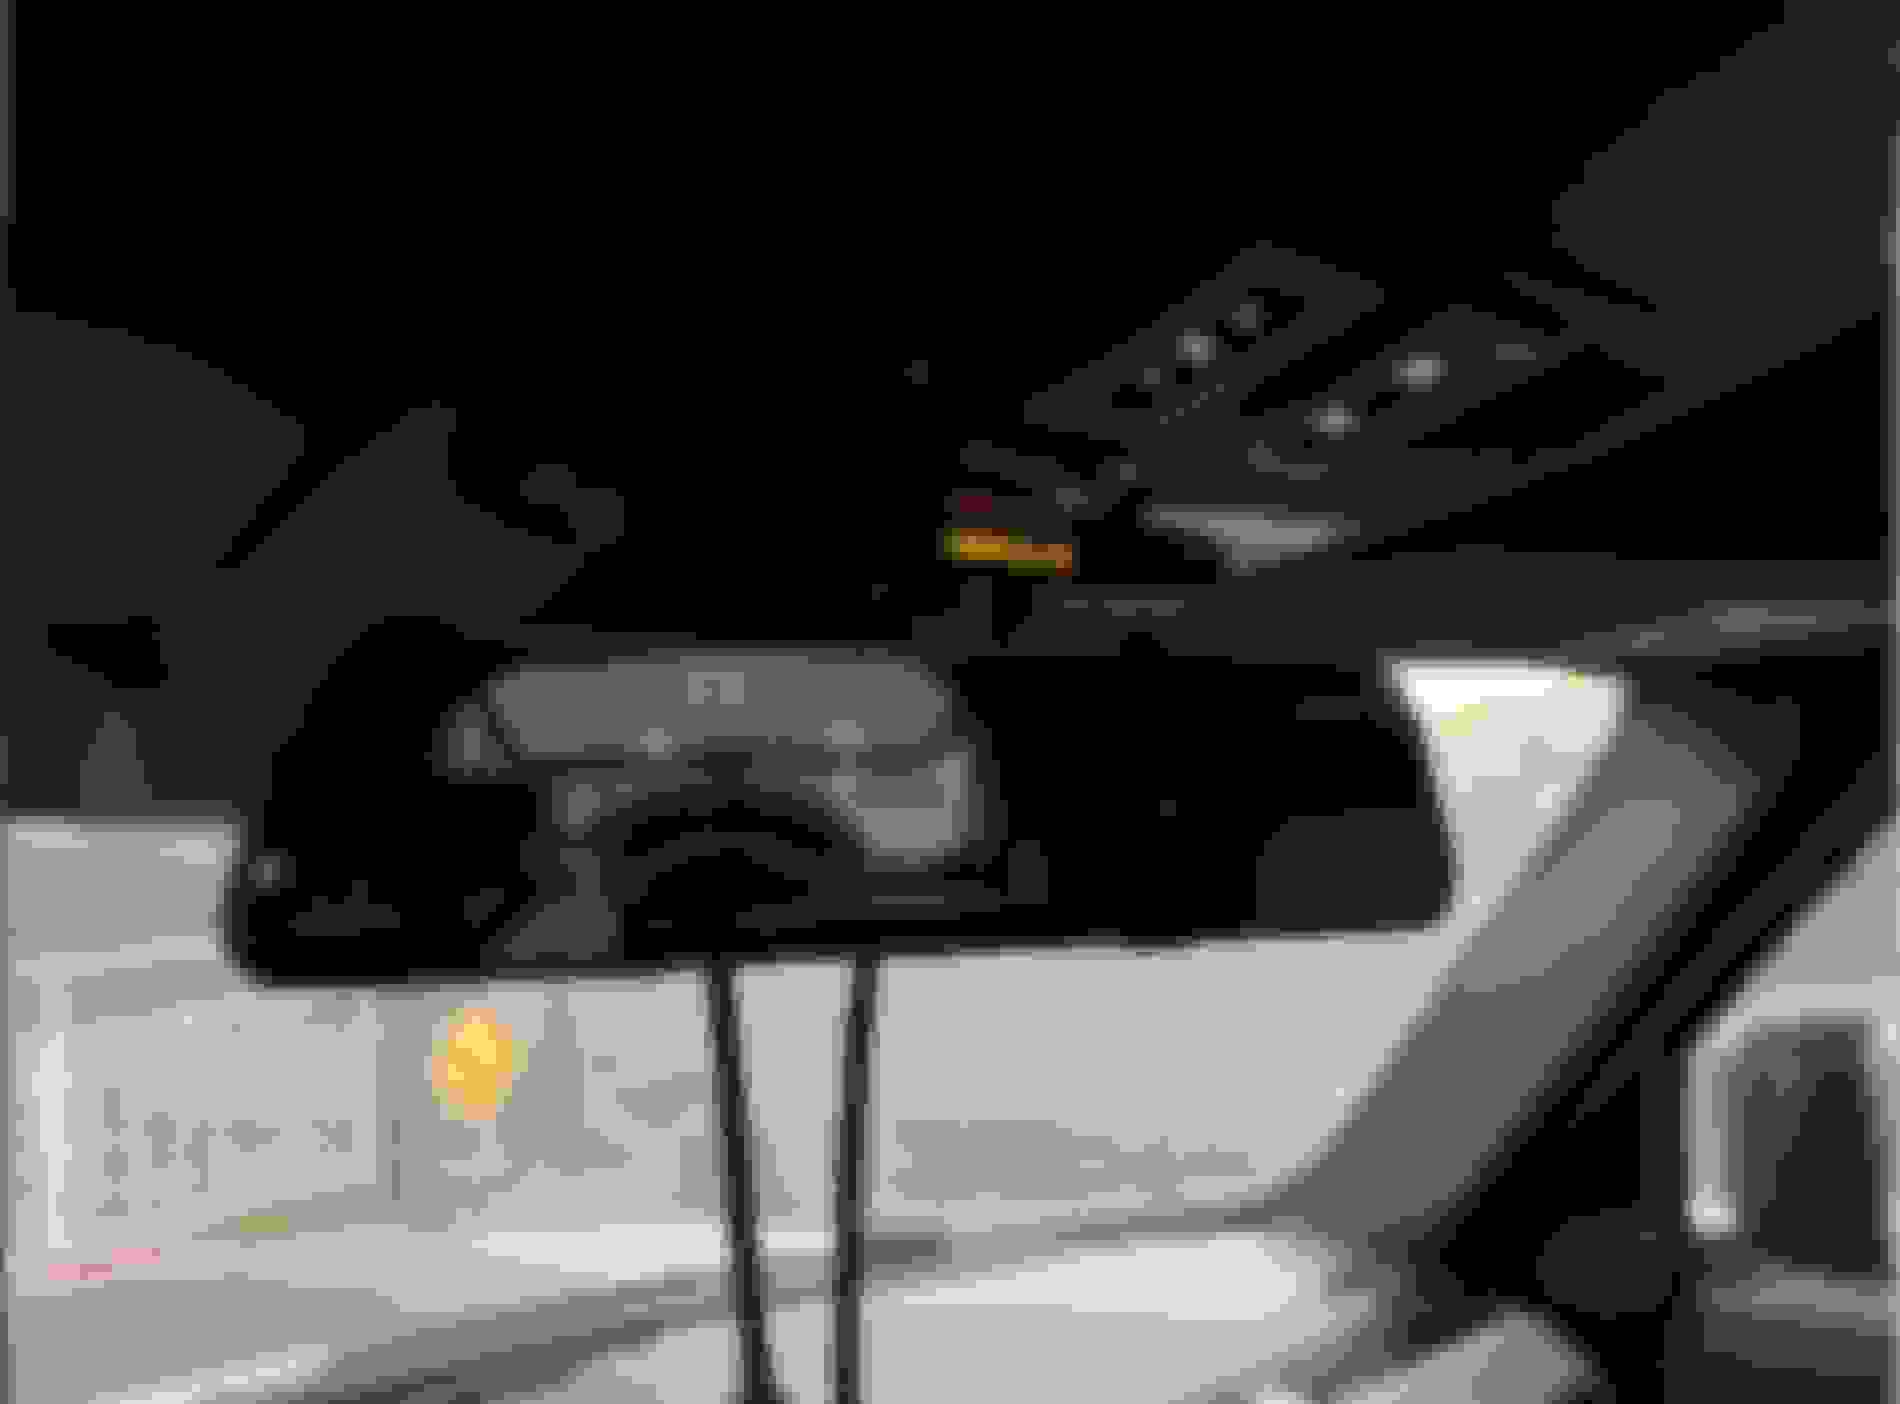
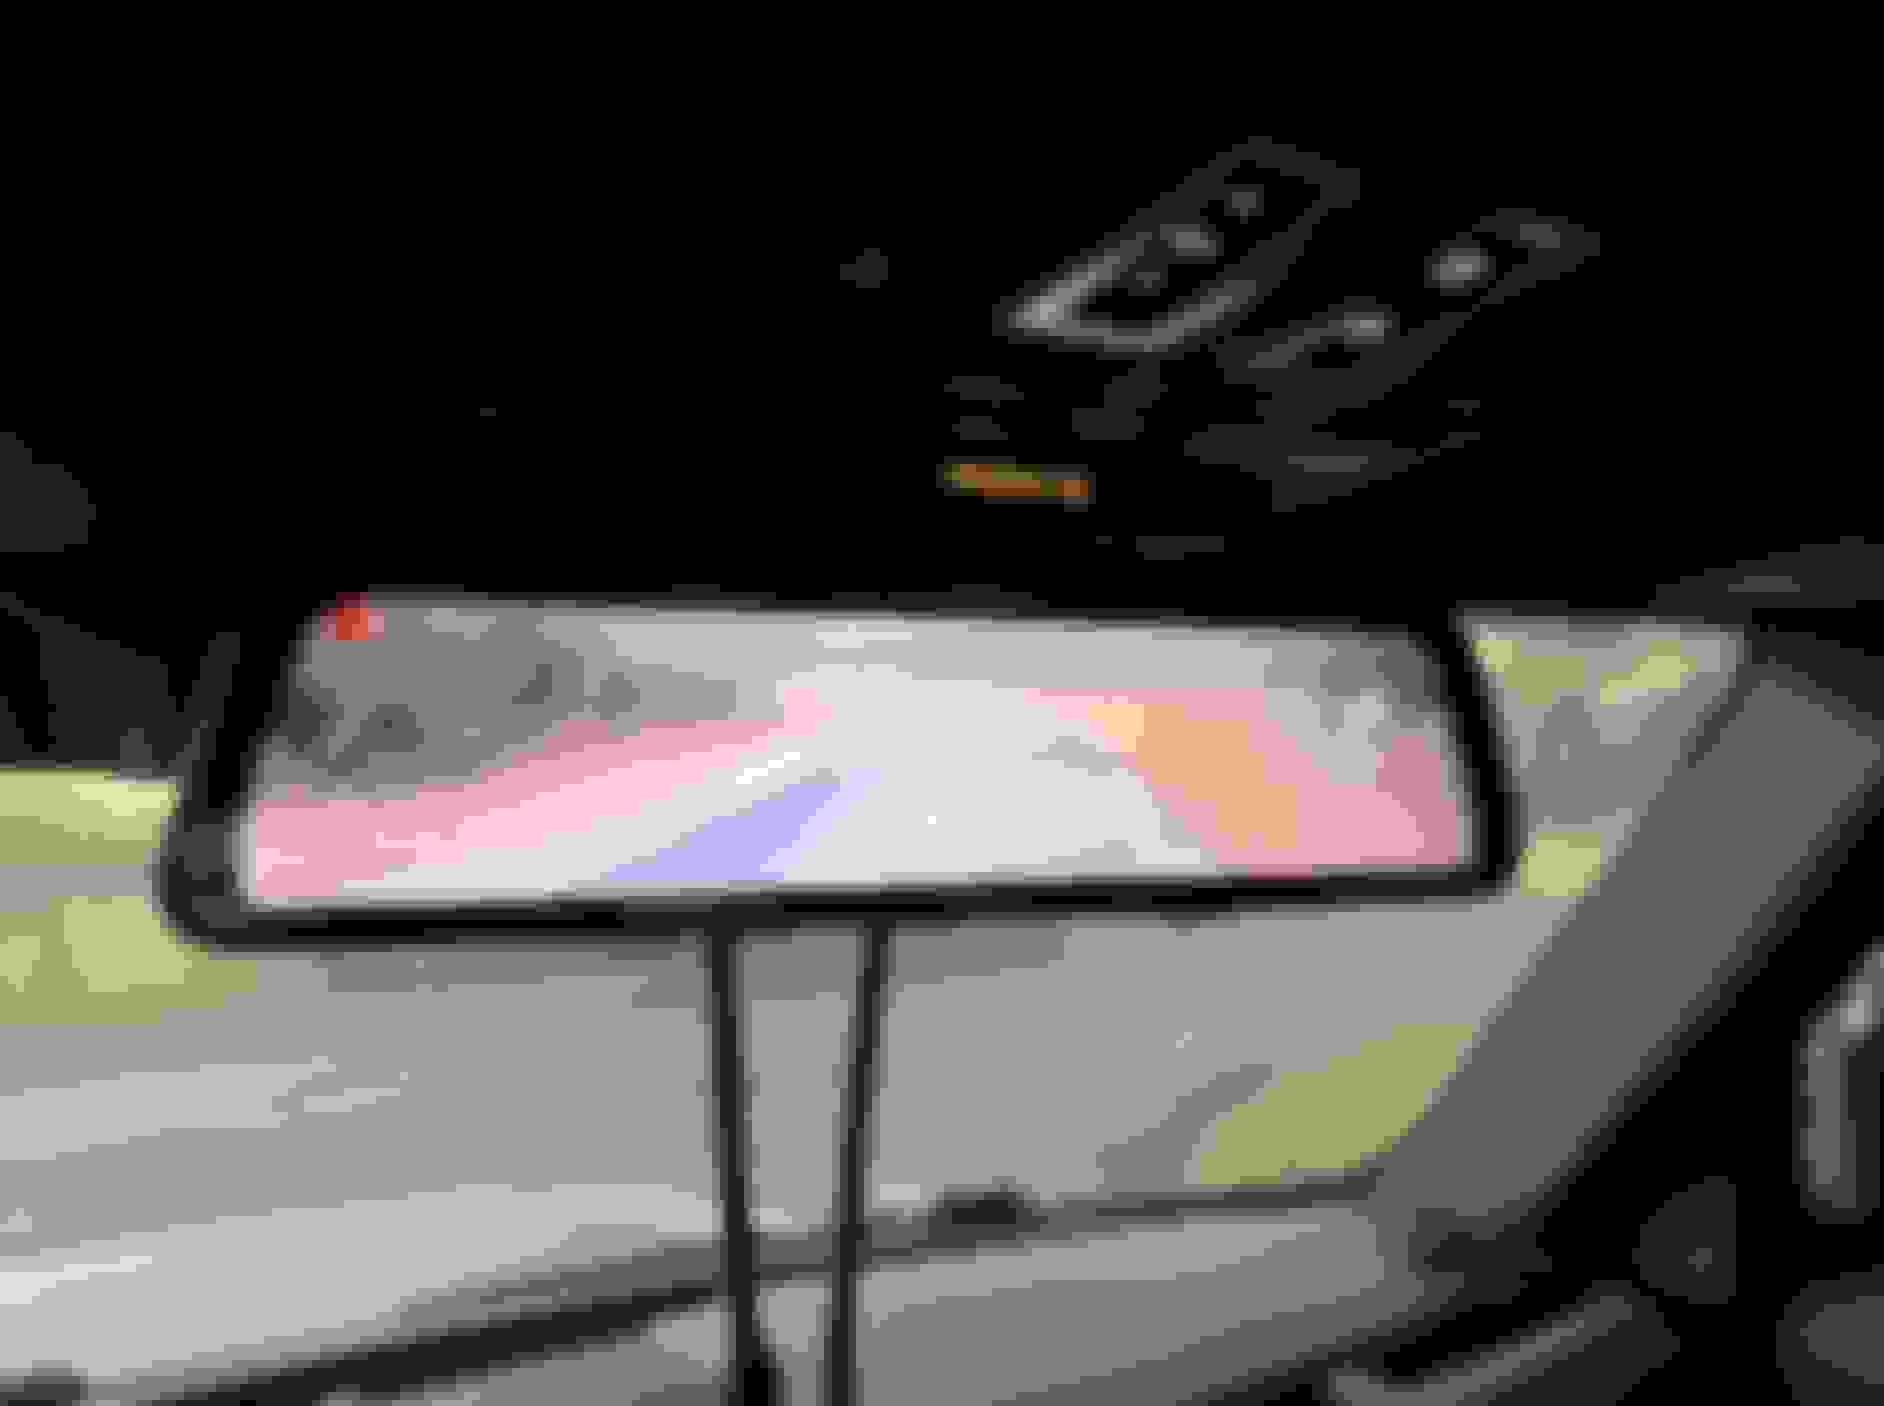
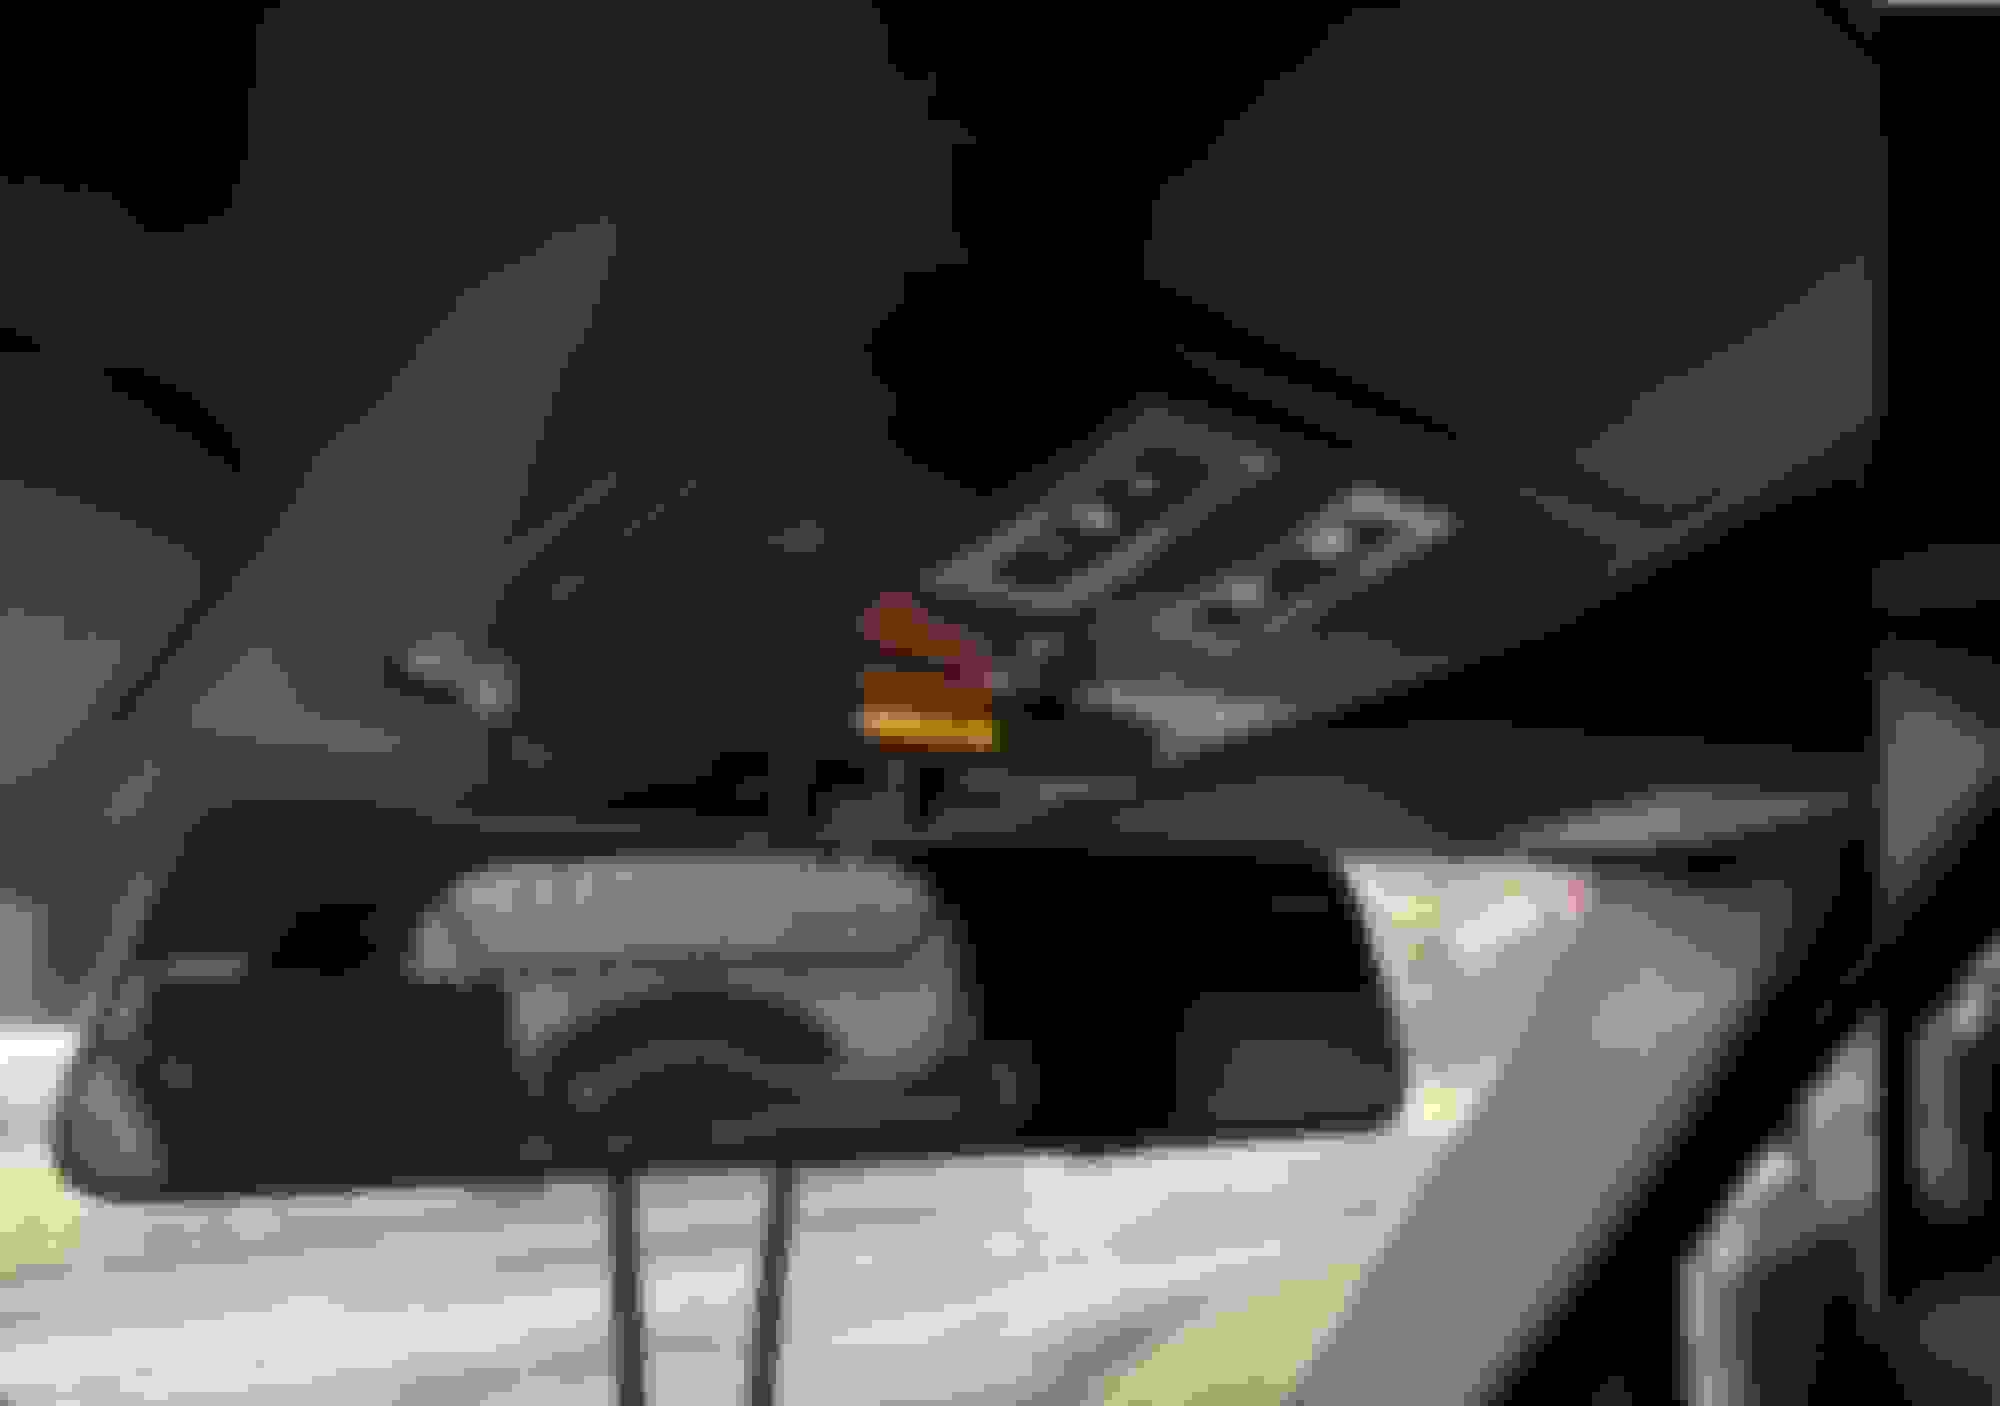
Here's a the first set of views - Mirror vs. "Poor Man's ClearSight":
Beautiful wide views...(window needs washed) Dark, narrow chamber of death.
And the second set for comparison: Red blinky light in upper corner, never see. Tells me dashcam is on. Dashcam still on, but what time is it!?
Finally, nothing up my sleeves! Well, all the cables are routed and nowhere to be seen. Here's a close up of them before they tuck up into the headliner. They are VERY difficult to see when in or out of the vehicle. Cables really disappeared well.
So, go for it!! Post your pics if you do. If you use a different mirror, let me know what you like/don't. Love mine but may wait a couple Generations if need be. I'll likely just keep this one up there forever.
@GrouseK9 - I really like the final result. One think I would like to ask you - can you please take a picture at night ? with headlights shining onto your camera ? The OEM JLR is utter crap (or mine is broken ?) and I would like to see how yours compare to it. Are you doing house calls ?
I may get mine covered by something like yours and use your setup.
Thank you in advance.
Ha! I'll tell you, you really need to ping Tyler @ PowerfulUk to do house calls! He must have the old "GI Joe Grip" when pulling trim. I will definitely take some pics this weekend. I don't want to drive, take pics, at night, with traffic. I'll stage things with another car (and after washing my window!) to show pics.
Actually got the exact same unit, different label name, but same kit, for my son for Xmas. Put it in his Toyota and it has worked without issue and was a rather easy to install. I too sprung for the extra wiring kit, not the same as the LR harness, but it did speed things up immensely. It has seemed to work nearly as good as the clear sight. I have it in my Defender and can compare the two. Just wish the camera was a tiny bit smaller and if it was bluetooth, it would be super as well.
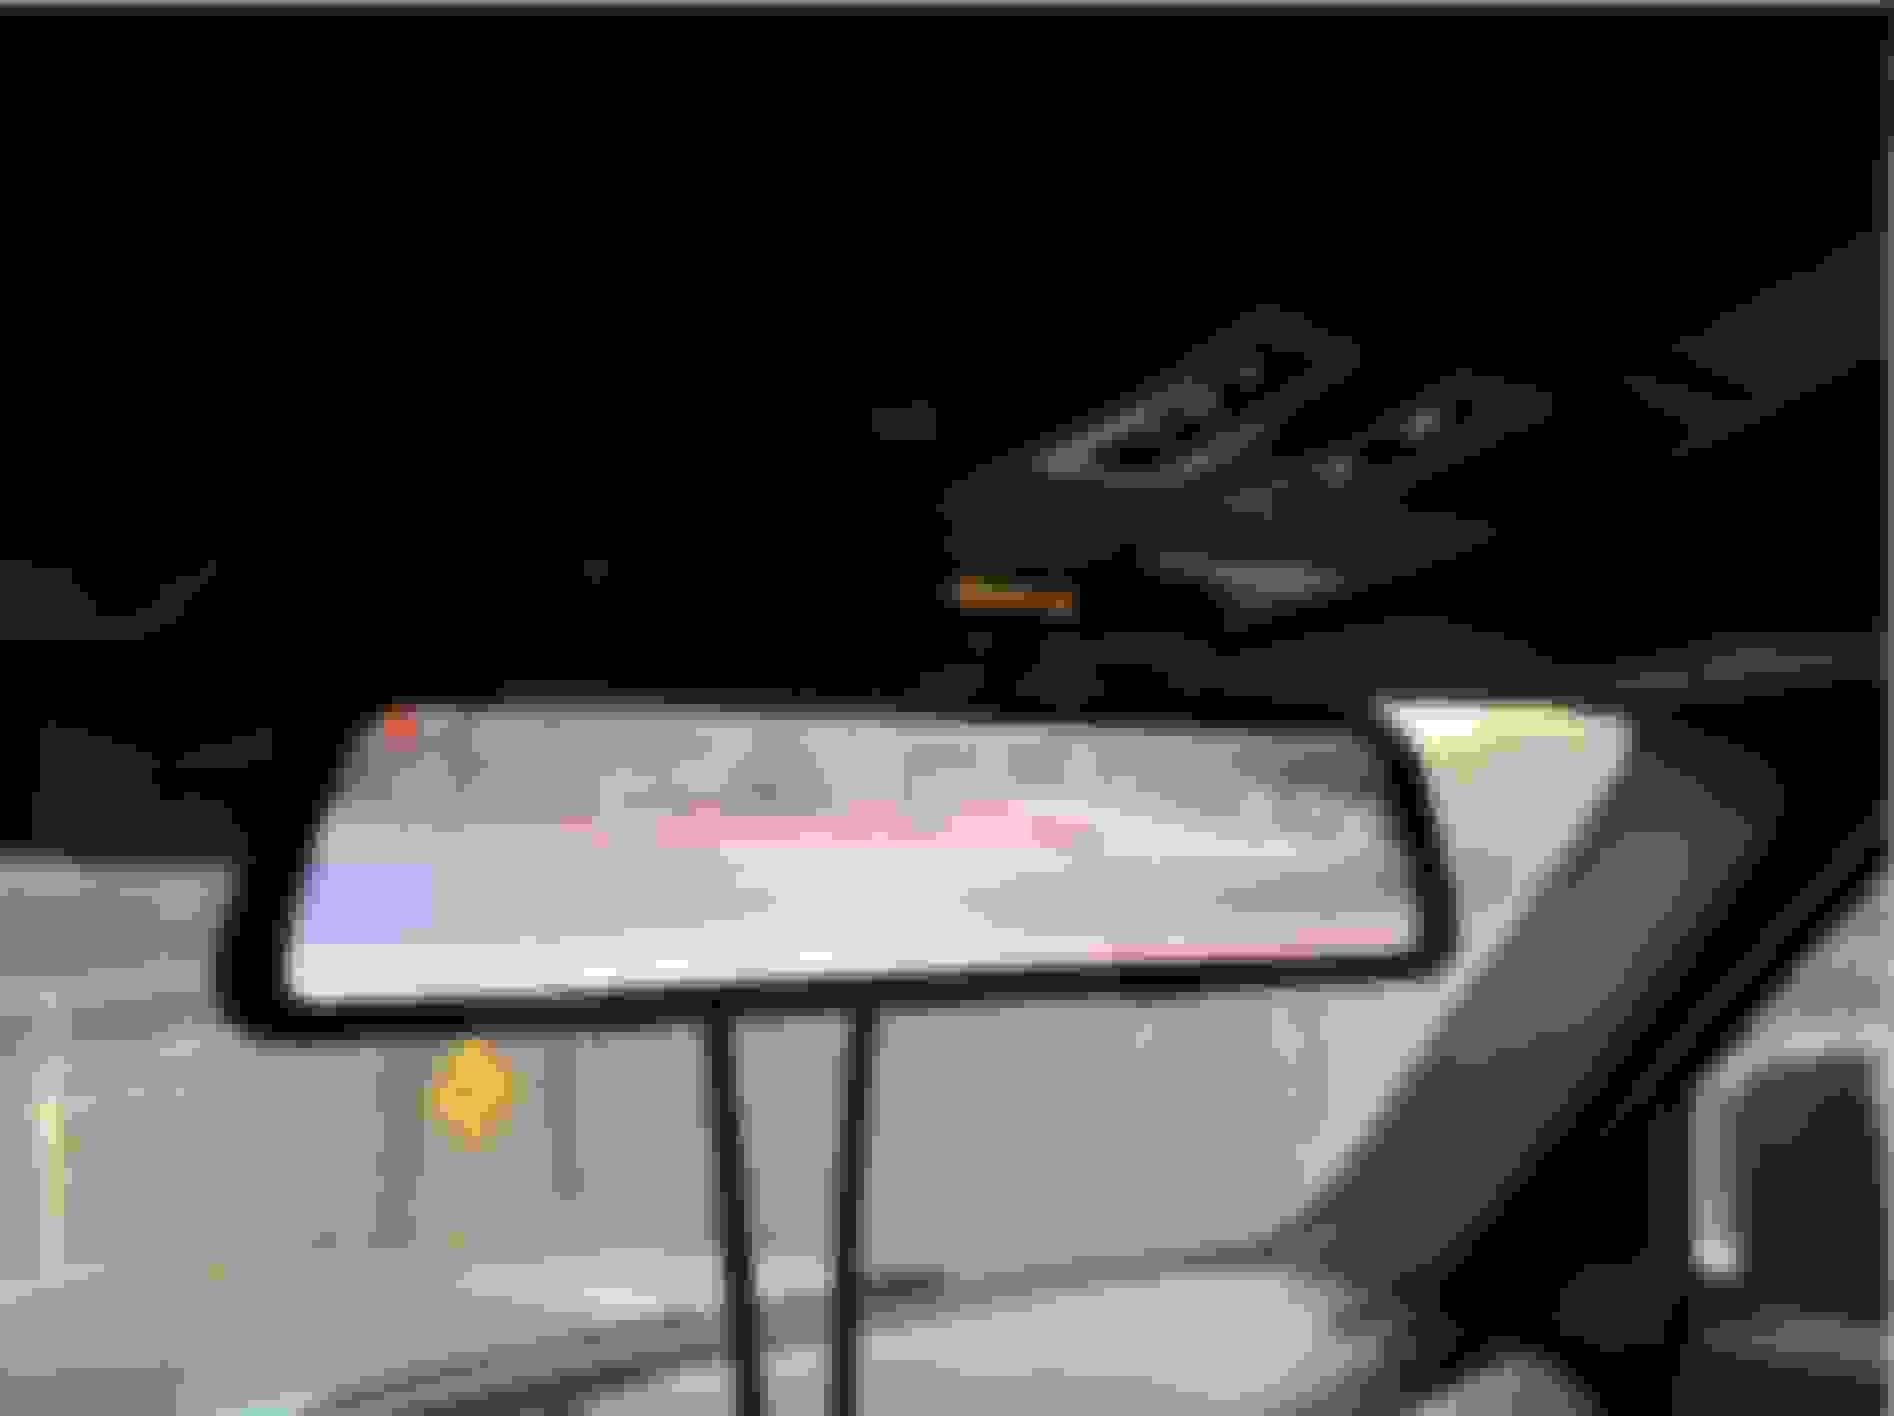
@Mechano2020 - Here's the night time pics. I felt like I was helping one of my kids do their middle school science project. Only that was years ago. Here's the set up: my volunteer tailgater was my Chevrolet 2500 Silverado High Country. It was about 8:10pm (I have not updated the time change this weekend). 1/2 moon. Disclaimer, this was only 1 vehicle. Gets worse the more vehicles. For obvious reasons, I'm not going to take pics on the highway....(sorry).
The first set is 50 yards away, then 25 yards, then 10. See more details in the captions below. Enjoy!
50 yards with RedNeck ClearSight. Truck lights off. Couldn't see anything on mirror, no pic taken.
50 yards with RedNeck ClearSight. Truck lights off, foot on Defender brake.
50 yards with RedNeck ClearSight. Truck lights on. Defender tire in the way so didn't take pic from Mirror only.
Thank you so very much for the pictures. This is a very good science project indeed. Definitely will help me for getting a similar setup like you have, only that I may get a polarized filter in front of the "clear view camera". Again, thank you and I owe you big !!!
Brilliant idea! Didn't even think of a polarized filter. Great idea. Now if I can only find a wee small one for the camera. Kidding. I have some photographer/fishing friends that may be able to help me out with some sort of film or something.
Some of the older LUCAS dash cam were sold with a polarized lens - small enough I would say, and that may some how be adapted to this. If everything else fails, I can get a glass cutter and redneck one out of an older filter
Reviving an oldie but goodie here. Does the off-center viewing angle bother you or do you just use it in desperate times? I've had a few smaller civics follow me too close and get lost behind the spare tire! Also thinking, if the cable were long enough (power and video feed) you could run it down through the A-Pillar and the roof rail, that way you can leverage a firewall gasket for the job, eh? How've you liked it 7 months into it?


 Kidding. I have some photographer/fishing friends that may be able to help me out with some sort of film or something.
