
Heres how to service your engine & oil pan!


Thread Starter
|
Banned
Joined: Feb 2011
Posts: 373
Likes: 1
From: Enfield NH
If your Landy has a lot of hard miles on it and shows signs of decreased performance - than it may be a good time to treat your engine with a "motor flush". You may also want to consider replacing your oil pan gasket and hardware (bolts, nuts, washers etc). Maybe even switch to a dlbetter motor oil as well. In my case I switched from Castrol GTX High Mileage oil to Rotella T Extra protection 15w-40 Diesel oil. Here's how I did everything:
1.) Prior to draining the old engine oil, check to make sure the dipstick reads a safe oil level in the engine. If its below the safe level then top it off with some new oil.
2.) Next pour 1 quart of Motor Flush (I used 2) into the crankcase. Screw on the cap and start the engine. The product recommends idling for 5 minutes but I went ahead and let the engine run for 25 minutes. Rev the engine alittle here and their to help saturated the engine with the flush. Don't rev to high!
3.) Once you've idled the engine long enough, turn off the ignition and remove the oil pan drain plug - while the oil's draining from the pan, remove the oil filter and let the spout drain as well.
4.) Once all the old oil has drained from the engine and oil pan, use a racket wrench and corresponding socket to losen and remove all the bolts (14 total plus 2 nuts) that hold up the oil pan. With all the bolts and nuts removed carefully lower the pan and gently push the pan up over the front tire rods and steering damper. If the pan does not budge then carefully pry it open on all comers with a flat head screw driver and a hammer. Take caution when removing the pan. Delicate parts are fully exposed!
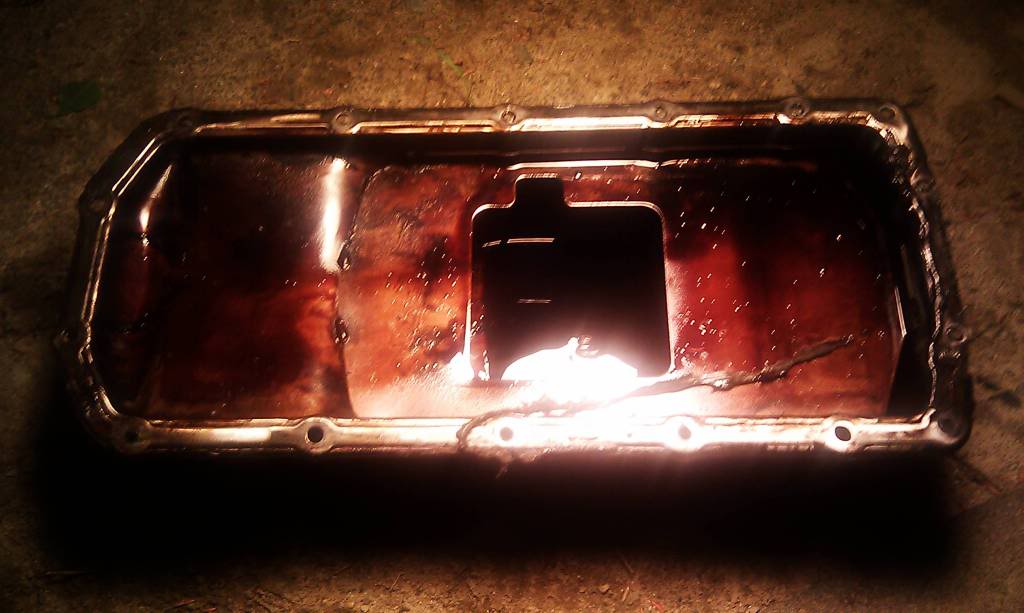
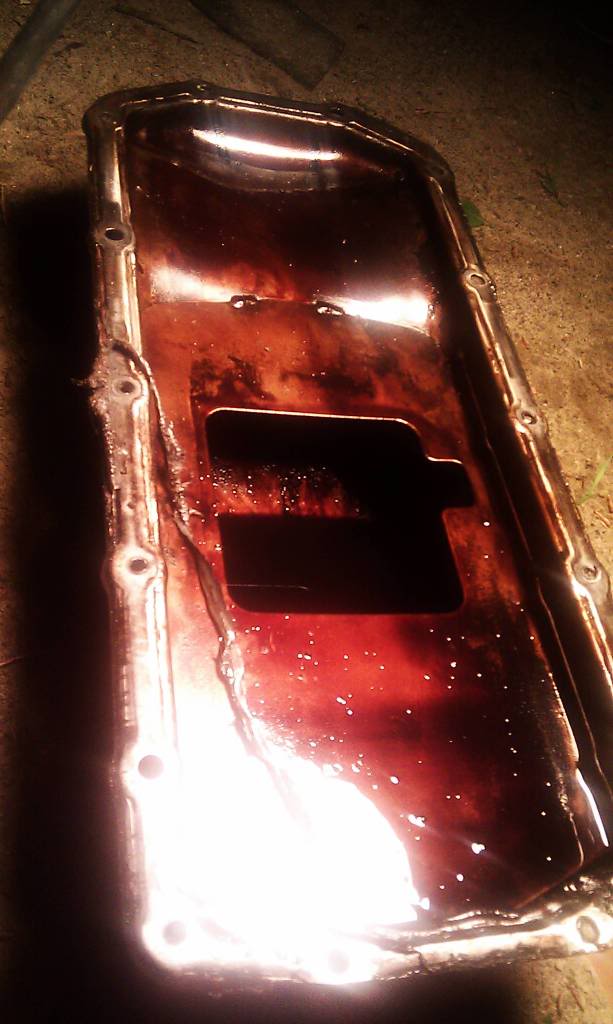
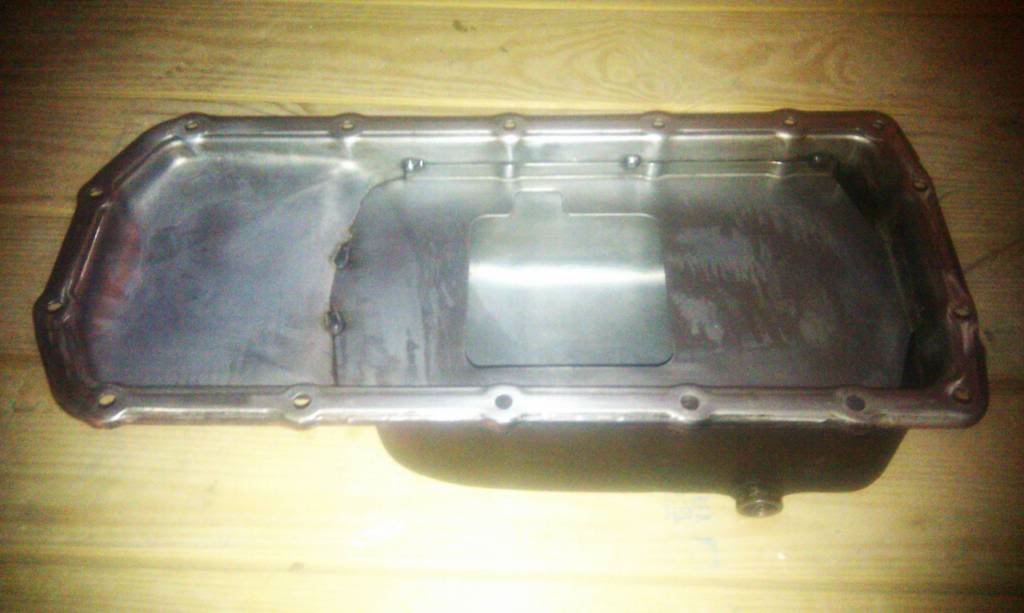
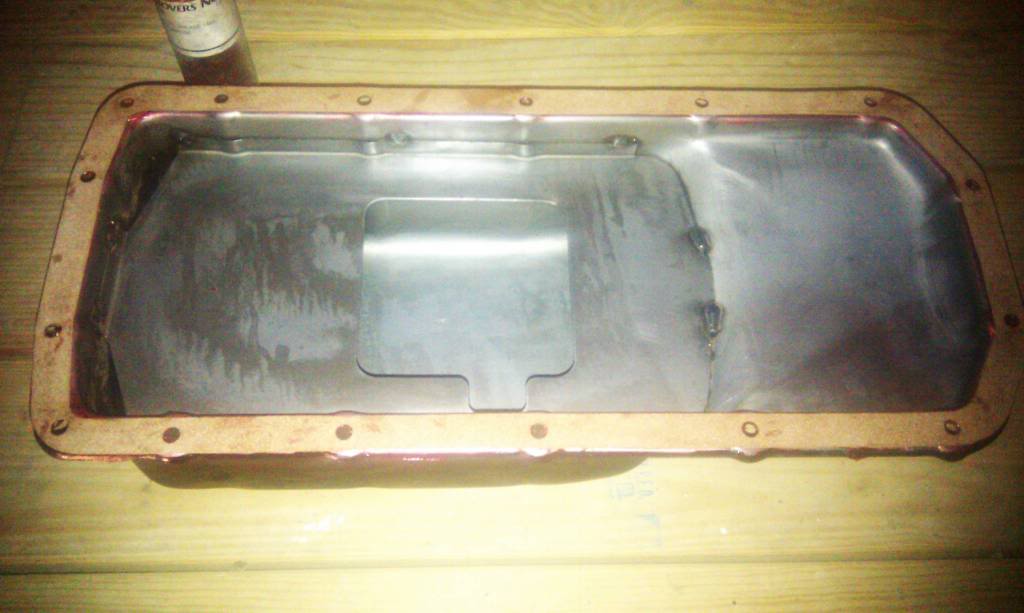
The inside of your oil pan will look something like this
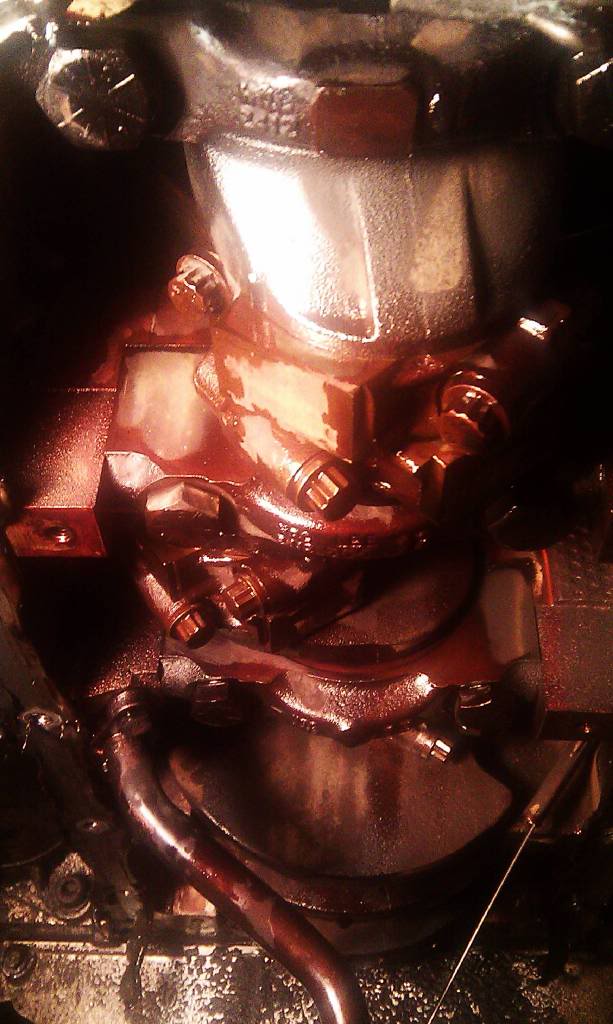
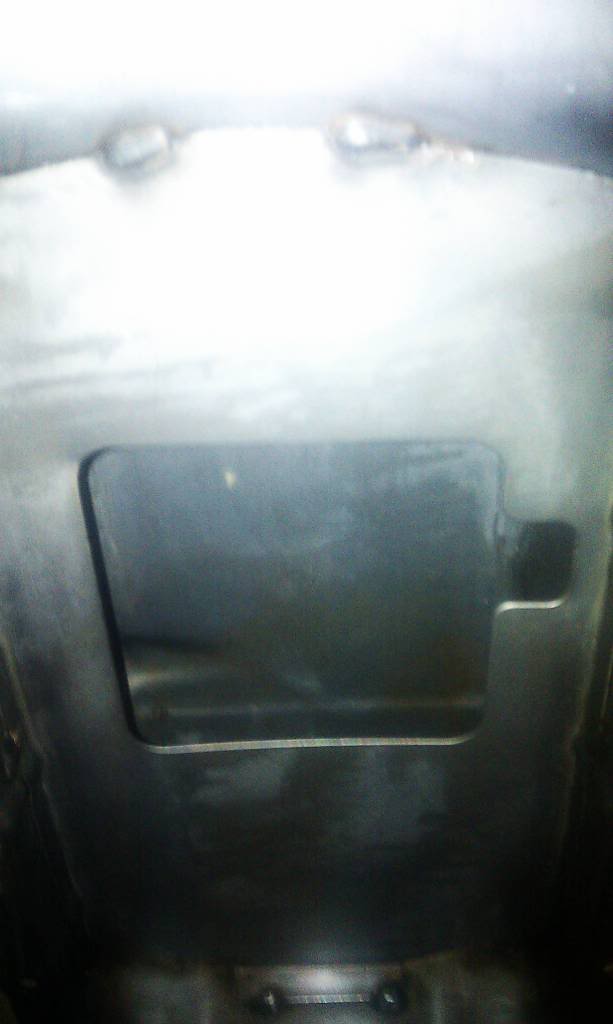
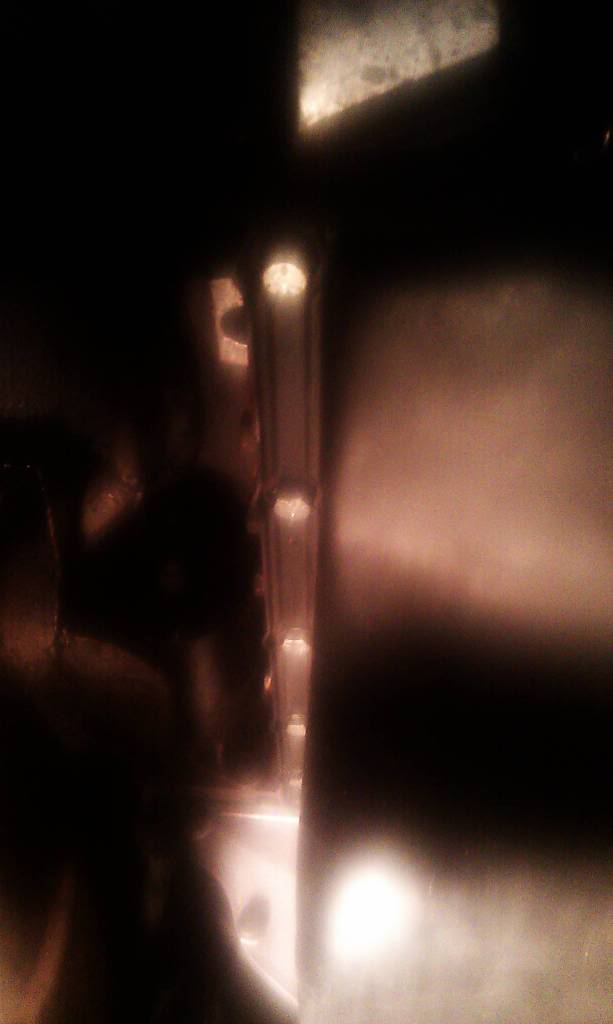
The bottom of your engine will loom something like this
5.) Using a dish scrubber and several SOS pads, thoroughly clean the entire oil pan - inside and out. Especially make sure to scrub the contact point where the gasket fits around! Remember to rinse either with brake parts cleaner or water once your done scrubbing. The more dirt and grime you scrub off the better.
6.) Follow the same method when cleaning the contact point on the bottom of the engine. Using brake parts cleaner with a straw works wonders here!

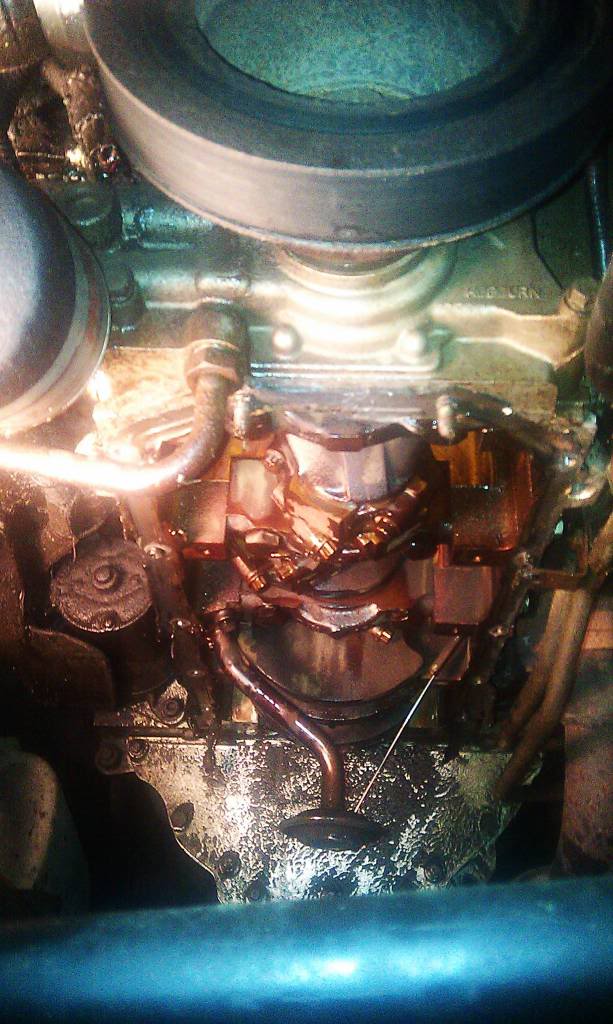
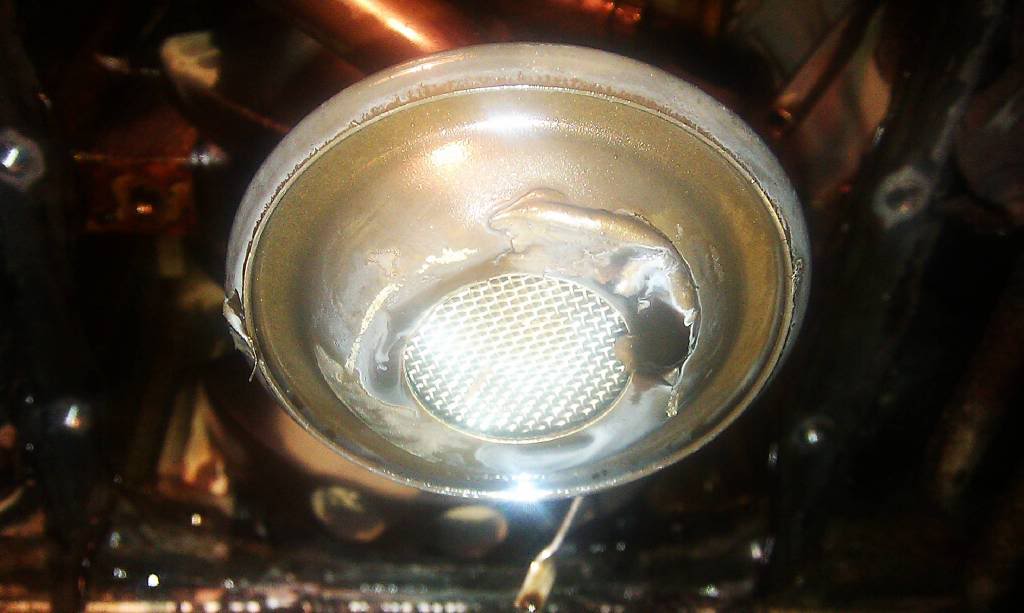
Don't forget to clean this filter!
7.) Now place the new oil pan gasket on the contact area of the oil pan. If securing the gasket proves difficult then use some amsoil grease and lube the surface prior to placing the gasket on it.
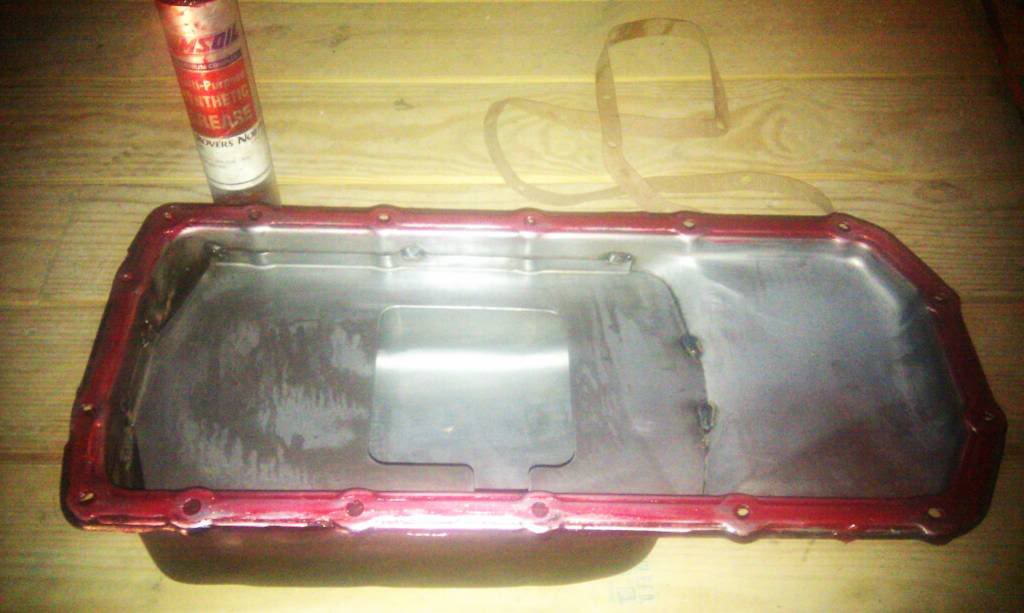
8.) Once the new gasket is installed on the contact area of the oil pan, install the new washer on the drain plug then screw on the plug to the pan. Deposition the pan in the corresponding position you originally removed it from. Align the holes and screw on your first new washer and bolt (hand tighten). Start with the corners first so to relieve you from having to hold the pan in place. Once all the washers and bolts are positioned, go back and tighten them up with your racket wrench.
9.) Once all the washers and bolts are secured on the oil pan, install the new oil filter. I used a premium Bosch filter. Next add new oil. I used Rotella T diesel oil. I also added in 1 quart of engine stop leak/high mileage engine repair. With the new oil poured into the crankcase, give the engine afew minutes to soak it up before starting her up. Let engine idle for afew more minutes and rev it up a little to get the new oil flowing. Test drive and your finished.
Note: If your landy has a 2" suspension lift or greater then you shoudent need any jacks or ramps! My lift gave me just enough clearence to remove and reinstall the oil pan with no issues. If your landy DOES NOT have a lift then you may need a jack and or ramps to raise the body high enough in order to fully remove the oil pan.
1.) Prior to draining the old engine oil, check to make sure the dipstick reads a safe oil level in the engine. If its below the safe level then top it off with some new oil.
2.) Next pour 1 quart of Motor Flush (I used 2) into the crankcase. Screw on the cap and start the engine. The product recommends idling for 5 minutes but I went ahead and let the engine run for 25 minutes. Rev the engine alittle here and their to help saturated the engine with the flush. Don't rev to high!
3.) Once you've idled the engine long enough, turn off the ignition and remove the oil pan drain plug - while the oil's draining from the pan, remove the oil filter and let the spout drain as well.
4.) Once all the old oil has drained from the engine and oil pan, use a racket wrench and corresponding socket to losen and remove all the bolts (14 total plus 2 nuts) that hold up the oil pan. With all the bolts and nuts removed carefully lower the pan and gently push the pan up over the front tire rods and steering damper. If the pan does not budge then carefully pry it open on all comers with a flat head screw driver and a hammer. Take caution when removing the pan. Delicate parts are fully exposed!
The inside of your oil pan will look something like this
The bottom of your engine will loom something like this
5.) Using a dish scrubber and several SOS pads, thoroughly clean the entire oil pan - inside and out. Especially make sure to scrub the contact point where the gasket fits around! Remember to rinse either with brake parts cleaner or water once your done scrubbing. The more dirt and grime you scrub off the better.
6.) Follow the same method when cleaning the contact point on the bottom of the engine. Using brake parts cleaner with a straw works wonders here!
Don't forget to clean this filter!
7.) Now place the new oil pan gasket on the contact area of the oil pan. If securing the gasket proves difficult then use some amsoil grease and lube the surface prior to placing the gasket on it.
8.) Once the new gasket is installed on the contact area of the oil pan, install the new washer on the drain plug then screw on the plug to the pan. Deposition the pan in the corresponding position you originally removed it from. Align the holes and screw on your first new washer and bolt (hand tighten). Start with the corners first so to relieve you from having to hold the pan in place. Once all the washers and bolts are positioned, go back and tighten them up with your racket wrench.
9.) Once all the washers and bolts are secured on the oil pan, install the new oil filter. I used a premium Bosch filter. Next add new oil. I used Rotella T diesel oil. I also added in 1 quart of engine stop leak/high mileage engine repair. With the new oil poured into the crankcase, give the engine afew minutes to soak it up before starting her up. Let engine idle for afew more minutes and rev it up a little to get the new oil flowing. Test drive and your finished.
Note: If your landy has a 2" suspension lift or greater then you shoudent need any jacks or ramps! My lift gave me just enough clearence to remove and reinstall the oil pan with no issues. If your landy DOES NOT have a lift then you may need a jack and or ramps to raise the body high enough in order to fully remove the oil pan.

Super Moderator
Joined: Nov 2009
Posts: 5,847
Likes: 106
From: Arkansas
That pan look amazingly clean! Did you put it in the dish washer? 
I usually tie the gasket to the pan with string, or use twist ties from a bread sack, and then cut them off once I have the pan in place.
I usually tie the gasket to the pan with string, or use twist ties from a bread sack, and then cut them off once I have the pan in place.
Thread Starter
|
Banned
Joined: Feb 2011
Posts: 373
Likes: 1
From: Enfield NH

Thread Starter
|
Banned
Joined: Feb 2011
Posts: 373
Likes: 1
From: Enfield NH
Are you referring to the round part that hangs down? Yes I scrubbed it off (pic was taken prior). I did not do much to the other interior components of the engine... Did not want to take the chance and mess something up. Just sprayed it down a bit with brake parts cleaner.


Thread Starter
|
Banned
Joined: Feb 2011
Posts: 373
Likes: 1
From: Enfield NH
Yeah like I said, I left the interior components alone. I left plenty of luv on them and the engine started up just fine.

Winching
Joined: Apr 2011
Posts: 553
Likes: 8
From: Oklahoma; where the winds come rolling down the plains.
I would recommend changing that new oil in about 50 miles though. Detergents play hell on soft metal bearings. Not to mention you will find old dislodged oil goop in the next few oil changes. Probably would have been beneficial to change out the oil pump gears as well.

Baja
Joined: Mar 2010
Posts: 5,584
Likes: 7
From: Pittsburgh PA suburbs.
That pan went from nasty to sparkling. But You do need to be aware of potential residues. Paint thinner might be more appropriate.
I agree with doing a few short term oil changes.
As far as using additional sealer, I don't think that is recommended either. If surfaces are good, compression of the cork material is what you desire.
What did you torque the fasteners to? Is there a callout for torque? And I think a pattern is proper to obtain square setting of the surfaces as well.