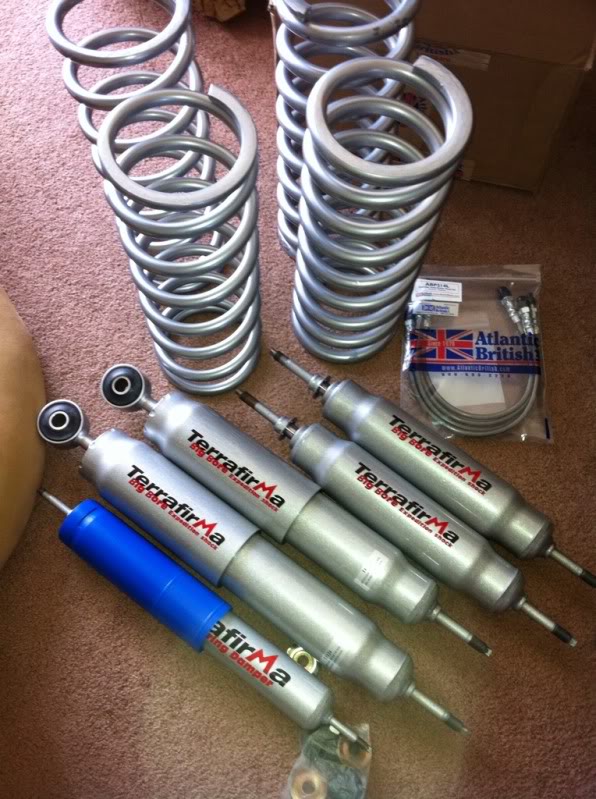
Terra firma install
#3
Start spraying everything with PB blaster now. It's pretty easy and straight forward. I usually do front first. losen lug nuts, support frame with jack stands and keep jack under axle. Unbolt old shocks and towers pull them out. Then lower the jack so the springs dislocate. Remove old springs, replace with new springs, jack it up and then install new shocks. Rear is the same deal but shocks are easier to get on and off usually. It's pretty straight forward and easy.
#5
#6
Edited to add one more thing - Pipe wrench works wonders for removing old shocks. Or massive channel locks/vice grips. New ones obviously go on a lot easier and you'll just need something to keep the shock from spinning.
Last edited by Jake1996D1; 03-21-2012 at 12:20 PM.
#8
the thing i had the hardest time with was wrestling the new front springs in. took some prying and seriously reefing down the spring compressors. in retrospect id probably take the 5 minutes to disconnect the sway bay and undo the brake lines while i was in there... rather than waiting to do the brake lines after the lift. this should give you LOTS of room to pop the new springs in.
otherwise a straightforward job!
also i dont know how big that lift is but i ended up being REALLY glad i got new longer brake lines from expedition exchange... the rear soft lines were basically the only thing holding the rear axle up at full droop with the new hardware (i put the dropped rear upper shock mounts on mine though)
ive got a 2" OME lift... for what its worth.
#9
looks like his new ones are tabbed at the ends, so you can get the nuts started by hand then grab the tab at the top of the threads with some vice grips to keep the shocks from spinning. if youre using nylocs you dont need them to be tightened to 1000lb ft hah
the thing i had the hardest time with was wrestling the new front springs in. took some prying and seriously reefing down the spring compressors. in retrospect id probably take the 5 minutes to disconnect the sway bay and undo the brake lines while i was in there... rather than waiting to do the brake lines after the lift. this should give you LOTS of room to pop the new springs in.
otherwise a straightforward job!
also i dont know how big that lift is but i ended up being REALLY glad i got new longer brake lines from expedition exchange... the rear soft lines were basically the only thing holding the rear axle up at full droop with the new hardware (i put the dropped rear upper shock mounts on mine though)
ive got a 2" OME lift... for what its worth.
 I've only done it a couple 5 times


