When you click on links to various merchants on this site and make a purchase, this can result in this site earning a commission. Affiliate programs and affiliations include, but are not limited to, the eBay Partner Network.
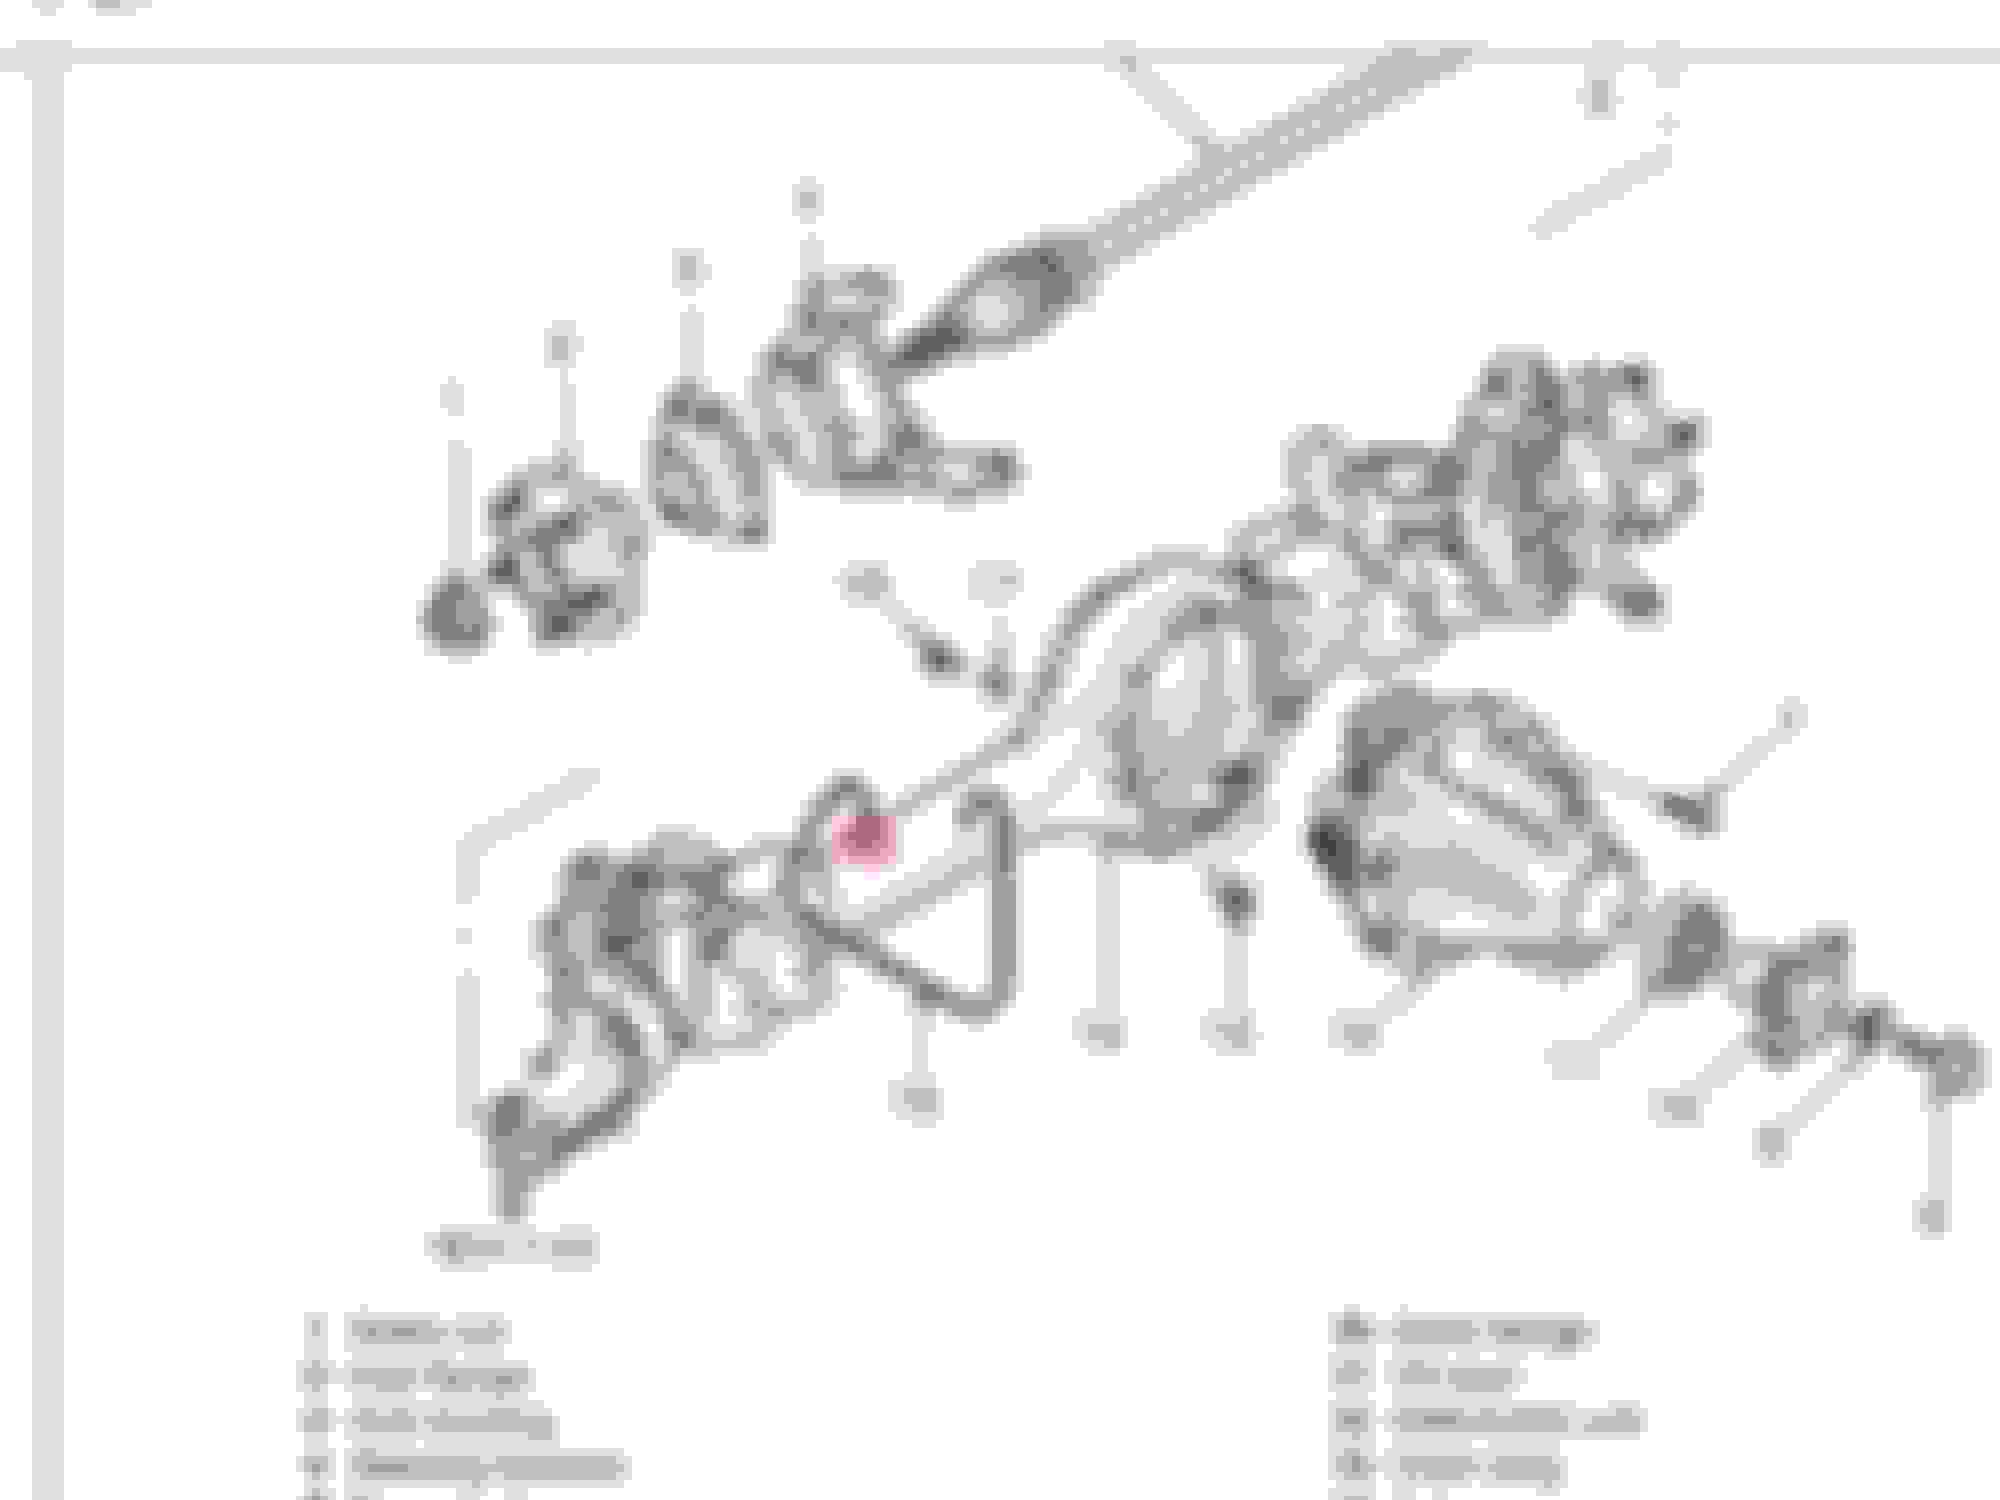
I�ve posted about this before but this time I have a diagram. The front axle breather fitting consists of a plastic red retaining sleeve inside of a brass casing. The breather tube is pressed in to the red sleeve which retains the breather hose in the casing. The casing itself is (from what I gather) pressed in to the axle. On my truck the red plastic retaining sleeve has disintegrated so the breather tube just falls out. Does anyone have experience on removing the brass casing from the axle? I think I found the right part to replace it with (FTC5085) but I have to get the original casing out first. The location is circled in red on the diagram below.
I plan on ordering 2 replacement fittings and will report back regardless. My first plan of attack is to put on in the lathe and see if I can extract the red sleeve and then push it into the already fitted casing. Failing that I�ll need to remove and replace.
Last edited by greisinb; Jul 21, 2022 at 02:50 PM.
Maybe tap in another fitting into the brass. Or epoxy or JB Weld a small metal tube if the rtv doesn't stick. The tube just needs to end up above the high water mark, so if no stream fording, then the tube is not needed at all.
Maybe tap in another fitting into the brass. Or epoxy or JB Weld a small metal tube if the rtv doesn't stick. The tube just needs to end up above the high water mark, so if no stream fording, then the tube is not needed at all.
The idea of tapping in another fitting is intriguing- I�ll give that some thought as well. I have to have something in there, my local off roading locale has a ton of standing water and its super easy to find yourself axle deep in water.
Thanks @COSitsWORTHit for the suggestion, it worked well! Here's how I did it if anyone is looking in the future.
1) Source a fitting with a 1/8 npt (National Pipe Thread) thread, my fitting was a 1/8 npt thread to a 1/4" tube which works with the tube already in the truck (even though it's metric). If your breather tube is broken you may want to consider a 90 degree fitting. Mine was intact so I used an inline fitting.
2) Source a 1/8-27 npt tap and tap wrench (you can get them off the shelf at NAPA).
3) The tap technically requires a 21/64" hole but the position of the brass casing makes actually drilling out the casing difficult because there is no clearance for a drill. Luckily the brass casing is close enough to the required size and can be tapped without drilling.
4) Get a vise grip and lock on to the brass casing. It will start to spin while tapping and you will want something to prevent that.
5) I put grease on the tap to catch as much of the swarf as possible and started to tap the casing. This was the most awkward thread job I've ever had to do because not only are you upside down but you have to put quite a bit of pressure on the tap because the casing hole is a hair too small. I had to try several times before I got a good "bite" on the tap and the actual threading started.
6) After the casing is tapped apply Teflon tape or pipe dope to the fitting threads and thread the fitting in to the tapped casing. I had to remove the vise grip but was able to put a suitable amount of torque on the fitting.
7) Push in the breather tube and you're all done!
Cool, just did this on mine (replaced the breather tube, zip ties and fitting there on the diff). I just pried it out with a flathead screwdriver.. (?)
Cool, just did this on mine (replaced the breather tube, zip ties and fitting there on the diff). I just pried it out with a flathead screwdriver.. (?)
I could not get mine to budge for whatever reason - I was just going to pry it out and order a replacement but weirdly I had the pneumatic fitting laying around and already have a tap and die set so it turned into a no cost solution (not that the replacement fitting is expensive).