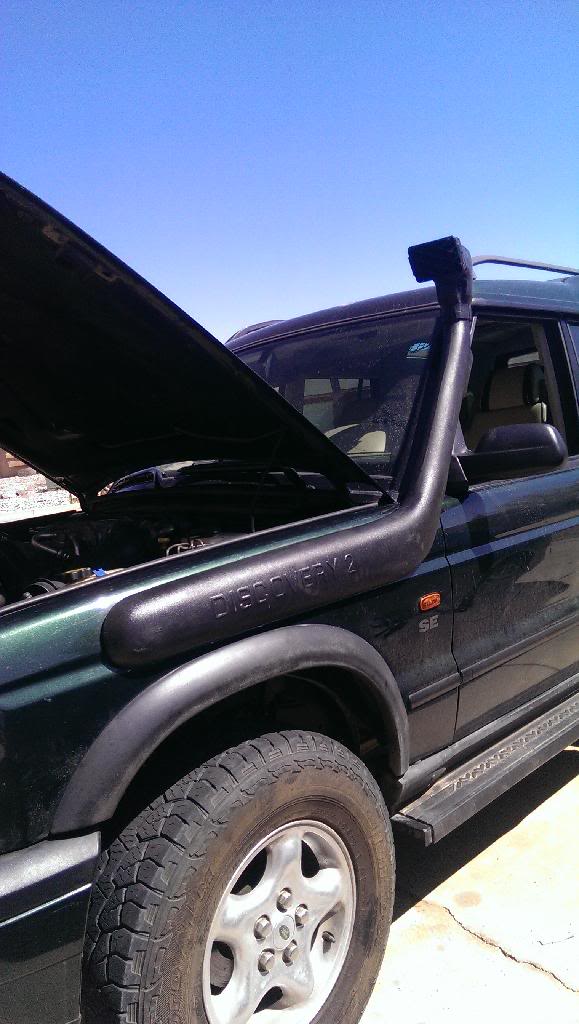
New Disco ownwer... Big Plans!
#21
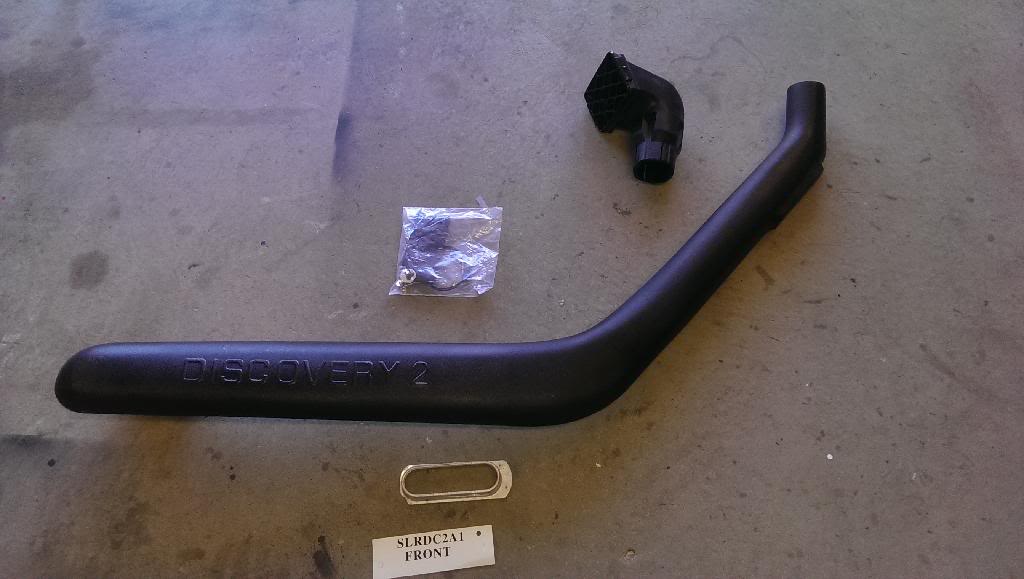
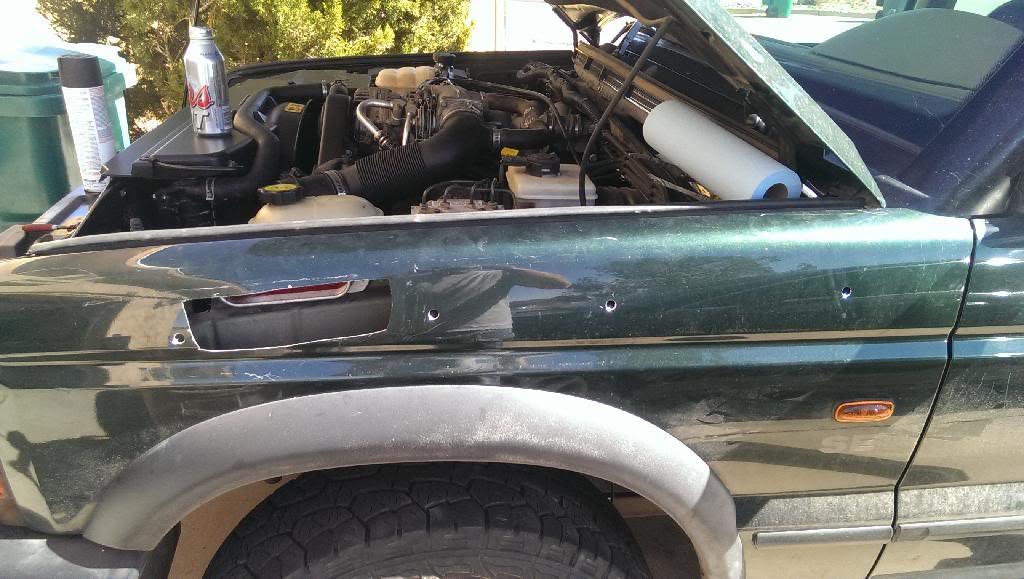
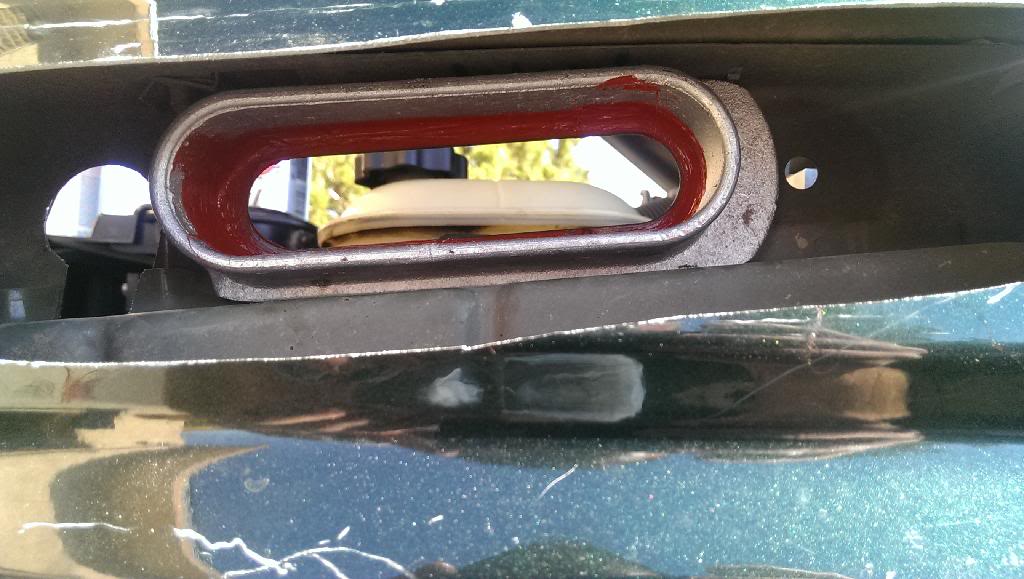
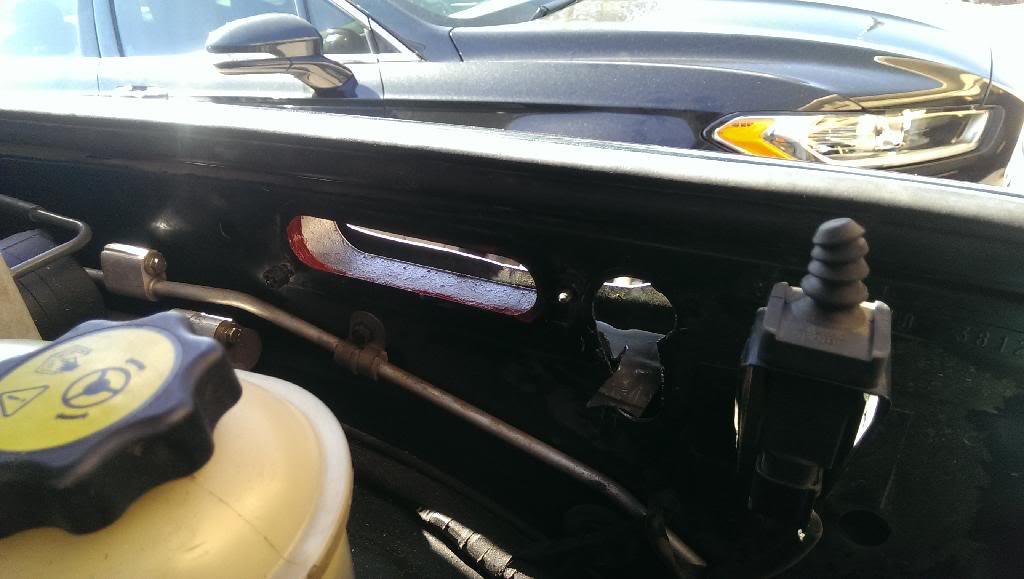
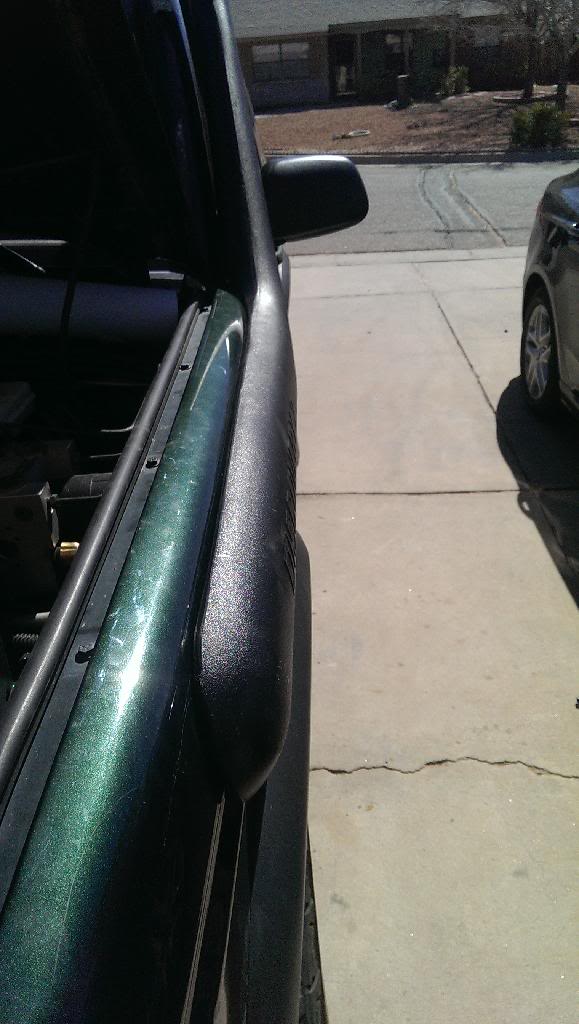
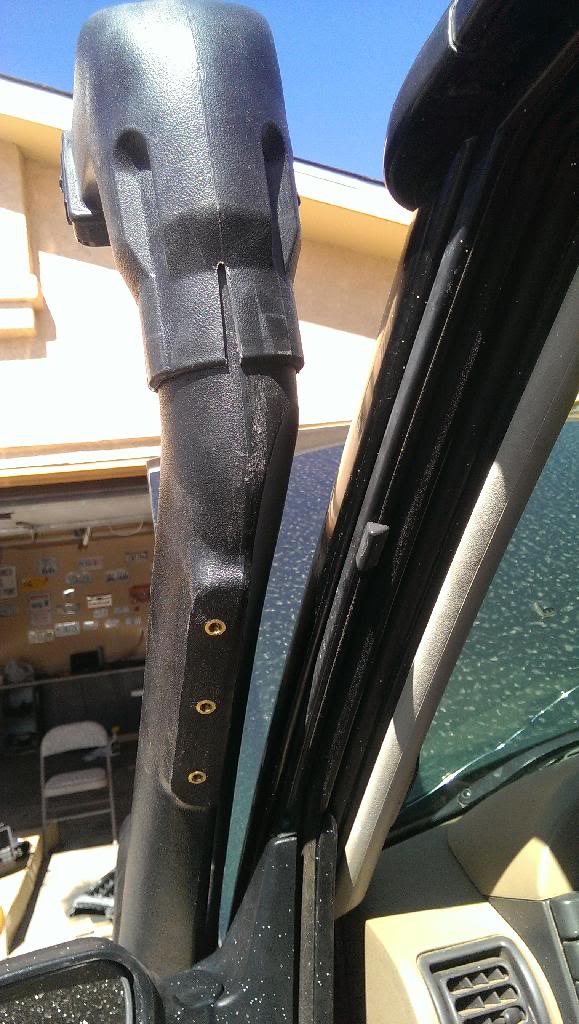
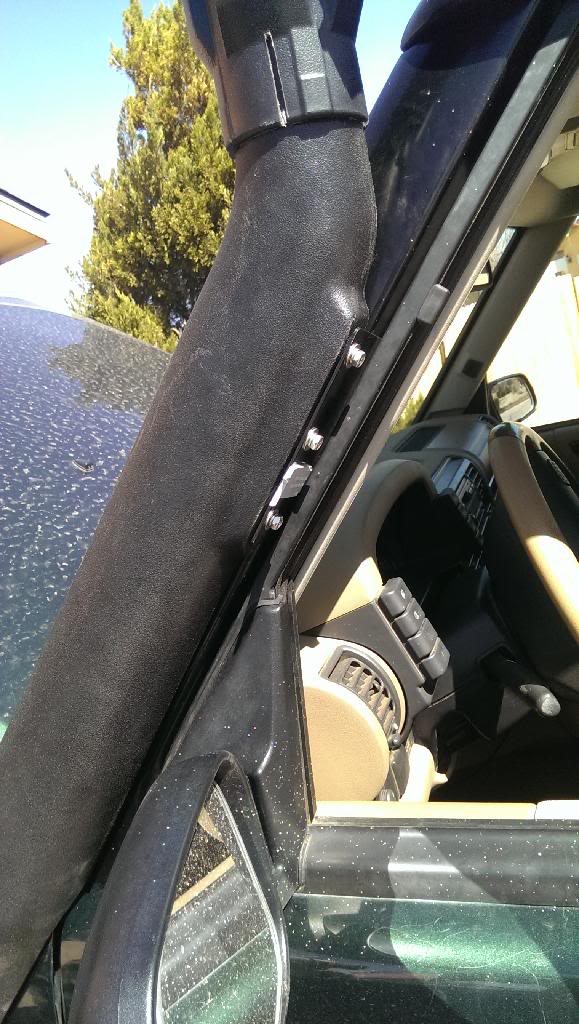
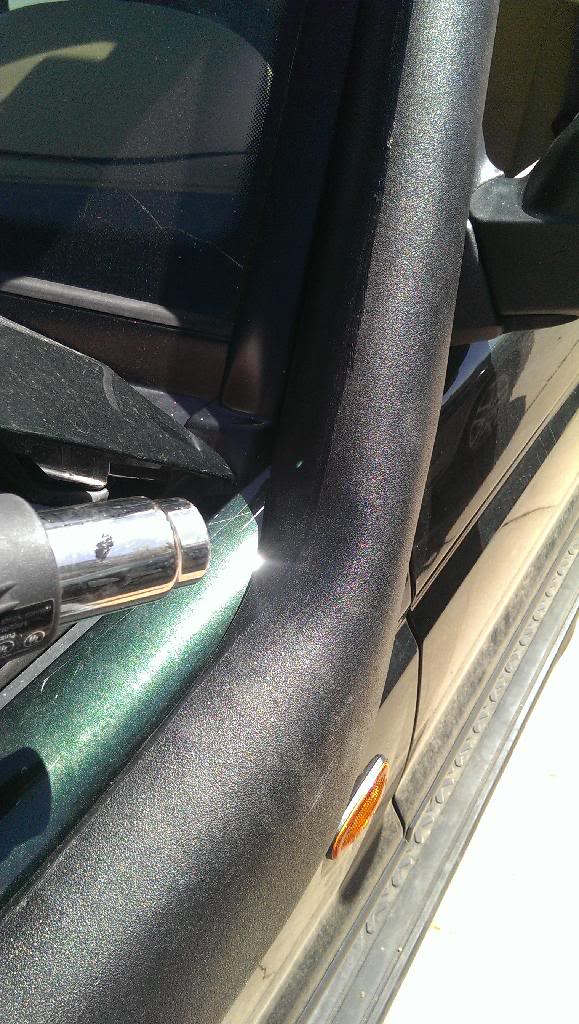
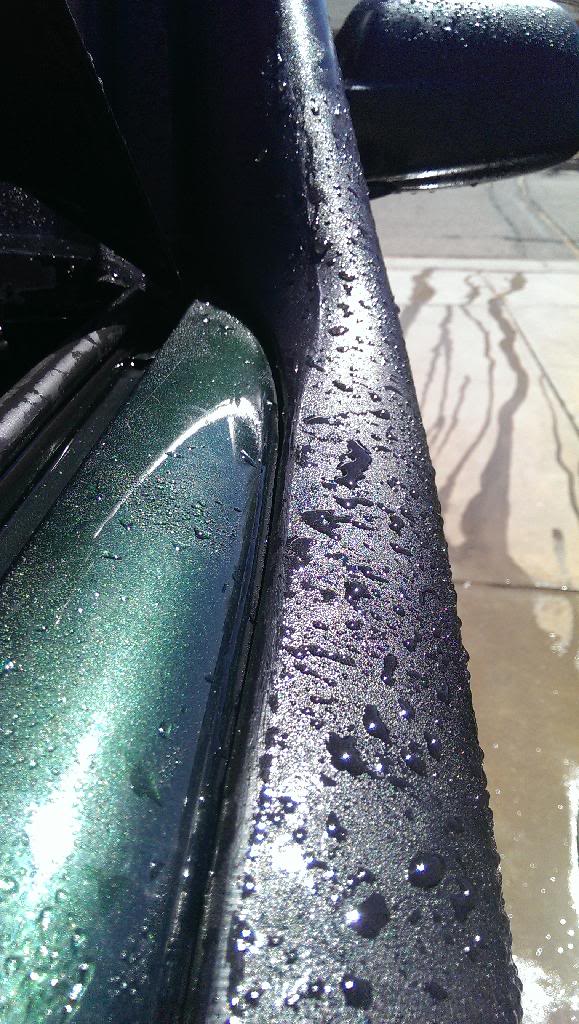
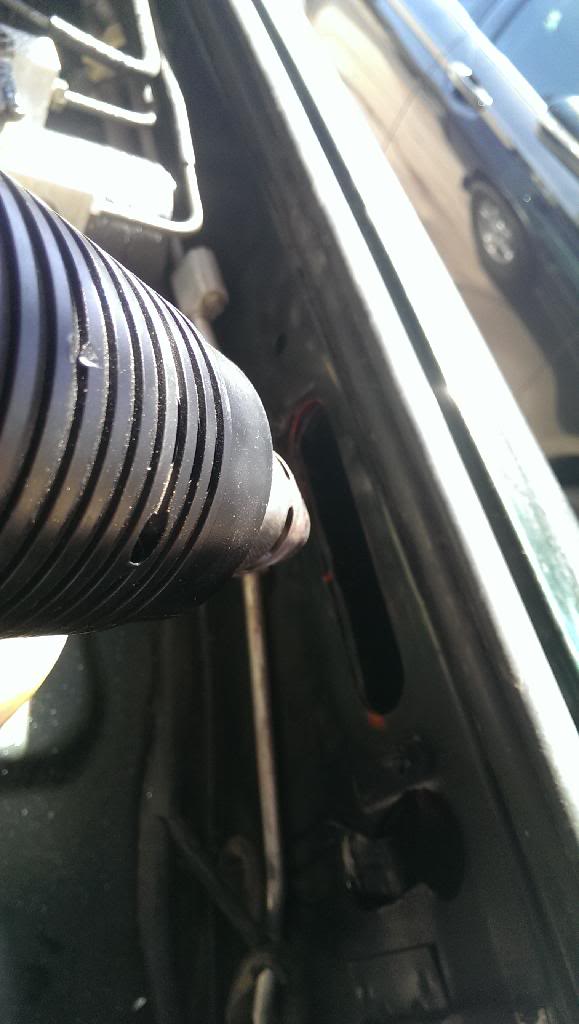
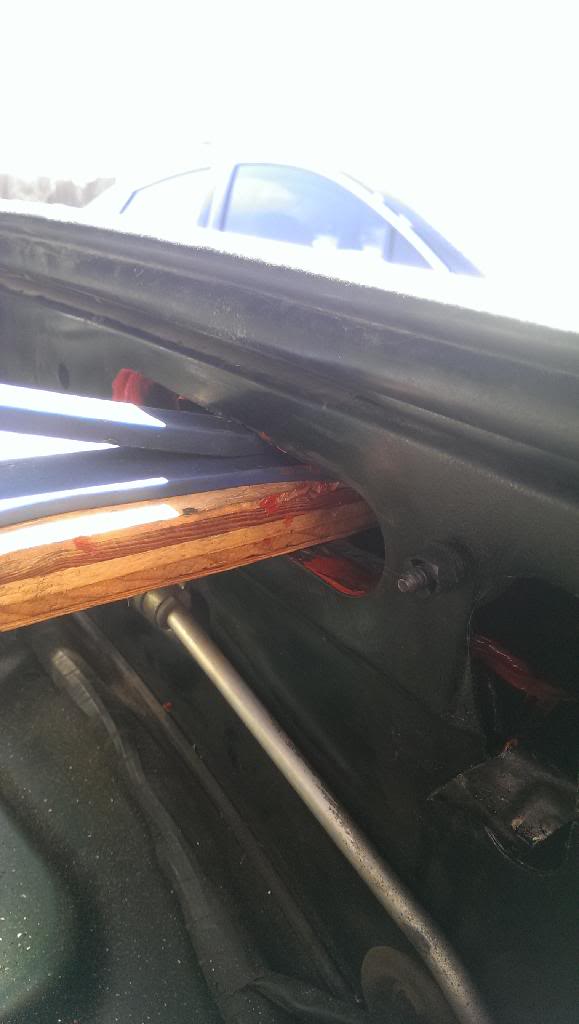
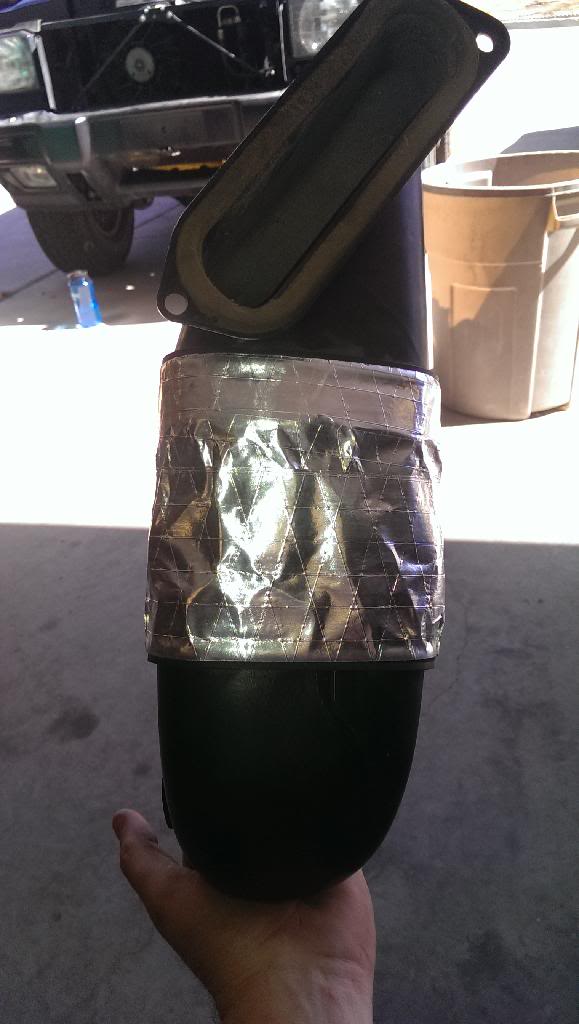
All right, finally getting around to posting pictures and an up date to the build since i got back from my cabin in Wyoming 3 days ago... the truck is running very well, i got and installed a snorkel got and fixed a couple cosmetic plastic parts, plastic welded and painted over the holes in the front bumper from the sprayer jets and a couple other small things... heres the pics.
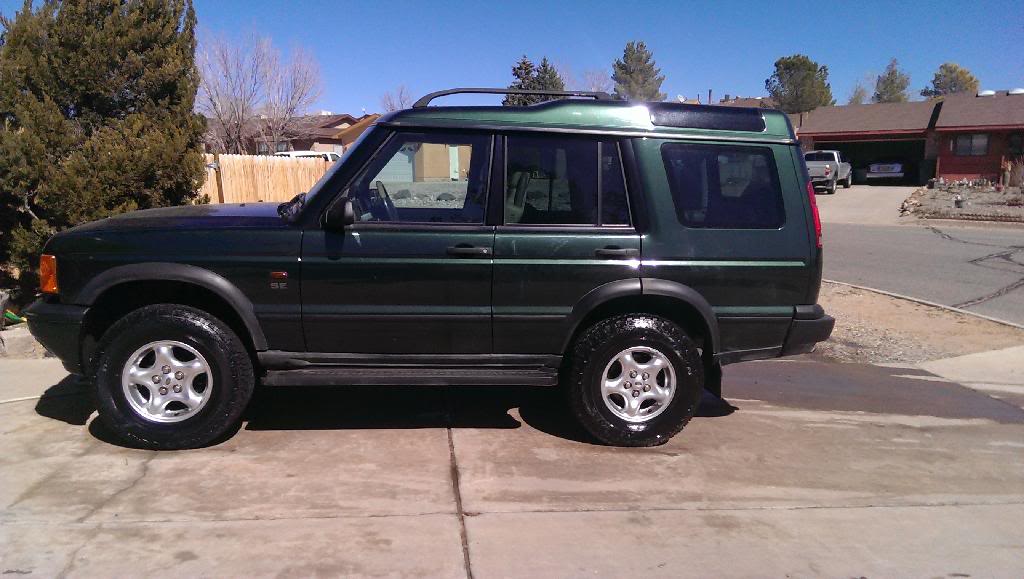
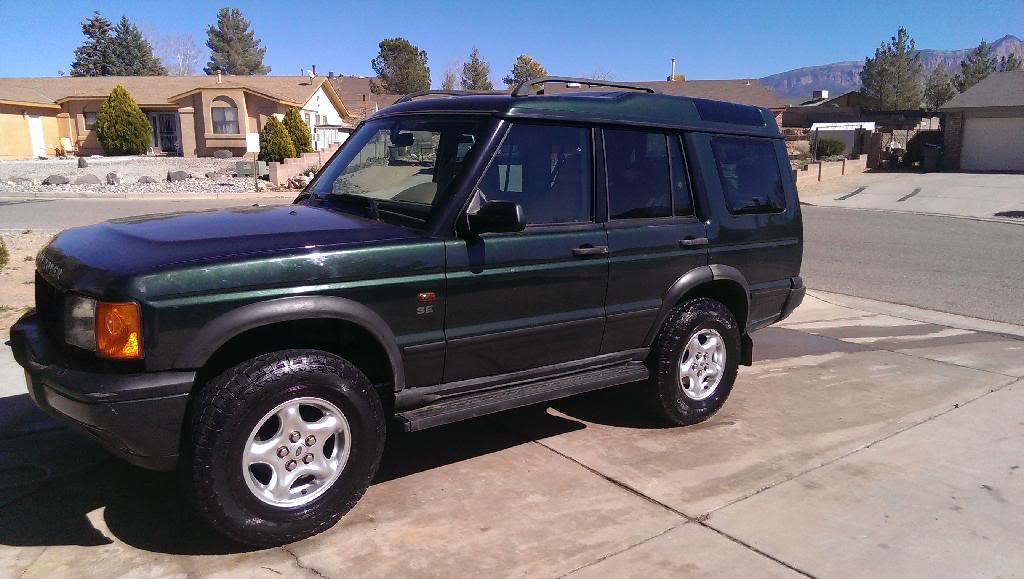
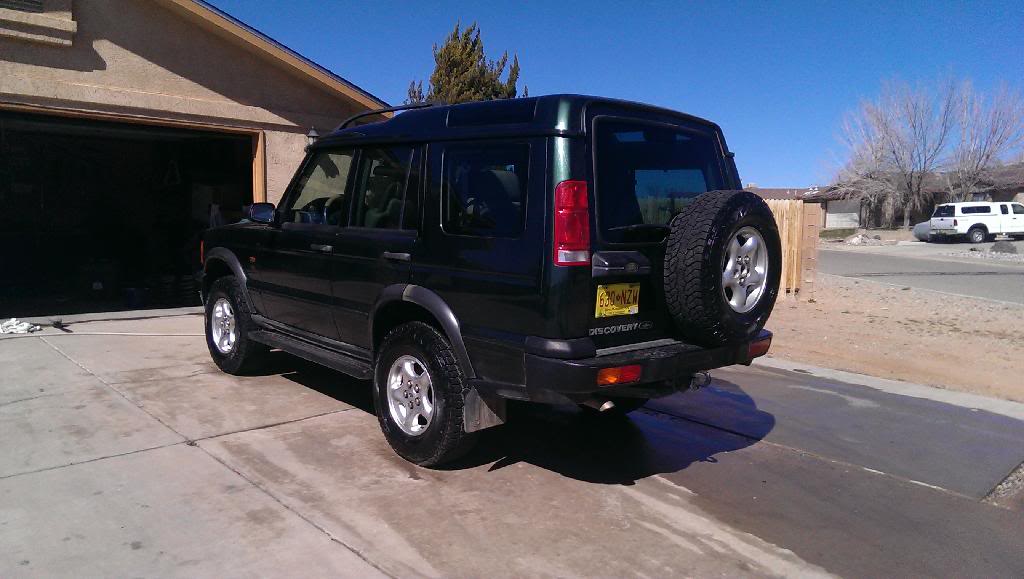


Last edited by SGT Disco II; 03-18-2014 at 12:38 AM.
#23
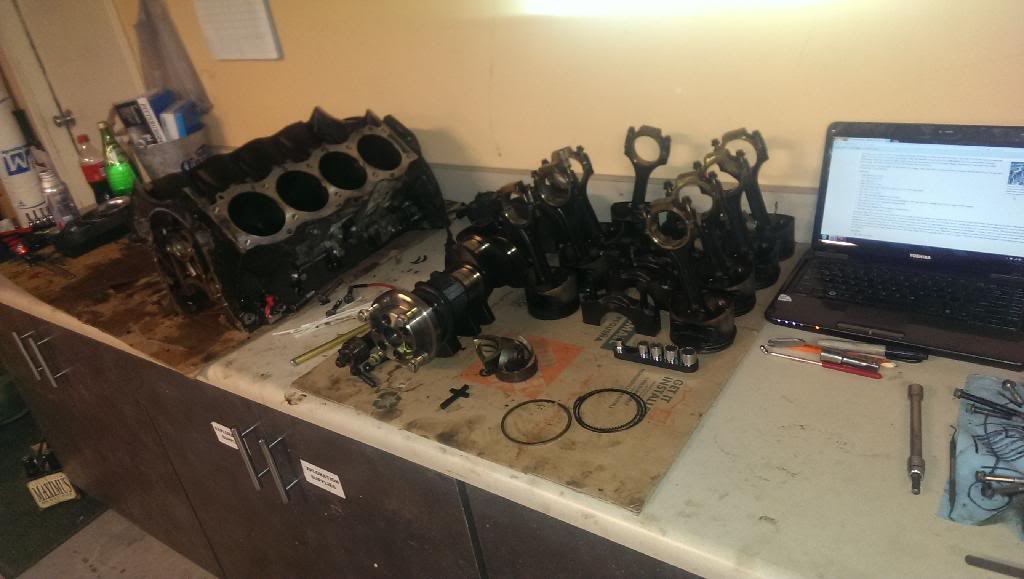
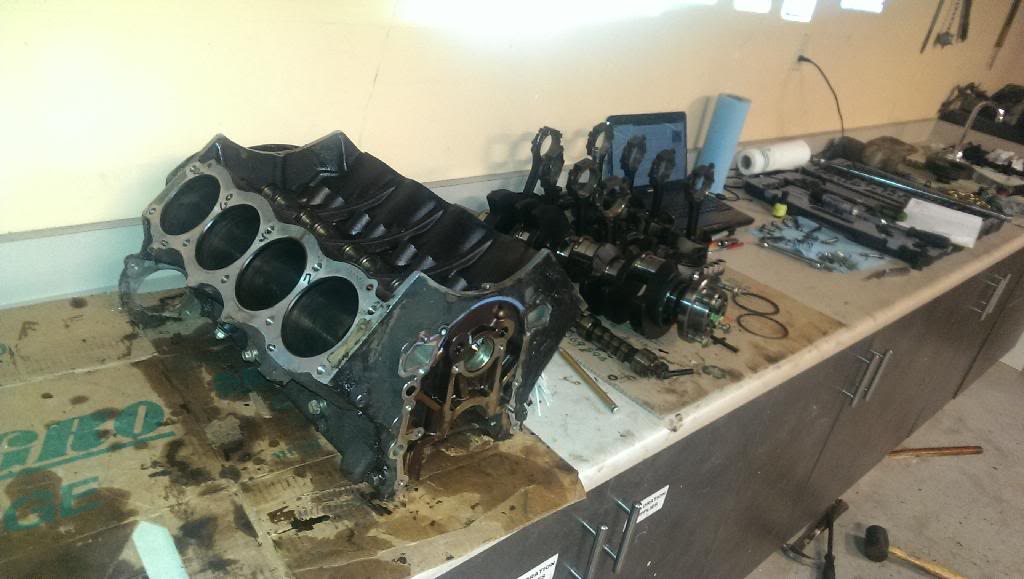
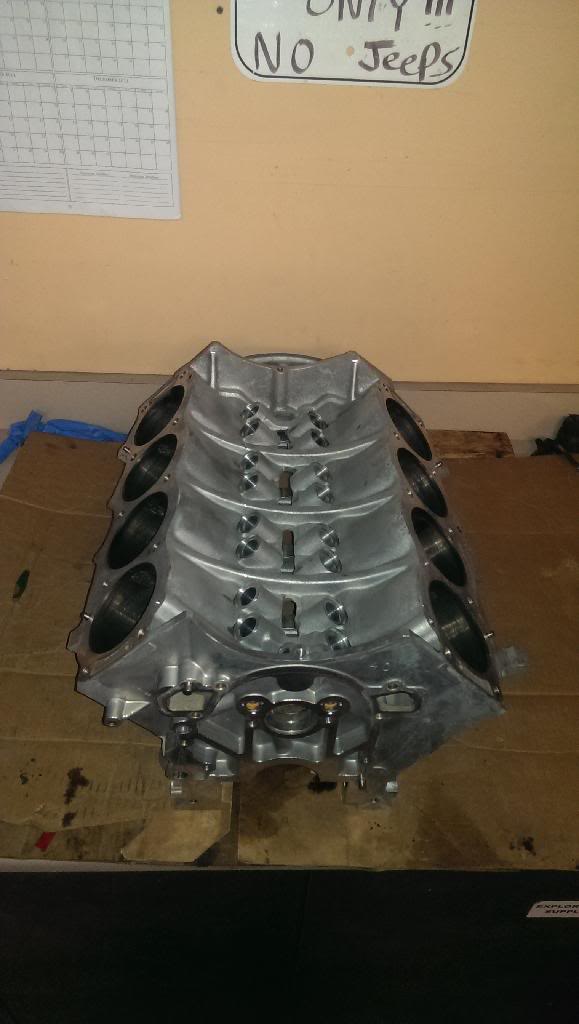
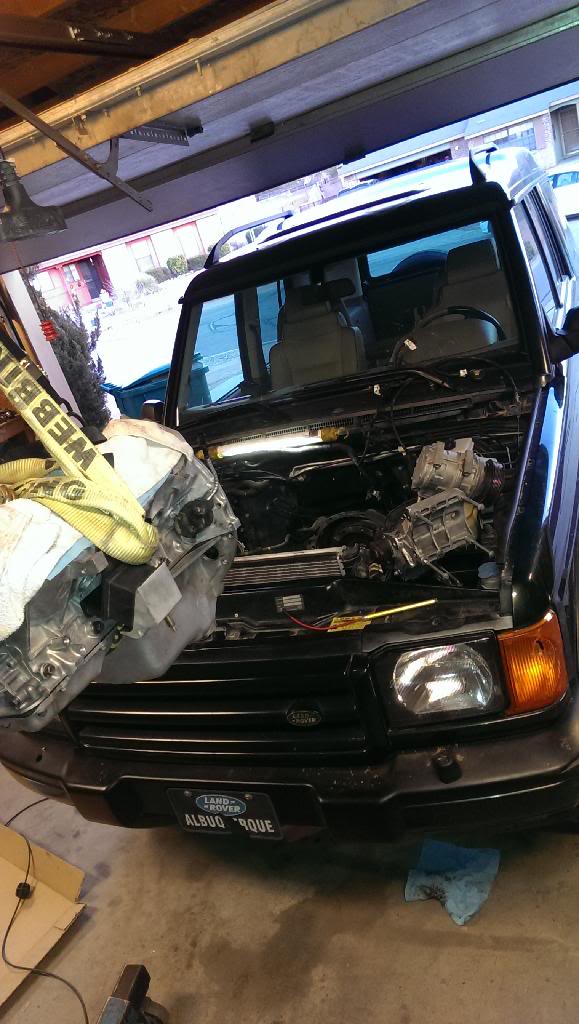
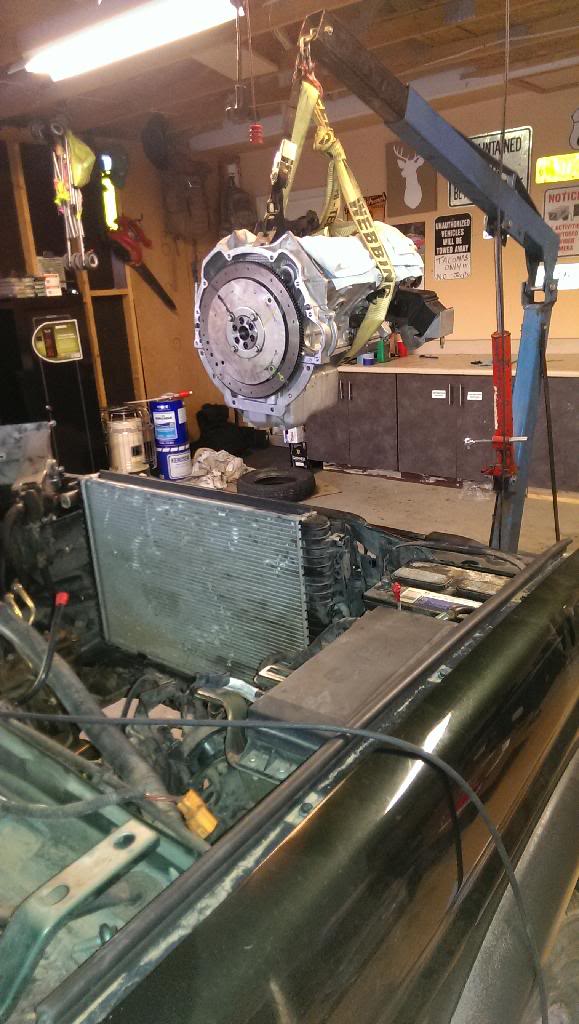
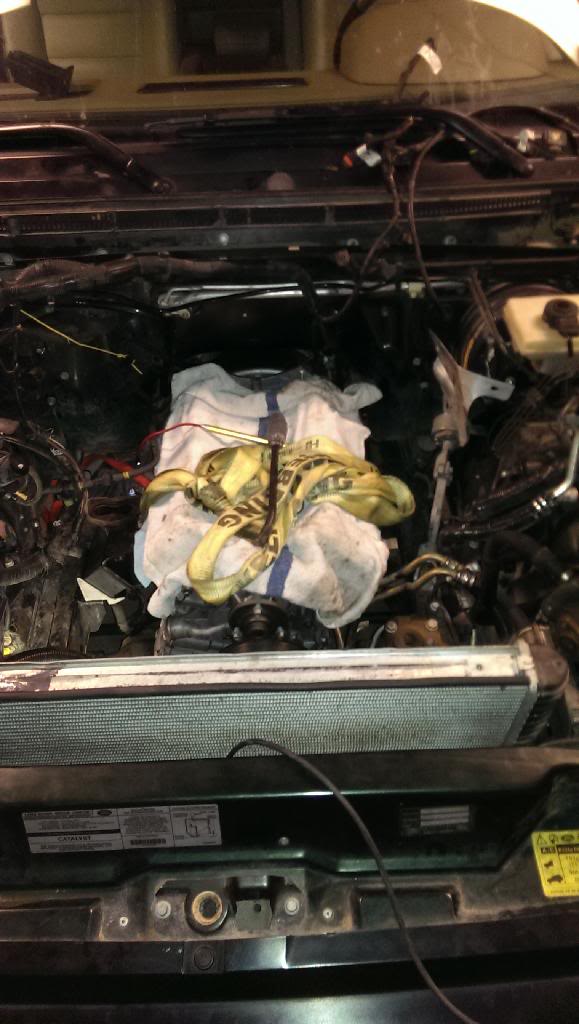
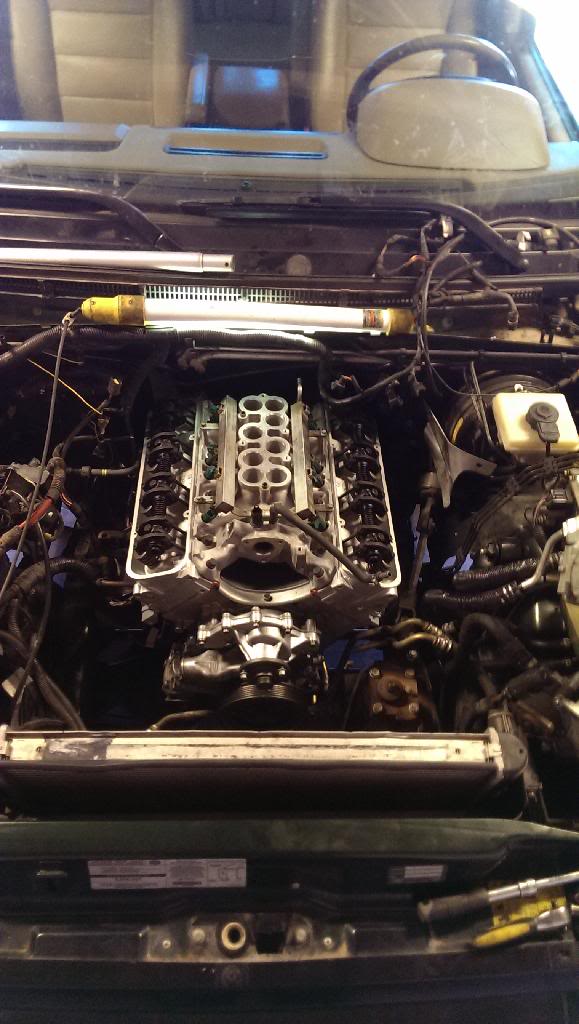
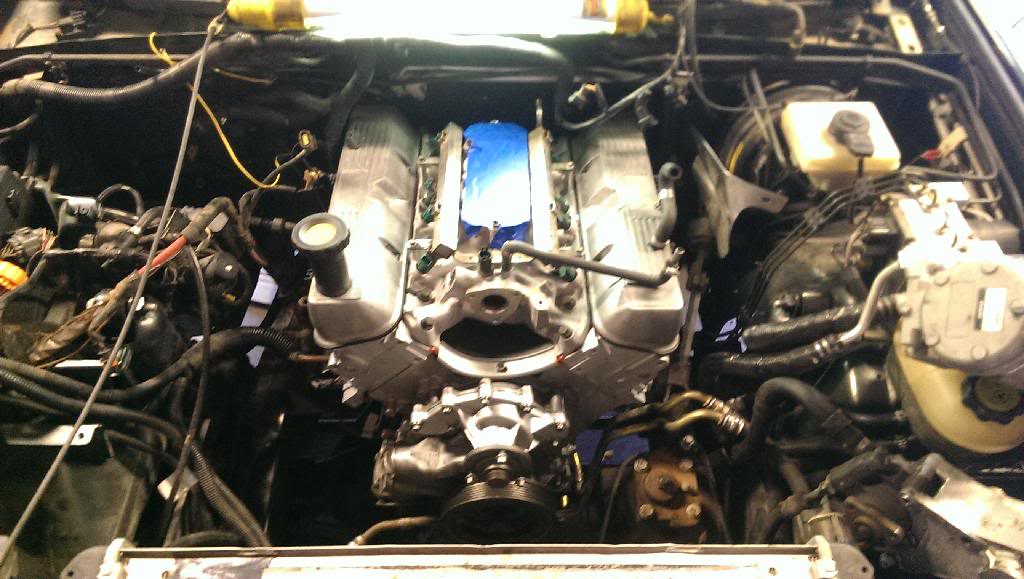
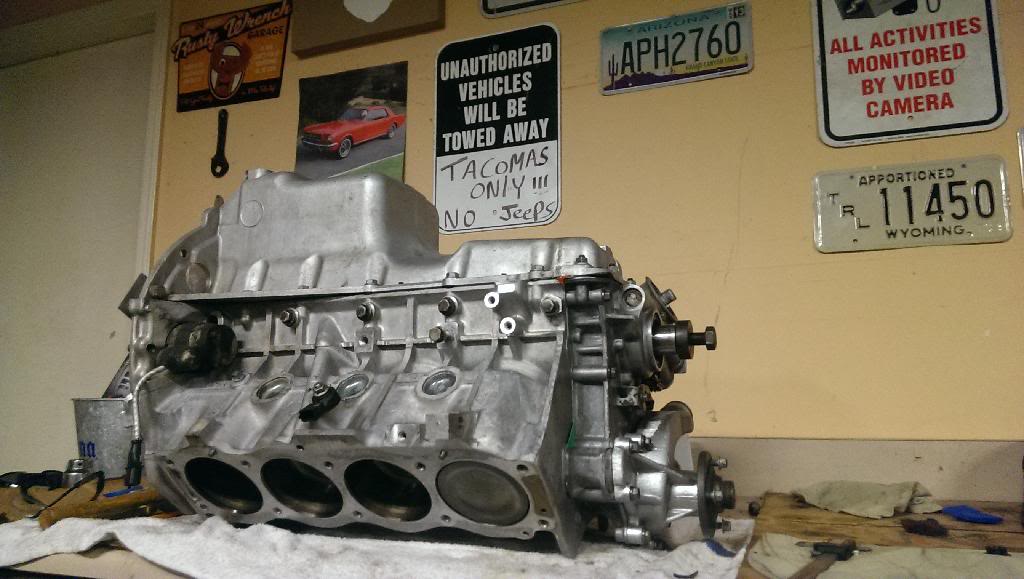
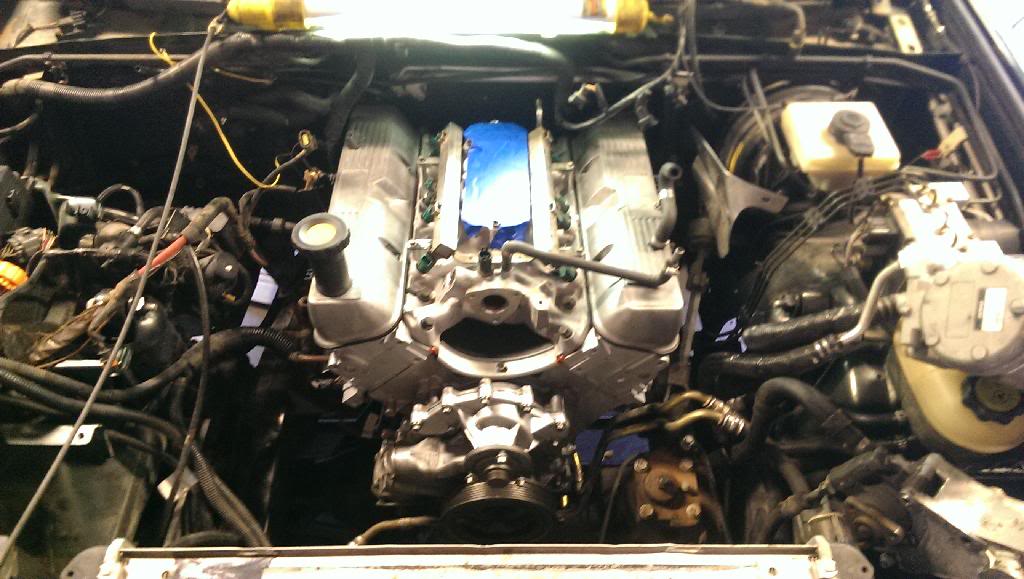
All right guys finally got some time since i got back from my place in WY (with no internet) here are some of the first pics of the truck while i am rebuilding the engine...
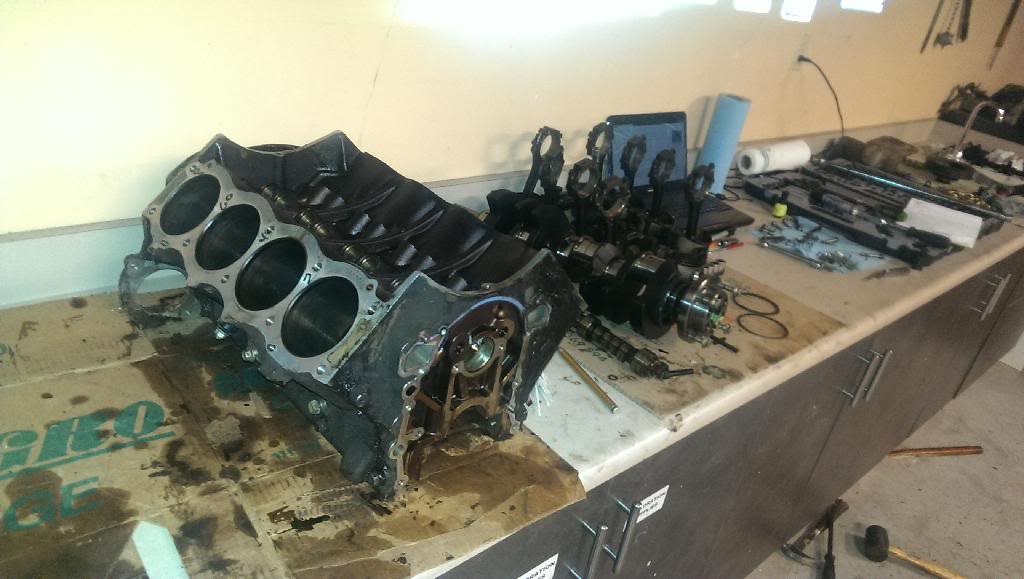
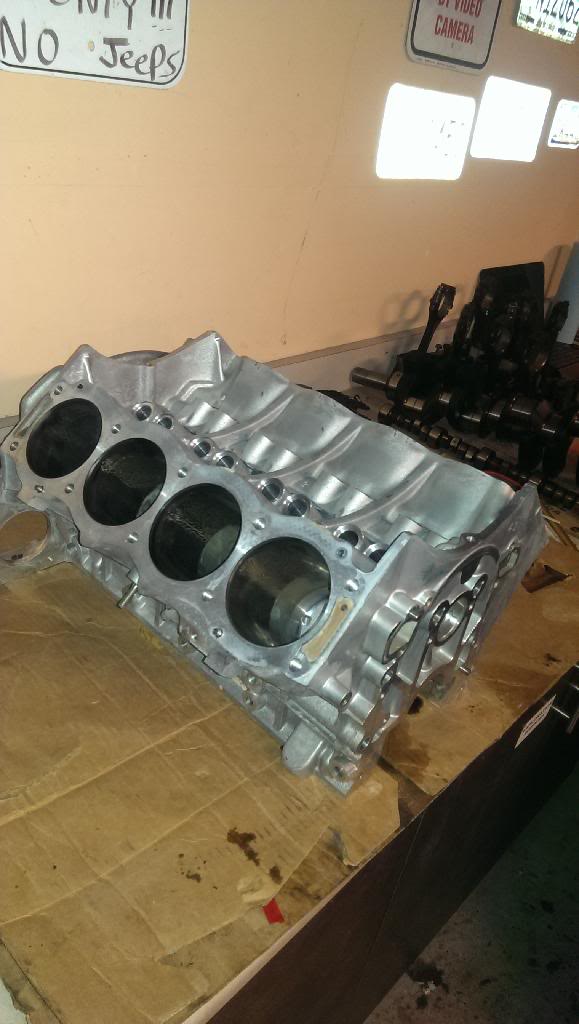
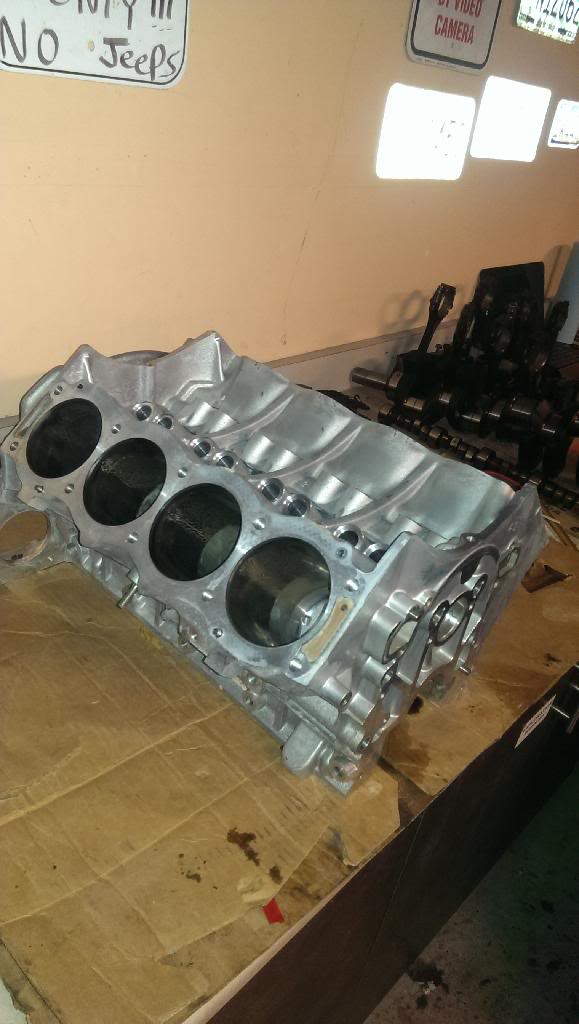
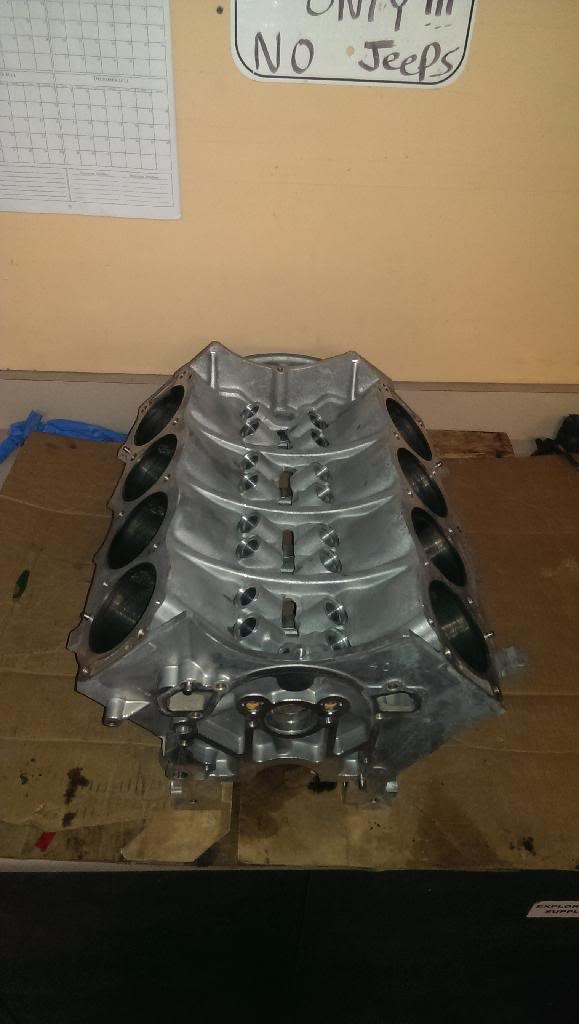
Cleaned up very well, no machining needed on the block. cylinder walls looked really good, cross hatching was still present. There was only one place on one wall that had a bit of skirt rub from built up carbon, no refinishing needed.
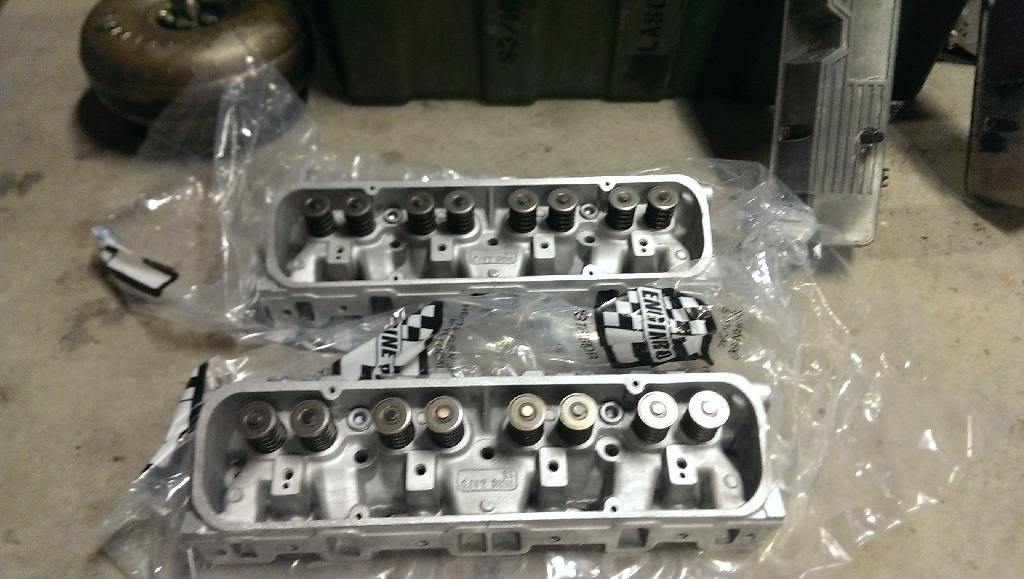
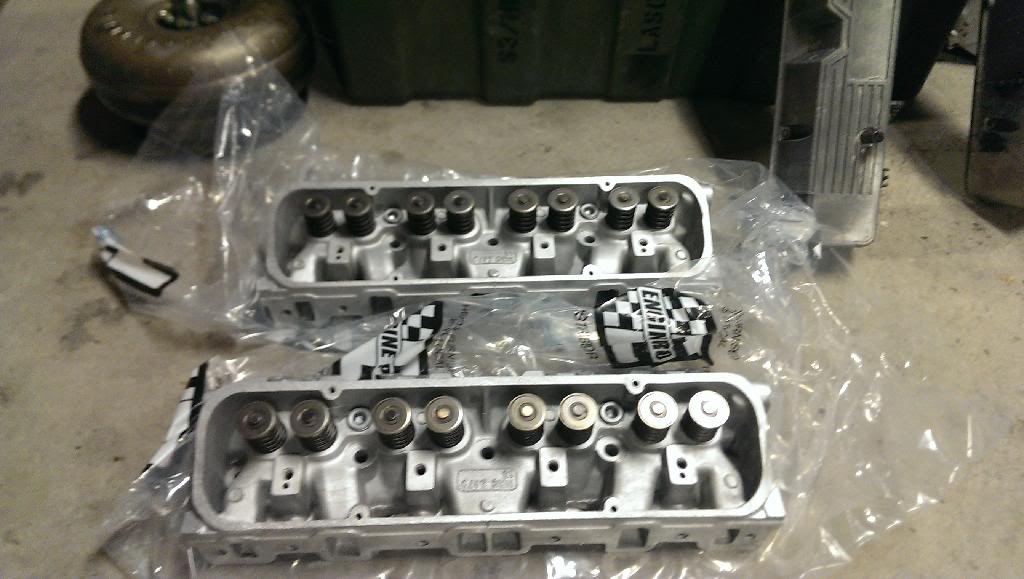
Heads needed .002" and .003" taken off due to warpage. All new springs, new seals and had the seats ground.
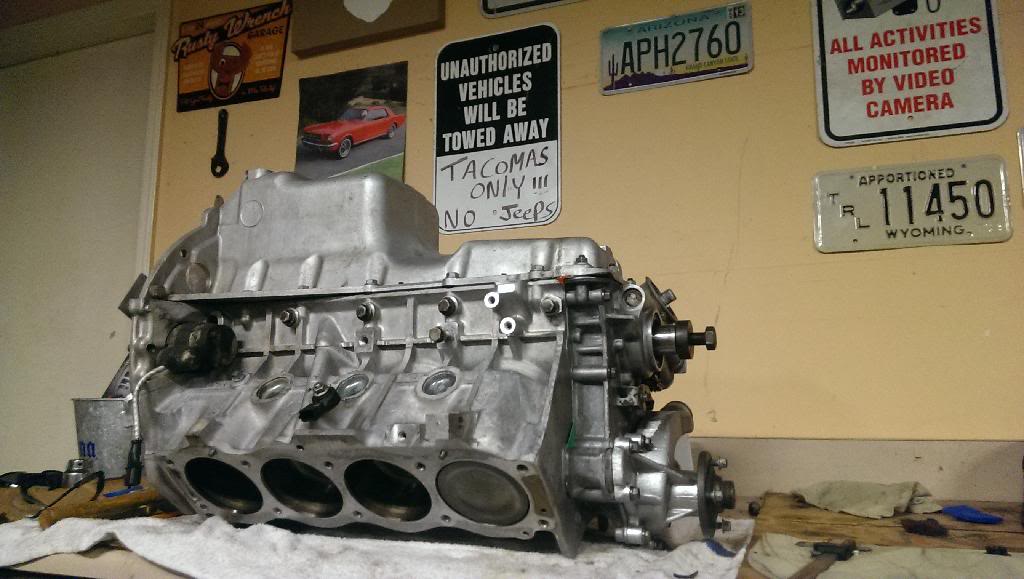
All new seals, bearings, mounts and water pump. Had to make alignment tools for the block to oil pan... screw paying $55 for a Land Rover tool that i will use only once (knock on wood).
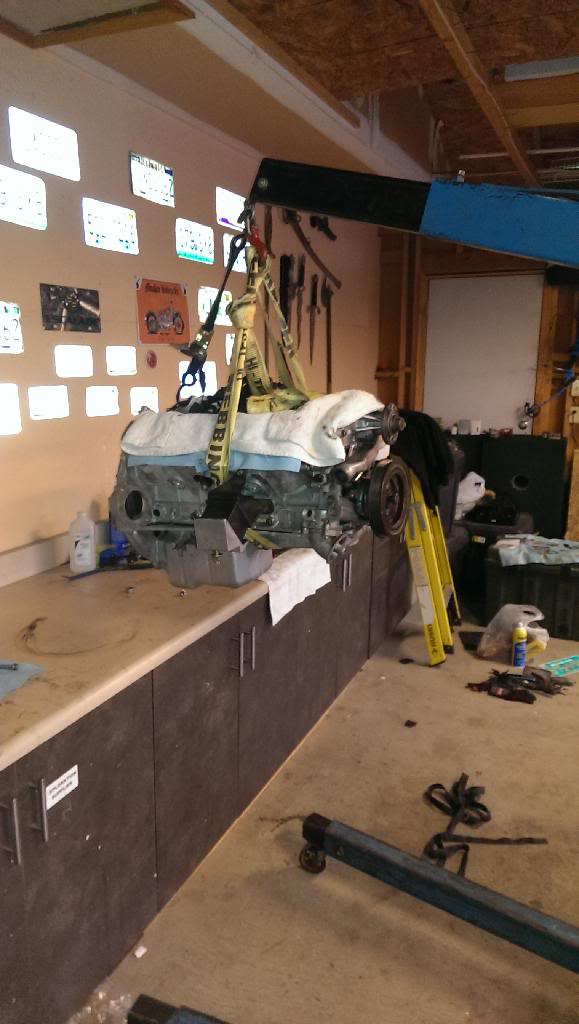
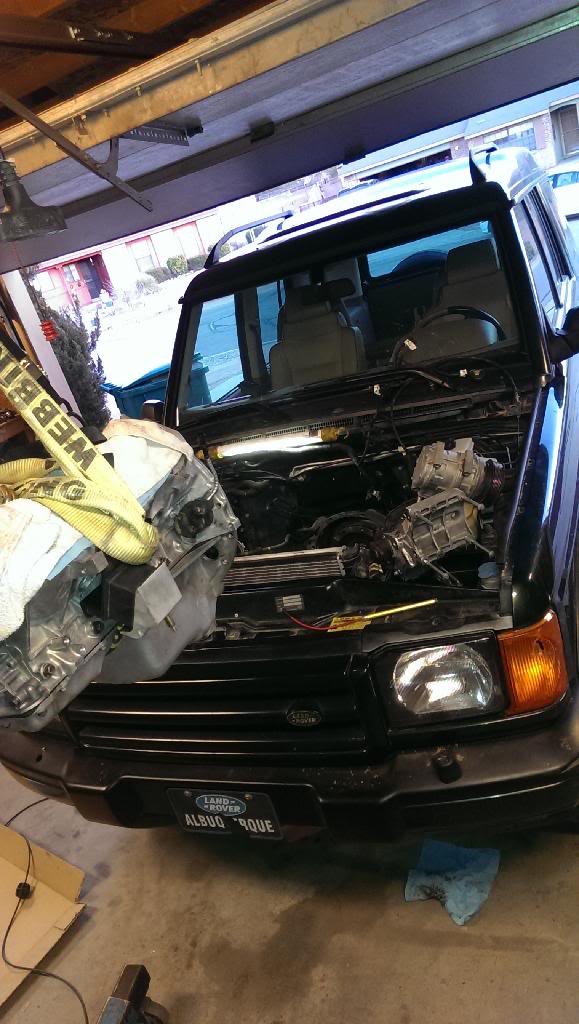
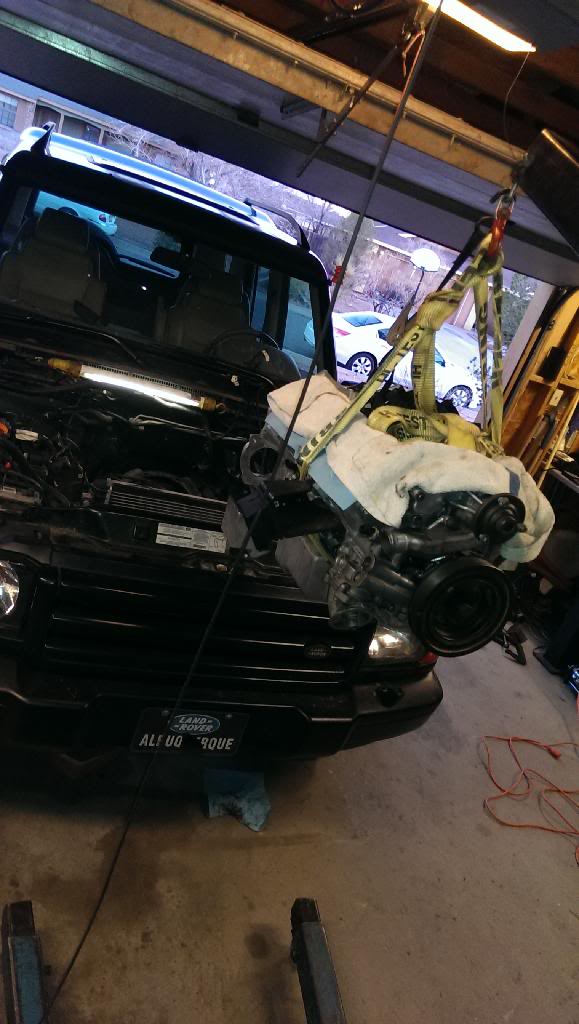
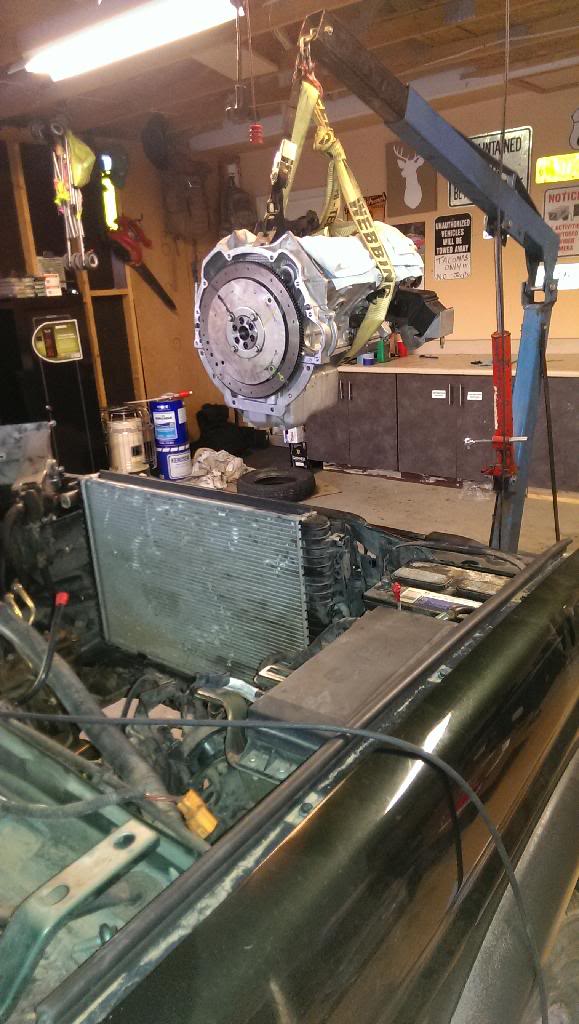
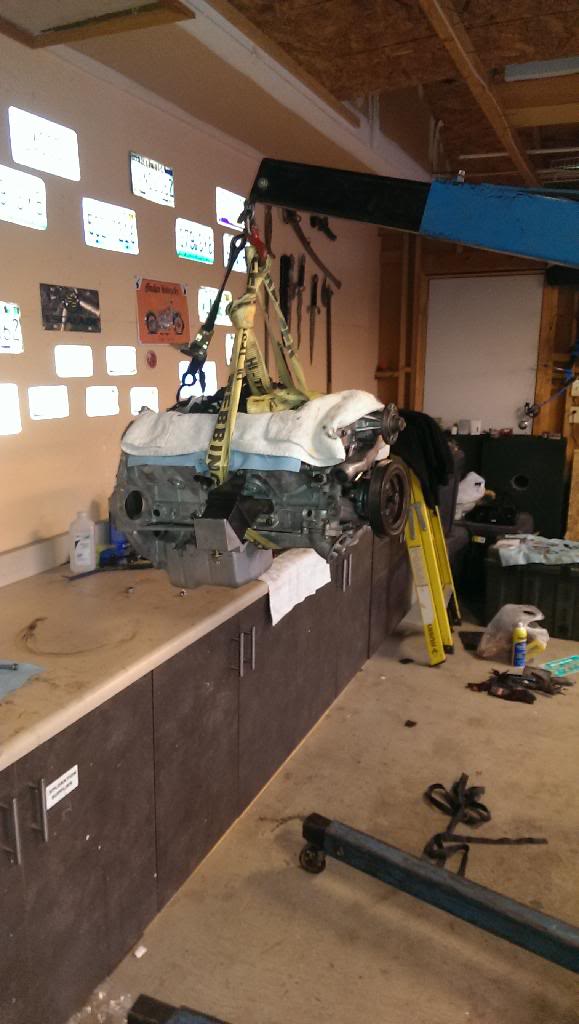
Got lucky with the tork converter alignment, went in really easy. I must have hit the radiator though because once it was all done, it was damaged, but i planned on replacing that soon any way. I ended up ordering a Nessmen radiator from Denmark because i did not want a cheap Chinese one, got a 80* T-stat while i was at it.
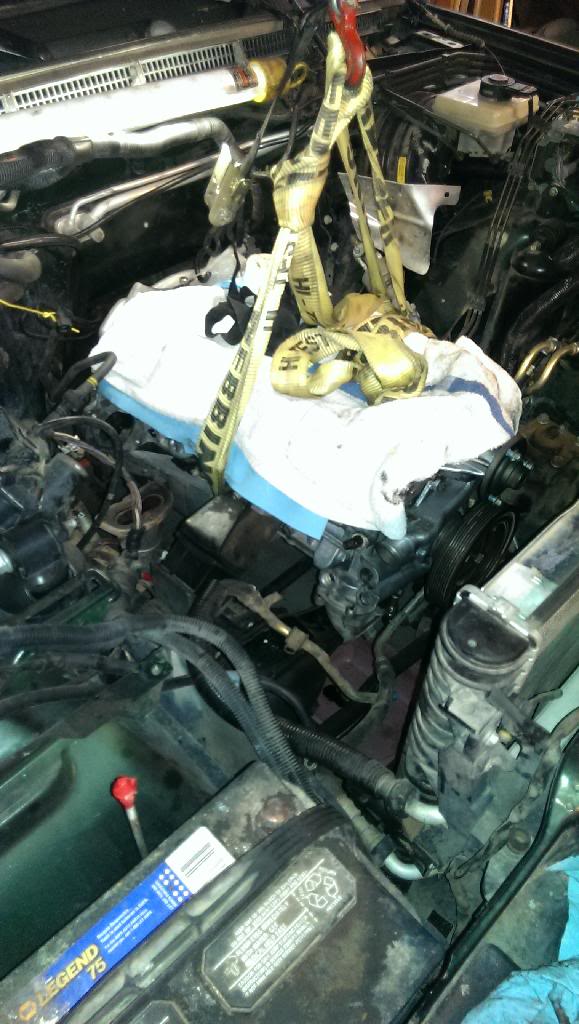
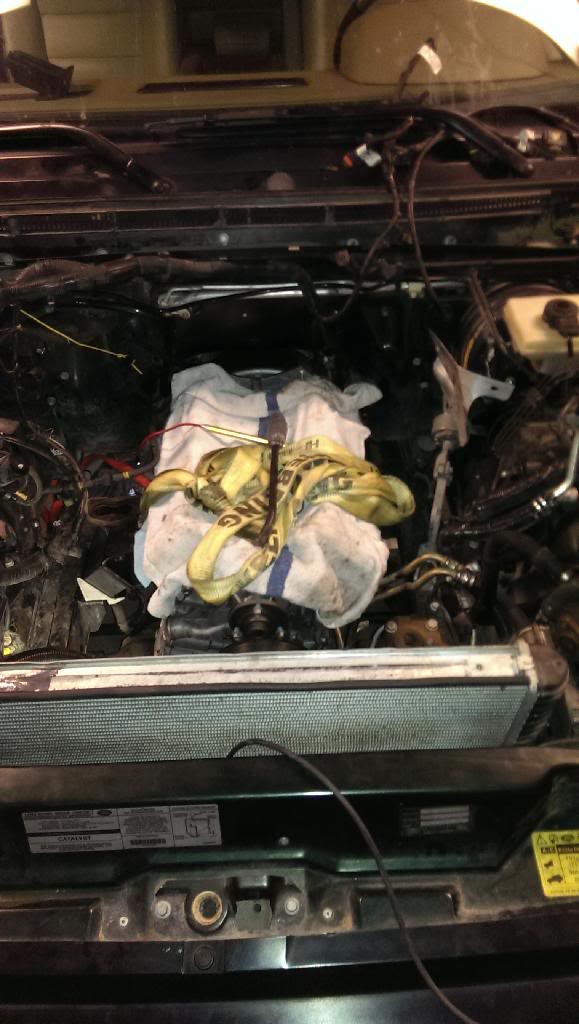
I got the fuel injector rebuild kit and rebuilt them all. All looked good, except one had quit a bit of build up of some kind of sludge, wish i would have paid attention to where each one came from... ohh well there not hard to get to.
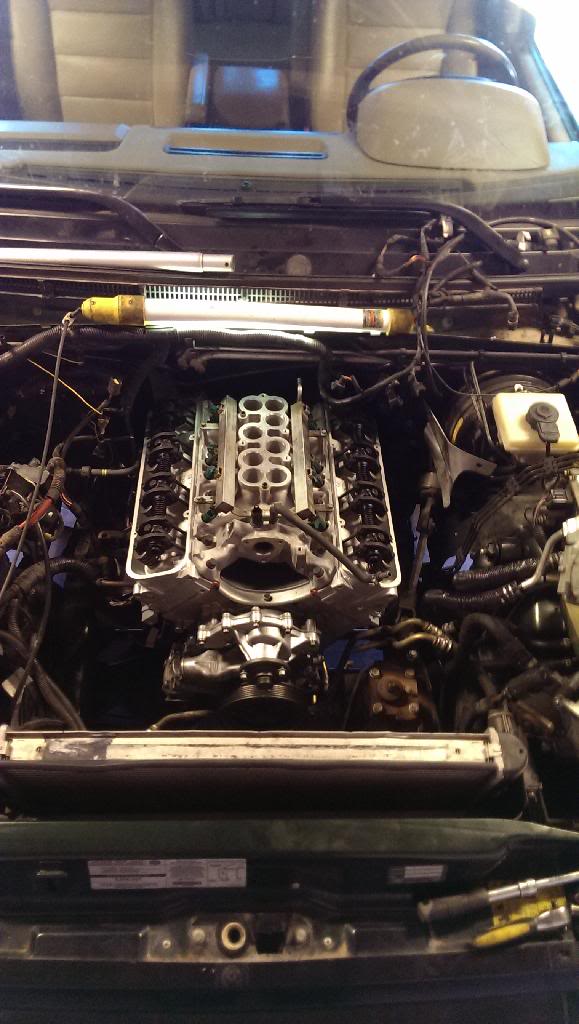
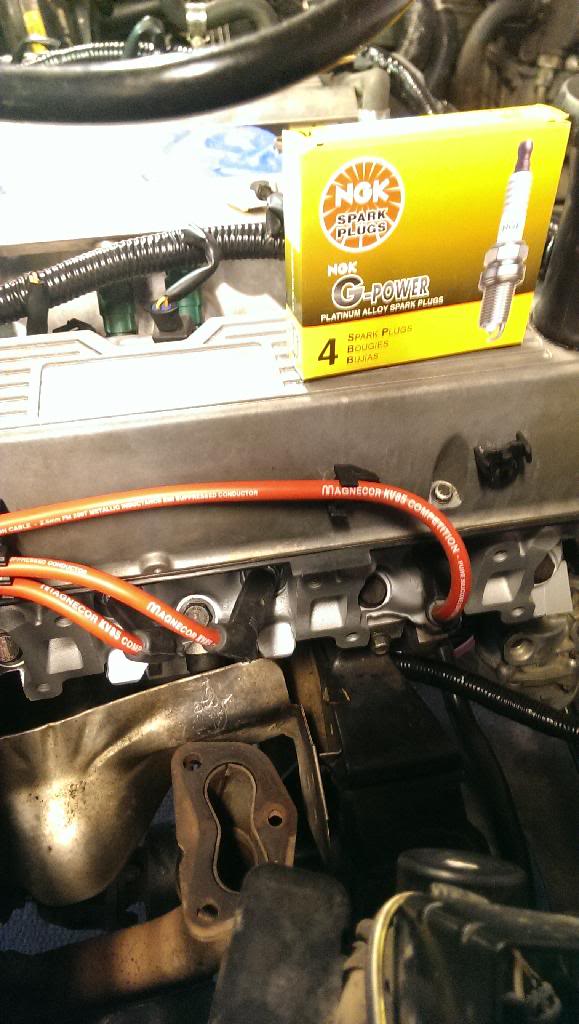
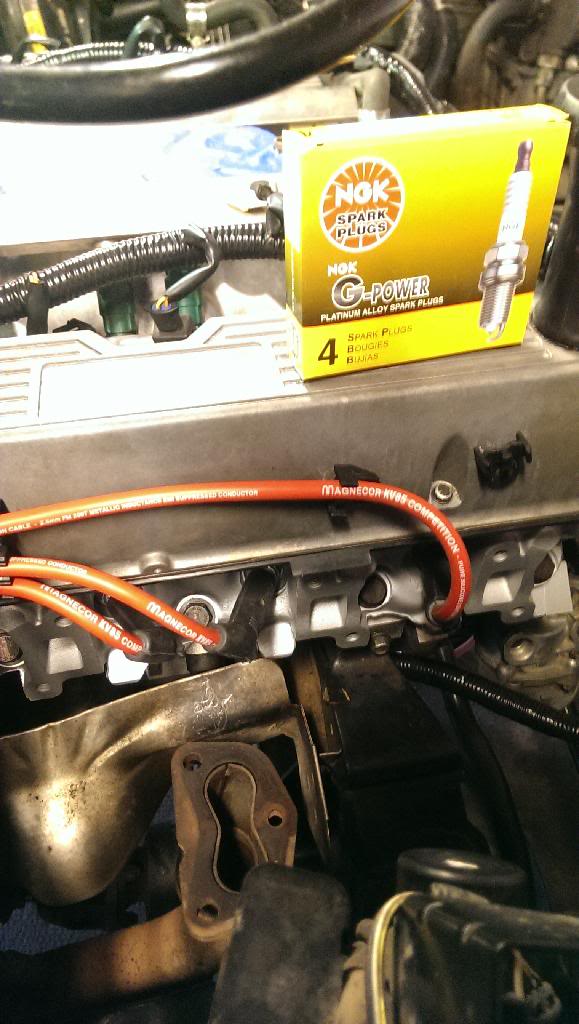
Got the Magnecore KV-85 8.5mm wires...


Cleaned up very well, no machining needed on the block. cylinder walls looked really good, cross hatching was still present. There was only one place on one wall that had a bit of skirt rub from built up carbon, no refinishing needed.

Heads needed .002" and .003" taken off due to warpage. All new springs, new seals and had the seats ground.

All new seals, bearings, mounts and water pump. Had to make alignment tools for the block to oil pan... screw paying $55 for a Land Rover tool that i will use only once (knock on wood).


Got lucky with the tork converter alignment, went in really easy. I must have hit the radiator though because once it was all done, it was damaged, but i planned on replacing that soon any way. I ended up ordering a Nessmen radiator from Denmark because i did not want a cheap Chinese one, got a 80* T-stat while i was at it.


I got the fuel injector rebuild kit and rebuilt them all. All looked good, except one had quit a bit of build up of some kind of sludge, wish i would have paid attention to where each one came from... ohh well there not hard to get to.


Got the Magnecore KV-85 8.5mm wires...

Last edited by SGT Disco II; 03-18-2014 at 09:38 PM.
#26
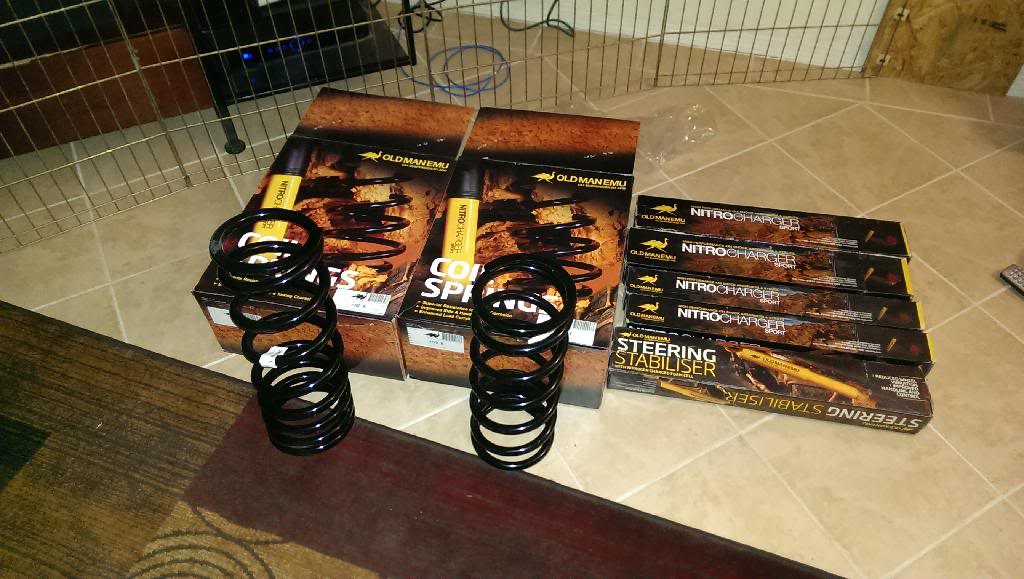
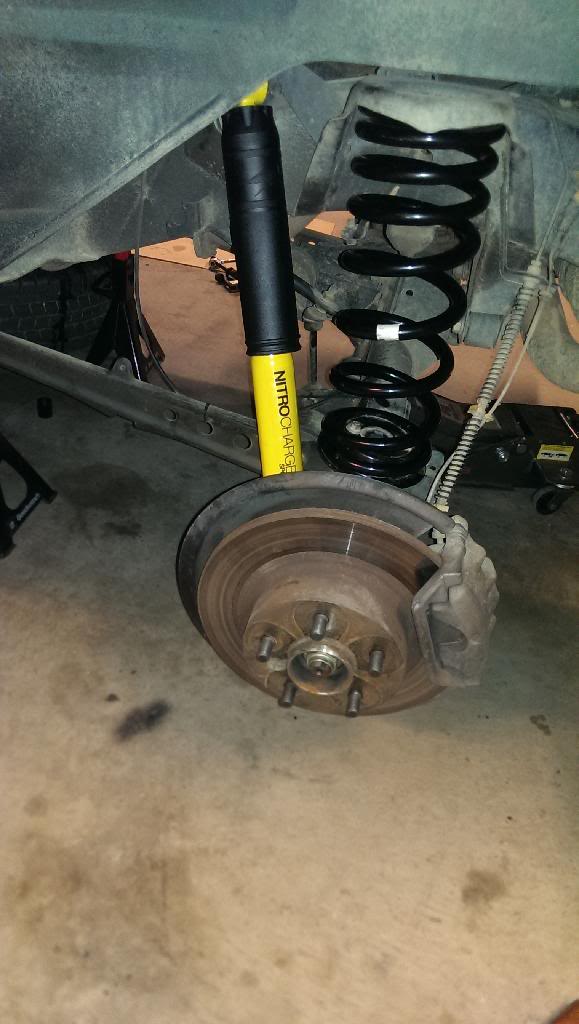
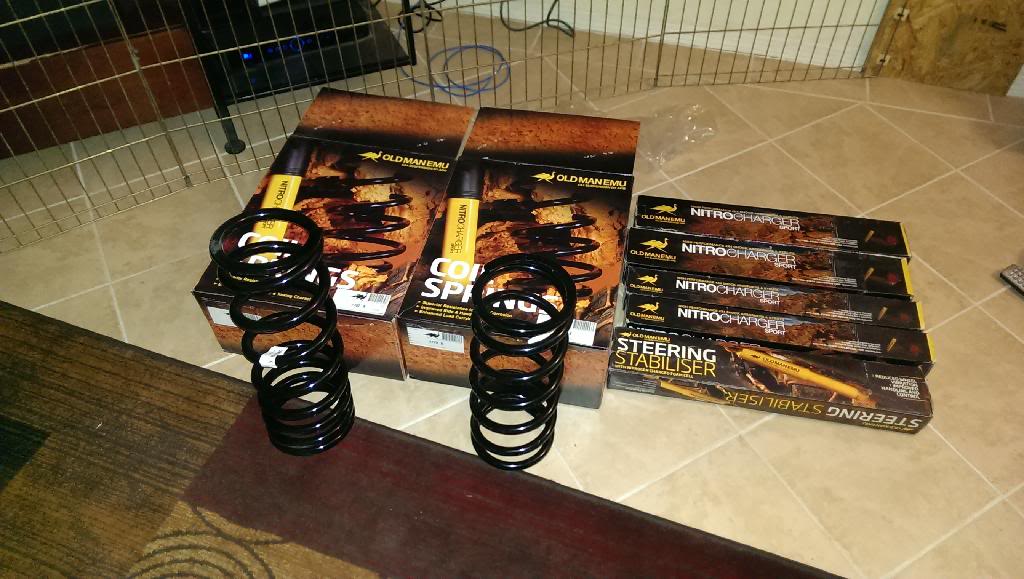
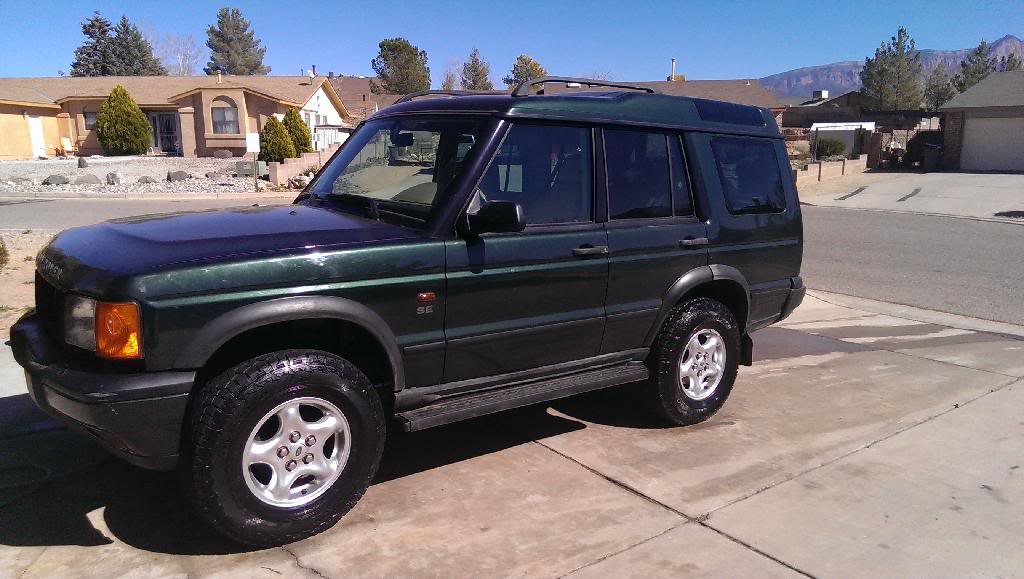
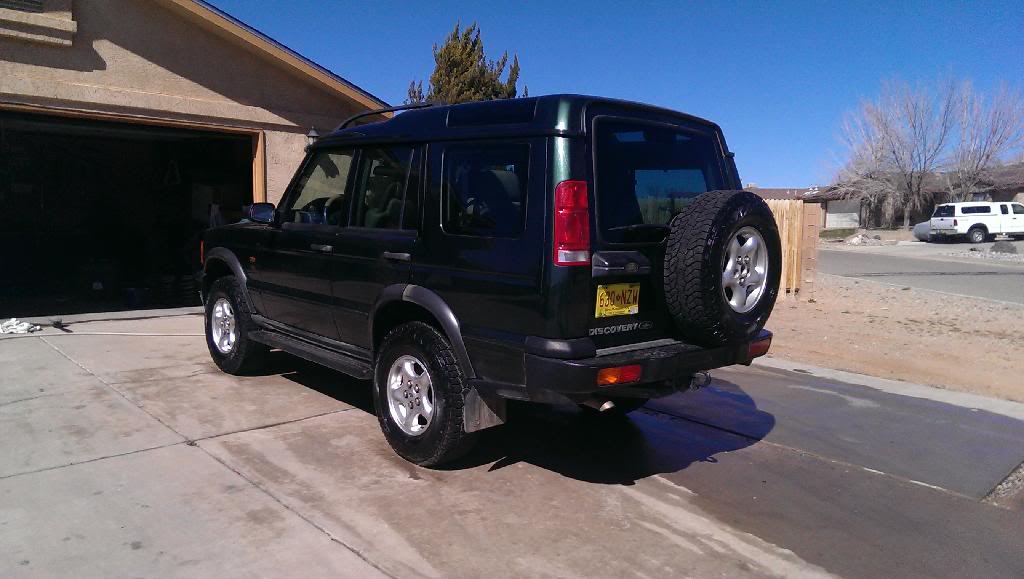
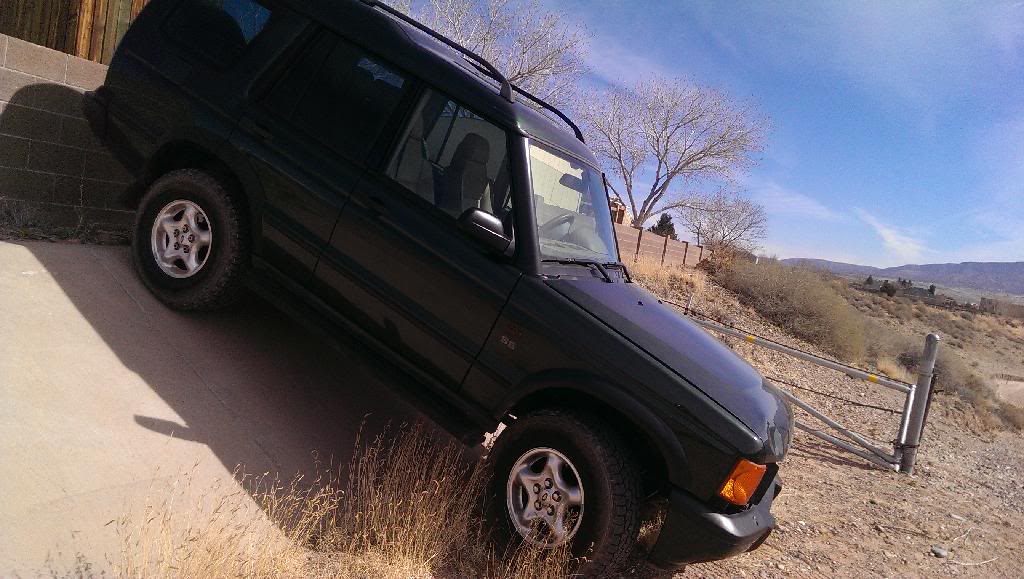
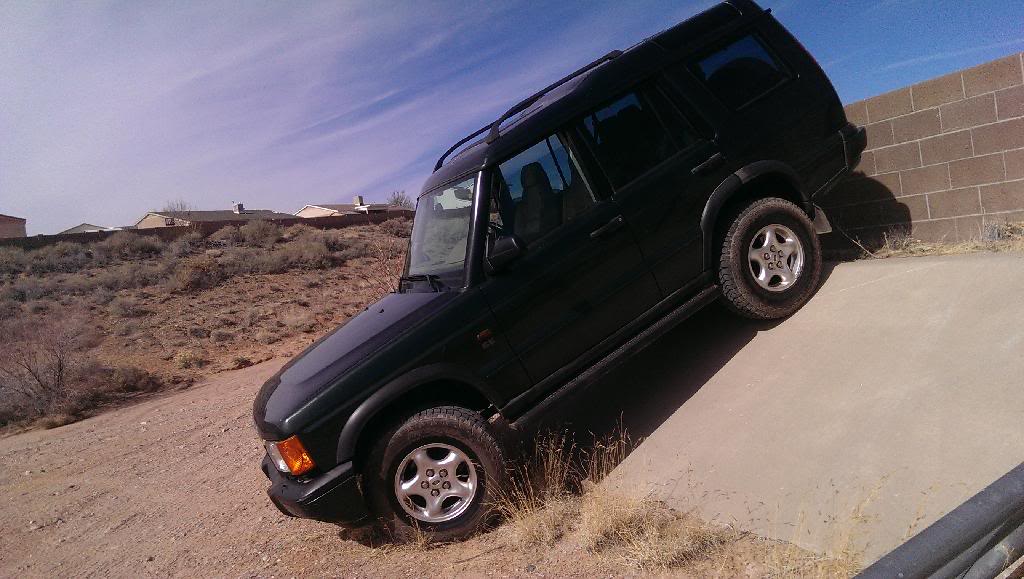
Got my full OME suspension. I went with the HD coils front rear, and made sure to get the Nitro sport shocks because one of the places i was getting a low quote from tried to get rid of the older non sport... pays to ask questions.
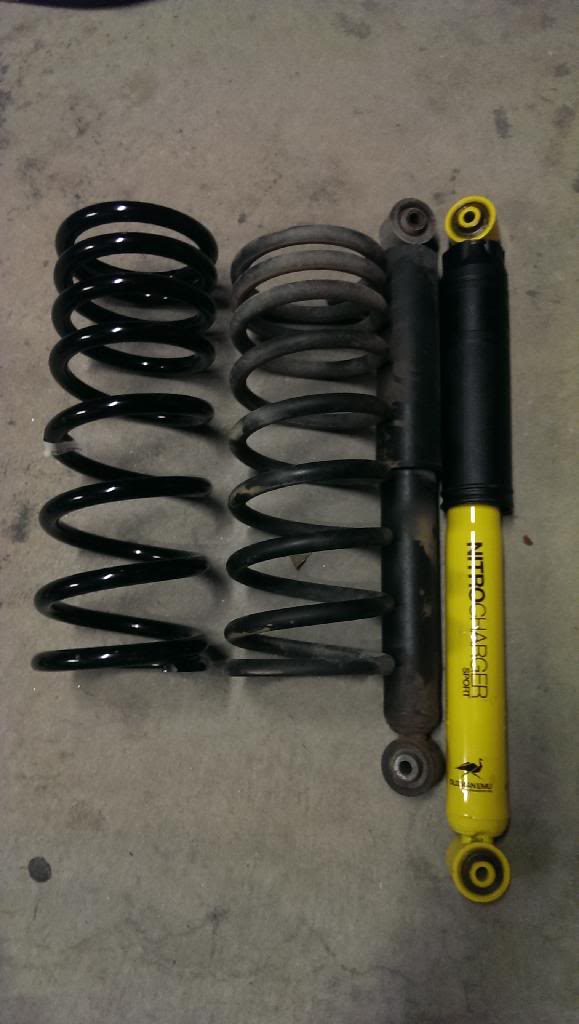
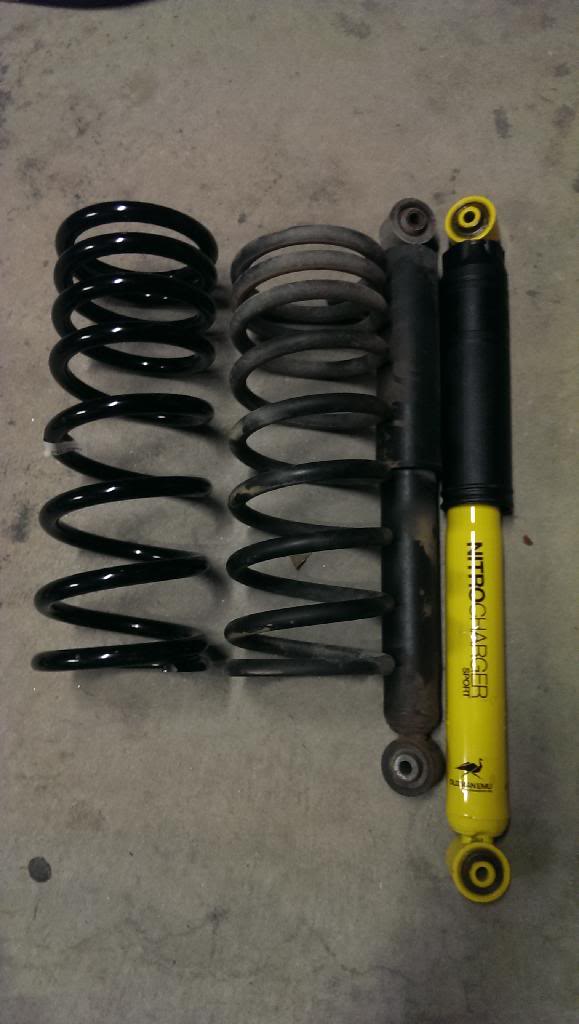
Got the extended length shocks... just need some longer ss break lines now.
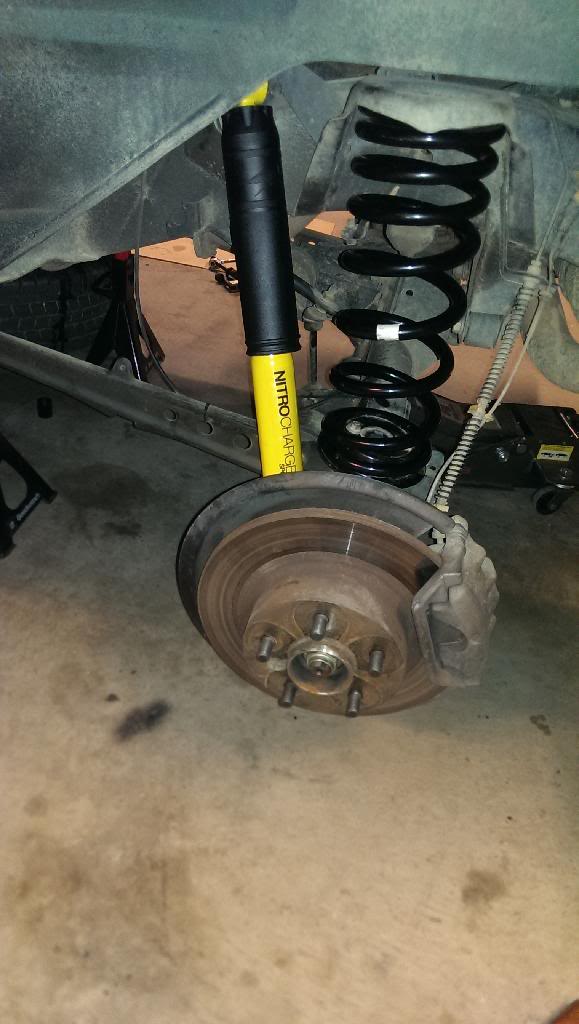
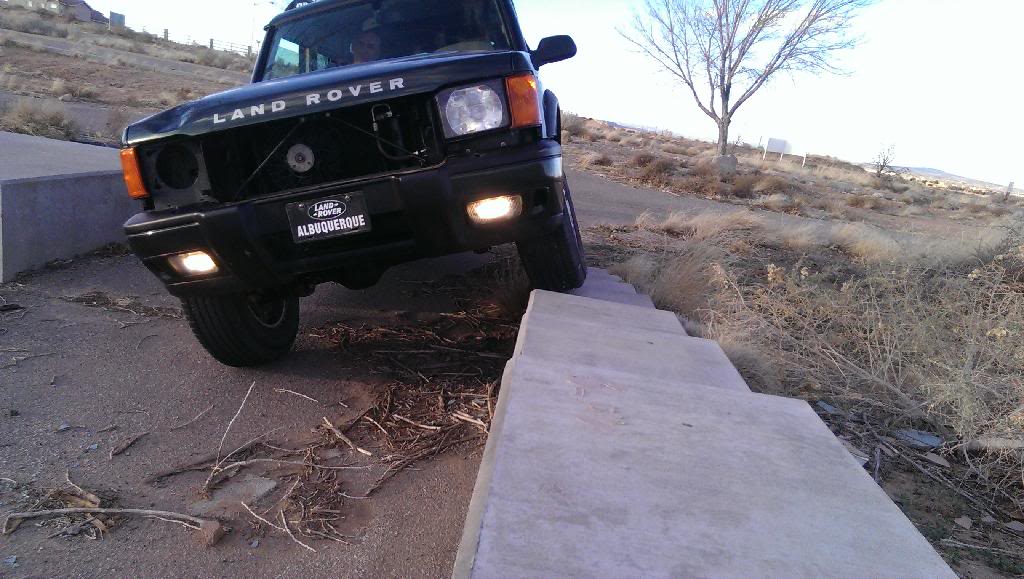
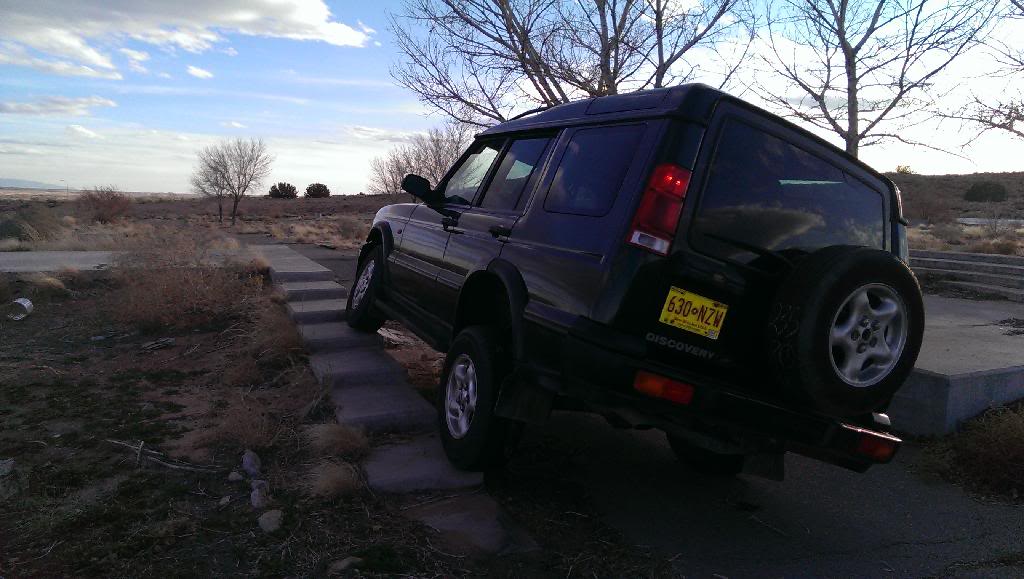
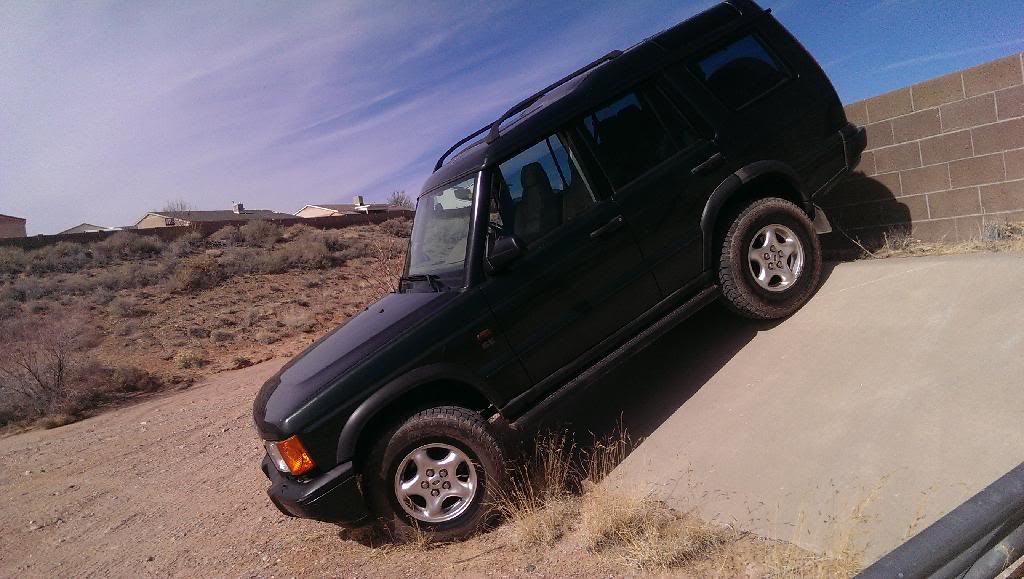
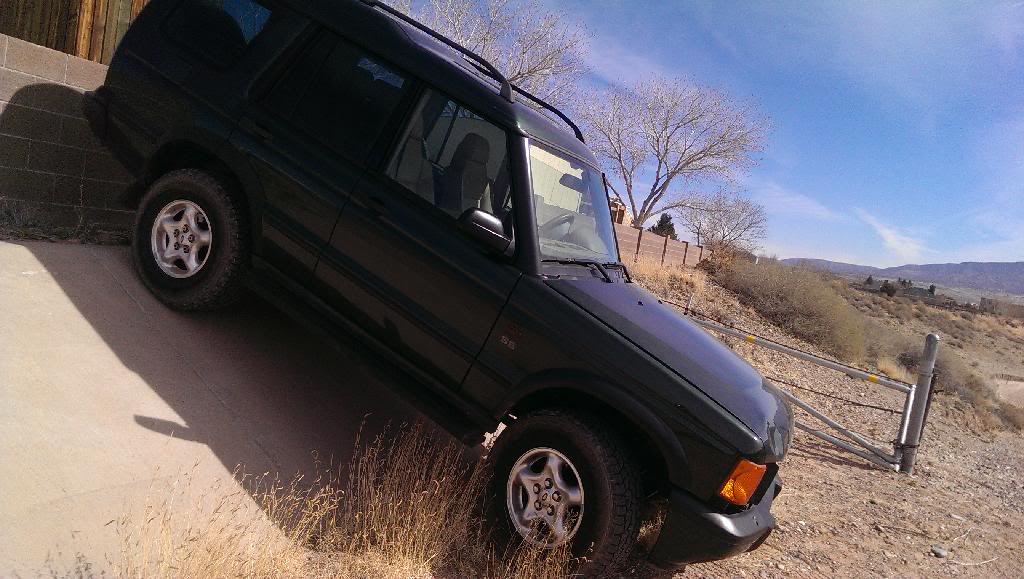
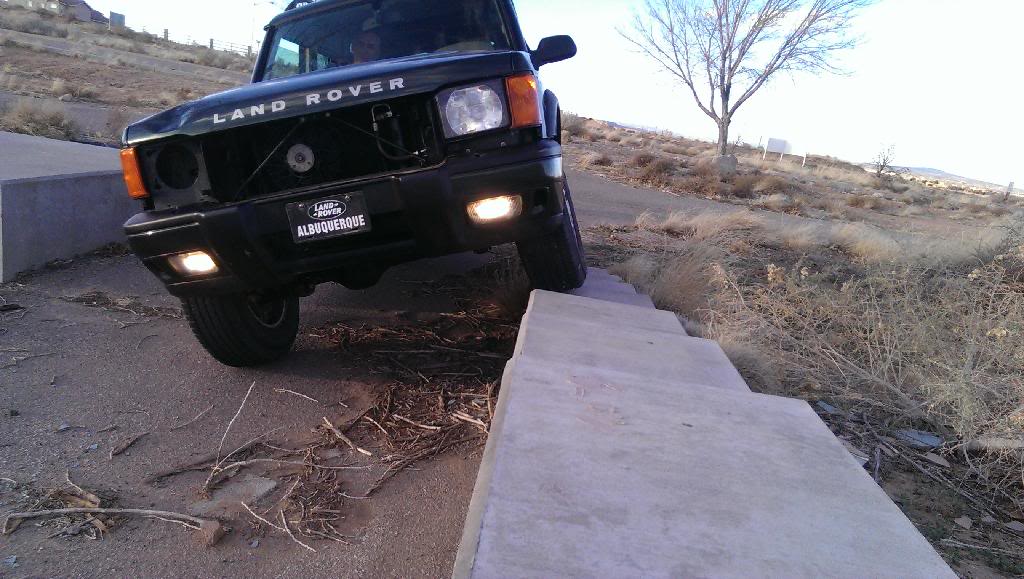
Had to try them out a bit, cant wait till they get worked in a bit.
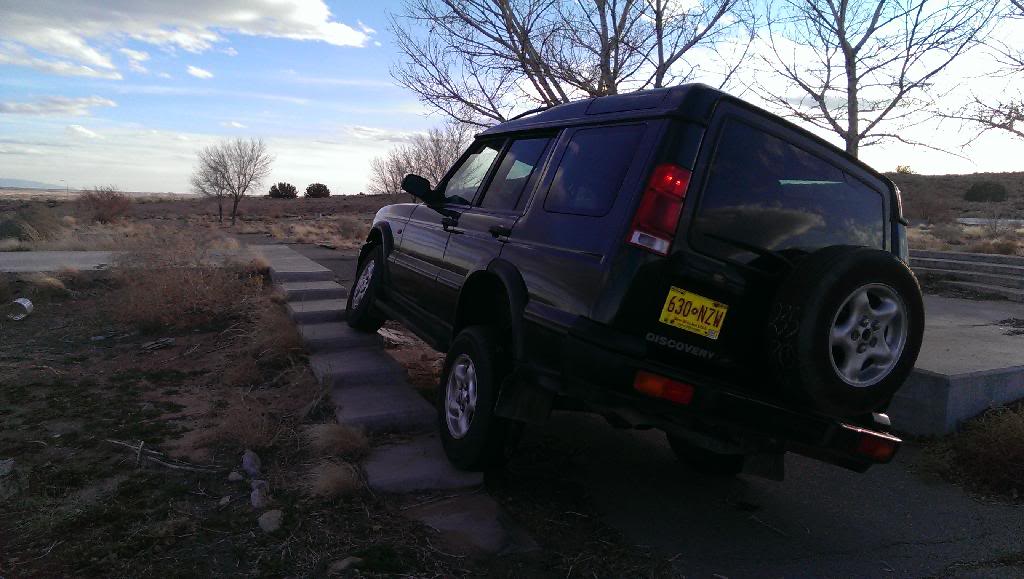
could not take it out to where i wanted to with the old tires still on it
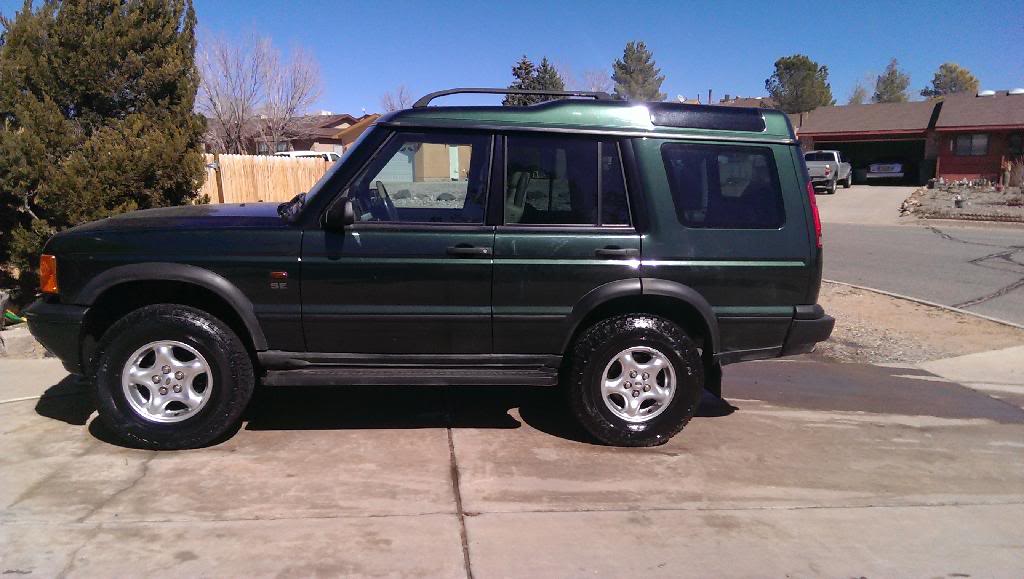
Got the new Hancook Dyna Pro ATM's in the 265-75R16 size... wish i could go bigger but alot of guys say thats the biggest you would want to go with out re gearing.

Got the extended length shocks... just need some longer ss break lines now.


Had to try them out a bit, cant wait till they get worked in a bit.

could not take it out to where i wanted to with the old tires still on it

Got the new Hancook Dyna Pro ATM's in the 265-75R16 size... wish i could go bigger but alot of guys say thats the biggest you would want to go with out re gearing.


Last edited by SGT Disco II; 03-18-2014 at 09:47 PM.
#27
I know... it cleaned up very well! It almost looked like a cast steel block that was painted black.
This is the first time working on a Rover... I just read the whole overhaul section from the Rave manual first. It really is mostly straight forward.
I will keep taking pics, i have not taken any real good ones of the engine compartment yet because i need a new fan shroud, and other plastic covers...
I will keep taking pics, i have not taken any real good ones of the engine compartment yet because i need a new fan shroud, and other plastic covers...
#29
This is the first time working on a Rover... I just read the whole overhaul section from the Rave manual first. It really is mostly straight forward.
I will keep taking pics, i have not taken any real good ones of the engine compartment yet because i need a new fan shroud, and other plastic covers...
I will keep taking pics, i have not taken any real good ones of the engine compartment yet because i need a new fan shroud, and other plastic covers...
You will never find a mechanic to touch a land rover!
Those BMW's are insanely complicated!
Meanwhile I have to remove an intake manifold from a domestic car just to access the spark plugs..
Its just nuts and bolts.


