Positive Battery cable gauge
#1
 03-11-2014, 12:08 AM


Join Date: Jan 2014
Location: Pittsburgh PA
Posts: 15
Likes: 0
Received 0 Likes
on
0 Posts
Hello does anyone know the gauge of the the 2 positive battery leads? the previous ower butchered the terminals off and put a top post and side mount terminal on the leads so I want to replace the terminals.
Thanks.
Sorry it's a 2000 Disco 2 incase the leads changed year to year
Thanks.
Sorry it's a 2000 Disco 2 incase the leads changed year to year
Last edited by new2rovers33; 03-11-2014 at 12:09 AM. Reason: more info
#2
03-11-2014, 06:50 AM

Baja
#3
03-11-2014, 05:27 PM

Hello does anyone know the gauge of the the 2 positive battery leads? the previous ower butchered the terminals off and put a top post and side mount terminal on the leads so I want to replace the terminals.
Thanks.
Sorry it's a 2000 Disco 2 incase the leads changed year to year
Thanks.
Sorry it's a 2000 Disco 2 incase the leads changed year to year
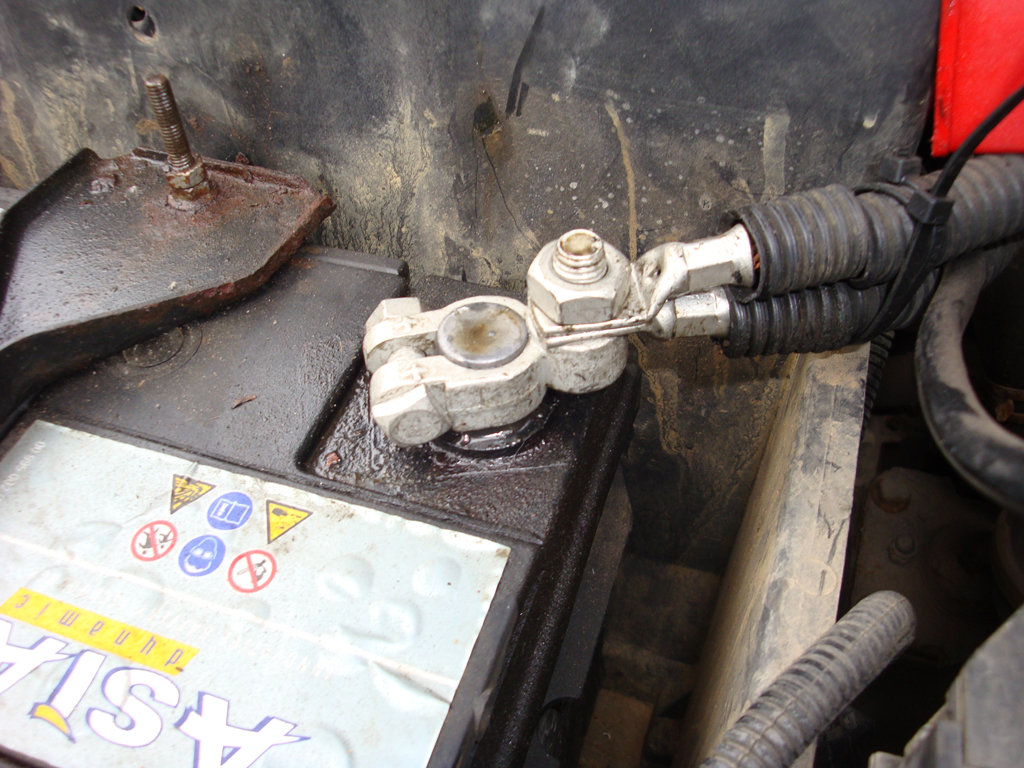
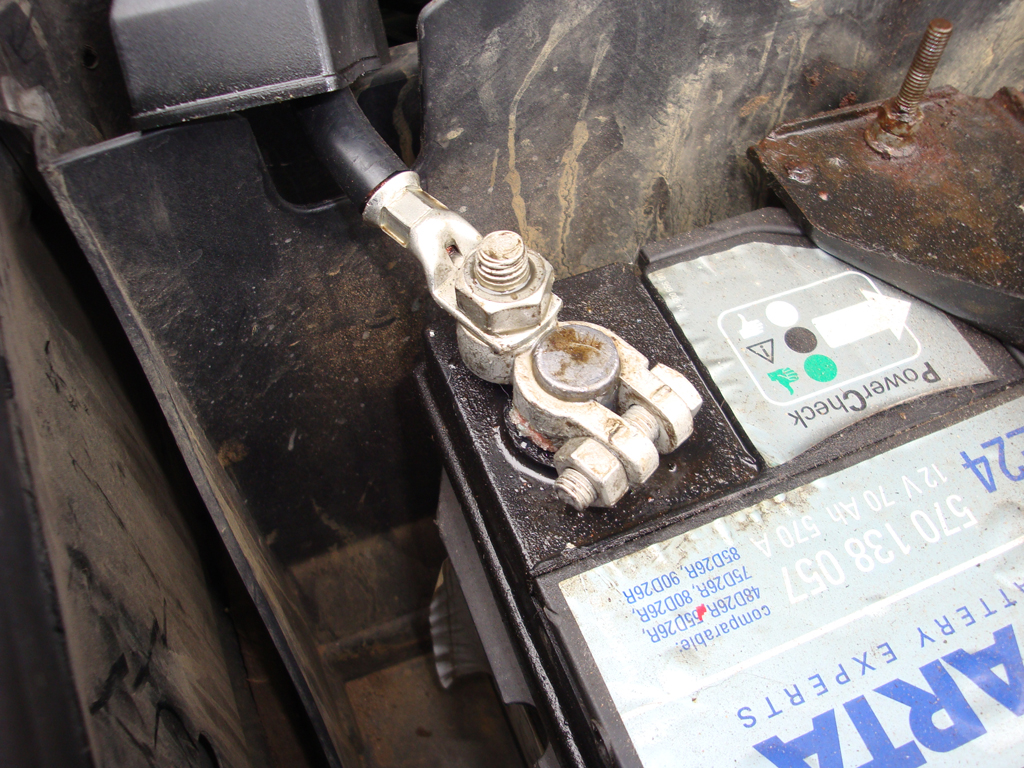
The gauges of the battery cables are metric -
40mm� for the battery to starter motor cable
30mm� for the battery to engine compartment fuse box cable
40mm� for the battery earth cable
The factory battery clamps are cr@p and work loose/stop tightening-up.
I replaced mine with copper lugs crimped on to the cables, and used battery clamps with an M10 threaded post.
Lives -
Earth -
Both -
With covers -
.
#4
03-11-2014, 08:38 PM

Baja
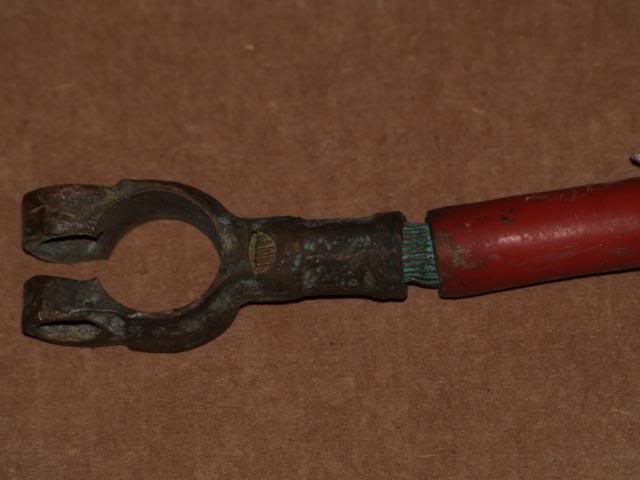
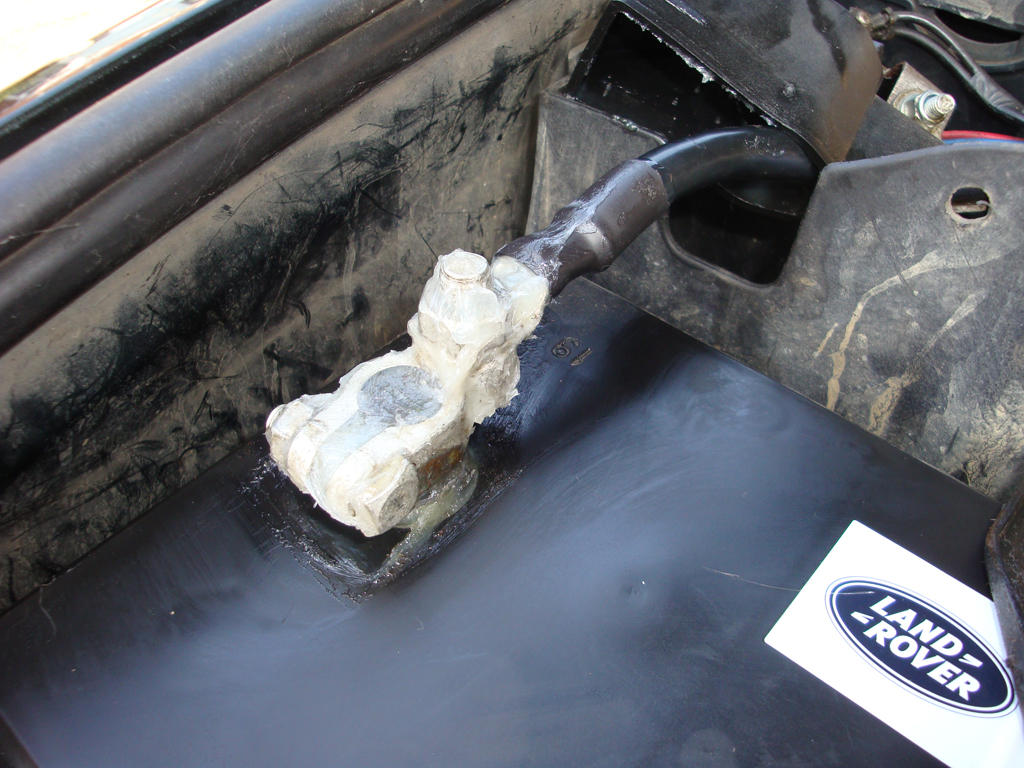
Otherwise the cables are going to end up looking like this
For the OP, here's an AWG to mm� conversion chart: AWG to square mm Wire Gauge Conversion
#5
03-11-2014, 08:53 PM
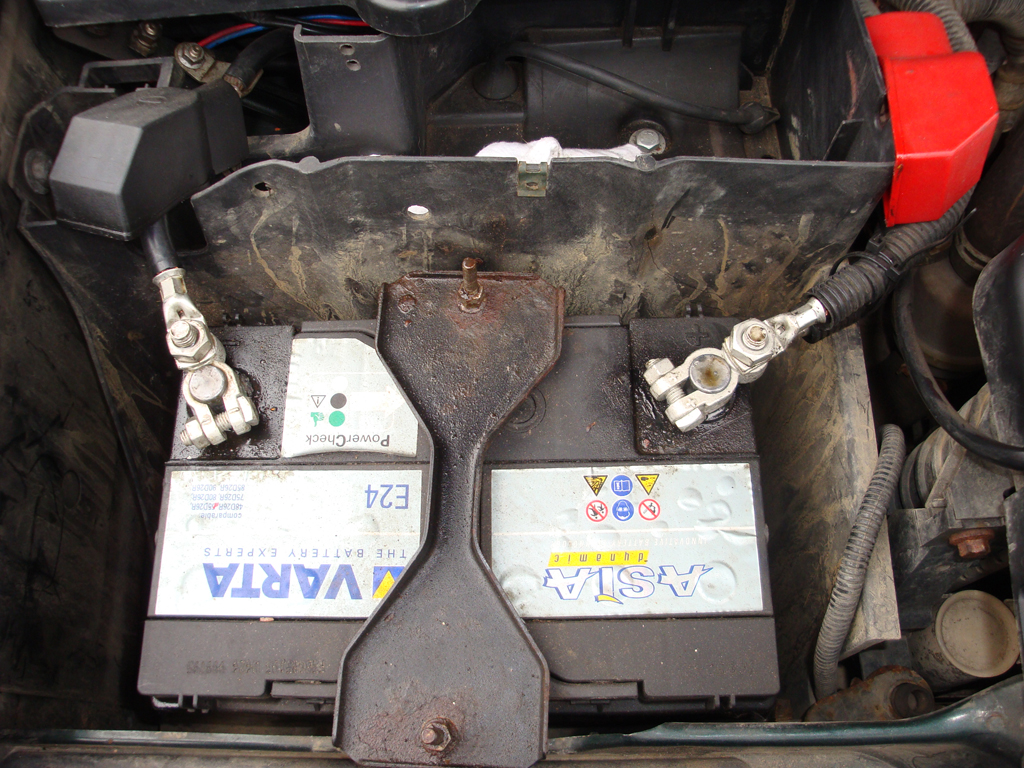
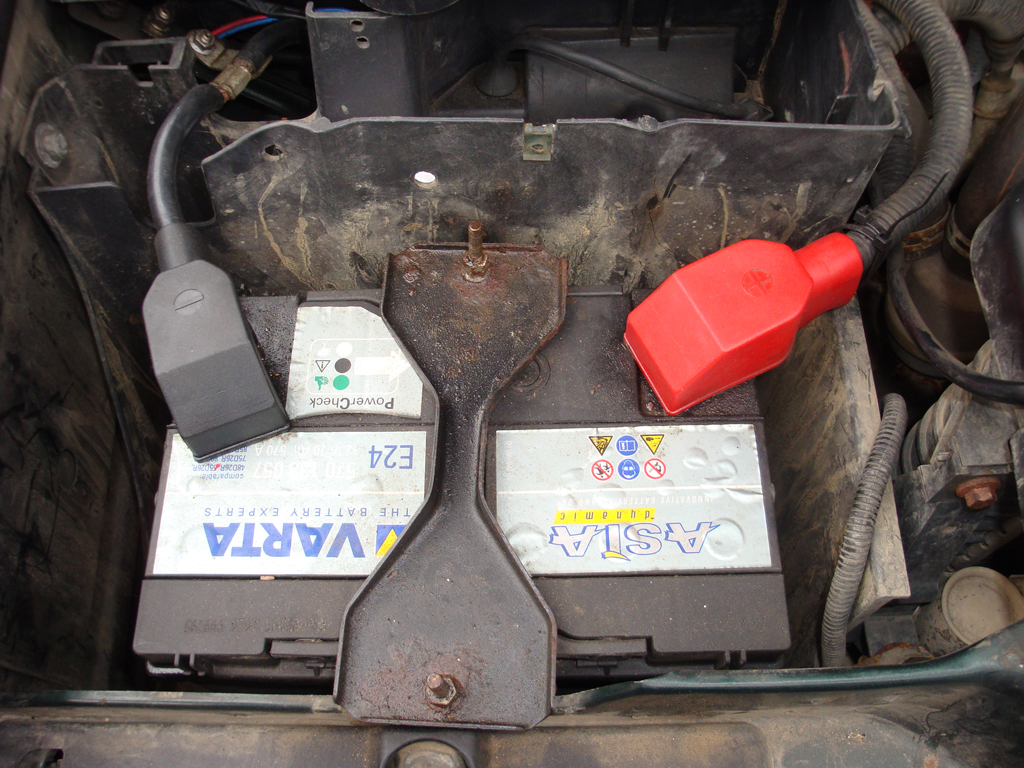
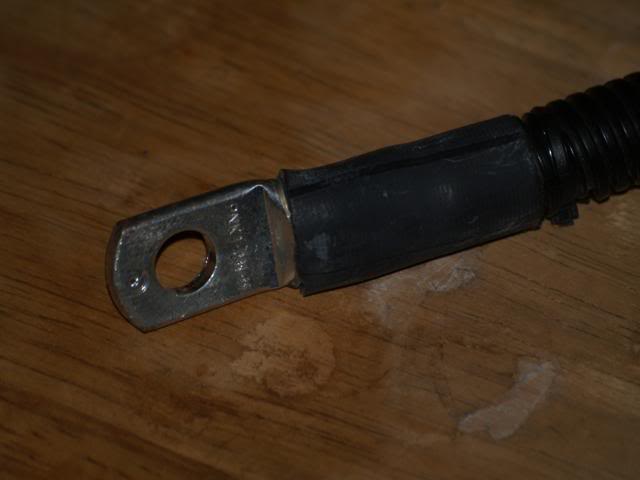
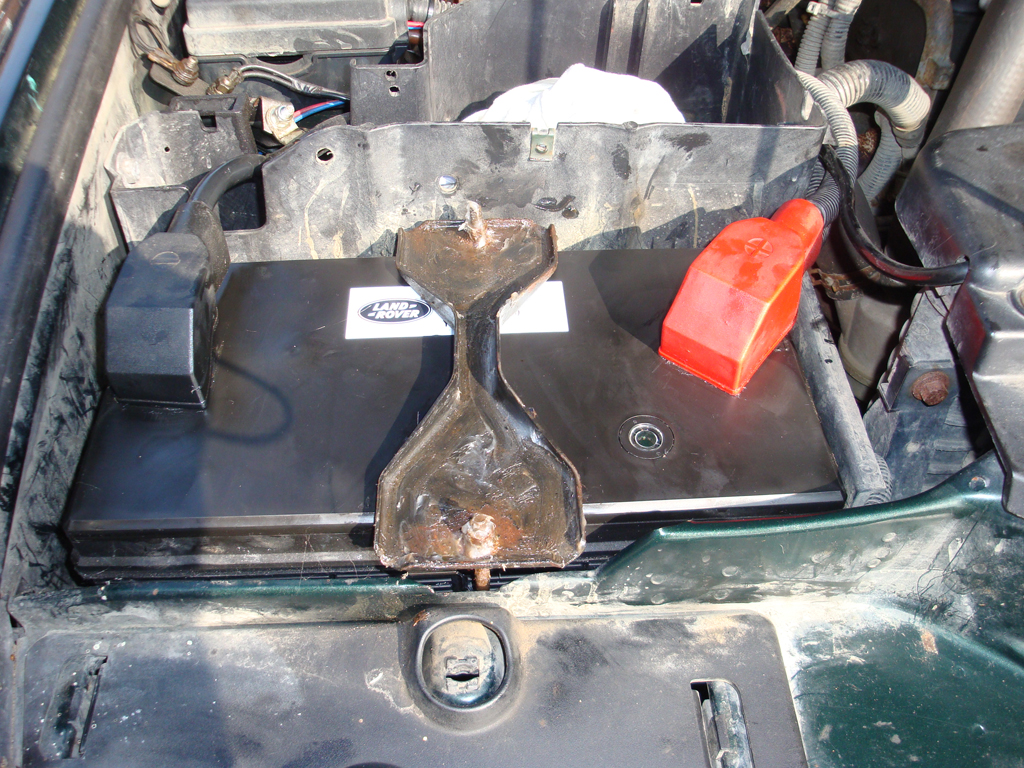
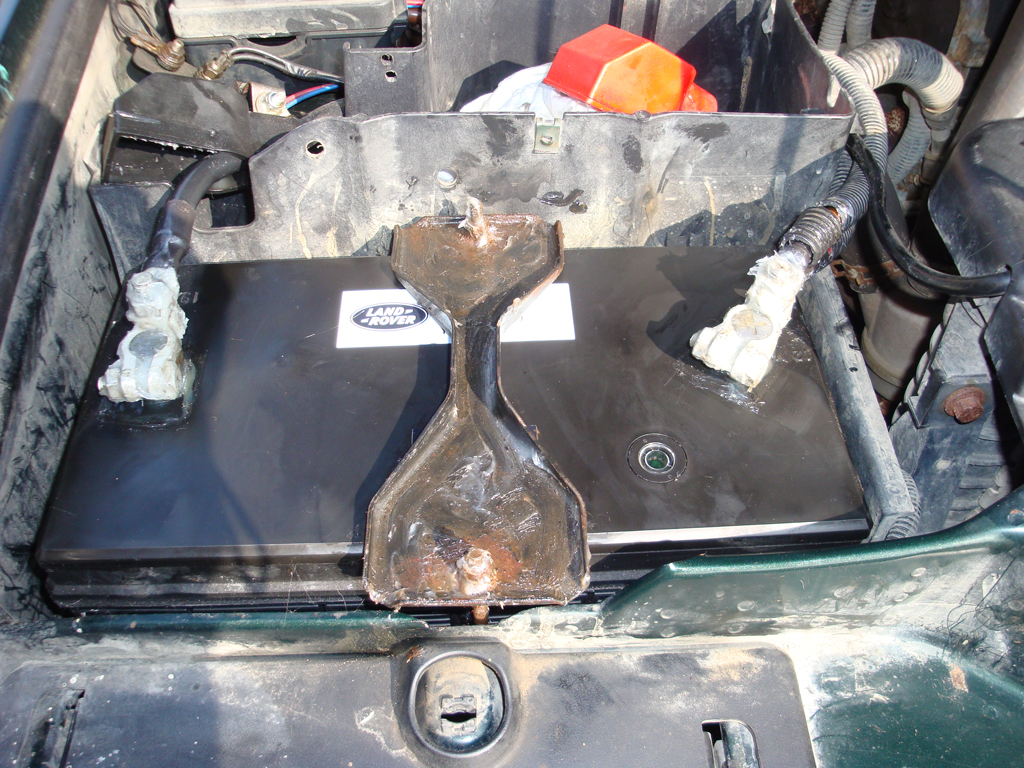
I already have
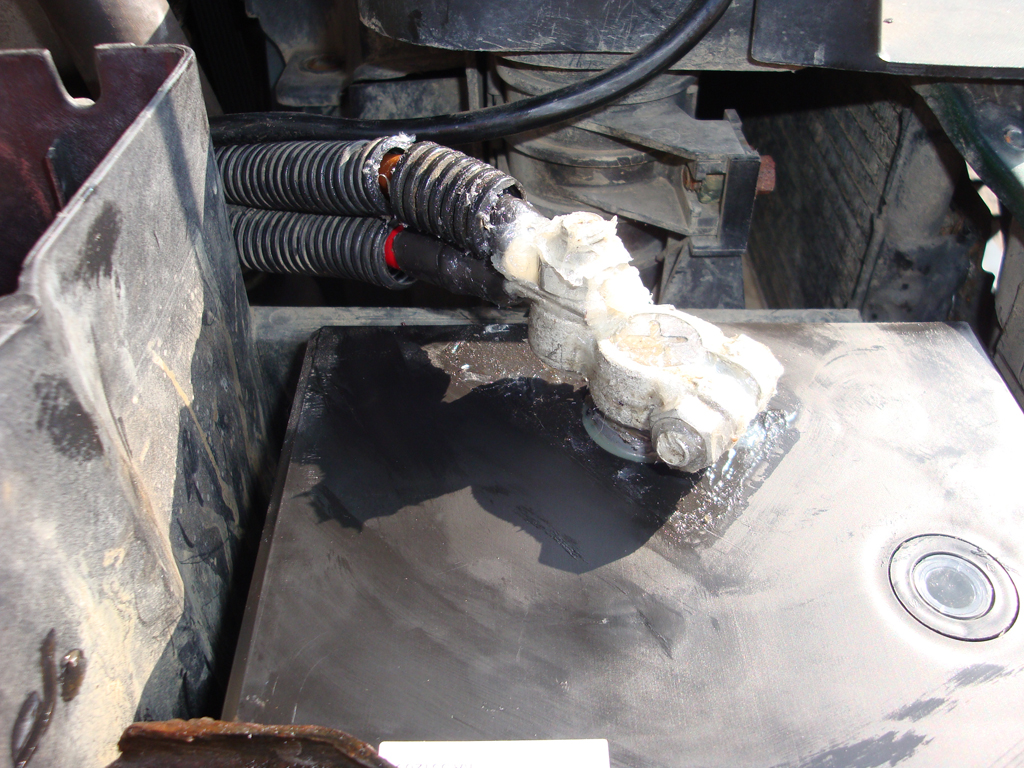
I took those pictures (almost 2 years ago), just after I'd changed the terminals.
They now have adhesive lined heatshrink over the cable entry into each lug (just as you've pictured), as well as a new Genuine Land Rover battery.
EDIT: Pictures taken 13th March 2014
.
Last edited by PaulMc; 03-13-2014 at 01:12 PM. Reason: Added pictures - 13th March 2014
#6
03-12-2014, 03:22 AM
Join Date: Jan 2014
Location: Pittsburgh PA
Posts: 15
Likes: 0
Received 0 Likes
on
0 Posts
Excellent,thank you all for the info, it's exactly what I needed. While I have your attention, I'm in the process of putting her back together after a head gasket installation ( I didn't disassemble it, I bought it like this) there are 2 green wires back near the firewall with eyelits on them, I assume they are ground wires, where do they go? also a yellow wire with an eyelit up near the alternator mount, where does it go? thanks for your help!
#7
03-12-2014, 03:29 AM
Excellent,thank you all for the info, it's exactly what I needed. While I have your attention, I'm in the process of putting her back together after a head gasket installation ( I didn't disassemble it, I bought it like this) there are 2 green wires back near the firewall with eyelits on them, I assume they are ground wires, where do they go? also a yellow wire with an eyelit up near the alternator mount, where does it go? thanks for your help!
Earth (ground) wires are Black, the wires you've described don't sound like factory wiring.
Can you trace them back to where they originate?
.
#8
03-12-2014, 05:01 AM
Baja
Excellent,thank you all for the info, it's exactly what I needed. While I have your attention, I'm in the process of putting her back together after a head gasket installation ( I didn't disassemble it, I bought it like this) there are 2 green wires back near the firewall with eyelits on them, I assume they are ground wires, where do they go? also a yellow wire with an eyelit up near the alternator mount, where does it go? thanks for your help!
You'll need to burn them to a CD or create a virtual drive with something like Daemon Tools and mount the images.
http://www.green-oval.com/data/lr/rave01.iso

http://www.green-oval.com/data/lr/rave02.iso

http://www.green-oval.com/data/lr/rave03.iso

#9
03-12-2014, 05:06 AM
#10
03-12-2014, 08:08 AM
Join Date: Jan 2014
Location: Pittsburgh PA
Posts: 15
Likes: 0
Received 0 Likes
on
0 Posts
Thanks
sorry my windows computer flipped my iphone pictures like it always does.
Last edited by new2rovers33; 03-12-2014 at 08:10 AM. Reason: a pain