
rock sliders


#3
 08-29-2013, 08:40 AM

#8
08-29-2013, 10:01 AM

Super Moderator
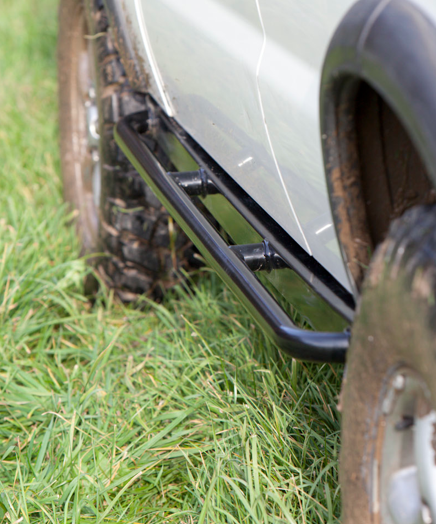
went bigger to use them for air tanks and to help the little ladies get in.
to truck mount= 3x3 (1/4") angle overlapped/sandwiched at bottom and bolted through sill, making 1/2" of steel below sill
I used grade 9, 1/2"bolts to sandwich, tacked, removed, then welded together.
welded 1x1 angle to top of main tube to assist in positioning and finished look (pilots and self tappers) I work alone. used jacks to position main tube, set angle atop screwed together, tacked, removed and welded.
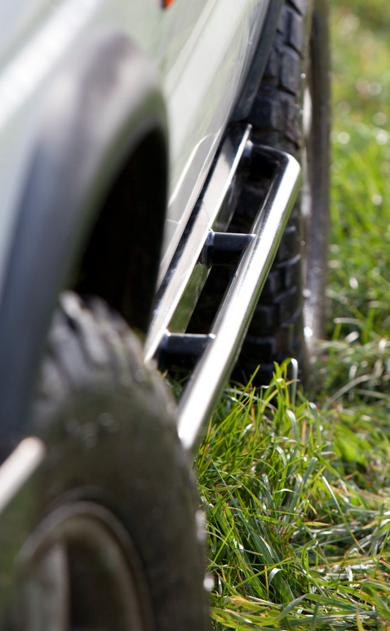
3" square tubing for main 63" long angled ends to match flares' angle
2" square tubing for step pushed out 1" 50" long with 45 angles on returns
went thick on material gauge to allow hi lift and support more psi
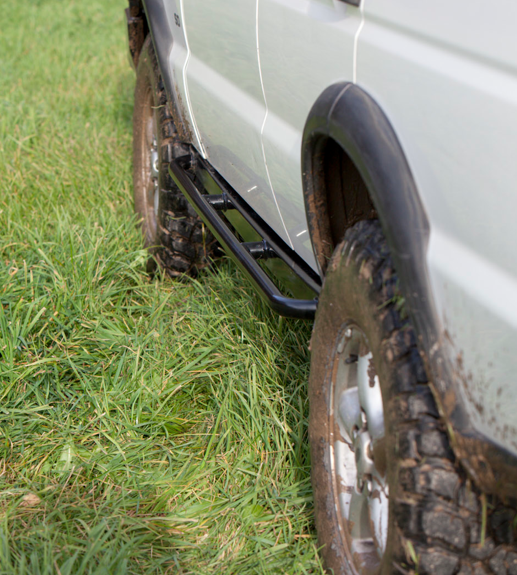
thanks to you, i looked at these pictures and my truck needs a bath
to truck mount= 3x3 (1/4") angle overlapped/sandwiched at bottom and bolted through sill, making 1/2" of steel below sill
I used grade 9, 1/2"bolts to sandwich, tacked, removed, then welded together.
welded 1x1 angle to top of main tube to assist in positioning and finished look (pilots and self tappers) I work alone. used jacks to position main tube, set angle atop screwed together, tacked, removed and welded.
3" square tubing for main 63" long angled ends to match flares' angle
2" square tubing for step pushed out 1" 50" long with 45 angles on returns
went thick on material gauge to allow hi lift and support more psi
thanks to you, i looked at these pictures and my truck needs a bath
#10
08-29-2013, 10:14 AM
Super Moderator
yes Mike has a cad drawing. he was kind enough to send it to me some time ago, before i forgot my original user name and info, to get on the forum.(last laptop stolen and that was what i counted on to remember such things) It was very handy in my initial mock up and material lengths.
Last edited by dusty1; 08-29-2013 at 10:17 AM.