When you click on links to various merchants on this site and make a purchase, this can result in this site earning a commission. Affiliate programs and affiliations include, but are not limited to, the eBay Partner Network.
Nah, once you do them, you'll see that it's not bad.
Only 6 bolts hold the upper intake on, and replace the sai bracket studs with bolts.
The hard part is finding gaskets that fit.
Most need at least one or 2 of the holes elongated so they line up with the bolt holes.
Good to know. I just hate moving so much crap in there as it tends to screw up other stuff-- break hoses, exacerbate weak points, etc. I've done a ton of work on ours, much more difficult stuff, but this process seems more obnoxious than those. LOL. I have the gaskets in. I plan on doing the valve cover, exhaust manifold, plenum, and Y pipe gaskets all at once here very soon. I also have to get the new drive shaft installed. Good times!
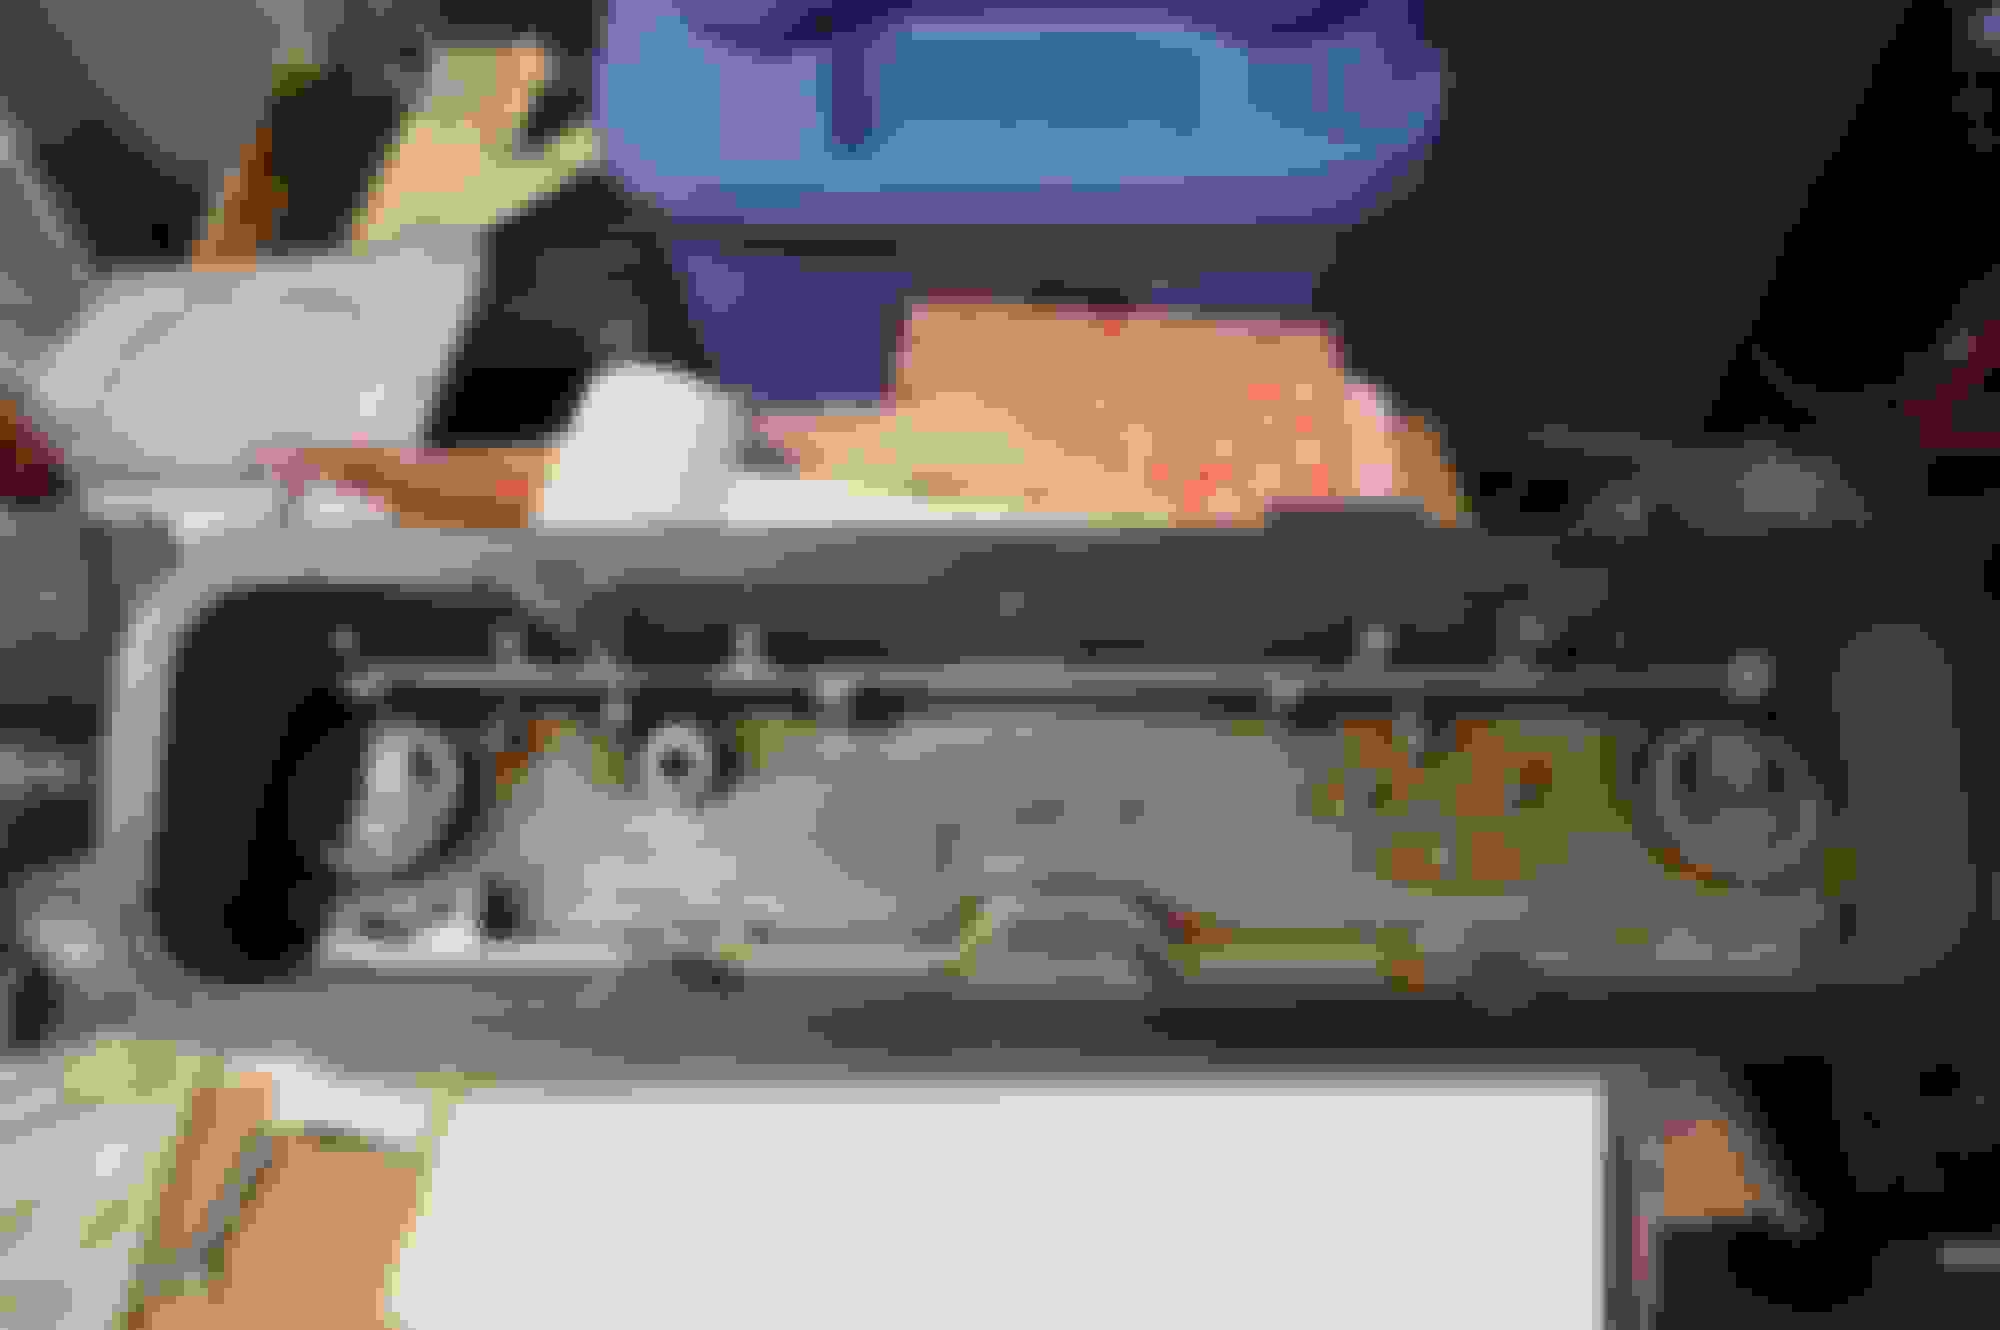
Just an update on the process good quality valve cover gaskets help a lot, as far a retention of the metal bushings in the gaskets.
Step on is to check your gaskets for damage, as well note there are 2 distinct sides a grooved and smooth side. The grooved side goes "up" to the valve cover.
Buy a 12 point 8mm 1/4 drive socket
Once the the valve covers are off inspect and thoroughly clean both mating surfaces
Test fit the the gasket to both valve covers
Now for the fun part,I found putting the gasket on the engine 1st was simplest, they go on dry
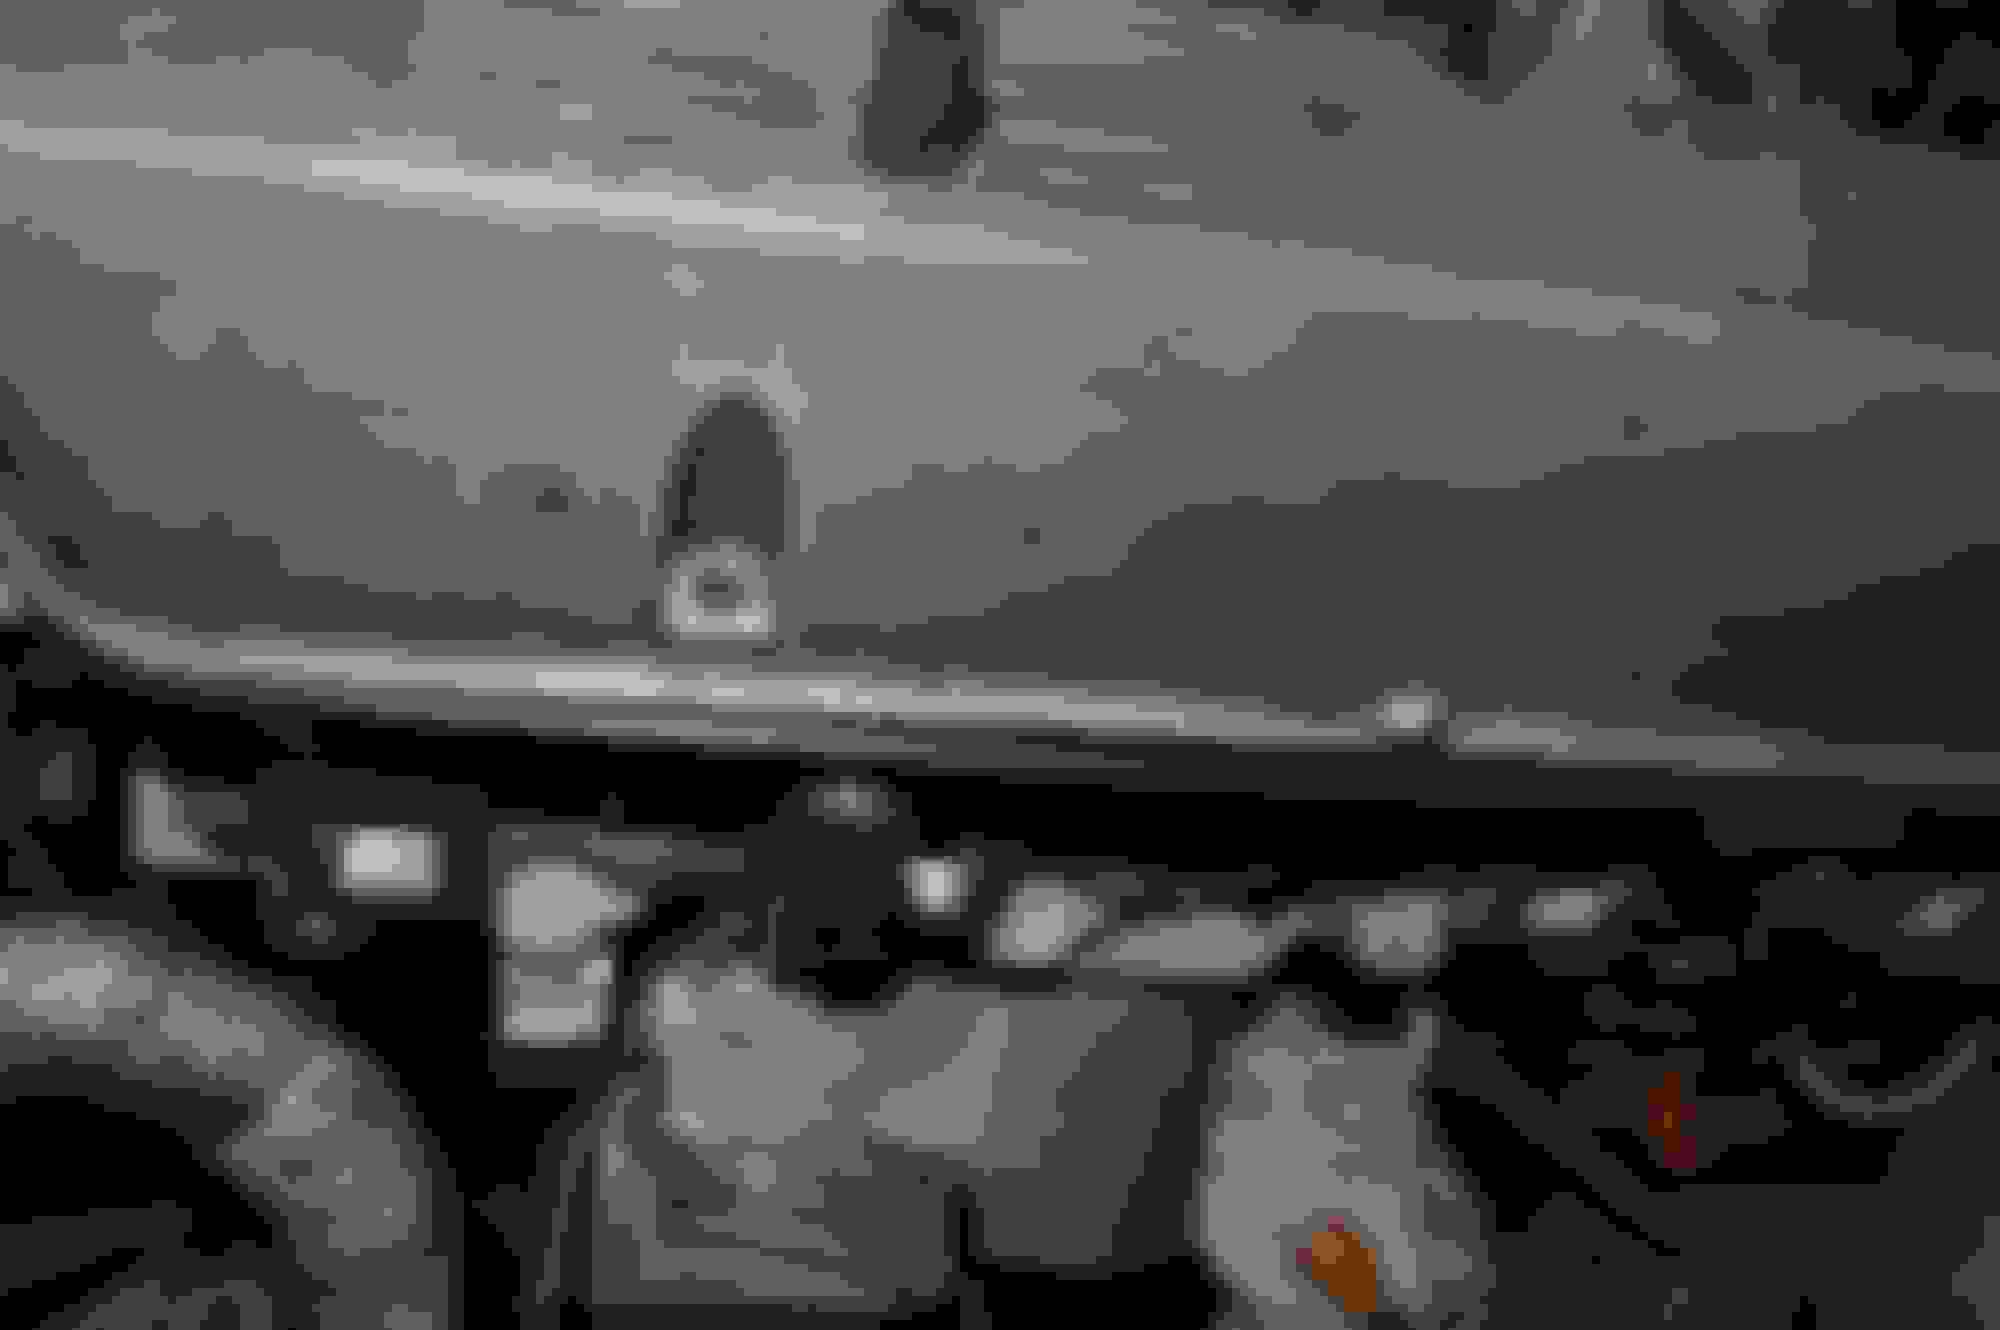
Then gently lower the valve cover in place, if you tilt so 1 end goes down then slowly lower the rest you can get a good fit.
Put in the bolts ,long ones to the outside (exhaust side) short ones to the rear (intake side)
Snug them up a bit over hand tight - there is a torque setting but is under 10 FT LBS and I for one do not own a torque wrench that light
DO NOT OVER TIGHTEN
Once you start up check for leaks
Top is the lower facing surface bottom is upper facing Check the fit Once it is in place before putting screws in check the gasket is still seated correctly to the valve cover Front and rear All nice and happy
@deodra thread updated -if you have any questions ask away
Awesome update! Thanks so much! You actually answered my main question-- have you found a better way of getting them on. LOL! I was going to put them on the engine first and then saw the Atlantic British video that showed him placing it on the cover first. I figured they may have had a reason for that. I've done many valve cover gasket jobs in the past and most were soooo easy. This one is easy, but also very time consuming seeing as we have to take so much off just to get to them. Thanks again for the update!
I need to start this job tomorrow. I already had to remove the upper manifold just for new spark wires last year, so I am familiar with 66% of the procedure (and I have SAI!). My questions:
1) Which is better, tack spray on one side or black RTV on both sides?
2) Locktite for the bolts, which color?
3) Do I really need a new lower manifold gasket? (the current one is still fine, I did a leak test a few days ago).
4) What else to check inside, play?
Thanks.
Last edited by Discorama; Jul 7, 2020 at 05:46 PM.