When you click on links to various merchants on this site and make a purchase, this can result in this site earning a commission. Affiliate programs and affiliations include, but are not limited to, the eBay Partner Network.
I figured I'd share the trials and tribulations as I begin the head gasket project on my '04 D2 w/ secondary air. This is definitely a learn as you go project. Originally took the Disco to the local LR Mech and was told that it had a leaky head gasket. That was in December...it's been more or less sitting since that day.
It's June now and and my wife surprised me with the Composite Head Gasket Set and the Head Bolt kit from AB as a birthday present. Thoughtful gift, or subtle messaging to get my butt in gear?!
Armed with the Rave Manual, and Youtube, I began last weekend. Please feel free to provide any insights you all have from your Head Gasket changes, engine maintenance etc.
Removed the AC compressor, was missing 1/4 bolts. I have a feeling I'll be finding lots of little things like this. Last owner was not great. Removed throttle body housing, removed throttle and cruise control bracket. Removed the fan... ended up using an open ended wrench at 36 mm and a screw driver to get it off. Perhaps I should have just bought the tool from AB.
Got the serpentine belt off with no issues. Belt was actually in pretty good shape. Not sure if it's worth replacing at this point. I know some of you will disagree but perhaps it's a easy repair later down the line.
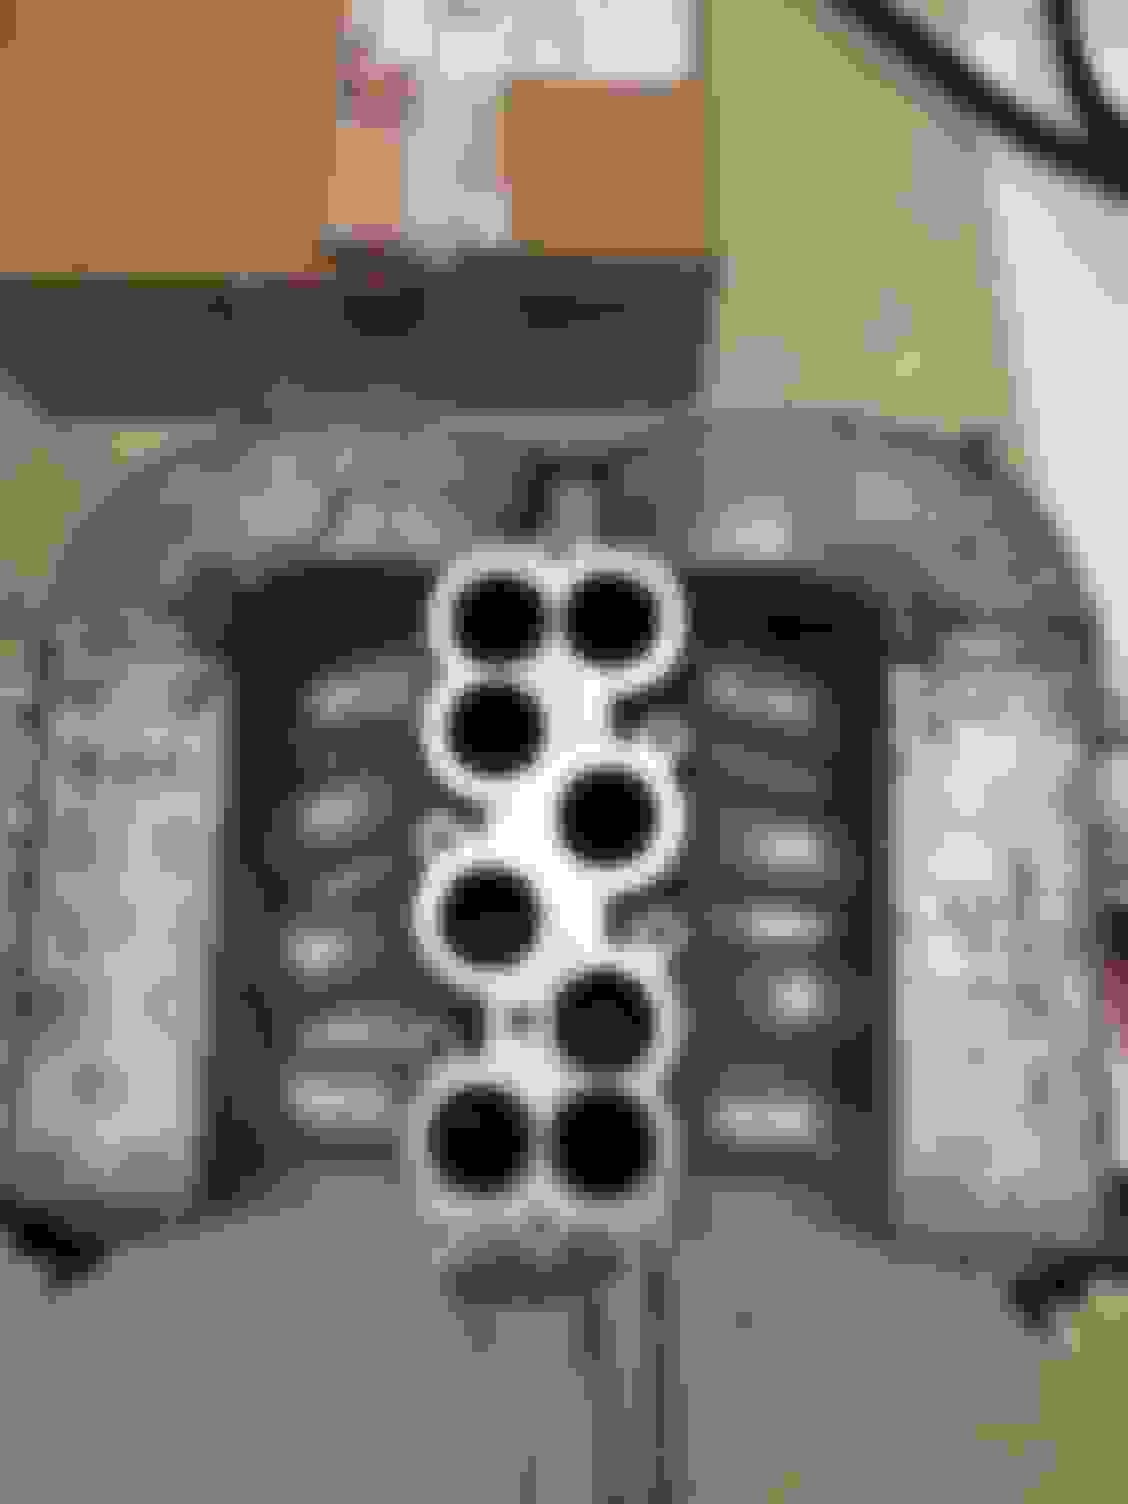
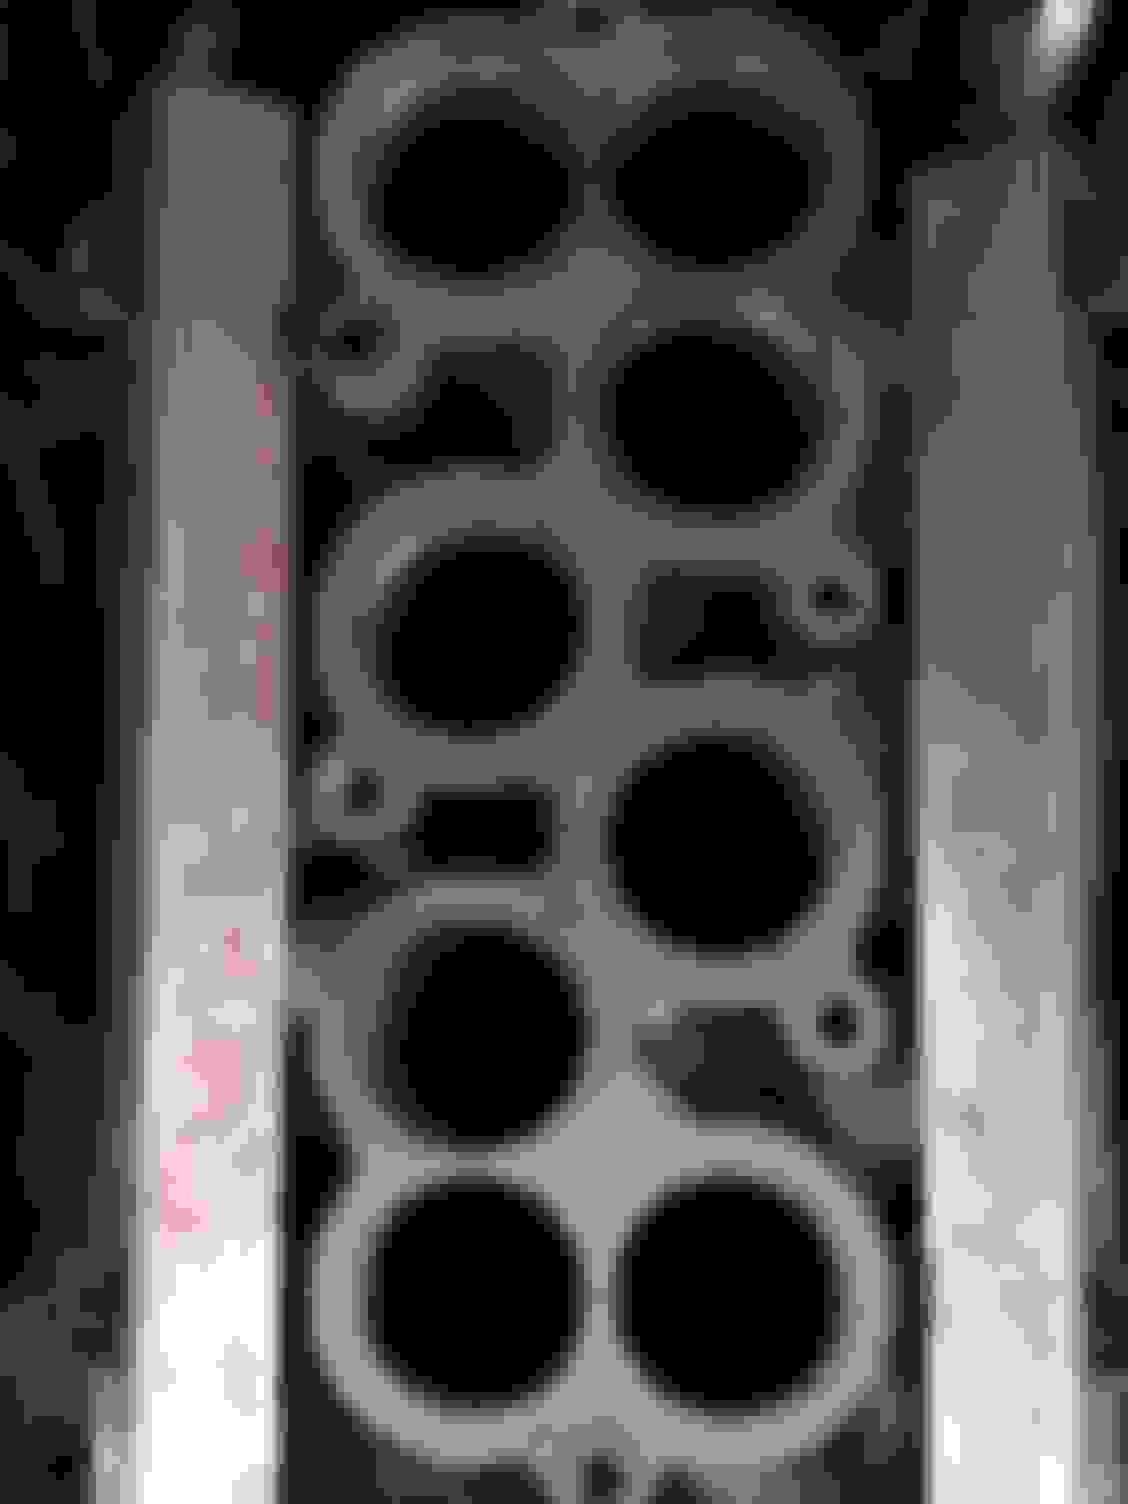
Got all the electrical connections and brackets removed and.....pulled the intake manifold!
I lost one of the 2x short bolts that hold the intake manifold on, going to have to get the magnet out to see if it went down low in the engine or whether or not it's just hiding somewhere on the ground!
That's the stopping point for today, thank goodness for a random Tuesday off!
if you remove your filter box lid and filter, the ac compressor will rest nicely in the lower part of the box. gets it further out of the way and will keep it still so it cant get knocked off on accident.
Get a sheet of cardboard and punch holes in it for the removed bolts and label them. Take photos as backup. When you get to pushrods label each and later replace back in original location.
if you drop a bolt in the intake, it will lead to the heads. Stuff towels in intake until removal. After removal and removing the valley gasket, watch for dropping bolts in bottom of valley. There are oil drains into the block internals (camshaft and crankshaft).
Thanks for the tips. Have some cardboard covering the intakes now. The bolt went missing when I lifted the intake manifold off. Just bad luck :/ Definitely going to be keeping things organized that way. So far I've been putting bolts/parts in little ziploc bags and labeling them with Sharpie!
if you remove your filter box lid and filter, the ac compressor will rest nicely in the lower part of the box. gets it further out of the way and will keep it still so it cant get knocked off on accident.
Done and done. Lots of room. Trouble is, I'm working on this in Florida, and not in my garage (full of toys) so I keep having to closing the hood every afternoon when the thunderstorms roll in.
In the Rave manual, for trucks with SAI, it gives these directions for removing deposits from the Secondary Air Injector Adapter tappings:
"Models with SAI: Using a 5/8 in x 20 TPI (threads per inch) UNF tap having a class 2A thread, remove deposits from secondary airinjection adapter tappings in cylinder head."
After all of my googling I can only seem to find something that is a 2B fit. The manual is clearly calling for 2A. Am I missing something here? 2A seems to denote external thread vs 2b is internal. What have you guys used?
One other thing: How are you all measuring warp on the heads? Did you buy a machined piece of metal or are you just sending it away to a machine shop?
I also spent many hours trying to figure out the re-tapping of the SAI ports. I never found the right tap. I ended up buying a 2B I think on eBay, but when I stuck the tap into the head, there was so much resistance, I got scared and bagged it. You'd be better off using a rethreading tap, not a cutting tap, in my opinion... if you can find it. I couldn't. I'm very meticulous and thorough when it comes to rover repairs, and this is probably the only direction I've ever skipped. I did however purchase new SAI adapters and SAI tubes. Highly recommend the new tubes if you have the superceded corrugated ones (super flimsy), the new ones are rock solid.
Send the heads to a machinist, preferably one who is familiar with these aluminum heads and has done them before. Tank clean, head resurface, valve job, stem seals, and you'll be better than new.
I also spent many hours trying to figure out the re-tapping of the SAI ports. I never found the right tap. I ended up buying a 2B I think on eBay, but when I stuck the tap into the head, there was so much resistance, I got scared and bagged it. You'd be better off using a rethreading tap, not a cutting tap, in my opinion... if you can find it. I couldn't. I'm very meticulous and thorough when it comes to rover repairs, and this is probably the only direction I've ever skipped.
Rethreading tap it is. Let the googling continue....
 06-20-2017, 02:39 PM