When you click on links to various merchants on this site and make a purchase, this can result in this site earning a commission. Affiliate programs and affiliations include, but are not limited to, the eBay Partner Network.
Thanks a lot! I'm glad to know this is possible. Do you know where can I find a full instruction? Just to to gauge the mount of work before ordering parts and everything.
Same here. Seems like a relatively cheap/easy upgrade if the parts are available. But want to make sure it isn�t way more complicated than it seems.
Hi everyone,
given the interest I will try to make a guide, unfortunately I have not taken any photographs, but I will try to avoid my mistakes.
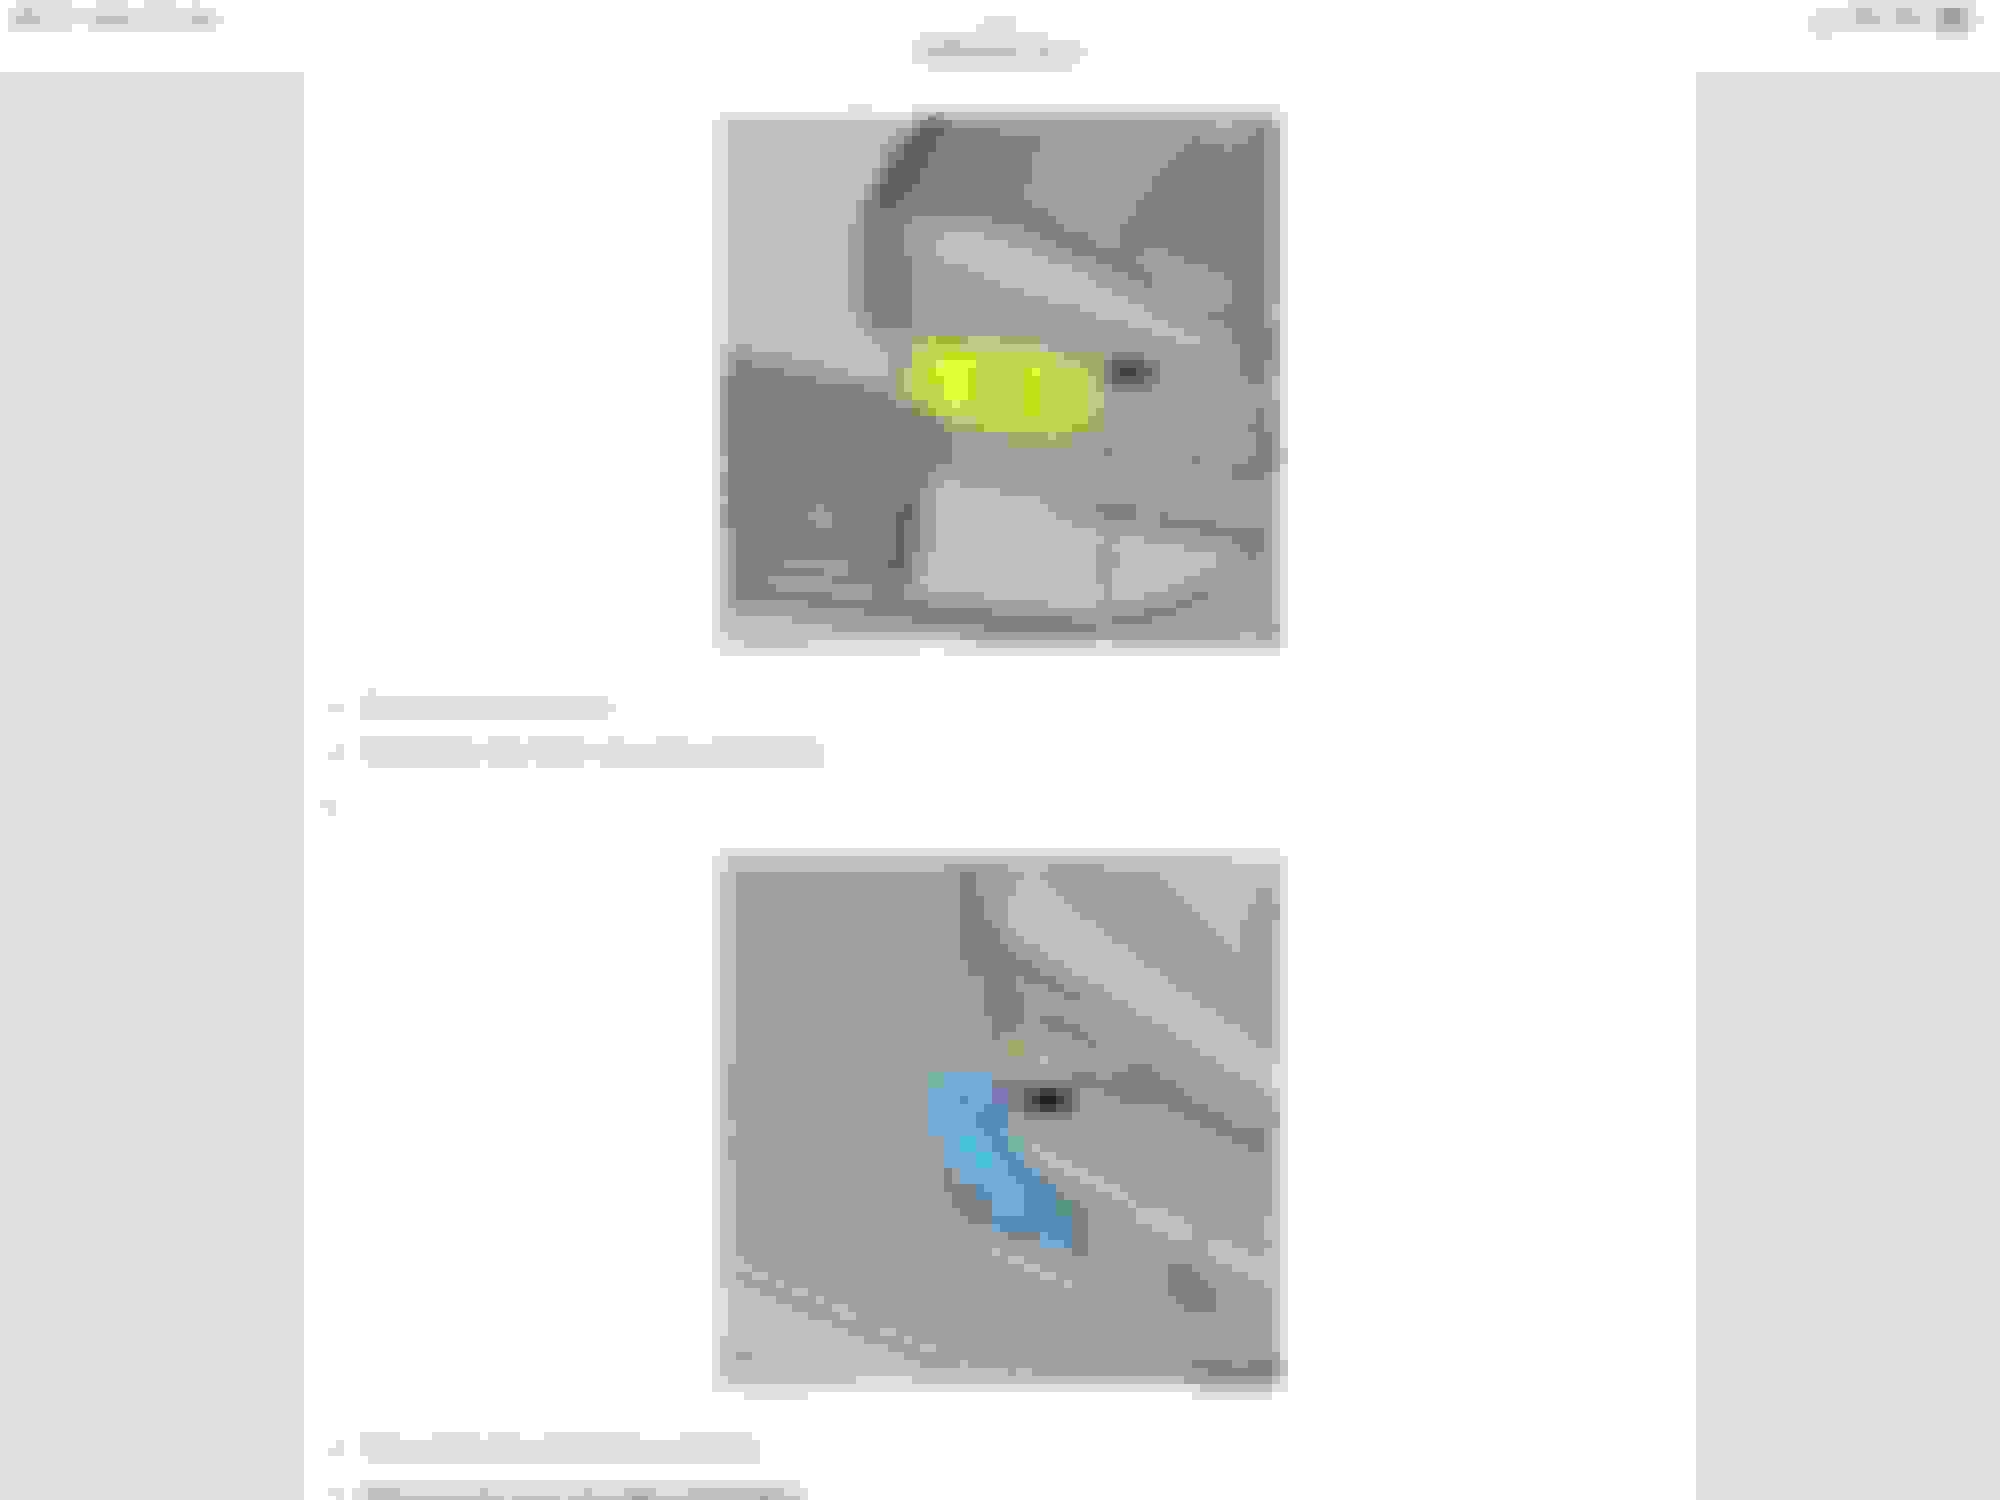
first disassemble the outer plastic side cover of the seat, there are plastic hooks and a rear torx screw underneath, then also disassemble the switch (it is different from the one in the photo of course).
having done this, let's move on to the back of the seat, (unfortunately no instructions for the fabric seat without a plastic back cover).
unhook two hooks under the seat which hook the rear fabric.
then you will find two side zips marked on the drawing in red, lift them up to the end.
in this way highlight the inside of the seat, unhook the internal cover on the lower metal part.
now there are two possibilities,
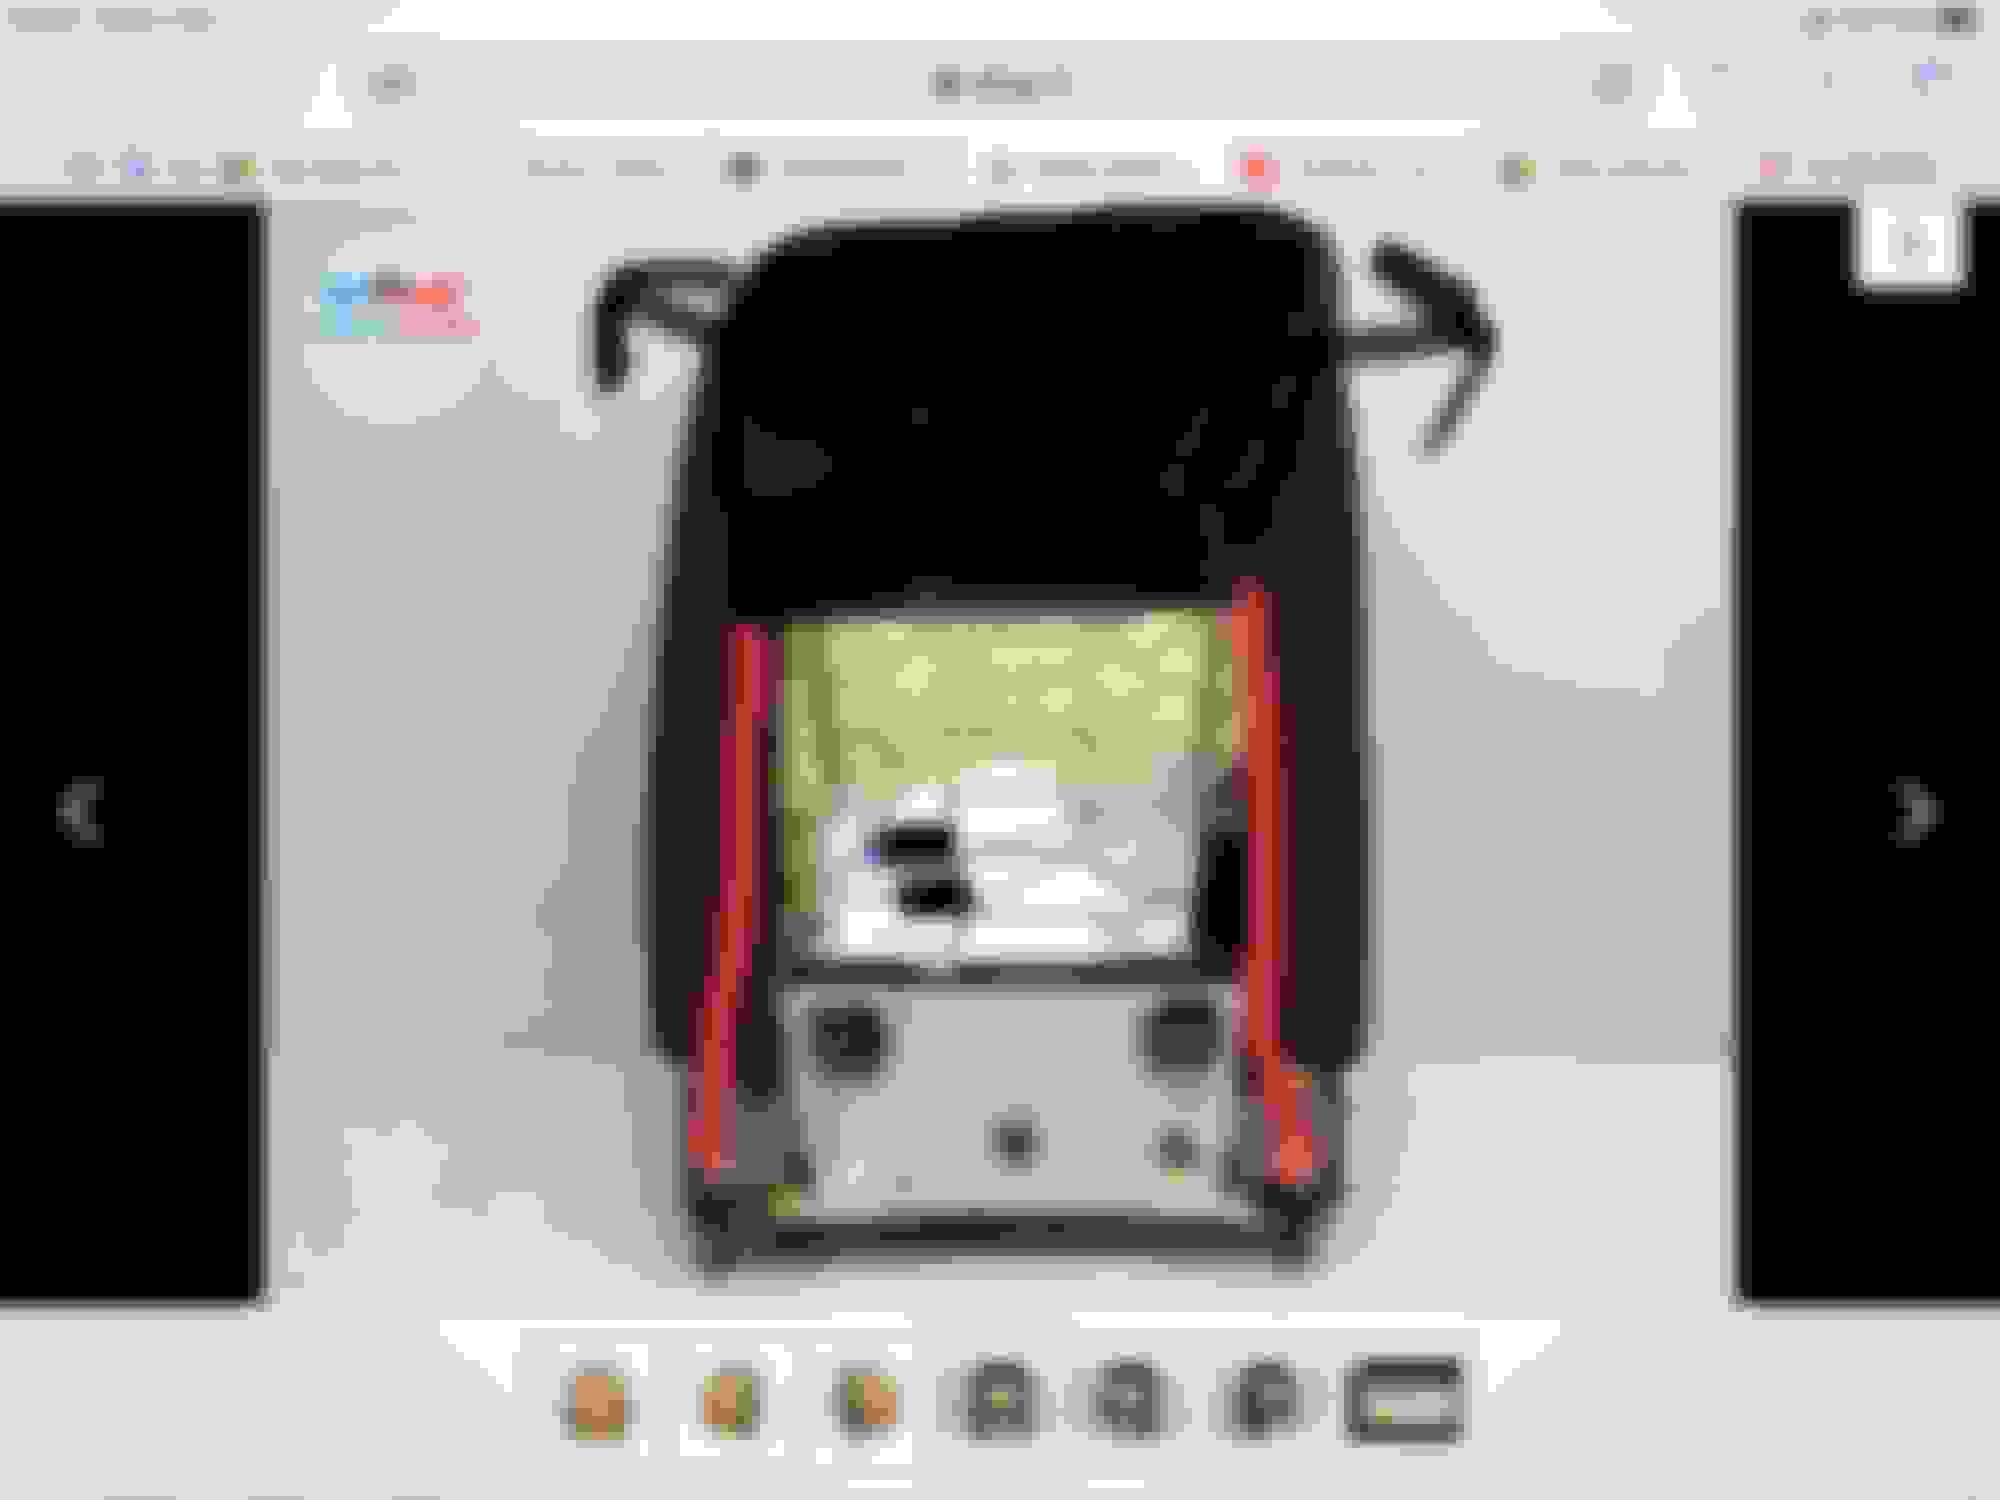
1 unhook the old metal scaffolding with pliers and replace it with the new one. (I tried, but it was very hard and I didn't want to do any damage).
2 separate the pump unit and cushions from the new metal scaffolding, it is only the upper clips and the two clamps, memorized the arrangement of the pipes well.
Pushing the seat foam back, insert the plastic cushion at the correct height and fix it with the clips; now the most complicated part, once this is done you find yourself with the cushion placed well but with the pump in your hand inside the side edges of the metal scaffolding of the seat. you have to strip the pump of the fabric cover, widen the metal weaves, and make it come out OUTSIDE the metal side edge, after this, as in the photo, you will have your transparent tubes well positioned, then fix the new clamps and insert to the right of the seat in the pocket lined the pump, there is also a hole for the clip.
Of course, once this is done, the wiring from the attached diagram must be inserted into the pump, as I said I created a cable, as it is quite simple, get the connectors, these enter the original switch connector as shown in the wiring diagram, (to insert them you must unlock, DO NOT REMOVE, IT BREAKS, the collar in the connector, they are very hard to insert, I used a small screwdriver), the insertion numbers are shown, you can understand the sense of counting by looking at the wires present.
to figure out the schematic on the pump, i used a 9volt battery, the external negative on the pump, and i evaluated which command inflated the cushion, pin 1.
pass the cable under the rear metal pocket of the seat, reach the position of the switch and fix the cable under the seat with two zip ties.
now checked carefully by hand that the plastic cushion is well stretched out, without creases, the tubes are not bent but with their original curves, you can close everything, mark the colors of the wires to know where to place them in the switch.
all five wires go from the pump to the switch, only one must be bridged to another negative, as shown in the diagram.
LR130486 Switch is not available from Europe I have to wait for it to be manufactured.
I made a bridge with a wire and fed the cushion inflation, in this way I have my lumbar support and await the missing piece.
I thought I could modify the original switch but despite a similar external appearance, the circuit is not complete for lumbar support.
I've been wanting to add the inflatable side bolsters to my seats. @mmbanf did you do that as well?
HI,
the lateral reinforcements are a different system, they work with the same pump as the 4-way lumbar support.
If you have seats with full electric adjustment they should be standard. if you don't have fully electric seats, I already see two big problems, 1 the original switch is very large and doesn't fit, we have a mechanical adjustment lever, 2 it could be that that system works on the "electric seat control" electronic control unit which is not present on cars with basic seats.
Hi everyone,
given the interest I will try to make a guide, unfortunately I have not taken any photographs, but I will try to avoid my mistakes.
first disassemble the outer plastic side cover of the seat, there are plastic hooks and a rear torx screw underneath, then also disassemble the switch (it is different from the one in the photo of course).
having done this, let's move on to the back of the seat, (unfortunately no instructions for the fabric seat without a plastic back cover).
unhook two hooks under the seat which hook the rear fabric.
then you will find two side zips marked on the drawing in red, lift them up to the end.
in this way highlight the inside of the seat, unhook the internal cover on the lower metal part.
now there are two possibilities,
1 unhook the old metal scaffolding with pliers and replace it with the new one. (I tried, but it was very hard and I didn't want to do any damage).
2 separate the pump unit and cushions from the new metal scaffolding, it is only the upper clips and the two clamps, memorized the arrangement of the pipes well.
Pushing the seat foam back, insert the plastic cushion at the correct height and fix it with the clips; now the most complicated part, once this is done you find yourself with the cushion placed well but with the pump in your hand inside the side edges of the metal scaffolding of the seat. you have to strip the pump of the fabric cover, widen the metal weaves, and make it come out OUTSIDE the metal side edge, after this, as in the photo, you will have your transparent tubes well positioned, then fix the new clamps and insert to the right of the seat in the pocket lined the pump, there is also a hole for the clip.
Of course, once this is done, the wiring from the attached diagram must be inserted into the pump, as I said I created a cable, as it is quite simple, get the connectors, these enter the original switch connector as shown in the wiring diagram, (to insert them you must unlock, DO NOT REMOVE, IT BREAKS, the collar in the connector, they are very hard to insert, I used a small screwdriver), the insertion numbers are shown, you can understand the sense of counting by looking at the wires present.
to figure out the schematic on the pump, i used a 9volt battery, the external negative on the pump, and i evaluated which command inflated the cushion, pin 1.
pass the cable under the rear metal pocket of the seat, reach the position of the switch and fix the cable under the seat with two zip ties.
now checked carefully by hand that the plastic cushion is well stretched out, without creases, the tubes are not bent but with their original curves, you can close everything, mark the colors of the wires to know where to place them in the switch.
all five wires go from the pump to the switch, only one must be bridged to another negative, as shown in the diagram.
LR130486 Switch is not available from Europe I have to wait for it to be manufactured.
I made a bridge with a wire and fed the cushion inflation, in this way I have my lumbar support and await the missing piece.
I thought I could modify the original switch but despite a similar external appearance, the circuit is not complete for lumbar support.
have fun for everyone, write me if you need.
Marco
good morning, an update, I installed the ordered switch, everything works perfectly, the pre-wired pin connector for the operating switch is not the one indicated, that's why it was difficult to fit into place, the correct one is: 41841145. then I add a photograph with the specifications of the lumbar connector and its pre-wired pins.
good fun !


 03-11-2023 | 11:31 PM