
Operation Magpie.


Went junk'in today and found some good stuff i needed. $44 got me new B - pillar interior trim pieces, rear seat trim, spare tire carrier and a Bosch oil pressure gauge. All installed and looks good. MagPie didn't come with the interior B - pillar trim except for one piece. Found suitable replacements even though the donor car had real leather and MagPie doesnt -- colors are slightly different.

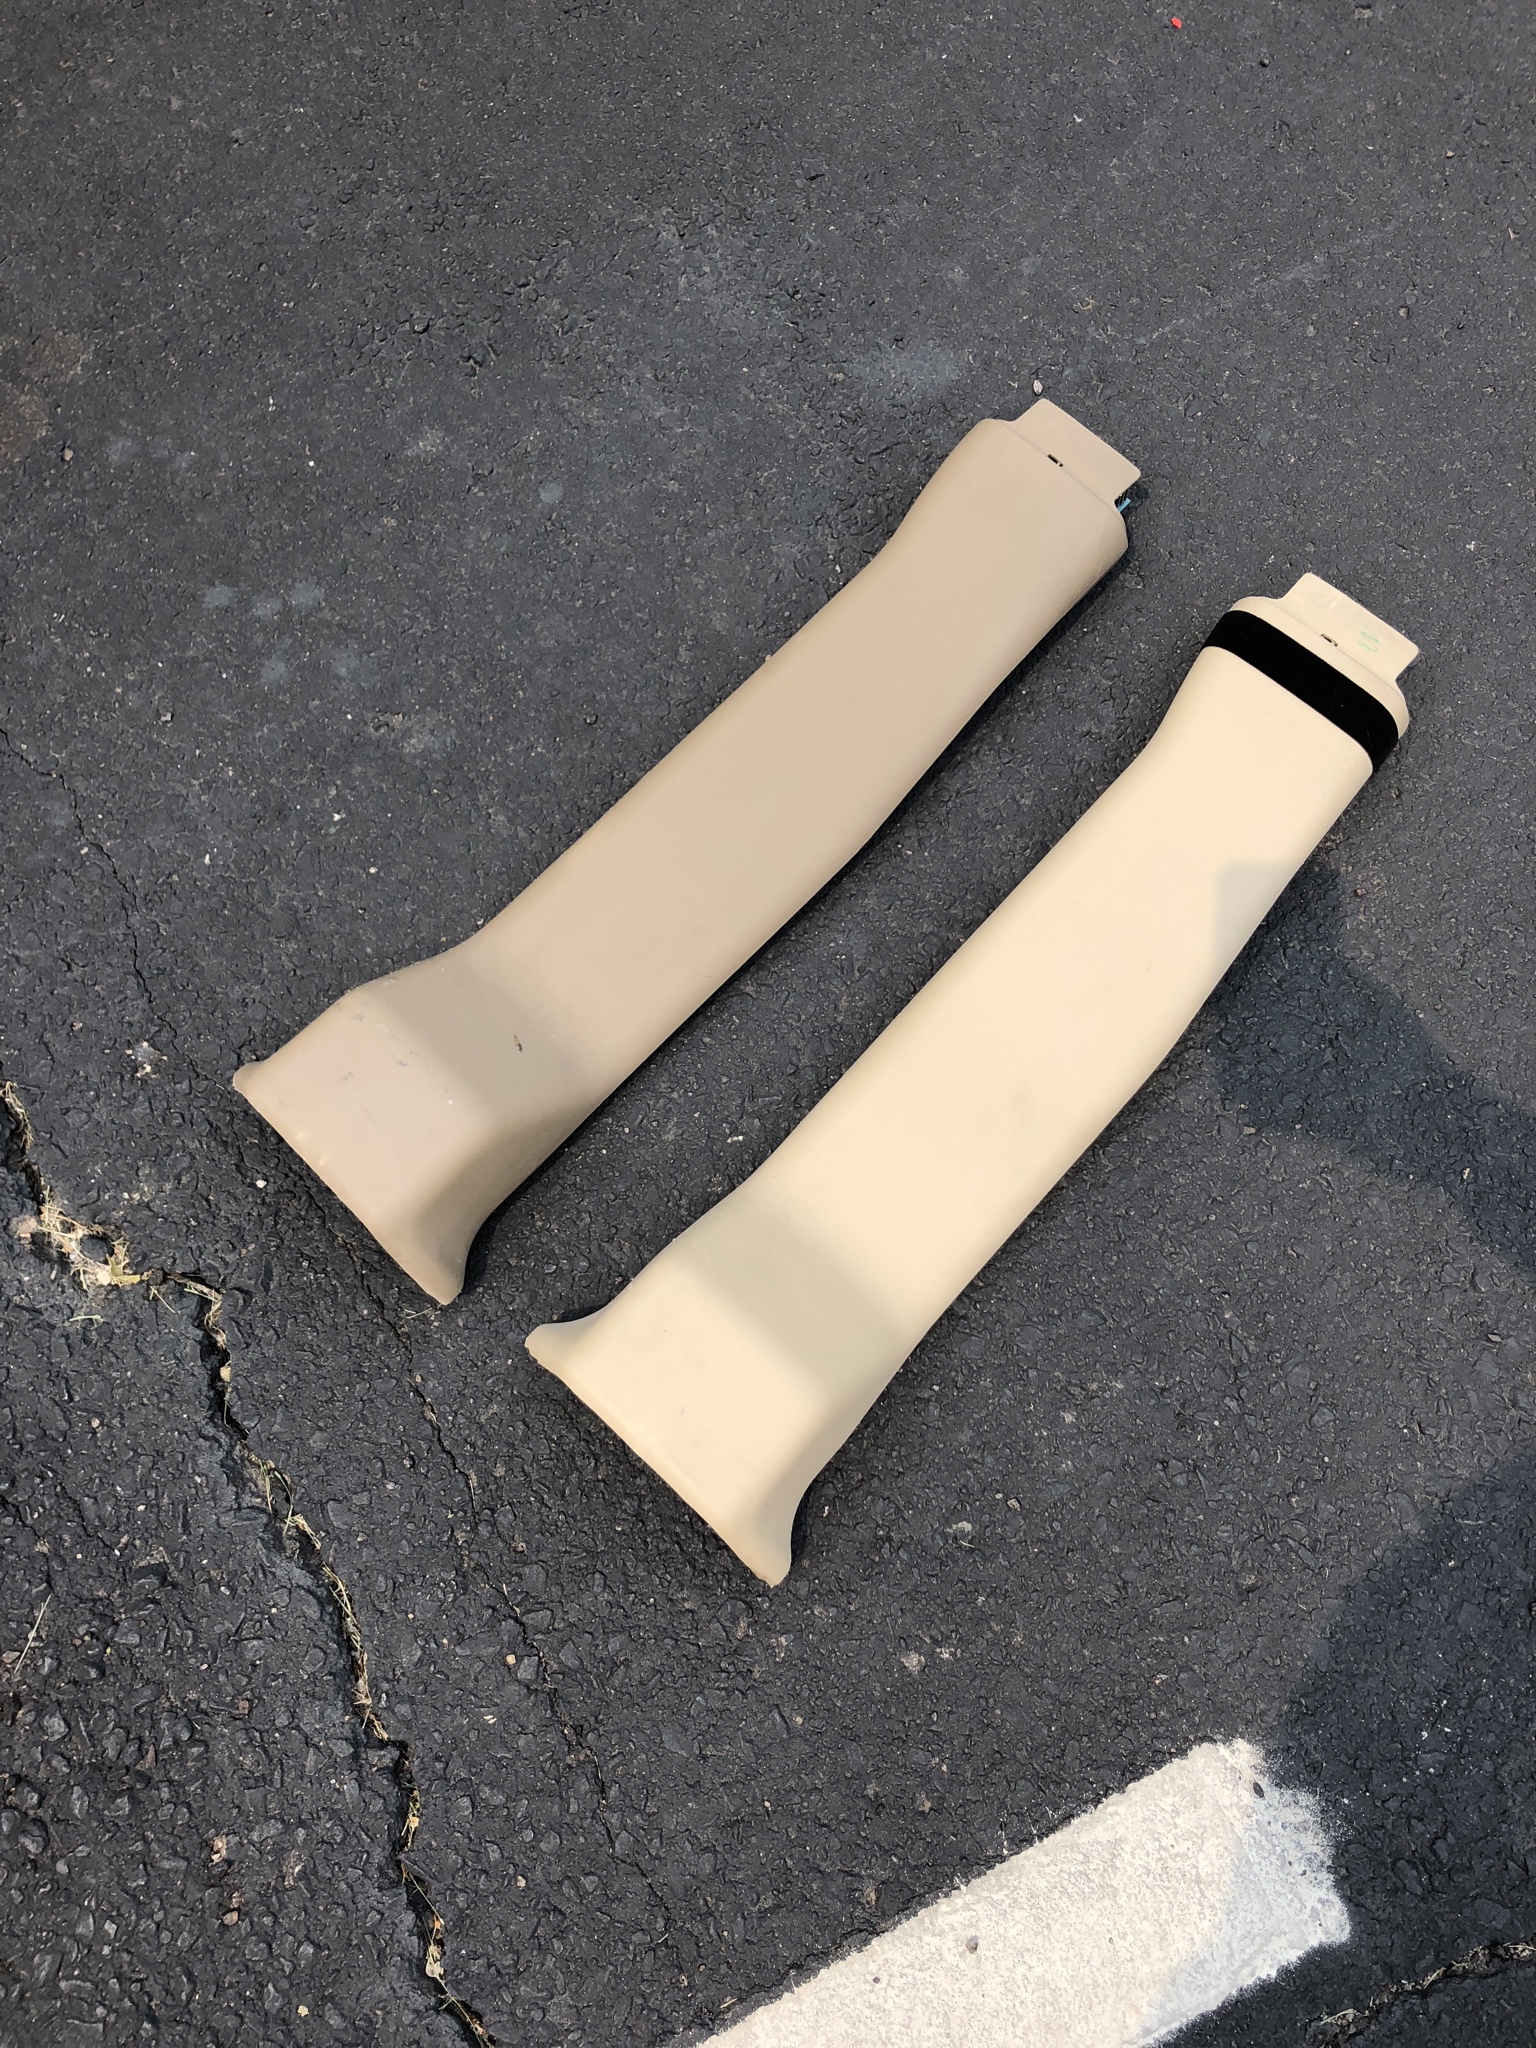
Color difference -- left one is what was in the truck and right is what i got today.
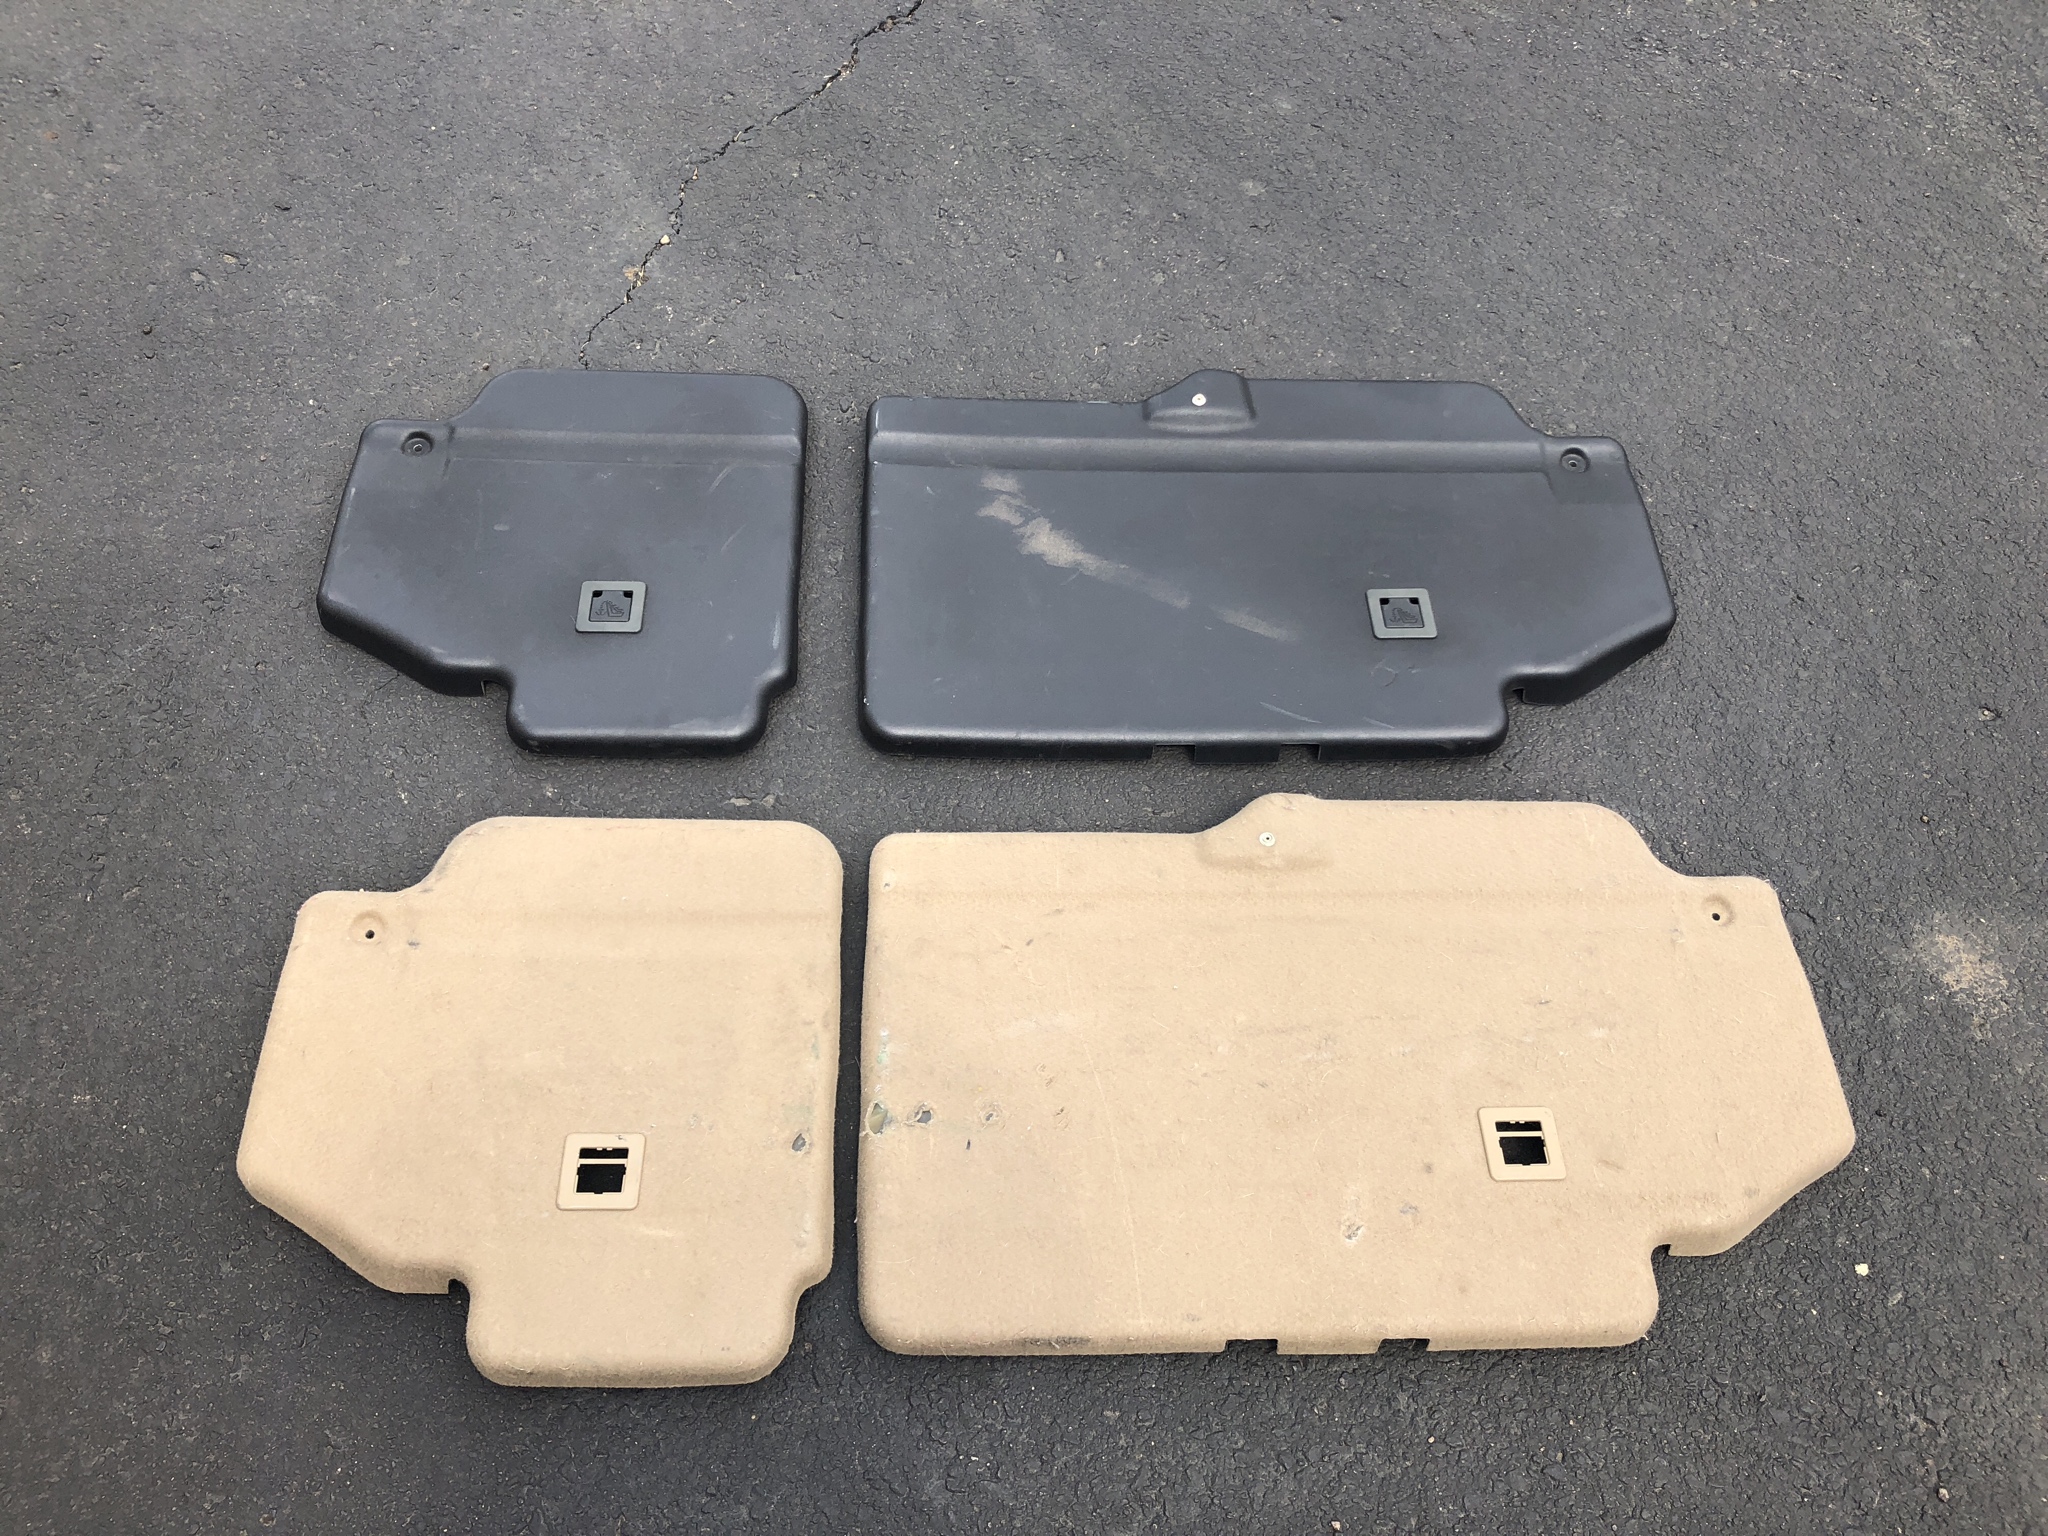
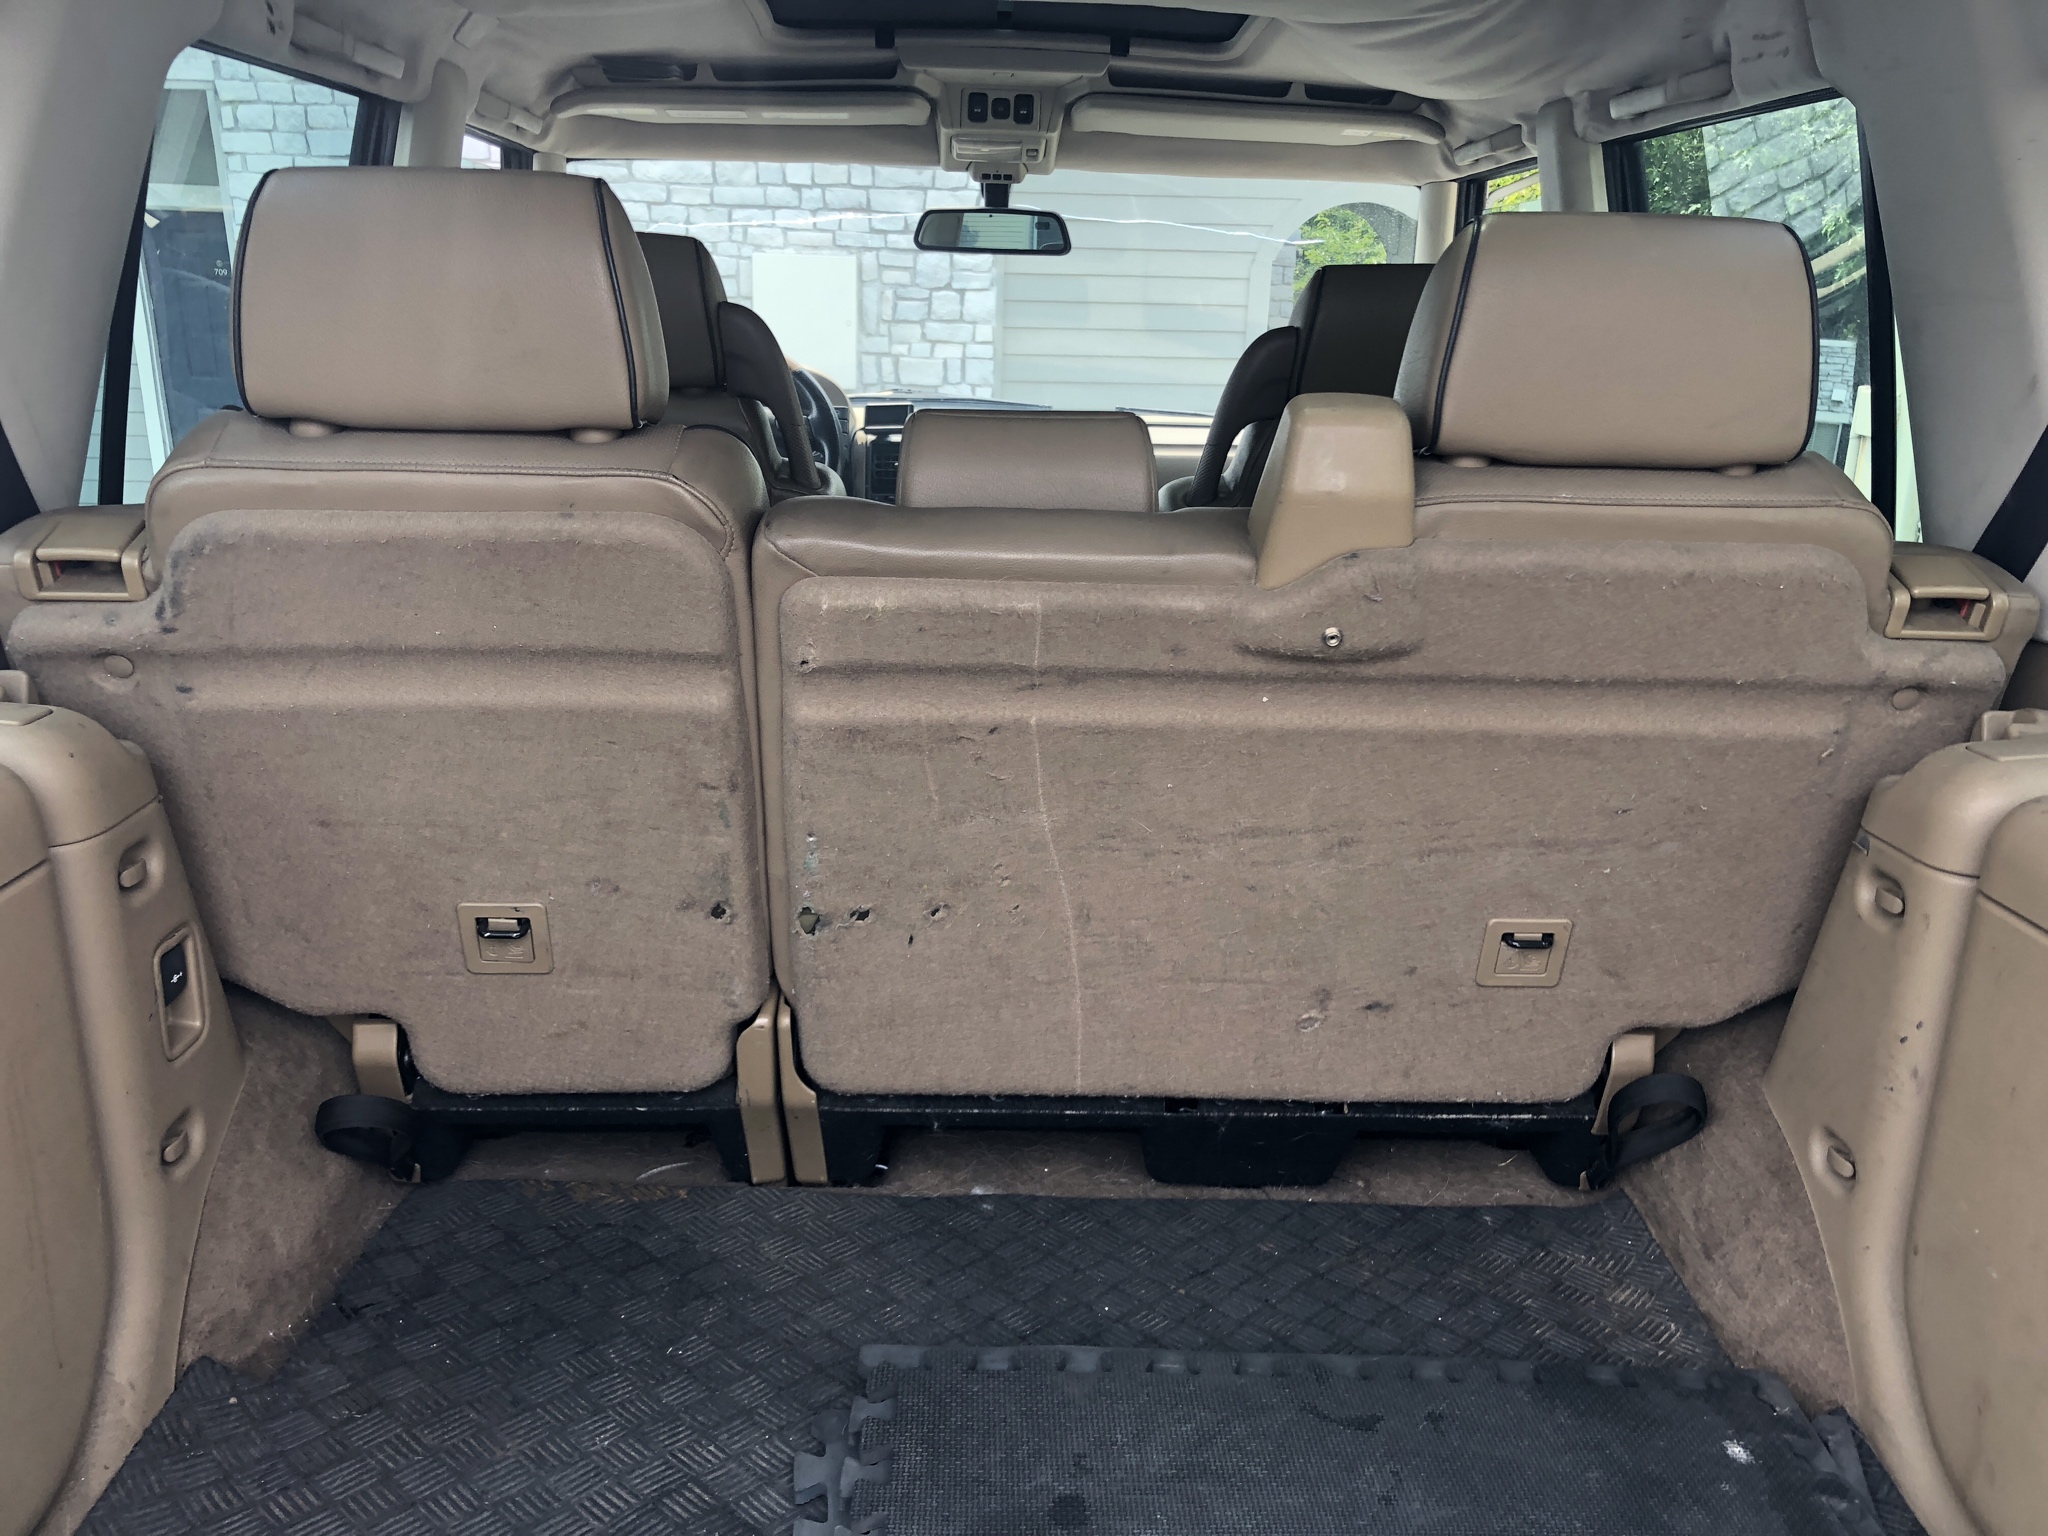
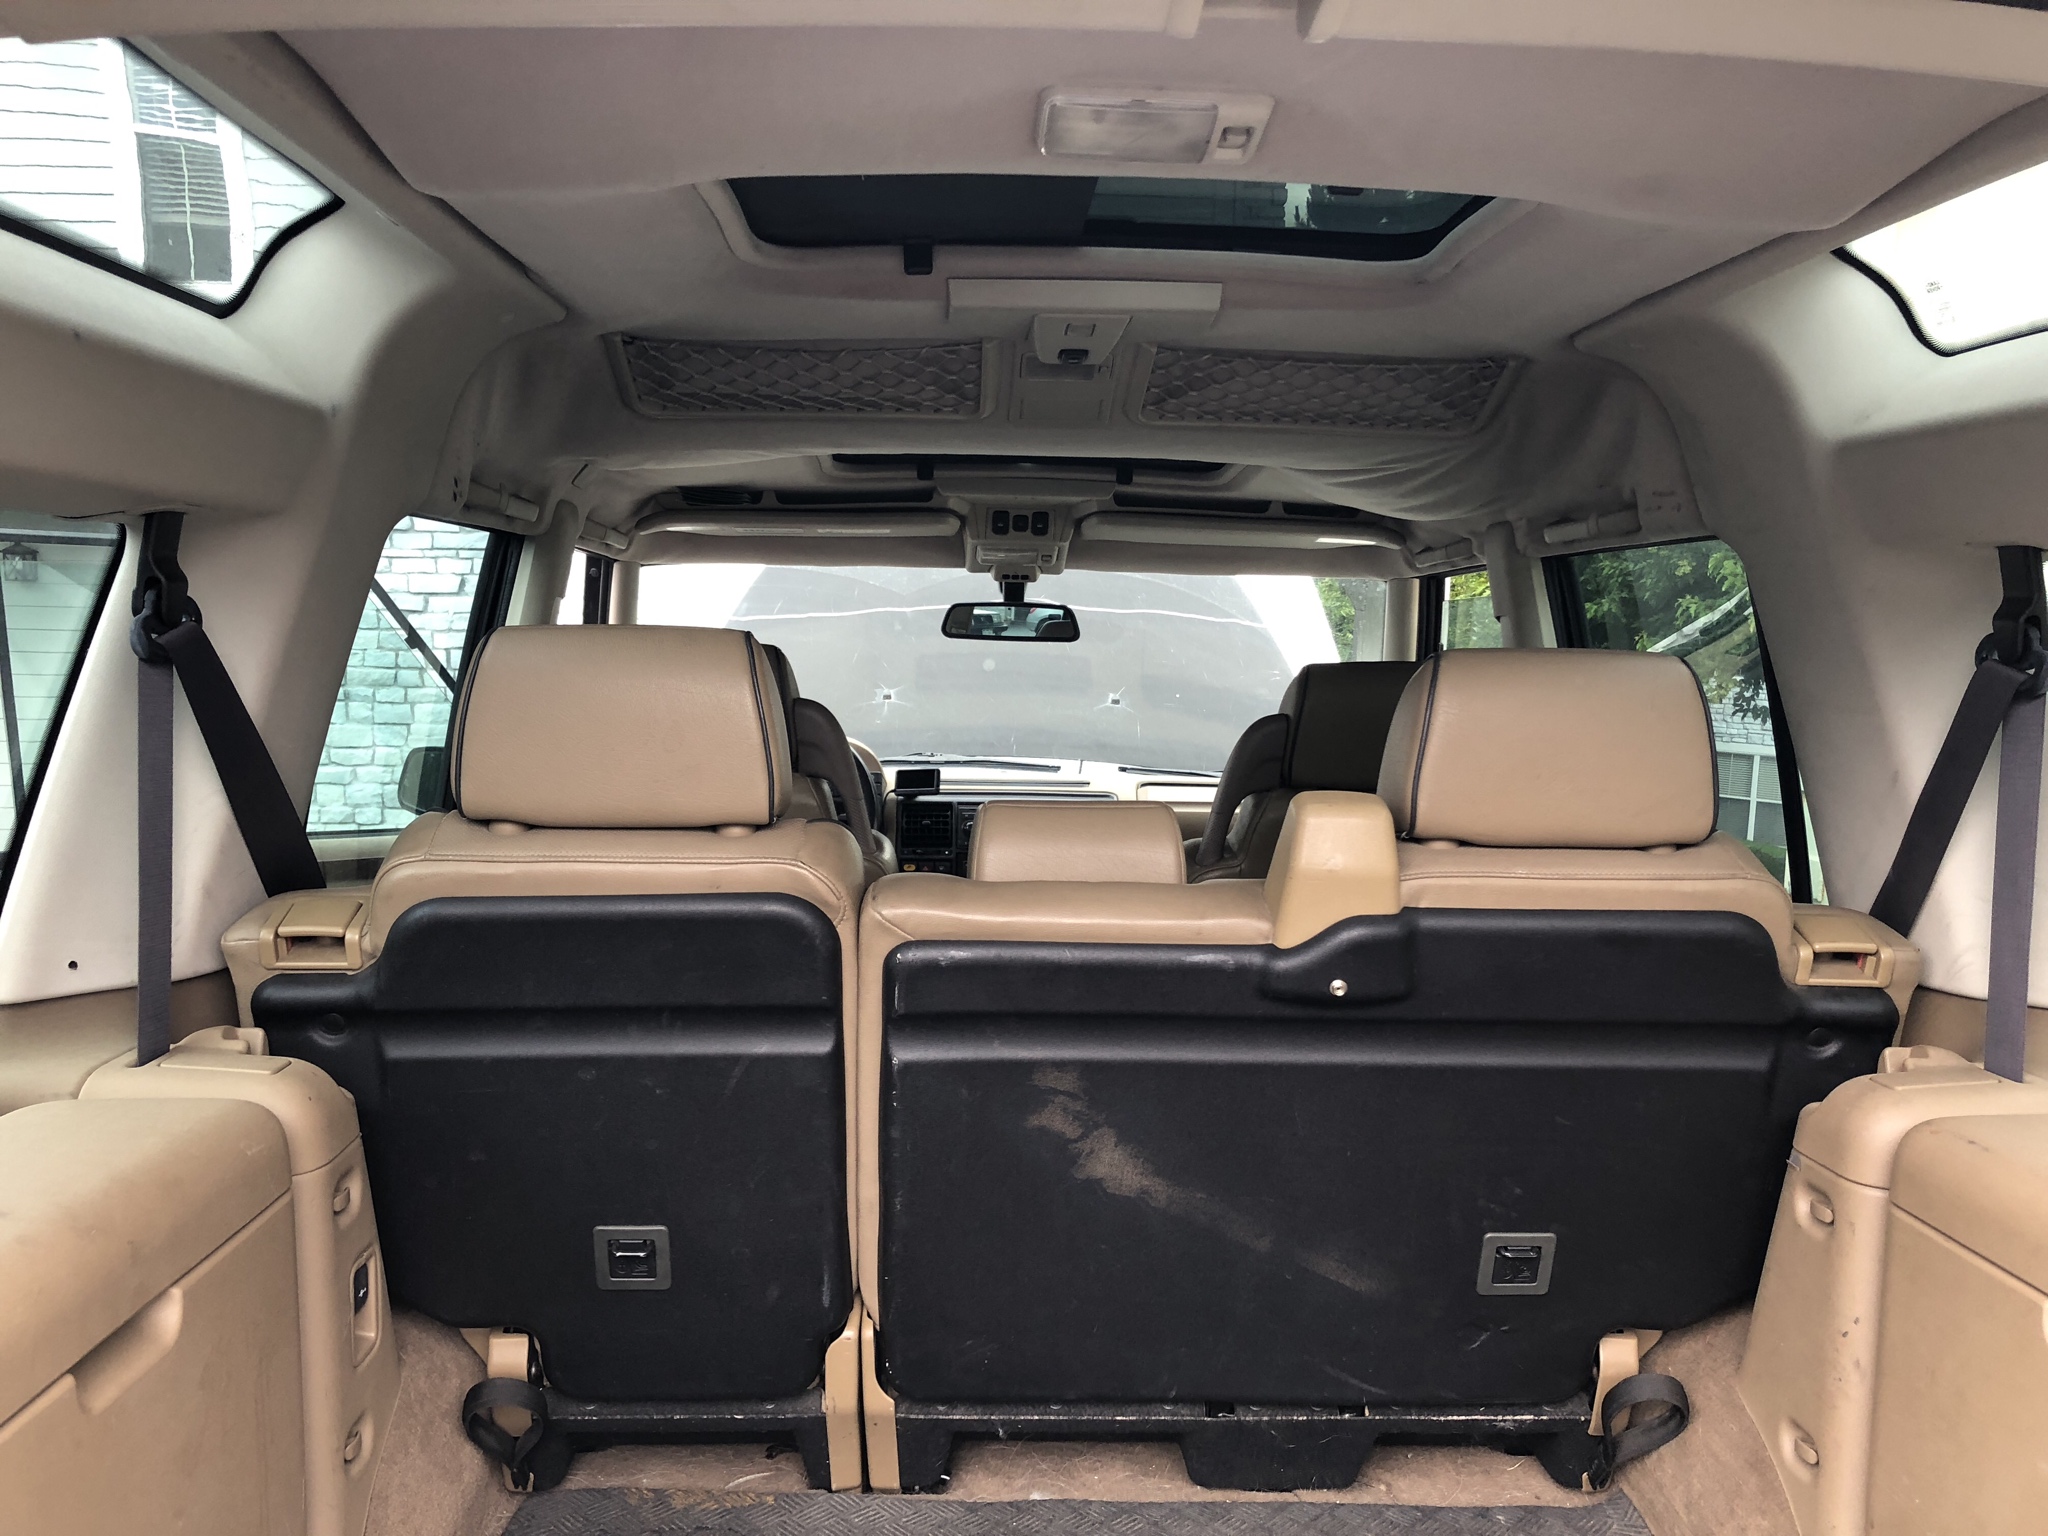
Rear seat trim looked a bit tatty so i grabbed these black leather / smooth ones. I think it looks alright
Funny thing about this mech oil pressure gauge -- it was installed in the engine bay near the SAI pump in the donor Disco 2 -- weird. I couldnt get the bolt out of the oil filter housing (didn't have the right wrench) but got the brass fitting which screws right into the extra bolt on the oil filter housing. Hopefully i'll get mine out, drill it and tap for the brass fitting and be on my merry way.. Came with a mount so thinking about putting it..
HERE
Fun times
Color difference -- left one is what was in the truck and right is what i got today.
Rear seat trim looked a bit tatty so i grabbed these black leather / smooth ones. I think it looks alright
Funny thing about this mech oil pressure gauge -- it was installed in the engine bay near the SAI pump in the donor Disco 2 -- weird. I couldnt get the bolt out of the oil filter housing (didn't have the right wrench) but got the brass fitting which screws right into the extra bolt on the oil filter housing. Hopefully i'll get mine out, drill it and tap for the brass fitting and be on my merry way.. Came with a mount so thinking about putting it..
HERE
Fun times

Yes!
Used all those bolts though, so cup holder is empty now..
I was thinking about going back to the same yard today and grab that stupid bolt out of the oil filter housing to run the oil pressure gauge but i got lazy
Used all those bolts though, so cup holder is empty now..
I was thinking about going back to the same yard today and grab that stupid bolt out of the oil filter housing to run the oil pressure gauge but i got lazy

Changed the bump stops in hopes of increasing the turning radius -- Went to Home Depot and got bolts / washers. FYI -- Turn stop replacement bolts are M12x1.75 -- I got a 25mm length and stuck on 2 washers, reduced the size around 1/4".
So far so good but i'll get a better sense tomorrow of the improvement.
So far so good but i'll get a better sense tomorrow of the improvement.

Pro Wrench
Joined: Dec 2016
Posts: 1,603
Likes: 229
From: Fall City, WA
Changed the bump stops in hopes of increasing the turning radius -- Went to Home Depot and got bolts / washers. FYI -- Turn stop replacement bolts are M12x1.75 -- I got a 25mm length and stuck on 2 washers, reduced the size around 1/4".
So far so good but i'll get a better sense tomorrow of the improvement.
So far so good but i'll get a better sense tomorrow of the improvement.

TReK
Joined: Jul 2017
Posts: 3,387
Likes: 488
Went junk'in today and found some good stuff i needed. $44 got me new B - pillar interior trim pieces, rear seat trim, spare tire carrier and a Bosch oil pressure gauge. All installed and looks good. MagPie didn't come with the interior B - pillar trim except for one piece. Found suitable replacements even though the donor car had real leather and MagPie doesnt -- colors are slightly different.

Color difference -- left one is what was in the truck and right is what i got today.

Rear seat trim looked a bit tatty so i grabbed these black leather / smooth ones. I think it looks alright


Funny thing about this mech oil pressure gauge -- it was installed in the engine bay near the SAI pump in the donor Disco 2 -- weird. I couldnt get the bolt out of the oil filter housing (didn't have the right wrench) but got the brass fitting which screws right into the extra bolt on the oil filter housing. Hopefully i'll get mine out, drill it and tap for the brass fitting and be on my merry way.. Came with a mount so thinking about putting it..
HERE

Fun times
Color difference -- left one is what was in the truck and right is what i got today.
Rear seat trim looked a bit tatty so i grabbed these black leather / smooth ones. I think it looks alright
Funny thing about this mech oil pressure gauge -- it was installed in the engine bay near the SAI pump in the donor Disco 2 -- weird. I couldnt get the bolt out of the oil filter housing (didn't have the right wrench) but got the brass fitting which screws right into the extra bolt on the oil filter housing. Hopefully i'll get mine out, drill it and tap for the brass fitting and be on my merry way.. Came with a mount so thinking about putting it..
HERE
Fun times
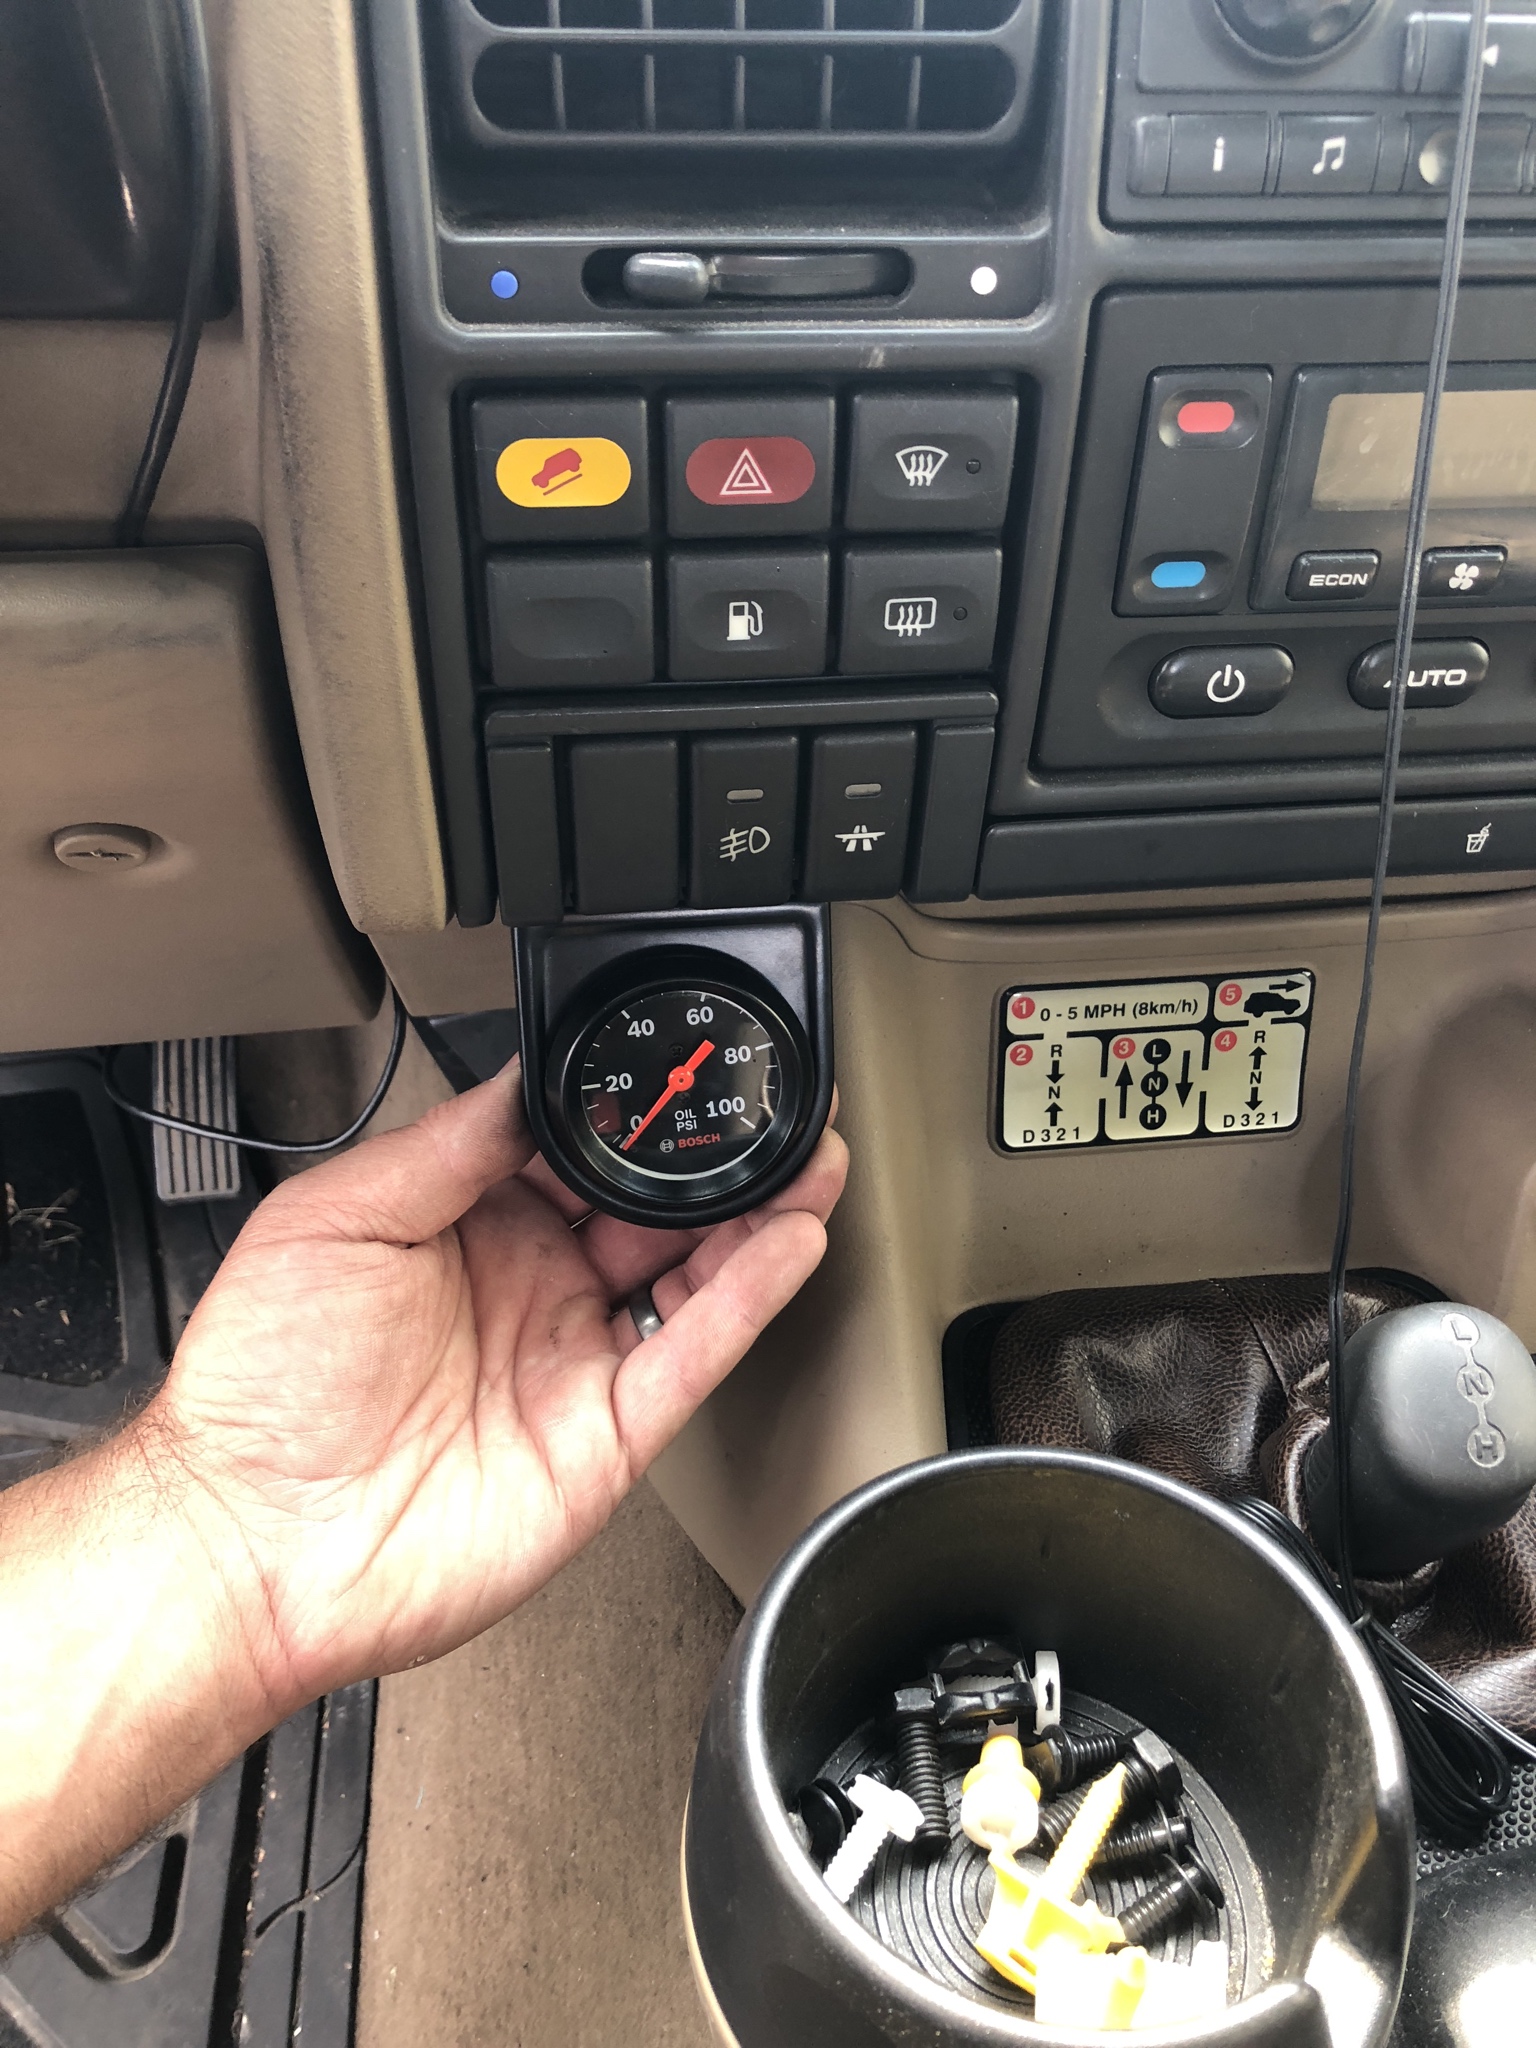
Guage will look good there, but depending on your heigth, it may hit your knee.
I am mounting my oil pressure gage where the clock is, next to the power door lock button.
When I have time later, I will switch sides, lock button and guage to left side of radio, and rear defrost, heated windsheild, hill descent, etc will move to the right.
Just extend and solder wires.
I used a command strip to put my UltraGage bracket on the left side coin tray, so eventually the oil pressure guage will be directly above it.
After removing the clock, I dremeled out the 2 1/8" guage opening.
I didn't want any guages on the dash or A pillar.
It shouldn't hit my knee but i guess I'll find out
I've done A - pillar mounted / fiberglass stuff before so maybe i'll do something like that. Oh well, i'll figure it out.
In other news, MagPie's temp number seems to be 194. 90% of the time that is where the temps sit while driving around in the 90+ heat, i've seen a low of 179 in the AM and a high of 205 sitting in traffic on a day with temps over 100.
I am pleased.
Still trying to figure out what to do for a reverse light I kinda just want to get a 2x3 LED setup and just mount one to the underside of the rear bumper or in/on the spare some how. Hmmmmmm
I kinda just want to get a 2x3 LED setup and just mount one to the underside of the rear bumper or in/on the spare some how. Hmmmmmm

Camel Trophy
Joined: Sep 2017
Posts: 3,820
Likes: 1,337
From: Mission BC Canada
Same thought I had, mount a switchable in the rear tire. As long as you have a water proof quick disconnect it should not be a problem.

