
Operation Magpie.
#41
 03-06-2018, 03:11 AM


Camel Trophy
#42
03-06-2018, 12:44 PM

Well, MagPie is certainly living up to her (?) name. 1/2 way through a lot of, "well, this is apart so might as well replace this with new stuff that came with the car" phase.
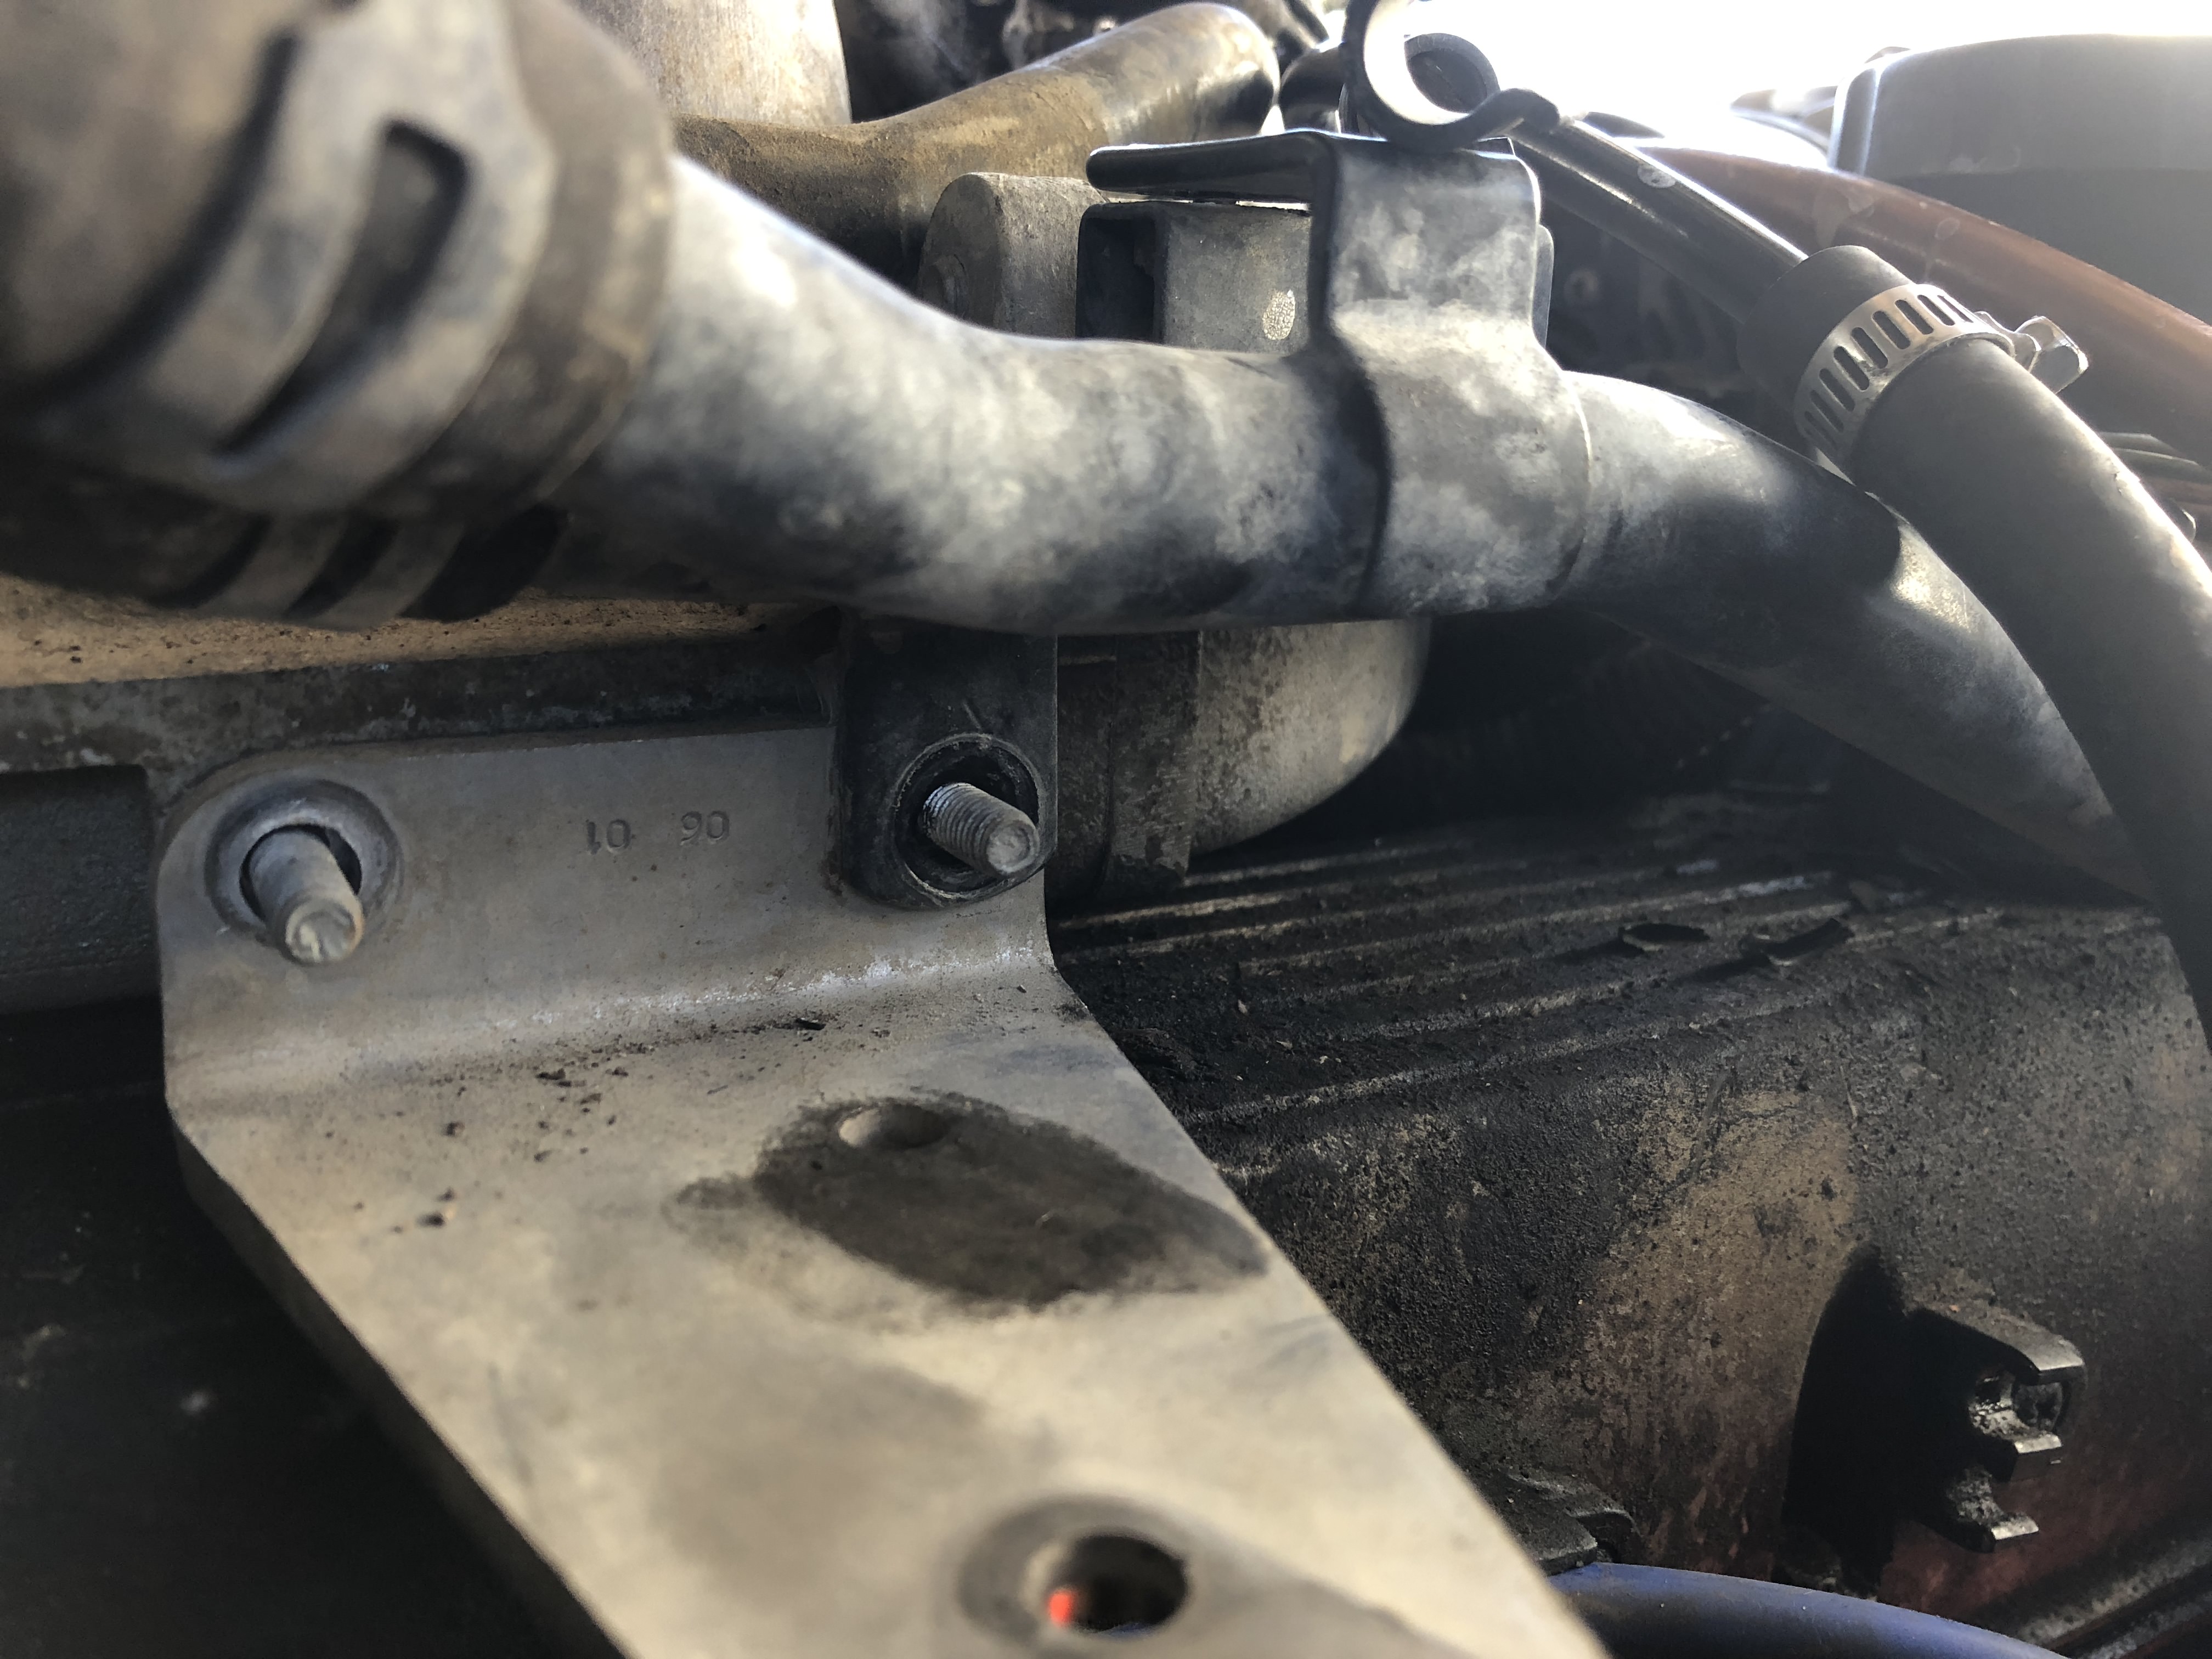
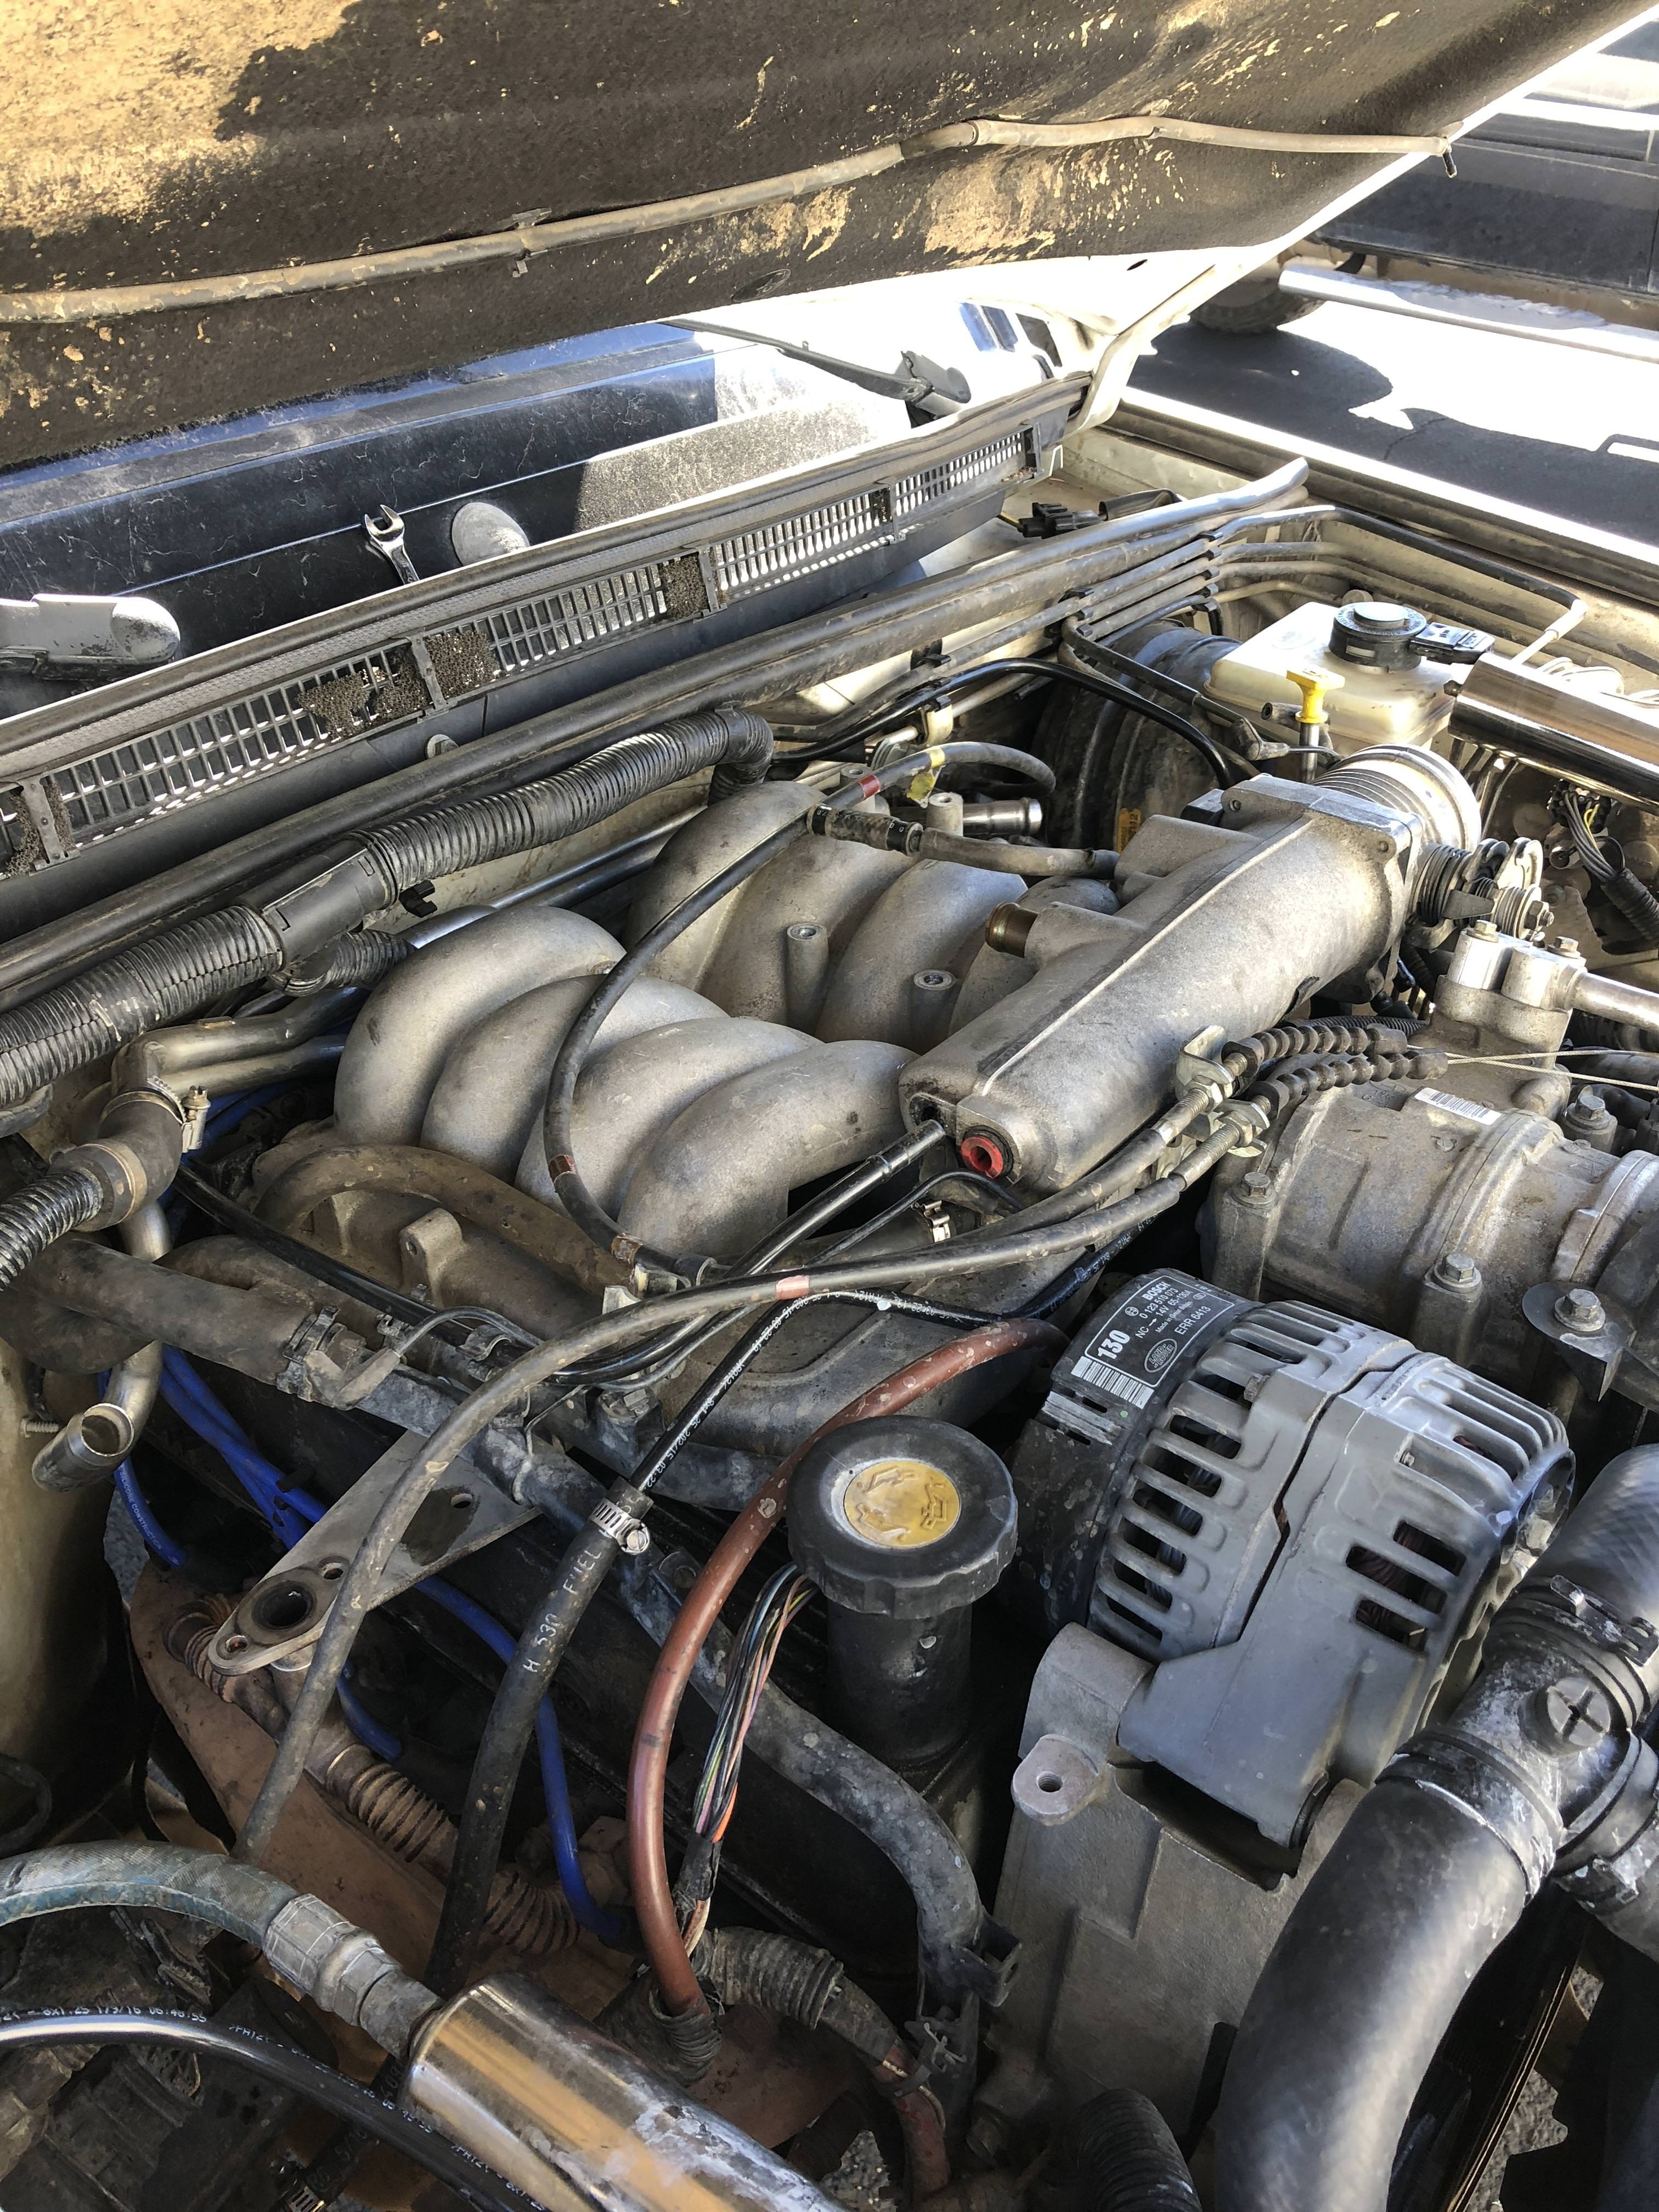
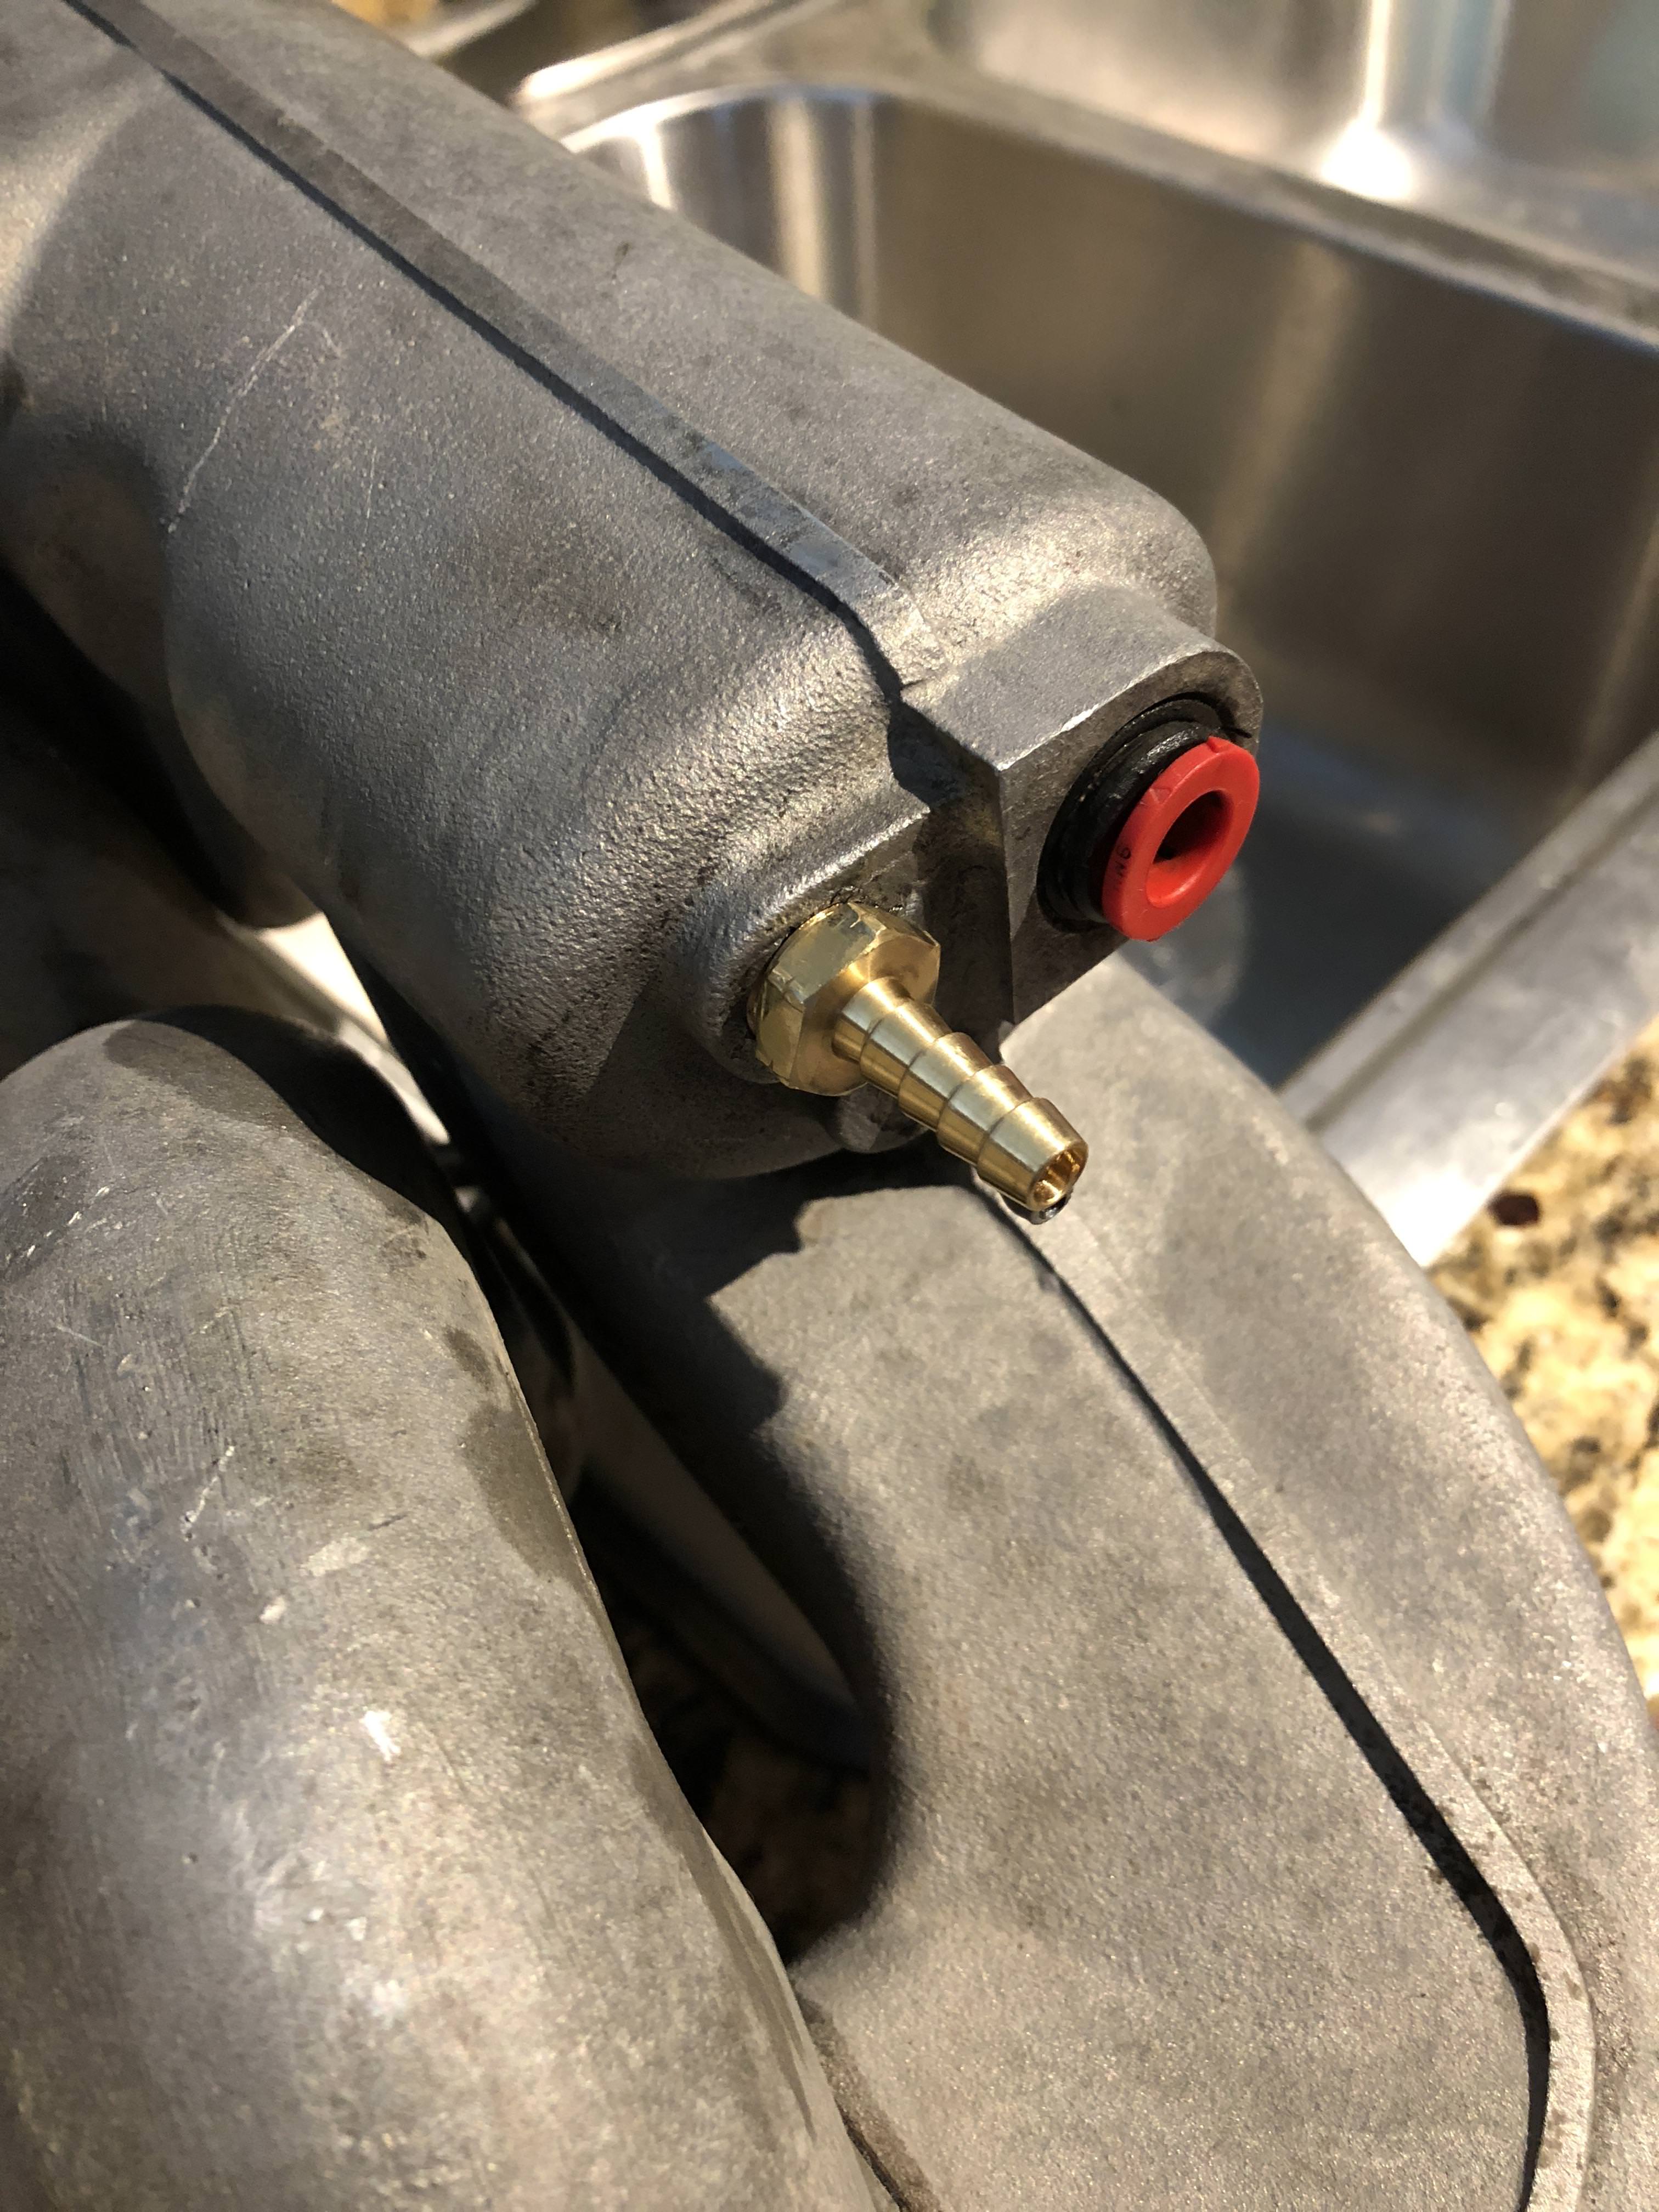
Realized that I am a complete ****ing idiot and had the plugs wires all wired in wrong, hence the no start. All of the diagrams i found apparently were confusing to my pea sized brain and I had the upper row mixed up with the lower row on the coil. I had to repair the stupid PCV plastic nipple dealio on the IM so i decided to yank the IM to fix it properly (no crap getting into the engine) but of course the STUPID SAI CRAP had to be dealt with again. Couldnt take off the IM without unhooking the solid coolant pipe from the firewall because it was strapped to the studs for the passenger SAI mount. Which led me to draining all the coolant -- needed to install the lower hose kit pieces along with a low temp T-stat so had to be done anyways. Now i need to grab a new IM gasket and MIGHT as well do new coils as well because.. land rover.
I'm hoping i can pick up the IM gasket and coils locally for a decent price, that way i can get everything buttoned up tomorrow but might have to order from Lucky8 again which will set me back another few days.
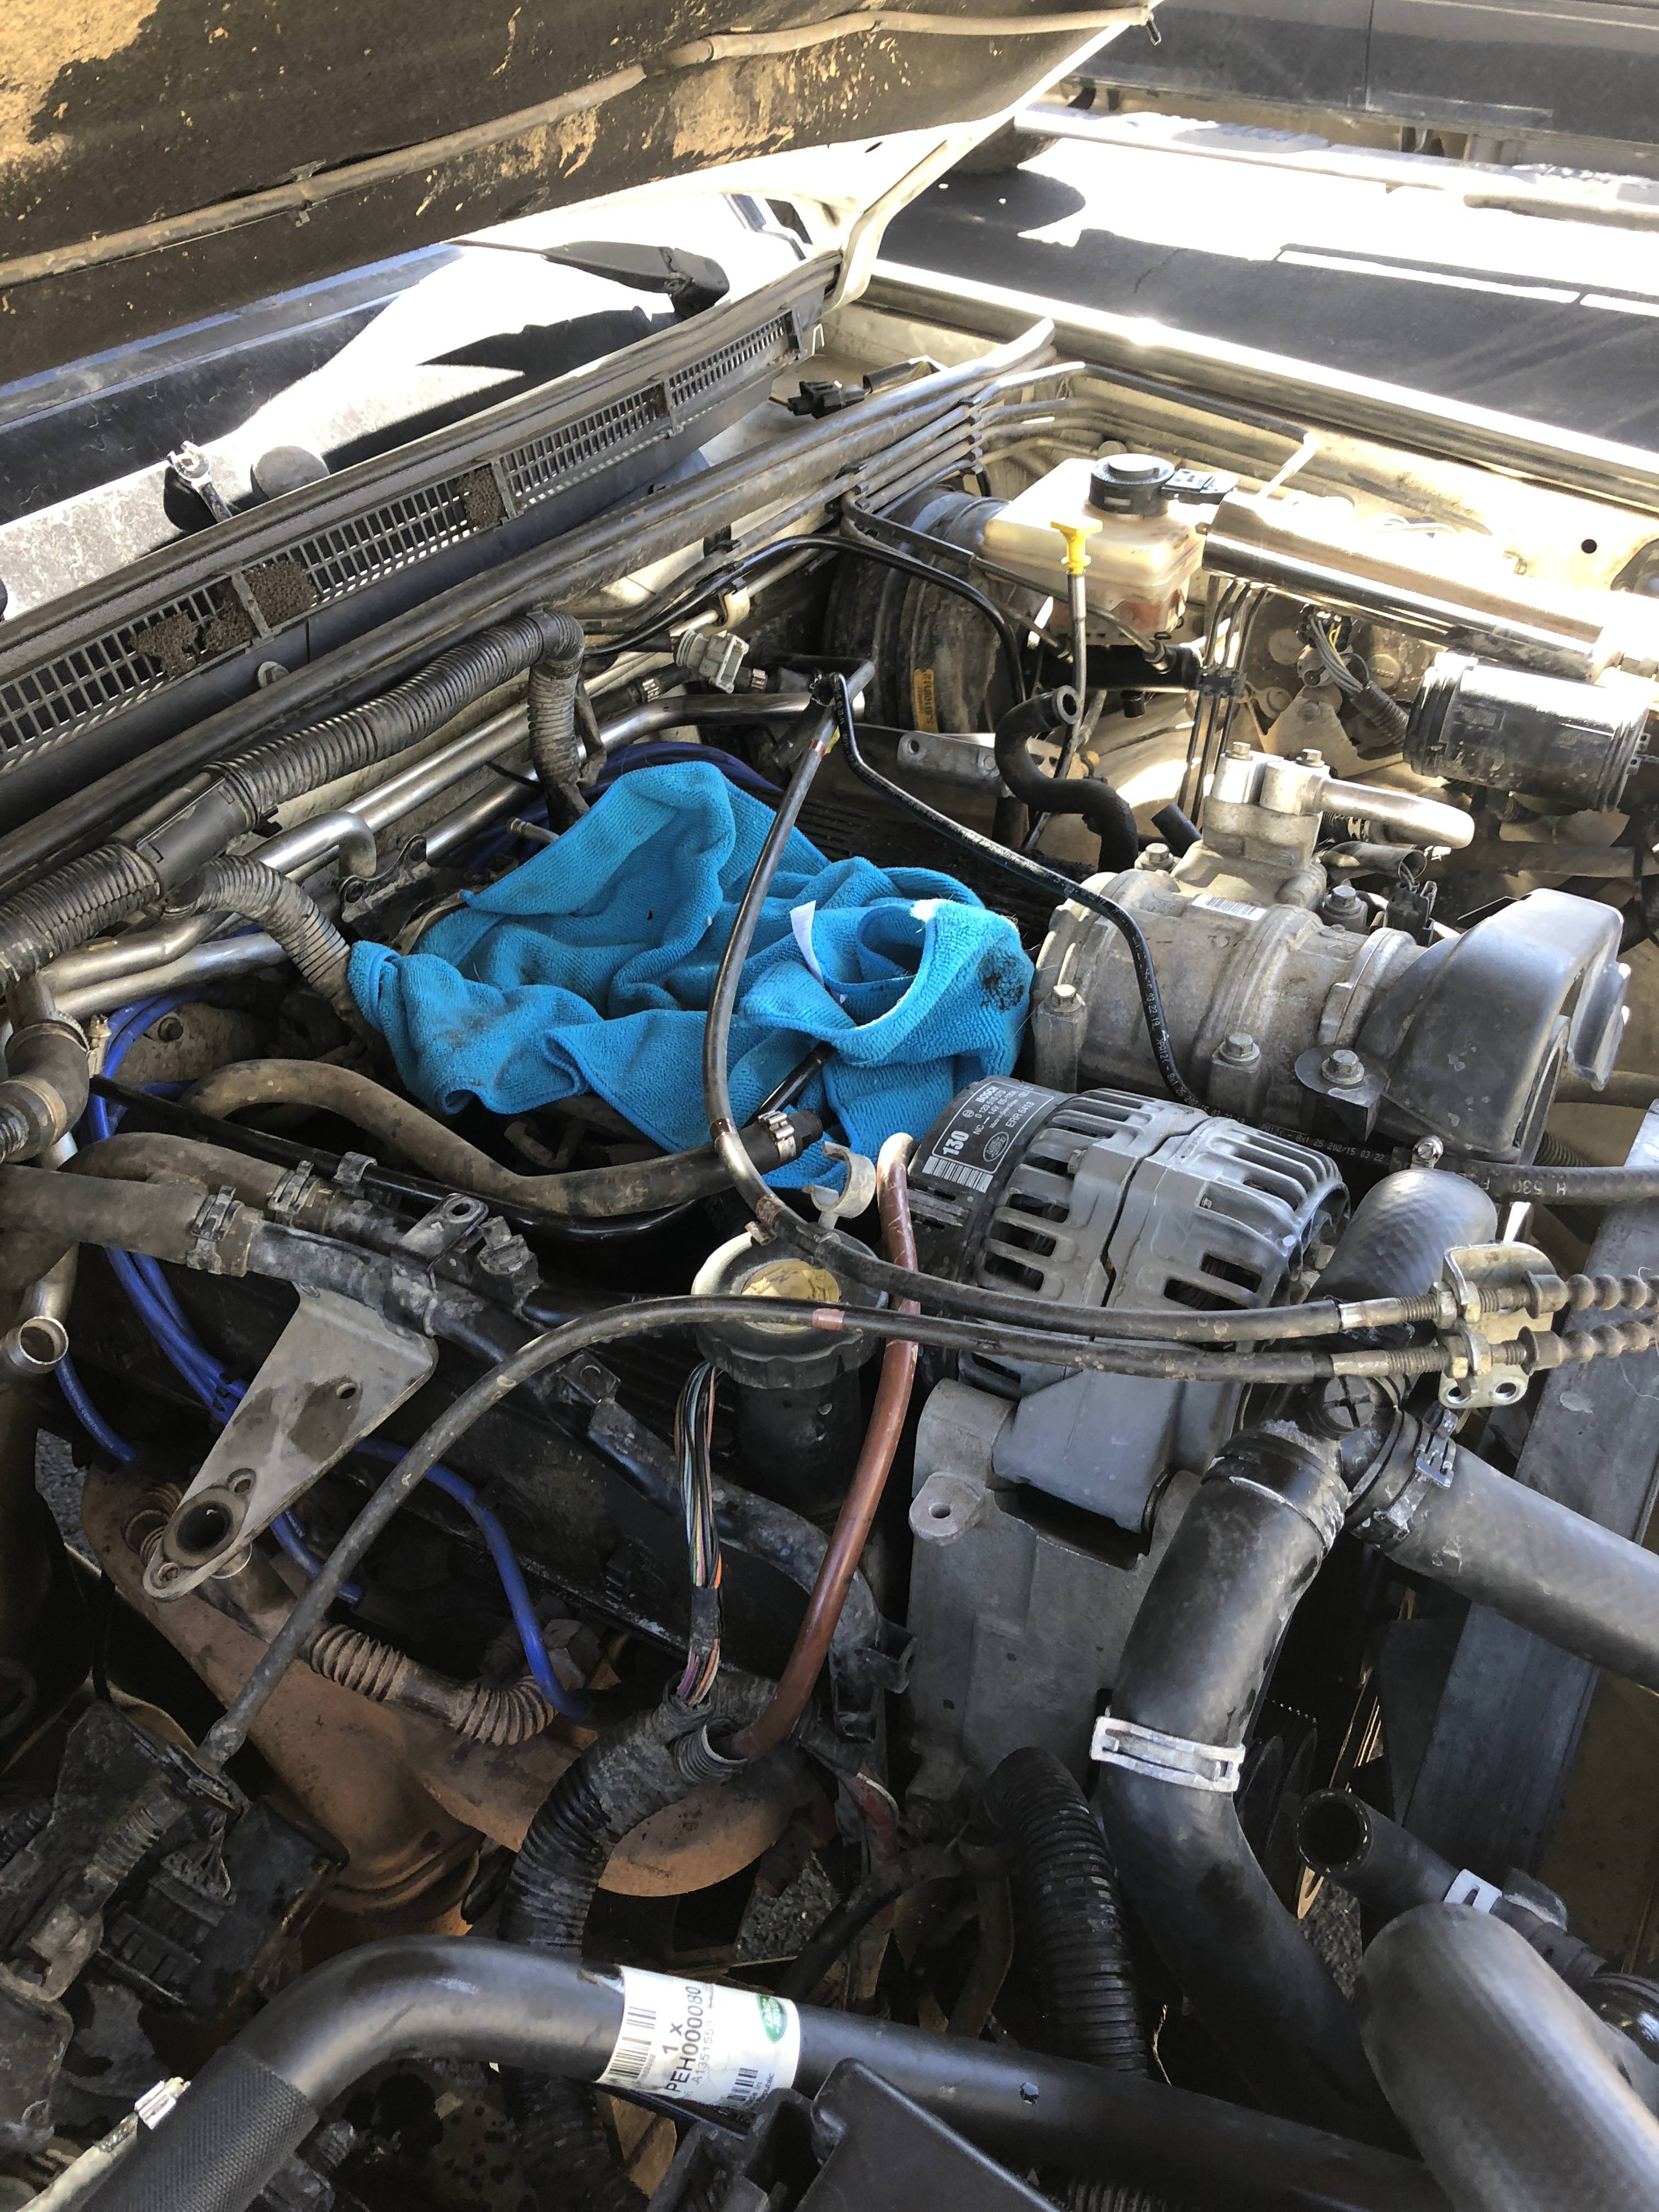
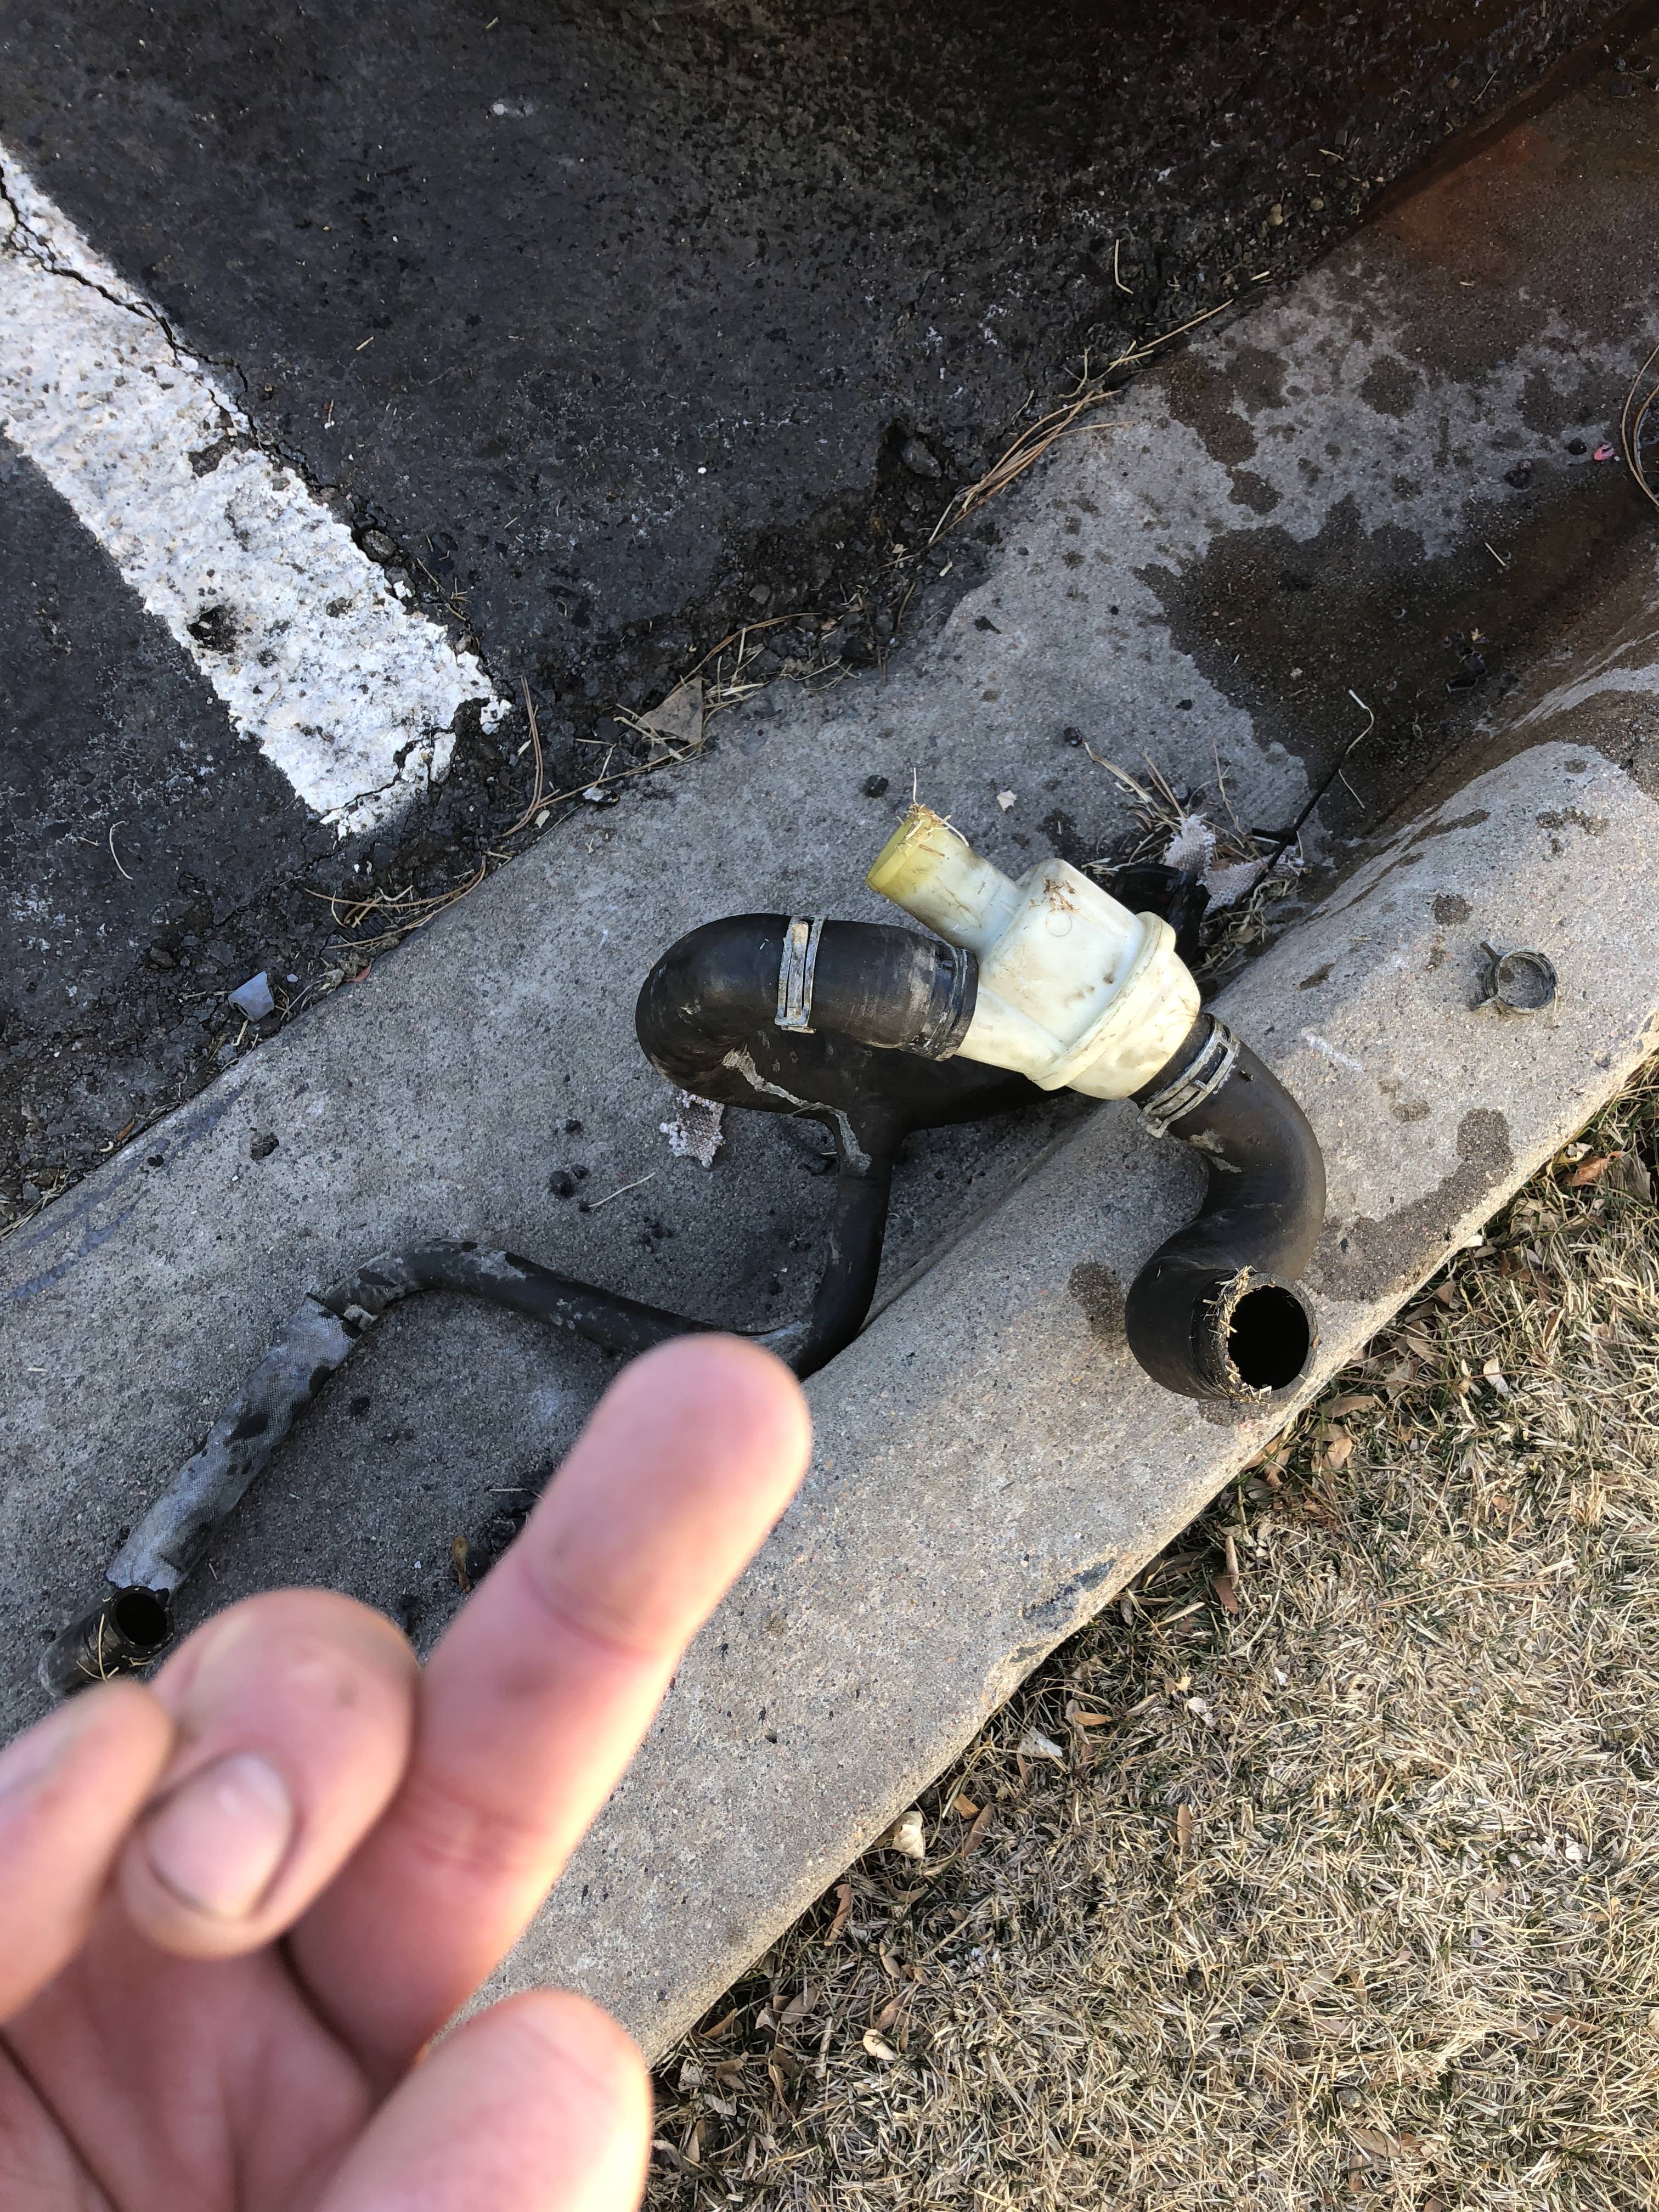
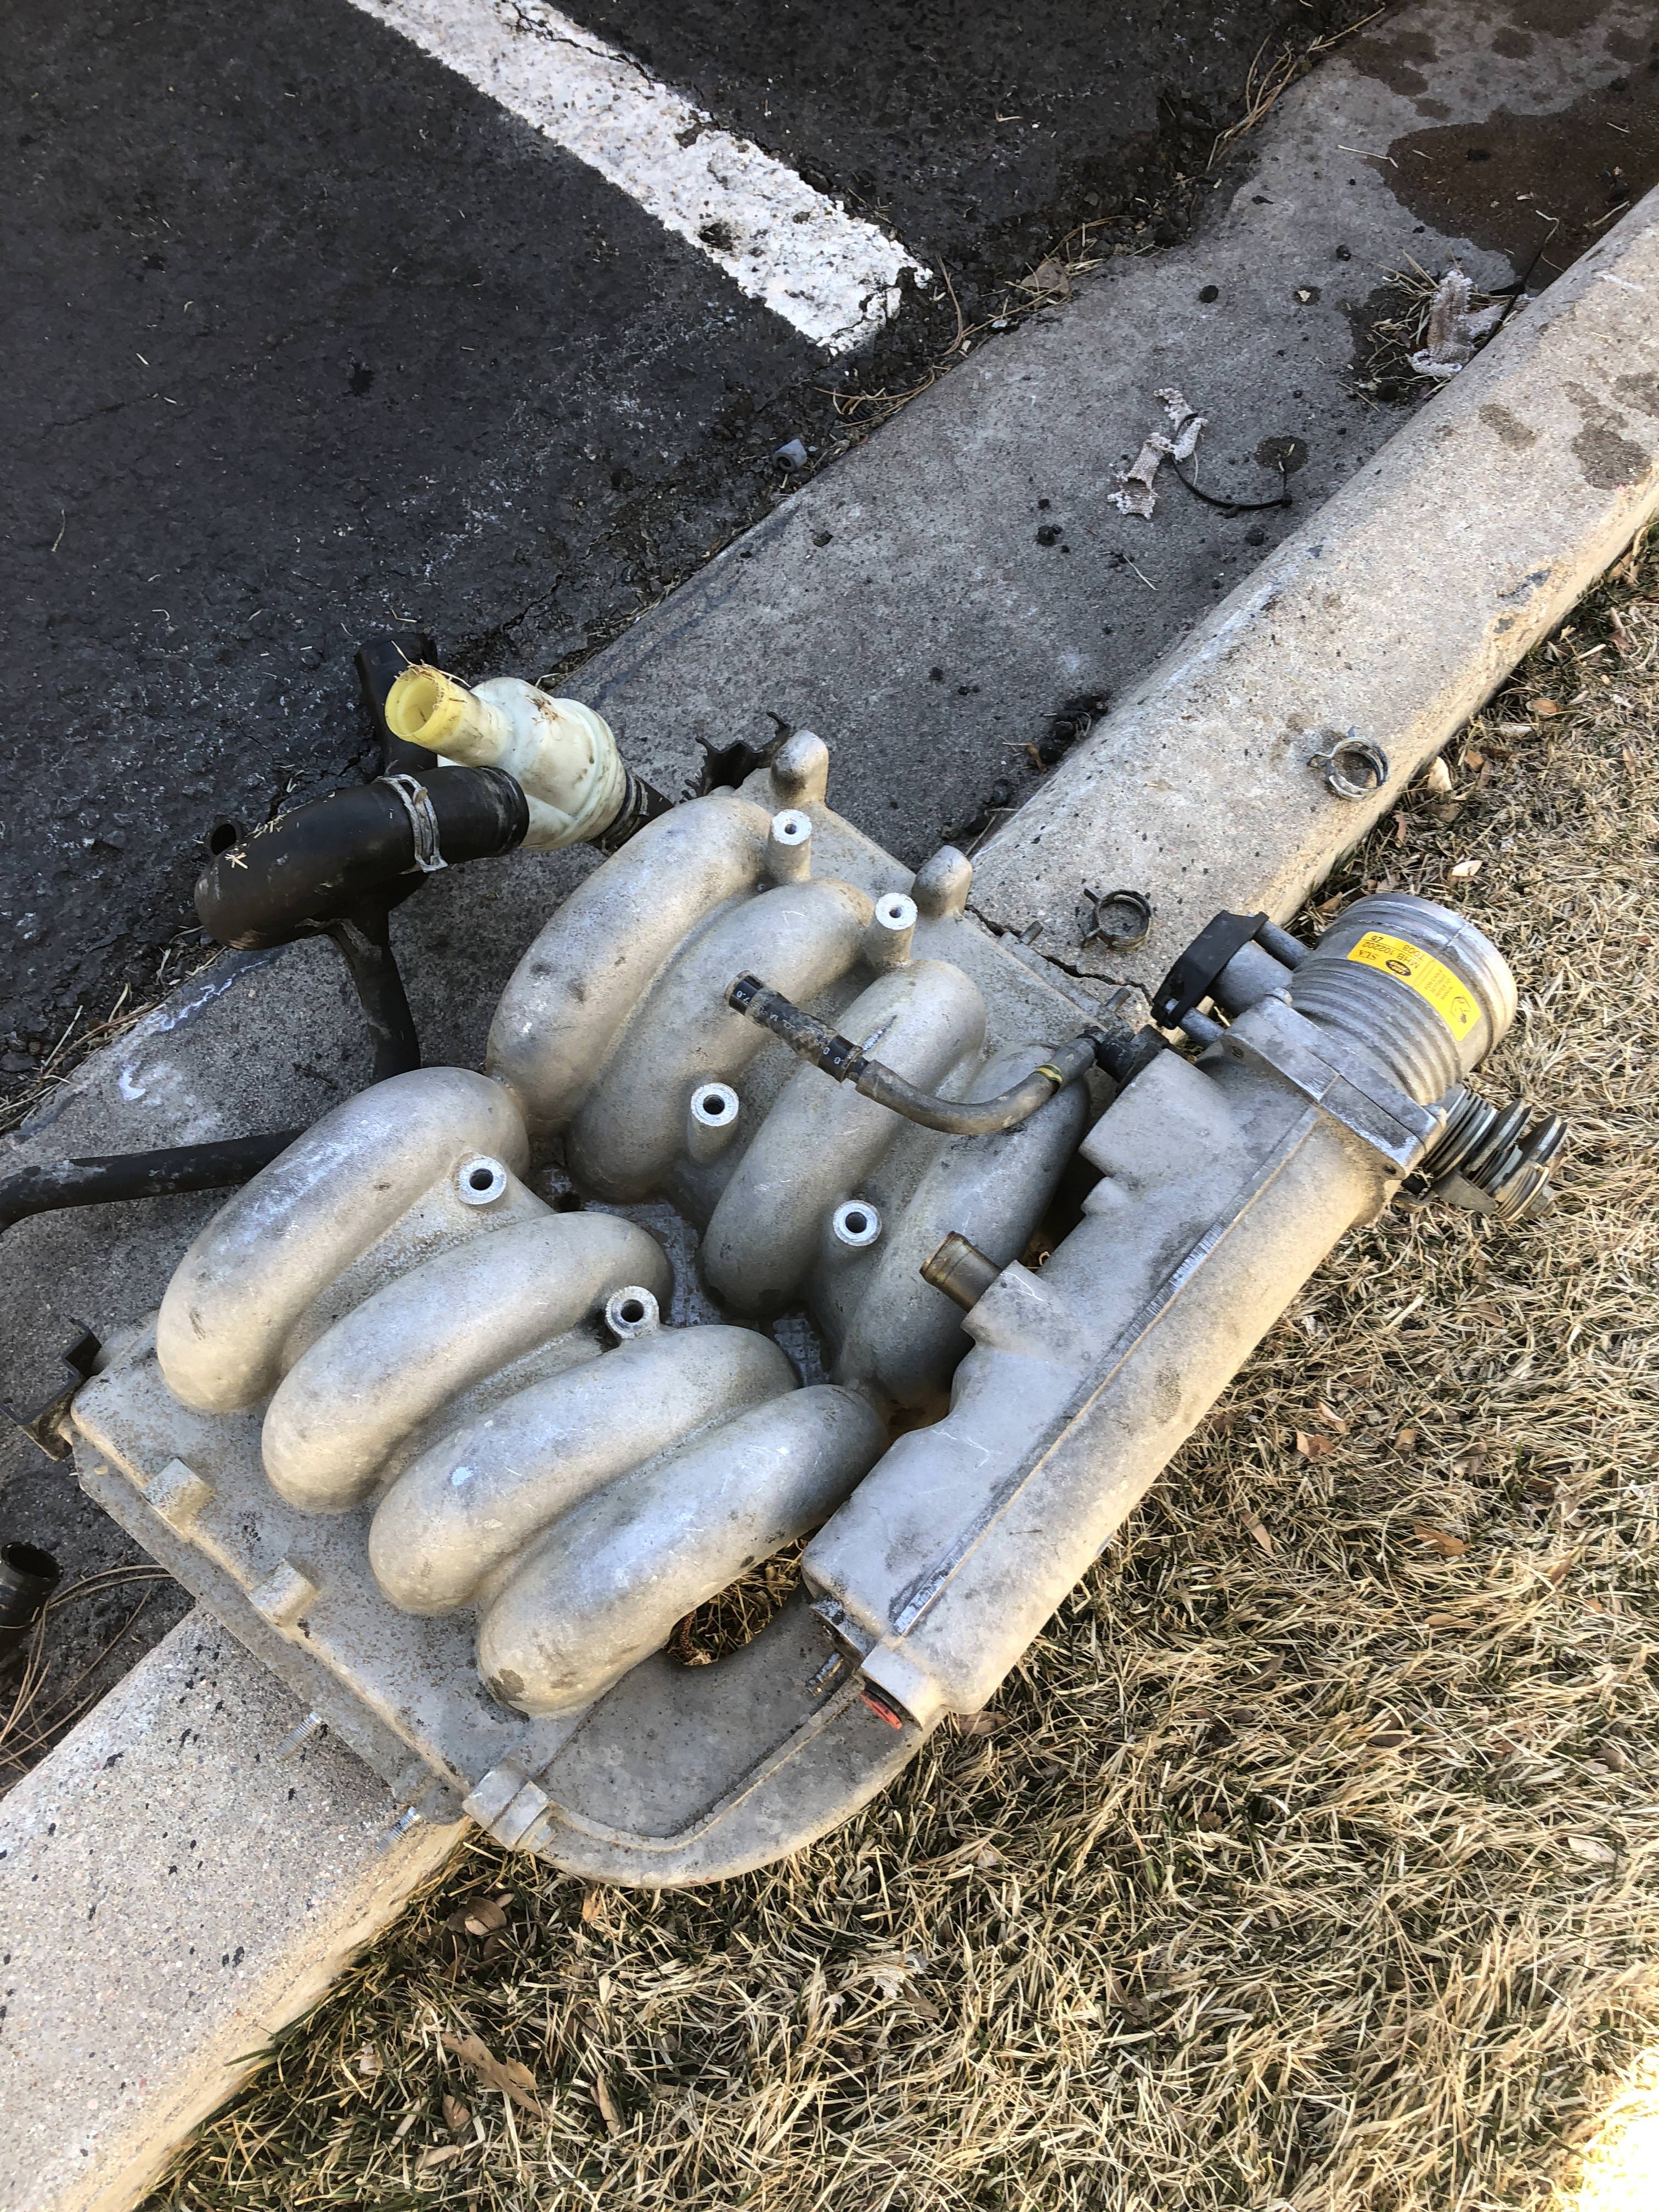
#43
03-06-2018, 03:36 PM
#44
03-07-2018, 03:16 AM
Camel Trophy

#46
03-07-2018, 04:05 PM

Super Moderator

#47
03-08-2018, 03:17 AM
Camel Trophy
#48
03-08-2018, 10:42 AM
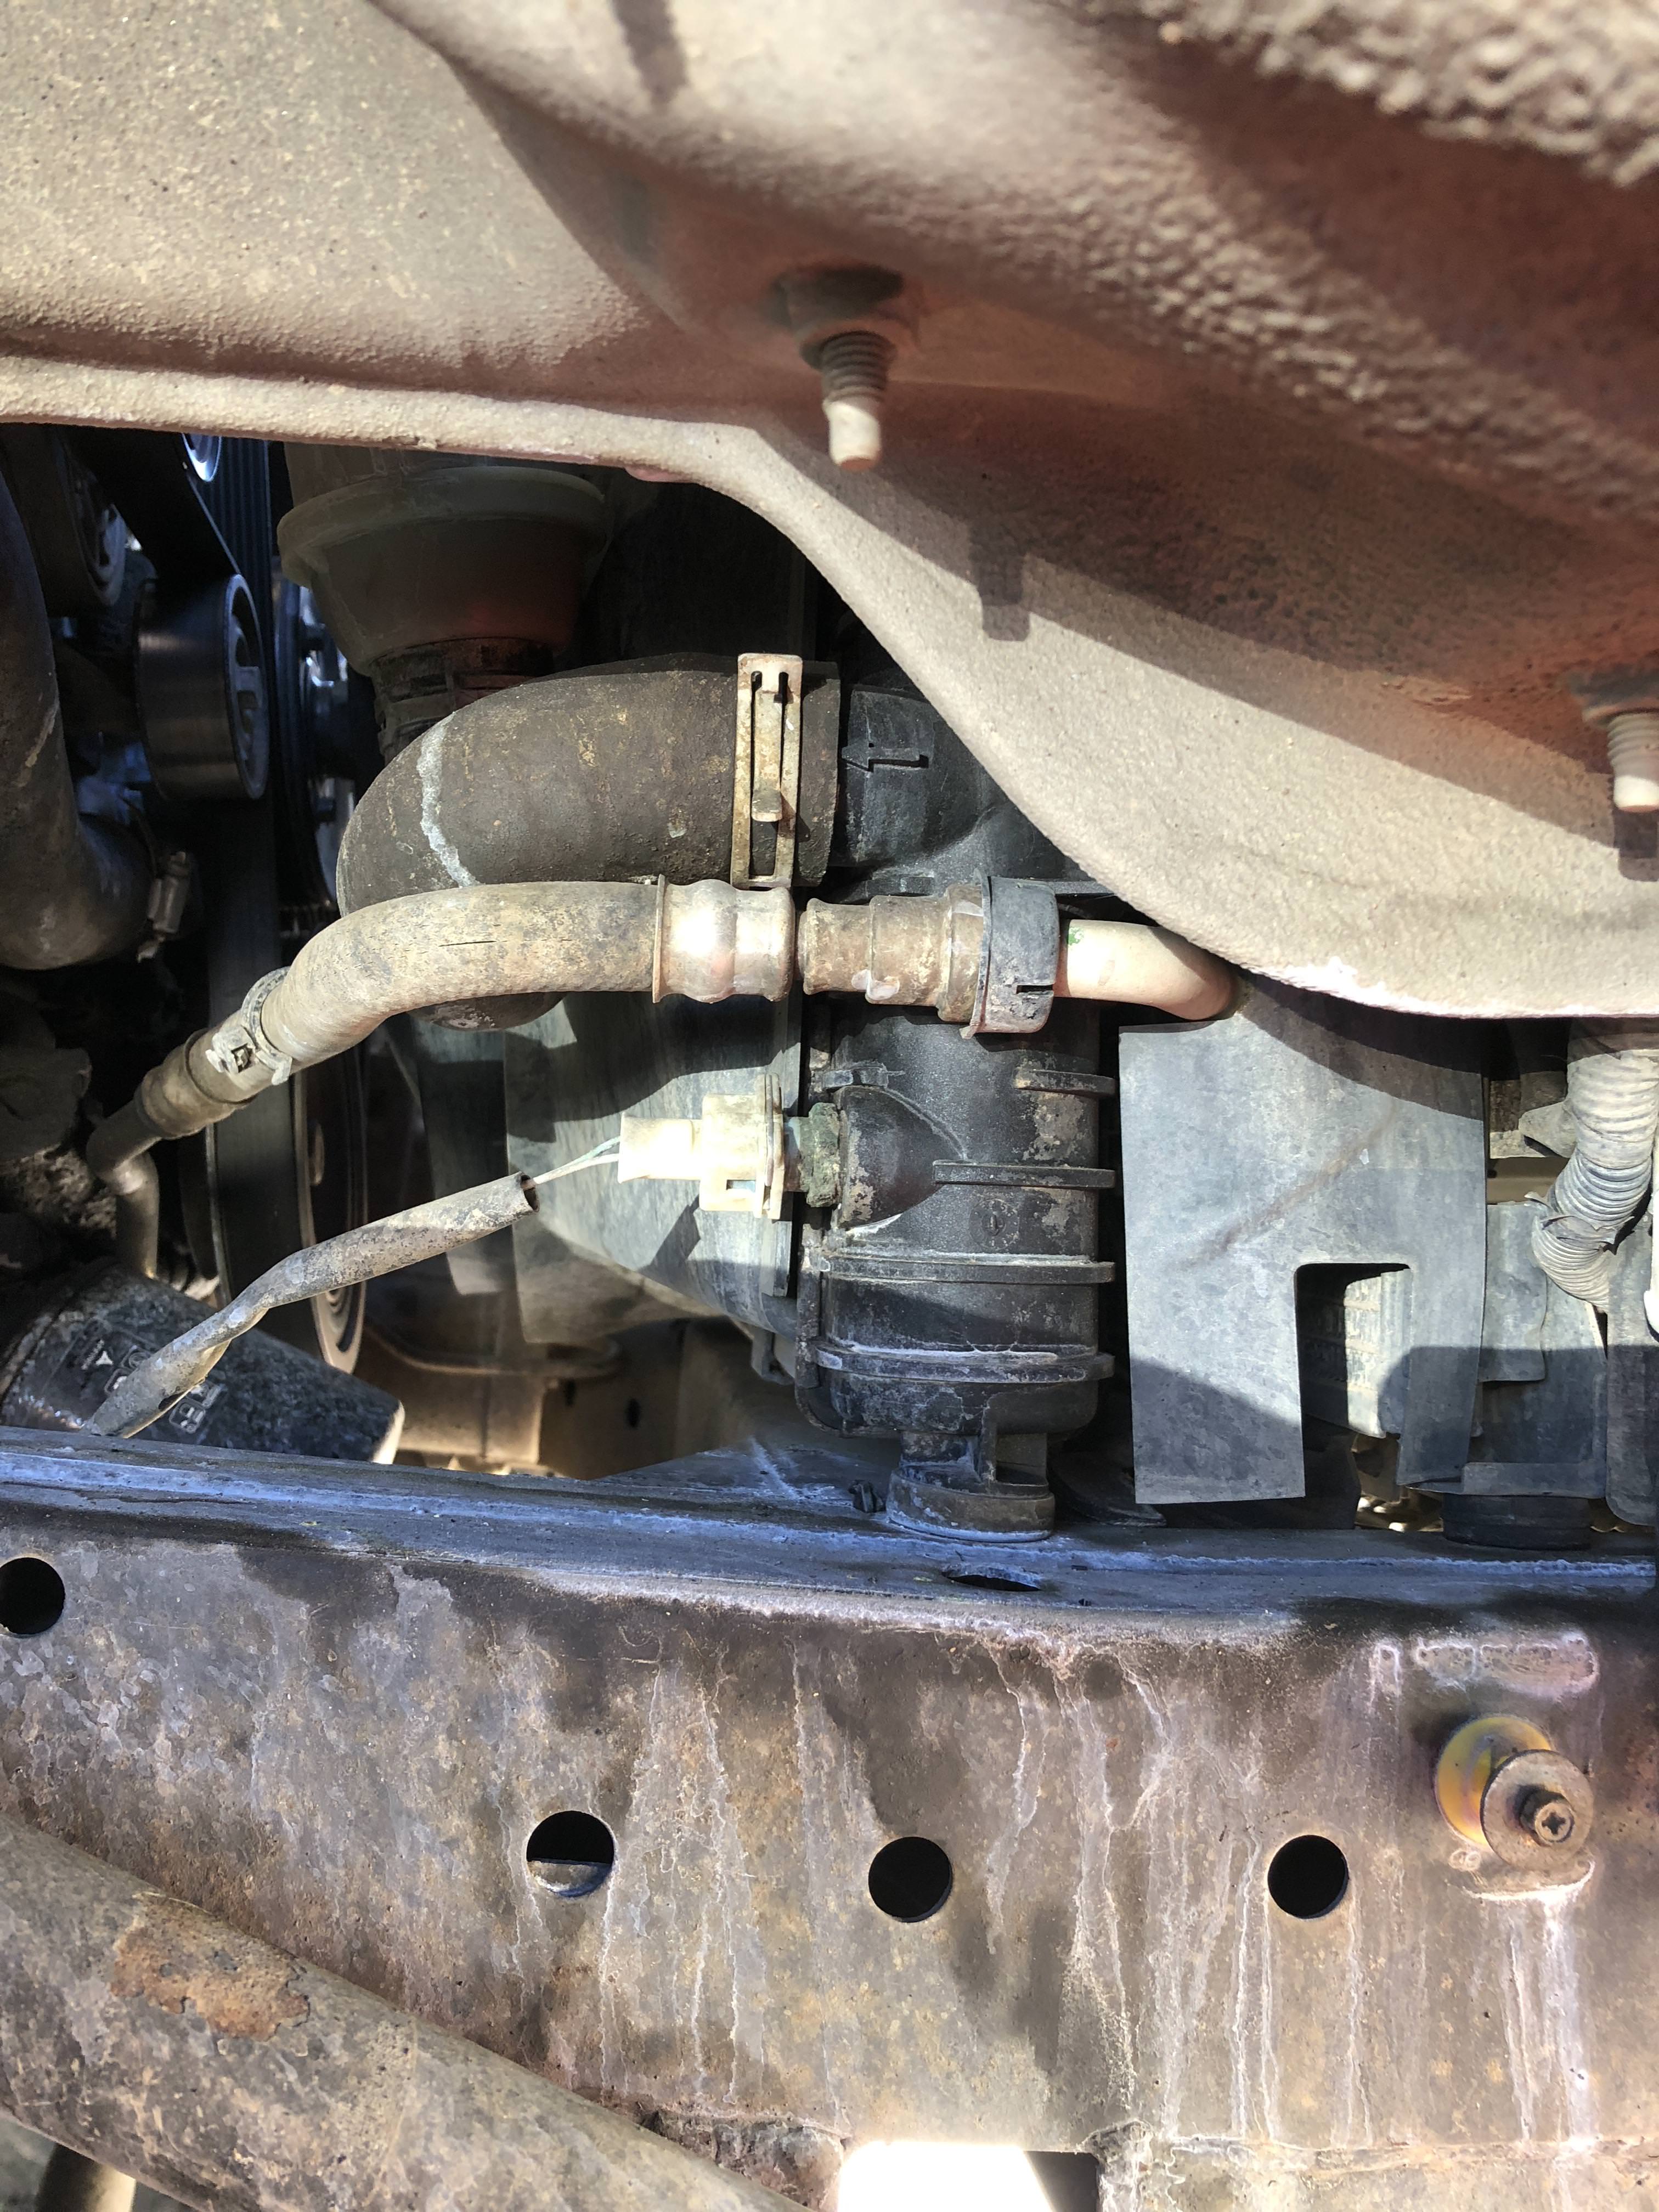
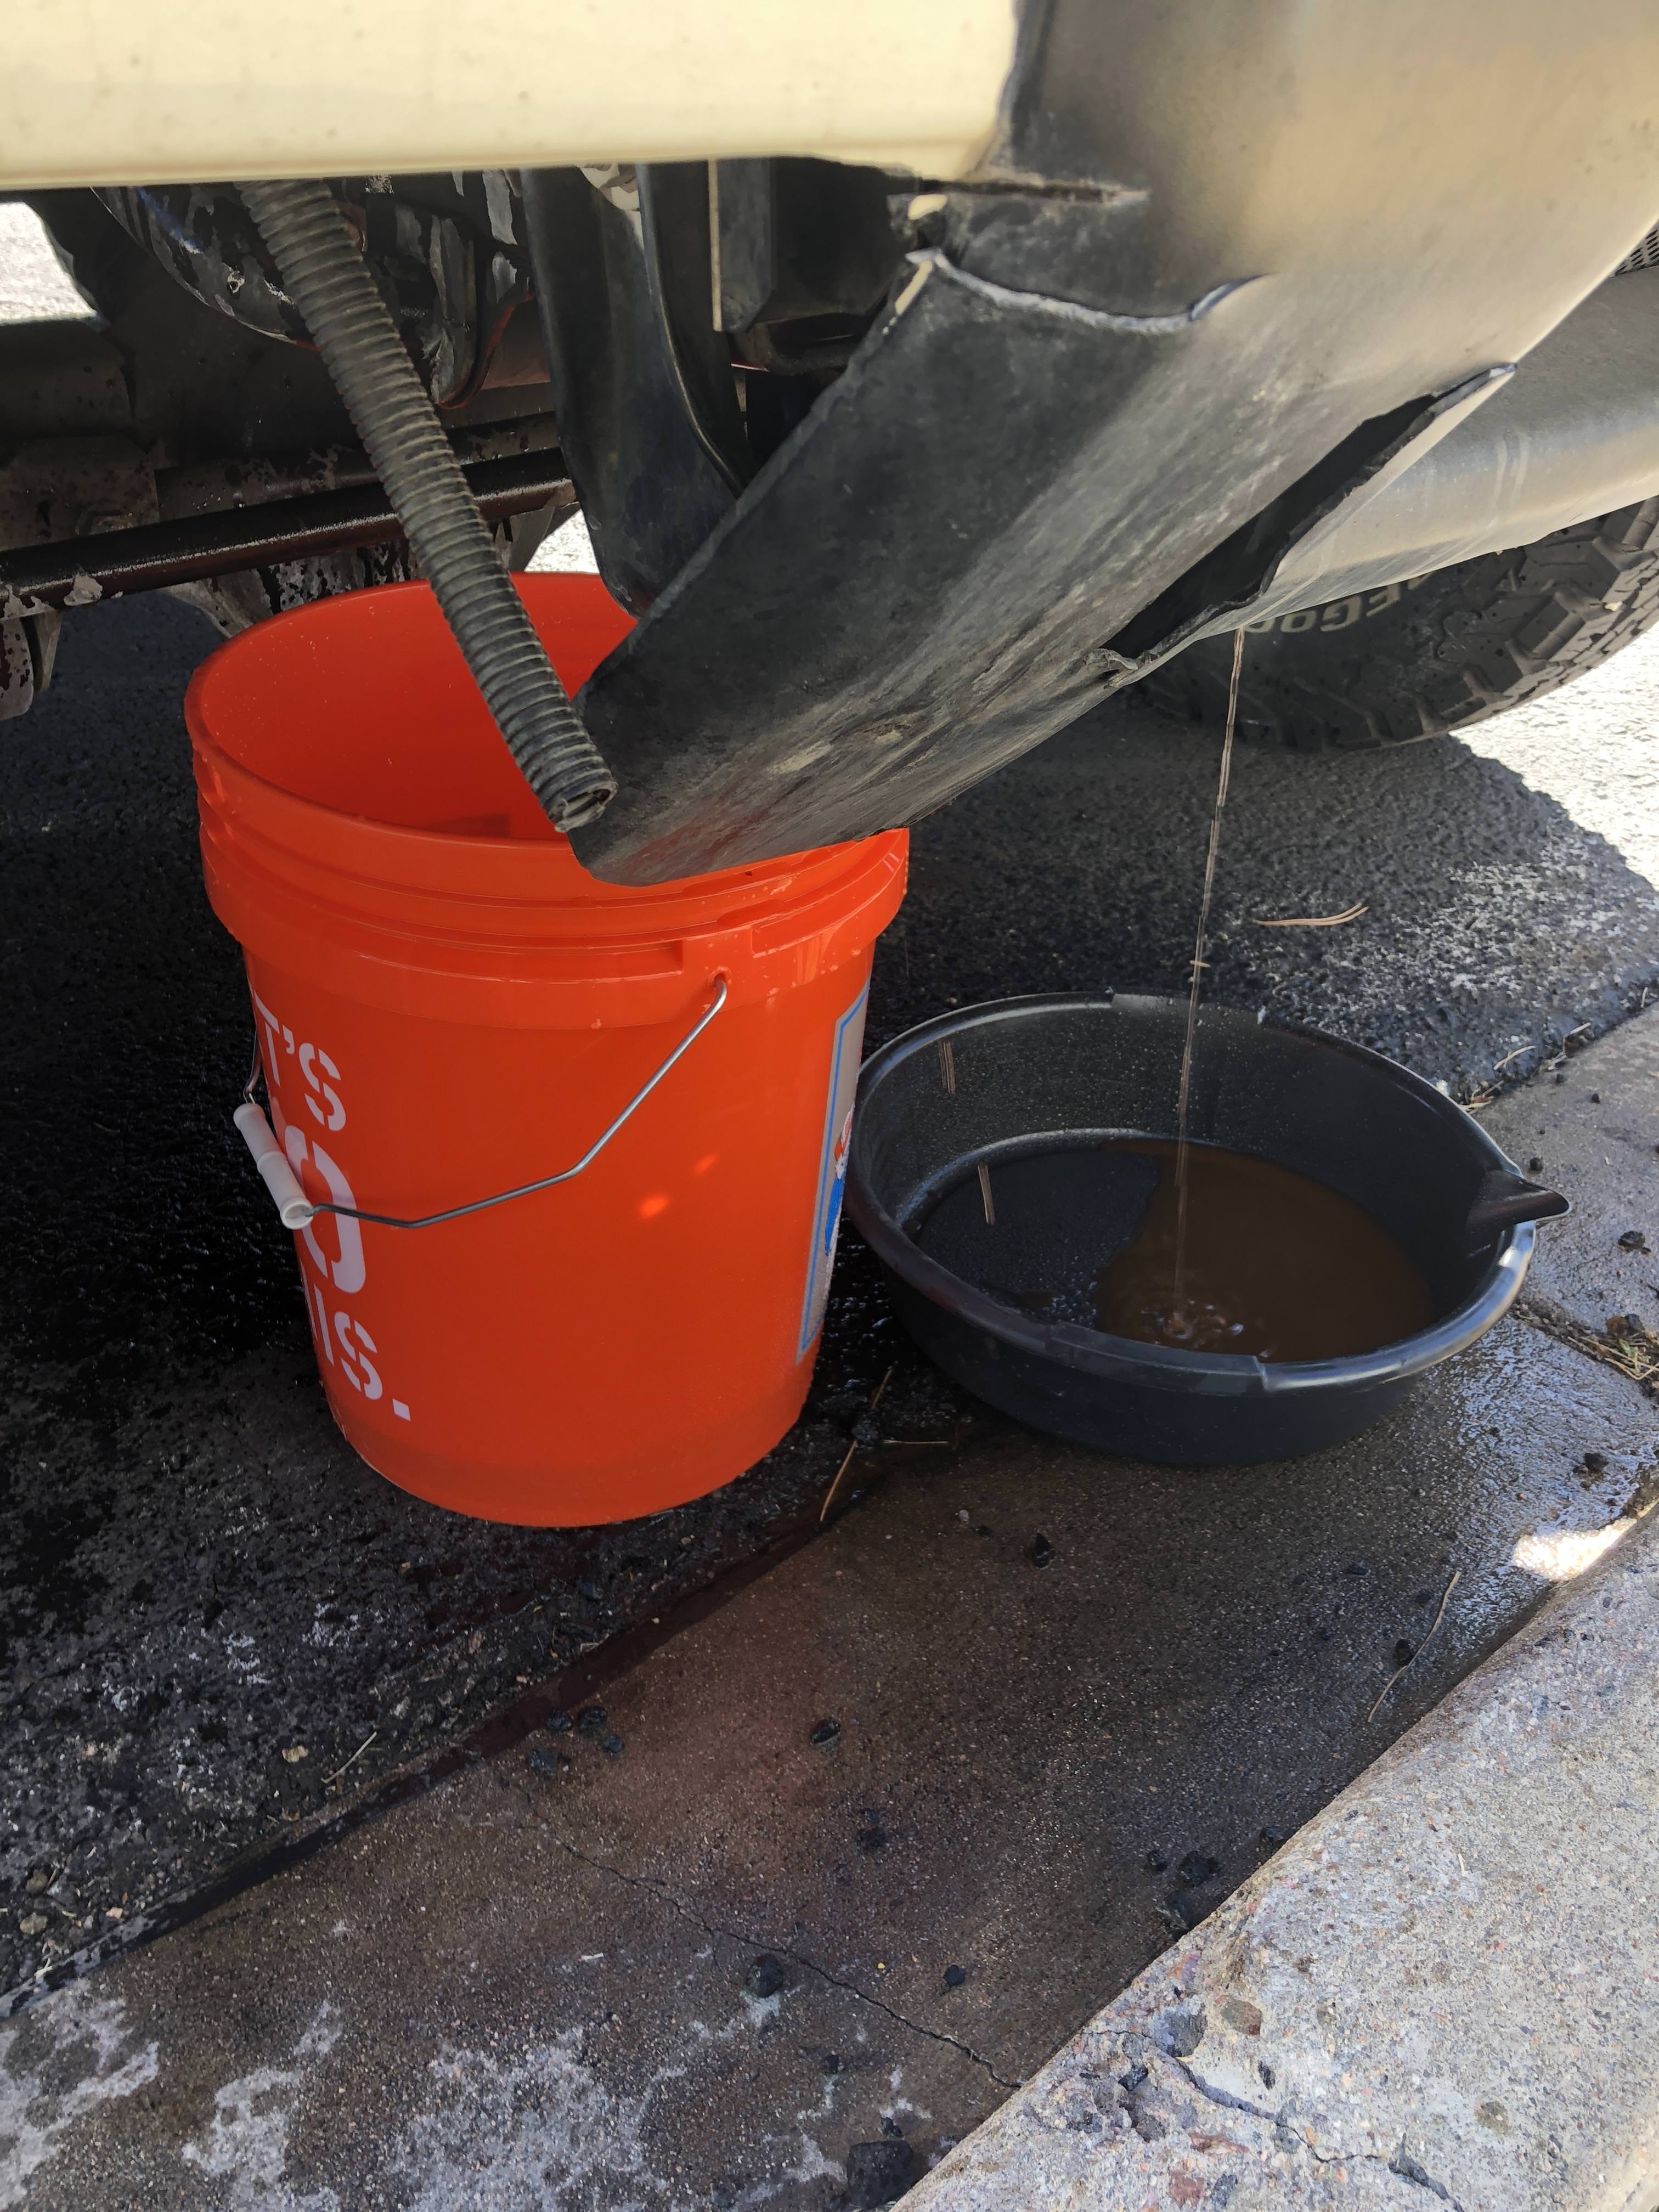
Yeah, it seems really stupid. I bet we could do some sort of an inline drain **** right off the lower radiator hose? And yes, tried my best to catch the coolant but.. its unavoidable how messy it is  According to AB (via one of their vids) you can just remove one of the water pump bolts (drivers side lower one i think ) and you can drain about 80% of the coolant that way. I guess you have to remove the fan / serp belt to do it properly though.
Now that I think about it, i don't think i have a normal oil pan bolt but rather a drain **** dealio.. Hmmm
According to AB (via one of their vids) you can just remove one of the water pump bolts (drivers side lower one i think ) and you can drain about 80% of the coolant that way. I guess you have to remove the fan / serp belt to do it properly though.Now that I think about it, i don't think i have a normal oil pan bolt but rather a drain **** dealio.. Hmmm
#50
03-08-2018, 10:22 PM
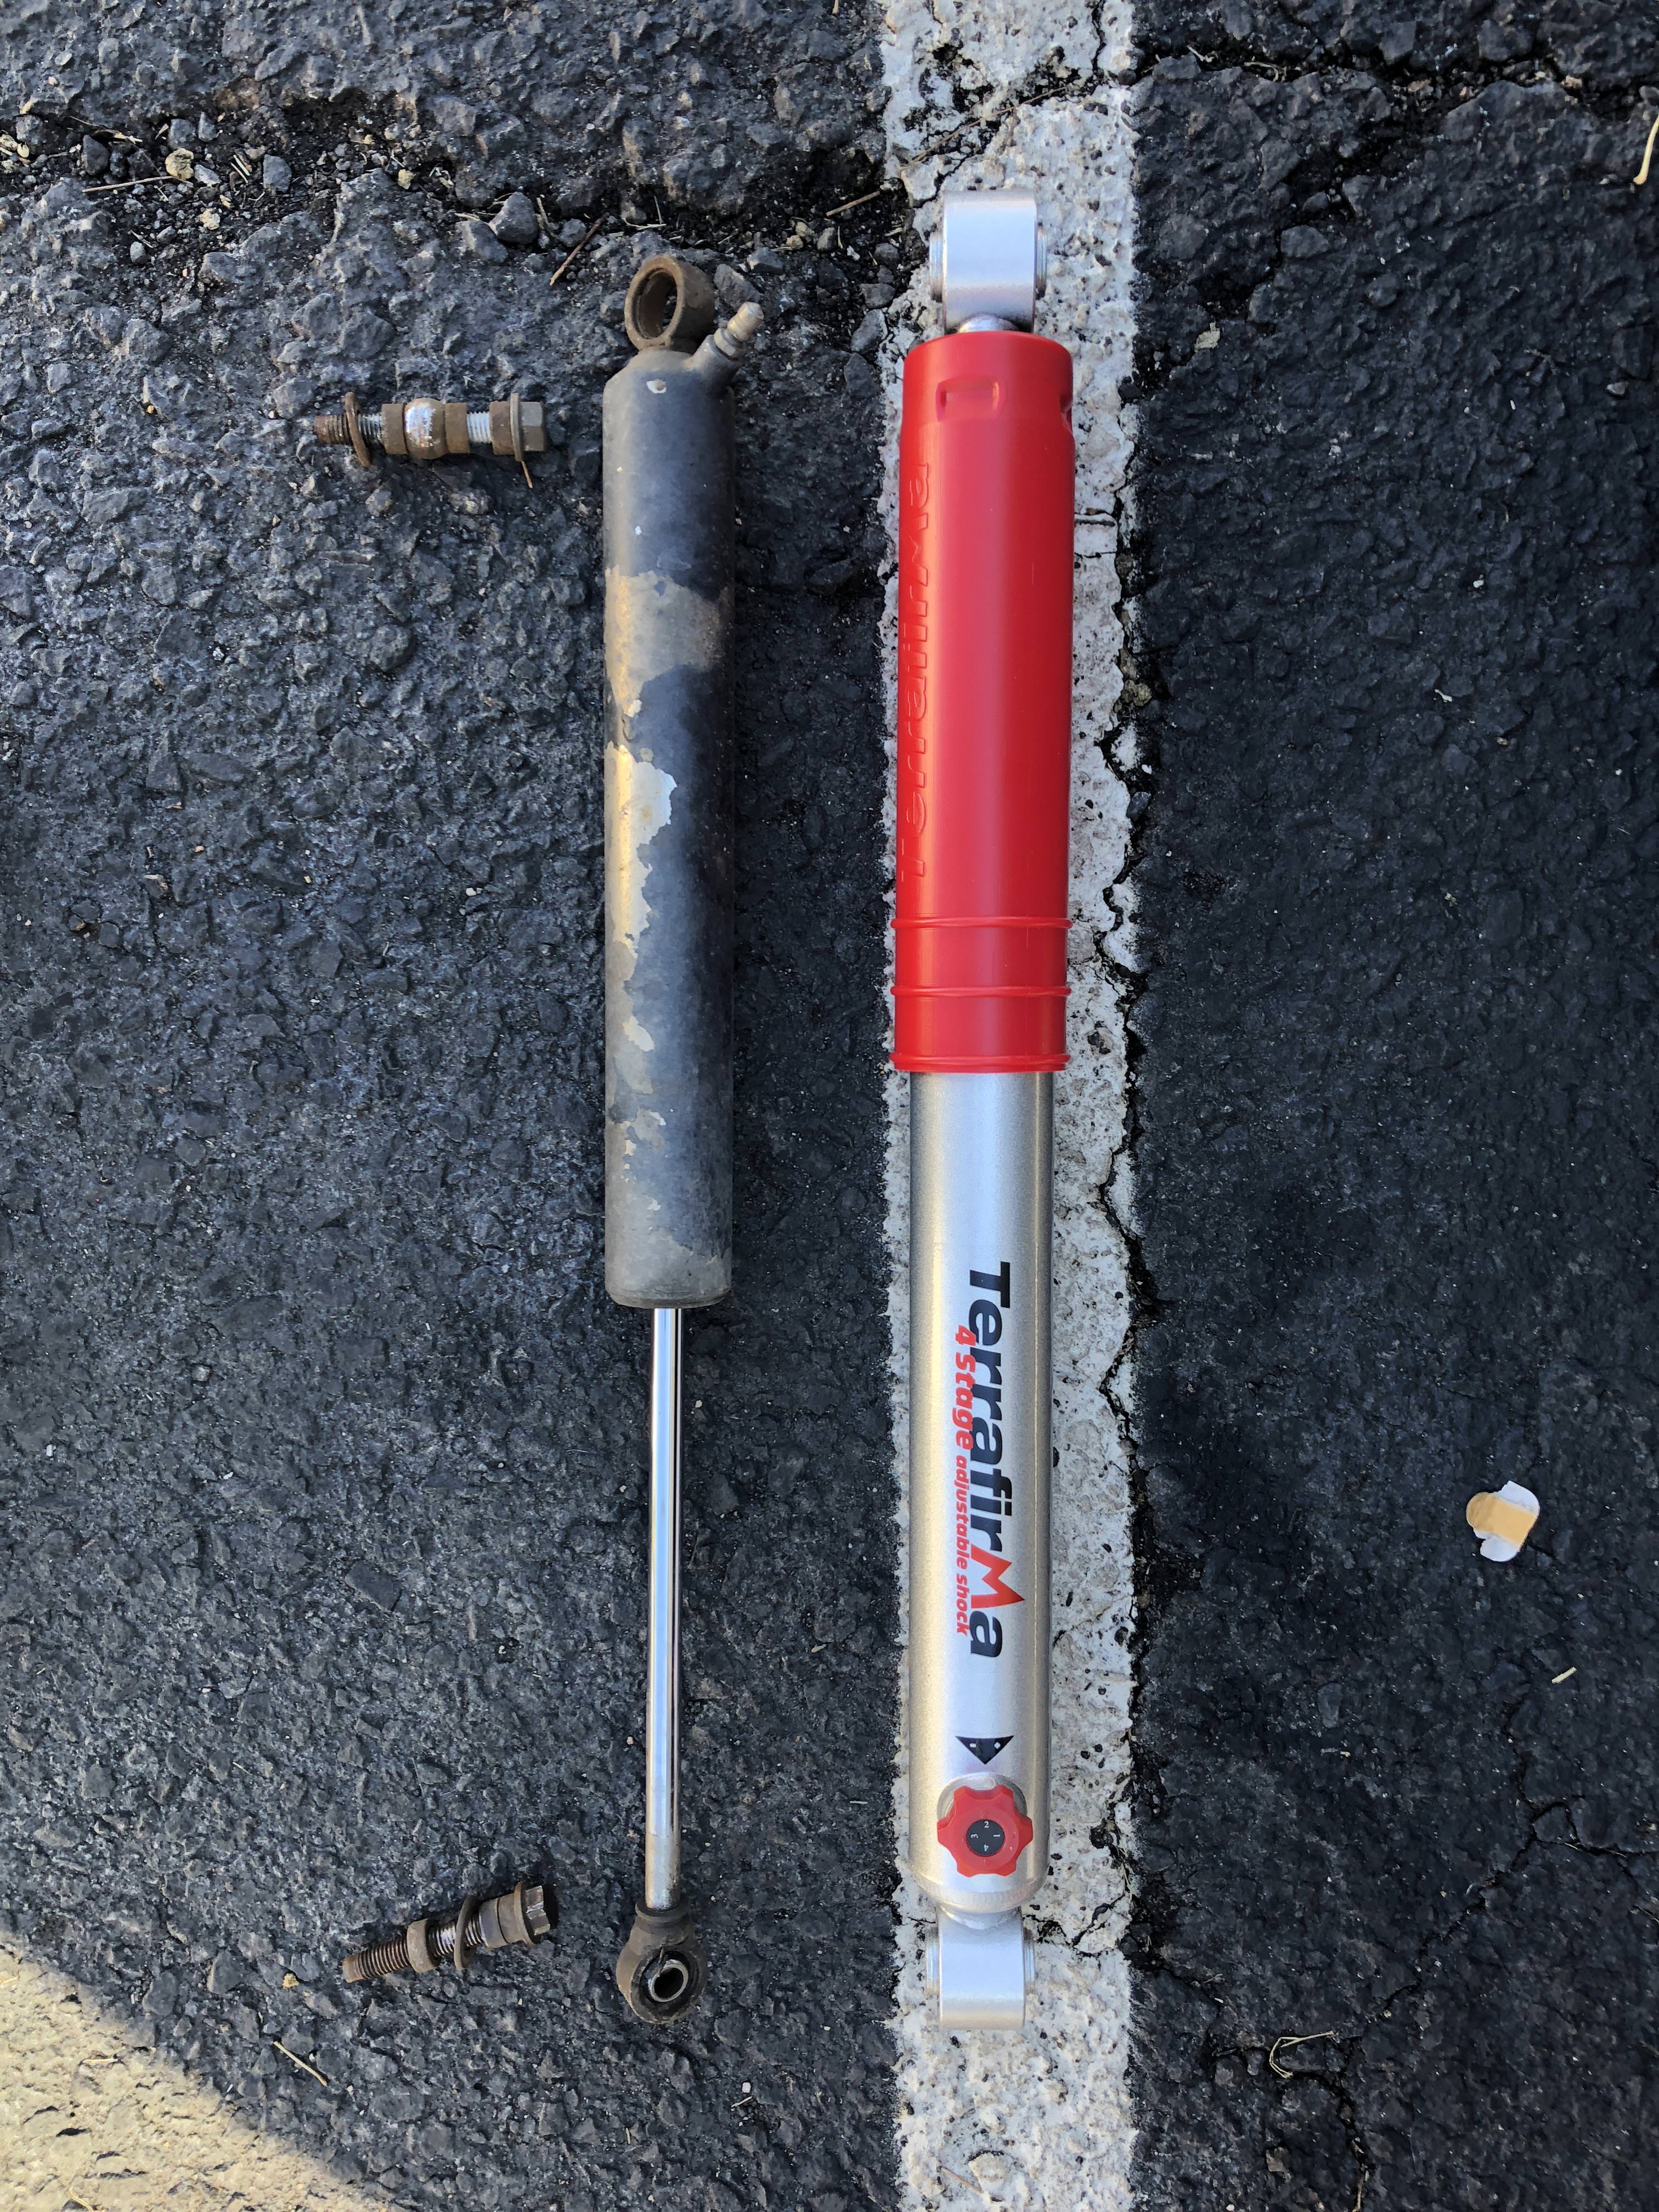
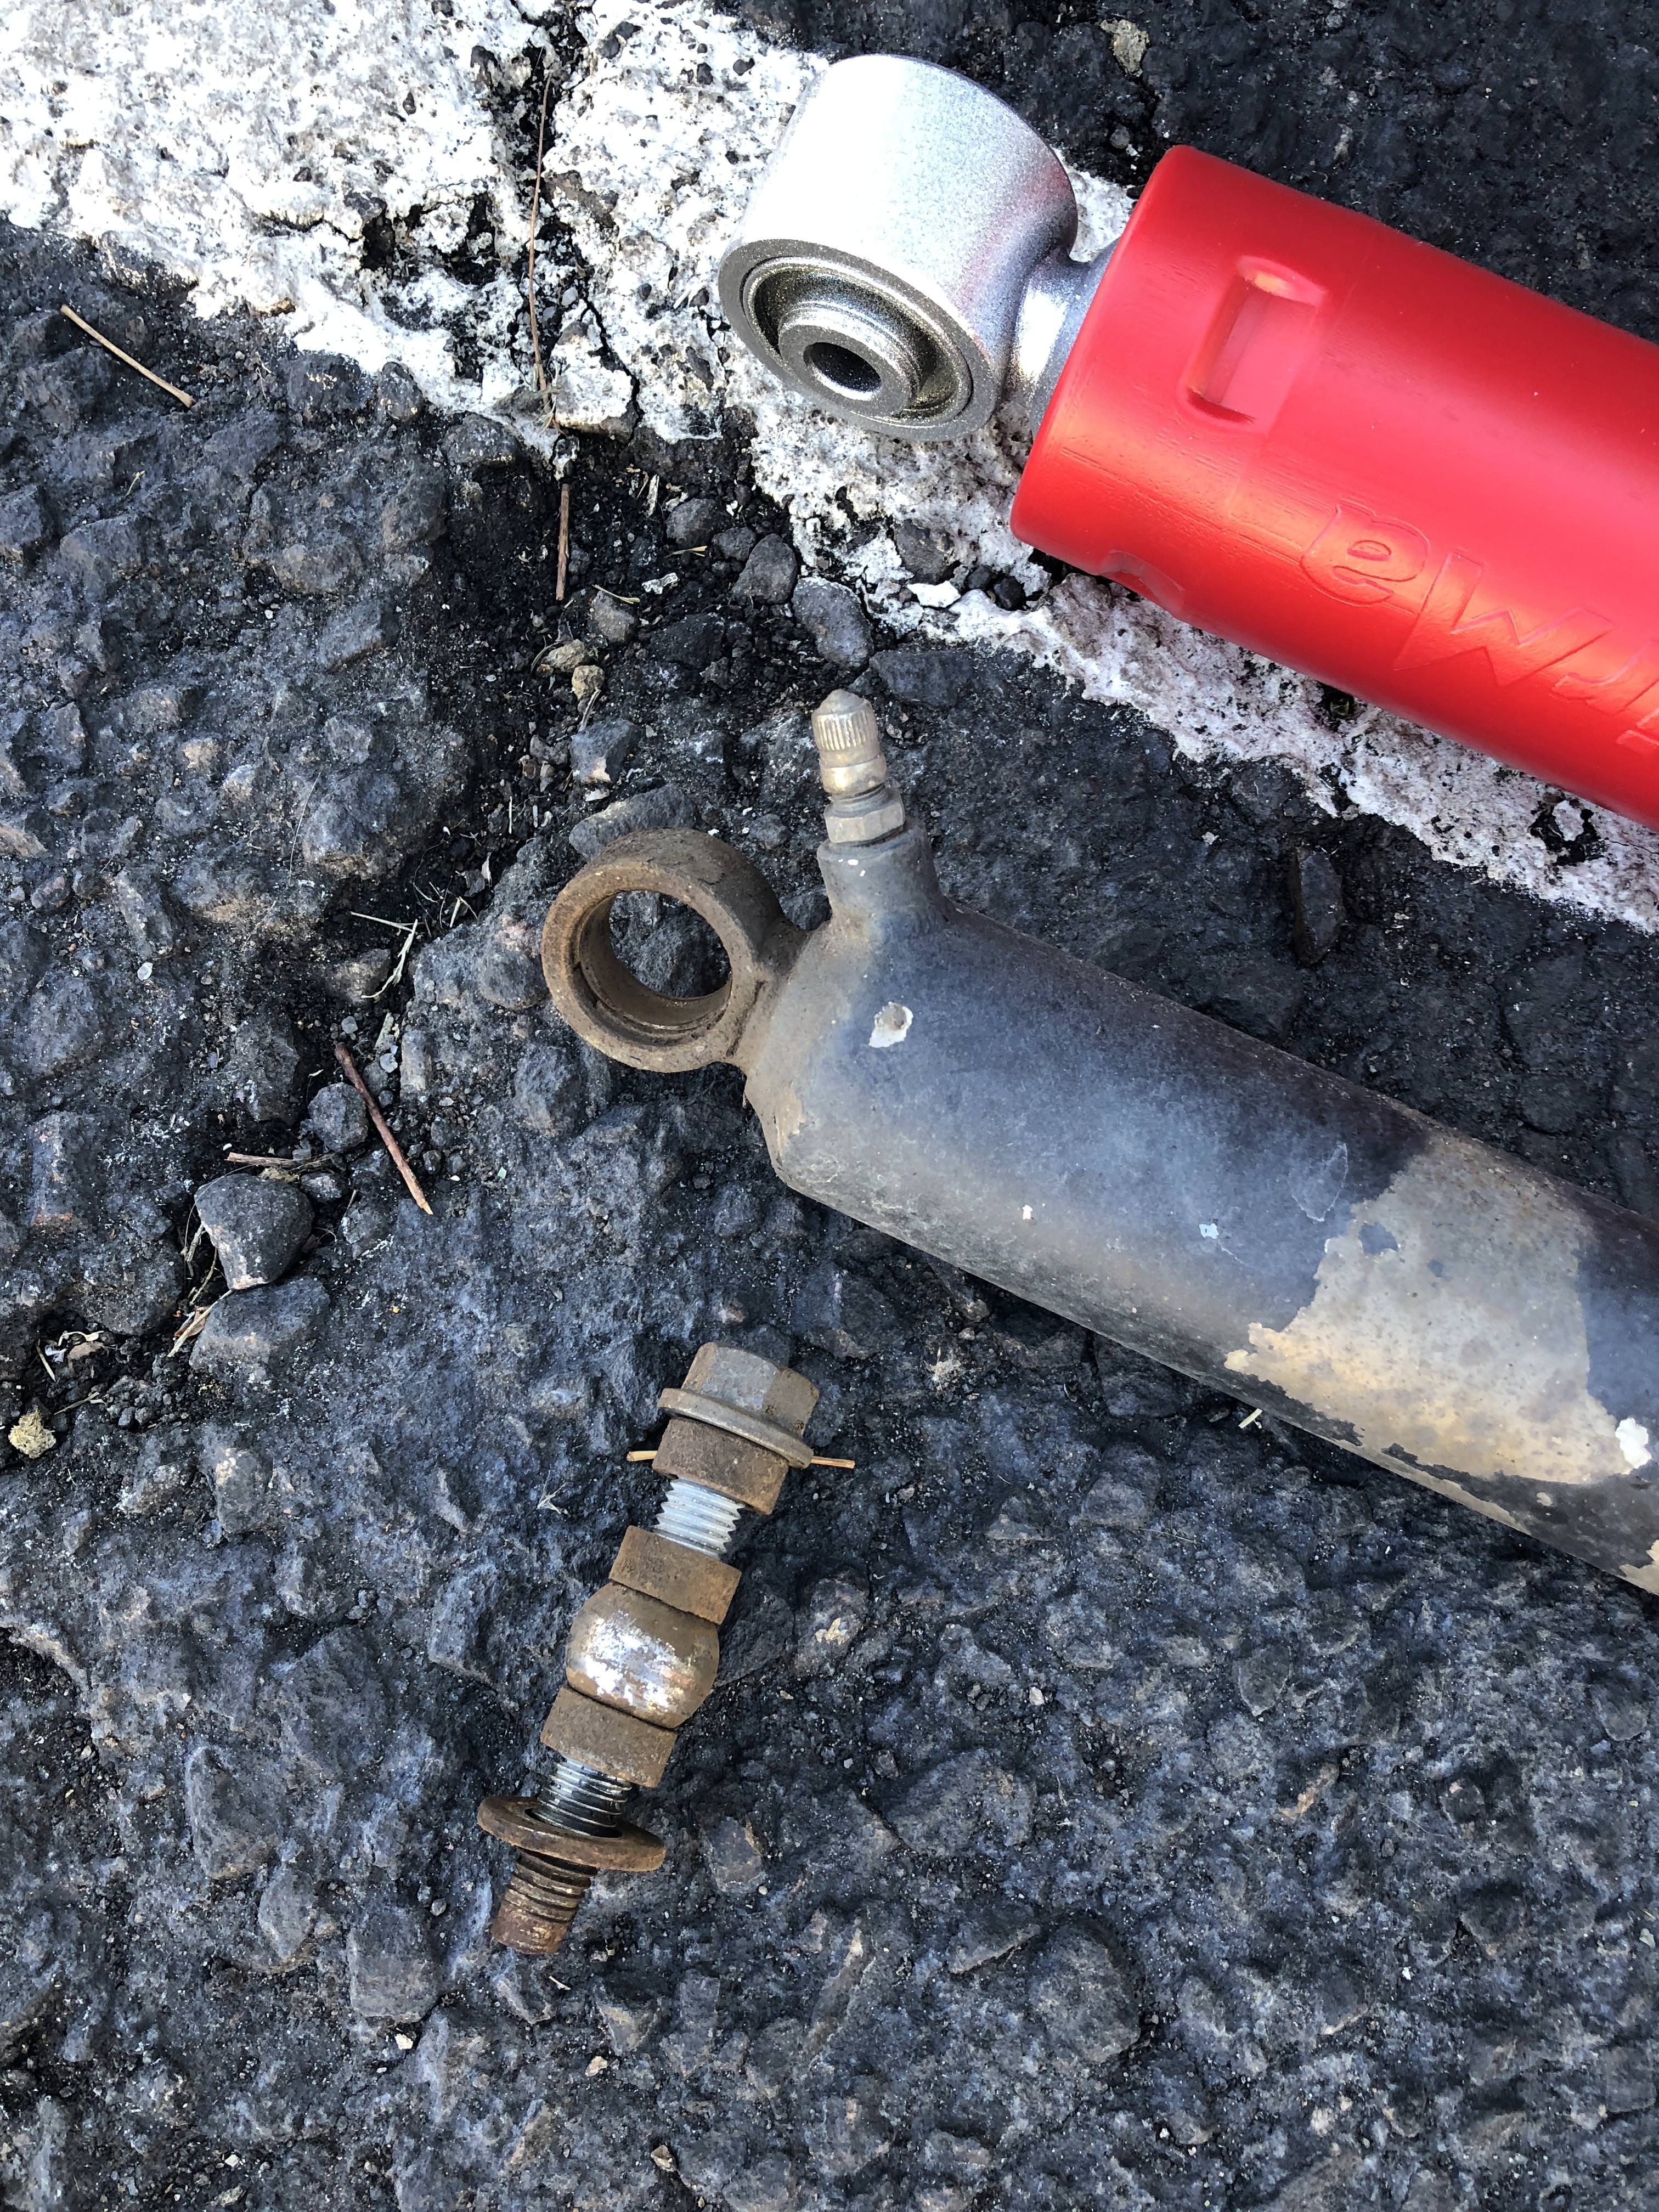
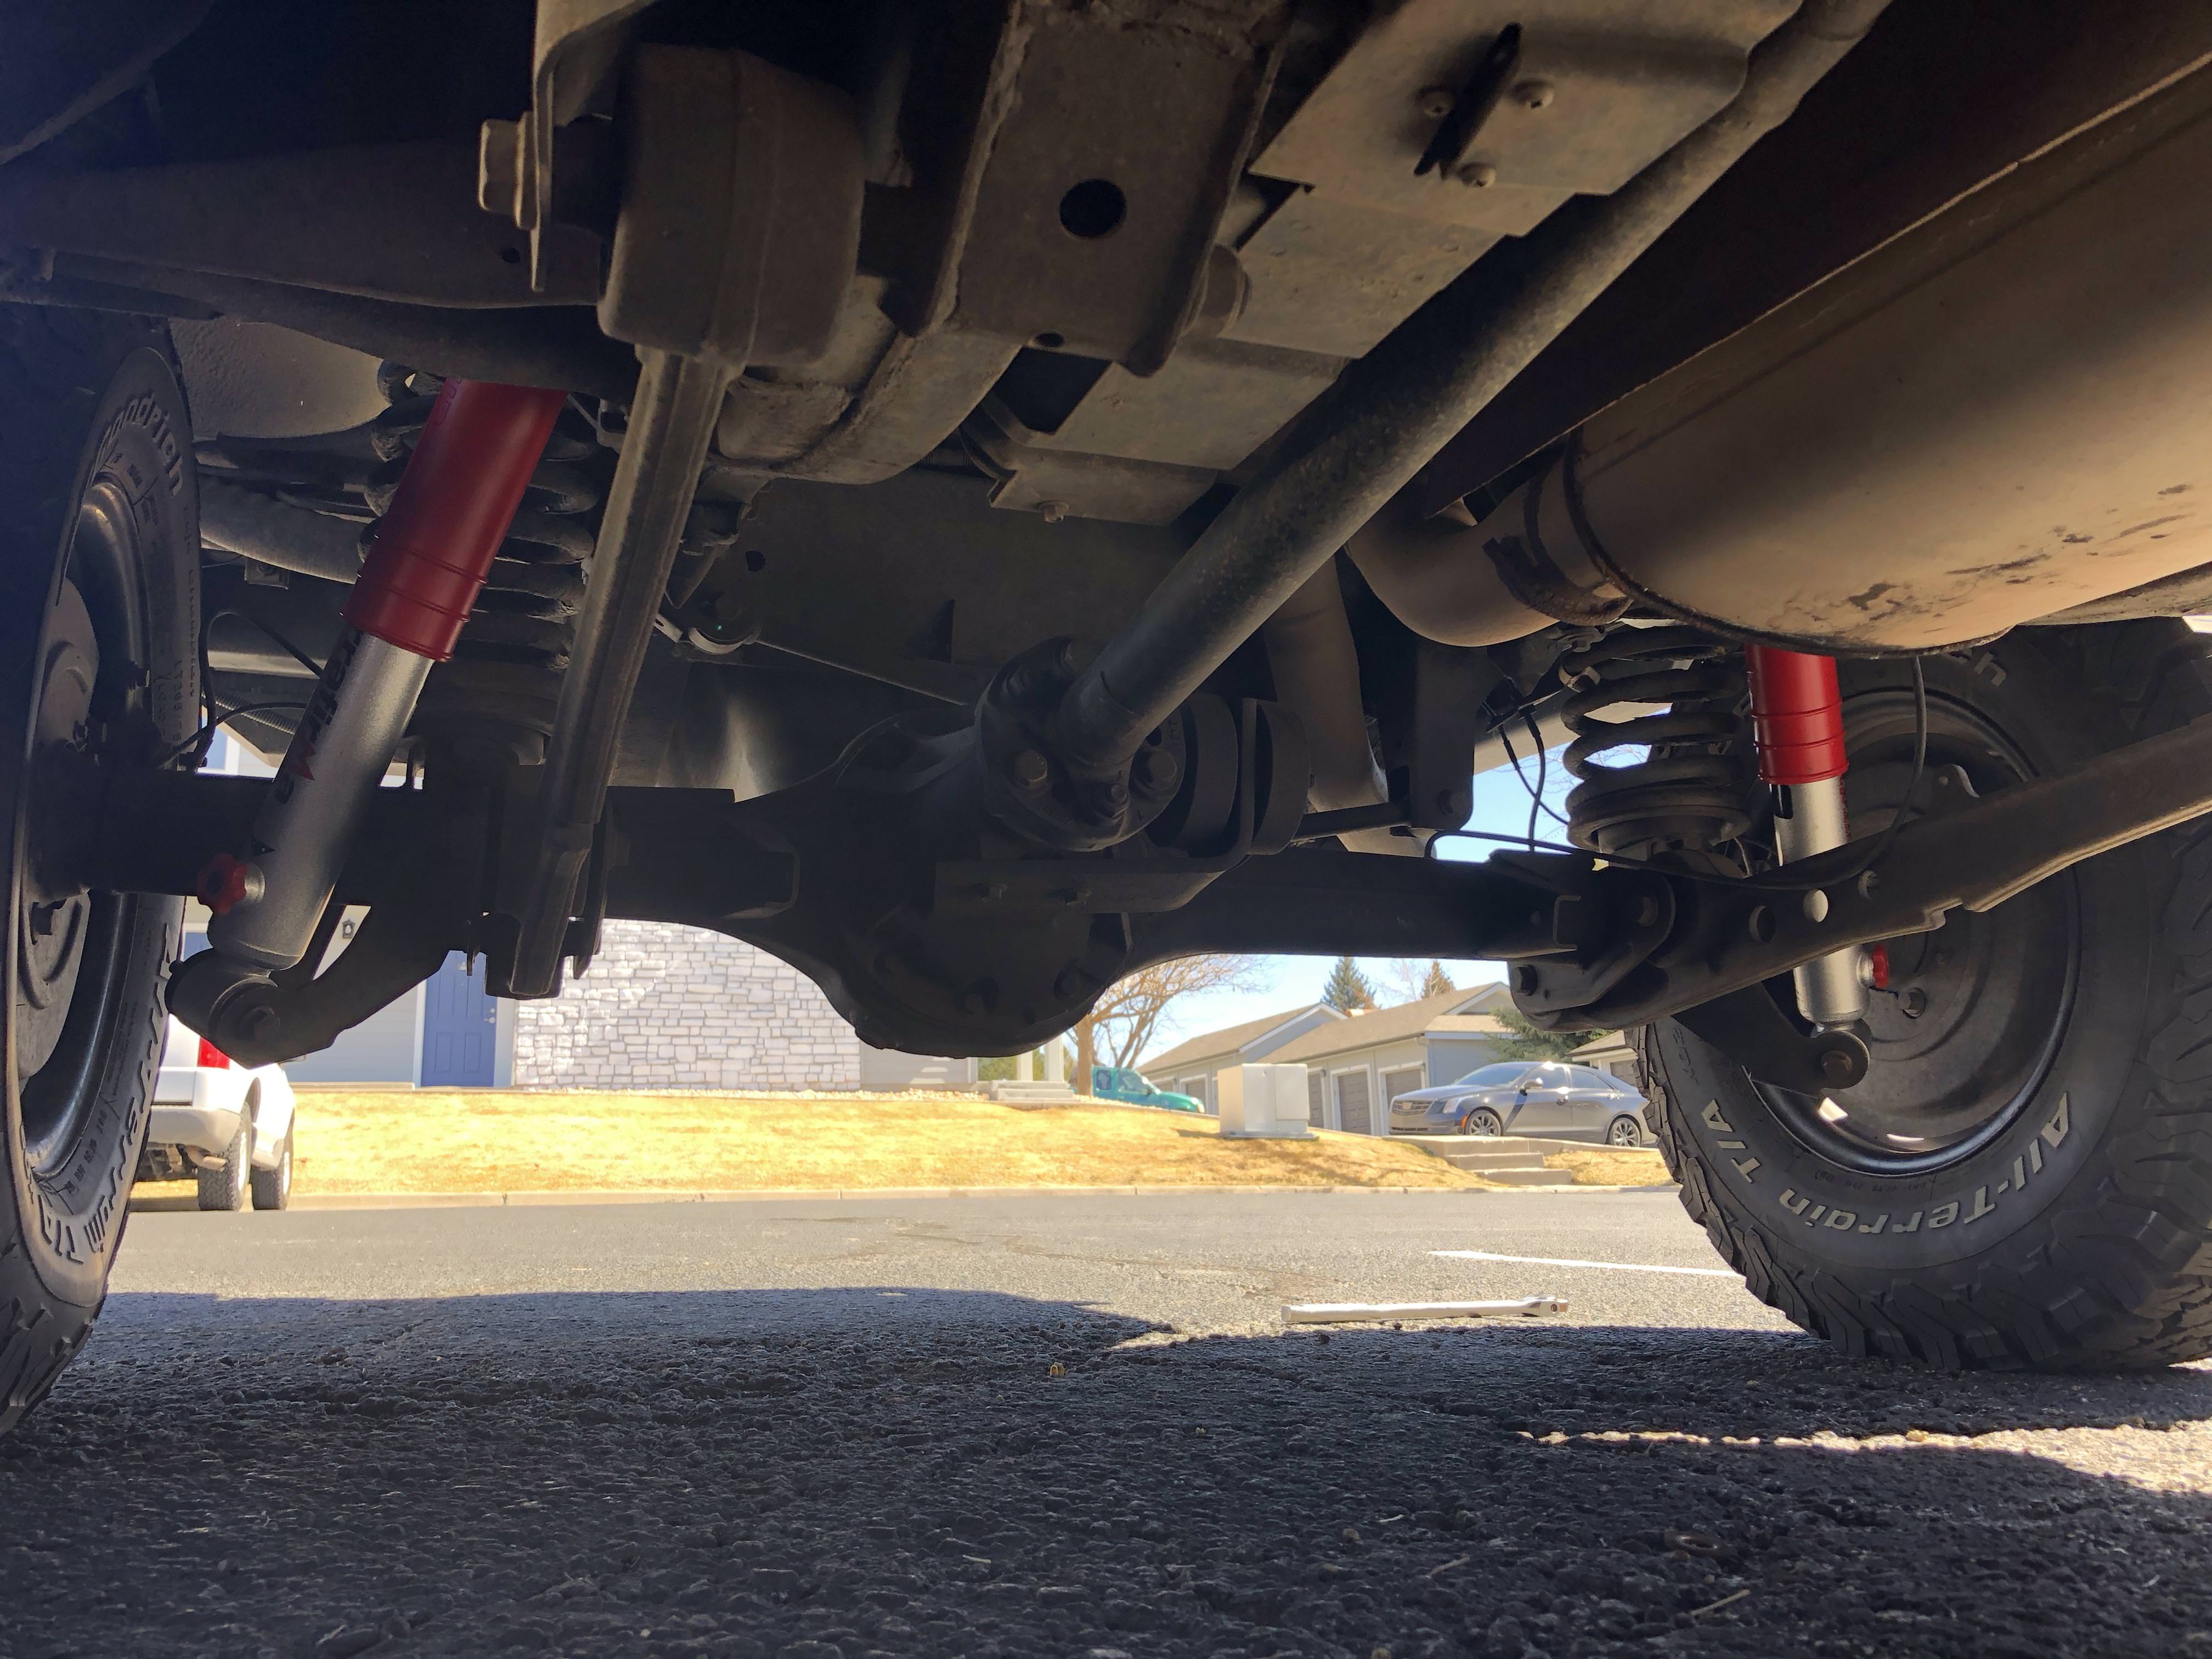
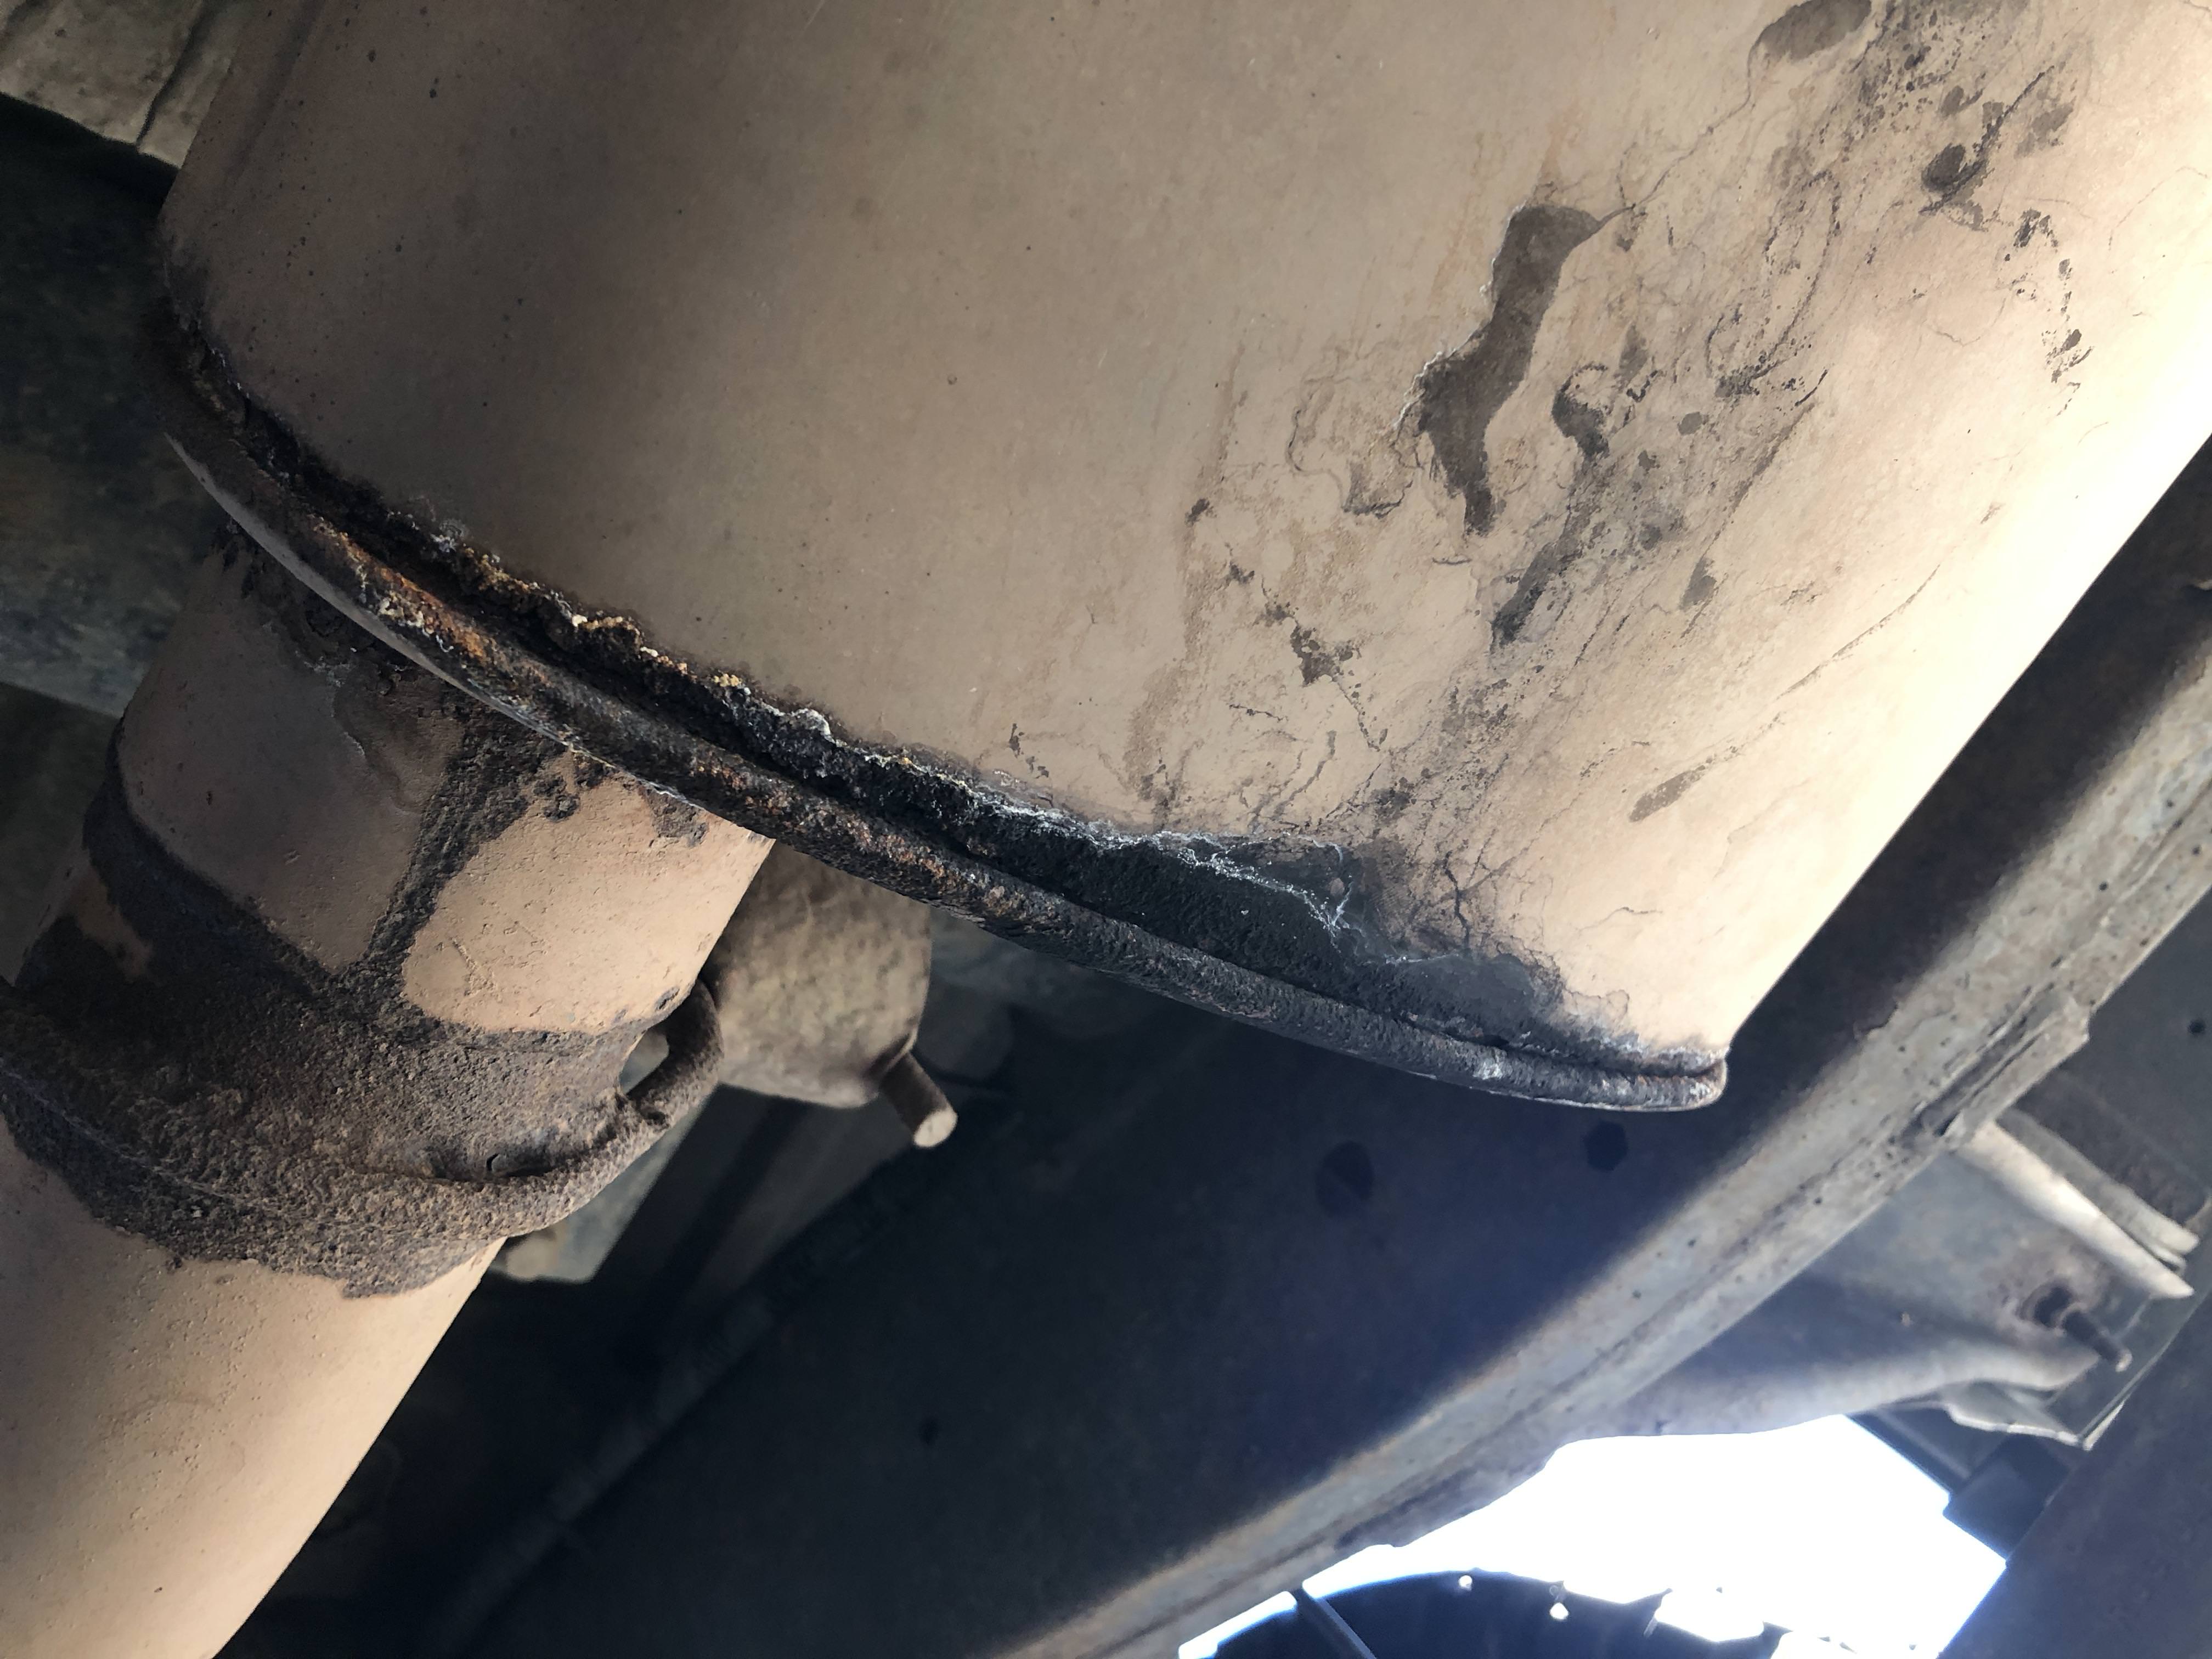
Well, in other news -- Got the rear shocks on. Super simple to get the new shocks in, the old ones didn't feel blown but the mounting hardware was certainly dead. Also noticed there is a hole in the muffler but I'll weld that up.
Also found a D1 brush guard on CL for $100 and it was literally 2 miles away -- had to pick it up. Just have to cut off and reweld the brackets so that it'll bolt up. Bar is 24" wide and the frame rails are around the 27" mark. There are some "aftermarket" mounts already installed on the car from the funky bar that came with the car. PO took it off because the PPO had done a wonky job so he just removed it. Not sure if the lights are any good but I kind of want to get some LED lights so I'll probably try and sell the lot that came with the car to recoup some $$ for the D1 bar.
Yay pics!
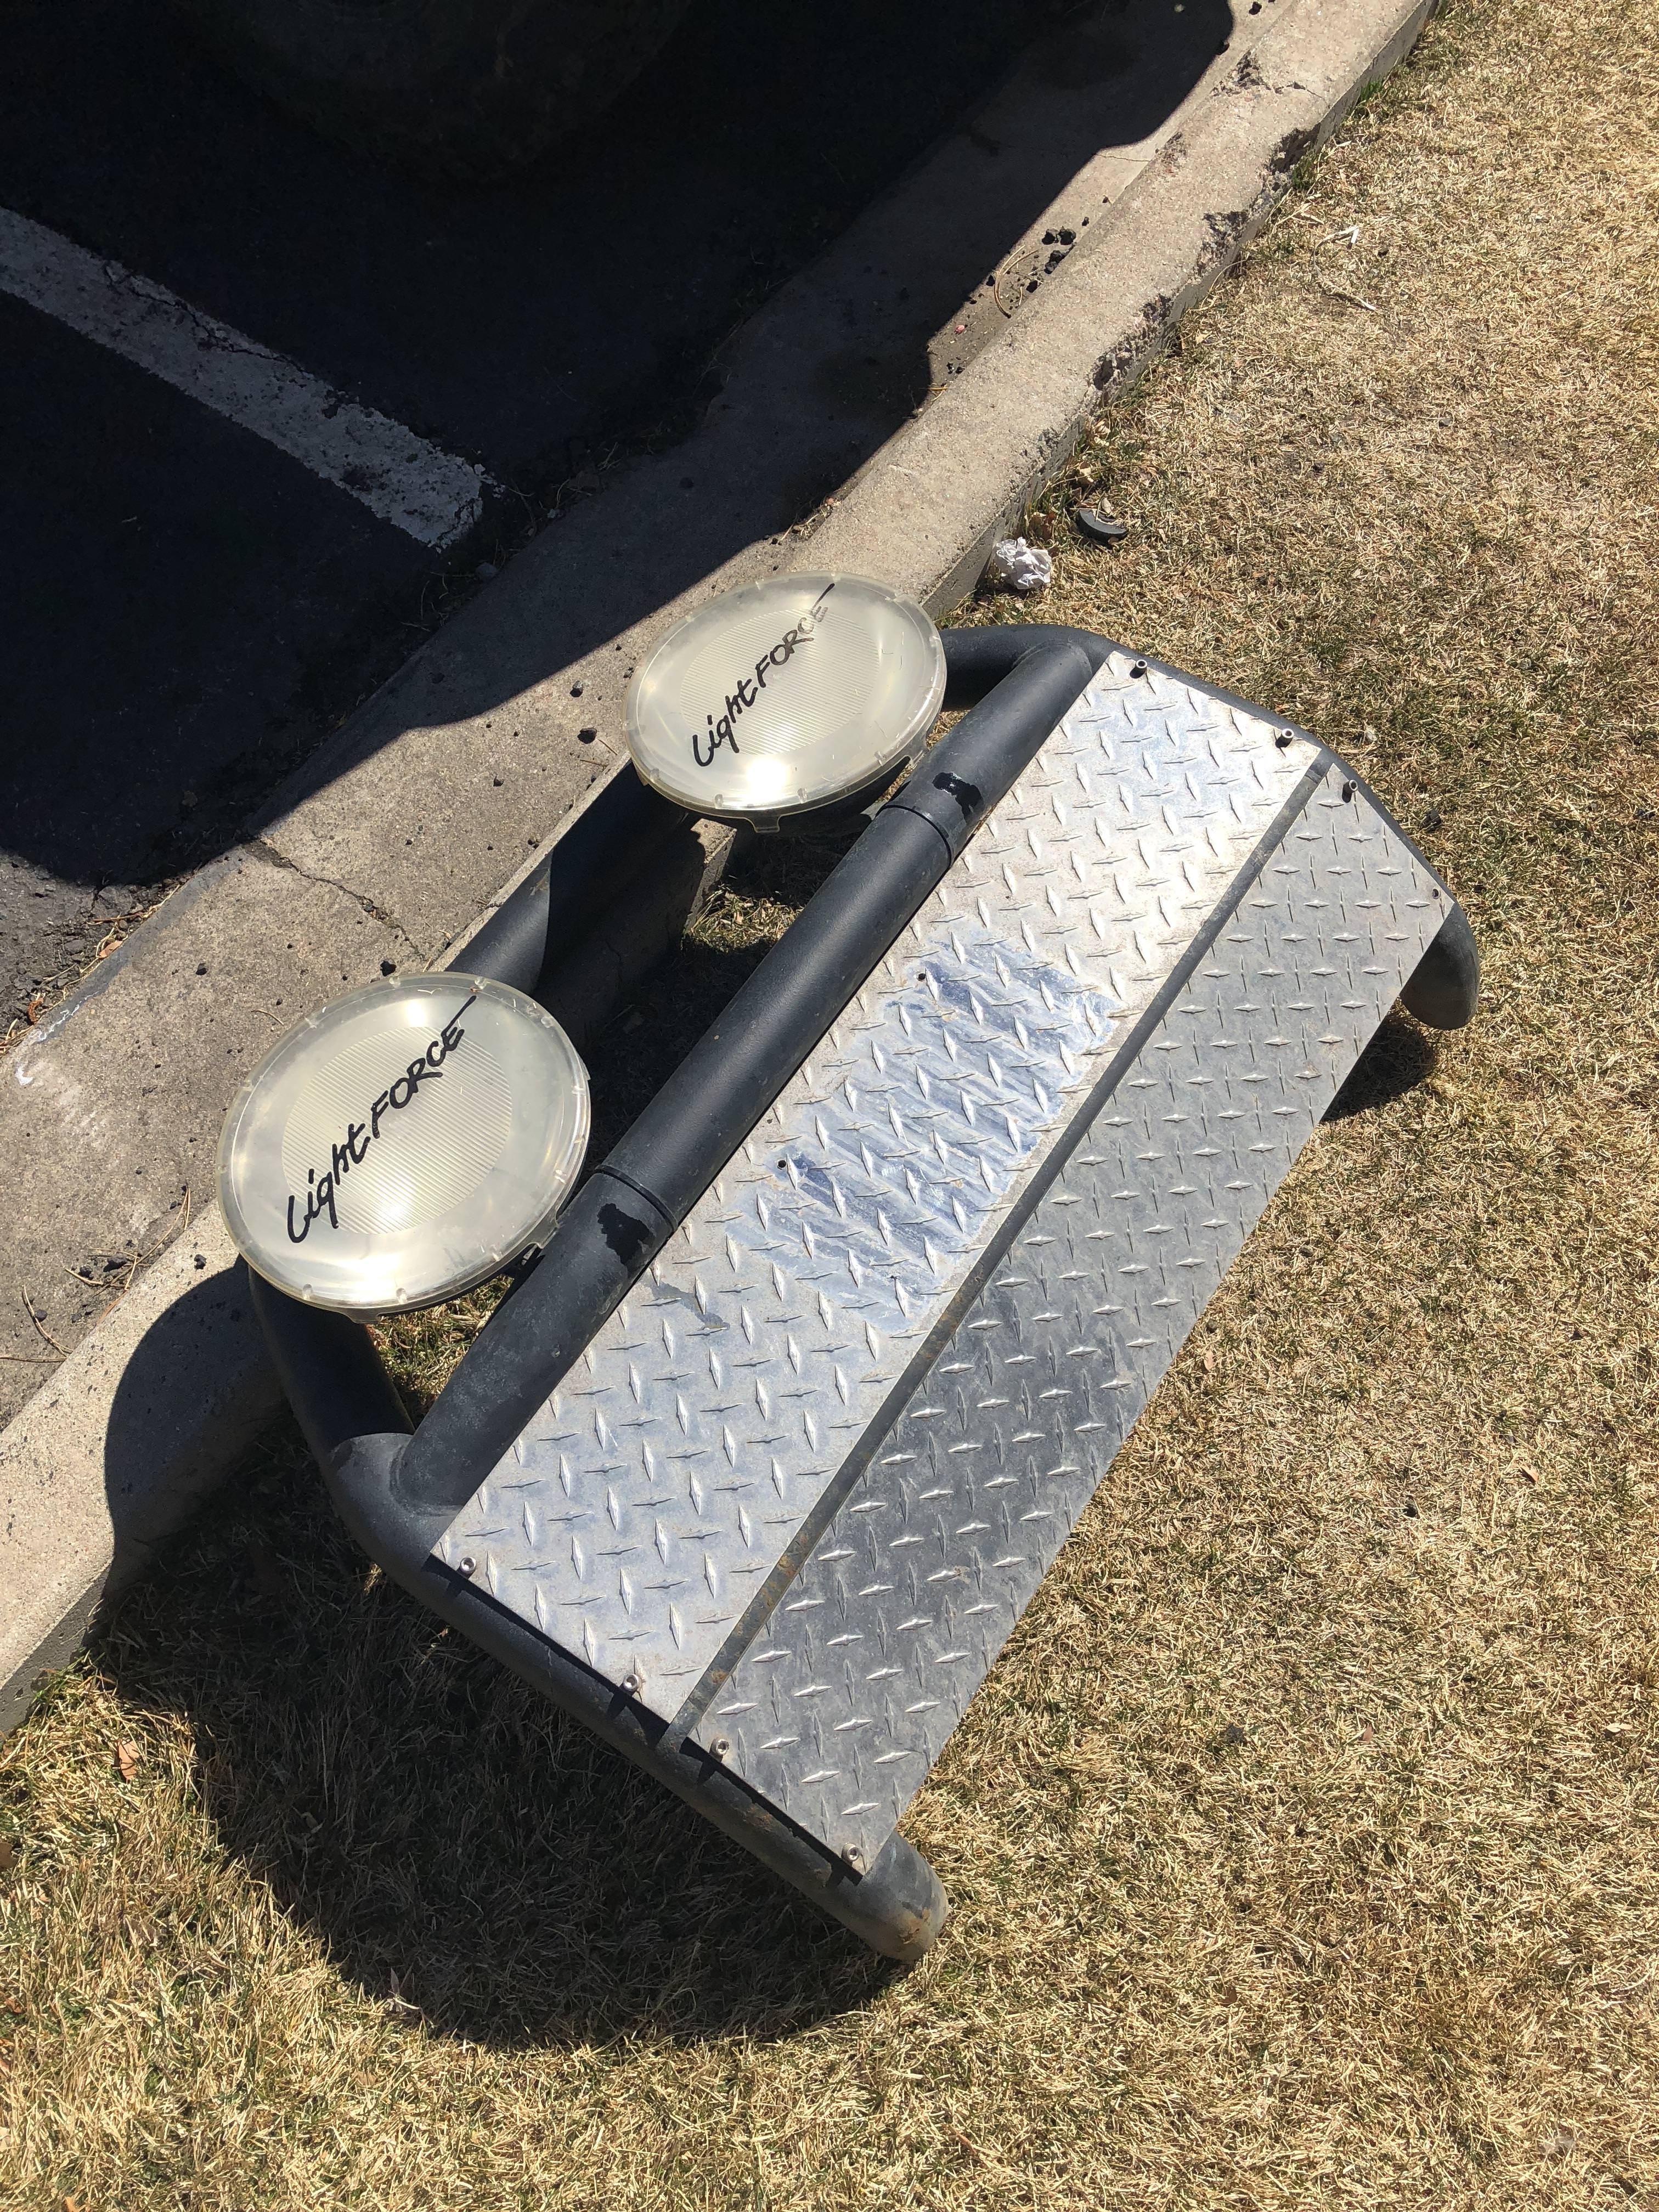
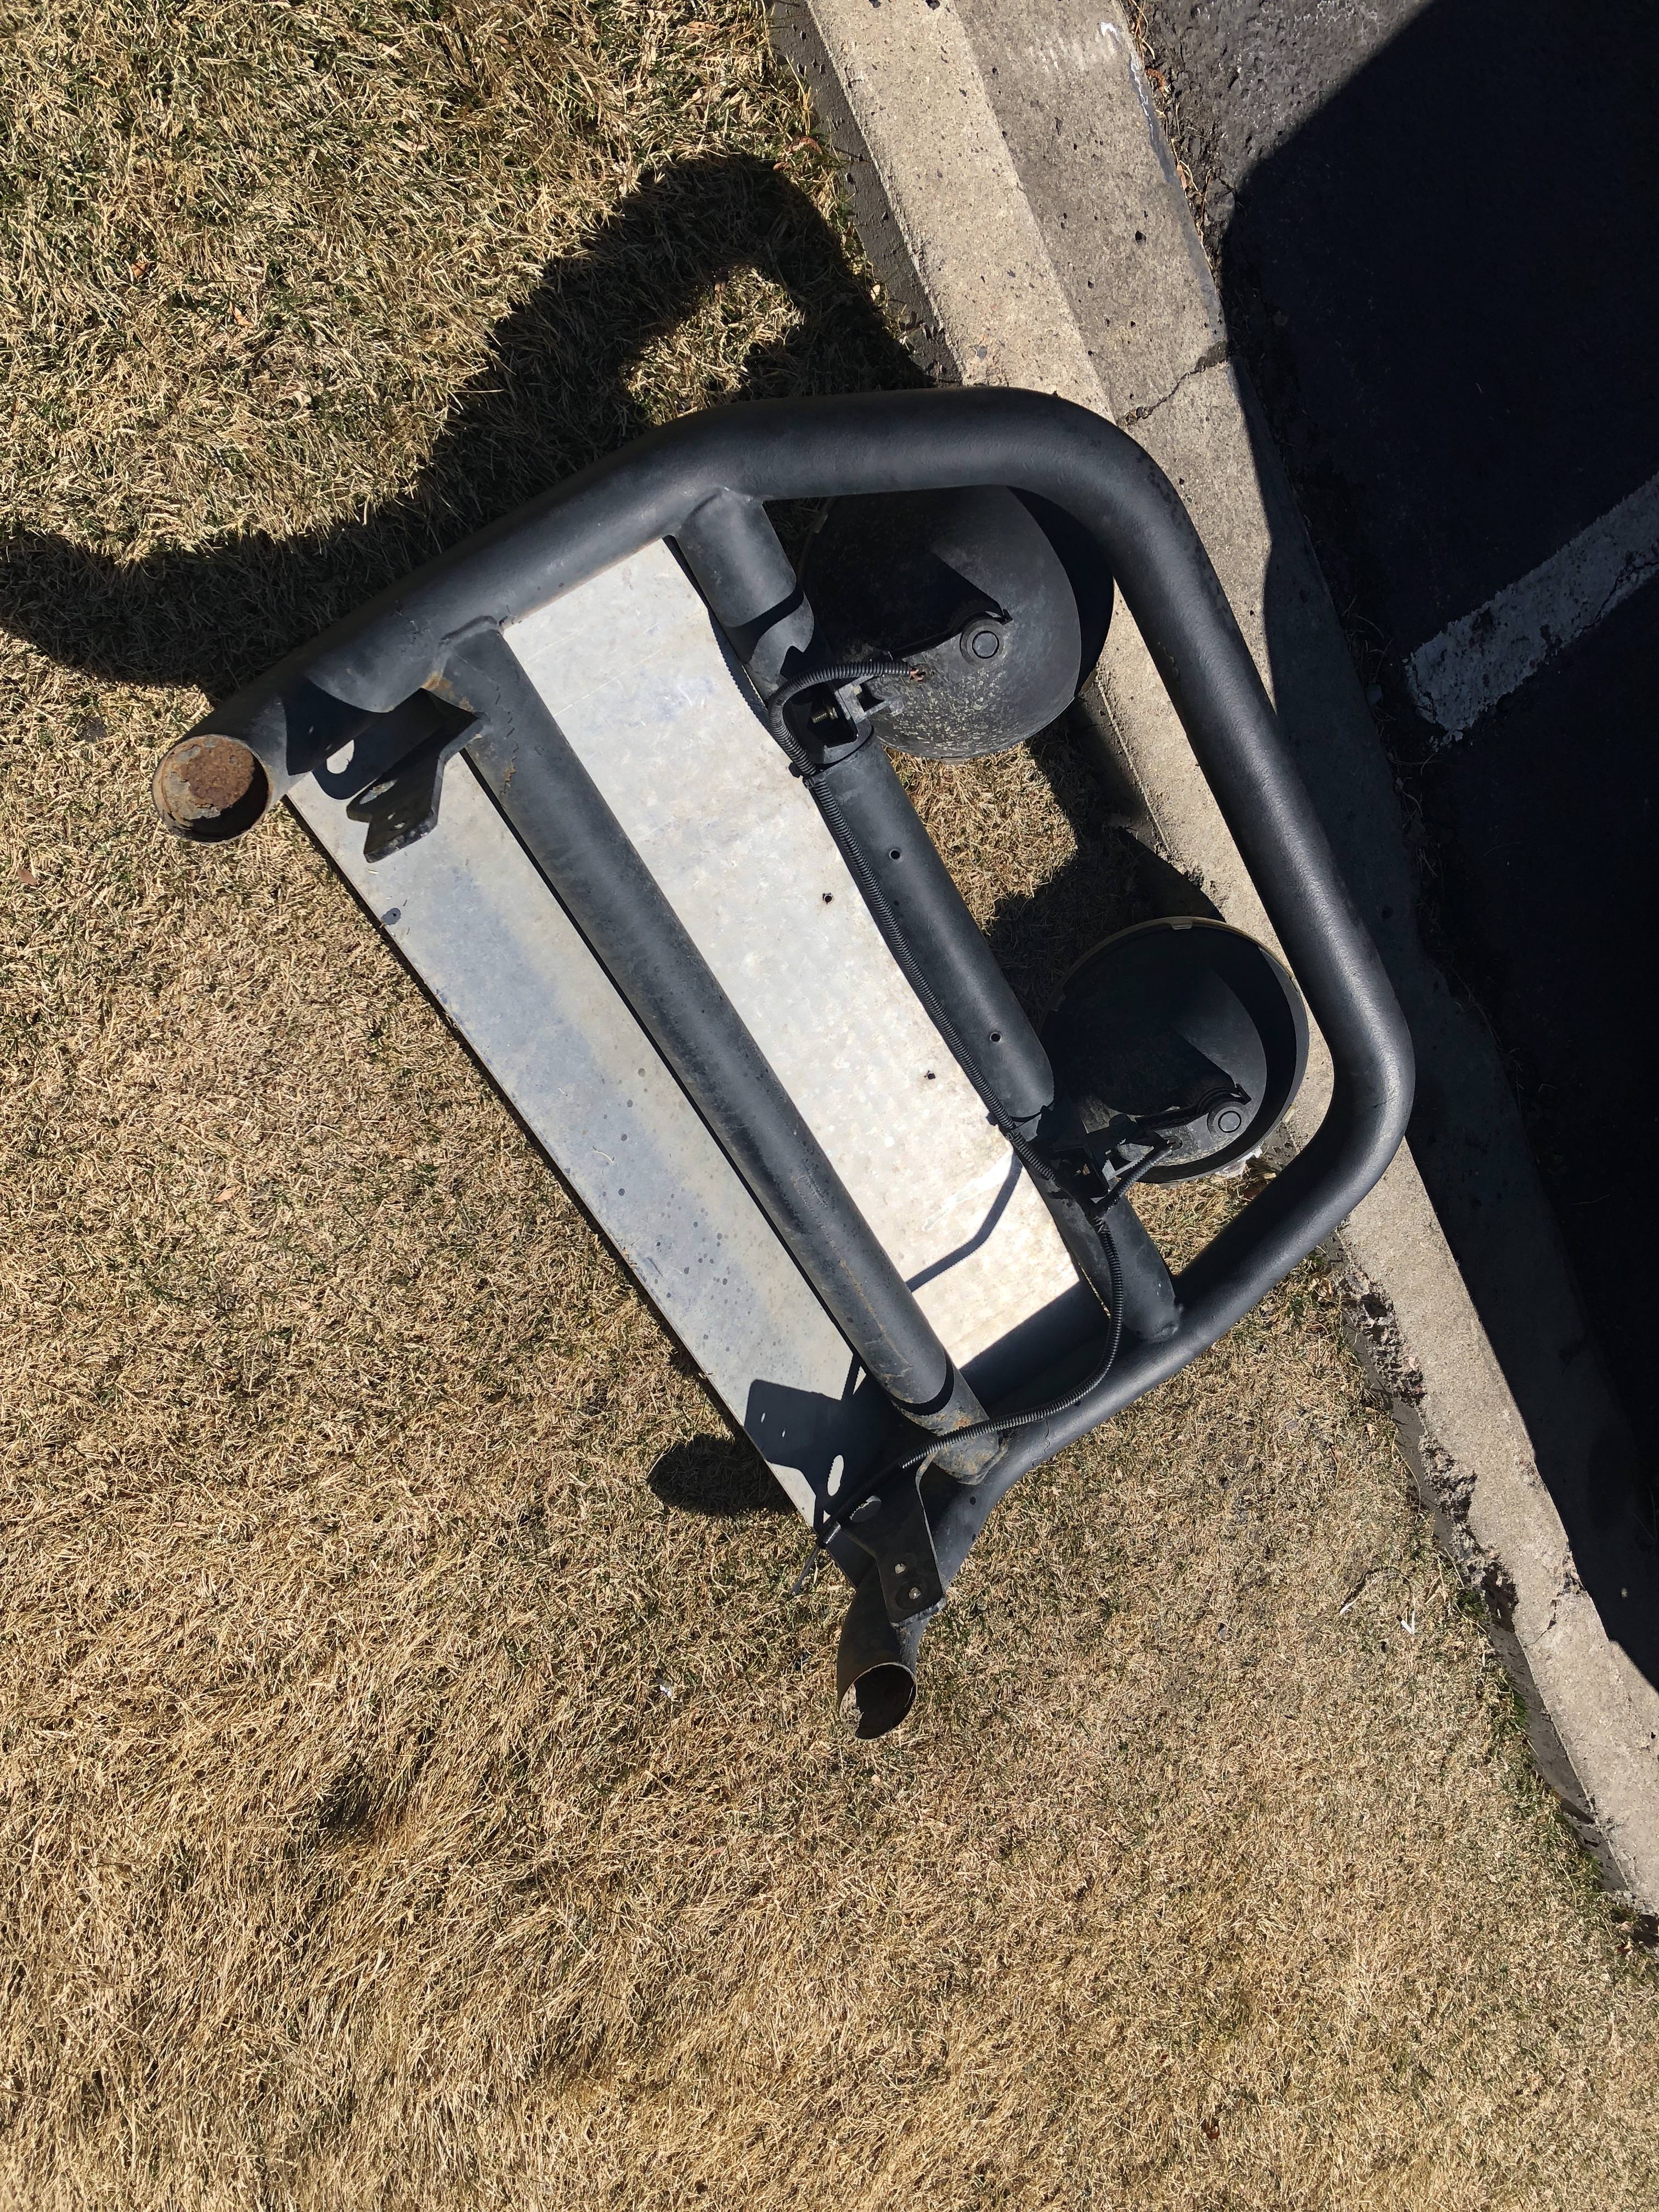
The following users liked this post:
The Deputy (03-09-2018)