changing panhard bushings - how hard?
#11
 12-05-2012, 05:57 PM


Baja
https://landroverforums.com/forum/di...preload-36607/

#13
12-06-2012, 04:23 PM

Mudding
Join Date: Sep 2012
Location: Earthquakeville Oklahoma
Posts: 245
Likes: 0
Received 0 Likes
on
0 Posts
The hard way to remove the bushings is...
Drill out as much of the rubber as you can.. Then knock out the center portion..
Then using a hammer and chisel. Collapse the shell towards the center all around on both sides... This will usually loosen the shell enough to remove it with a vise or hammer..
Press the new ones in with a vise or press.. Clean and grease the inside of the panhard rod before installing new bushing..
Or.. Go out and buy yourself a good press. It was worth it to me..
Good Luck
John
#14
12-06-2012, 05:07 PM

Winching
The hard way to remove the bushings is...
Drill out as much of the rubber as you can.. Then knock out the center portion..
Then using a hammer and chisel. Collapse the shell towards the center all around on both sides... This will usually loosen the shell enough to remove it with a vise or hammer..
Drill out as much of the rubber as you can.. Then knock out the center portion..
Then using a hammer and chisel. Collapse the shell towards the center all around on both sides... This will usually loosen the shell enough to remove it with a vise or hammer..
i ended up removing my radius arm bushings this way as my press was too small to move them.
but it makes lift easier if you use a hacksaw and notch the metal outter housing after you push the rubber center out, before you start using the chisel.
if you make two cuts in the housing a little bit apart, and just pound down that single strip between the cuts, the housing will collapse on itself with very little effort.
#15
12-06-2012, 06:12 PM

Thanks John and guys..
My poly bushes came in today.
They are two halfs and a metal sleeve to go in the middle.
The two poly bushings for each side are like donuts with a hole in the middle for the large spacer
I did not get an outer shell.
Ok, so I will then try to drill out the rubber and get the rubber out.
And, just push these poly pieces in?
They also gave me some silicon grease it looks like.
I'll put up a picture of the bushes.
Thanks for all your wisdom.
This will save me countless hours of doing it all wrong.
#16
12-06-2012, 06:47 PM
Found this article.
And, have done a lot of reading.
Seems to get the old factory style out - get a hole saw that fits the rubber and drill into it.
Then a hack saw blade as you all have talked about..
Not it makes sense..
And, the poly bushes don't have a metal holder or ring around them.
They just use the whole hole in the arm...
Some kind chap - may have been Scottish - wrote this up:
Panhard bushes renewal...
Usin' poly bushes.
Quite an easy job to do really.
( If ye have the OEM bushes then ye'll need to burn the rubber out and then haksaw the metal sleeve to remove it, or use a big press.)
In my case the panhard rod I was usin' had been fitted with the Polybush kit so wasn't too bad to do.
Here's how ah did it...
undid one side usin' a 24mm socket and a 24mm spanner....
then removed the bolt...
done the same on the other side...
and then removed it.
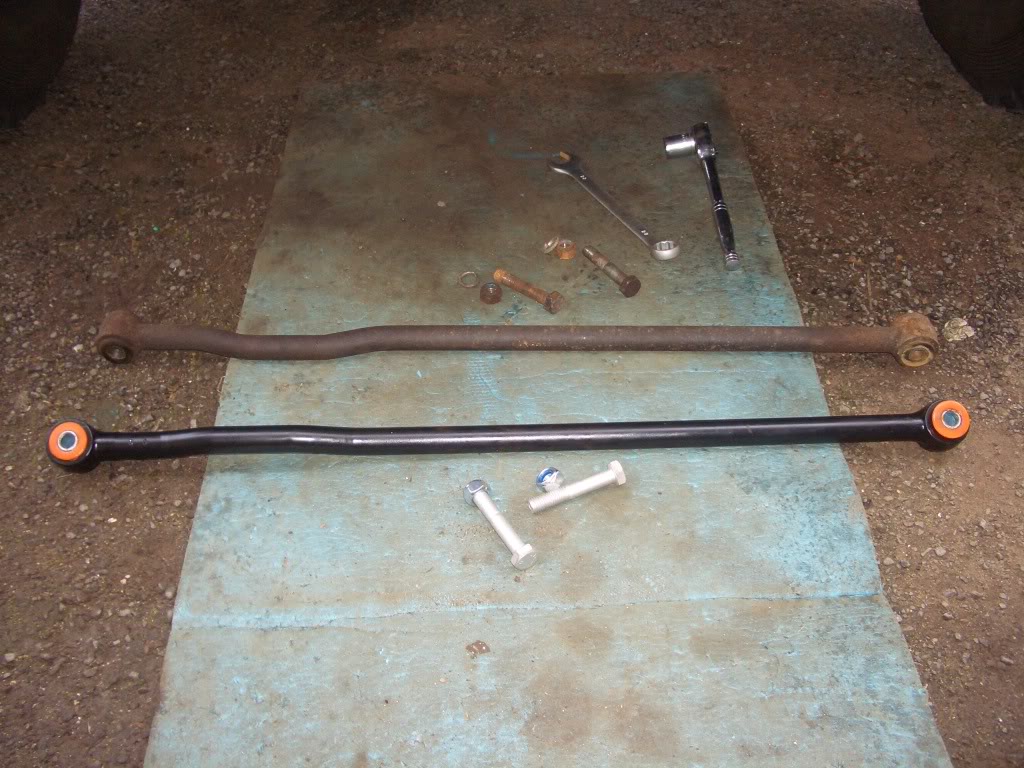
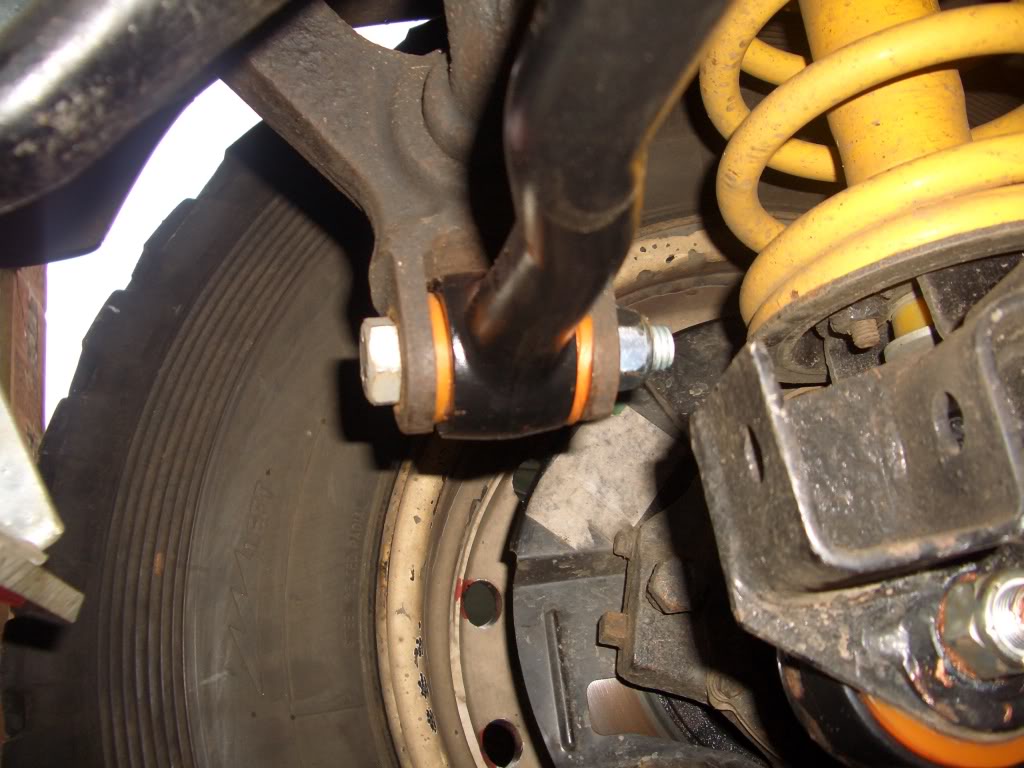
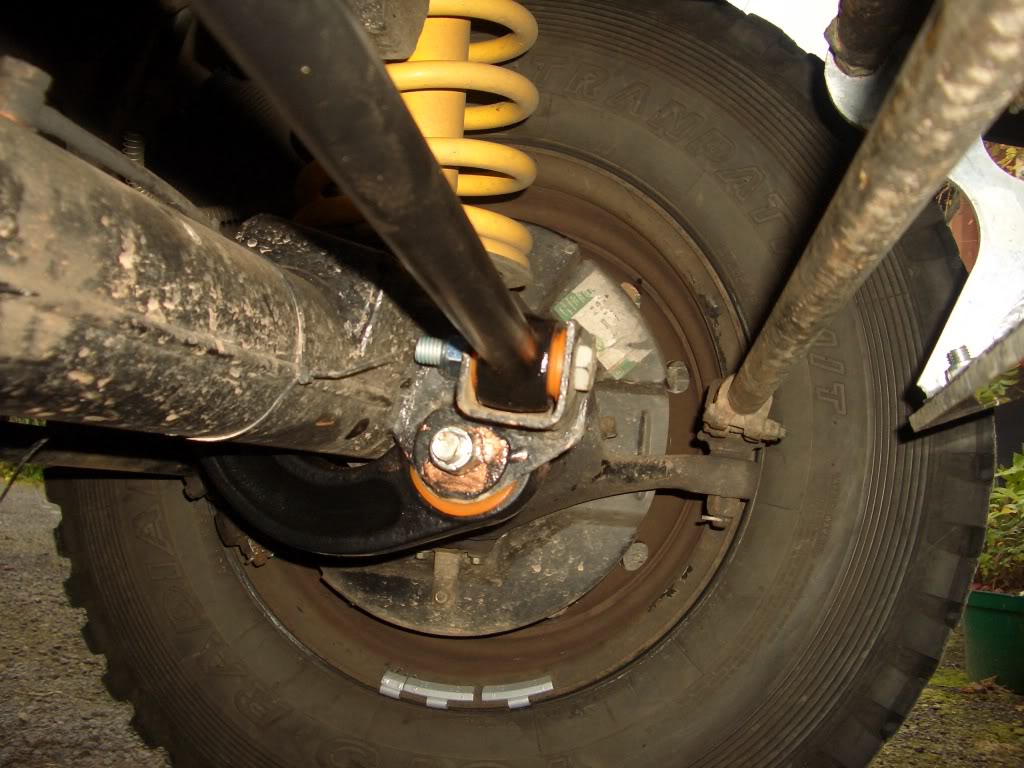
Just a piccy of the old one out and the donor one ready to go in..
Ah removed the old bushes from the donor by knockin' the metal sleeve out with a suitable drift (a big bolt)...
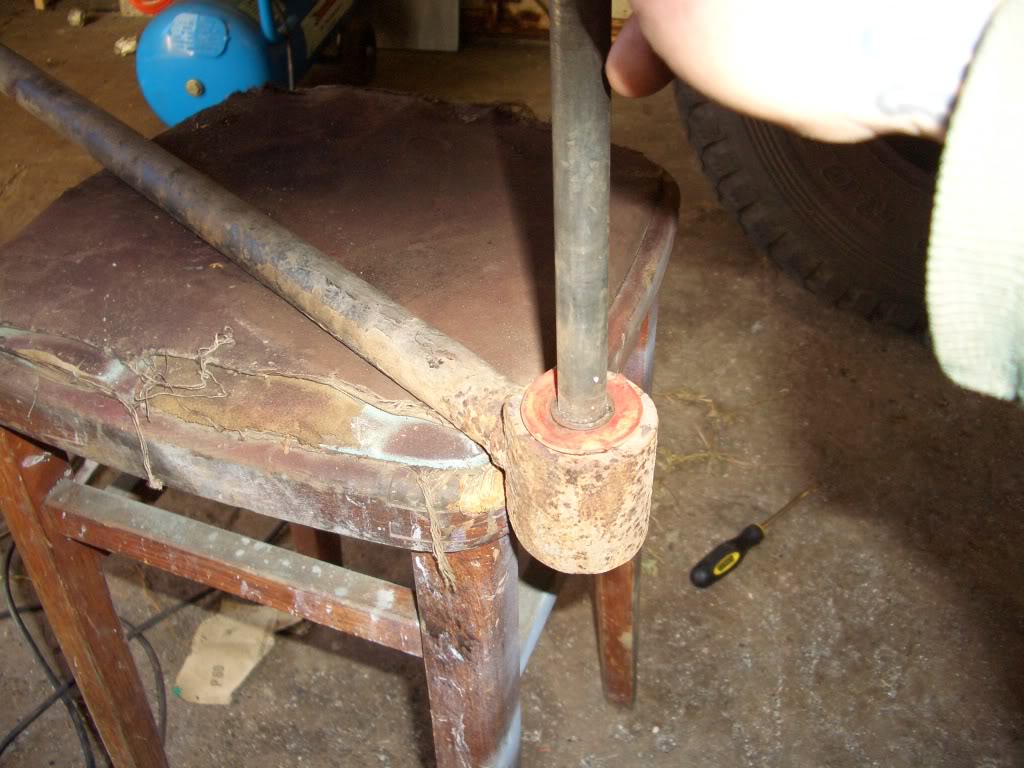
and then chapped a screwdriver between the bush and rod to prise it out...
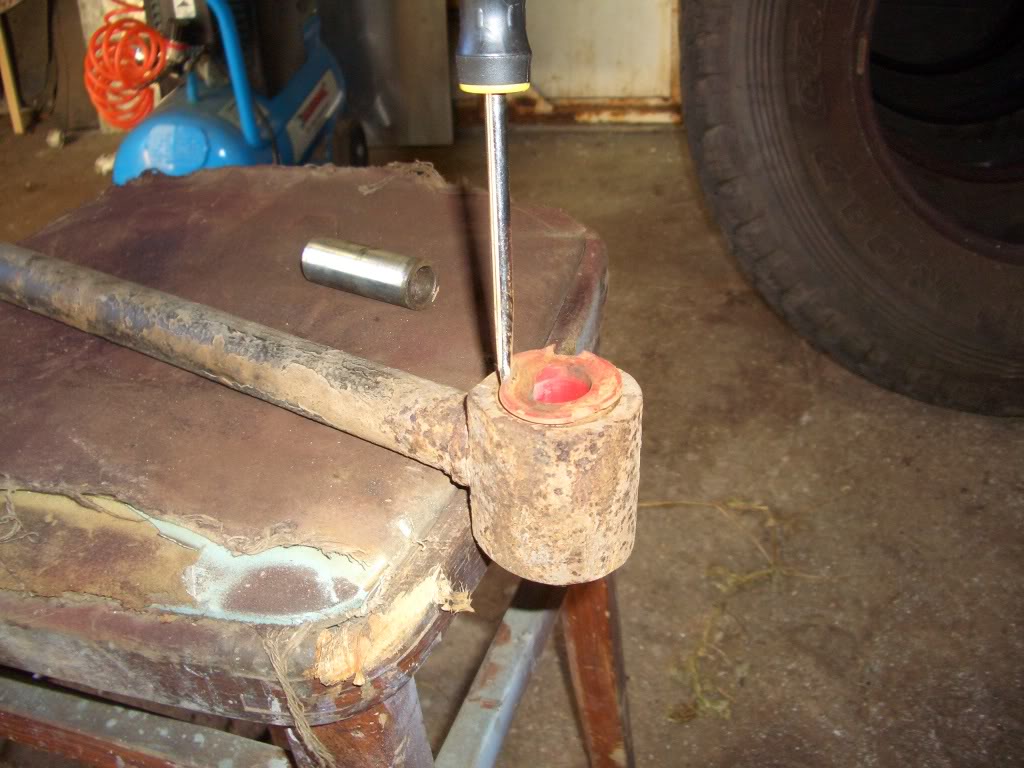
The new poly bushes come in two halves with a metal sleeve and makes fittin' a whole lot easier than Rubber bushes. When ah went to fit the new bushes ah smeared a bit of grease in the hole and the bushes went in a treat. Also put a little bit of grease on the metal sleeve and pushed it in.
(look at me other bushes posts to see piccies of what ah mean)
When it came to refitting, ah put the nearside in first using new bolts etc...

then did the off side...
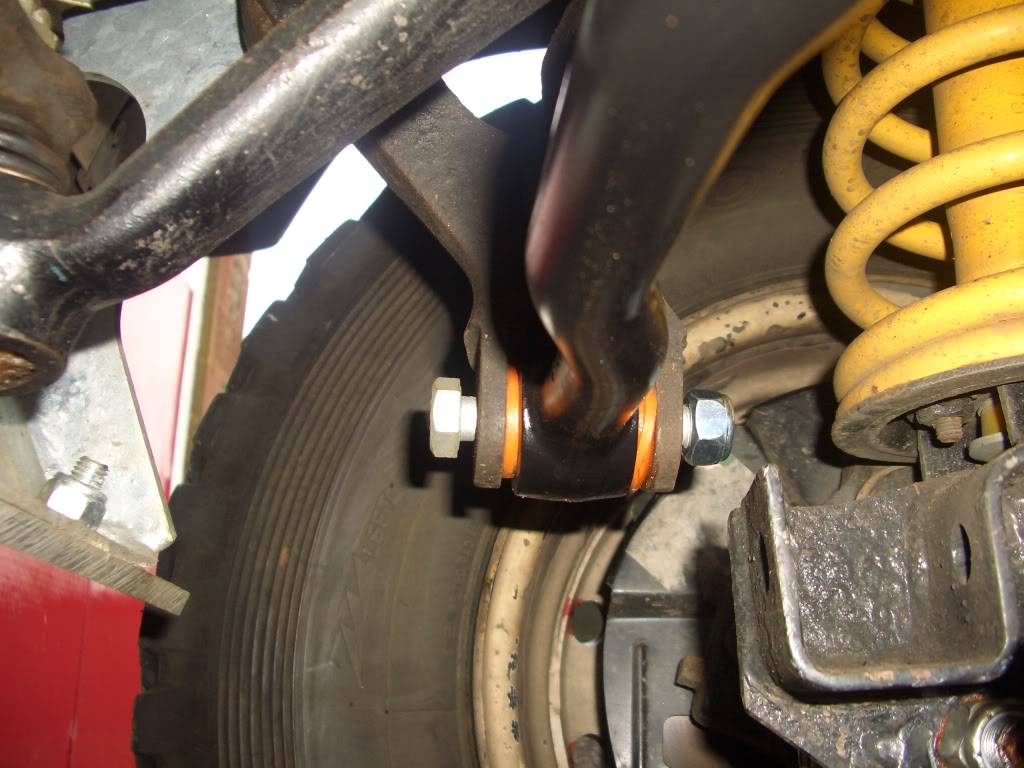
Tightened the bolts up
and that's it, job done

just a couple of piccies..
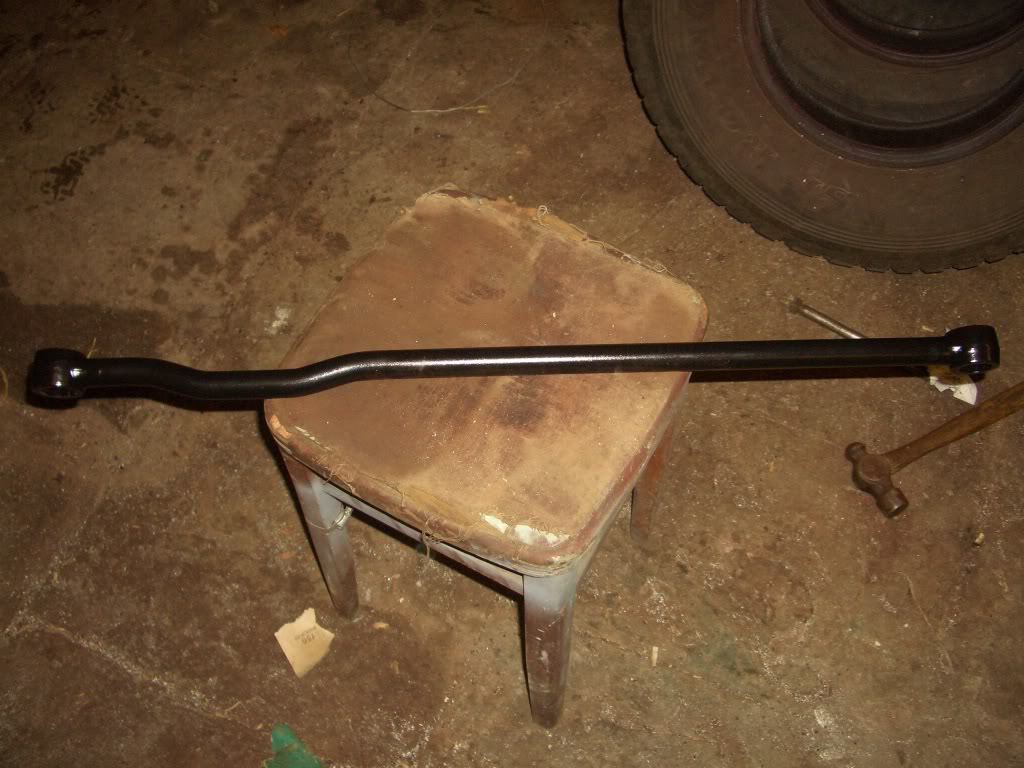
This was the donor rod before
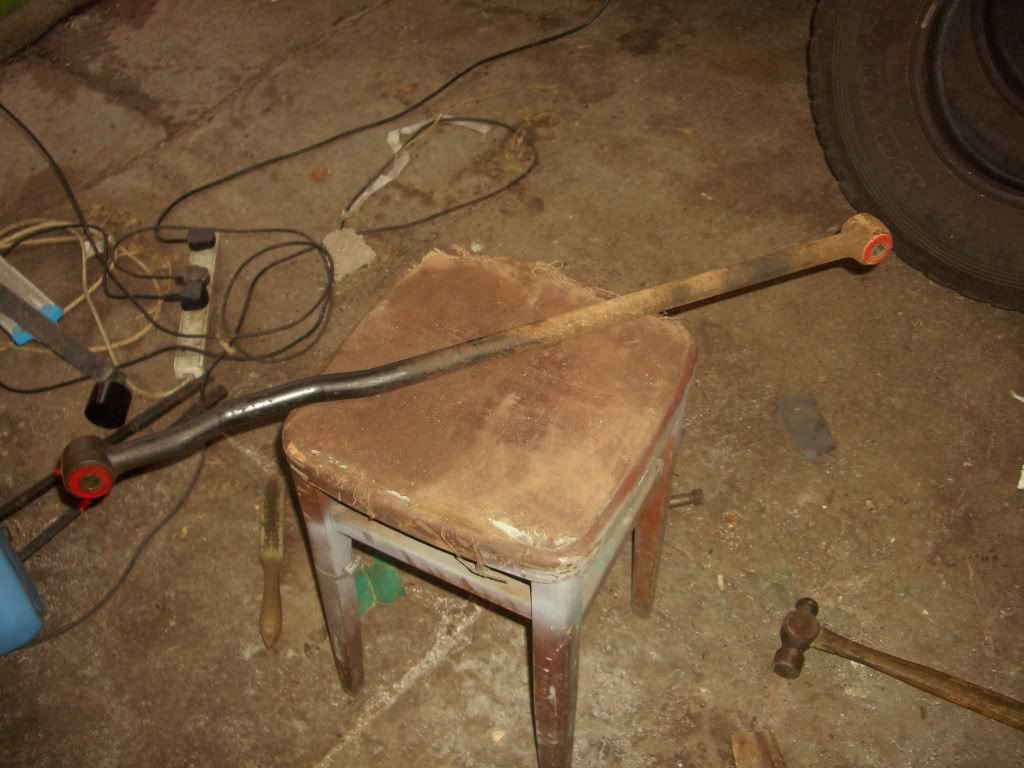
and then after a bit of cleanin' and sanding
 Last edited by bustersbus; 15th-October-2008 at 23:08.
And, have done a lot of reading.
Seems to get the old factory style out - get a hole saw that fits the rubber and drill into it.
Then a hack saw blade as you all have talked about..
Not it makes sense..
And, the poly bushes don't have a metal holder or ring around them.
They just use the whole hole in the arm...
Some kind chap - may have been Scottish - wrote this up:
Panhard bushes renewal...
Usin' poly bushes.
Quite an easy job to do really.
( If ye have the OEM bushes then ye'll need to burn the rubber out and then haksaw the metal sleeve to remove it, or use a big press.)
In my case the panhard rod I was usin' had been fitted with the Polybush kit so wasn't too bad to do.
Here's how ah did it...
undid one side usin' a 24mm socket and a 24mm spanner....
then removed the bolt...
done the same on the other side...
and then removed it.
Just a piccy of the old one out and the donor one ready to go in..
Ah removed the old bushes from the donor by knockin' the metal sleeve out with a suitable drift (a big bolt)...
and then chapped a screwdriver between the bush and rod to prise it out...
The new poly bushes come in two halves with a metal sleeve and makes fittin' a whole lot easier than Rubber bushes. When ah went to fit the new bushes ah smeared a bit of grease in the hole and the bushes went in a treat. Also put a little bit of grease on the metal sleeve and pushed it in.
(look at me other bushes posts to see piccies of what ah mean)
When it came to refitting, ah put the nearside in first using new bolts etc...
then did the off side...
Tightened the bolts up
and that's it, job done
just a couple of piccies..
This was the donor rod before
and then after a bit of cleanin' and sanding
Last edited by bustersbus; 15th-October-2008 at 23:08.
#17
12-07-2012, 09:29 AM

#18
12-07-2012, 05:24 PM
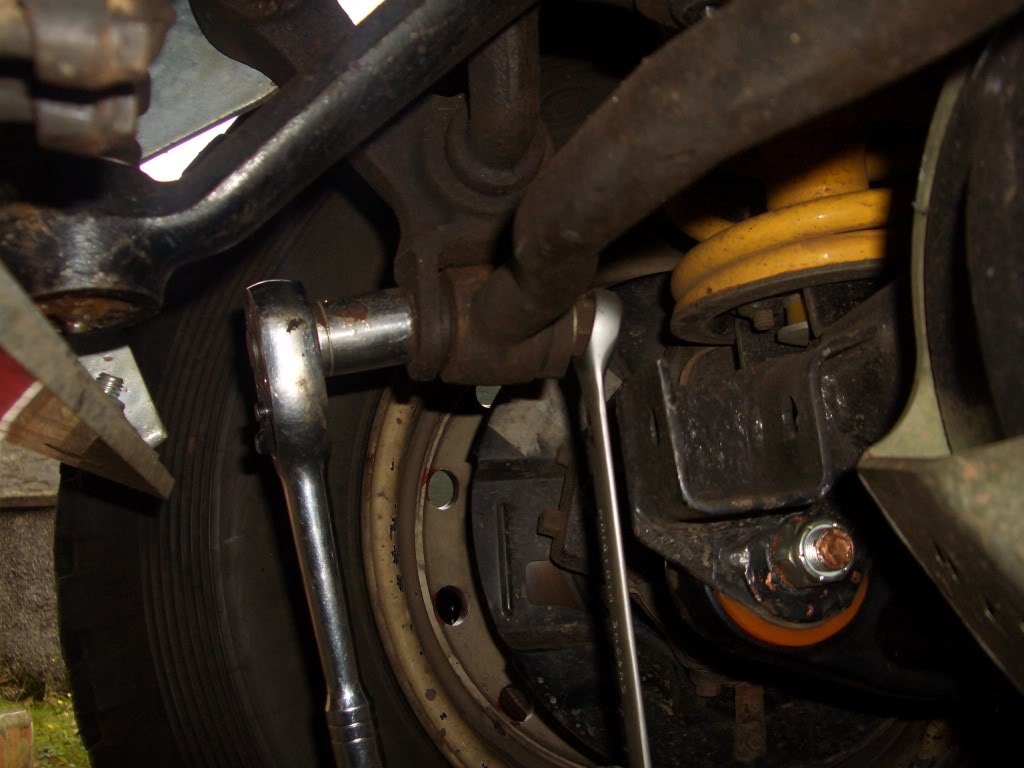
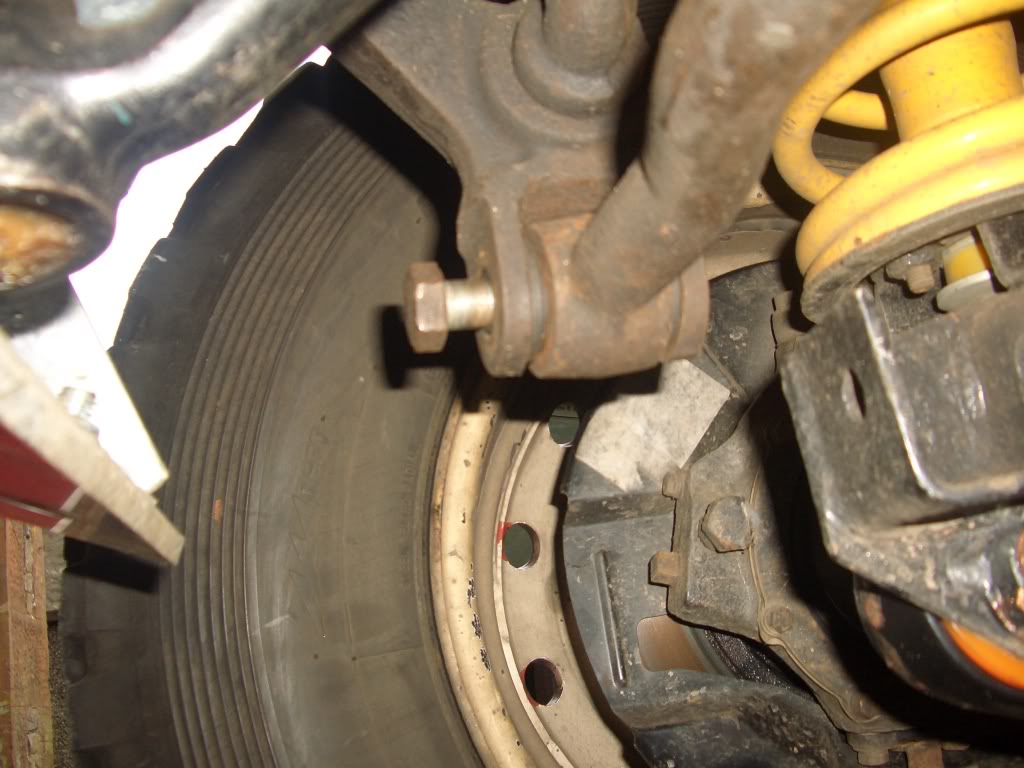
Got the bar out.
Had to get a 22mm long wrench and use my feet to break the nut on the bolt.
The bar then dropped down pretty easy.
Seems the pahard bushings in there were really shot.
Garage put the left one in and it looked dry rotted.
The right one was original rover.
I could just dig the rubber out with a screw driver.
I'll buy a hack saw blade and go at it.
I'll try to cut out the bushing.
#19
12-09-2012, 05:39 PM
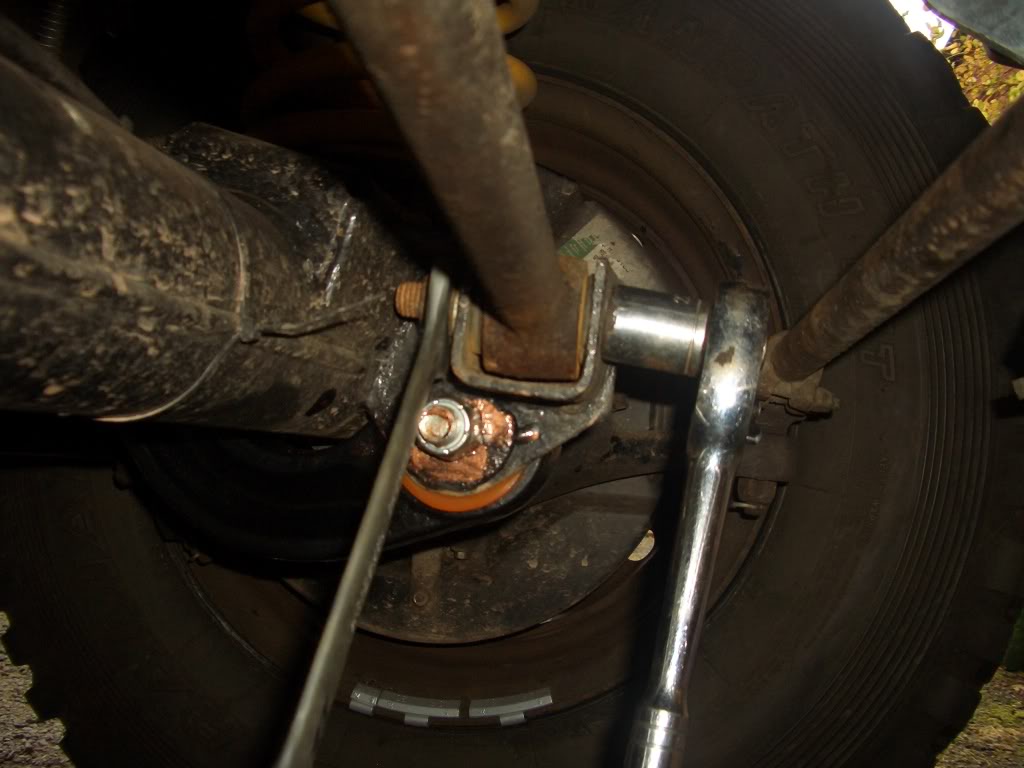
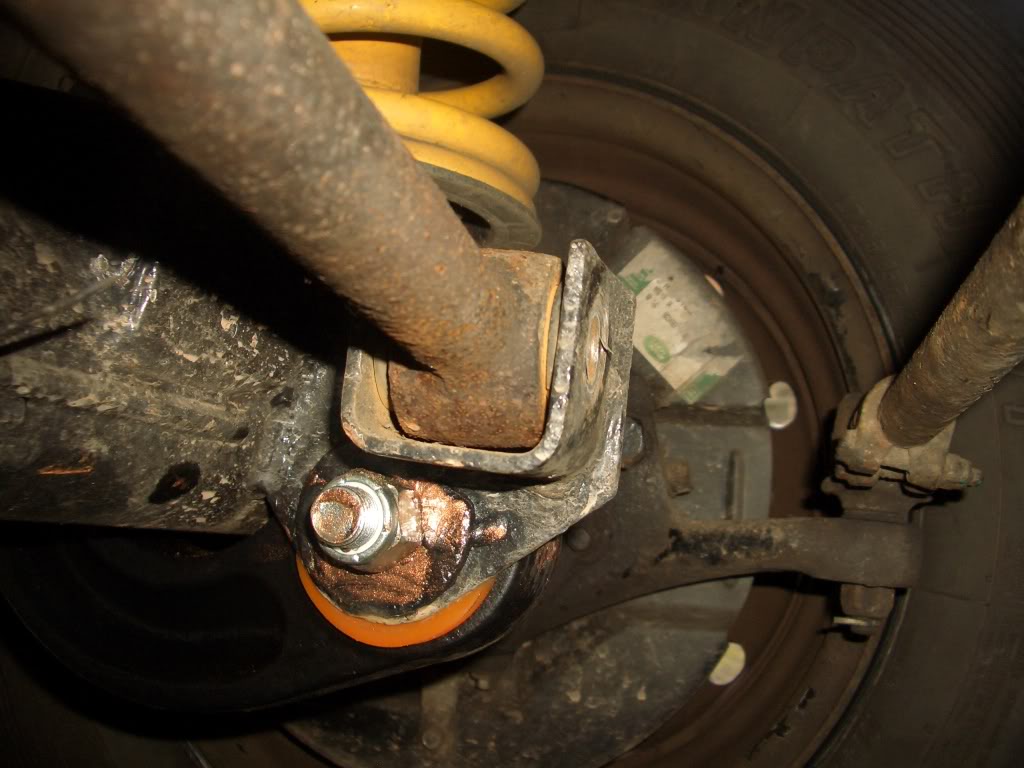
This whole job took about three hours or more.
Easy to get the old bushings out with a hacksaw.
I was working in a remote parking lot.
Did not have a lot of tools and no grinder.
Got the passenger's end of panhard rod in no problem.
Driver's side - took hours.
Found for whatever reason, the spacer supplied with the bushing would not fit.
Too long.
I had to scrape it aginst a cement curb for 1/2 an hour to grind it back for the correct clearance and then use the bottle jack to get the member back up.
When all said and done-
There is still about 1/2 mm of wobble on that new poly bushing at the joint when the steering is thrashed back and forth in the parking lot.
Drives 1000% better, but still has a tiny tiny drift on the freeway.
Is safe now -
No more "death wobble:.
