disco update
#12
got into the other side today and sandblasted the interior of the door and using the epoxy filler mix i packed it full of epoxy, and now i have templates from the other side markedthe panel out and cut away with the slitting disk,
folded the edge up and also the inner door frame edge,
before

as far as i can go until the epoxy sets.

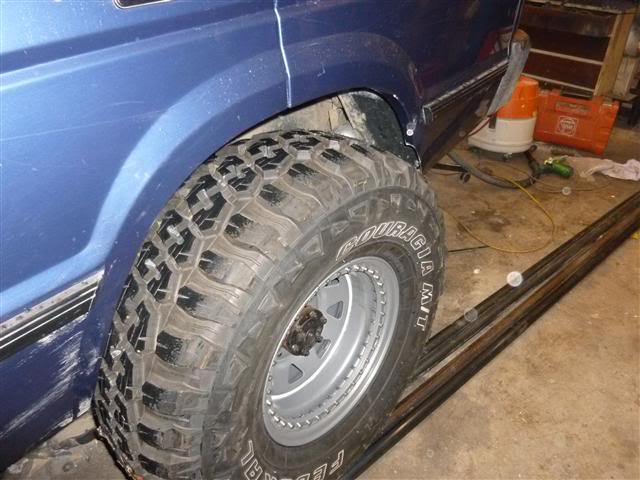
photo taken from a distance, not very happy with the front guard cut, but the side bars and flares will cover the f**-up

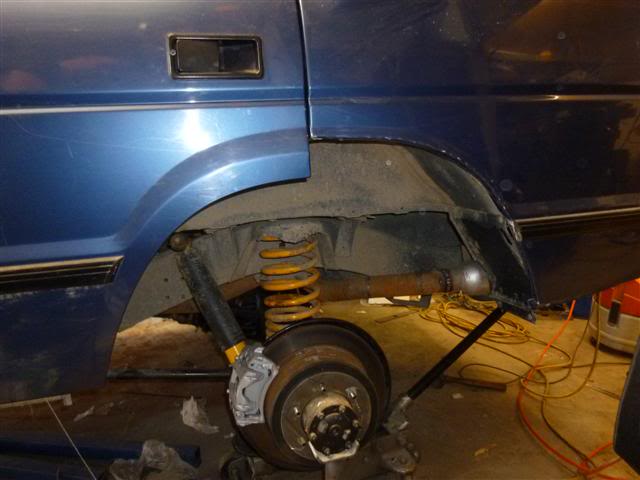
may also have to adjust the spring seat, bring the front down or lift rear, have to get it on the flat to figure it out.
Pedro
folded the edge up and also the inner door frame edge,
before

as far as i can go until the epoxy sets.

photo taken from a distance, not very happy with the front guard cut, but the side bars and flares will cover the f**-up

may also have to adjust the spring seat, bring the front down or lift rear, have to get it on the flat to figure it out.
Pedro
#14

#15
Good deal. That last pic I could see the arms hanging down I wasnt sure if you put a 4 link setup under it. I'm about to build another truck and thinking of doing the Toyota axle swap myself. Do you mind posting a few pics of the front arm mounts? Im debating between the Toy axles or Dana 60's, itll mostly see street use so im leaning twards the Toyotas.
#16
well things are progressing again, a mate bought a rover and i have ended up doing stuff on his and not mine.
i have finished cutting the guards and the epoxy trick is a magic way to do the rear doors, clean "sharp" edges and no burrs to catch on.
i got hold of some 3mm ABS black plastic sheet, and basically screwed it to the inner guards and folded edge of the guard panel, this is a temporary fixing so the vehicle can go for certification this week, but once the abs is in place you then heat it with a propane torch or heat gun until is goes soft, you can then push it and form it into corners, curves or what ever and close the gaps up under the guards to help prevent crap building up behind them.
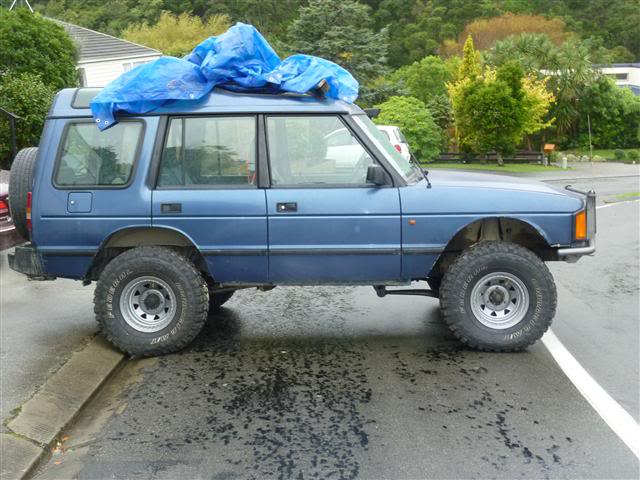
I now have had the chance to drive it now it looks a bit more legal,
it drives like it used to i think, good road handling, does not sway around, speedo is spot on according to a gps test, 4.11 diff ratio with 33" tires seems spot on, the federal courigias are very quiet can barely hear them much to my surprise. then I hit the picks (brakes)
when I braked heavily i ended up with the rear tires locking up, so removed the rover pressure reducing valve and put in a wilwood proportioning valve, got better but still not good. so put a remote brake booster on the front lines to up the pressure on fronts only, got better but still have rear lock,
removed front calipers and stripped and cleaned re-greased and reassembled them, again better but no cigar, i then swopped the front and rear brake systems over on the master cylinder, better again, but no cigar, i had fitted EBC brake pads on the front and rear, they seem brilliant, so as a last ditch effort i swopped the rear EBCs out for the original pads that came with the diff, and i think now it is certifiable,
i am going to be looking at a load sensing valve for the rear, as i think the rear end is unloading to the point of lock up, so hopefully a load sensing valve will be the cure. watch this space
no pics at present, so next time
cheers
pedro
i have finished cutting the guards and the epoxy trick is a magic way to do the rear doors, clean "sharp" edges and no burrs to catch on.
i got hold of some 3mm ABS black plastic sheet, and basically screwed it to the inner guards and folded edge of the guard panel, this is a temporary fixing so the vehicle can go for certification this week, but once the abs is in place you then heat it with a propane torch or heat gun until is goes soft, you can then push it and form it into corners, curves or what ever and close the gaps up under the guards to help prevent crap building up behind them.
I now have had the chance to drive it now it looks a bit more legal,

it drives like it used to i think, good road handling, does not sway around, speedo is spot on according to a gps test, 4.11 diff ratio with 33" tires seems spot on, the federal courigias are very quiet can barely hear them much to my surprise. then I hit the picks (brakes)
when I braked heavily i ended up with the rear tires locking up, so removed the rover pressure reducing valve and put in a wilwood proportioning valve, got better but still not good. so put a remote brake booster on the front lines to up the pressure on fronts only, got better but still have rear lock,
removed front calipers and stripped and cleaned re-greased and reassembled them, again better but no cigar, i then swopped the front and rear brake systems over on the master cylinder, better again, but no cigar, i had fitted EBC brake pads on the front and rear, they seem brilliant, so as a last ditch effort i swopped the rear EBCs out for the original pads that came with the diff, and i think now it is certifiable,
i am going to be looking at a load sensing valve for the rear, as i think the rear end is unloading to the point of lock up, so hopefully a load sensing valve will be the cure. watch this space
no pics at present, so next time
cheers
pedro
Last edited by pedronz; 05-14-2011 at 05:21 AM.
#20


