
Installed Body Lift for... 60$


Thread Starter
|
Pro Wrench
Joined: Apr 2010
Posts: 1,482
Likes: 8
From: Gramercy, La
It really was simple. Im sorry I didn't take pictures it really is TOO simple..
And I used nothing more than spacers and bolts..
Materials needed. [For two inch] For one inch use a shorter bolt.
10 body lift spacers
8 5.5" 3/8's grade 8 or grade 5 bolts along with nuts [I like locknuts]
2 6" 3/8 bolts [I found the ones under the passenger foot area are SLIGHTLY longer
10 3/8 washers
10 3/8 1.5-2" O.D. washers [if your using poly bushings] AKA FENDER WASHERS
Tools needed
9/16 deep socket
9/16 open end wrench
18mm deep socket
Highlift jack
Drill
Hammer
1 Loosen all 10 body lift points 9/16s [remove all nuts on passenger side and leave nuts on drivers side with a couple threads holding on
- Two in front behind grille [remove grille]
- 2 in rear of engine bay
- 2 in drivers footwell area
- 2 in passenger footwell area [can only get to it by underside]
- 2 in rear behind bumper
2 loosen seatbelt thingies. 18mm [actually standard inbetween 17 and 18]There mounted on the INside of the frame towards the center where the seat driver and passenger seat belt would bolt. They look like body mount points.
3 I forgot this step, loosen bolts in rear cargo bay should be two or was it four... OOPS
4 loosen nut on TOP side of steering colum. You may need to rotate it to find it. 13mm
5 Jack up vehicle, I have my sill gaurds removed a highlift jack would have cracked the fiber sills that come on a discovery.. Check every click or two that nothing is being pulled ect. I had to rerout my abs line on the drivers side.
6 check spacing every click untill you have just enough to slide in spacers.
7 Slide in spacers making sure you put a large one under the spacer if its poly.
It should look like this.
_________________
Rubber Bushing
_________________
Body Mount
_________________
Rubber Bushing
_________________
Spacer
_________________
Washer
_________________
Frame Mount
__________
Washer
______
Mount the bolt wichever way seems easiest to you!
8 Insert bolts and put a few threads in the nut.
9 lower body and begin lifting otherside repeating process.
10 lower body and tighten all lift points.
11 tighten steering shaft bolt
12. Unbolt drivers side radiator mount and place it on the radiator while it should be, push it towards the grill and mark your hole. Drill and tighten down using existing bolt.
12. Tighten down seat belt mounting points. I tightened the nut untill the threads were little pash flush with the nut.
13 reinstall everything thats missing and your good to go..
TIP: I didn't weld my steering shaft as you can tell. And Im glad I didn't. In my opinion there is absolutely no point to. Before lifting you have about 3-5mm of splines sticking past where they join. After the lift they are perfectly flush. I am 100% confident in my steering.
Tip: I see no reason to buy a lengthened body tie rod [seat belt mount] Tightening the Nut down afterstill serves the same purpost. A 2" slim spacer would would though. Start Stacking washers.
Tip: I didn't include any type of cargo area spacer as I haven't done this part yet.
Total time it took was 4hrs. But I had a lot of unplanned BS,.
Second Time around it took EXACTLY 2 hours
Last edited by Spencerfitch; Feb 2, 2011 at 09:47 PM.


Thread Starter
|
Pro Wrench
Joined: Apr 2010
Posts: 1,482
Likes: 8
From: Gramercy, La
oook...
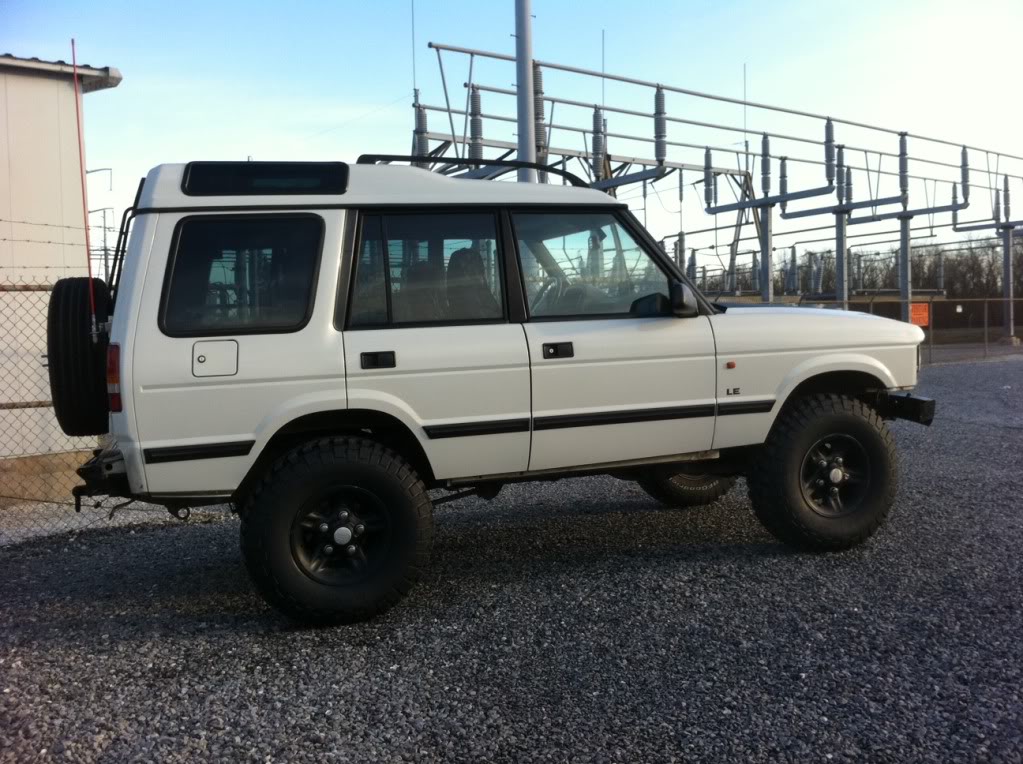
anyways.. I plan on taking it down to 1" and adding 1" spring spacers instead. But I LOVE this combo. 255/85 + 4.5" of lift!!
anyways.. I plan on taking it down to 1" and adding 1" spring spacers instead. But I LOVE this combo. 255/85 + 4.5" of lift!!
Thread Starter
|
Pro Wrench
Joined: Apr 2010
Posts: 1,482
Likes: 8
From: Gramercy, La

PICTURES IN THE MORNING I PROMISE THIS TIME..
its too dark outside right now.
The dimensions? Dimensions of what?
YEA I RELOCATED THEM.too the ground. No, I took the rear one off for a day or two. Ill fab up some brackets soon though to lift them.
