
Rear Windows Stopped Working....great....


Do what Danny says, it worked for me. If you want we can walk you through it :]
And that bypass doesnt really work.. I made my own using the exact same supplies they give you and it was a bust.
And that bypass doesnt really work.. I made my own using the exact same supplies they give you and it was a bust.


Pro Wrench
Joined: Oct 2010
Posts: 1,669
Likes: 2
From: San Juan, Puerto Rico
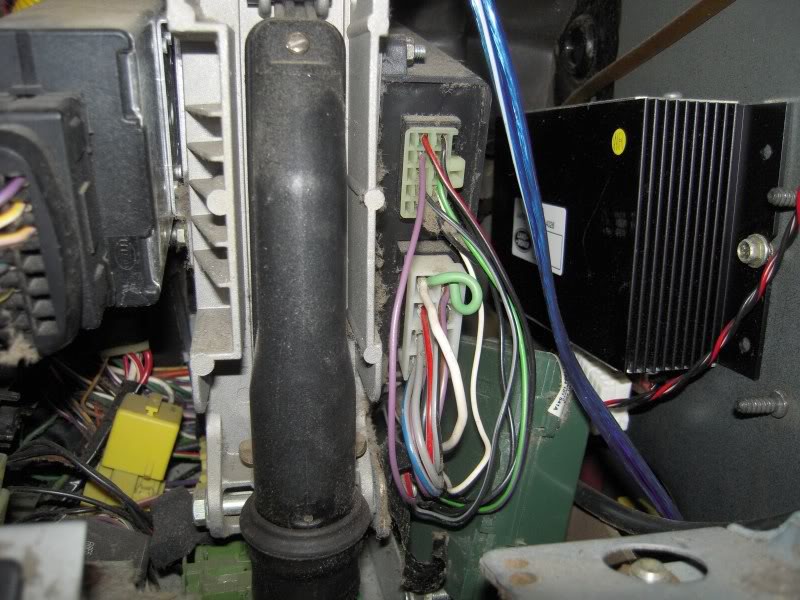
Yeah the window kit is crrraap. I bought it cuz I had a credit and wanted to understand the window system and be ready to fix something when I tore it apart instead of waiting. I bought some other bits too which I'm not sure what they are for (pic). I know I need rollers/washers for the regulators..what's the best thread on this..there are a few.
By the way, doing car electrics color blind is a bitch.
BUT, the rears didn't work before I installed the kit. They didn't work when I installed it. But they work great now since I put it back the way it was, splices and all. Something must be loose and I'm sure it won't just go away. It was my first attempt at car electrics and I'm feeling pretty good about. I did notice one of the contacts slipping out of a plug in the door. I pressed it back in.
What are these for:
(It appears the blue things are for a RR regulator. What about the white?)
Last edited by slanginsanjuan; Aug 30, 2011 at 09:21 AM. Reason: Add info

Pro Wrench
Joined: May 2010
Posts: 1,918
Likes: 86
From: St Louis MO
Very much so! I usually have to either employ the wife to determine which wires are red and green, or find an electrical schematic and use a multimeter and spend and extra 20 minutes of testing to make sure I am looking at the right wire.
/sucks
/sucks

Baja
Joined: Mar 2010
Posts: 5,584
Likes: 7
From: Pittsburgh PA suburbs.
You do not need to remove the housing. The key is to leave the housing in place, remove the electrical connector, this exposes the edge of the circuit card. Take a good pair of needle nose pliers and grab firmly to the edge of the card and pull straight back on it. The card will pull right out of the housing leaving that damn housing right where it was. When finished resoldering merely slide the card back into the housing and reattach the electrical connector.
The connector has a release tab on the end that you press to release it from the mating half.
Ensure your soldering tip is clean, pre-tin it with solder. Apply the heat with the tinned tip and then touch the solder to the other side of the soldr joint and watch the solder melt and flow. Remove the hot tip and allow solder to cool undisturbed.
Keep a wet sponge or rag handy to keep the solder tip clean, ensure it is properly tinned and soldering is really simple to do. Recently I came across my NASA Soldering Handbook that I qualified to in the early 80's. It was in my breifcase with some other work related items. That's over 30 years plus my time in the Navy as an Aviation Electrician in the early 70's. So electrical just seems second nature to me.


Recovery Vehicle
Joined: Aug 2009
Posts: 851
Likes: 0
From: Golden, CO
Sorry for dredging up another old post but it shows I am using search right? 
So I have had this same problem intermittently. Couple of questions I have.
Danny: Did you desolder the joints first to clean them up?
Are you referring to resoldering the connections on the control module pictured above? Or are we talking about the individual motors in the doors? (excuse any ignorance, I deal with Audi's all day and the control modules are in the motor assemblies.)
Does anyone have pictures of this procedure for reference?
Last edited by ColoDisco; Sep 14, 2011 at 12:43 PM.