3D Printed Drip Rail Finishers
#22
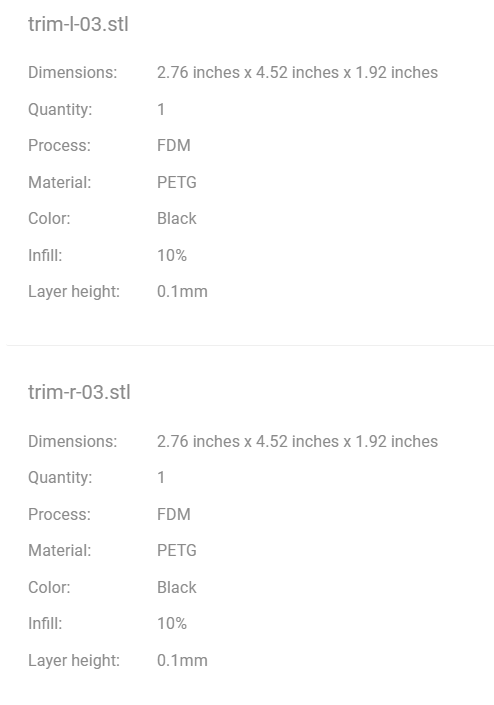
For anyone who doesn't have a local 3D printer there are plenty of services online that you can upload your file to and get printed and shipped to you. www.makexyz.com is one. I've been working on some CAD items for the dash and console area. The opportunities are endless.
#23
You printed these CAD files through makexyz.com or something else?
Alot depends on the type of printing you choose:
https://www.makexyz.com/printer-serv...nting-services
Alot depends on the type of printing you choose:
https://www.makexyz.com/printer-serv...nting-services
#24
You printed these CAD files through makexyz.com or something else?
Alot depends on the type of printing you choose:
https://www.makexyz.com/printer-serv...nting-services
Alot depends on the type of printing you choose:
https://www.makexyz.com/printer-serv...nting-services

#25
The 100micron (0.1mm) isn't the greatest, even for FDM printing. If you really care to keep trying different printing sources you could find a service that could print as low as 0.05mm.
Or you could just sand it and then paint with a high-build primer and paint.
Considering where the part is I would just sand and prime+paint.
Or you could just sand it and then paint with a high-build primer and paint.
Considering where the part is I would just sand and prime+paint.
#26
The 100micron (0.1mm) isn't the greatest, even for FDM printing. If you really care to keep trying different printing sources you could find a service that could print as low as 0.05mm.
Or you could just sand it and then paint with a high-build primer and paint.
Considering where the part is I would just sand and prime+paint.
Or you could just sand it and then paint with a high-build primer and paint.
Considering where the part is I would just sand and prime+paint.
#27
The layer height is how thick each pass is when the object is 3d printed. A bigger layer means less, but more noticeable lines. The smaller the layer the more fine the lines.
FDM Printers can print from 50-400micron (0.05mm - 0.4mm), while SLA can print from 25-100micron (0.025mm - 0.1mm).
https://www.3dhubs.com/knowledge-bas...eight-3d-print
FDM Printers can print from 50-400micron (0.05mm - 0.4mm), while SLA can print from 25-100micron (0.025mm - 0.1mm).
https://www.3dhubs.com/knowledge-bas...eight-3d-print
Rules of thumb
- Select a lower layer height for parts with curved surfaces or when visual appearance is important.
- Higher layer height is faster and more cost-effective and will result in parts with improved mechanical properties.
- If the parts will be post processed, layer height is not as important.
#28
ok. I had a CAD drafter, based on pics and feedback (he was in china), create 2 files that a 3D printer can use to print the left and right drip rail finishers. Links to the 2 stl files are below
https://drive.google.com/open?id=1Ni...8hiZ-xEkJlwFib
https://drive.google.com/open?id=1w6...13sOZ1QWqOOMoG
(Let me know if you have issues with the links)
The pics are a comparison between the 3d printed drivers side (red) and an original (black). Of course they will need spray painting and maybe a little sanding but I think they will work.
I have not tried to install yet. I release these to anyone for reproduction in any manner they choose. If someone is proficient in CAD feel free to tweak these.
Also the passengers side is just a reverse image of the drivers.. I have not printed that out yet as I have to use my public library and it takes a while.. I'll submit that today. I'll post new files if there are any major changes.
thanks!
Big Thanks for posting this!!! A co-worker of mine has recently purchased a 3D printer and had been looking for something to print up, so he brought me the driver side drip rail today. Going to clean it up and install it this week. I'll report back how the install goes and how they hold up in a few months. If it works out, I'll be having him make a few. He stated that they are PLP plastic. (No idea what that is) but I'm extremely curious to see how they hold up as the plastic seems much sturdier than the OEM part.
That saidó anyone working on the backside finishers?
Thanks again!
#29
they aren't that different and the fit on mine was great. the piece is much more sturdy than the original and if you want the fresh air vent you could quickly cut it in with an angle grinder.

