Headliner day!
#31
#33
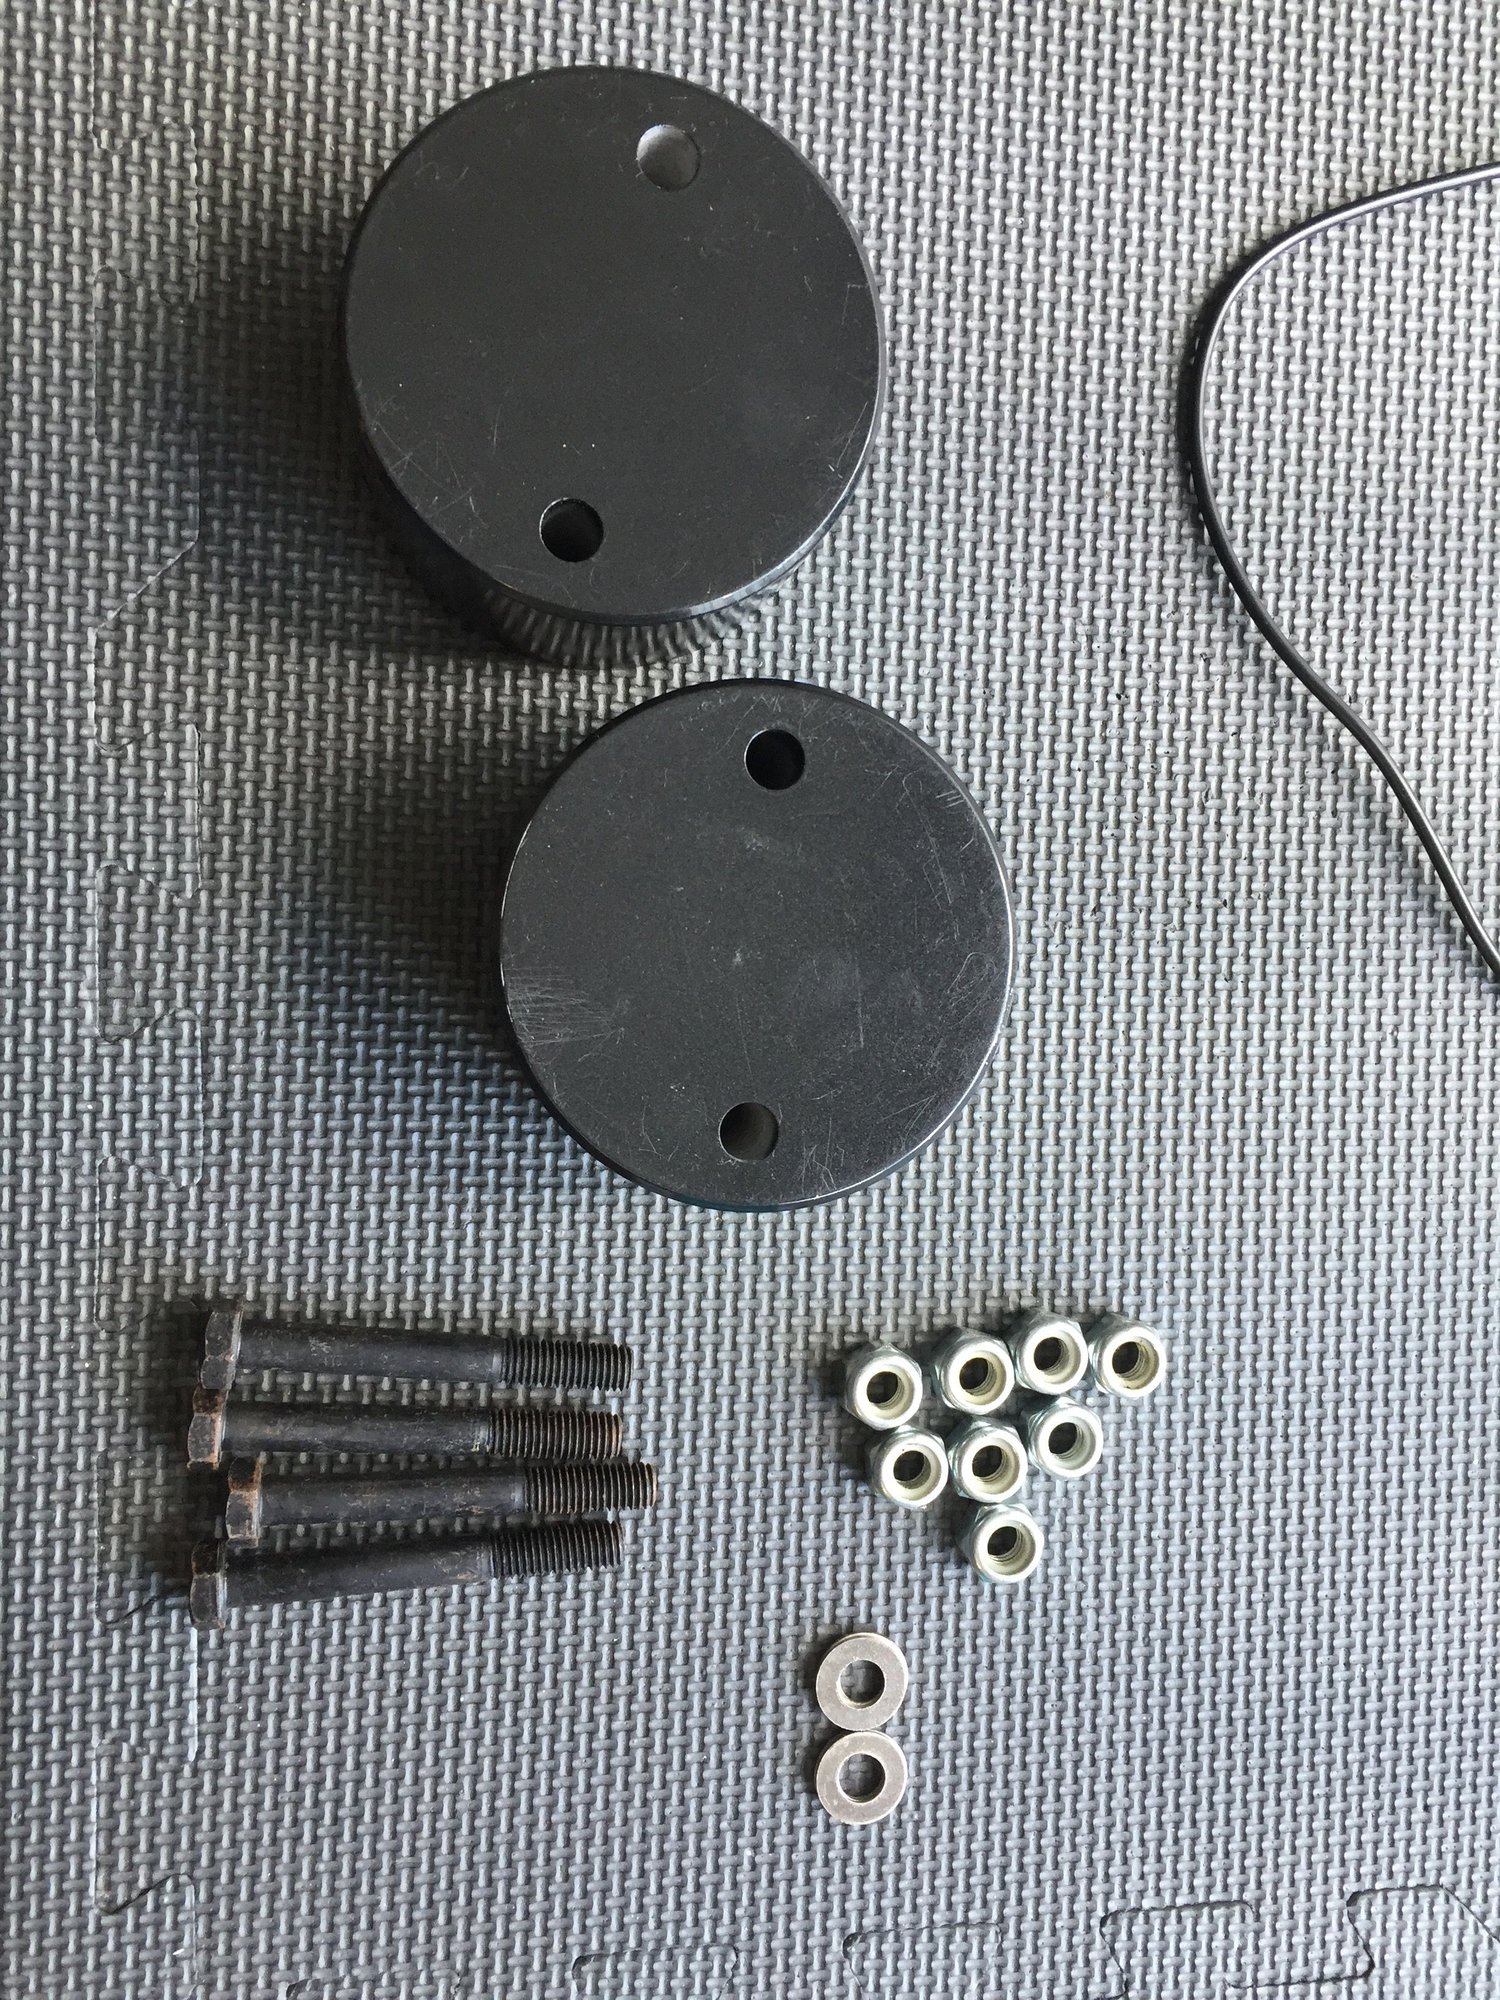
So Im back in town and I think I figured out why the sunroof is leaking, first of all the spacers on the front keeps the water that makes it into the drains from making it to the front drain tubes. So Im going to have to order new 2" spacers for the rear SLS system. The previous owner gave me spacers for the back and I don't think they will work with the bags.
The second problem was the rubber gasket around the tray. I cleaned the top once before but this time I took it out and there was a lot of crud underneath. So I removed it and gave the tray and gasket a good cleaning and put it back in.
Im going to go to the car wash later and give it a test and see if that works.
If it still leaks after that I might just silicon the whole sunroof closed.
#34
#35
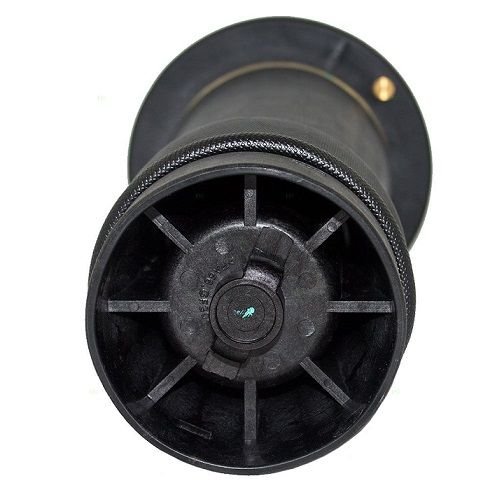
Those are for steel coil springs and not the air spring. You want the spacer that has the index like > https://www.lucky8llc.com/collection...ing-spacer-sls
And there are aluminum in different sizes out there too like > Land Rover Discovery II SLS 2" Suspension Lift Kit
Shop/search around. Good luck!
Last edited by OverRover; 07-17-2017 at 03:38 PM.
The following users liked this post:
DKPhoto (07-17-2017)
#36
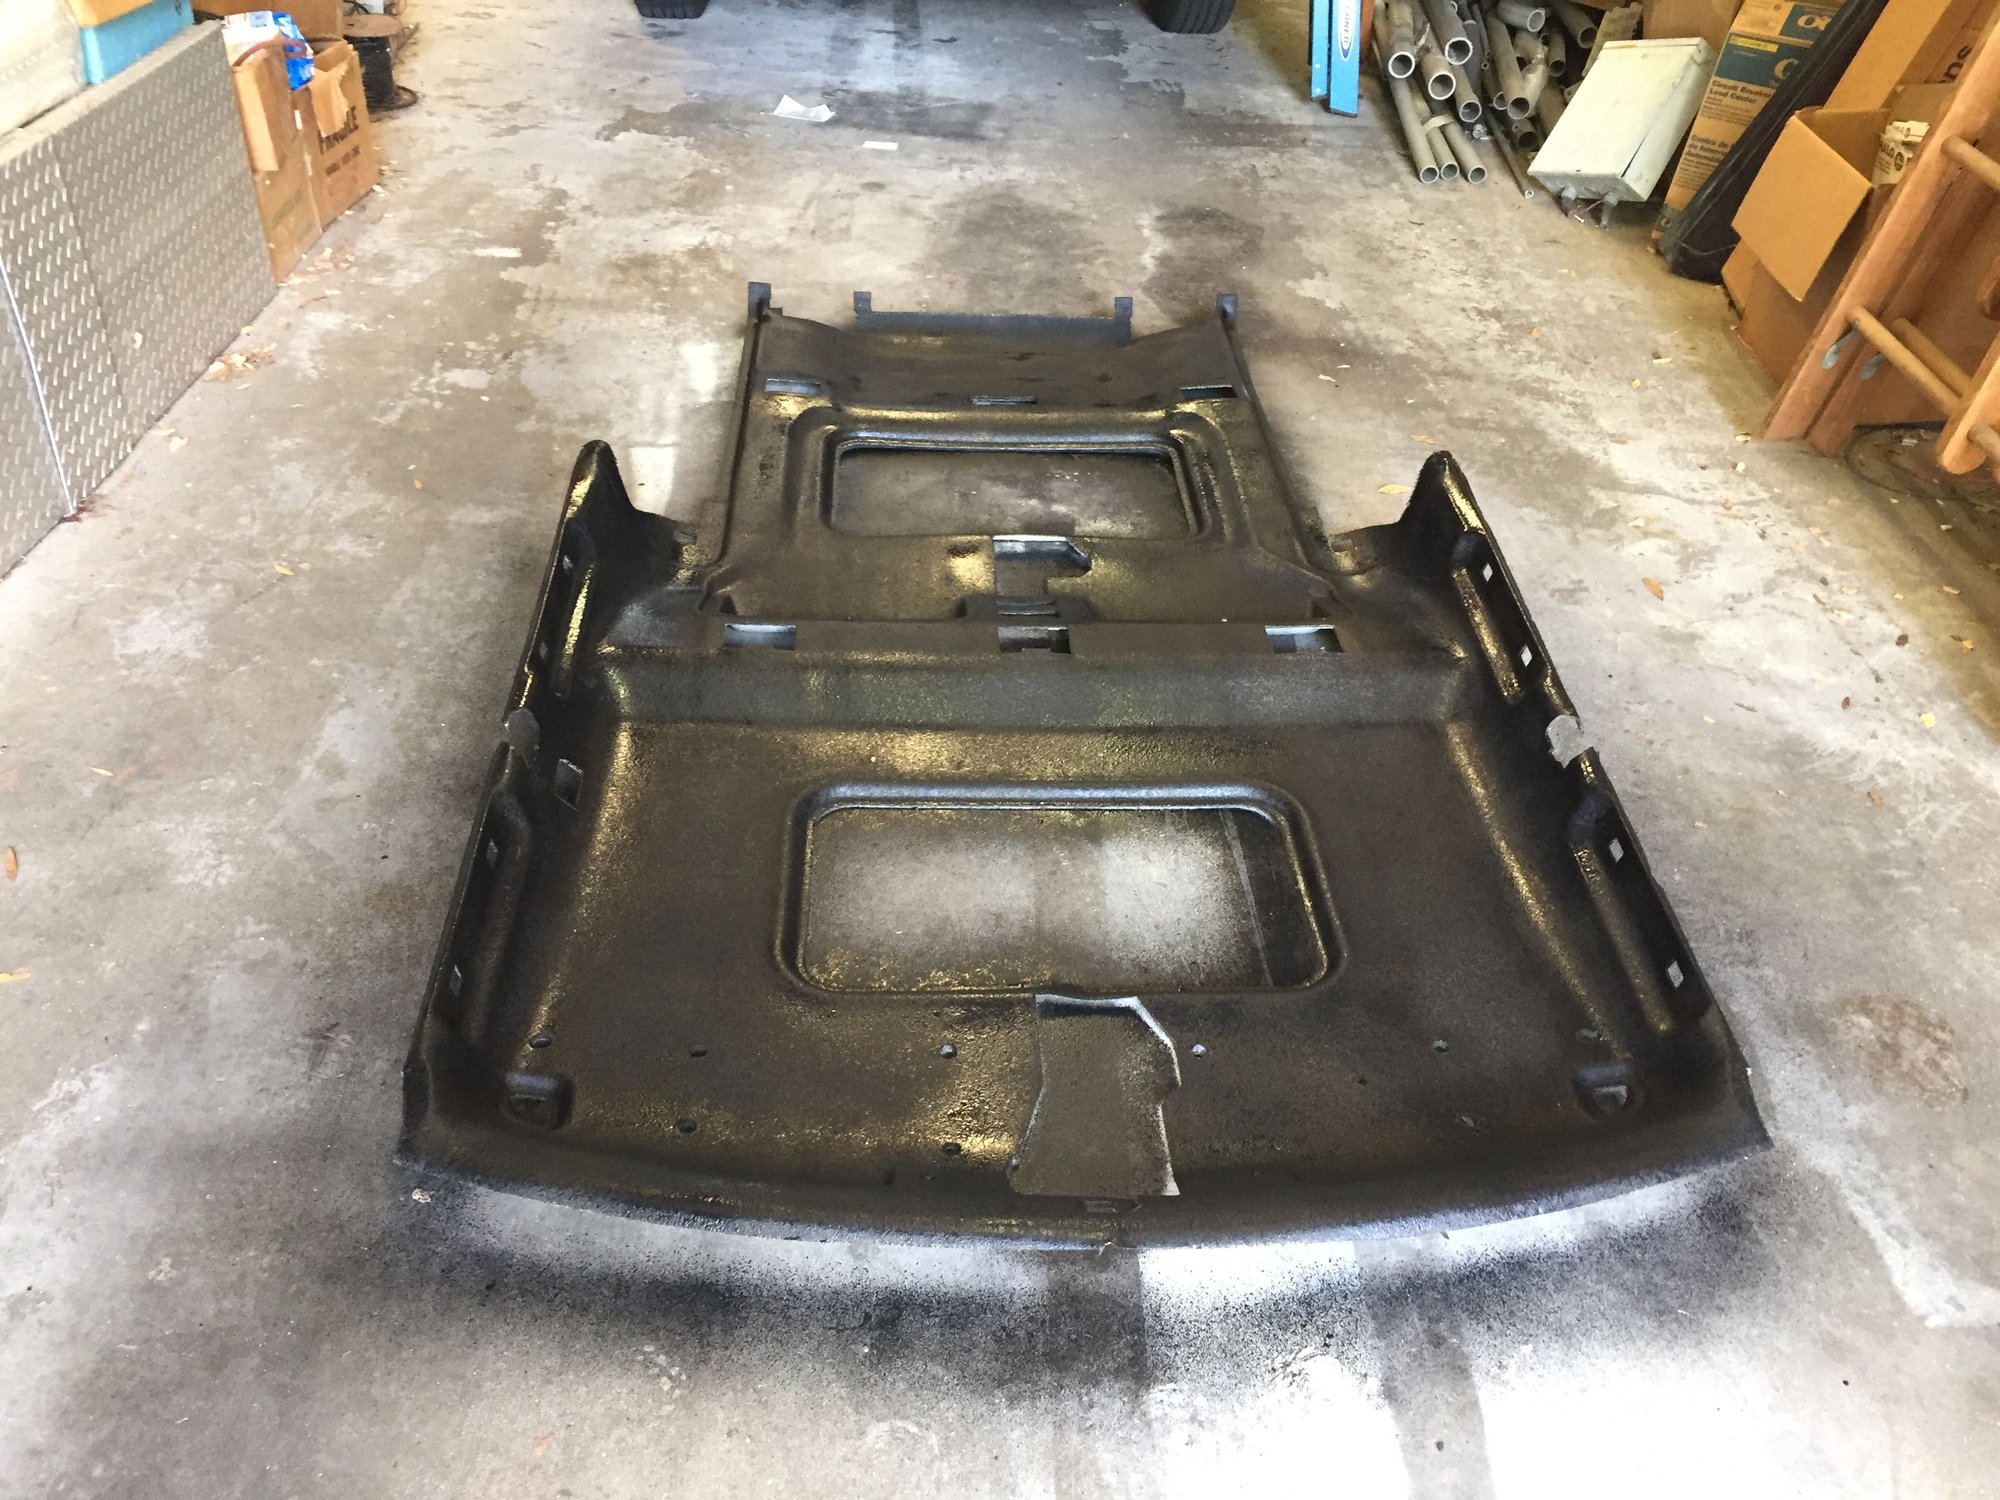
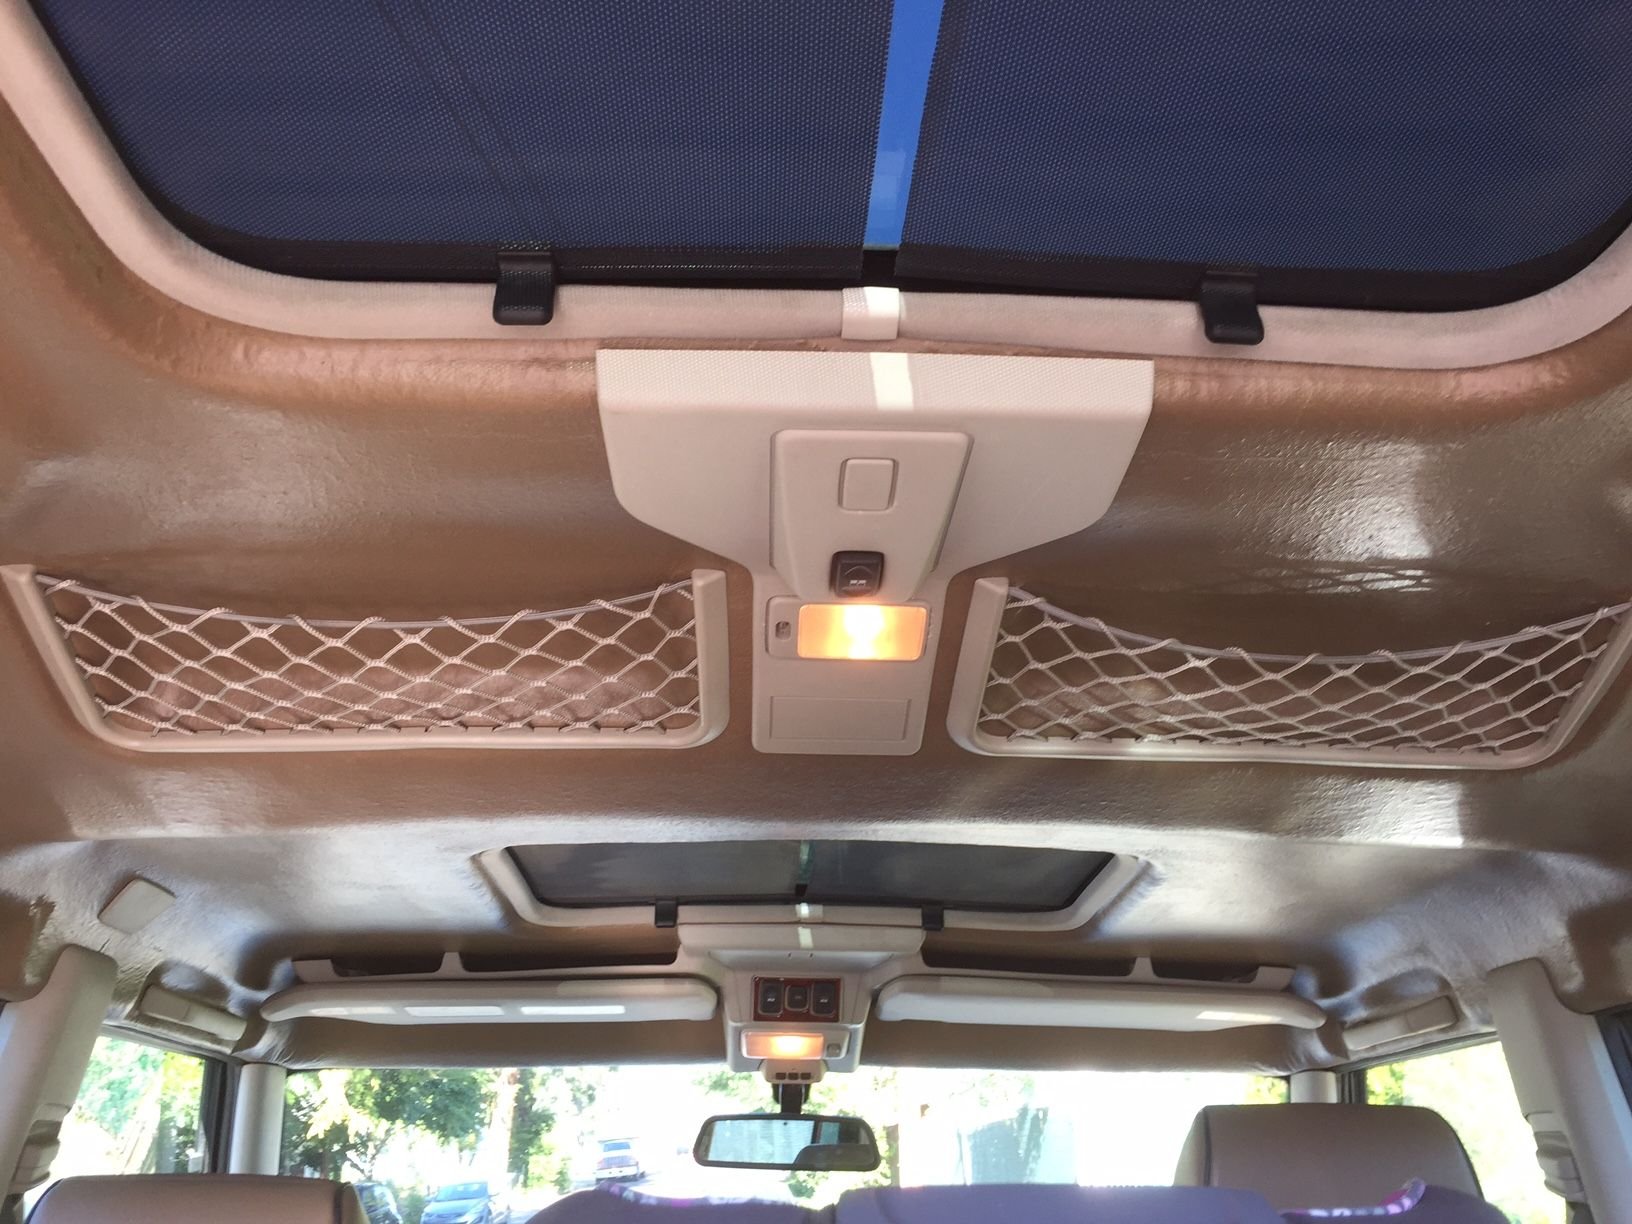
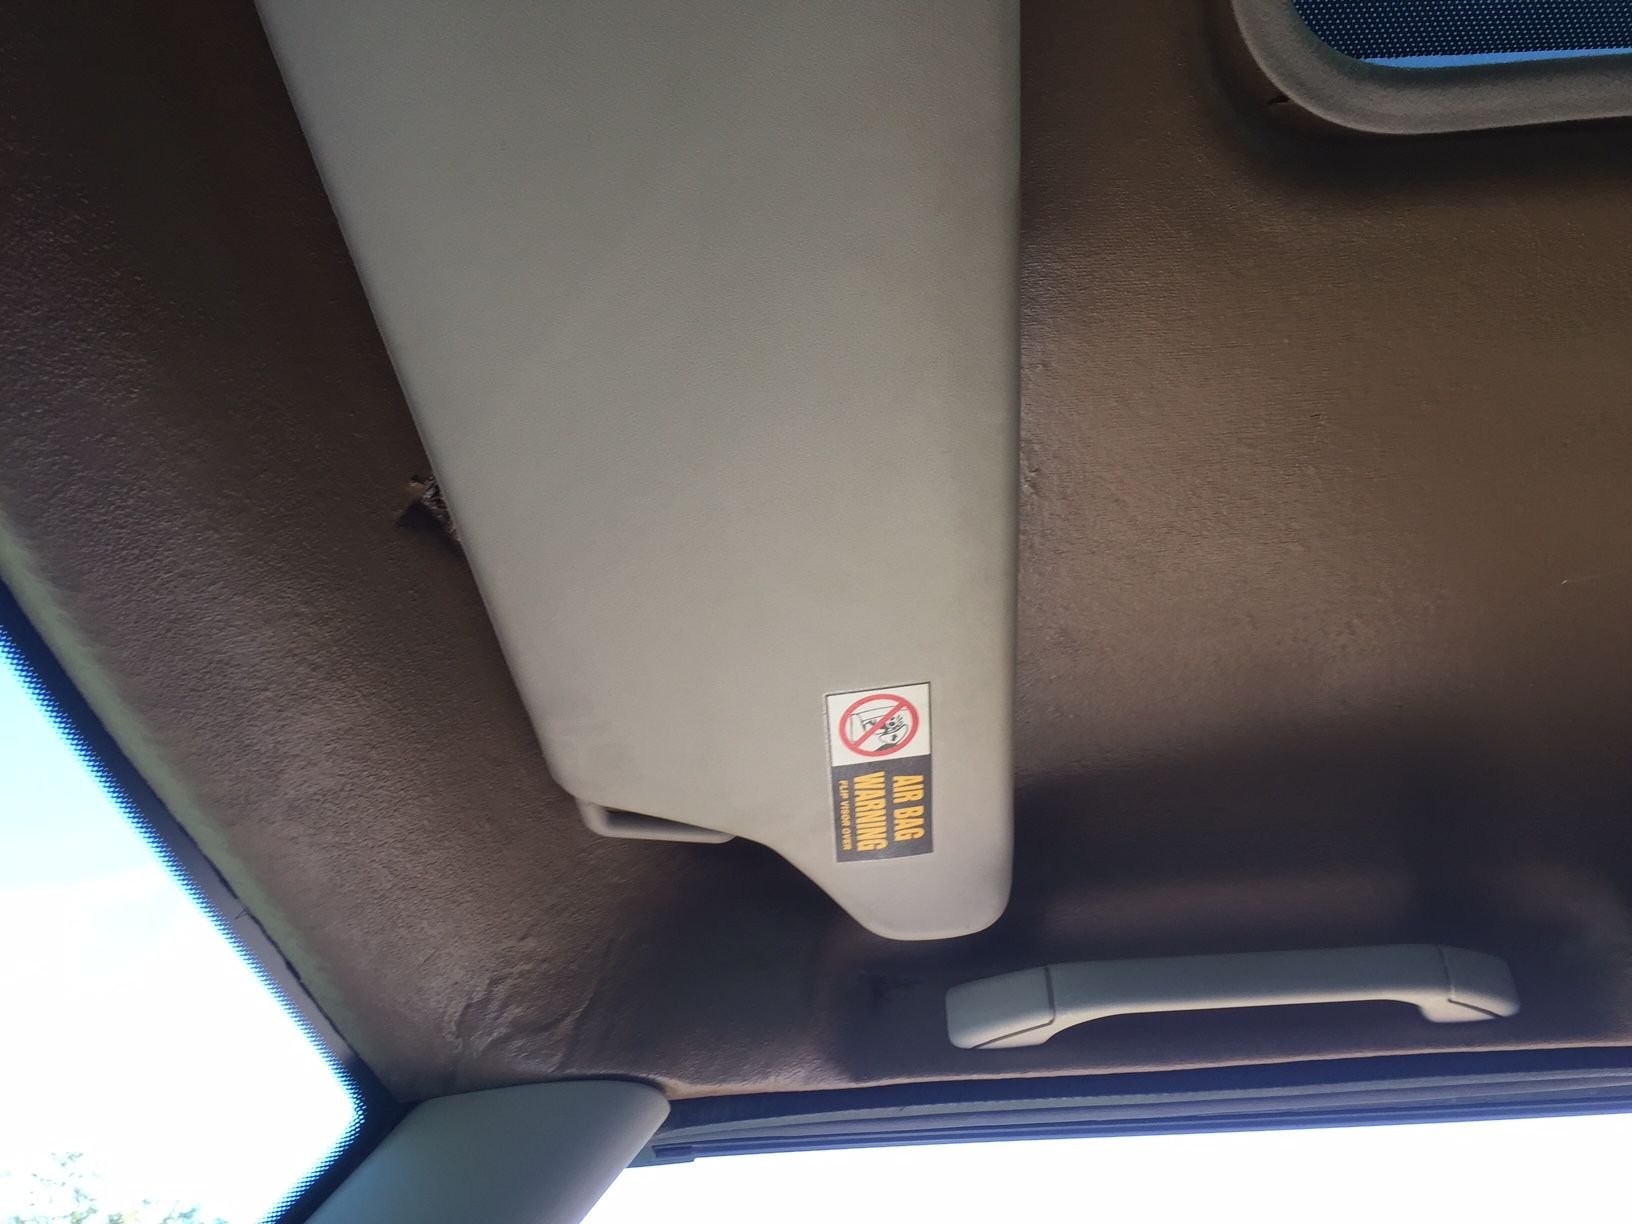
So I decided to go with the bed liner route after testing it on an old headliner. I like the ruggedness it gave it and I'm planning on doing a final layer of plastidip so it's not like a pad of sandpaper above your head.
Here's the first coat of bed liner applied. I'm going to do another coat tomorrow and plasti dip this weekend.
#37

So I decided to go with the bed liner route after testing it on an old headliner. I like the ruggedness it gave it and I'm planning on doing a final layer of plastidip so it's not like a pad of sandpaper above your head.
Here's the first coat of bed liner applied. I'm going to do another coat tomorrow and plasti dip this weekend.
#39
Thanks lucky!
Motorhead that looks great, any problems getting everything to seat right? Grab handles, trim pices?
Im curious to know how you guys remounted the visor net. When I was removing mine the plastic tabs snapped right off. Most of my rear vents either cracked or broke right off. Everything was very brittle.
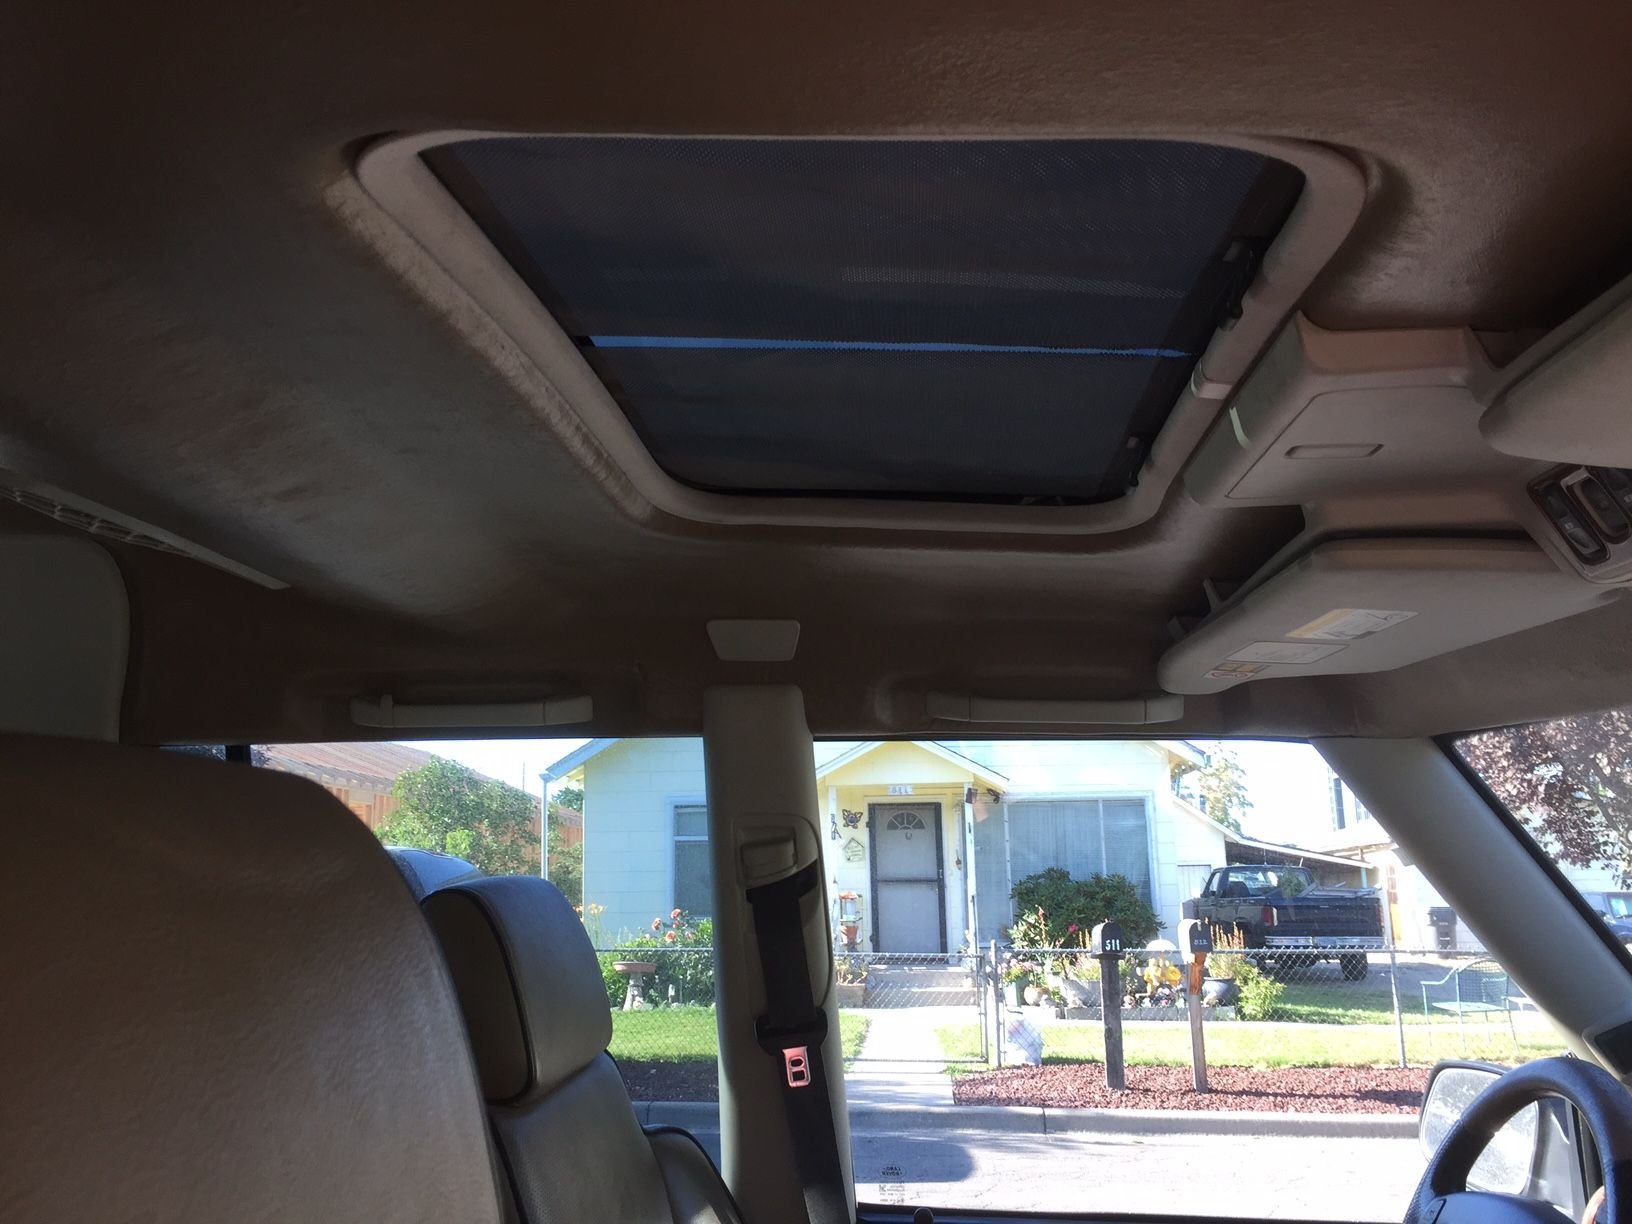
Also so a little update on the sunroof. I think I have fixed the leak. After everything I've done I realized I never tried tightening the drain pan screws. I got a full turn on about every screw and after a good down pour last night there was no water in my bucket this morning.
What im thinking about doing to be safe is removing the entire sunroof assembly and using window silicone around the edges to be safe. The rave manual says this is a 2 person job, has anyone done this by theirselfs?
#40
Thanks lucky!
Motorhead that looks great, any problems getting everything to seat right? Grab handles, trim pices?
Im curious to know how you guys remounted the visor net. When I was removing mine the plastic tabs snapped right off. Most of my rear vents either cracked or broke right off. Everything was very brittle.
Also so a little update on the sunroof. I think I have fixed the leak. After everything I've done I realized I never tried tightening the drain pan screws. I got a full turn on about every screw and after a good down pour last night there was no water in my bucket this morning.
What im thinking about doing to be safe is removing the entire sunroof assembly and using window silicone around the edges to be safe. The rave manual says this is a 2 person job, has anyone done this by theirselfs?
Motorhead that looks great, any problems getting everything to seat right? Grab handles, trim pices?
Im curious to know how you guys remounted the visor net. When I was removing mine the plastic tabs snapped right off. Most of my rear vents either cracked or broke right off. Everything was very brittle.
Also so a little update on the sunroof. I think I have fixed the leak. After everything I've done I realized I never tried tightening the drain pan screws. I got a full turn on about every screw and after a good down pour last night there was no water in my bucket this morning.
What im thinking about doing to be safe is removing the entire sunroof assembly and using window silicone around the edges to be safe. The rave manual says this is a 2 person job, has anyone done this by theirselfs?
i dropped mine by myself when I first got it and actually used high temp rtv (permeatex right stuff) due to the heat to seal it and its be leak free ever since. Remove the motor first then you can remove the tray yourself. While you have it down, reseal the plastic "boxes" the drain tubes connect to.


