When you click on links to various merchants on this site and make a purchase, this can result in this site earning a commission. Affiliate programs and affiliations include, but are not limited to, the eBay Partner Network.
Ok, so I actually started this project.... Hold on, let me go check my Amazon for when this stuff was delivered.
Ok, so I actually started this project on about January the 14th. This was also my first project with my new welder. I've never welded before this. Actually, I take that back, I used a stick welder for about 5 minutes when I was around 14. Anyway, this is my first ever project with my new welder. It's a Lotos brand Mig 140. Super duper welder so far. I have yet to find the limits of the duty cycle with what I do, and it lays really nice welds. I should say, none of which you will see in this post.
I'd also like to say, I had a ton more pictures. I have no idea where they went. I took pictures of the whole process and... gone. Anyway...
So here we go. I'll do this with links. To start with, I got all of the following:
Borla Pro XS Muffler 3" Mandrel Bends Hedman Headers This is the cheapest price on the web. When they come in they say RHD only. Ignore it. 3" V-band clampYou can use these if you want, though I'm switching to these clamps on my next setup to save cost. 3" Resonator Ok, so I had a 3" Flowmaster Hi-Flow Cat first. This replaced it. I'll explain why below. It seems to deaden the sound almost as much, but I haven't done almost any driving since I installed it (yesterday), so I'll update once I do. 2.5" Mandrel U You'll need two of these. Maybe three. I only ordered one, but I also had two factory exhaust systems to hack parts out of. I'm going to say you'll need 3. O2 Bungs These aren't notched for tube, but they work just fine. You'll just have to add a bunch of weld material as you'll see. Cheapest on the web. O2 Spacer Only necessary if you plan to do a cat delete, which I did. I've had no codes for about 1k miles now. Smaller ones or spacers without bends do not work, I've tried.
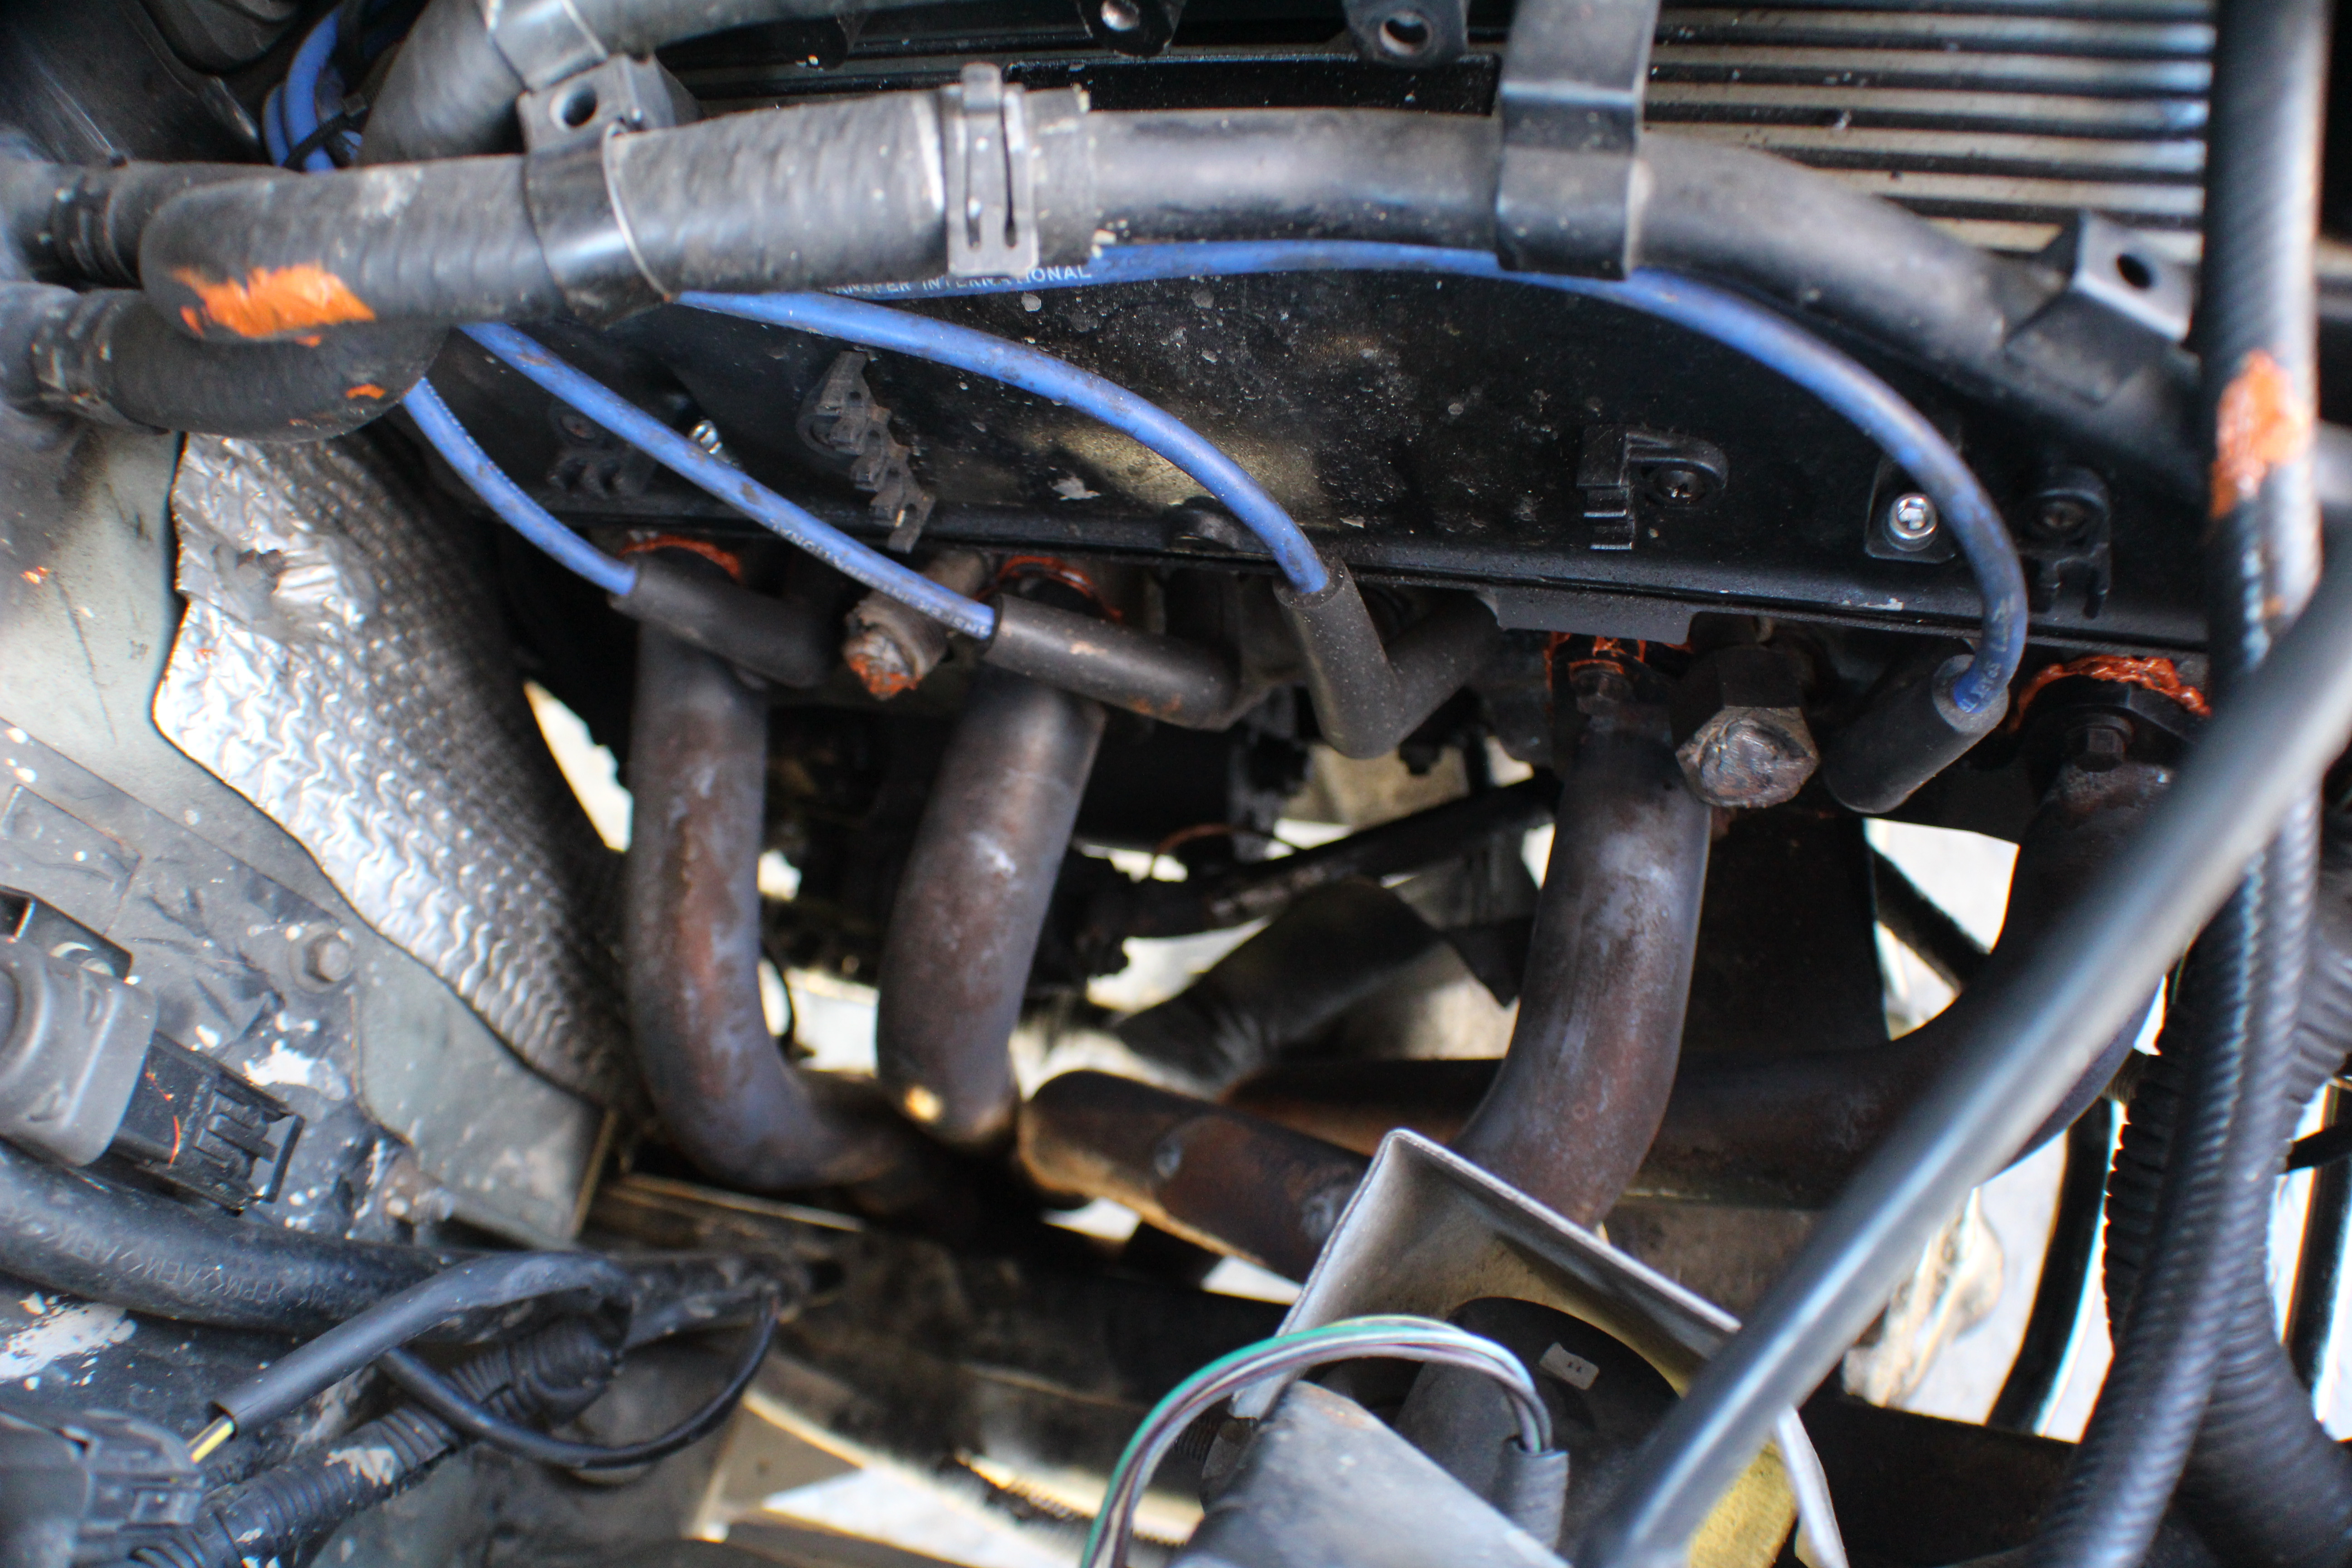
Ok, now for pictures! First, I just want to take a moment to show you what I was upgrading from.
Vice Grips on the Manifold. Actually, on both manifolds. I mean... it worked.
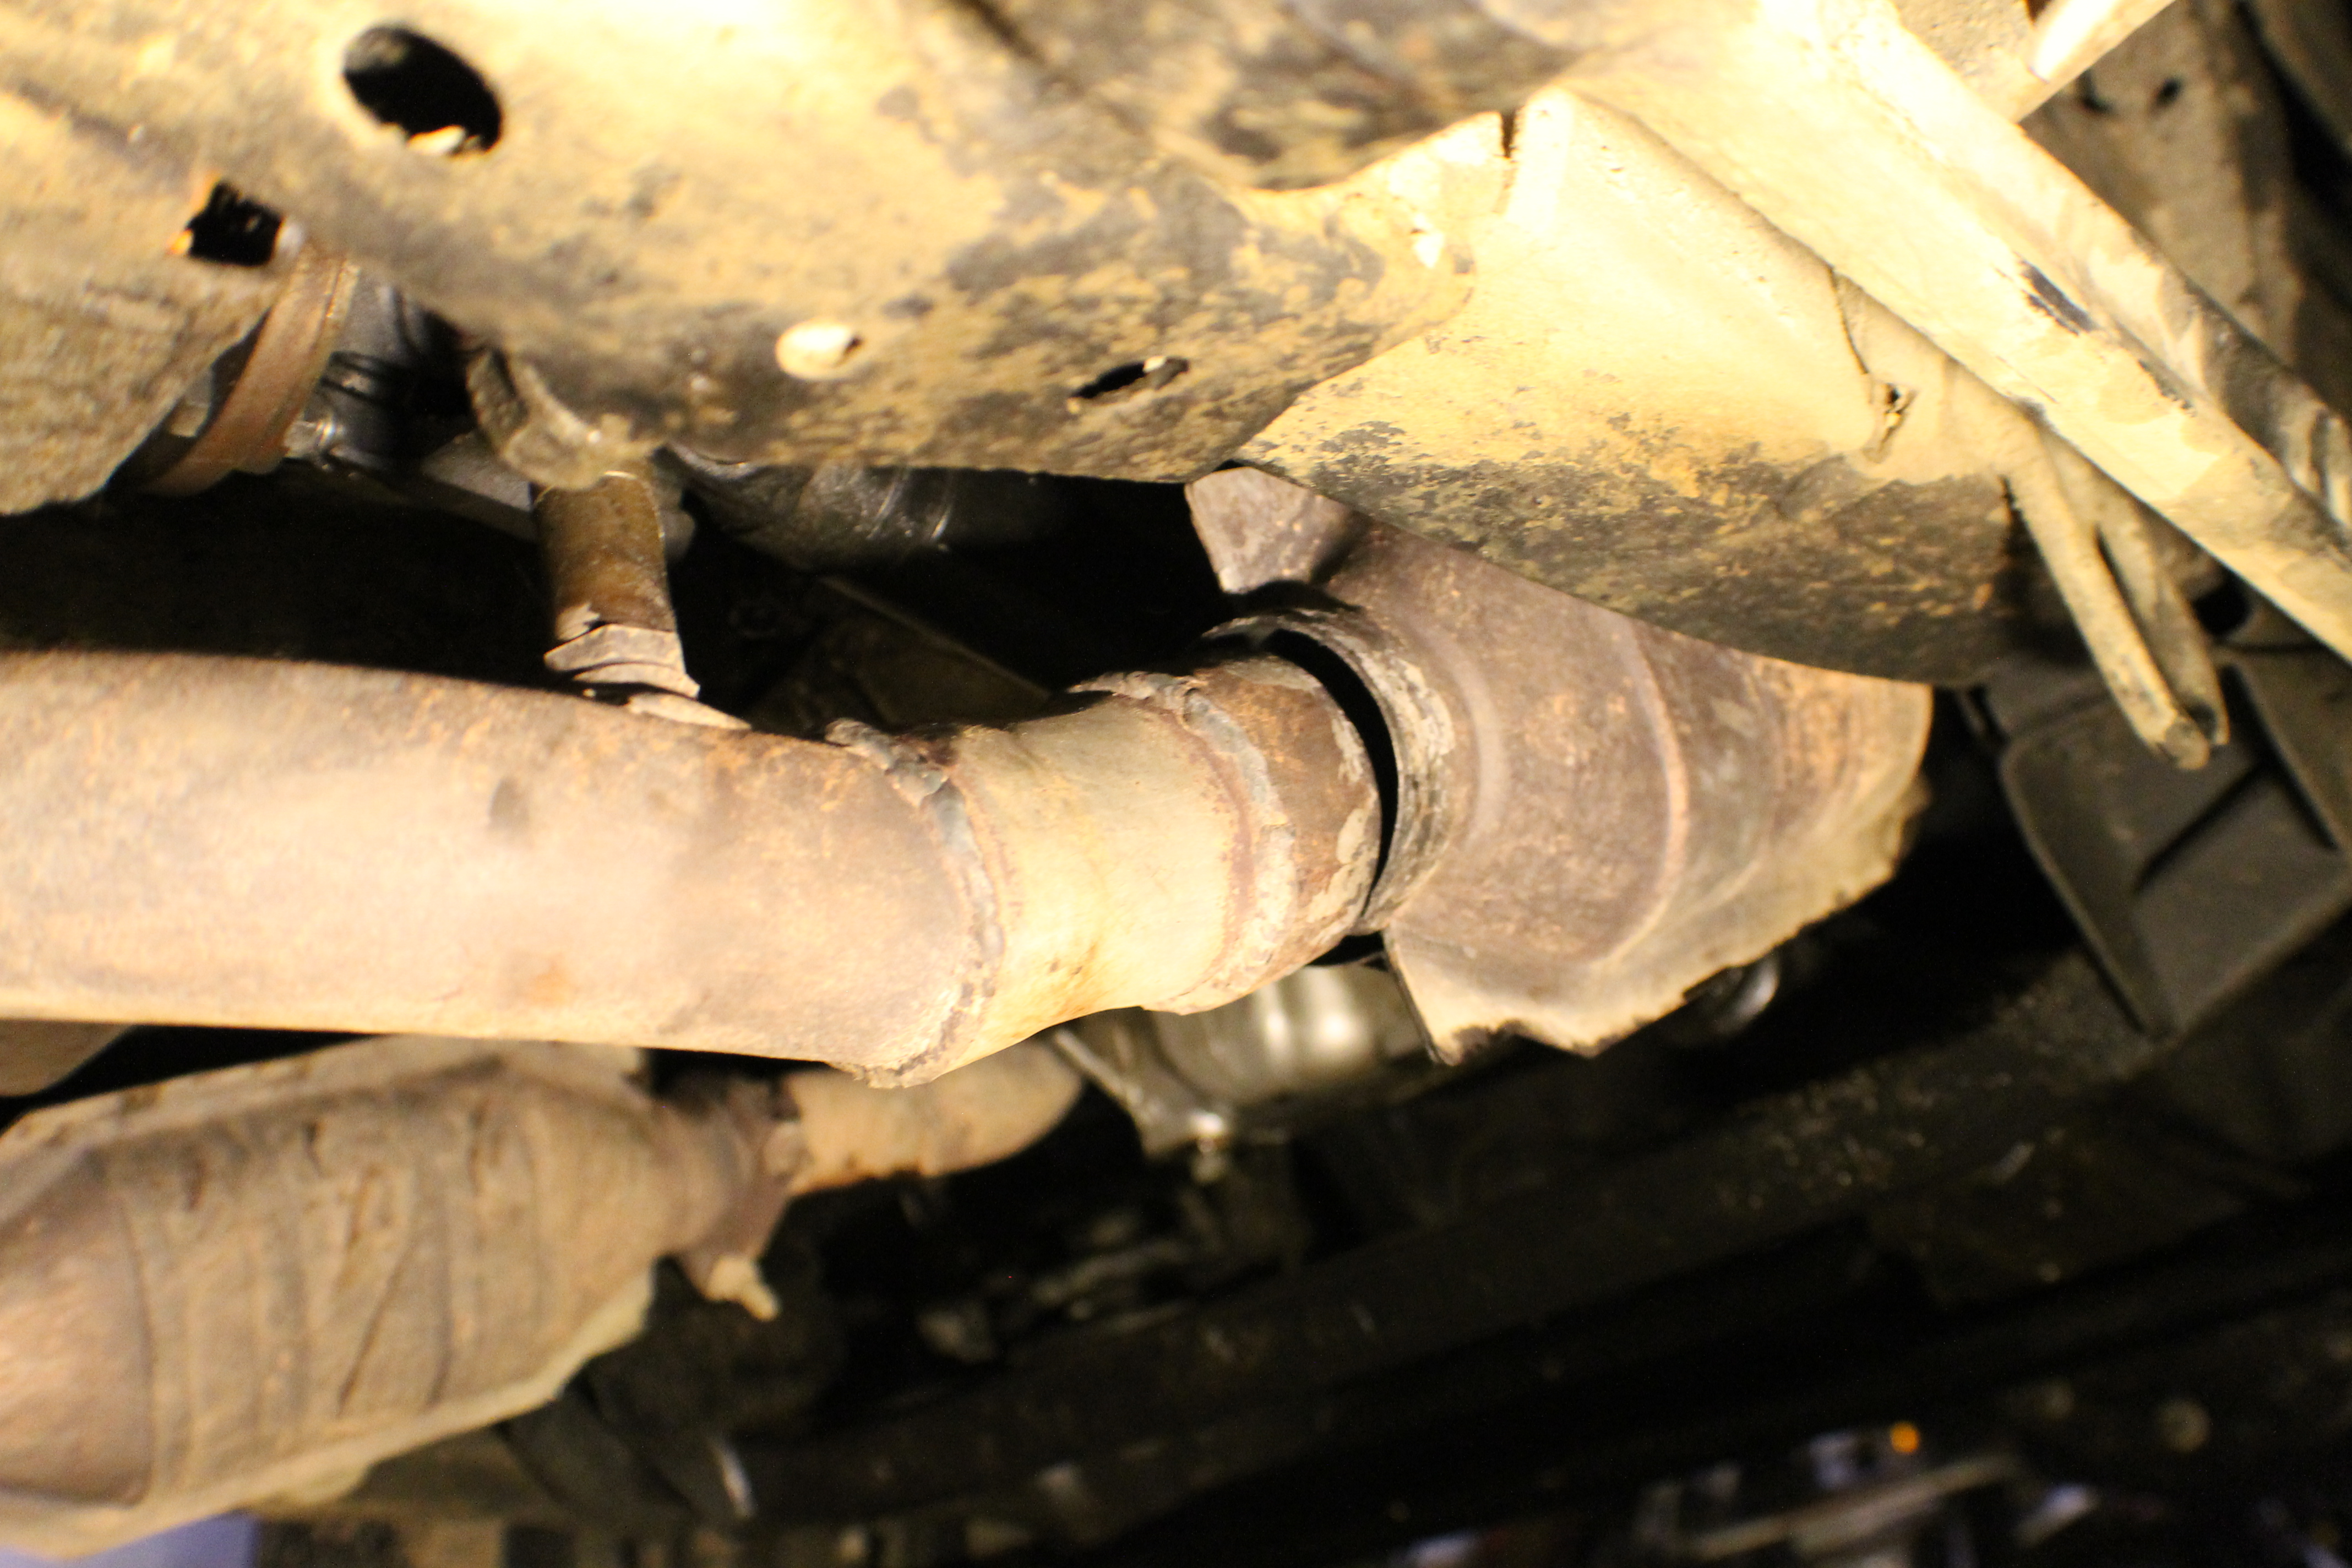
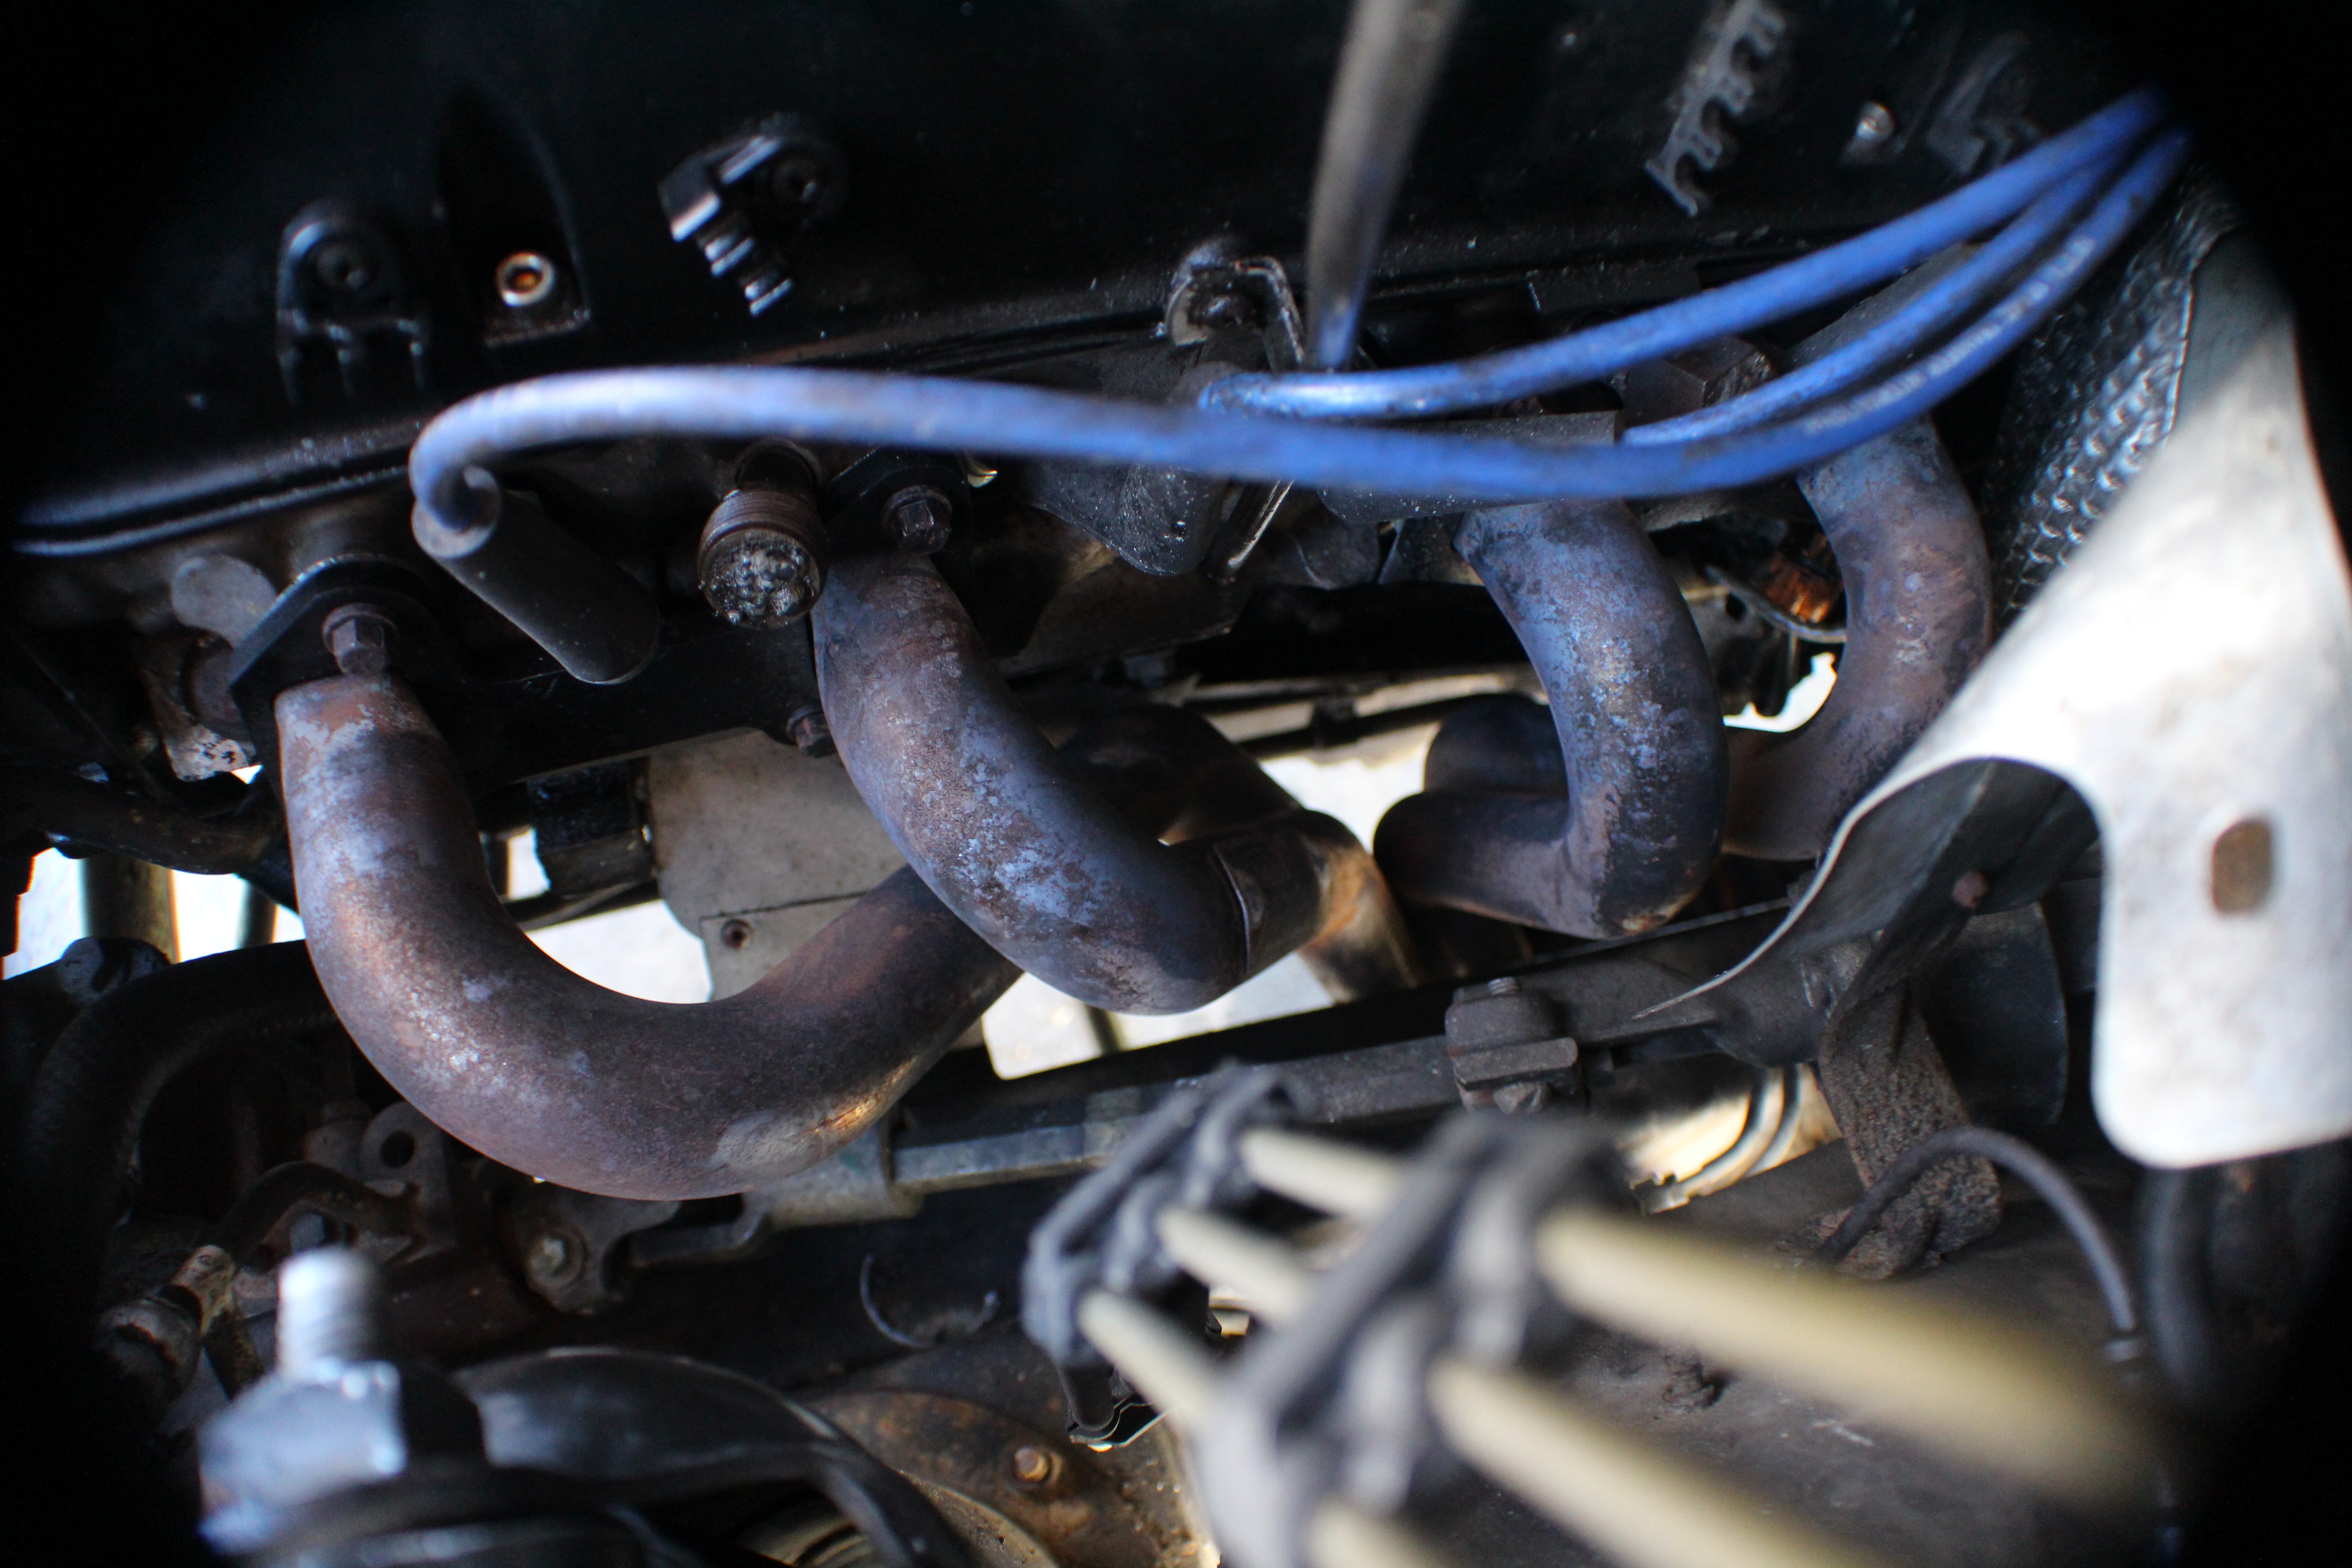
This is what finally made me have to upgrade. I might have kinda caused this, but it never actually broke for like 5 months.
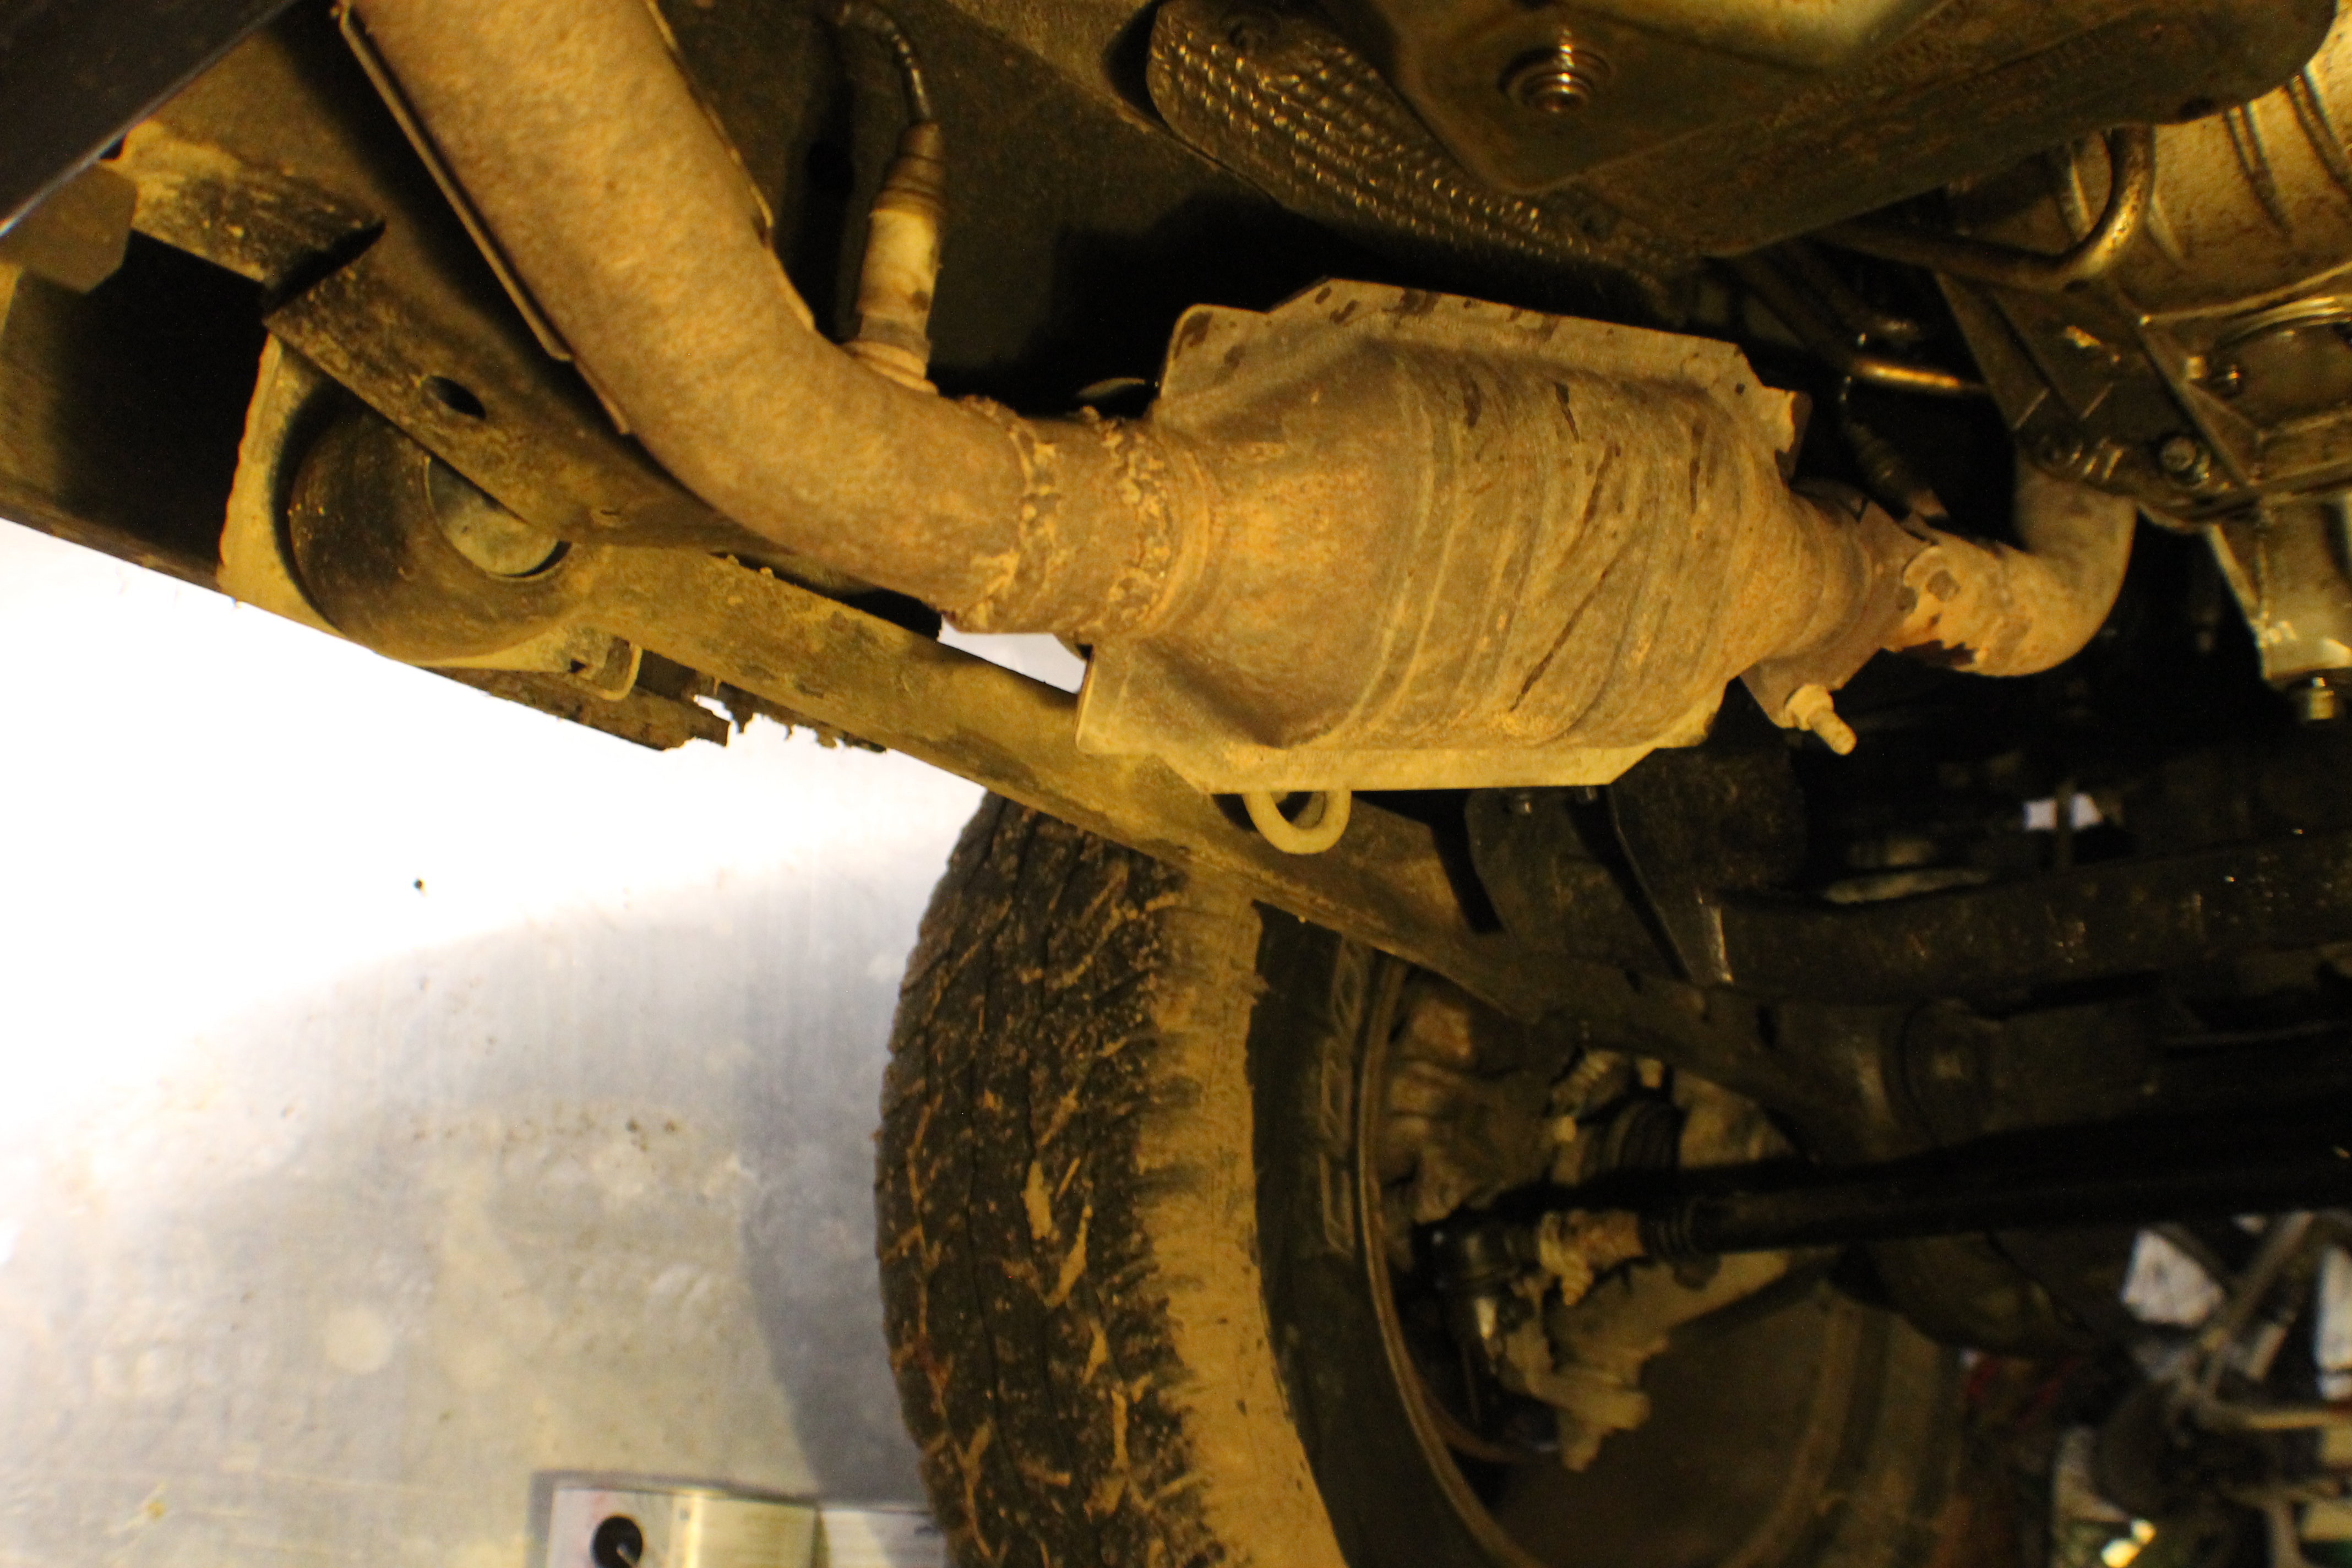
This side not so bad... from the outside. From the inside, half the pipe was blocked from the smaller pipe. Flow would have been horrible.
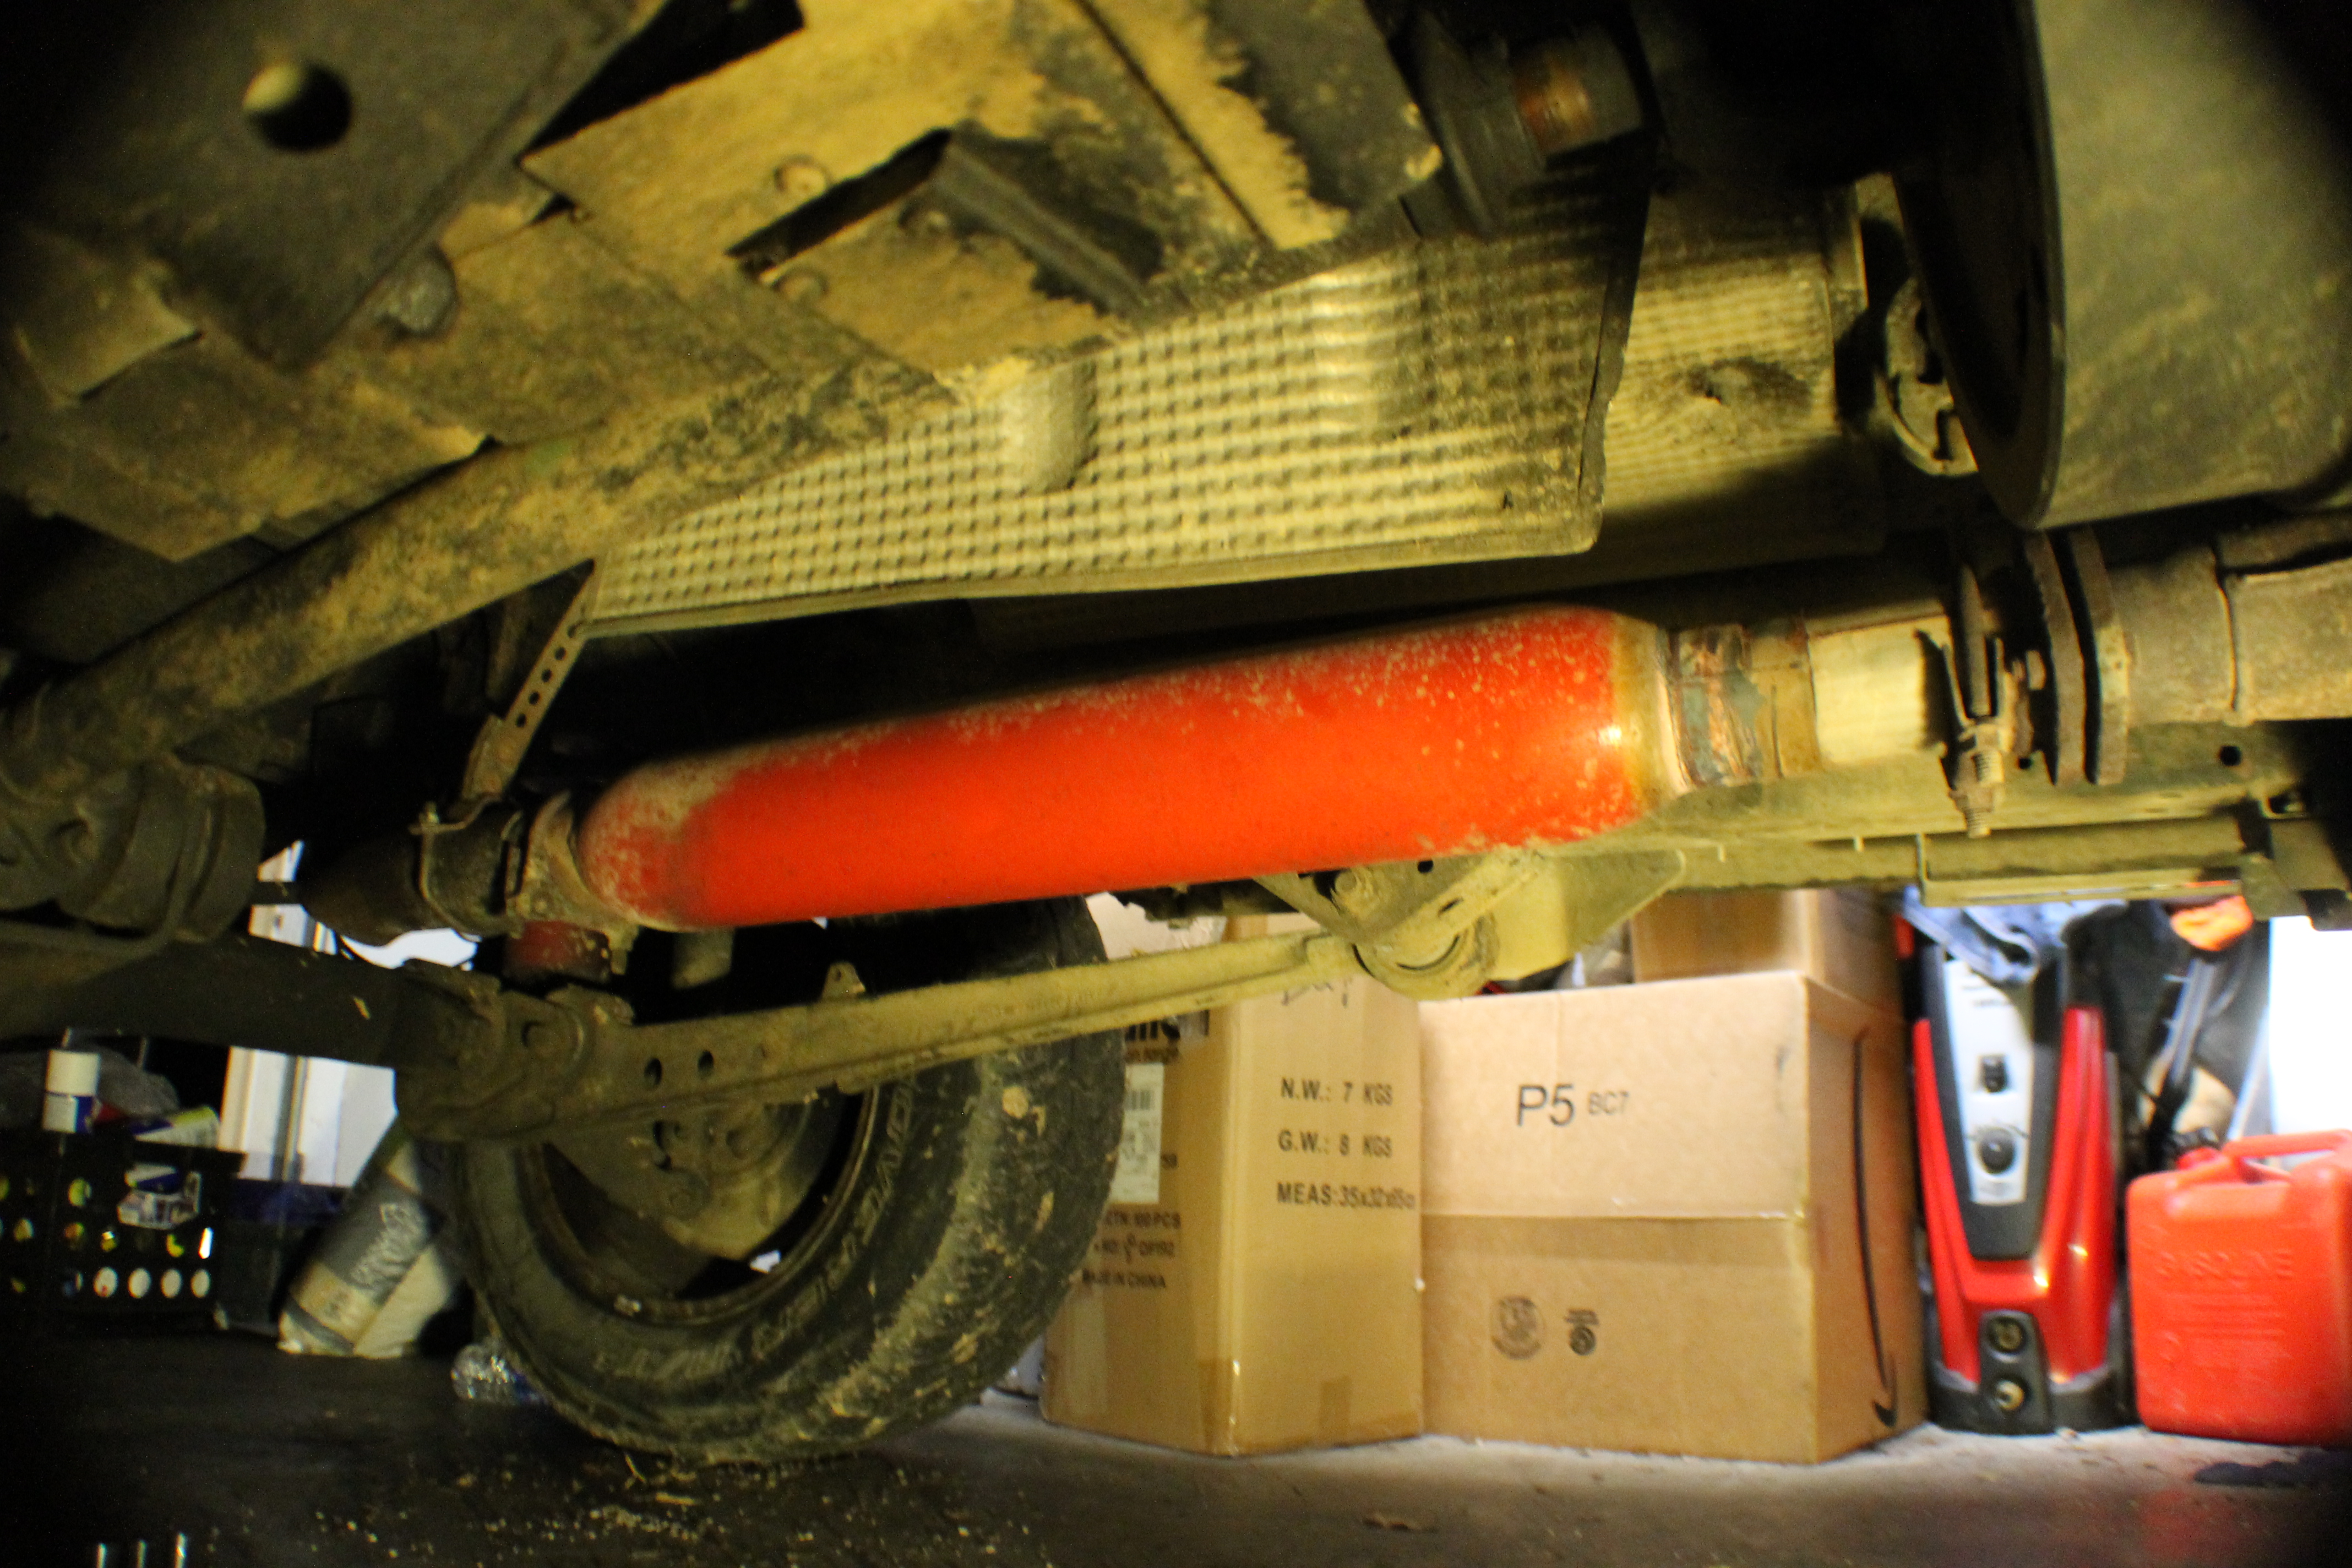
Then into this Thrush glasspack and dumped before the muffler. I had a Borla here with duals out the rear at one point, I actually paid a shop to install them. The passengers side pipe was too close to the gas tank, came into contact on occasion. Melted a spot flat on it. That's why there's this. It was a cheap temporary fix that lasted about... 5 months.
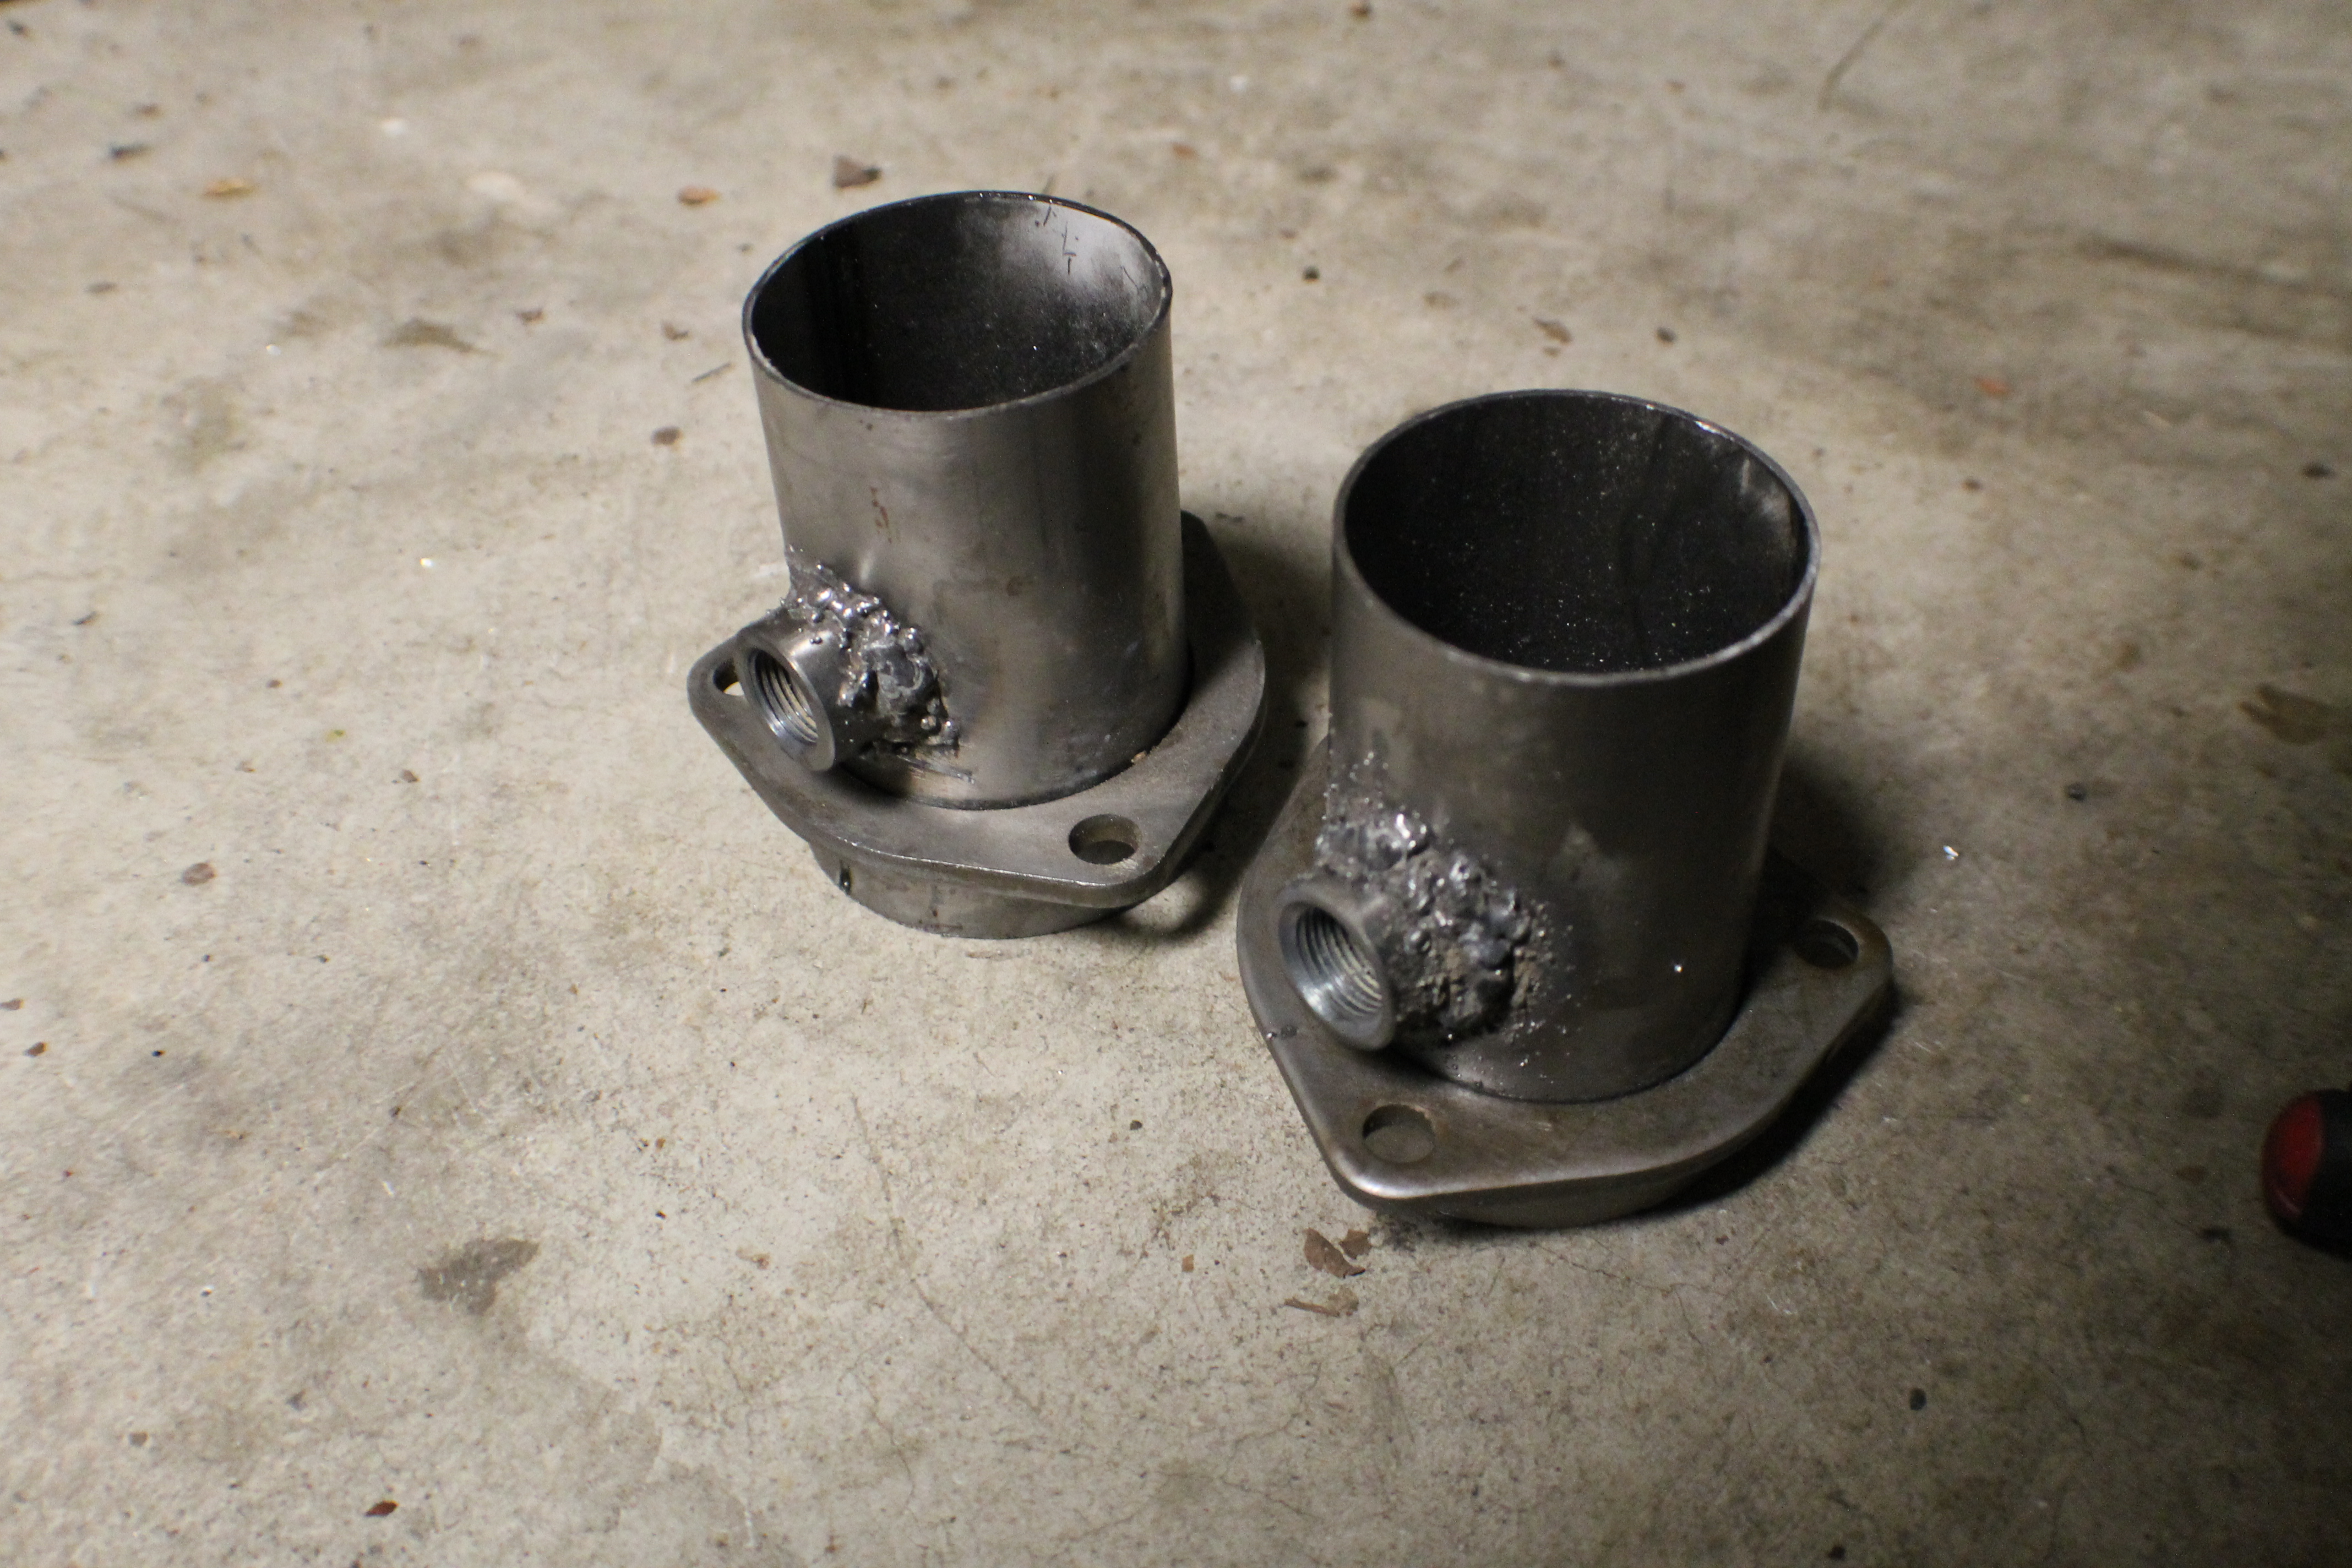
So there was the original exhaust system. I could only find one picture from the build process, that's this one of the header collector cup connectors with the O2 bungs welded in.
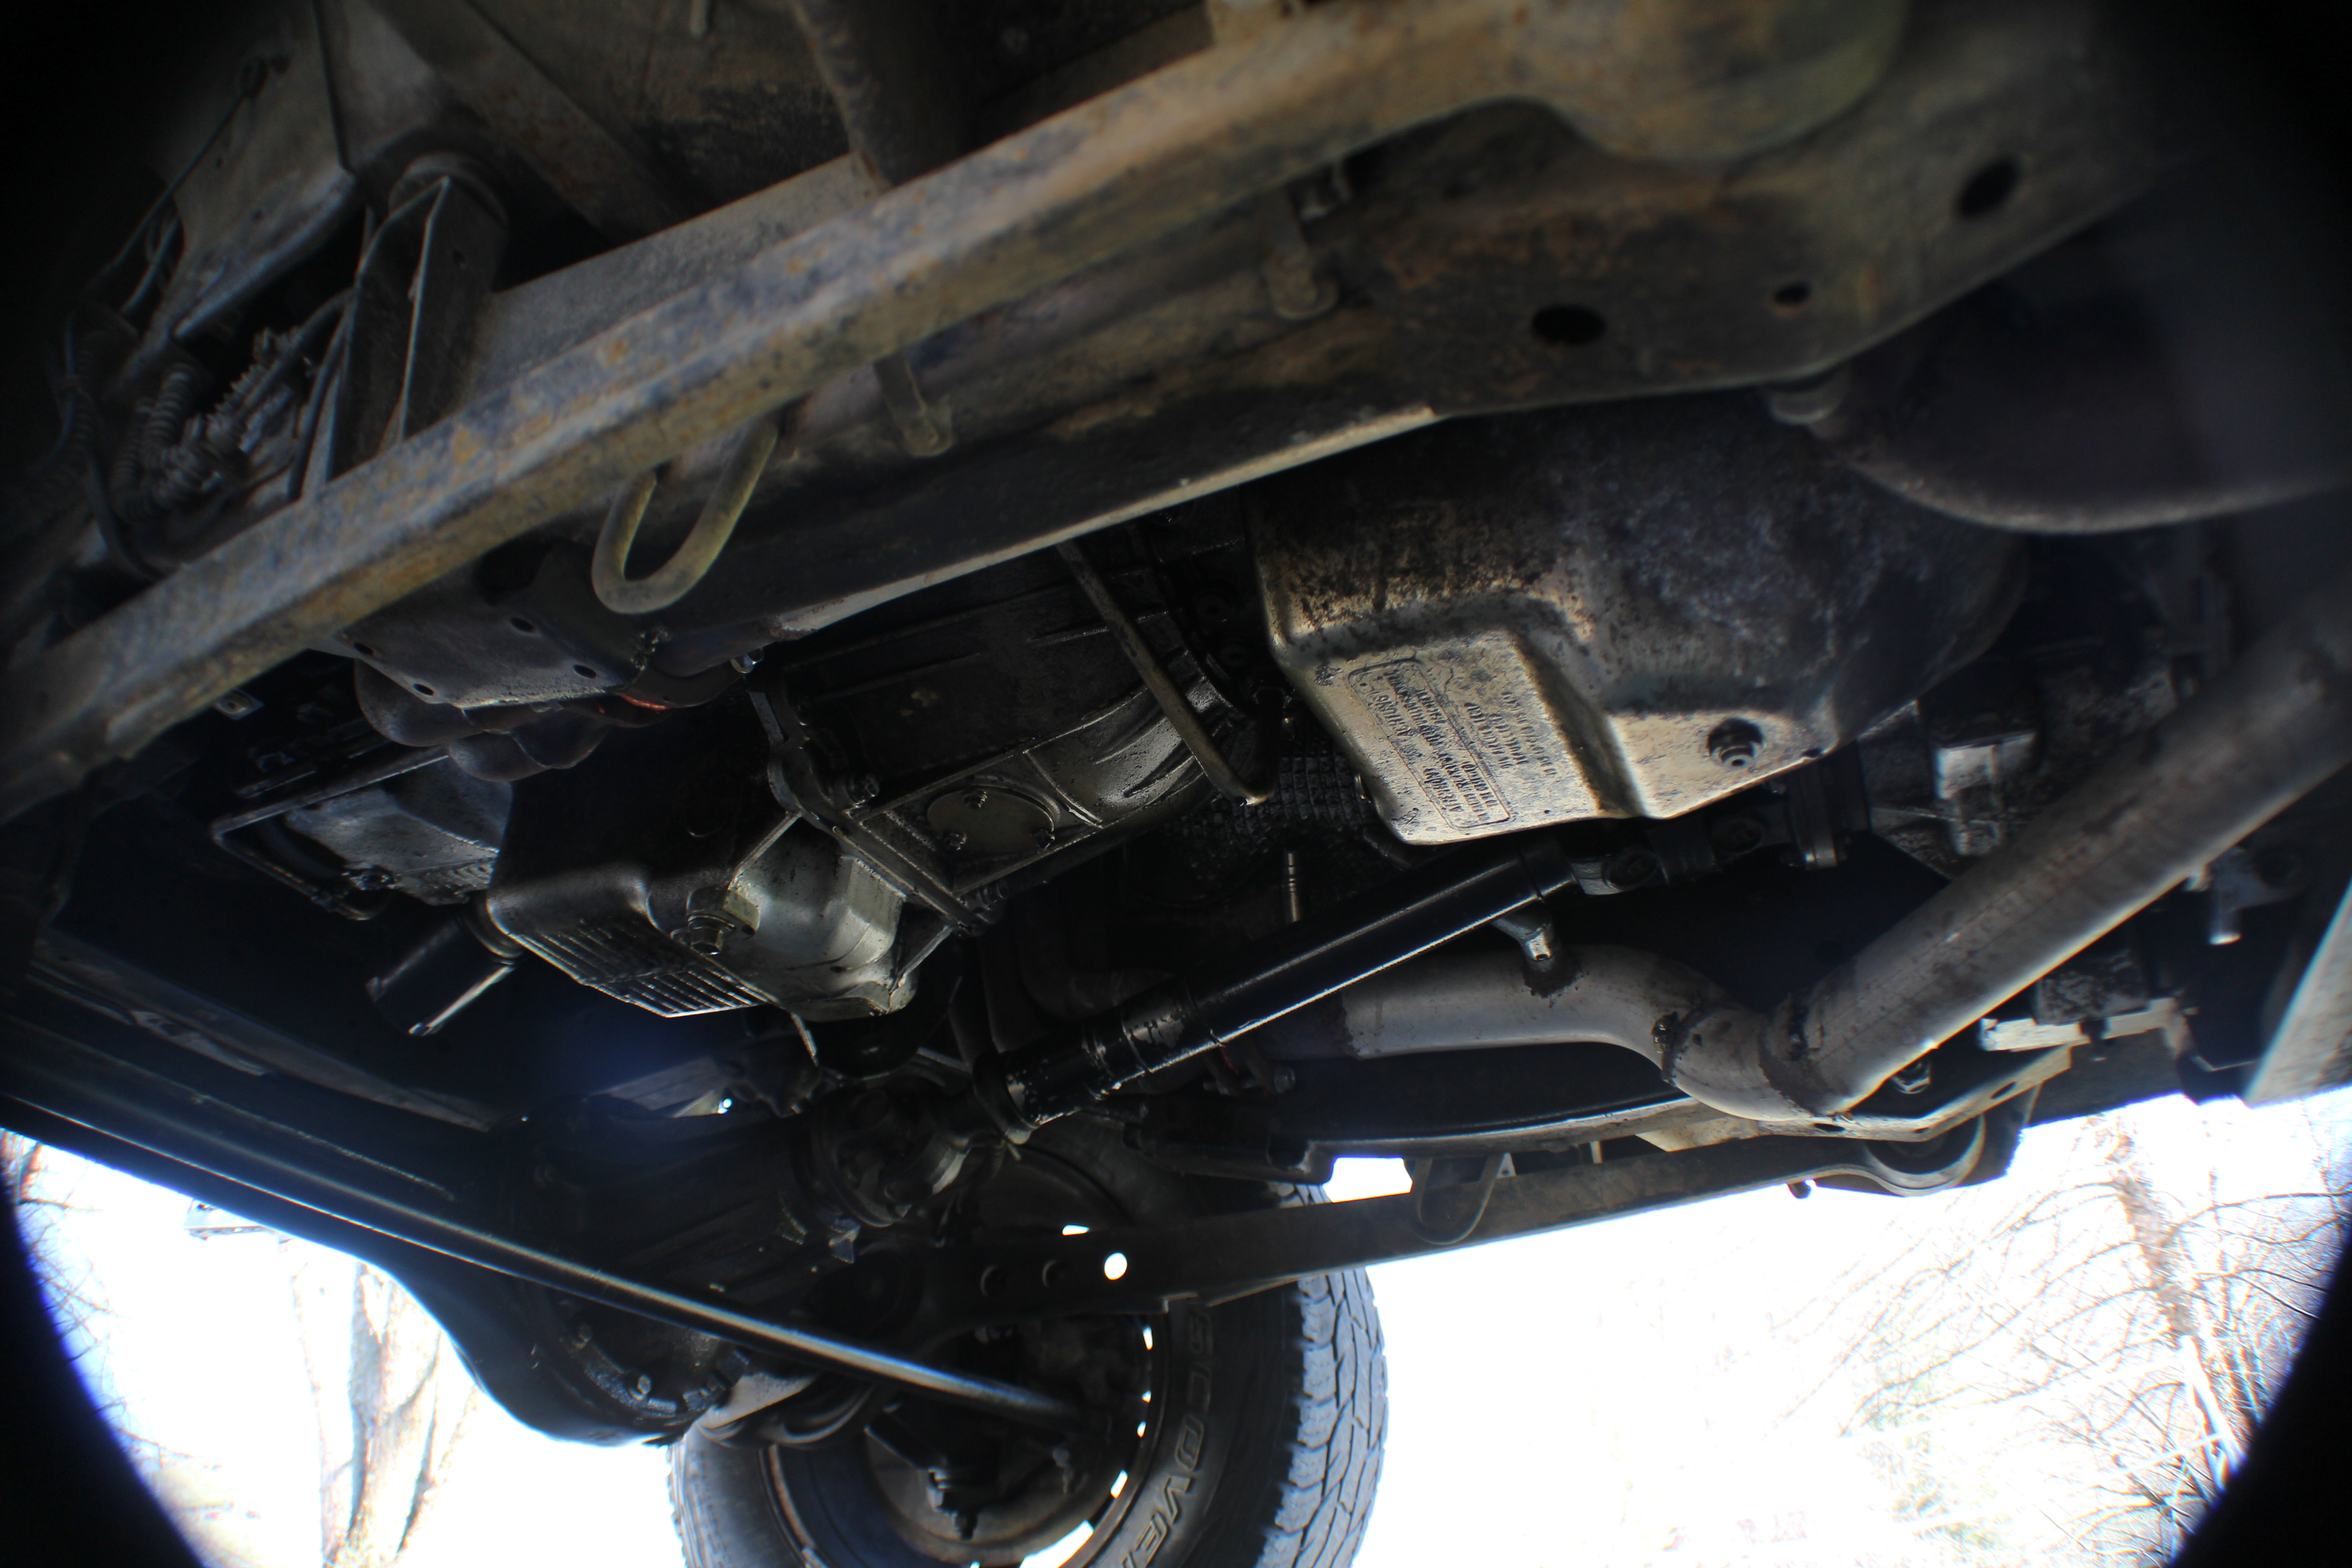
Now for the pictures of it installed. Here are the headers. The passengers side did have an issue with the heat shield on the starter motor. It's not there any more. I am going to fashion something to shield it again, but it hasn't happened yet.
I will tell you two things. Three things. First, the supplied bolts are too short. Take your factory manifold bolts, on the top holes use them as is with spacers. On the bottom holes cut off the length of the spacer, clean up the threads, and use them that way. I know, they just don't look as nice. Two, use a generous amount of Permatex Copper Exhaust Gasket Maker on all of the gaskets. Three, You will have to remove the SAI to install them from the top. I'm going to add a four. Four, also use the Permatex stuff on the ball and cup connectors. Or cut off the ball and cup connectors in order to use 2.5" v-band clamps. I wish I'd done that, but I ran out of the budget.
They do kinda touch the frame rails, I could only get 2/3 bolts on each collector. They don't leak though, once I used the gasket maker.
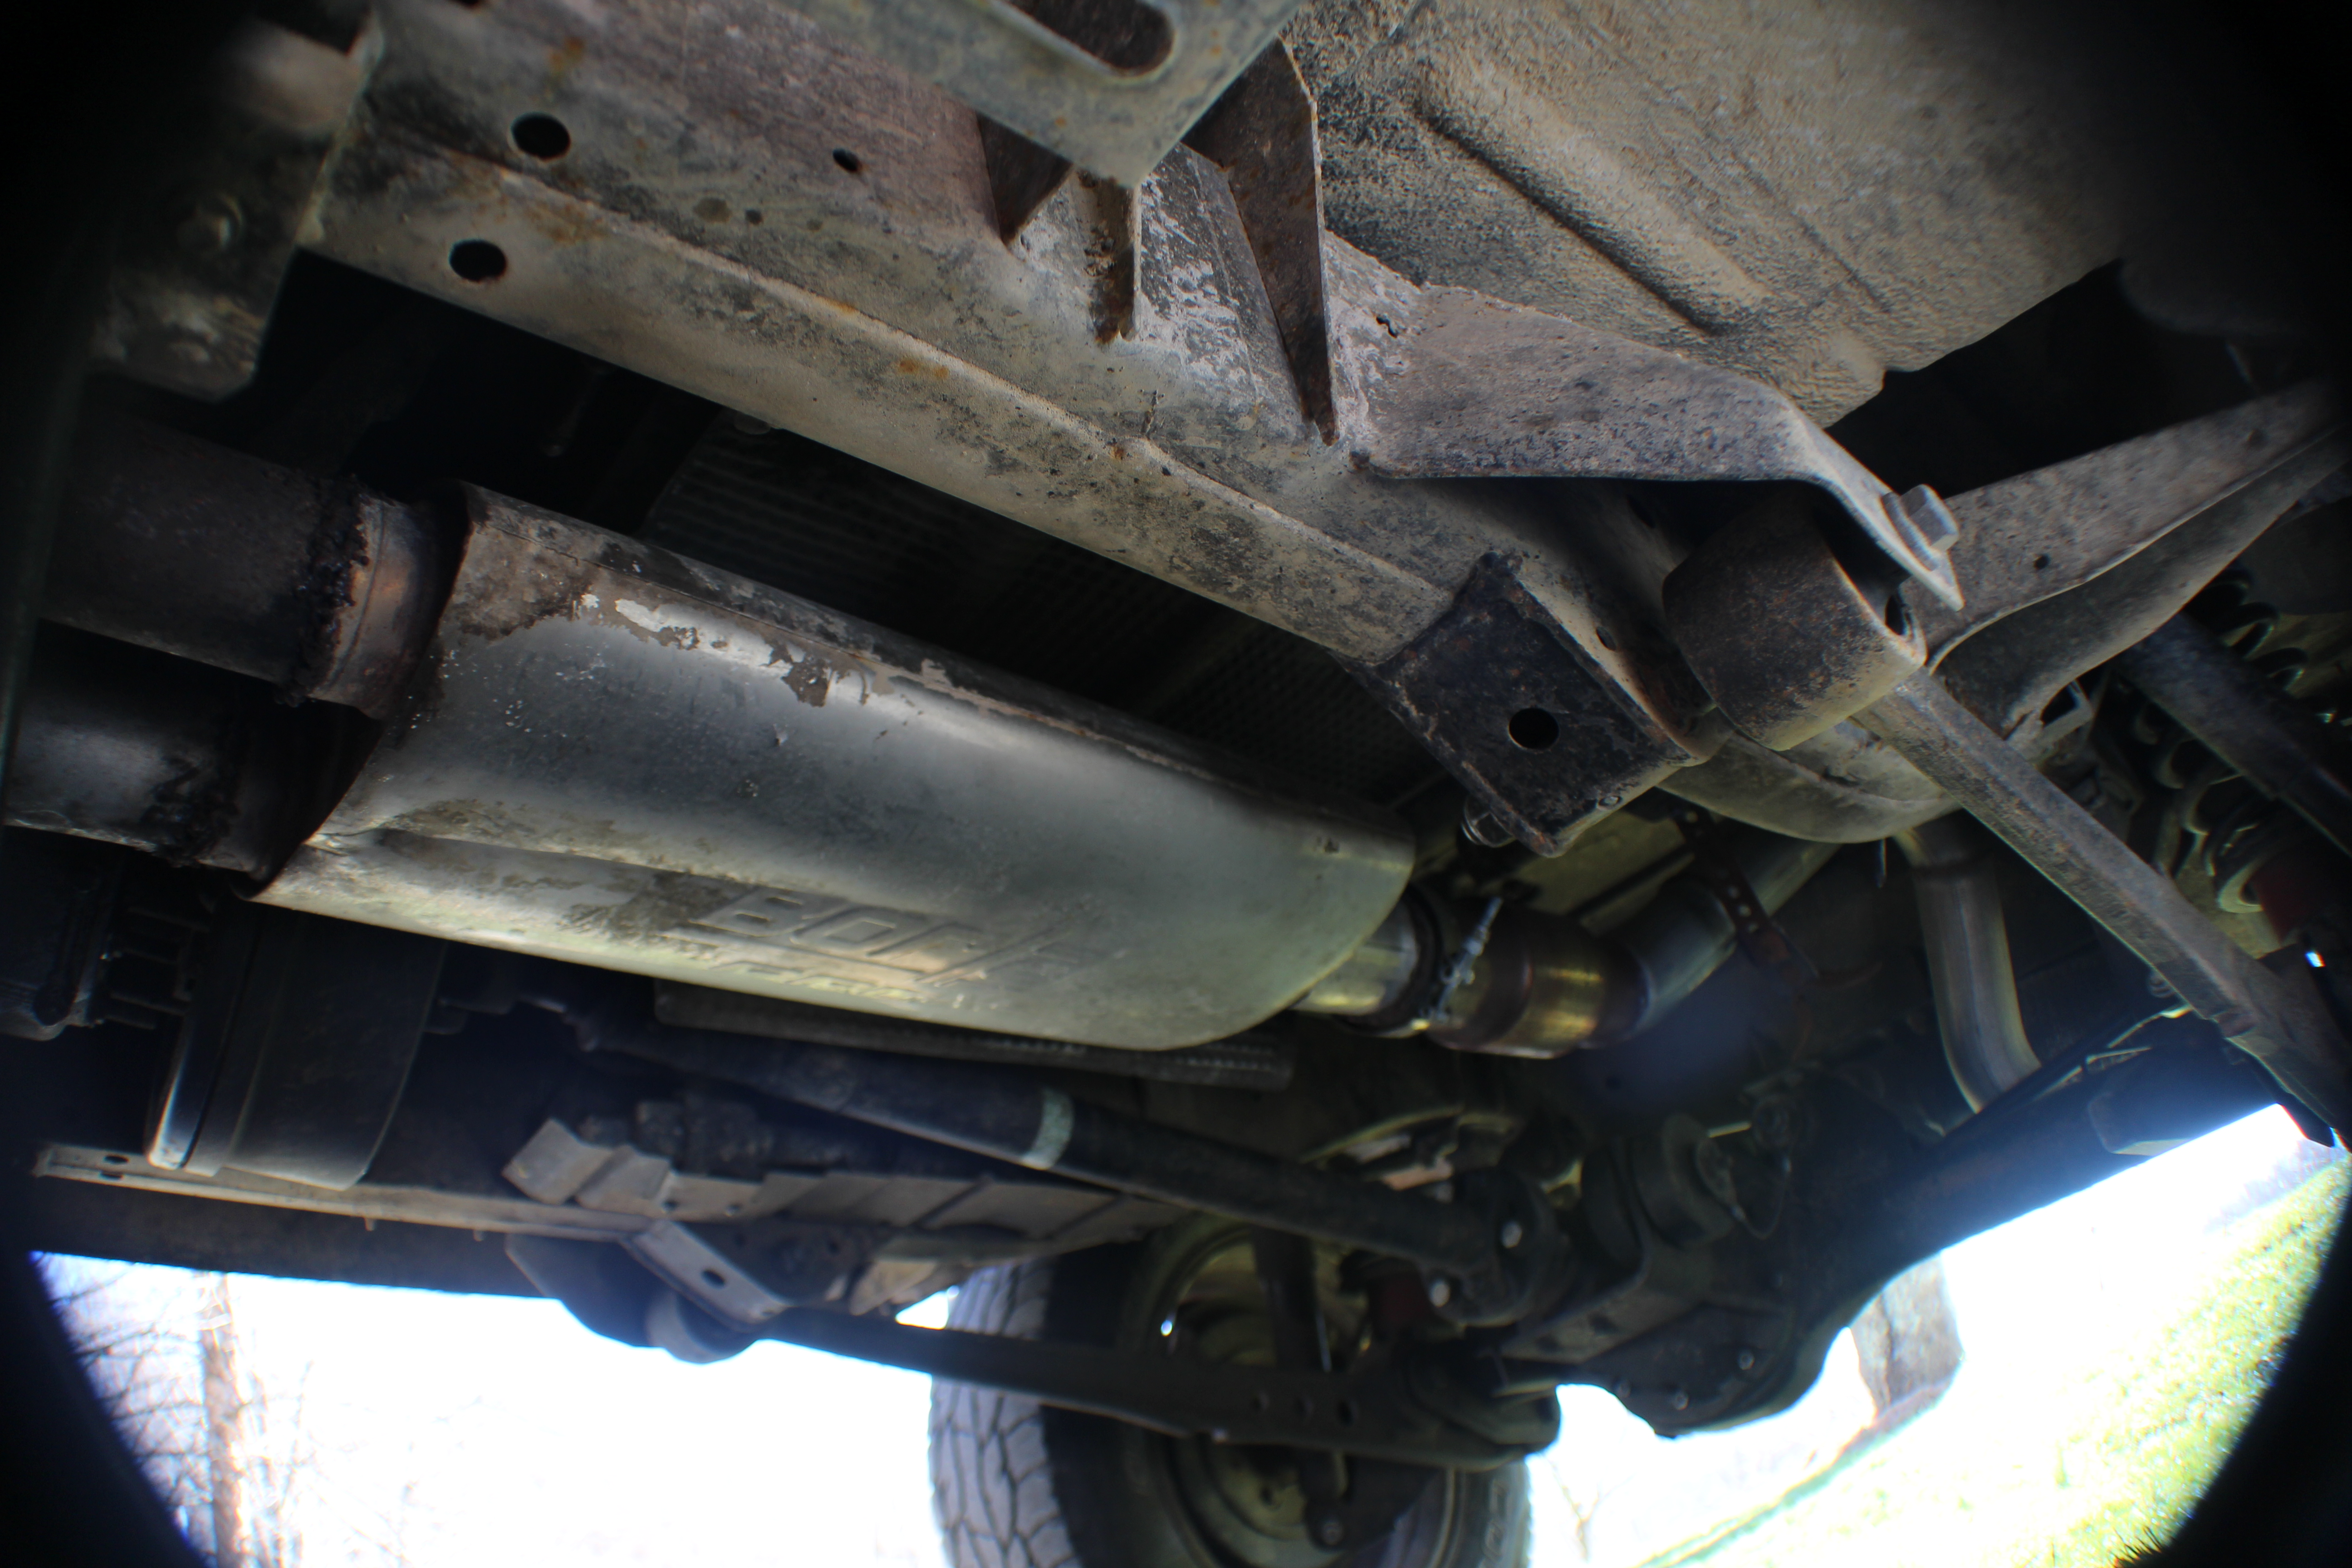
Ok, these pictures are pitiful. I will get better pictures of the front y-pipe. I'll tell you what's up here anyway. Starting from the collector, I added an O2 bung into the already pictured connector, welded 2.5" pipe to it, welded another bung on down at an angle. Be careful about angles. You've got to get them just right for all of the O2s to go in. I just got lucky. I put the spacers in the rear bungs. Fit the bungs with the spacers. Make sure they're positioned so that they are: not touching the body, not touching the driveshaft, and somewhere you can get a wrench on them. Then I butt welded some precisely cut bends together to bring them in so that they would touch neither the transfer case or the crossmember, but so that they would be the right width apart for the Borla muffler to slip on.
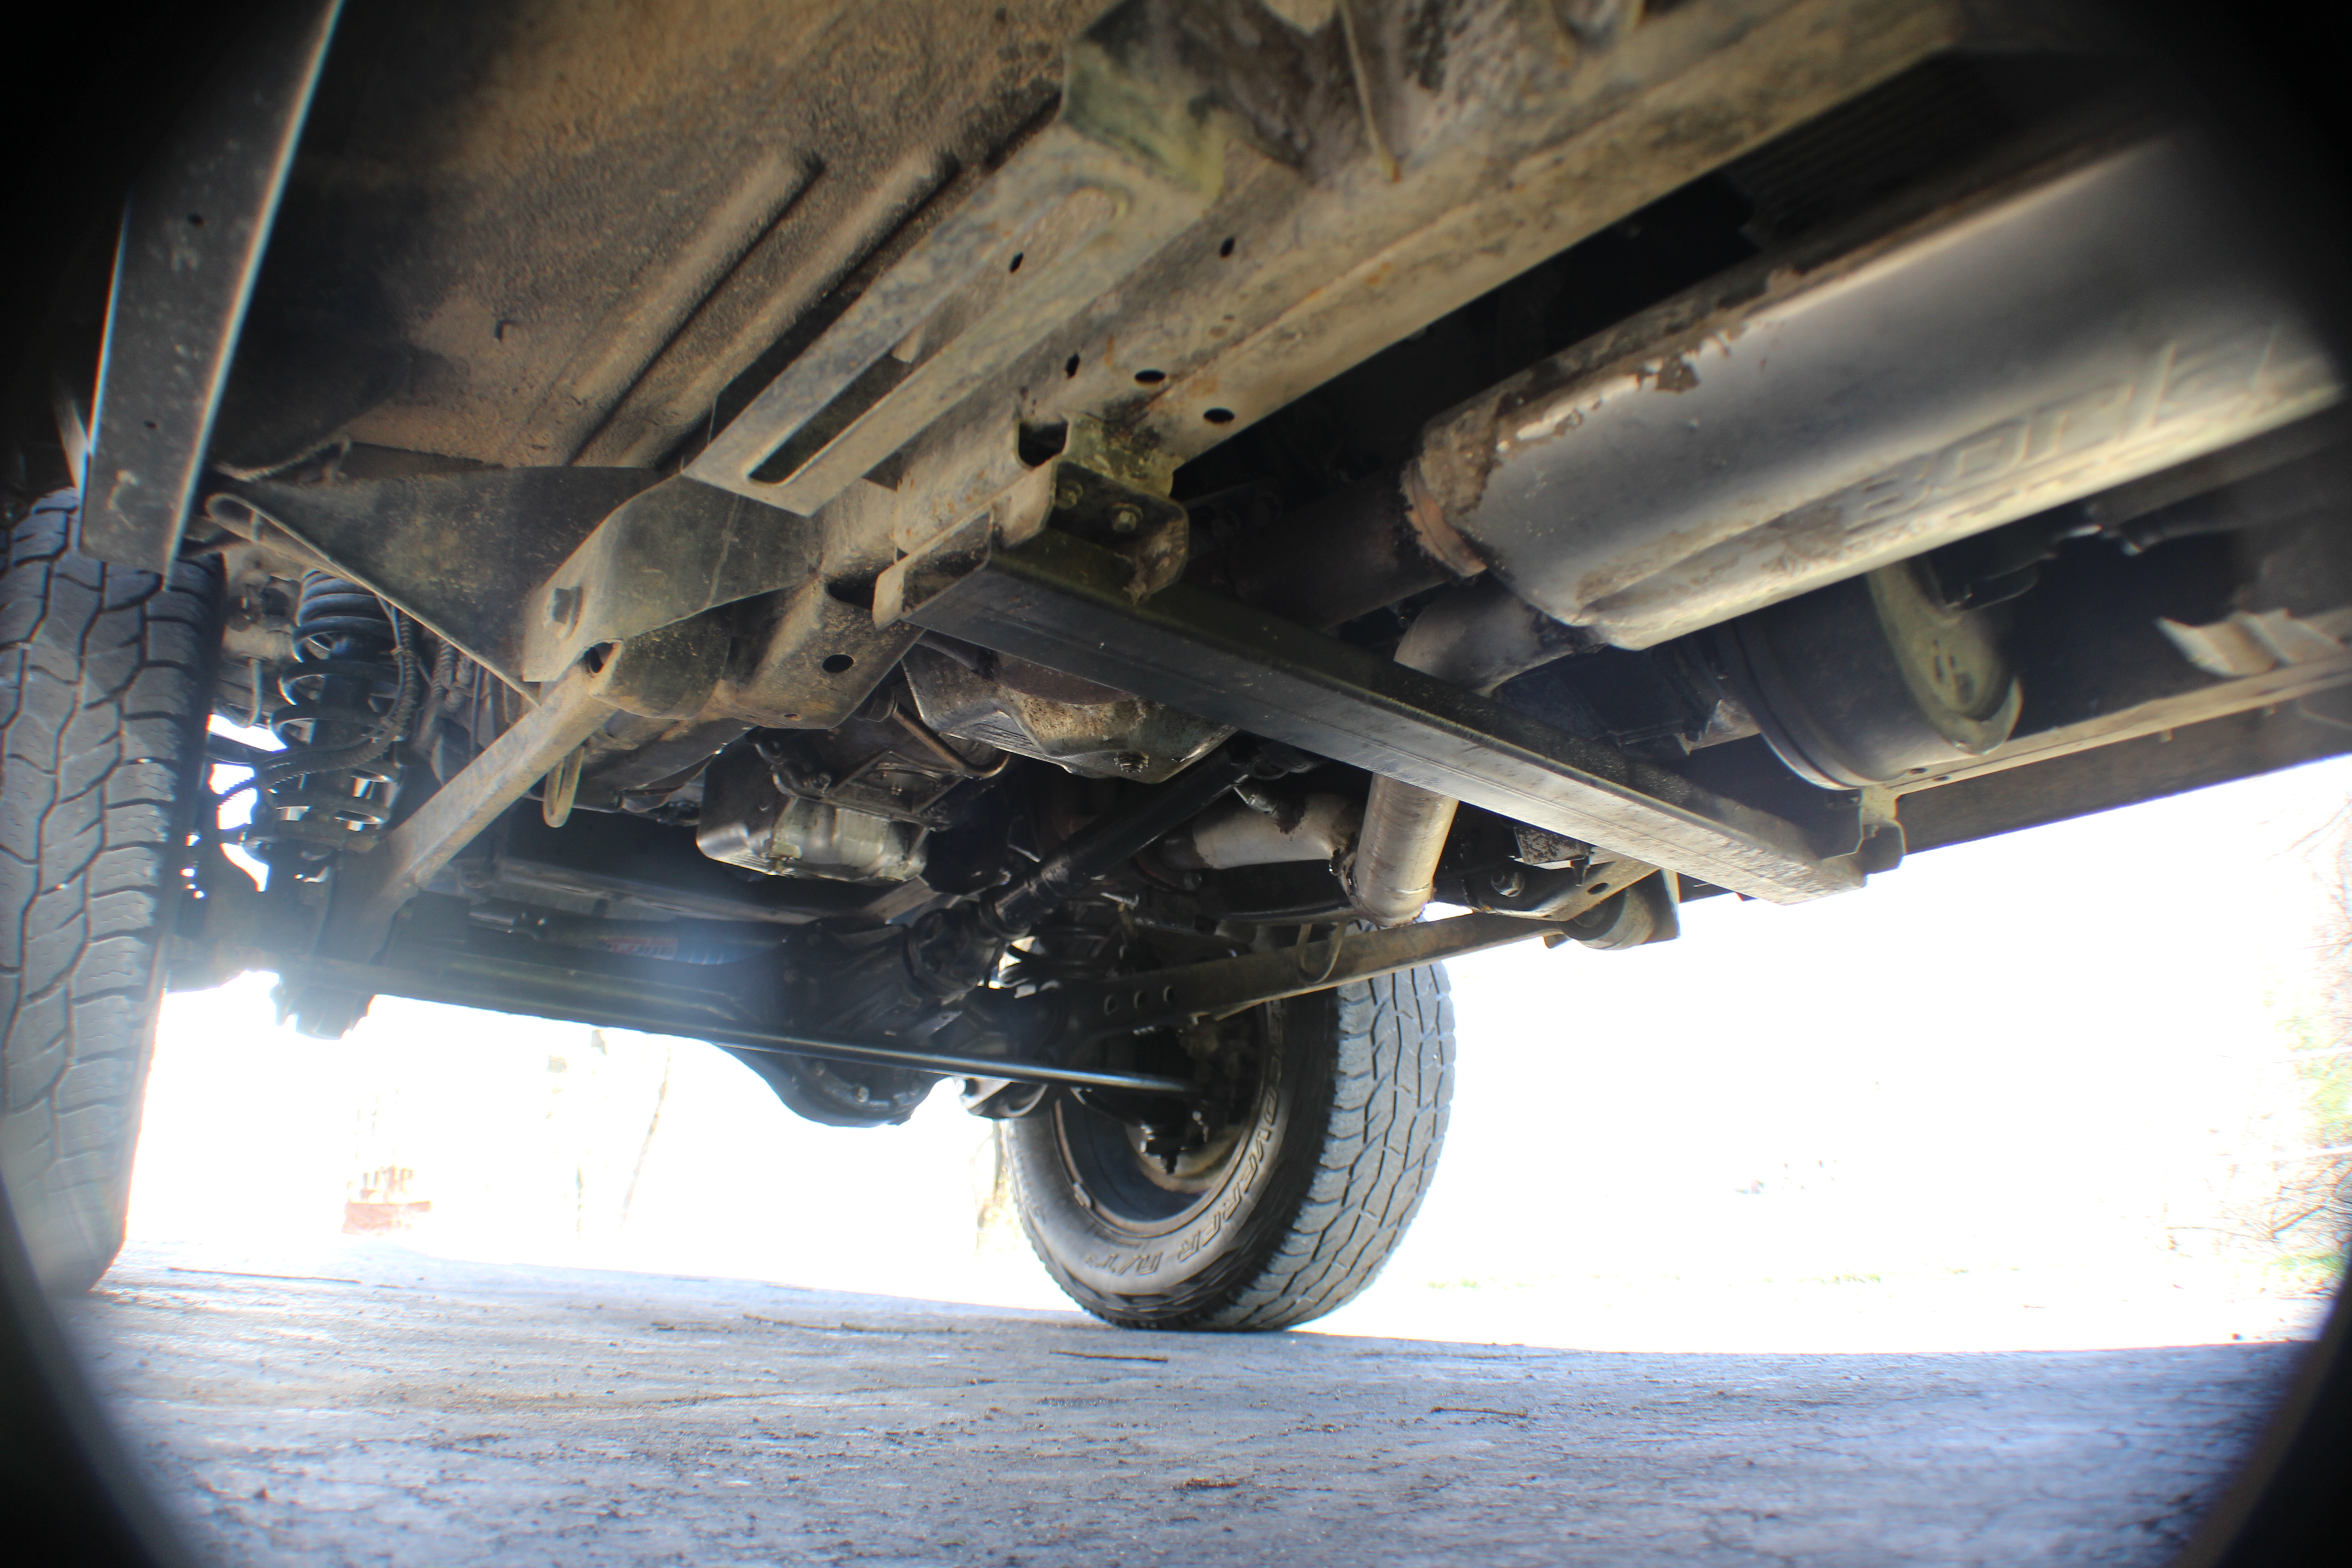
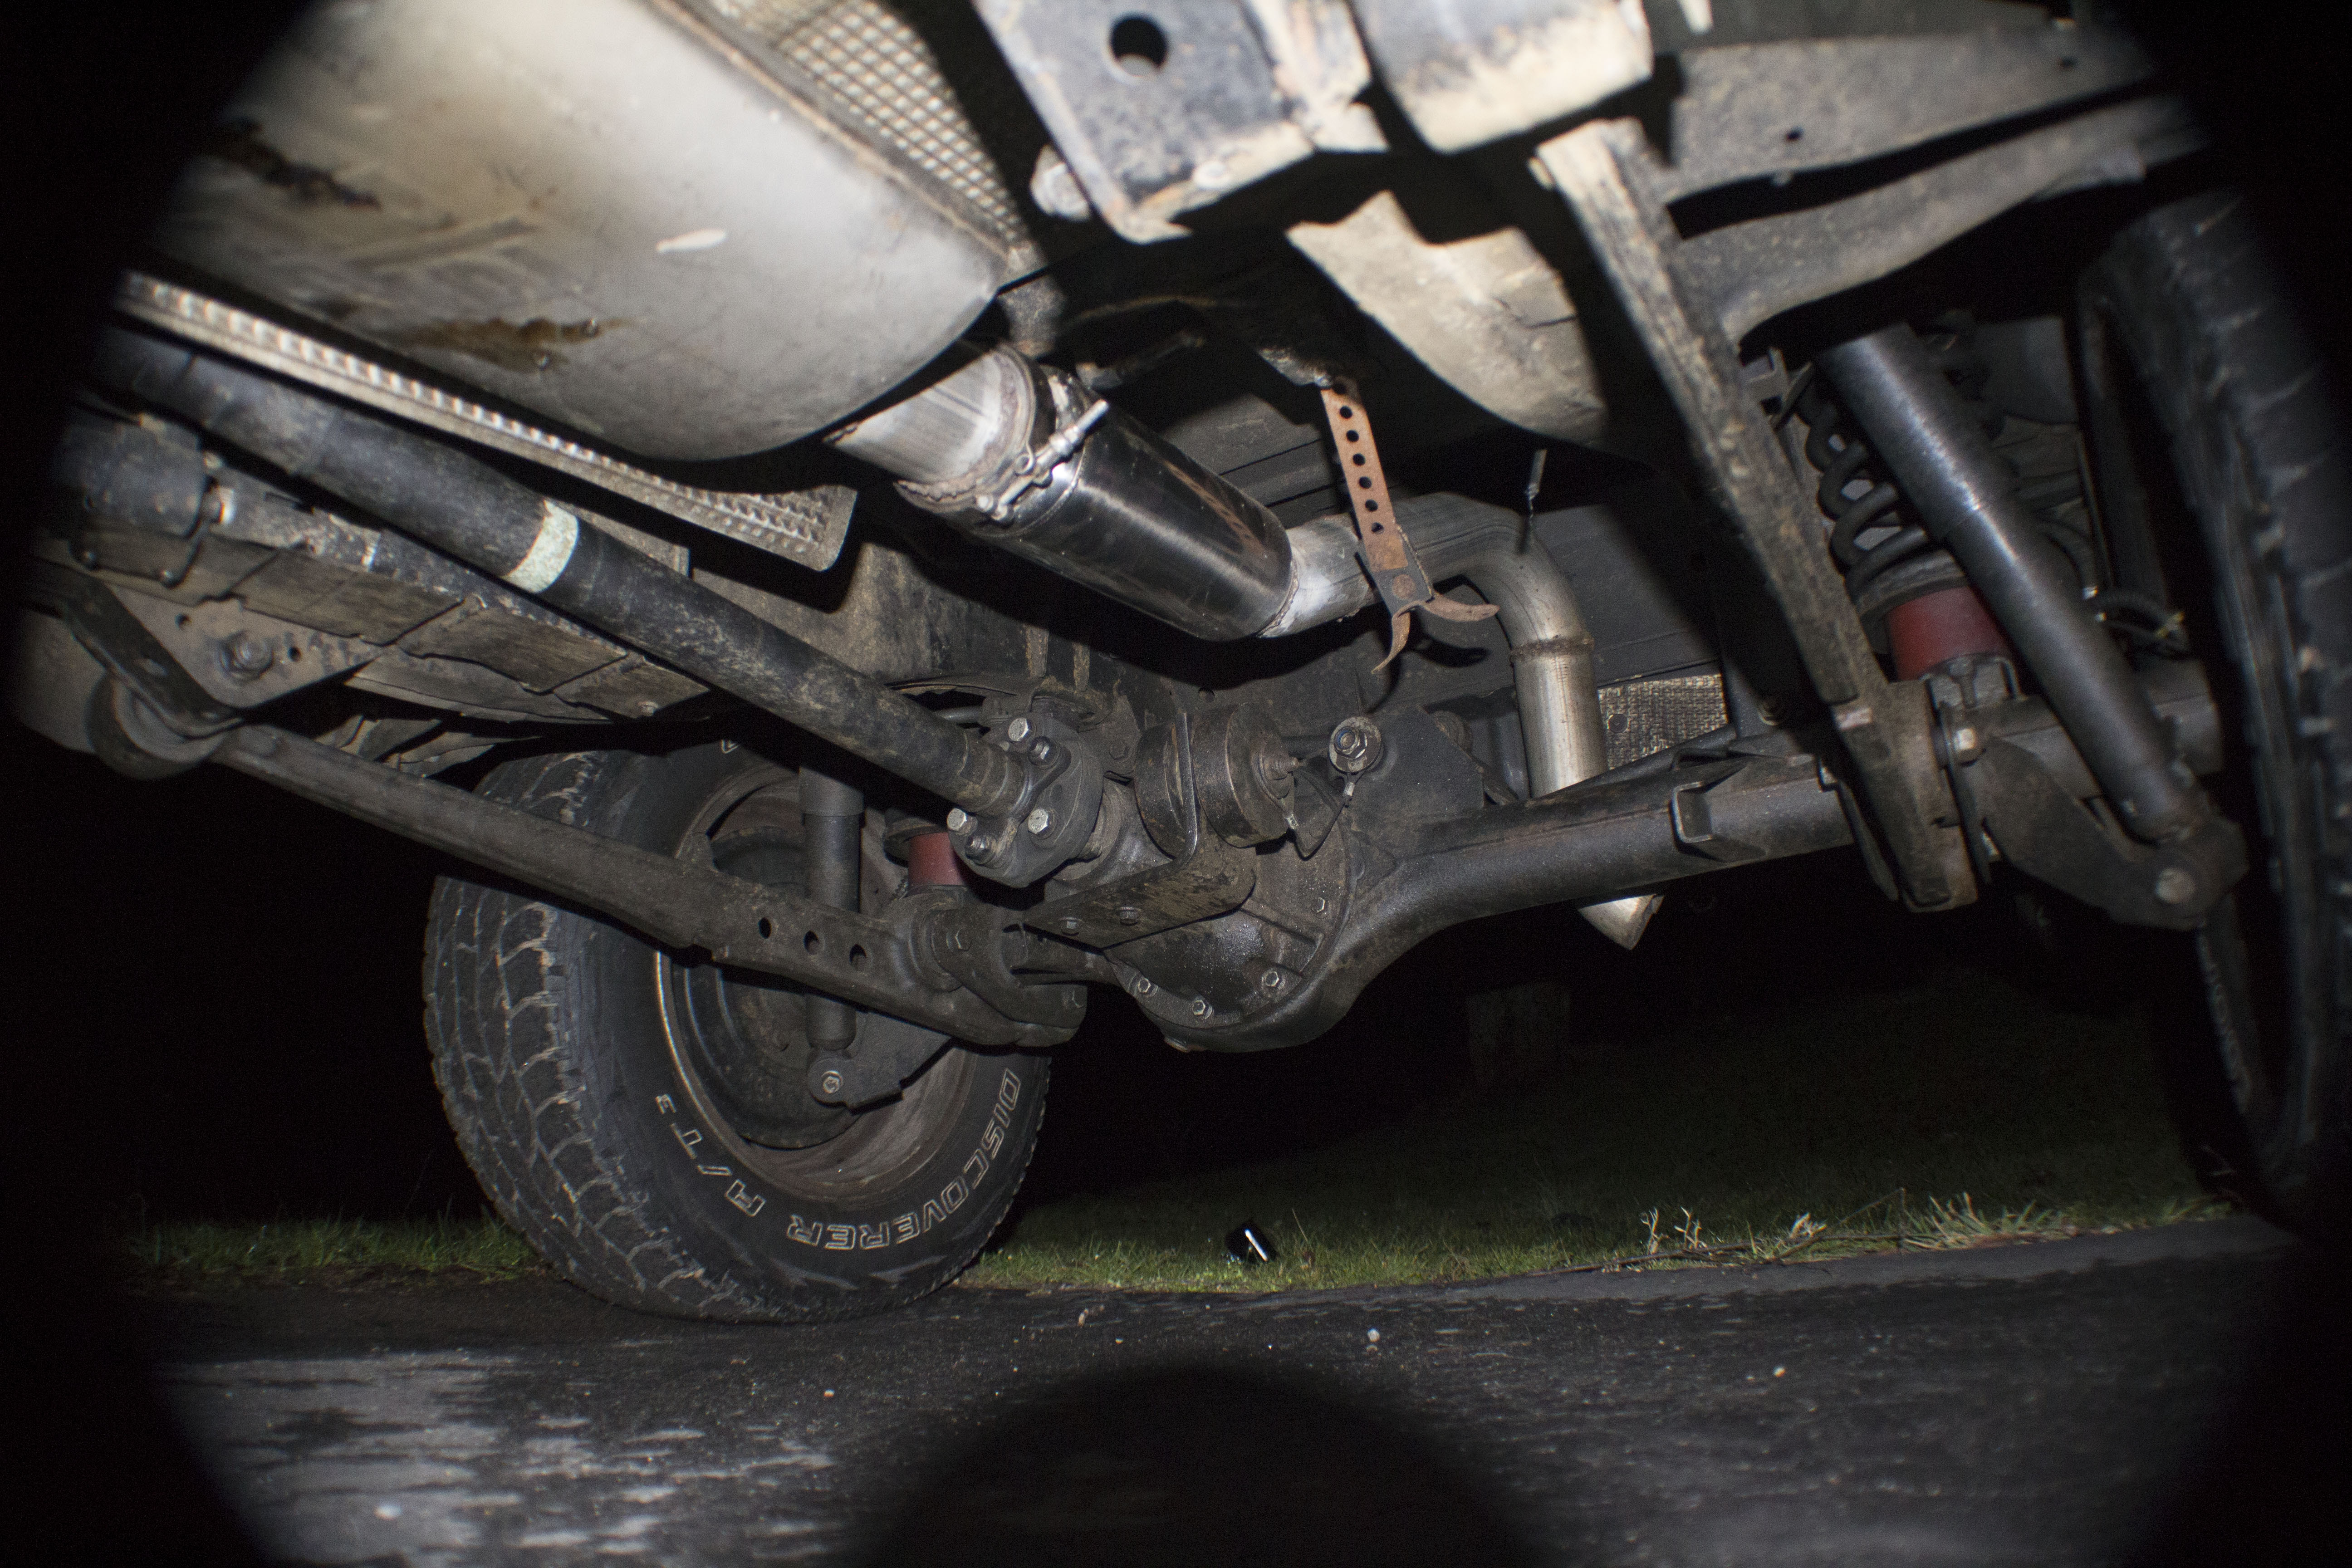
Ok, so here we went dual 2.5" into a Borla Pro XS and I did a single 3" out directly into the V-band clamp. I then originally welded the other V-band directly to a Flowmaster 3" Hi Flow cat. There were multiple issues with this. First, and I knew this starting out but I had it just to pass visual inspection, was that it was too far back to even get hot enough to work. Second, the way the core has a honeycomb instead of being straight through, it catches ALL of the filling material that blows out of the muffler. It gets clogged. Quickly. If you want cats, they HAVE to be up front. So here's the picture of that.
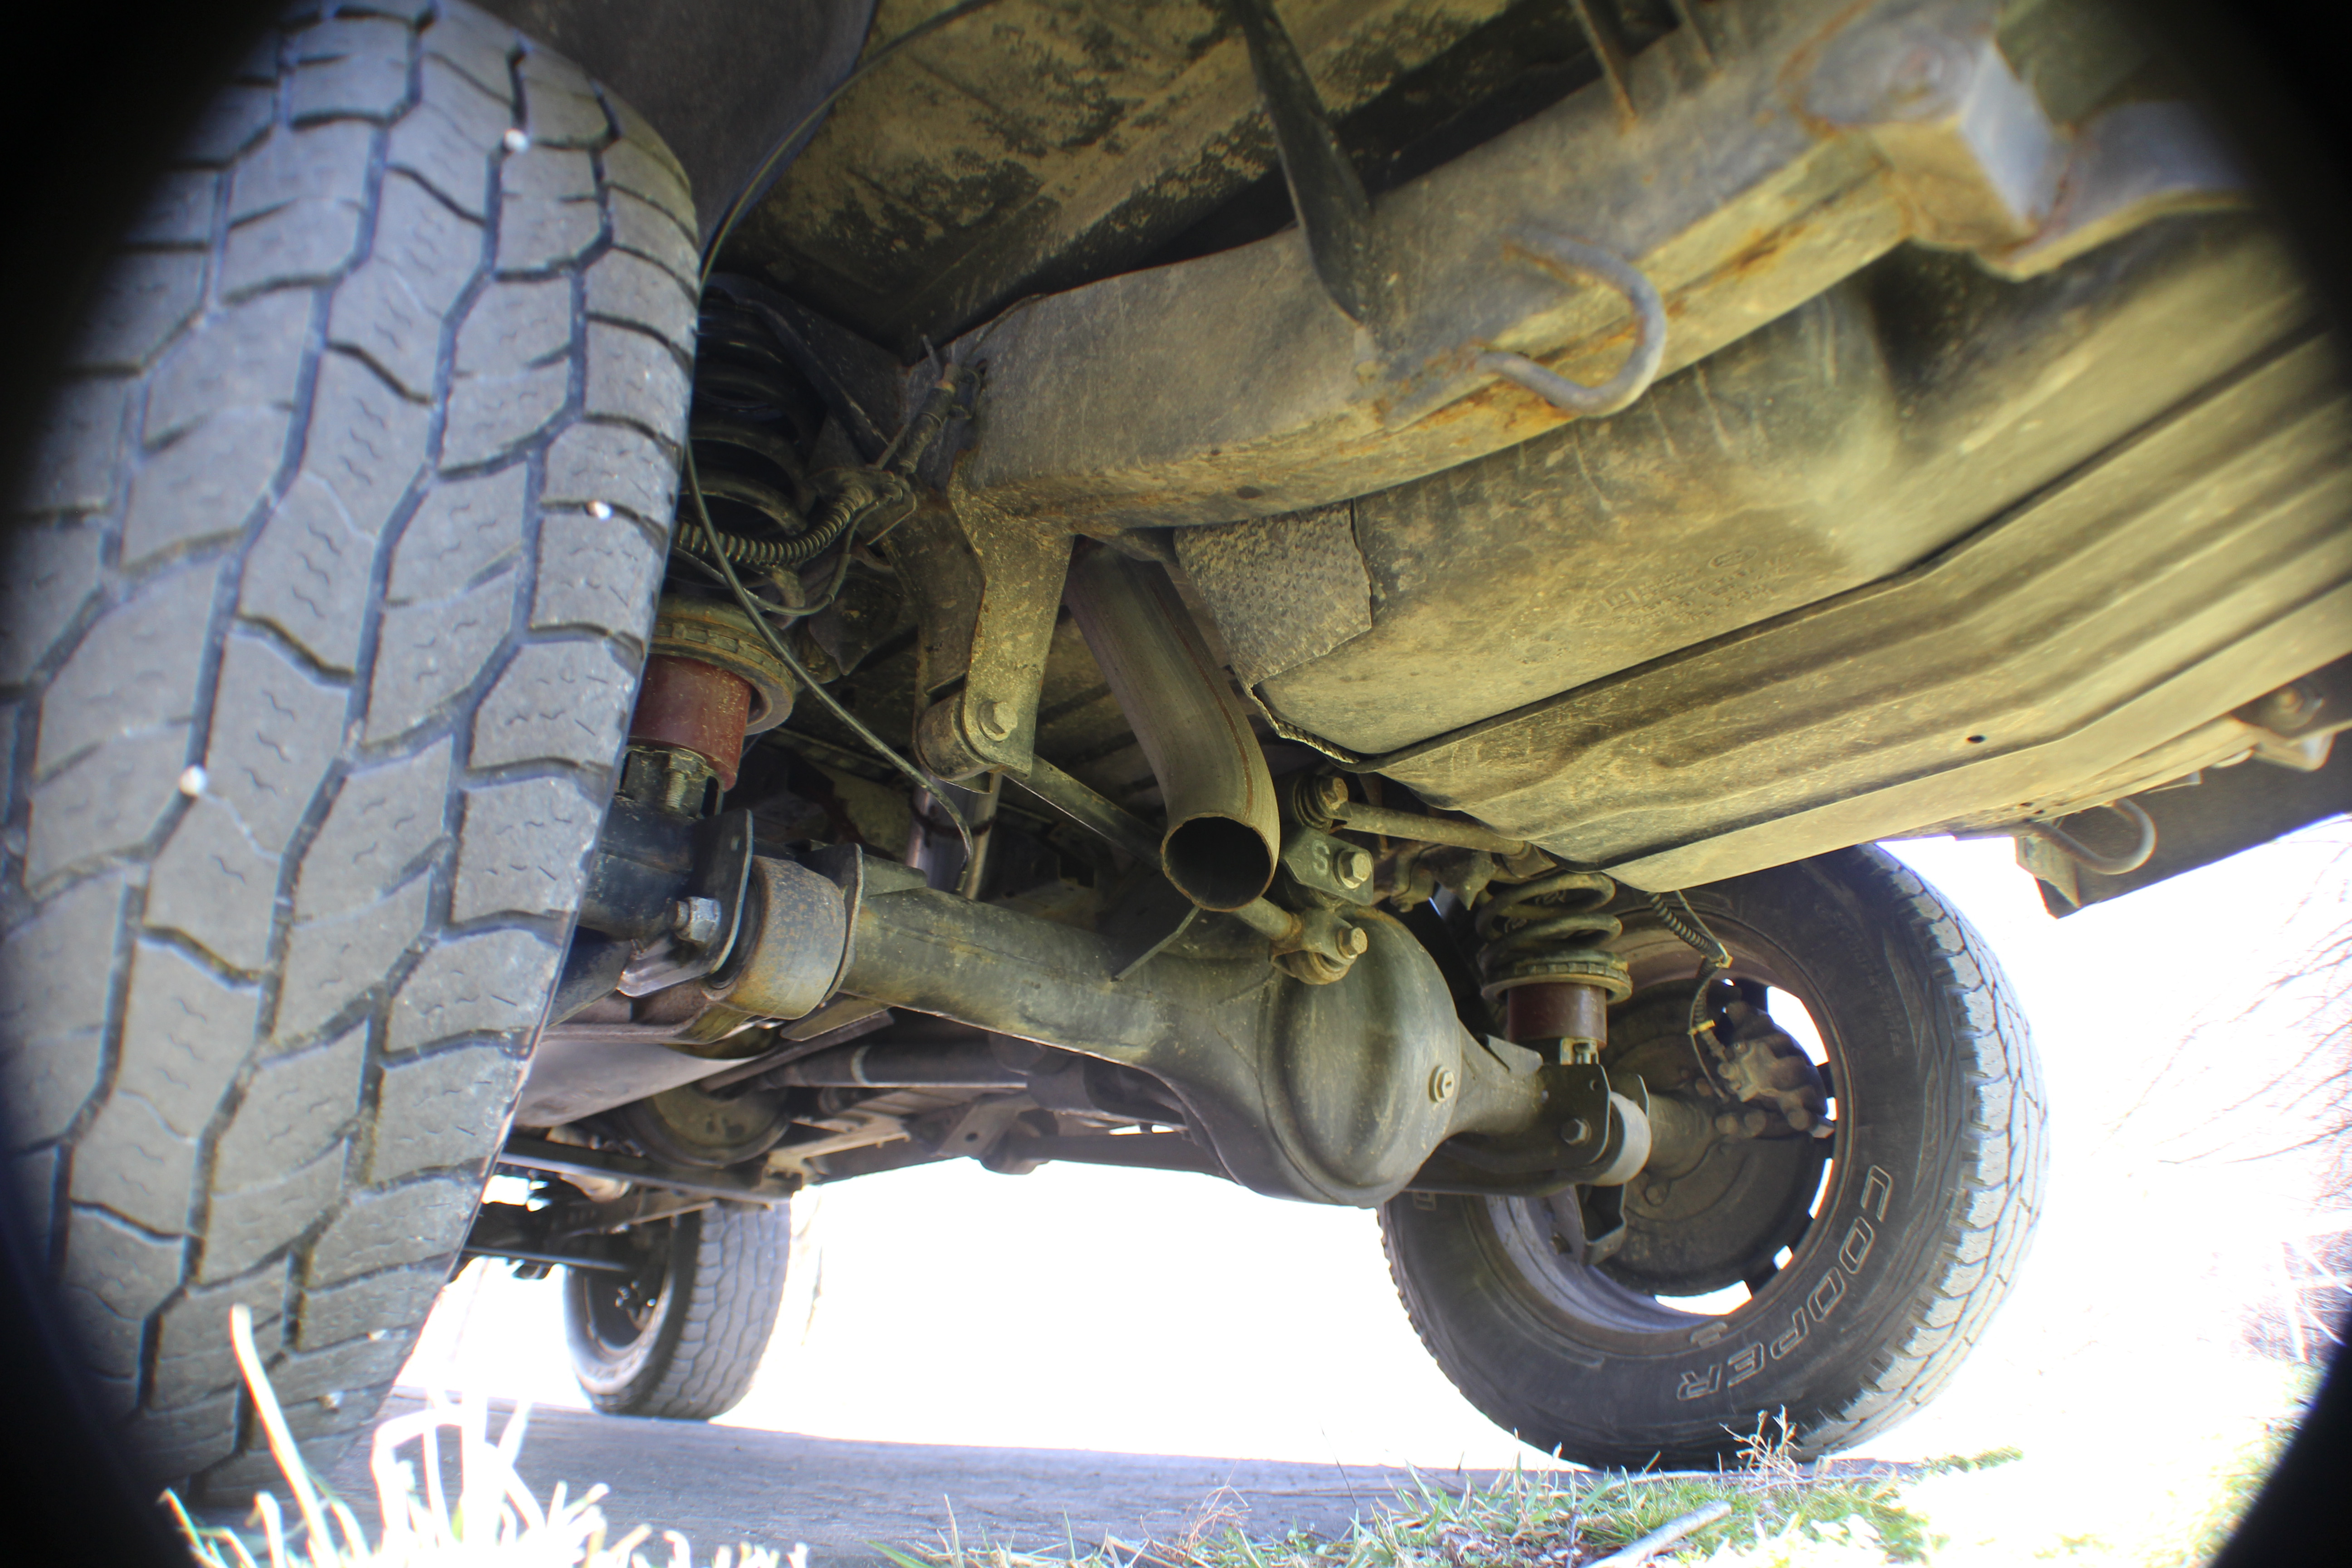
Yesterday I hacked that thing out. In its place I put a 3" resonator. It's longer so I had to hack the ends off and, sadly, it's still a little long.
And then I've got it dumped over the back axle and aimed out the side. I need to do a little more work here. As I said, the resonator was still a little long. I had to bash in the pipe just a little so that it didn't touch stuff as much. The fit and finish was better with the cat because that's how I designed it, but I'll get it worked out and there will be no more issue.
I'll get a sound video up pretty soon.
I will note, there is a noticeable power difference. Anyone afraid of losing torque, you won't. At least, I didn't. The horsepower difference is a lot though, especially noticeable on the highway and interstate. I believe there was also a gas mileage increase, but that is yet to be seen.
I will also say, my truck does not have an exhaust smell after its warmed up despite having no cats. None. If your truck is truly running in tip top shape then it shouldn't smell without cats.
Special shout out to Jesse who was the first I saw on the forum to do the header install and cat delete successfully. He provided me with a few pictures I needed so I knew what to order as far as bends go.
Yea, the spacers make the rear O2 think there is a cat installed.
I used flux core wire, so no shielding gas. The biggest reason my welds are so ugly is because I had to use one hand to hold my mask, so I only had one hand for the gun. I tried some stuff with my grandfathers hood with a head strap and did a lot nicer job.
Haha, I've tried all the common ones except Magnaflow. The Borla is by far my favorite of any muffler I've tried, and once I did a little more work today it's actually just a hair quieter with the reso than it was with the cat converter. This is by far my favorite overall setup. The sound is almost perfect in my opinion. A rumble at idle, relatively loud at WOT, and no drone what so ever.
I think this may be the one field as far as these trucks go that I'm actually the leading expert as far as experience goes.
Yea, the spacers make the rear O2 think there is a cat installed.
I used flux core wire, so no shielding gas. The biggest reason my welds are so ugly is because I had to use one hand to hold my mask, so I only had one hand for the gun. I tried some stuff with my grandfathers hood with a head strap and did a lot nicer job.
Shielding gas makes a big difference. Self dimming masks are really nice too and pretty cheap from Amazon or Harbor Freight.
Keep practicing, you'll get it.
Hey Alex, Brian here. Got my O2 spacers yesterday. Ill be installing them on my stock 03 D2 with cats below threshold, in an effort to get it through my state inspection. Any tips on installing them? Do I remove my O2 sensors hot or cold? Should I use anti seize? etc.
Brian, definitely cold. Hot you'll just burn yourself. Trust me, been there. More than once.
Antiseize is always a good plan. I didn't use any, but I take stuff apart often enough that it doesn't matter a lot. If you don't take stuff apart much then id definitely use it.
Just an update, guys. I'd like to say, even if it means you've got to wait to save the few extra dollars for the v-bands at the header collectors, DO IT. I f*cking HATE the ball and cup. They won't seal correctly no matter what for me and the bolts keep backing out even after I've used loctite and locking washers together. I've lost some bolts because of it and had to replace them which, of course, leads to a massive exhaust leak while the bolts are missing. Seriously, cut the ball and cup out and use v-bands.
 03-06-2016, 03:44 PM