QT Diff Guards Install Fitting Instilation Instructions
#1
 07-31-2011, 12:36 AM

Here is quick install with pictures for the QT Diff guards. It is very self explanatory but there are no printed instructions I have found. I though I would do a small write for the less mechanically inclined among us.
Rear Diff install first

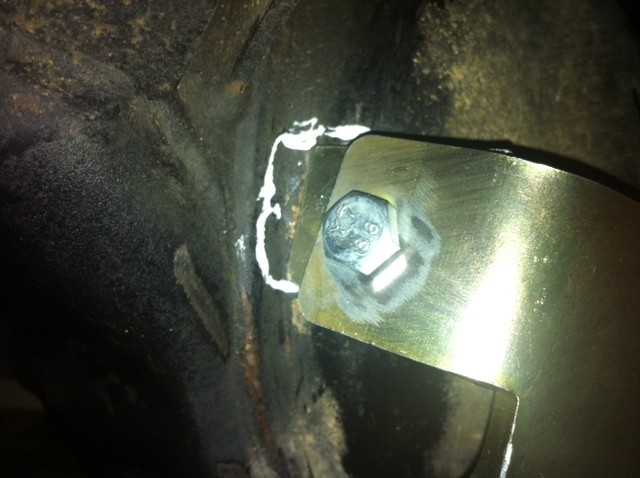
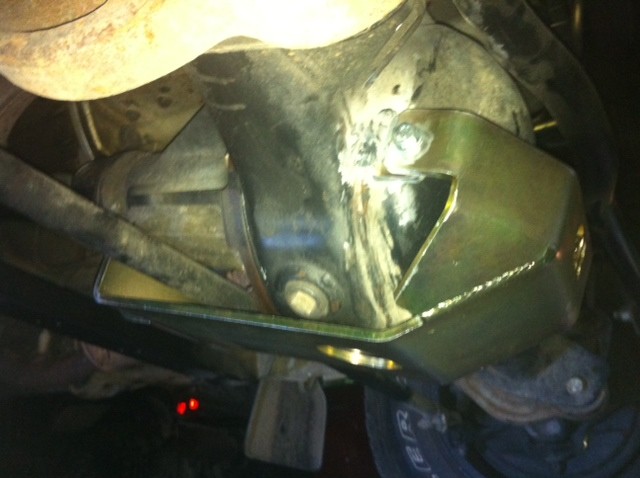
Loosly tighten up this bolt to hand Diff Guard

Here I am fitting the QT Diff guard and a RockWare Pinion guard. I decided to ditch the pinion guard and just use the diff guard as is. I may add a pinion gaurd to the front of the diff gauard later, by welding a small piece of steel on.

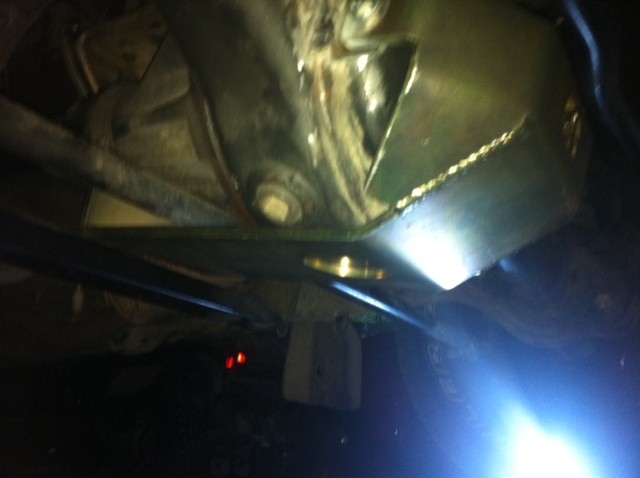
Installed!

Next installing the weld on tabs for the Front Diff guard:
Screw in the tabs with the provided bolts, tabs go to the inside of the diff gaurd.
Now line up the front diff guard by bolting up the rear bolts.
Turn the tabs so the best contact the diff to your liking.
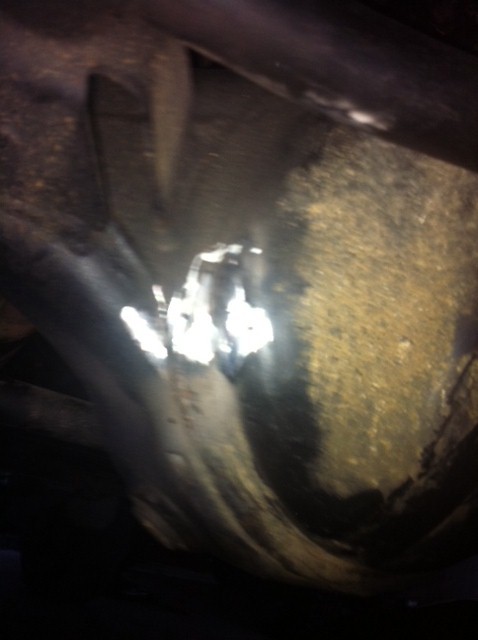
Use a paint marker to outline where you should grid the diff so you can weld on the tabs
Remove the diff
Grind the areas marked with a angle grinder
Now weld the tabs with the diff guard bolted up with the rear bolts holding it up.
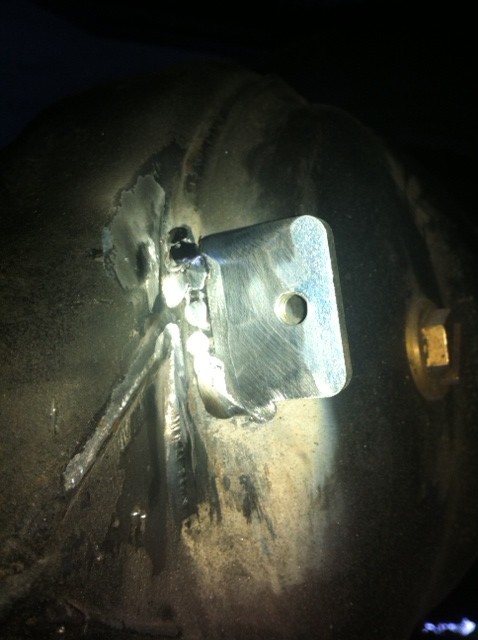
Here are my welds not pretty but strong. The drivers side fit very close on the tabs. Passengers side had almost a 1/4" gap, I filled it with weld. Its not going any where now. I will prime and coat the welds and tabs black when I paint by bumper in a week.
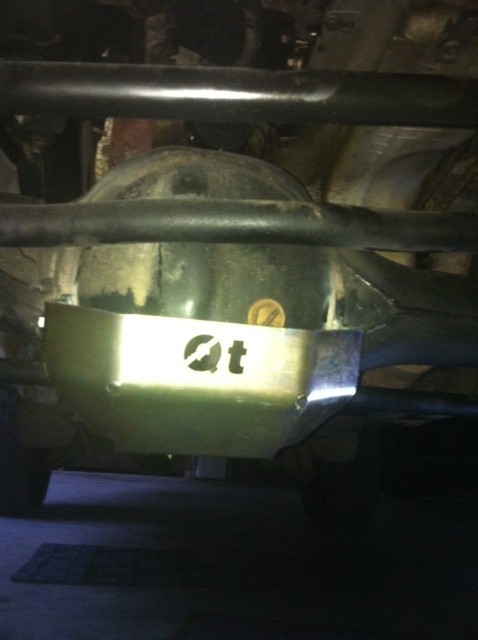
Now when you change your own oil you get to look at this.
Rear Diff install first
- 1st remove the two top bolts on the top rear diff. It would be the top center bolt and the other bolt toward drives side. Takes a 13mm socket.
- Next attach bracket provided as shown. Tighten back bolts. Also maybe add some back ATV silicone to bolt threads so the diff will not leak through bolt threads.
- Now get your floor jack and set the rear QT diff up to the bottom of the differential. Loosely tighten bolt on bracket to the QT diff guard. It wil help hold it in place
- Now remove two bolts on vibration dampener, if you have one.
- Now use your floor jack, maybe a helper to align bolts. This takes some patients.
- See if you can get one bolt started by hand, then the next bolt.
- Push diff guard forward towards front of car to align bolt holes.
- Use your bottle jack or floor jack to support the guard, its very heavy with the balancer.
- Tighten bolts Your done with the rear.
Loosly tighten up this bolt to hand Diff Guard
Here I am fitting the QT Diff guard and a RockWare Pinion guard. I decided to ditch the pinion guard and just use the diff guard as is. I may add a pinion gaurd to the front of the diff gauard later, by welding a small piece of steel on.
Installed!
Next installing the weld on tabs for the Front Diff guard:
Screw in the tabs with the provided bolts, tabs go to the inside of the diff gaurd.
Now line up the front diff guard by bolting up the rear bolts.
Turn the tabs so the best contact the diff to your liking.
Use a paint marker to outline where you should grid the diff so you can weld on the tabs
Remove the diff
Grind the areas marked with a angle grinder
Now weld the tabs with the diff guard bolted up with the rear bolts holding it up.
Here are my welds not pretty but strong. The drivers side fit very close on the tabs. Passengers side had almost a 1/4" gap, I filled it with weld. Its not going any where now. I will prime and coat the welds and tabs black when I paint by bumper in a week.
Now when you change your own oil you get to look at this.
Last edited by bosshogt; 08-02-2011 at 02:49 PM. Reason: Added front Diff install.

#4
08-02-2011, 06:55 PM

TReK


#6
04-21-2013, 01:22 PM


Thread
Thread Starter
Forum
Replies
Last Post
diff, diffcompare, disco, discovery, fitting, front, guard, guardfitting, guards, installation, instructions, land, protector, qt, rover, services