Option B questions
#11
#13
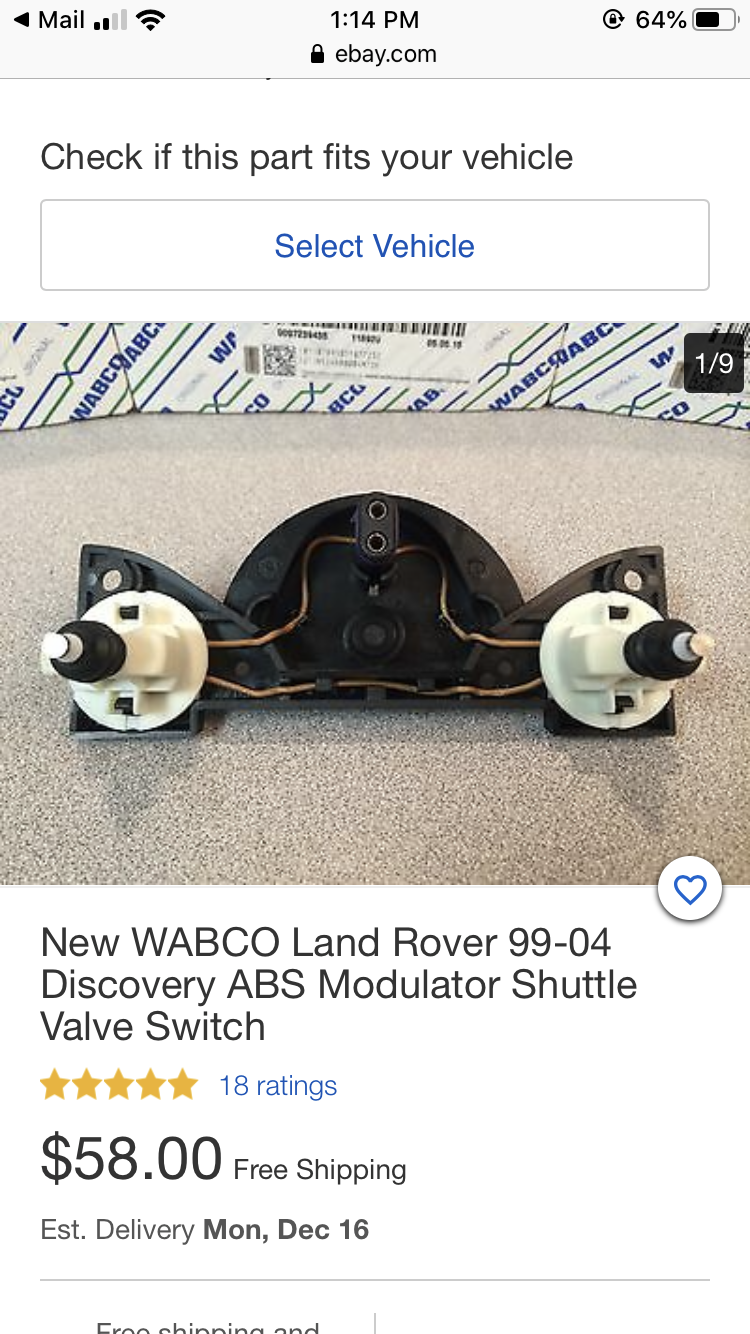
Itís my understanding that swapping out the shuttle valve switches will not solve the electrical fault. The fault is (almost always) caused by faulty grounding in a circuit board that is not part of the shuttle valve switch (SVS) assembly. I would hate for you to swap out the part just to have the same problem.
1) Remove the old SVS assembly
2) Use a multimeter to measure resistance as the switches are pushed. I forget the exact numbers but itís something like 3k ohms when none are pressed, 2k ohms when one is pressed and 1k ohms when both are pressed. If your numbers are close then the switches are good and simply replacing the SVS assembly will not solve the problem.
3) Follow the posted instructions to perform the option B fix and be on your way!
The following users liked this post:
Motorhead1 (12-09-2019)
#14
The black 2 pin plug that connects to the WABCO Unit = where the flaw is. It cracks/breaks up inside on the PCB and will cause the 3 Amigo's whenever it moves from vibration, a bump, hard stop, or whatever. When you cut the yellow/green wire, and then ground it you are 100% bypassing that connection. I personally DO NOT leave the black plug on the shuttle valve switches. I cut that off and run my wires out. I've never had an issue doing it that way.
#15
The black 2 pin plug that connects to the WABCO Unit = where the flaw is. It cracks/breaks up inside on the PCB and will cause the 3 Amigo's whenever it moves from vibration, a bump, hard stop, or whatever. When you cut the yellow/green wire, and then ground it you are 100% bypassing that connection. I personally DO NOT leave the black plug on the shuttle valve switches. I cut that off and run my wires out. I've never had an issue doing it that way.
this cleared everything up for me. Thanks 4x4.
The following users liked this post:
Best4x4 (12-08-2019)
#16
Hey @Best4x4 do you have pics/website link of totally removing the 2 pin post?
The previous owner of my Disco did the option B as I could tell from the cut green/yellow wire, but Iíve always been skeptical of how he did it since I ever so often get the 3 amigos pop up. Basically, I want to recheck his work.
The previous owner of my Disco did the option B as I could tell from the cut green/yellow wire, but Iíve always been skeptical of how he did it since I ever so often get the 3 amigos pop up. Basically, I want to recheck his work.
#18

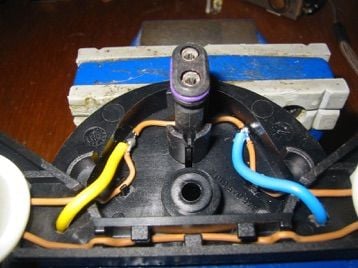
I borrowed this pic from the sticky for ABS fix, but I just pull up on the black plug and then cut off the wires as close to it as possible. Then I make my connections directly to each wire and run them out the bottom. I use the Red/White 2 pin trailer type harness for all my Option B fixes as it's a good gauge wire with a nice durable rubber connector. One end attaches to the Shuttle Valve and the other end connects to the Yellow/Green Wire & a good ground.
Some people have argued that removing the black plug creates an opening for moisture, but I've done it that way for years and years with zero issues!
The following users liked this post:
JUKE179r (12-09-2019)
#19
Pulled the SVS and the wiring had deteriorated to the point where there was nothing to work with. Insulation was 70% gone and the exposed wires were completely corroded. I mean all the way up to the sealed bases on the switches.
Good news is there was no sign of corrosion in the SVS connection. New switch will be here Thursday, going to install before doing Option B.
Good news is there was no sign of corrosion in the SVS connection. New switch will be here Thursday, going to install before doing Option B.
#20


