
Redid my rear window and safari window seals
#1
 07-21-2019 | 03:11 PM

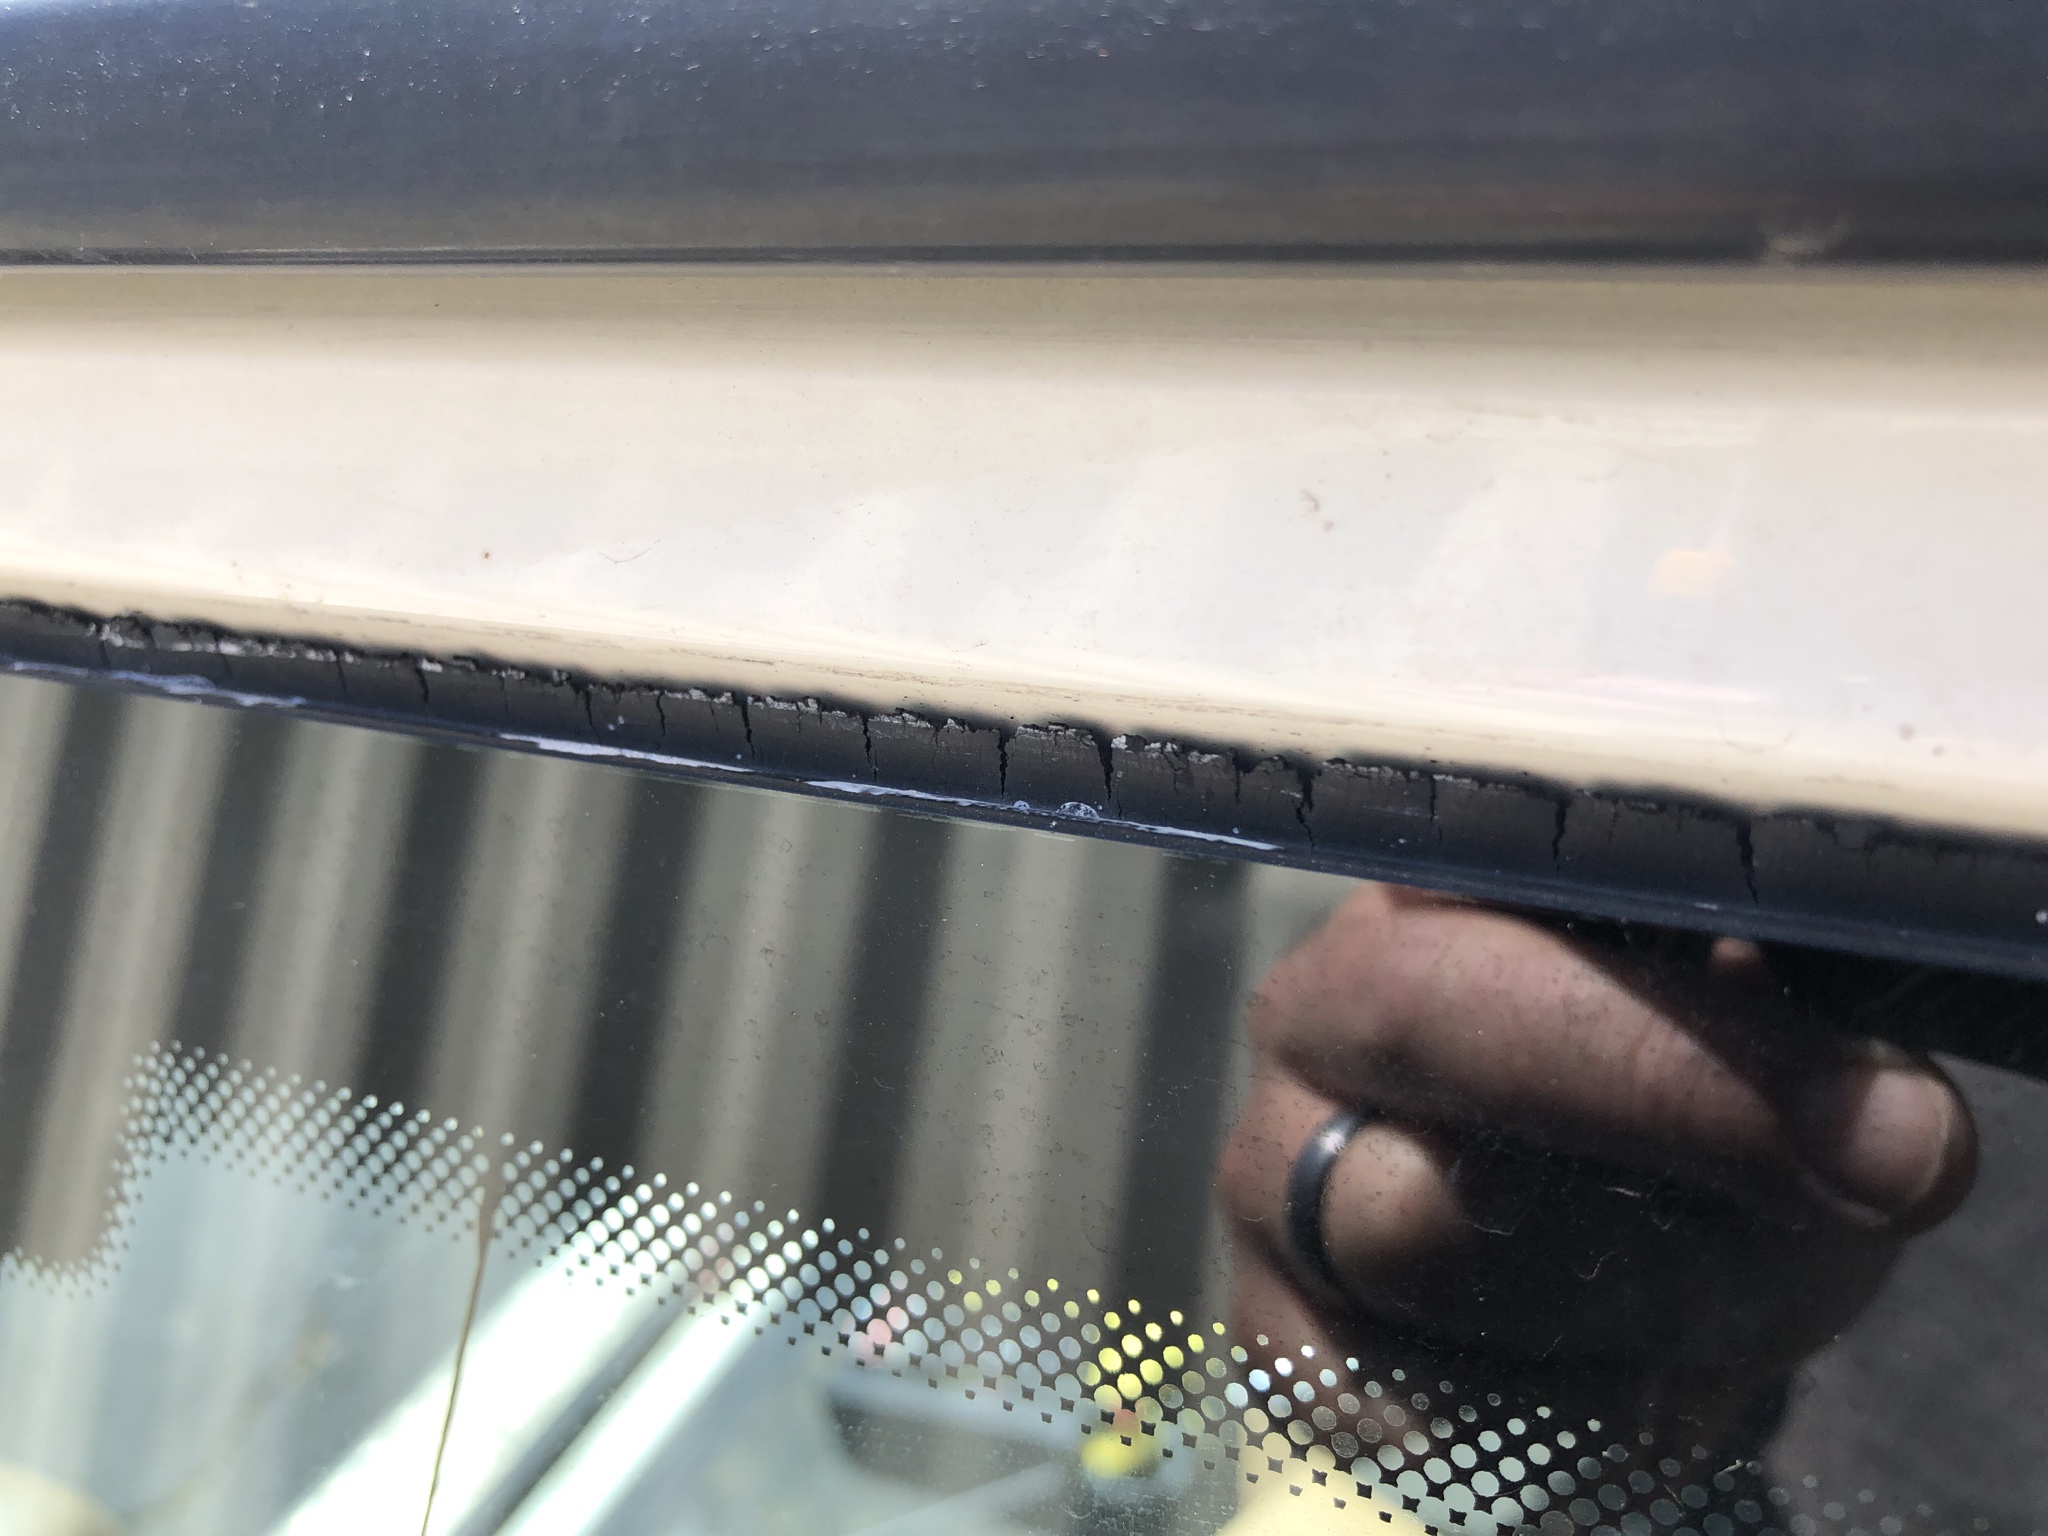
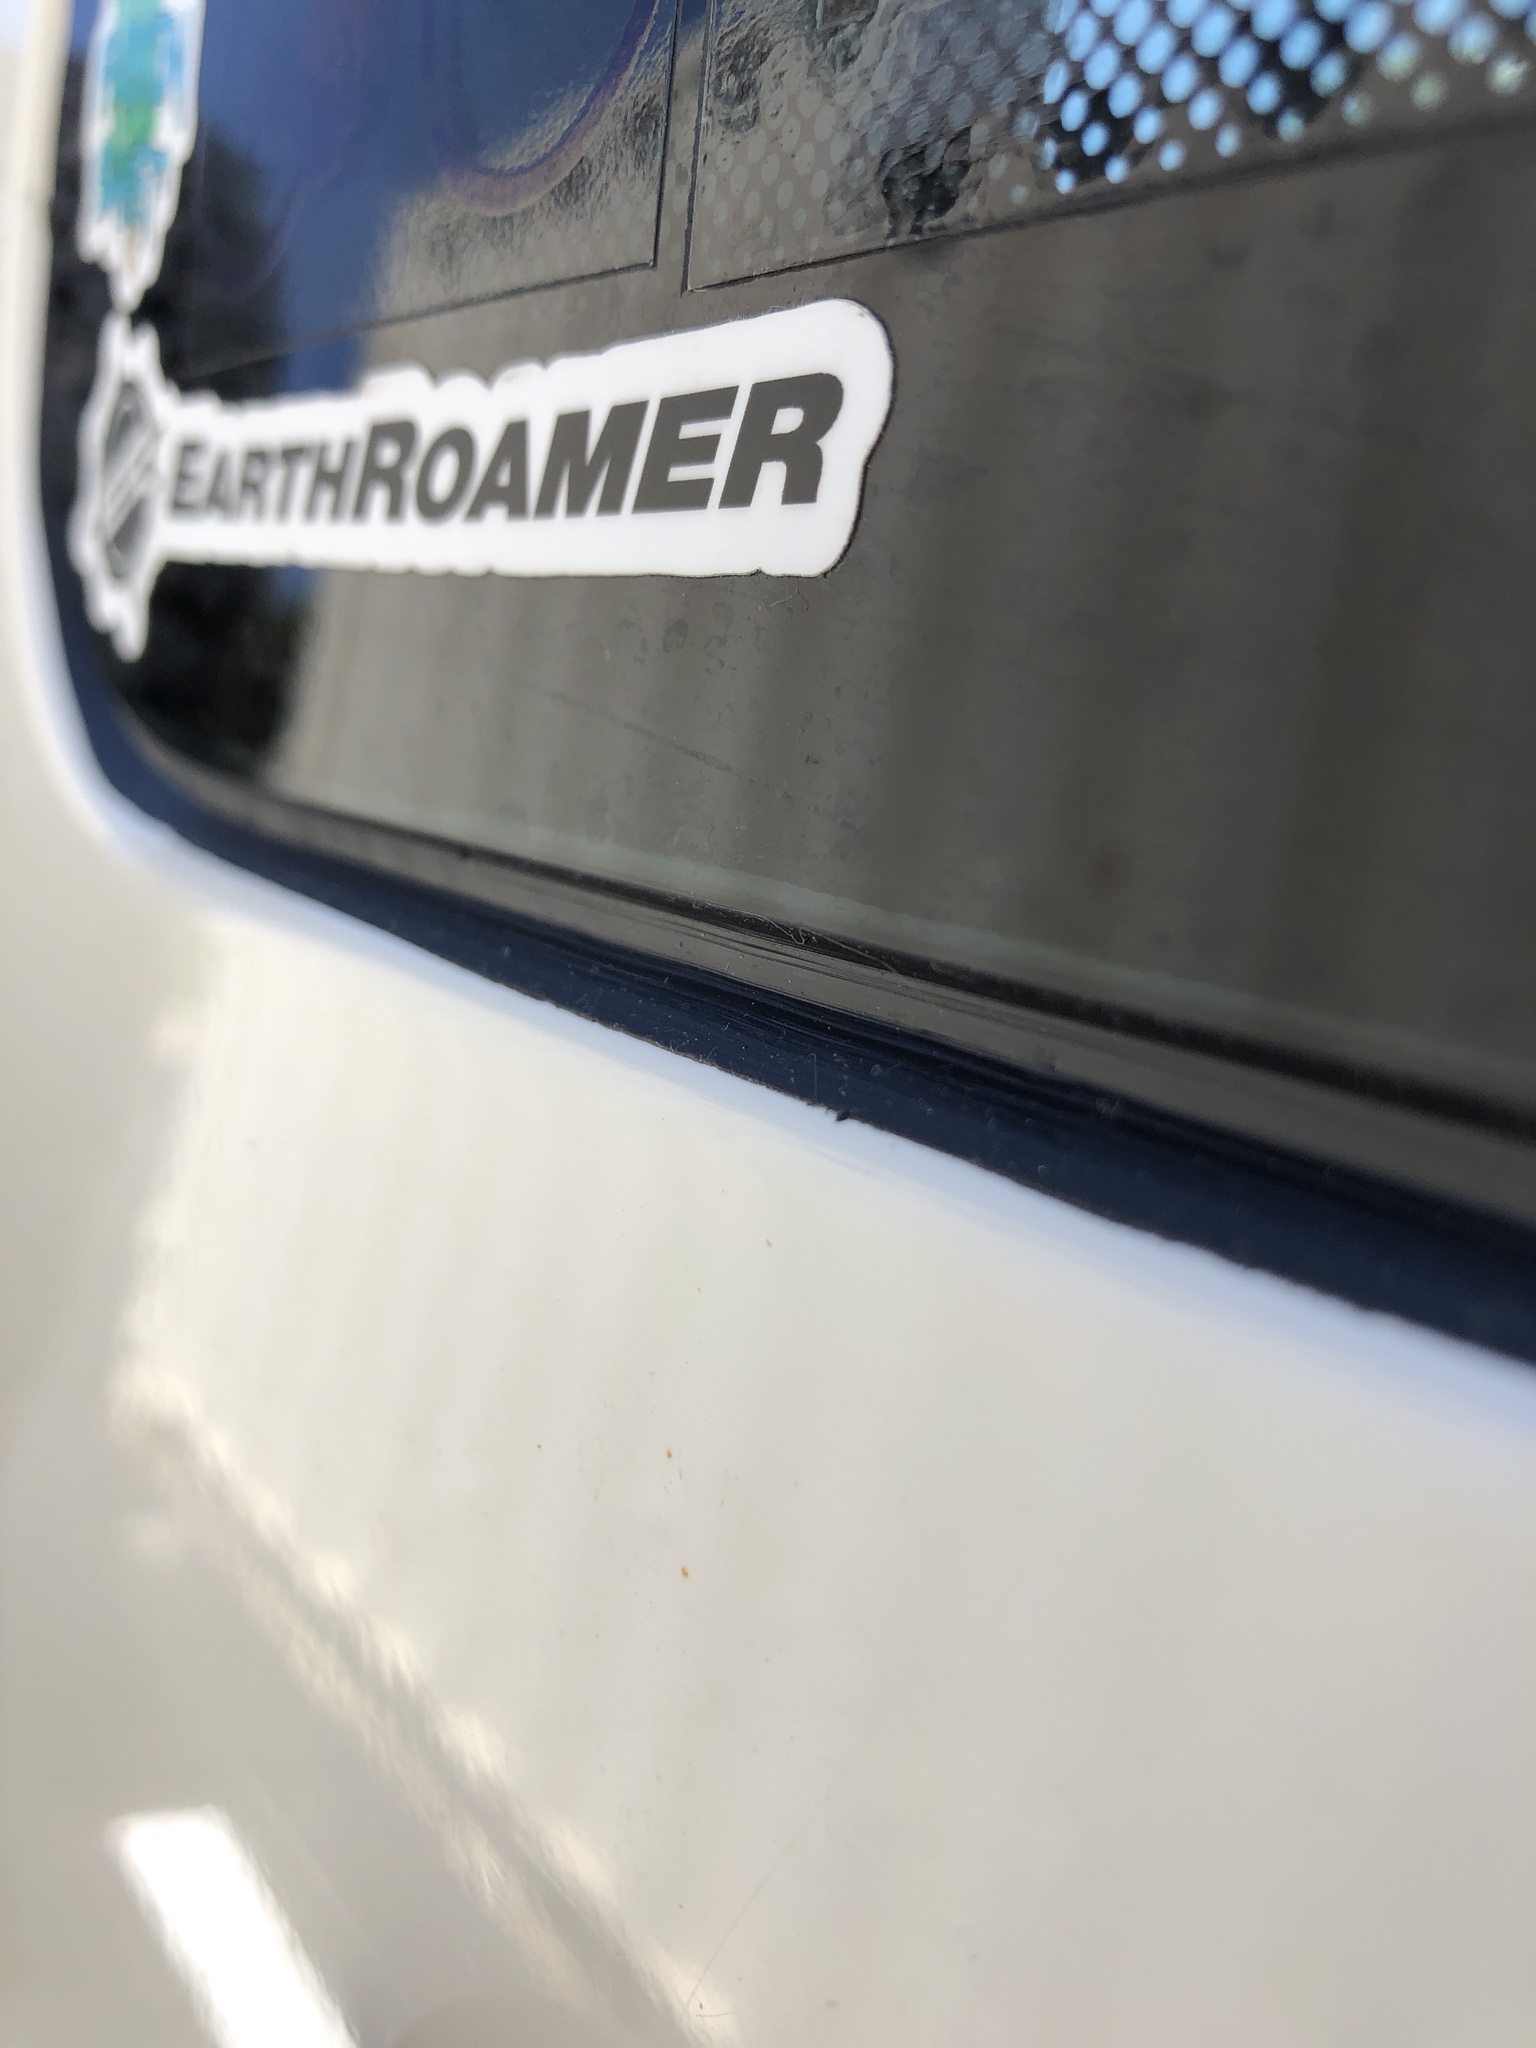
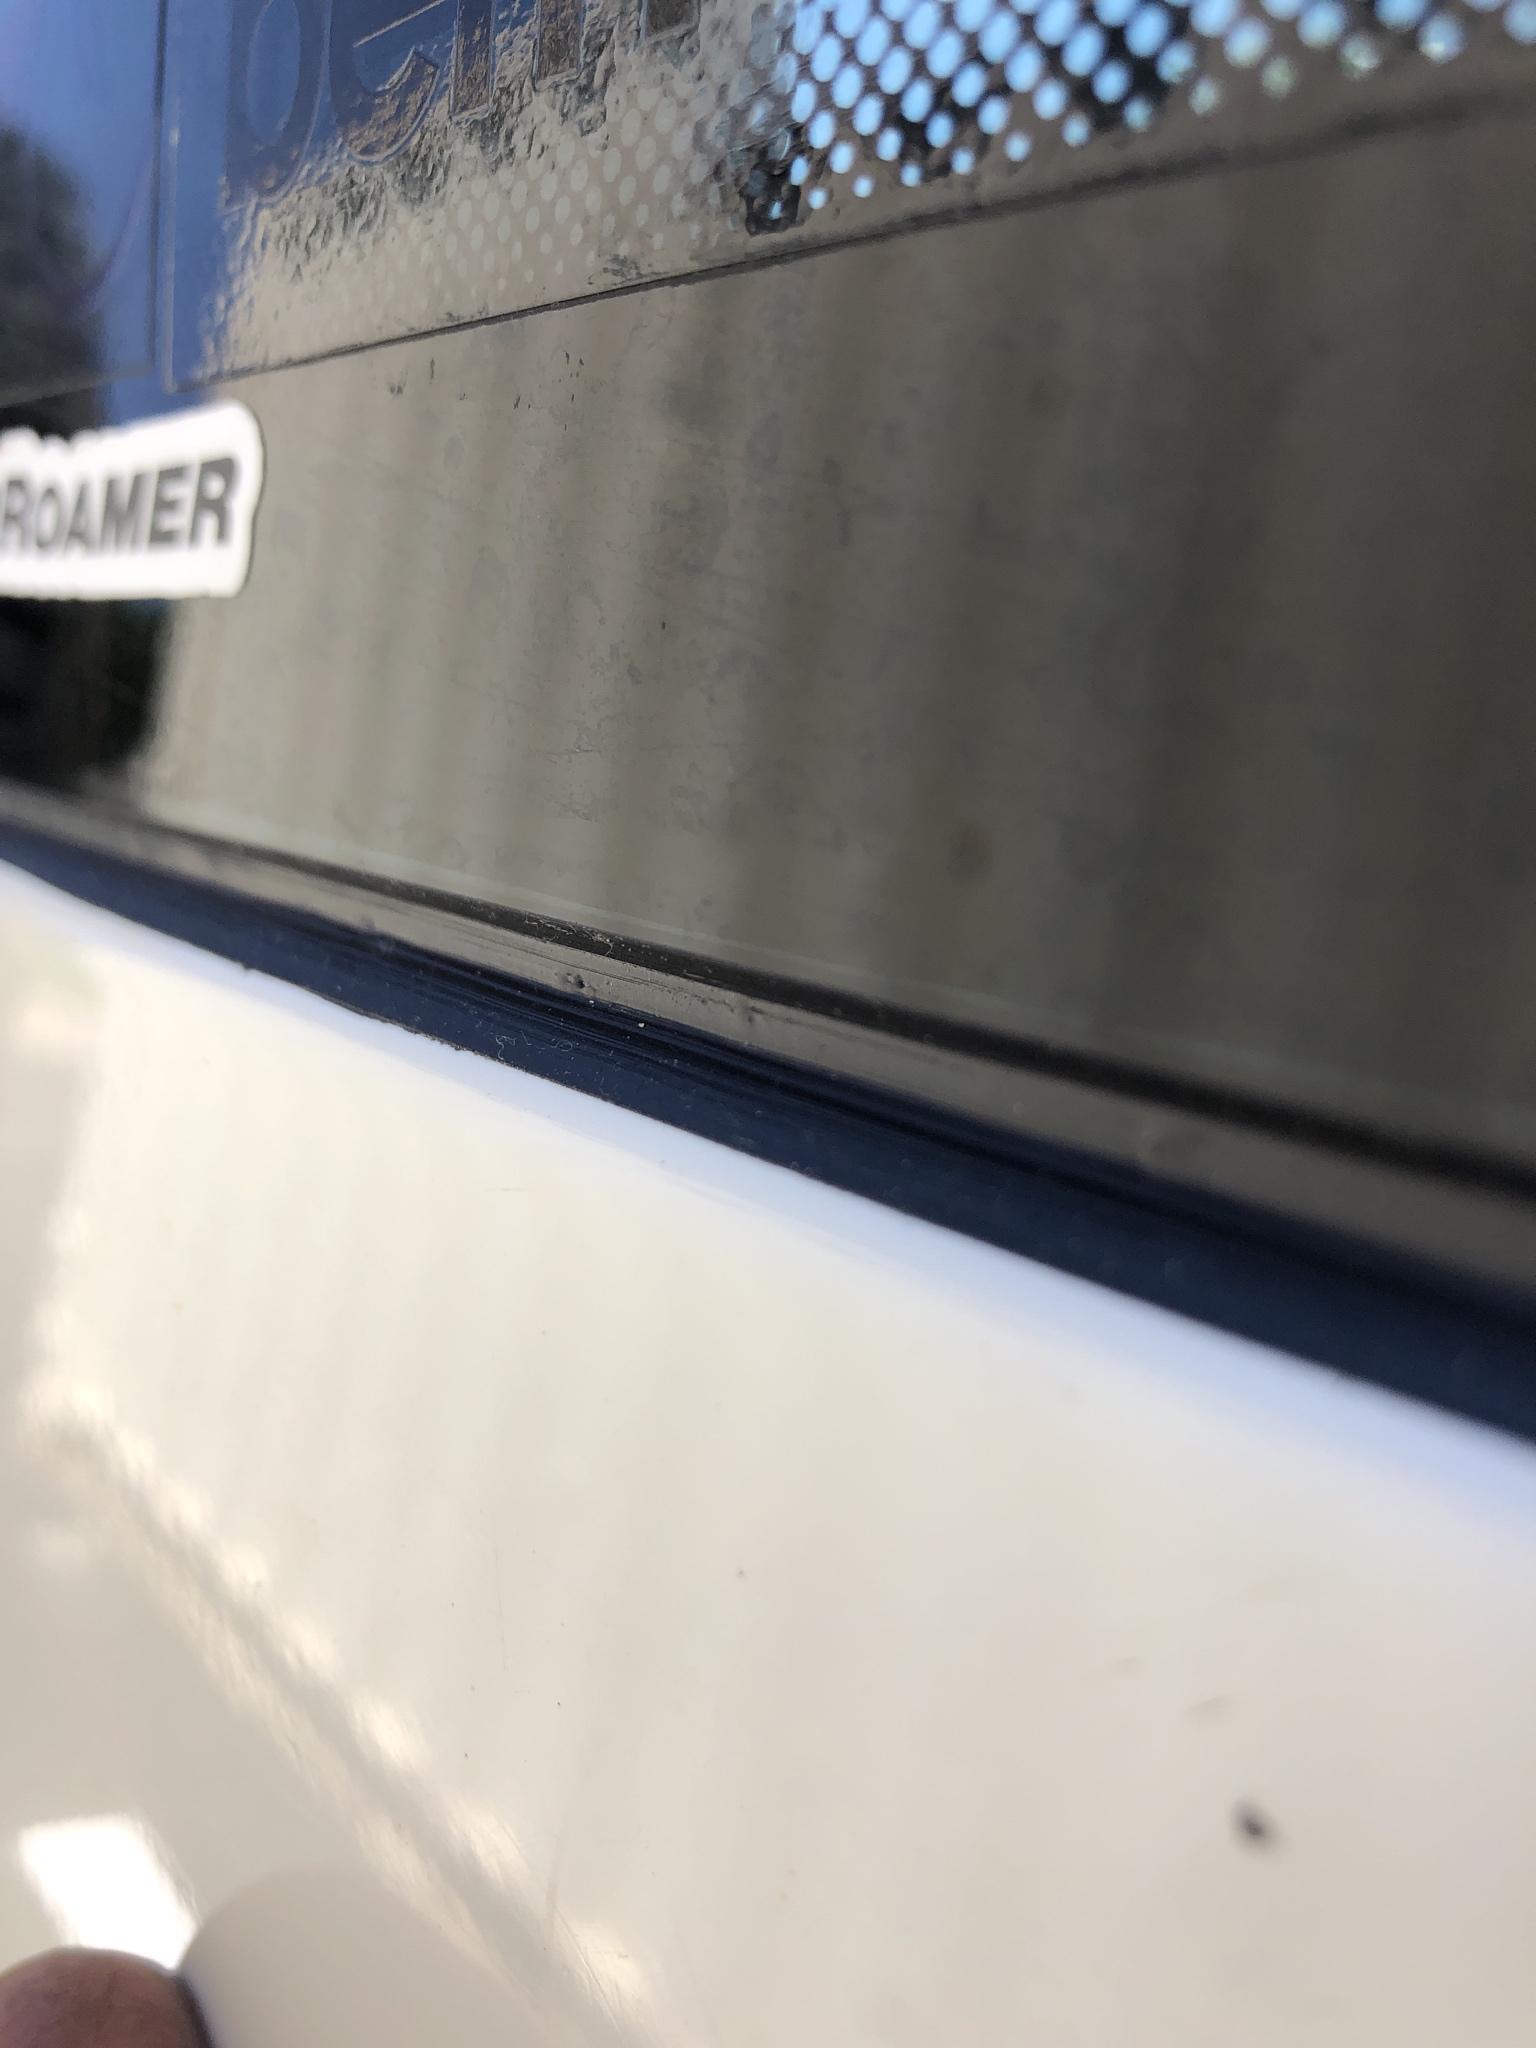
Right. I'm sure we all have seal on our windows that look like this:
So, what does one do about it? RESEAL!
Tools for the job:
Pinstripe tape
1" blue tape
Utility knife
ISR (its what we use at work for window / door seals)
Rubbing alki
Dish soap with water
Rags
Patience and Beer.

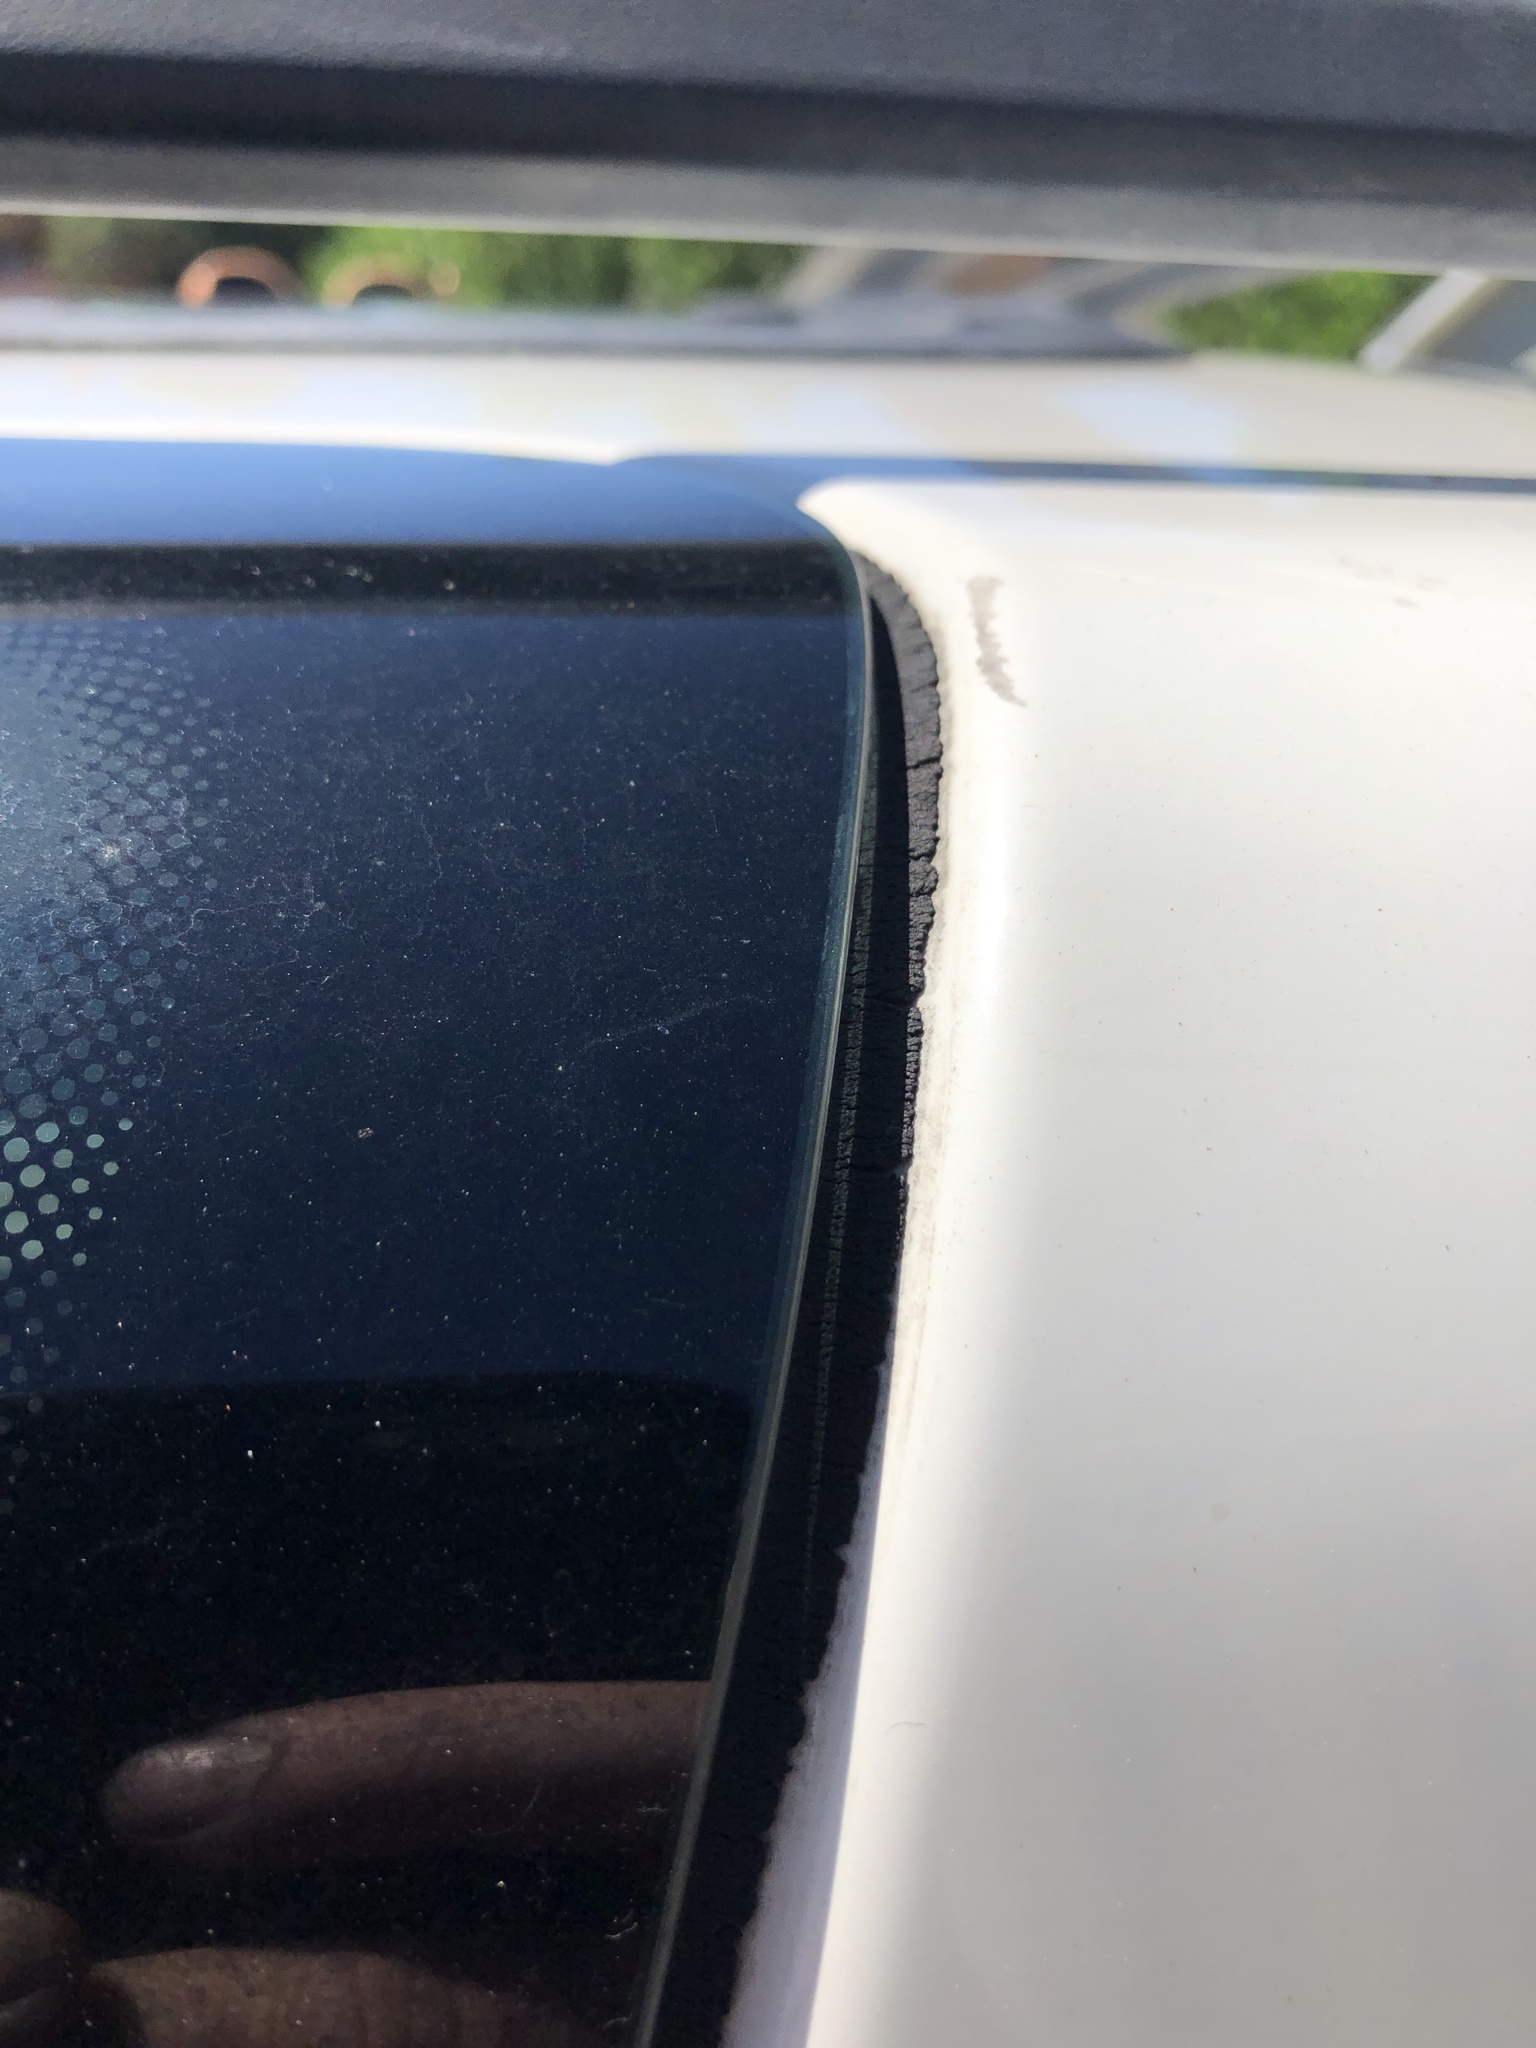
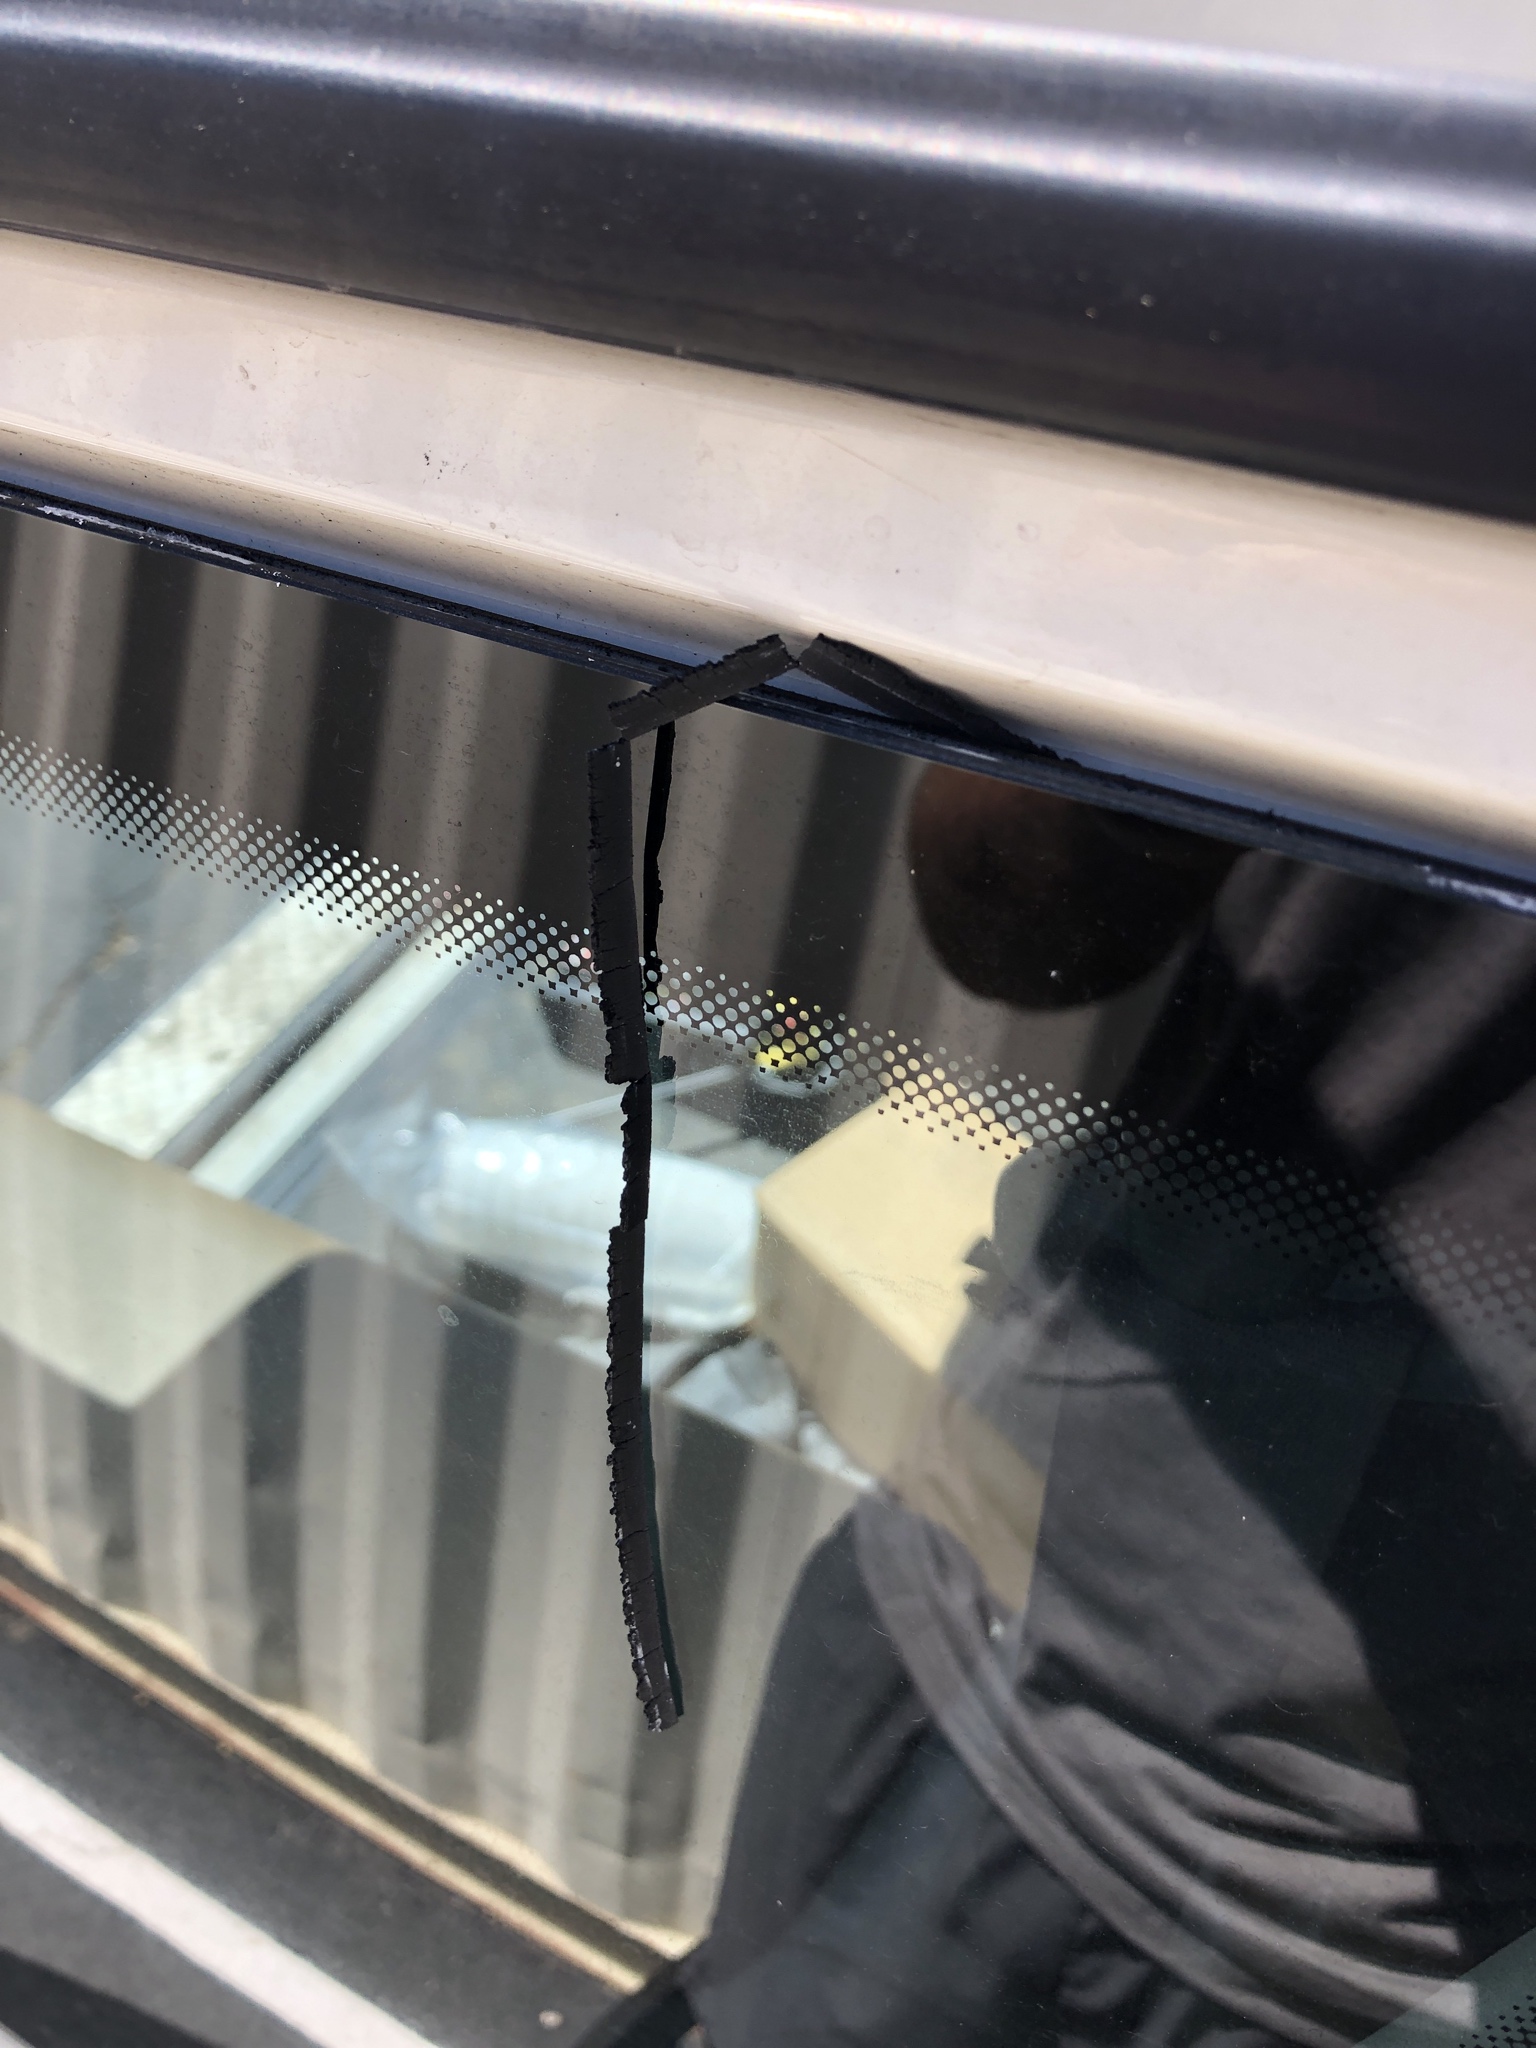
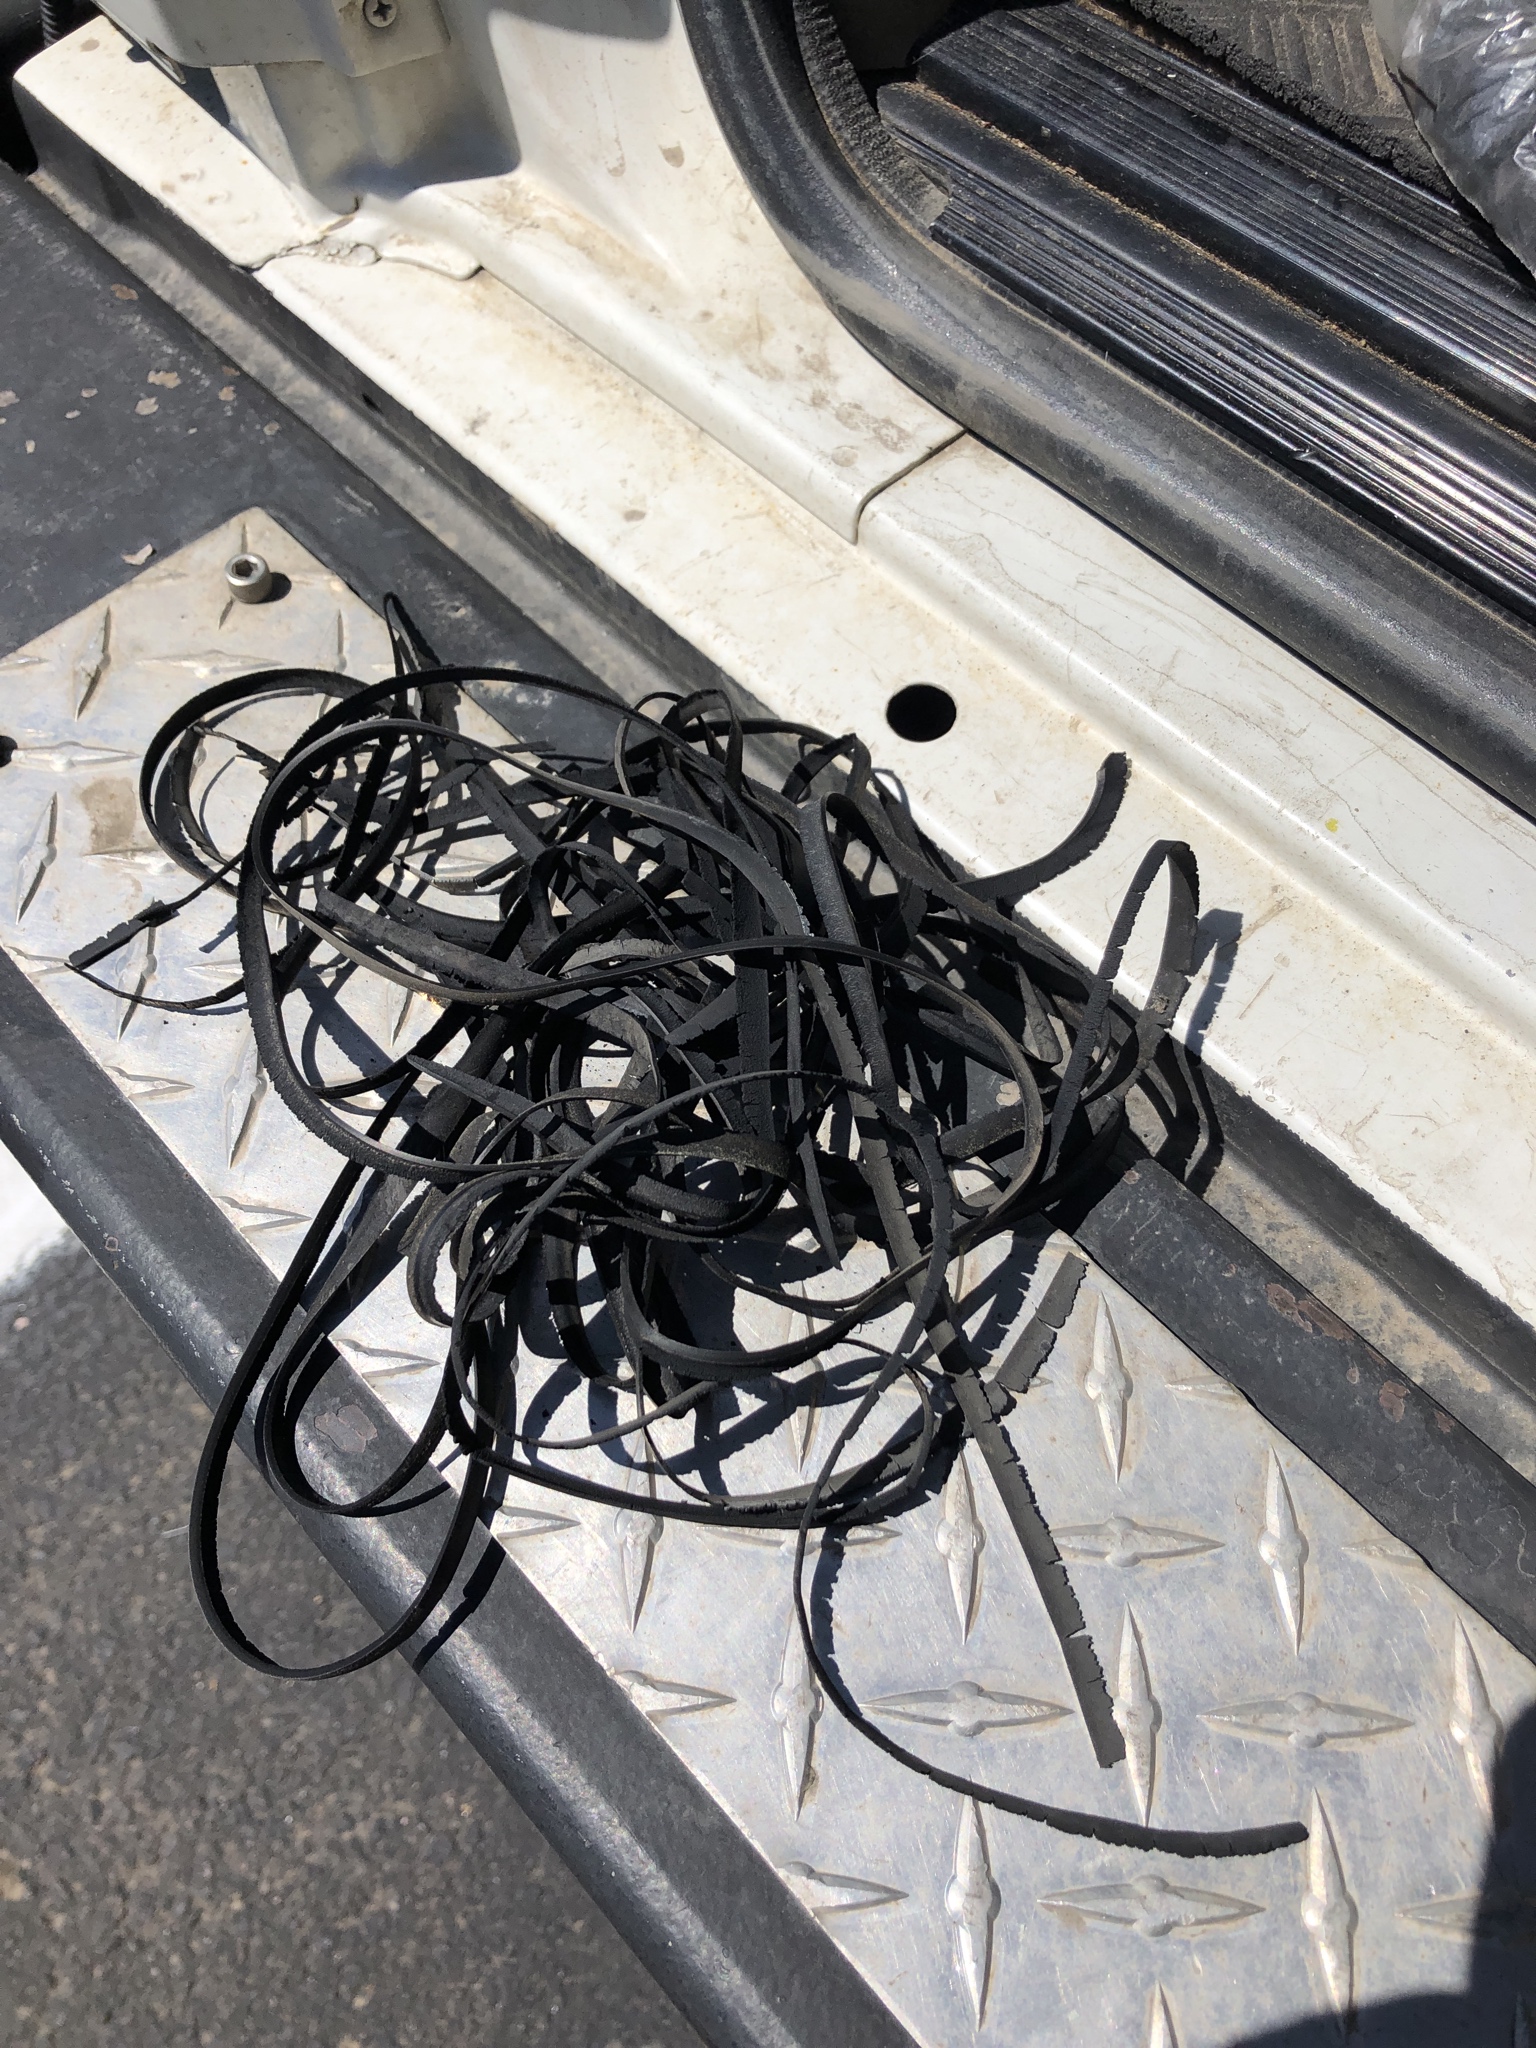
Step one: Cut out old seal or at least what is visible. I did not remove the windows to do this job. Rubber was very brittle / cracked and literally crumbled in my hands.
Step 2: Clean areas with rubbing alki and rags. Didn't take pictures because.. i was cleaning.
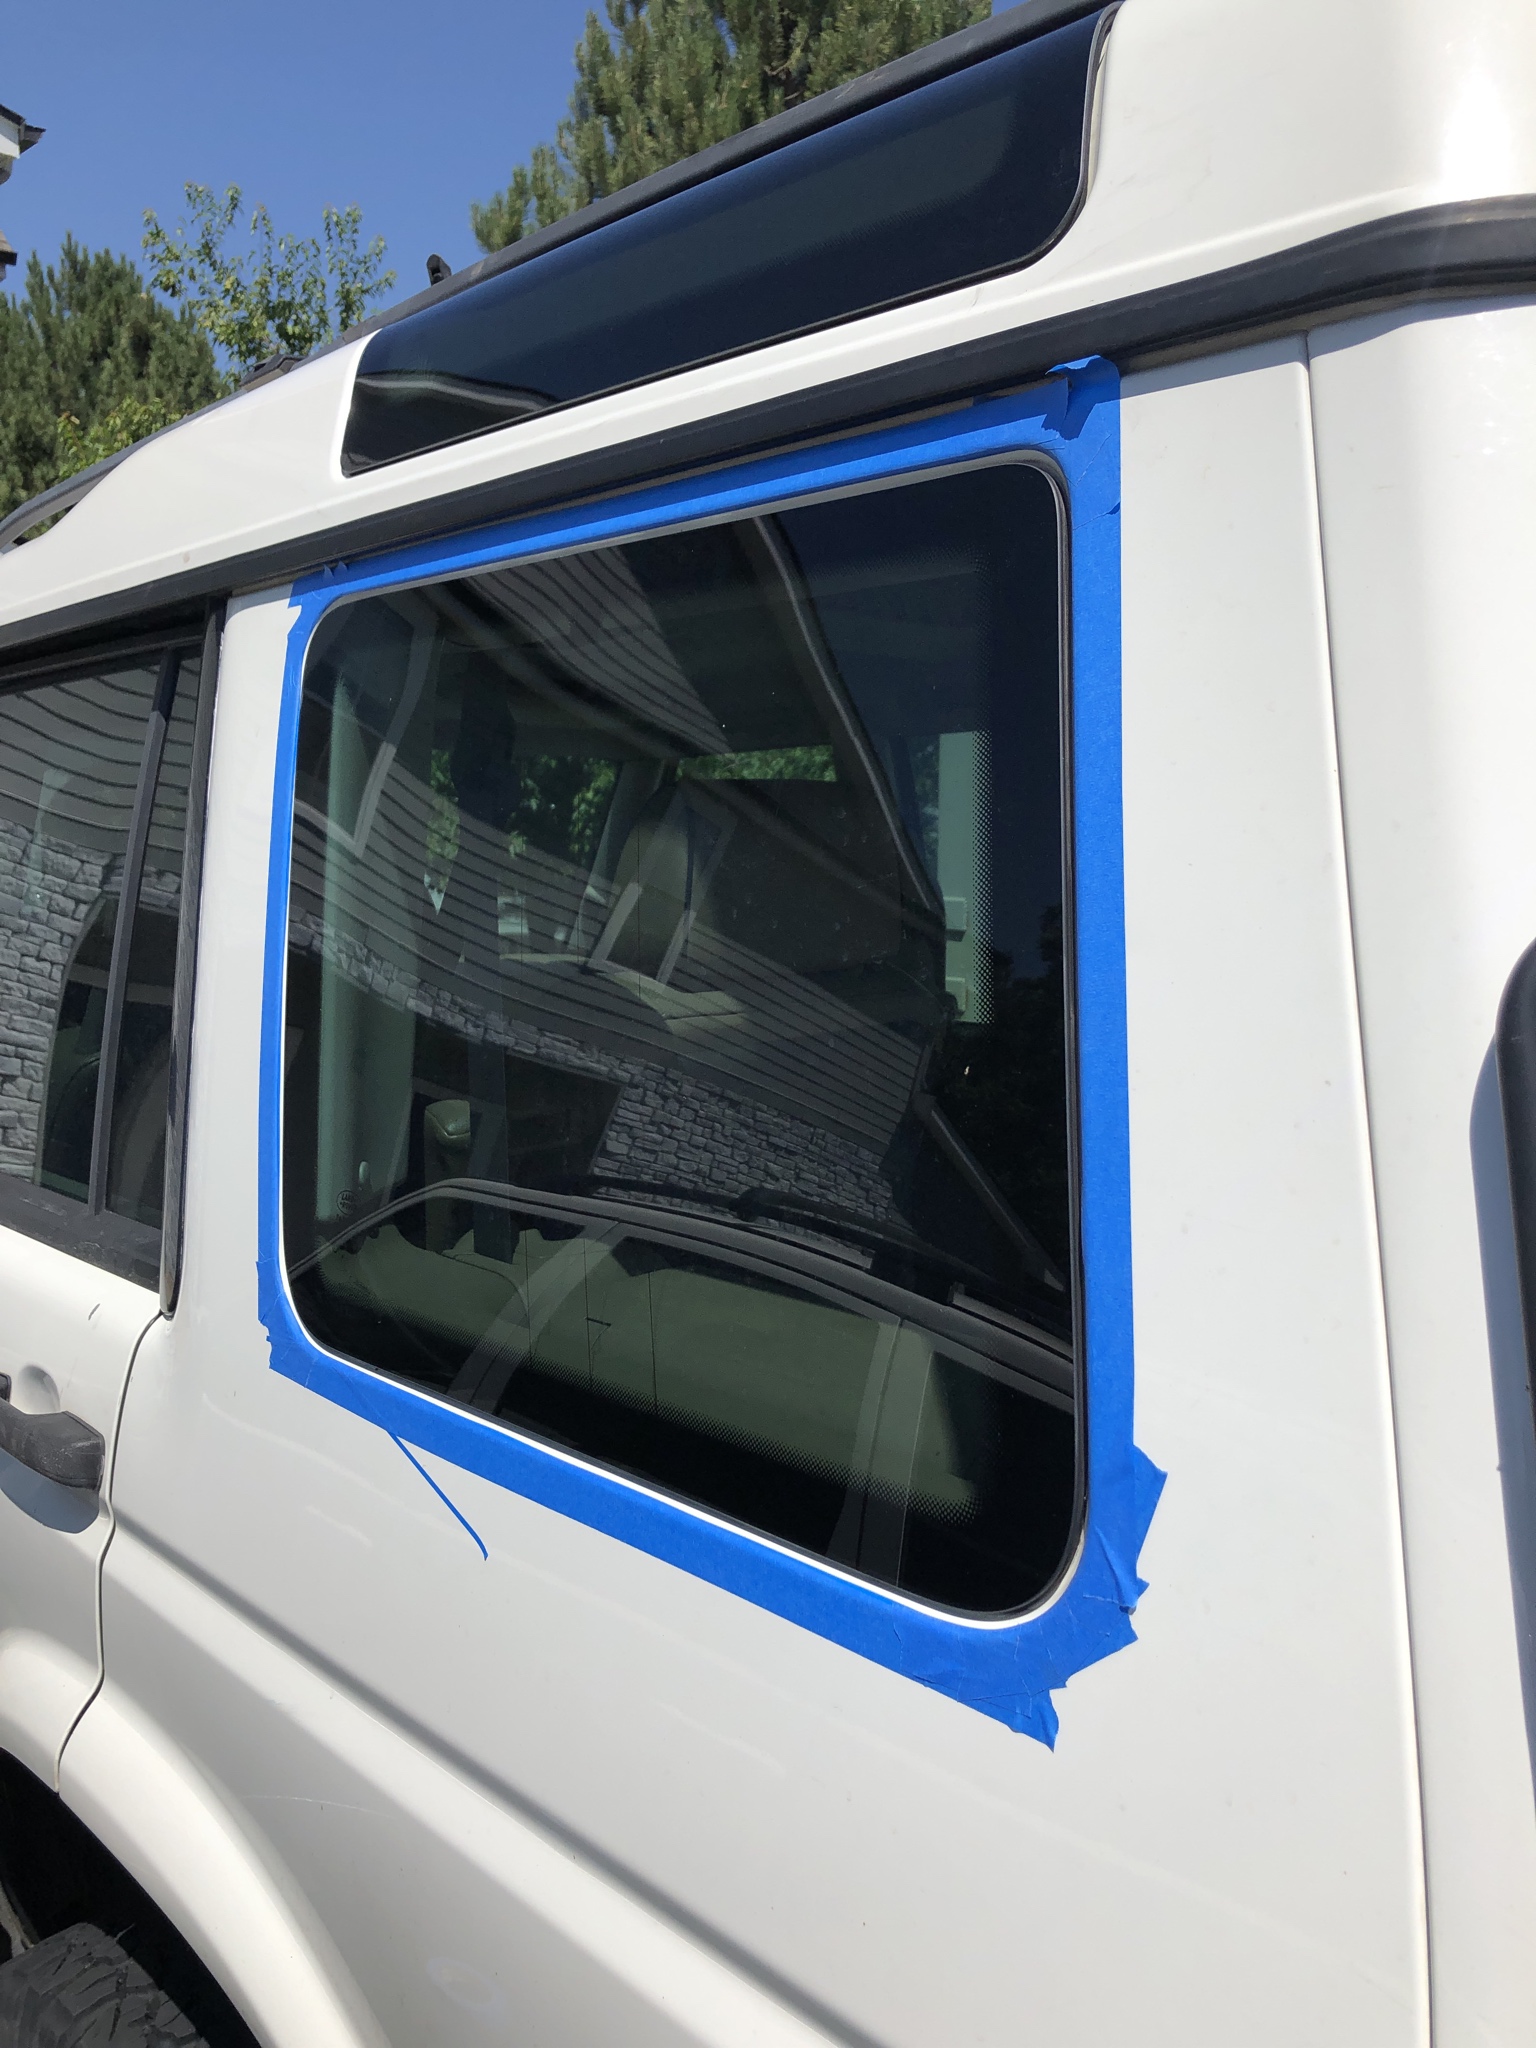
Step 3: Tape off area around windows, first with the pinstripe tape to establish the line on the body and then go over with the 1" tape to catch any squeeze out. Didn't tape off windows because I just scrapped off / cleaned off any ISR that got on windows when finished.
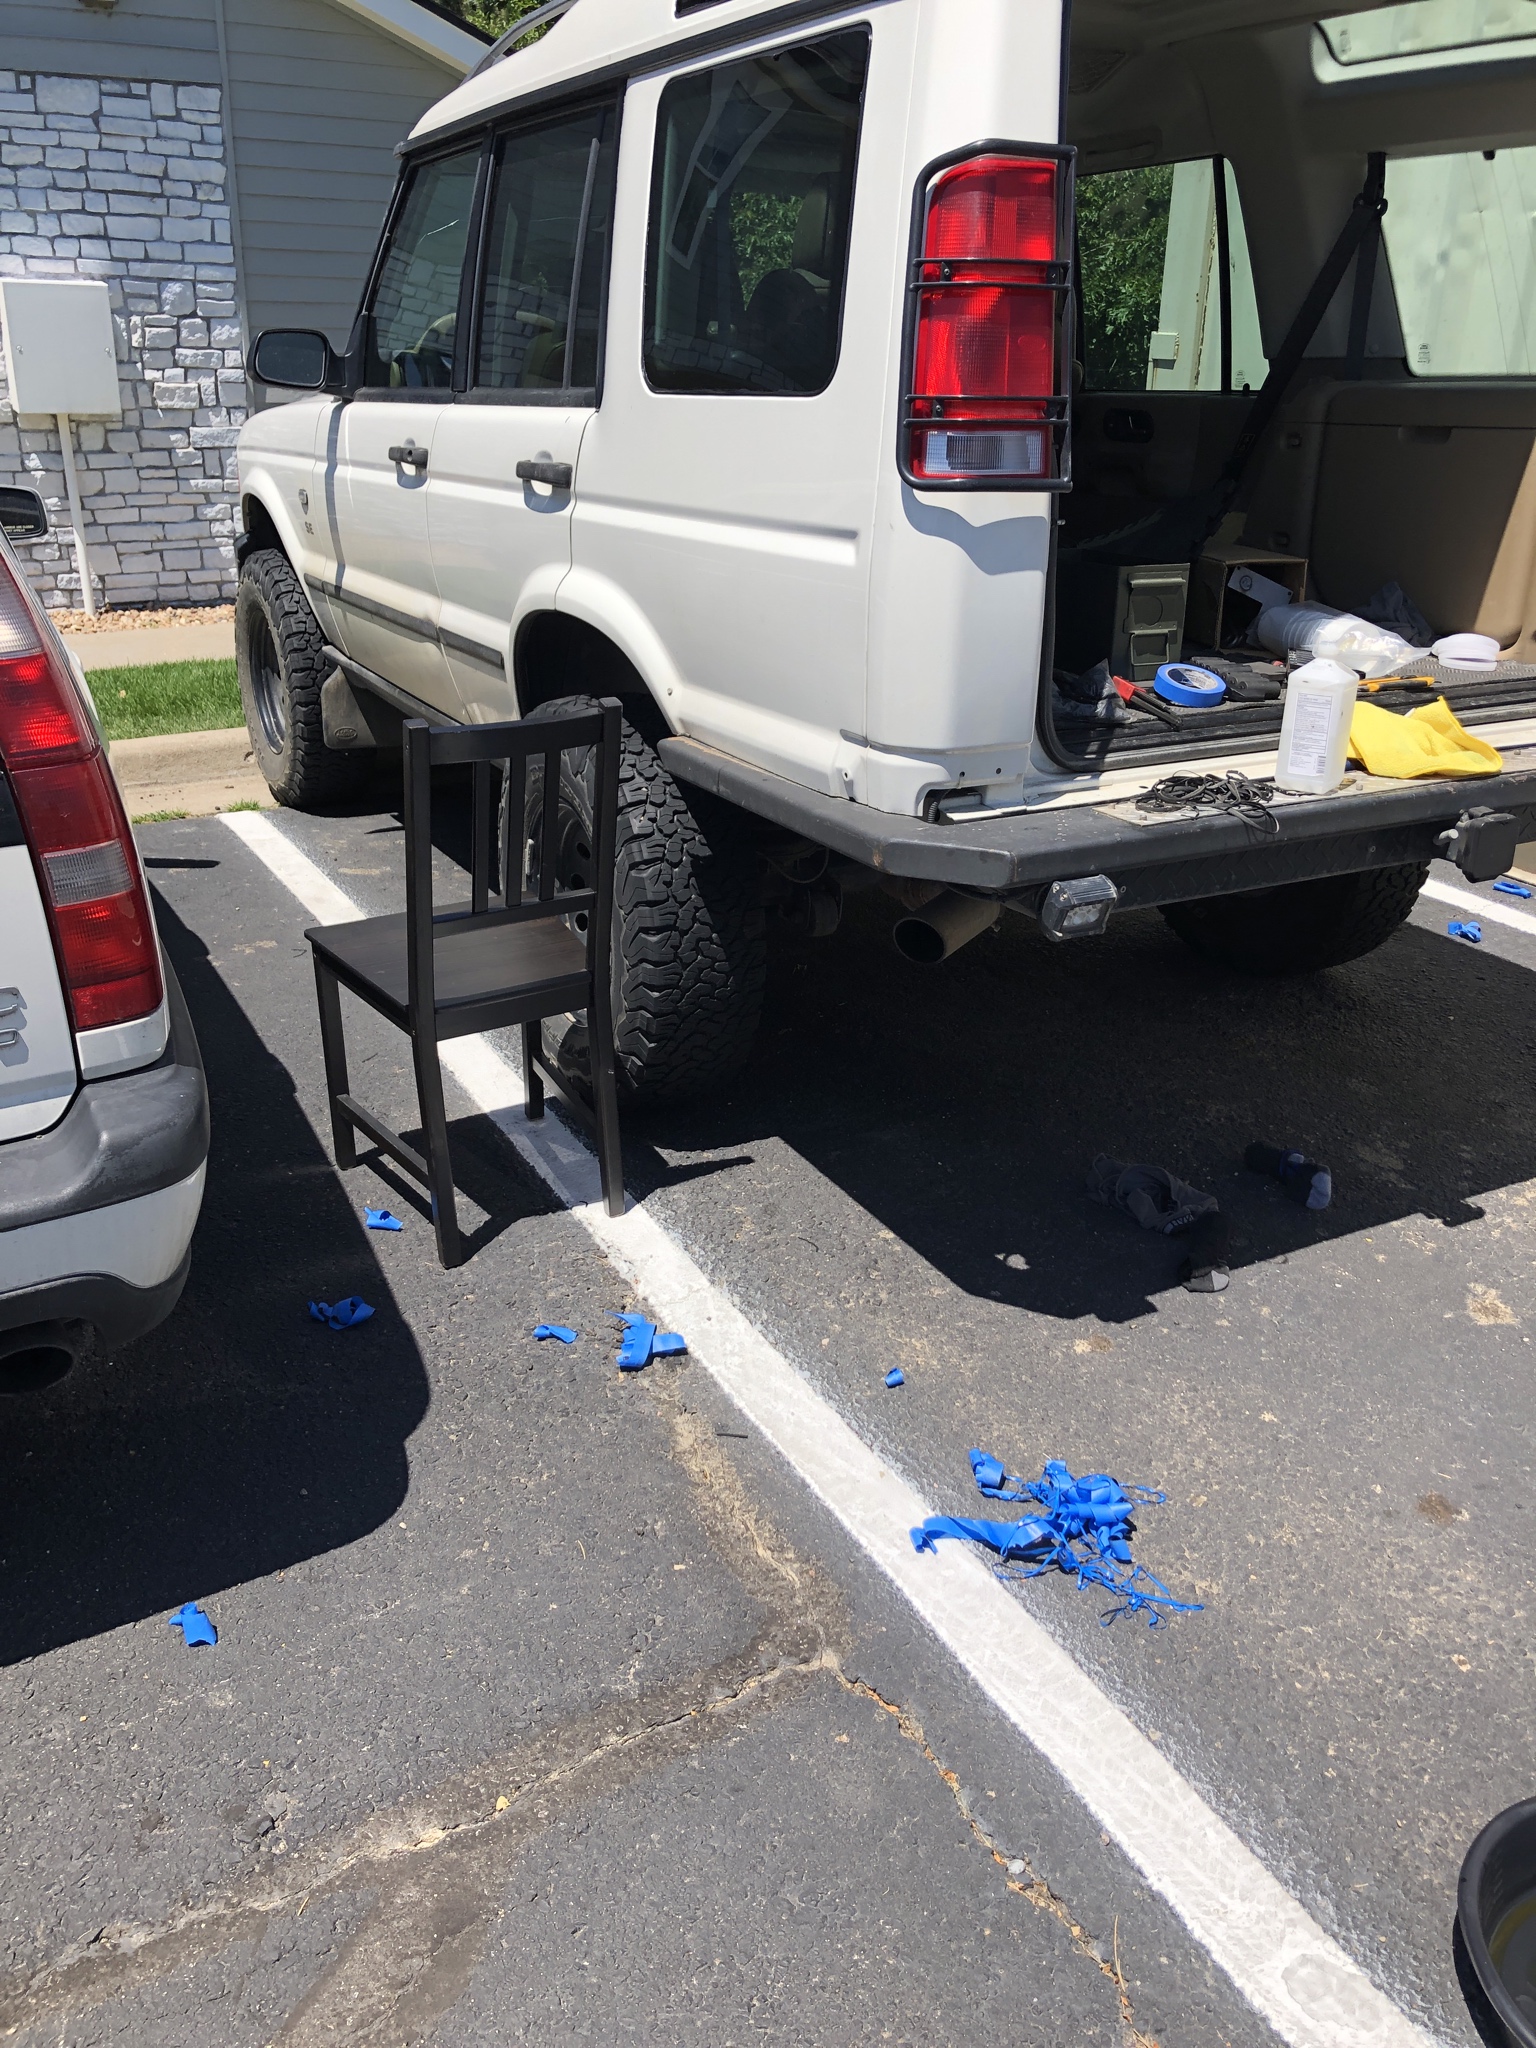
Step 4: Used the caulk gun loaded with ISR and fill the gap between the window and the body. No pics because.. the heat was working against me and i had to move quick before things started setting up. Used fingers and dish soap to create an ascetically pleasing looking seal. Pull tape and clean up any squeeze out with with rubbing alki and water for dish soap. Things get messy quickly
 f
f
That is all.
So, what does one do about it? RESEAL!
Tools for the job:
Pinstripe tape
1" blue tape
Utility knife
ISR (its what we use at work for window / door seals)
Rubbing alki
Dish soap with water
Rags
Patience and Beer.
Step one: Cut out old seal or at least what is visible. I did not remove the windows to do this job. Rubber was very brittle / cracked and literally crumbled in my hands.
Step 2: Clean areas with rubbing alki and rags. Didn't take pictures because.. i was cleaning.
Step 3: Tape off area around windows, first with the pinstripe tape to establish the line on the body and then go over with the 1" tape to catch any squeeze out. Didn't tape off windows because I just scrapped off / cleaned off any ISR that got on windows when finished.
Step 4: Used the caulk gun loaded with ISR and fill the gap between the window and the body. No pics because.. the heat was working against me and i had to move quick before things started setting up. Used fingers and dish soap to create an ascetically pleasing looking seal. Pull tape and clean up any squeeze out with with rubbing alki and water for dish soap. Things get messy quickly
fThat is all.


#7
07-23-2019 | 01:44 AM

Camel Trophy
Joined: May 2016
Posts: 3,967
Likes: 853
From: Britainistan, UK
Looks damn good!!!!
I haven't worried too much about my D2's rear window seals since they have seemed to hold up even though being cracked all to hell.
My old Disco 1 needed the widow seals replaced because they constantly cracked at the corners and let in water.
I haven't worried too much about my D2's rear window seals since they have seemed to hold up even though being cracked all to hell.
My old Disco 1 needed the widow seals replaced because they constantly cracked at the corners and let in water.
Last edited by JUKE179r; 07-23-2019 at 01:46 AM.
#8
07-23-2019 | 08:05 AM

#10
08-28-2019 | 03:11 PM

I've been wondering if using caulking for this application is really a good idea or not. My thought is this... sort of a basic homebuilding pillar... "if it can't dry, it'll die"... the thought in this application being that if the sealing on the roof of the alpine windows, for example, isn't perfect, water will start to creep past the caulking into some recess of the alpine window, and since it can't dry, will being to rust. That original foam-ish seal that's falling apart on all discos might be foam to allow some drying if water gets past it. That foam seal is just cosmetic. The real weather-sealing properties come from the cement the alpine window is bonded to the body with.
TLDR; I think caulking that joint is going to lead to accelerated corrosion since water that will certainly get past the caulking can't dry.
TLDR; I think caulking that joint is going to lead to accelerated corrosion since water that will certainly get past the caulking can't dry.