
ScreamingLife's OM617 Swap Build Thread.
#11
 08-11-2013, 11:56 PM

I honestly didn't expect all the positive feedback I have received so far! I really do appreciate it!
Anyways, as previously mentioned, I didn't plan on doing much of anything to the engine today as I had other plans. However I did get a chance to clean up, sand down, prime up and [start to] paint some of the items I removed from the engine.
I started by getting as much grime, dust and dirt off the parts by cleaning them off with a mixture of SeaFoam, Simple Green and Purple Power that I came up with from my time on board a submarine (although other stuff usually had to be substituted for the SeaFoam). My mixture cut through just about all the easy grime, and with a bit of scrubbing and WD40 I got everything pretty well cleaned up.
Refer to the my previous post to compare how dirty these items were! I meant to take a picture of them removed and still dirty, but I completely forgot.
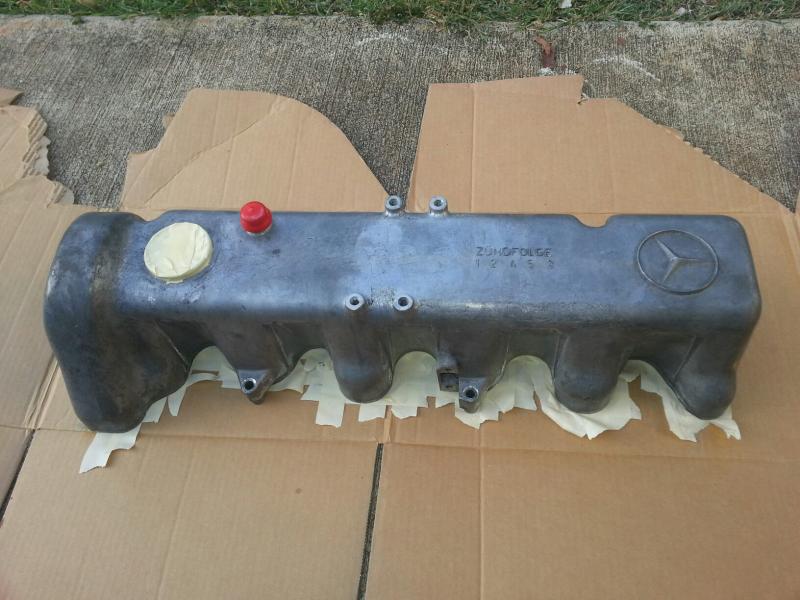
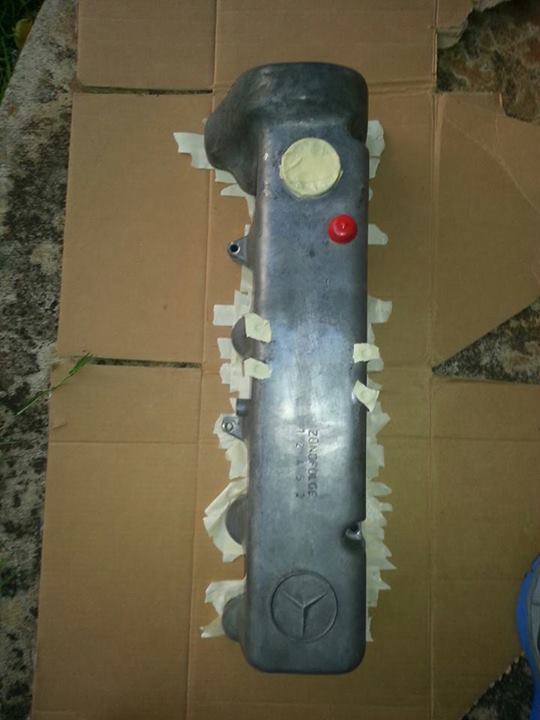
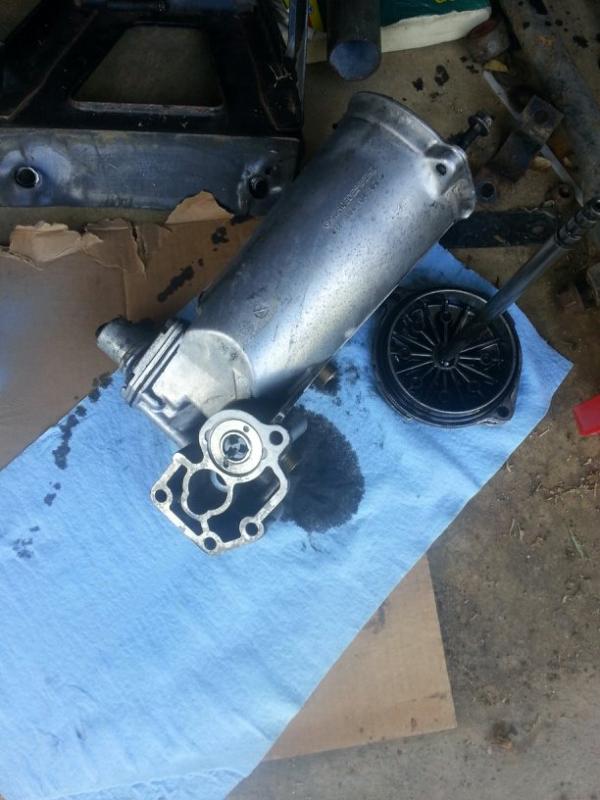
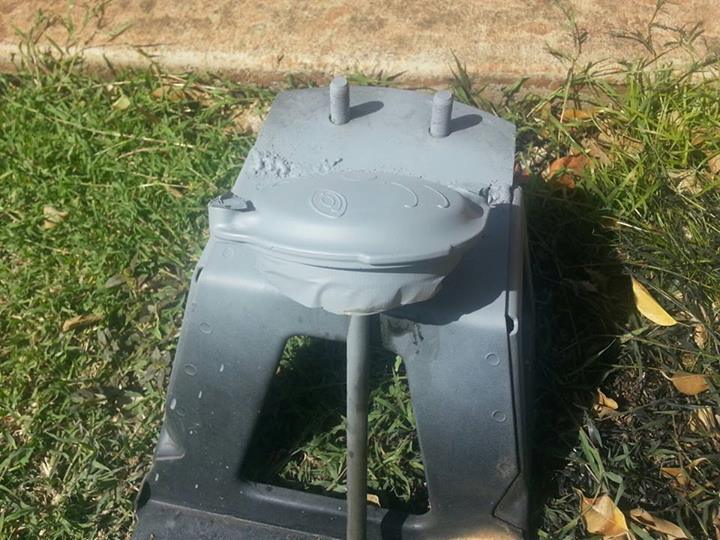
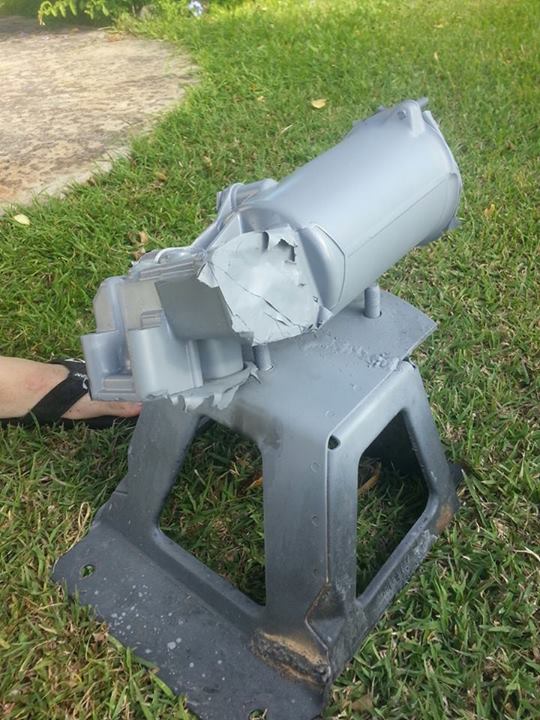
As you can see, they are pretty well cleaned up, but some grime still remained, so I got out my steel toothbrush and went to town. The hardest part was the nooks and crannies of the Oil Filter Housing. The valve cover was incredibly easy to clean up. Laid down a coat of of Dupli-Color engine primer. It went on really easy and laid down pretty flat. Had a few areas of build up, but once it was dry I took some 1000 grit sand paper to it.
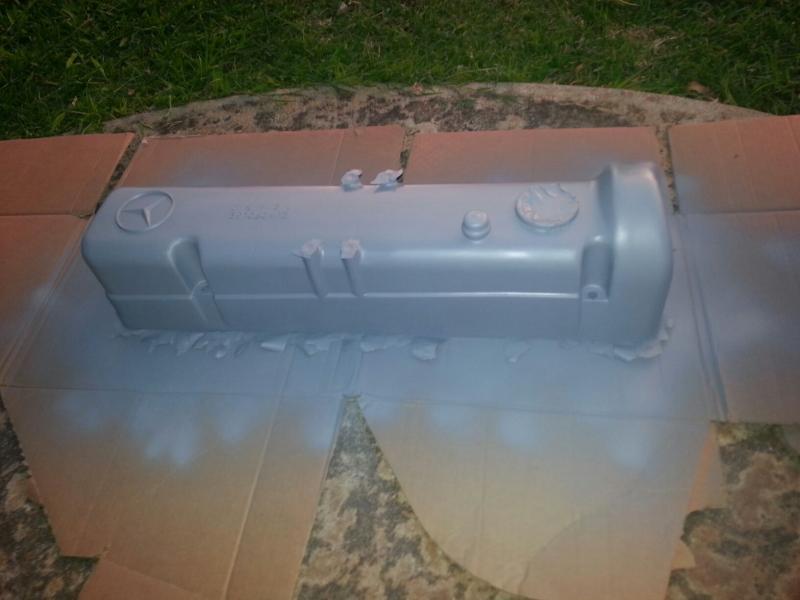

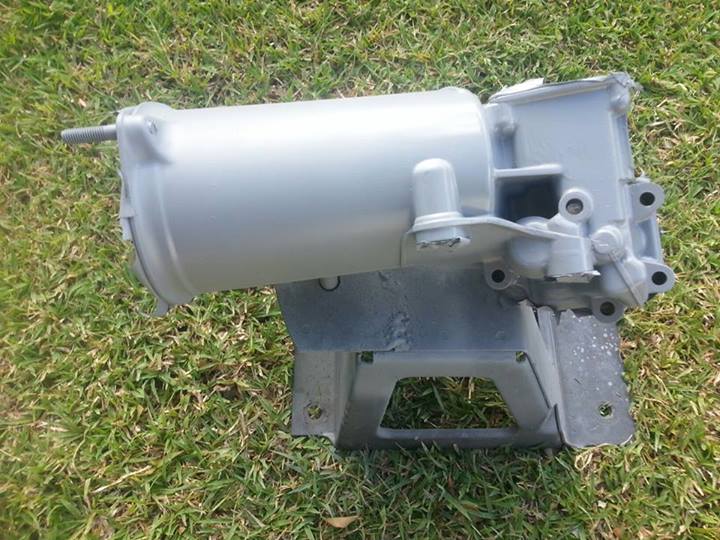
And I also had some extra silver laying around from a previous project. So I decided to check out how it would look on the valve cover cap. It actually turned out well enough that I think I'm going to keep the valve cover this way for the final install.

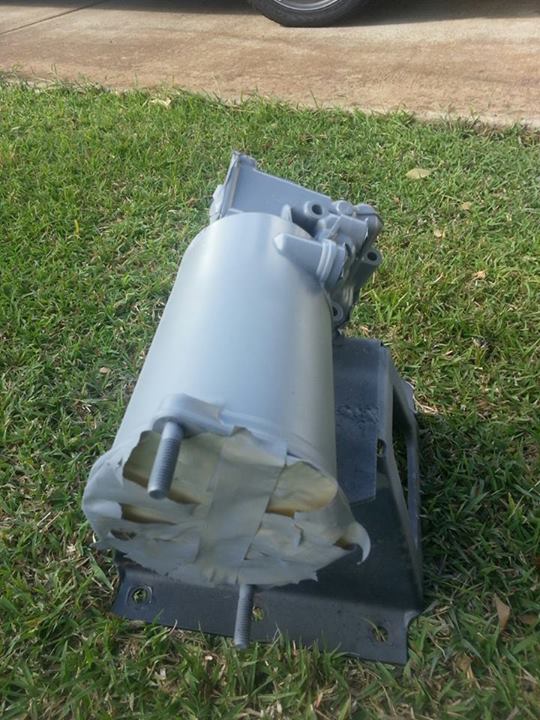
I also plan on painting the oil filter housing body the same color, but I wanted to have sufficient and the place I normally get paint from is closed on Sunday, so I was left with everything being primer-ed. The valve cover is getting British Racing Green, as well as the oil filter housing cover. That should take place later this week when my order for that color comes in.
Sometime during this week we will be taking the intake and and exhaust manifolds off, and doing the same process for them as well with ultra high temp (1700*F+) black paint. I don't think there is any plans for primer on those.
Anyways, that's it for now. Thanks again for the interest you guys have shown.
Anyways, as previously mentioned, I didn't plan on doing much of anything to the engine today as I had other plans. However I did get a chance to clean up, sand down, prime up and [start to] paint some of the items I removed from the engine.
I started by getting as much grime, dust and dirt off the parts by cleaning them off with a mixture of SeaFoam, Simple Green and Purple Power that I came up with from my time on board a submarine (although other stuff usually had to be substituted for the SeaFoam). My mixture cut through just about all the easy grime, and with a bit of scrubbing and WD40 I got everything pretty well cleaned up.
Refer to the my previous post to compare how dirty these items were! I meant to take a picture of them removed and still dirty, but I completely forgot.
As you can see, they are pretty well cleaned up, but some grime still remained, so I got out my steel toothbrush and went to town. The hardest part was the nooks and crannies of the Oil Filter Housing. The valve cover was incredibly easy to clean up. Laid down a coat of of Dupli-Color engine primer. It went on really easy and laid down pretty flat. Had a few areas of build up, but once it was dry I took some 1000 grit sand paper to it.
And I also had some extra silver laying around from a previous project. So I decided to check out how it would look on the valve cover cap. It actually turned out well enough that I think I'm going to keep the valve cover this way for the final install.
I also plan on painting the oil filter housing body the same color, but I wanted to have sufficient and the place I normally get paint from is closed on Sunday, so I was left with everything being primer-ed. The valve cover is getting British Racing Green, as well as the oil filter housing cover. That should take place later this week when my order for that color comes in.
Sometime during this week we will be taking the intake and and exhaust manifolds off, and doing the same process for them as well with ultra high temp (1700*F+) black paint. I don't think there is any plans for primer on those.
Anyways, that's it for now. Thanks again for the interest you guys have shown.
#12
08-15-2013, 03:39 AM
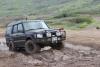
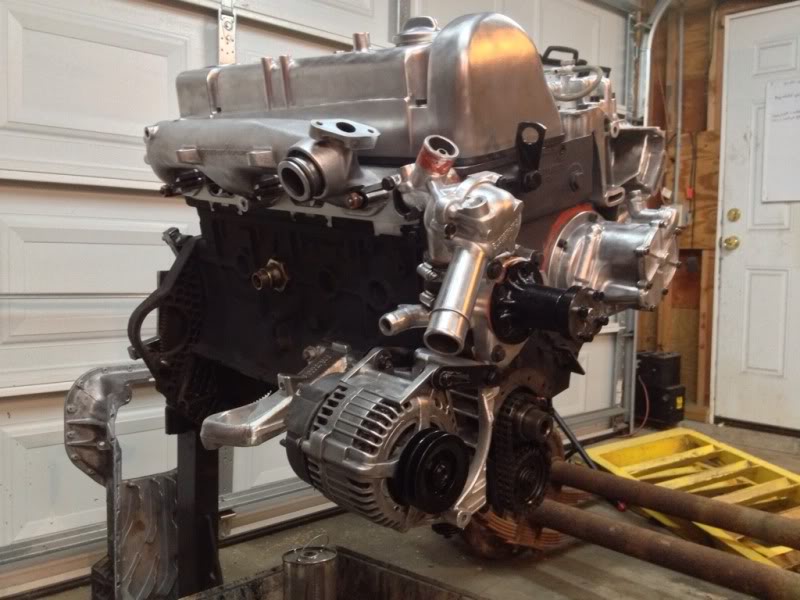
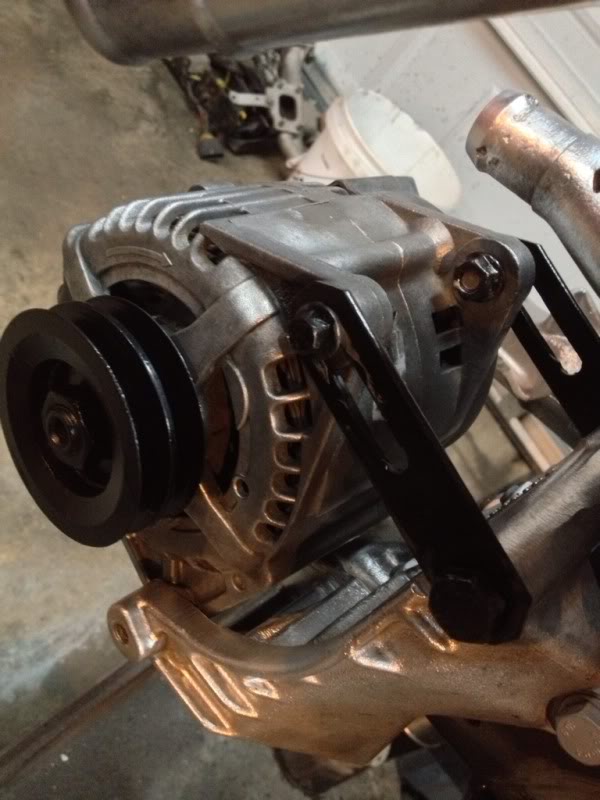
Just a quick update on the progress: Mostly just bought parts and made decisions on what we are going to do. Ended up ordering some 1.5" Spacers from ToddCo to help make sure the oil sump clears the front pumpkin at full compression. Also got a few parts (mostly gaskets and such) from PelicanParts.com including a new oil pan so we have clean slate to work with when we cut into and modify it. Also starting making brackets to allow use of the Land Rover alternator. These following pictures are from Jarek of NJLR Club and all credit goes to him. We are going to be doing a similar setup based on these pictures:
Also went out on a limb and went to a local Pick n'Pull to find a vehicle besides the D2 that had the ZF4HP24 to look for a transmission dipstick as some of the BMW and Jags that were fit with the same tranny had it mounted. Since we will be doing an overhaul on the tranny while its out, it may be worth while to try mounting a dipstick while we are at it.
Also ordered an remote oil filter adapter plate and oil cooler lines from MercedesDiesel4x4.com. I was originally going to use the stock oil filter, but don;t think it will easily fit up against the firewall on the D2. Even if it does, it may be very hard to get oil filter in and out.
Thats about it for now. It will be quiet until next monday or tuesday when we pull the D2 engine and tranny. Will keep updating as we move along!
Last edited by ScreamingLife; 08-16-2013 at 03:17 AM.
The following users liked this post:
Ephry73 (08-11-2021)


#16
08-16-2013, 03:22 AM
I don't think they will spike up by any means. I mean I bought a whole car for 800 dollars and OM617 into Toyota swaps are a huge deal here. You can get an OM617 equipped 300D or 300SD as regular running car for about 2 grand. I was lucky enough to find one with such low miles!

#19
08-20-2013, 12:49 AM
Dropped the Disco off at the shop after work today. The engine and transmission will be removed tomorrow. The engine is going to be picked apart, see how bad the damage is. We will take the bellhousing off and start fabricating the adapter plate before sending the tranny off across the street to get it flushed and checked over, but there shouldn't be any issues. We plan on putting some Royal Purple back into it once we are done.
Also got some 1.5" spacers in from Lucky8 as well as some gaskets and a new oil pan from Pelican Parts. We are still waiting on a few more suspension parts (HD coils, extended brake and ABS lines, new rear shocks) as well as a few custom parts that are still getting fabbed up right now.
Anyways, I'll upload some more pictures as I get a chance, more than likely it won't be until Wednesday evening.
#20
08-20-2013, 07:02 AM
Dropped the Disco off at the shop after work today. The engine and transmission will be removed tomorrow. The engine is going to be picked apart, see how bad the damage is. We will take the bellhousing off and start fabricating the adapter plate before sending the tranny off across the street to get it flushed and checked over, but there shouldn't be any issues. We plan on putting some Royal Purple back into it once we are done.
Also got some 1.5" spacers in from Lucky8 as well as some gaskets and a new oil pan from Pelican Parts. We are still waiting on a few more suspension parts (HD coils, extended brake and ABS lines, new rear shocks) as well as a few custom parts that are still getting fabbed up right now.
Anyways, I'll upload some more pictures as I get a chance, more than likely it won't be until Wednesday evening.
Also got some 1.5" spacers in from Lucky8 as well as some gaskets and a new oil pan from Pelican Parts. We are still waiting on a few more suspension parts (HD coils, extended brake and ABS lines, new rear shocks) as well as a few custom parts that are still getting fabbed up right now.
Anyways, I'll upload some more pictures as I get a chance, more than likely it won't be until Wednesday evening.
 Keep feeding us updates, we're hungry.