
Snorkel
#11
 11-19-2012, 09:27 PM

#12
11-19-2012, 09:34 PM

Mudding
Join Date: Feb 2012
Location: Central North Dakota
Posts: 218
Likes: 0
Received 0 Likes
on
0 Posts
Here it is with just the roof rack on.
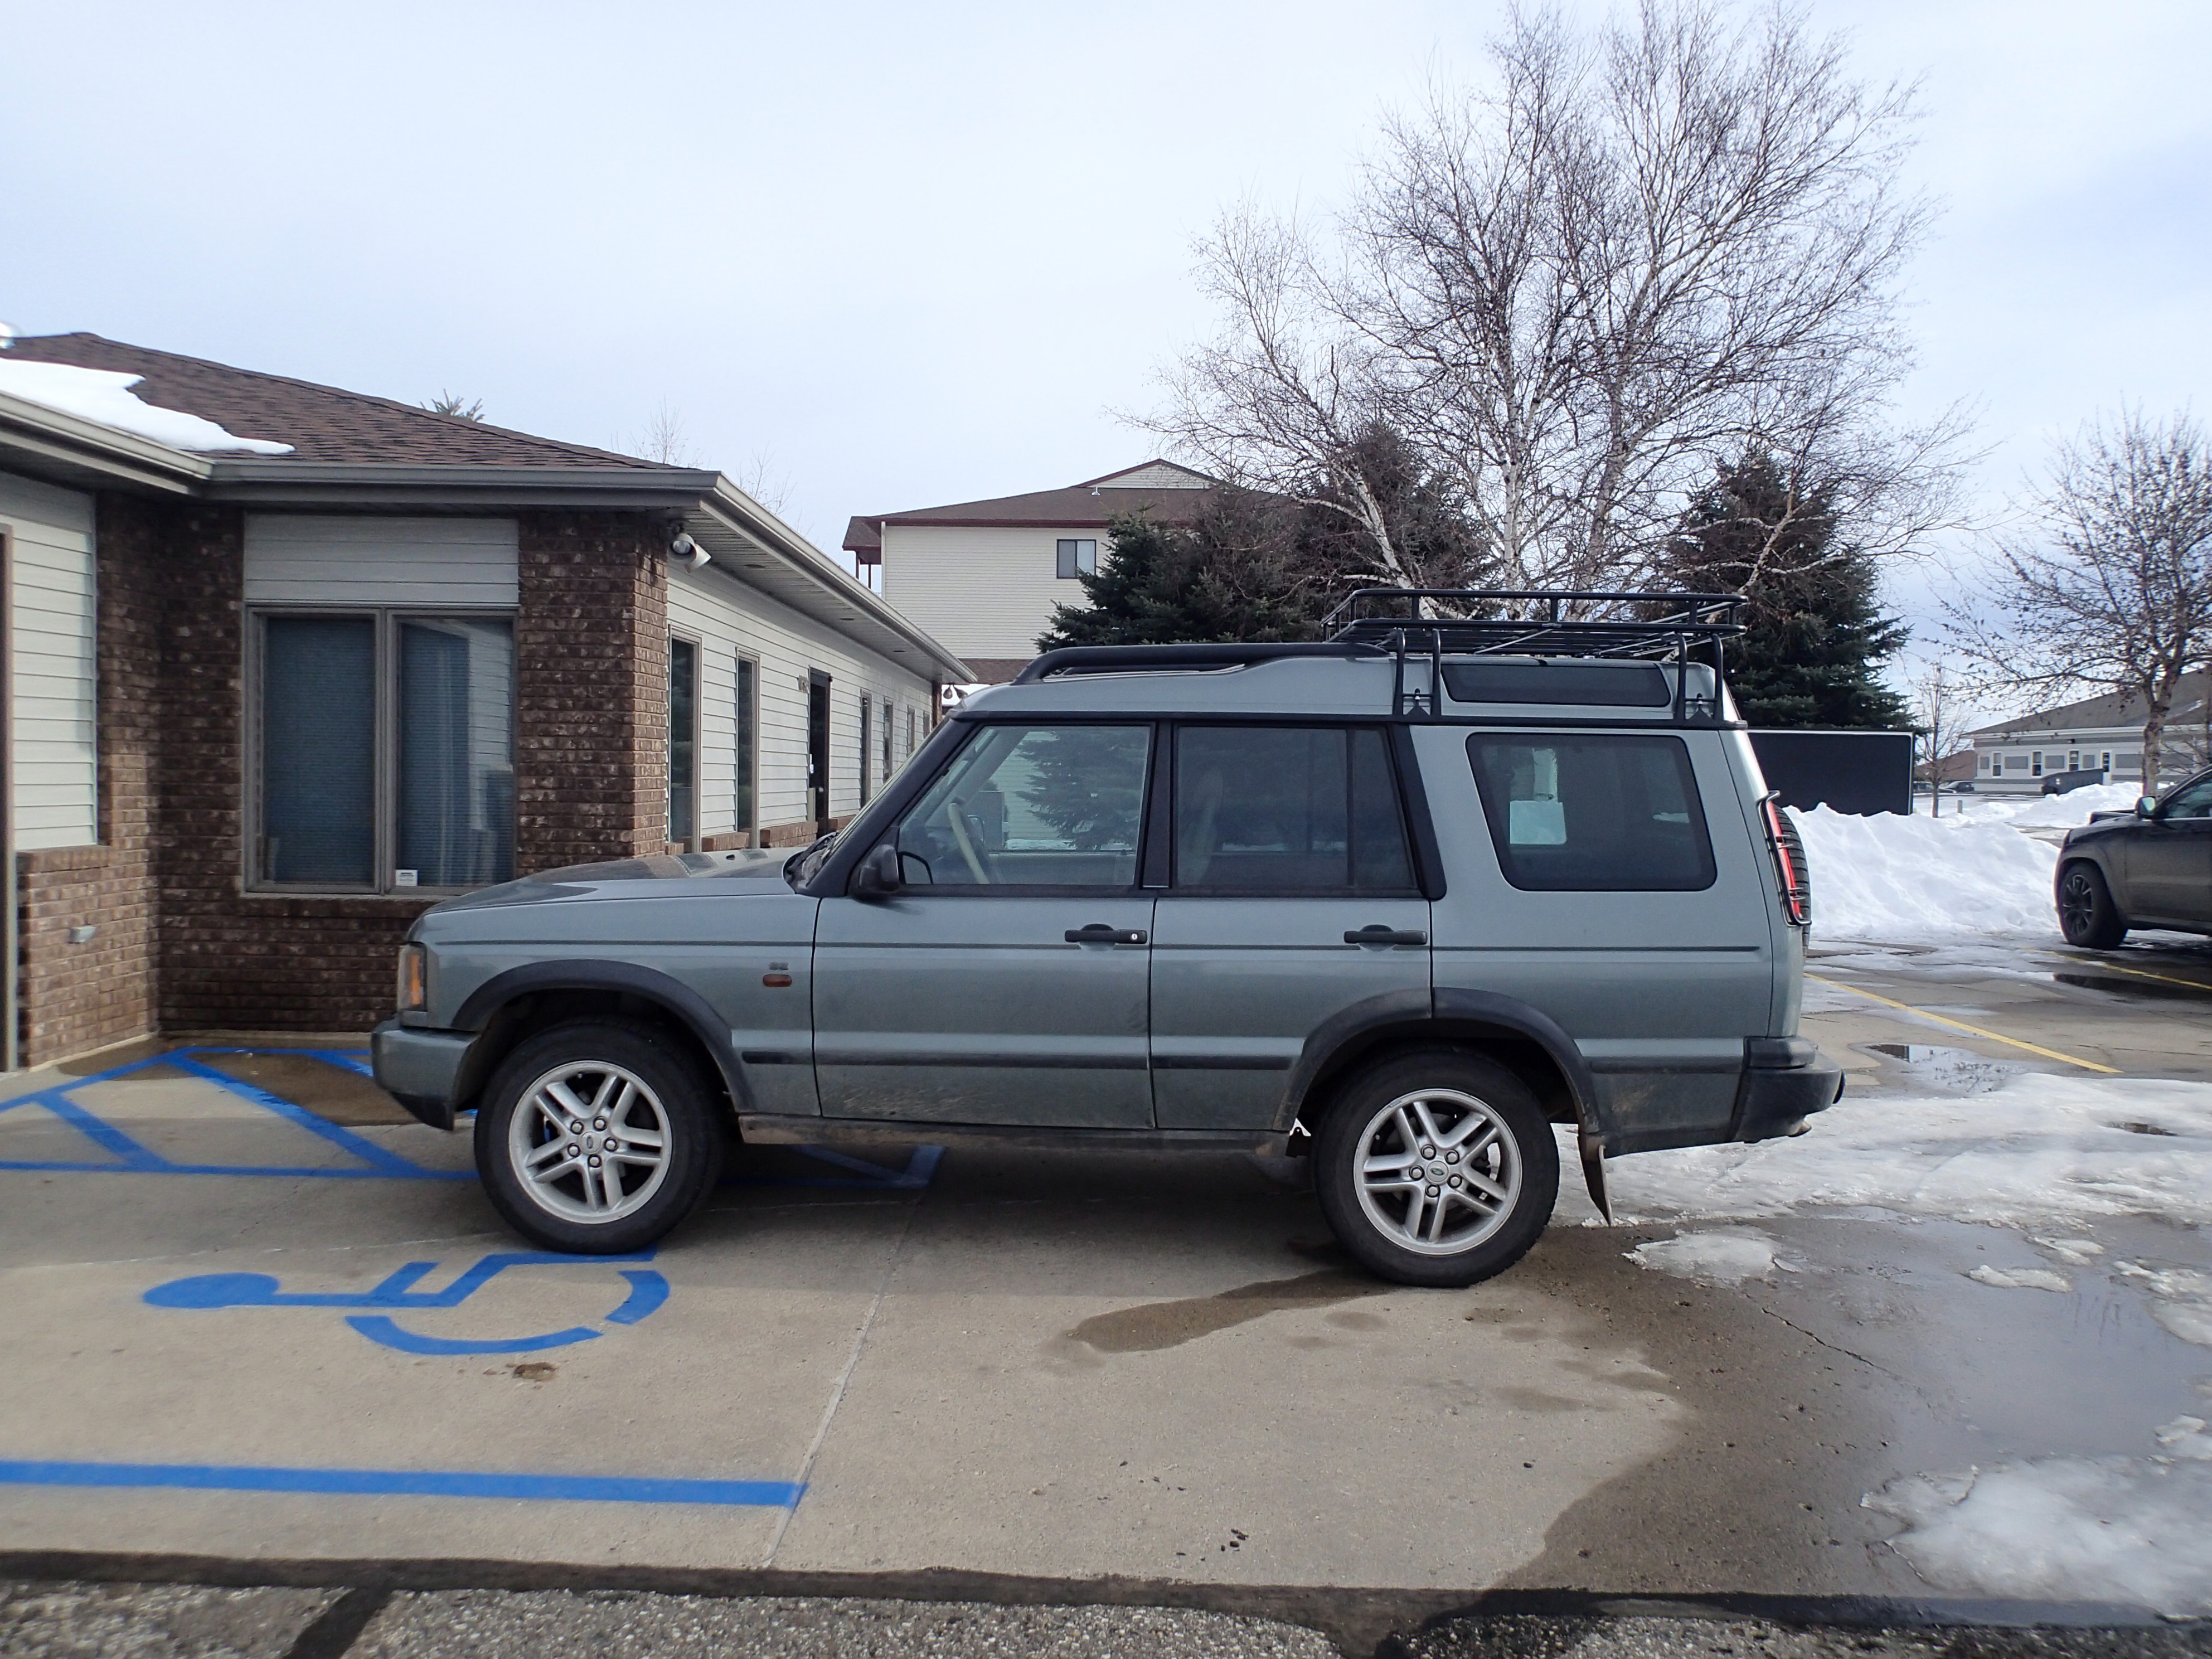
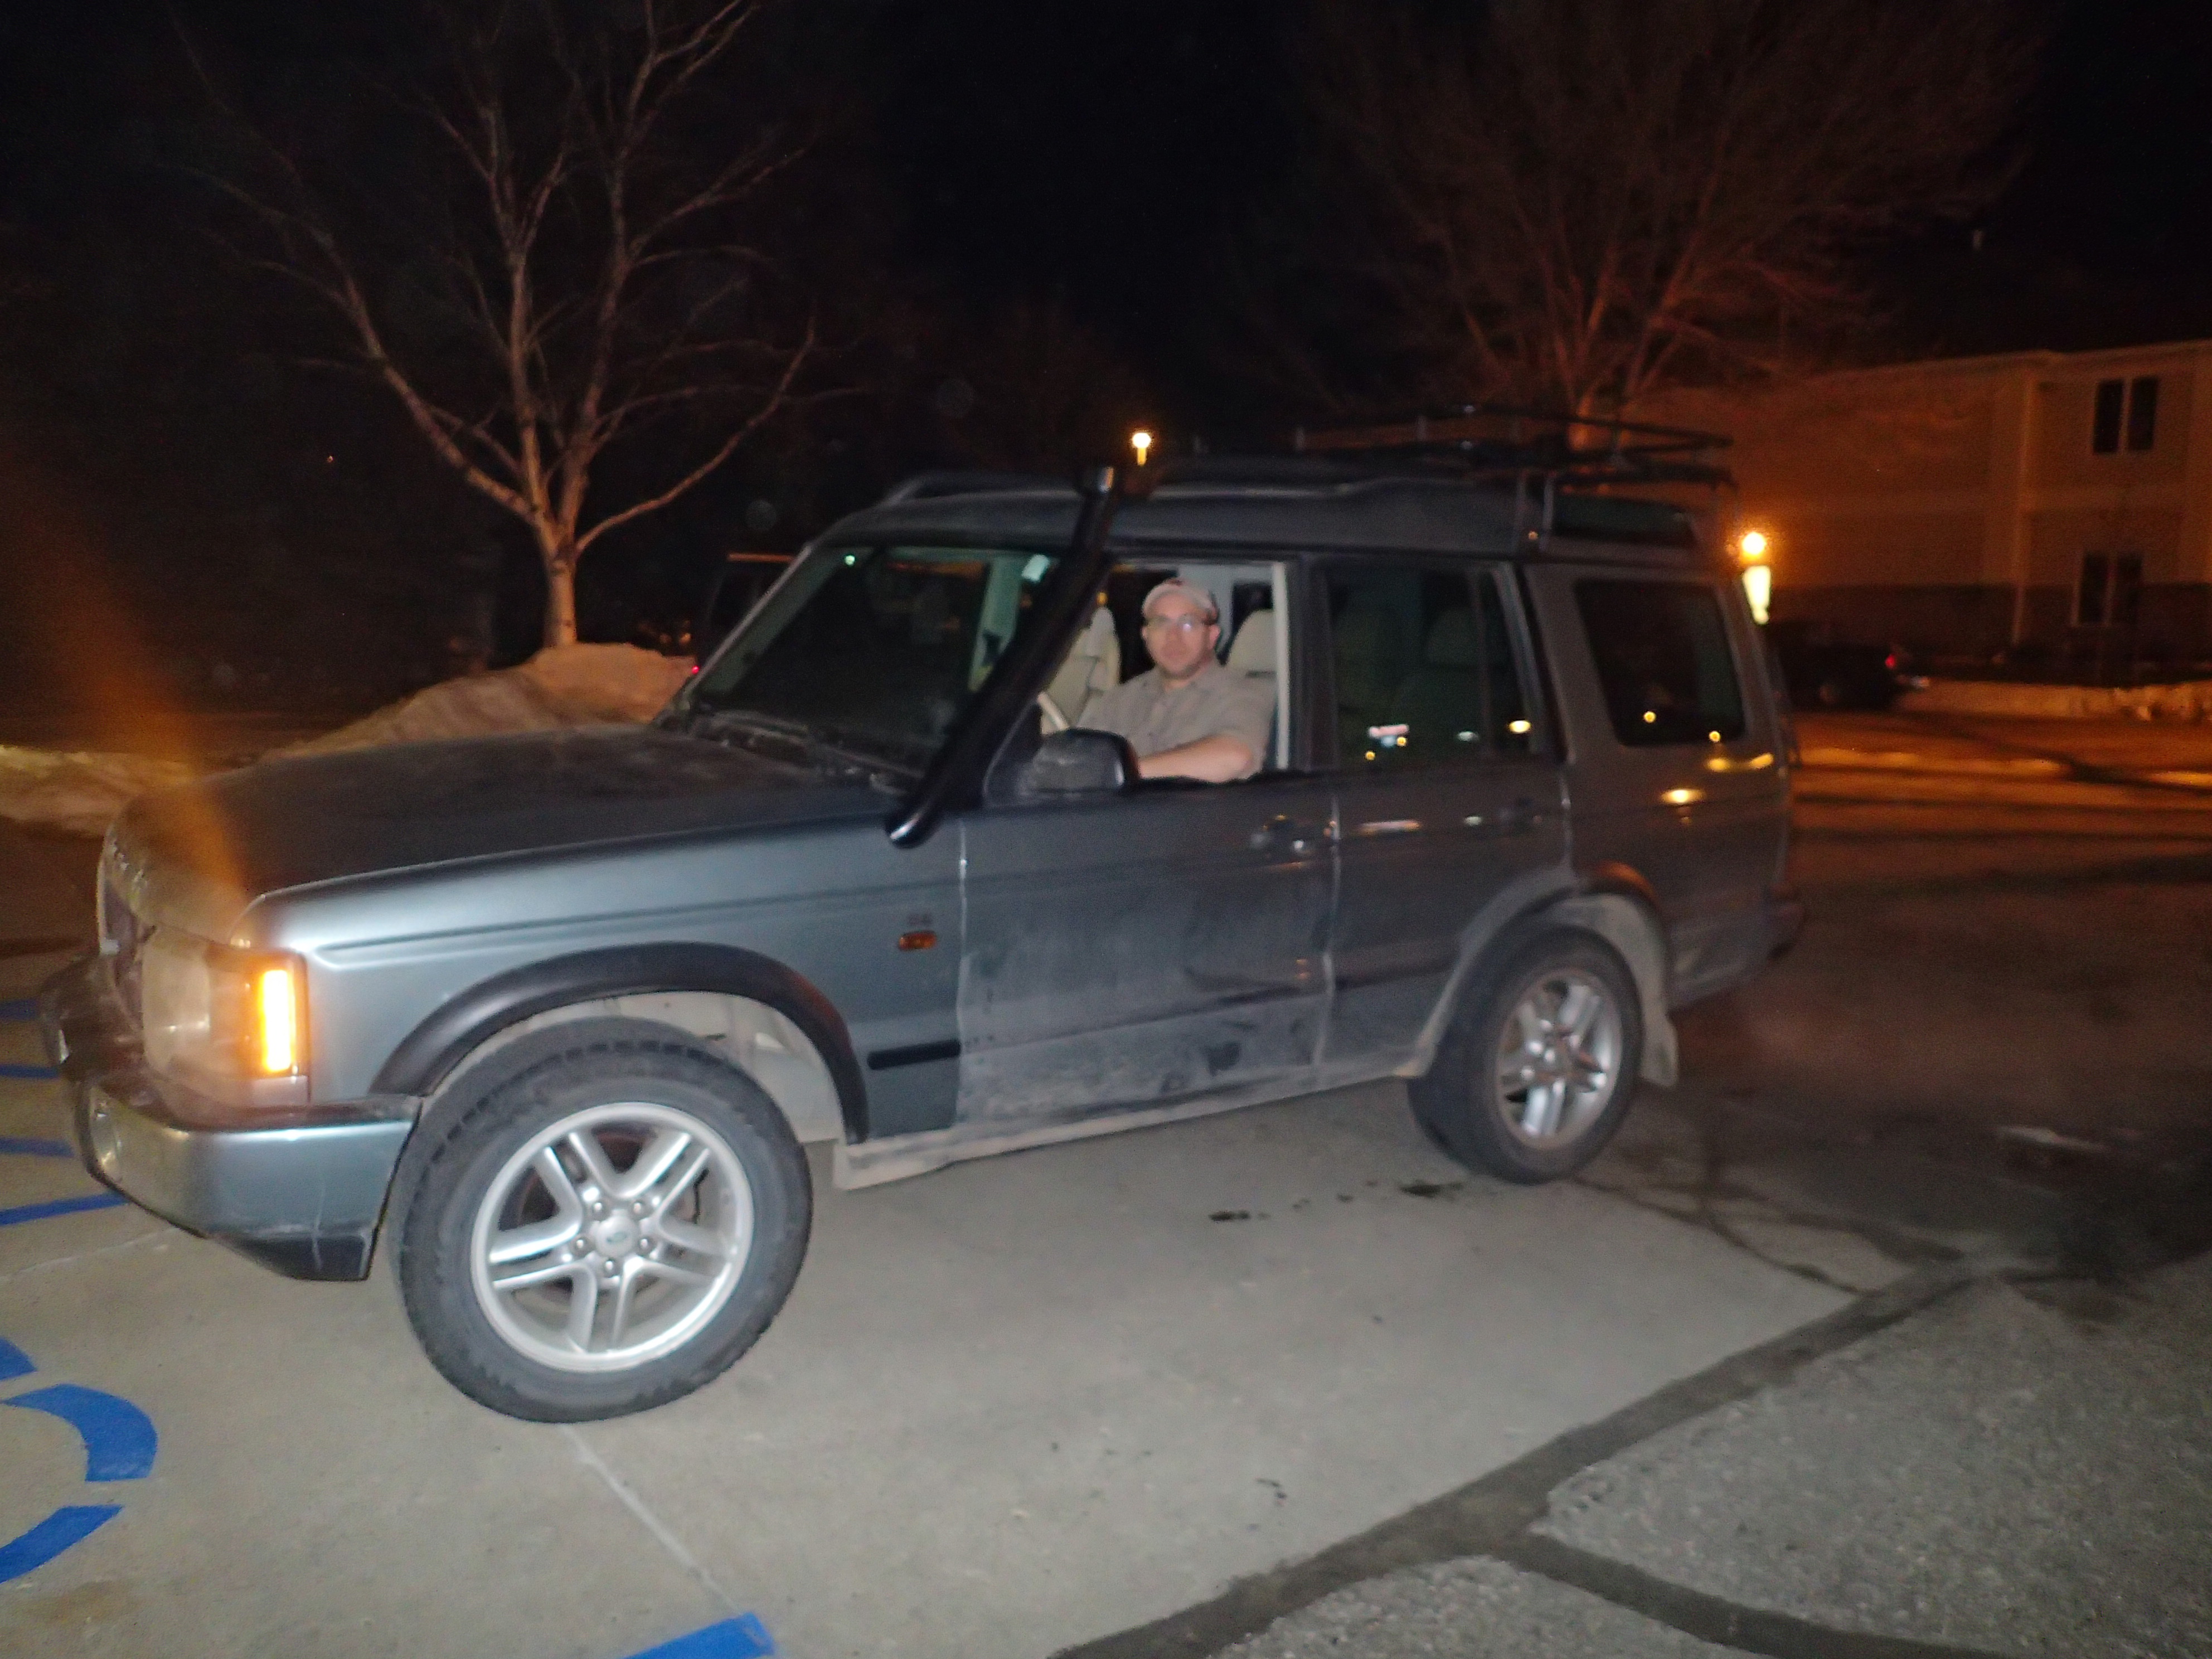
Here it is with the snorkel installed. The front fender is clean while the rest is dirty so thats why the photo looks a little weird.
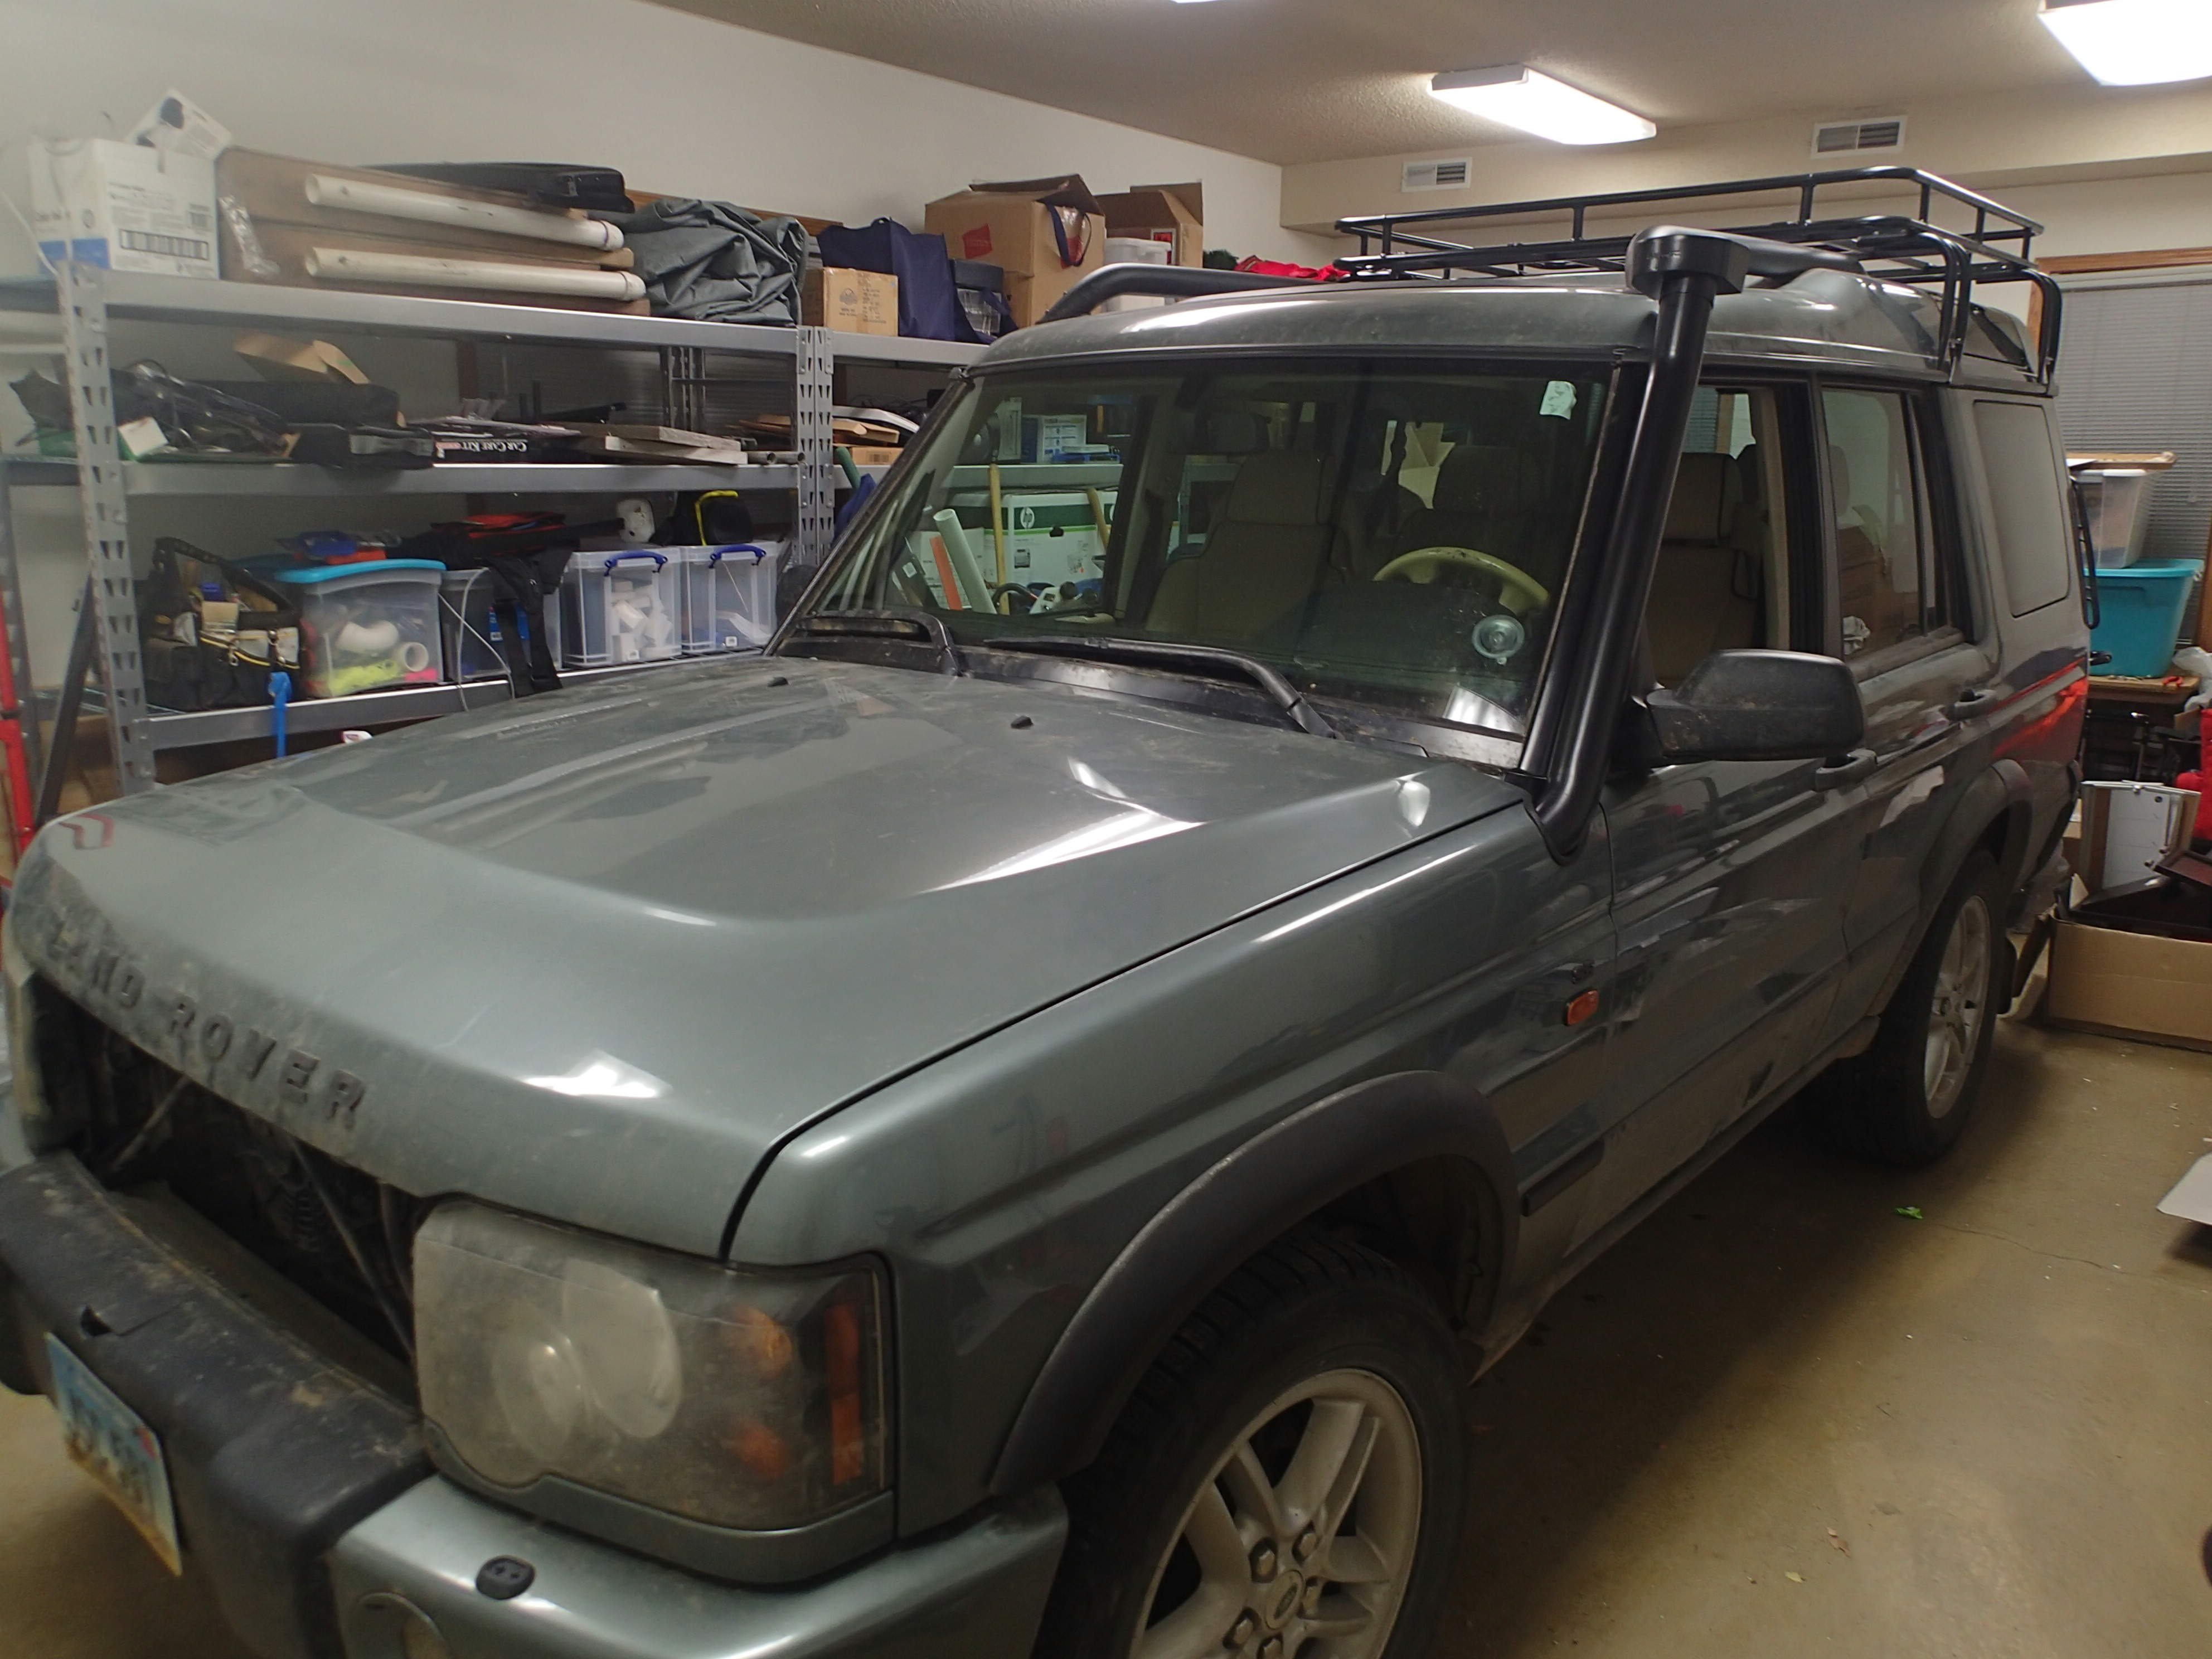
A view from the front.
A view from behind.
I did not install mine for water crossings, though I do ocassionally have to. I work in the oil fields and due to the extreamly dusty environment I wanted to run a snorkel to help it to breath in less dust. You can see my top of the snorkel faces behind instead of forward like many do. This is to cut down on dust and is the proper way of using one.
Here it is with the snorkel installed. The front fender is clean while the rest is dirty so thats why the photo looks a little weird.
A view from the front.
A view from behind.
I did not install mine for water crossings, though I do ocassionally have to. I work in the oil fields and due to the extreamly dusty environment I wanted to run a snorkel to help it to breath in less dust. You can see my top of the snorkel faces behind instead of forward like many do. This is to cut down on dust and is the proper way of using one.
#13
11-19-2012, 09:58 PM


#14
11-19-2012, 10:00 PM
#15
11-19-2012, 10:01 PM
#16
11-19-2012, 10:09 PM
#17
11-19-2012, 10:19 PM
Mudding
Join Date: Feb 2012
Location: Central North Dakota
Posts: 218
Likes: 0
Received 0 Likes
on
0 Posts
No issues with the sunroof and rack. It is a Brownchurch. I dont use a rack too much on my Jeeps other than for an additional spar tire and jack, so that is why I chose the half rack for my Disco. I carry two spares as it is next to impossible to get auto service out there for anything. The scoria chews the heck out of the tires as well. I am actually in the process of building it, so I have not drove it yet with the snorkel other than a few blocks around town. I am lifting it 2in with an OME lift kit and I am adding a Terrafirma rear bumper and a RTE front bumper and warn winch. Also installing a Saudi Grill. Also putting 16in terrafirma rims on it and rock sliders. Should be pretty slick rig for next field season.
As far as installing the snorkel goes, you have to remove the fender. You bolt the tube in place first. There is a template you tape to the fender to make the cut. I used a dremel with a cutting disc. It made a nice clean cut. Then I fitted it a few times grinding with a coarse stone to get it to fit perfect around the pipe and to sit flush again on the vehicle. Took about 4 hours to do. Main tip is go slow. When you install the hose clamps make sure the screw part is on the bottom of the tube with the head of the screw facing you otherwise it will rub against your fender if in any other position when trying to install the fender again.
Thats cool your parents are from Leeds originally!
#18
11-19-2012, 10:31 PM
Like the Saudi Grill, was just looking at them. I Really like the half rack. If you wake up one day and its gone ZG took it...Snorkel sounds pretty straight forward. I want one because I am in hurricane alley and it would come in handy. I was stuck for a few days and kicked myself for not having one.
#19
11-19-2012, 10:41 PM
Mudding
Join Date: Feb 2012
Location: Central North Dakota
Posts: 218
Likes: 0
Received 0 Likes
on
0 Posts
Thanks! I will keep an eye on my rack . As far as snorkel installation goes, it was fun to do, plus looks nice when done. I can see why you would want one living there. One other tip is to tape the area around the cut, so if you slip with the grinding stone you will not scratch the paint.
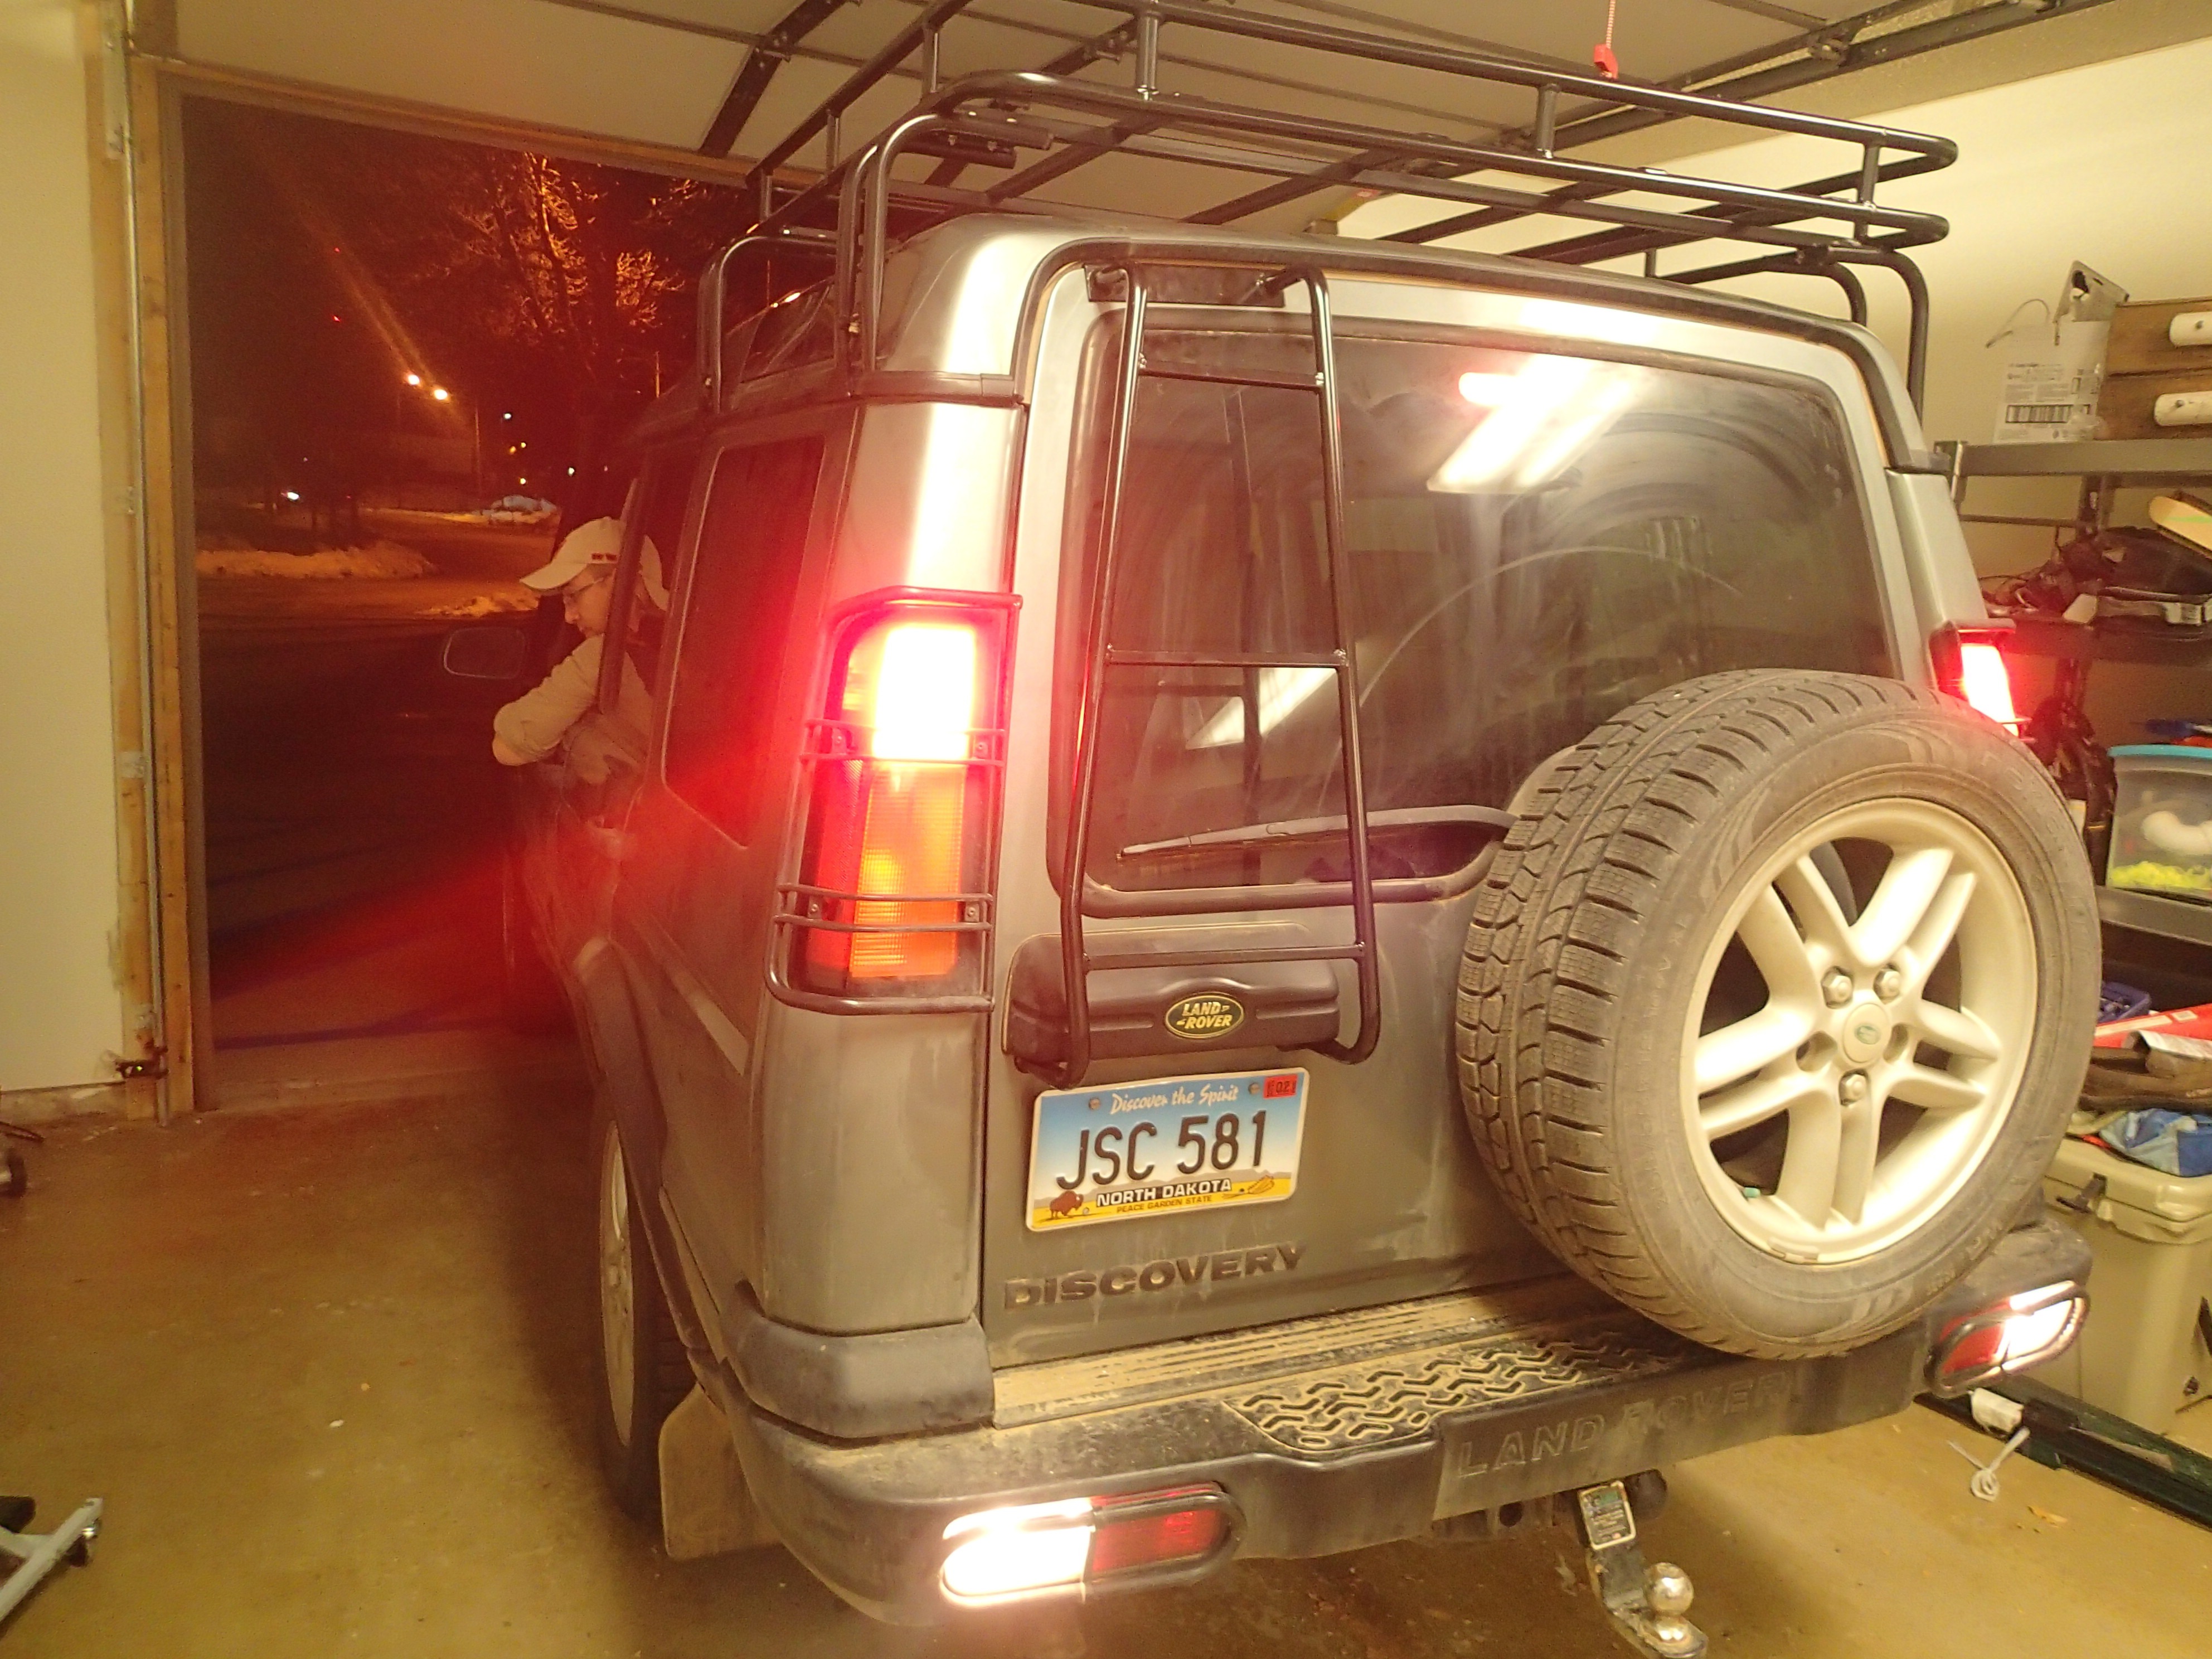
I will post pictures form start to finish in a few weeks when I am completed with the project. I try and do something on it each evening after work. Tonight I added the ladder. Tomorrow night is the front driveshaft. I hope to have it completed in about three weeks.
Keep us posted if you decide to go forward, no matter what brand you put on!
. As far as snorkel installation goes, it was fun to do, plus looks nice when done. I can see why you would want one living there. One other tip is to tape the area around the cut, so if you slip with the grinding stone you will not scratch the paint. I will post pictures form start to finish in a few weeks when I am completed with the project. I try and do something on it each evening after work. Tonight I added the ladder. Tomorrow night is the front driveshaft. I hope to have it completed in about three weeks.
Keep us posted if you decide to go forward, no matter what brand you put on!
#20
11-19-2012, 10:49 PM