Sophisticated Radiator Mount Upgrade
#11
 Thanks Dan... I was hoping to see some pics of the full removal because the Rave guide says to pull out the cooling fan, grill, and other various things not listed in the simple explanation below:
"Replacing 2001 landrover discovery radiator
Remove battery and battery box - 6 bolts, remove air filter box - no bolts, just pull up after unbolting 2 plastic bolts from snorkel....then you can access all the hardware that you need to remove the radiator...you don't need to remove the fan or fan shroud assembly just slide the shroud assembly back...disconnect the 3 coolant lines that are connected to the radiator...do not disconnect the transmission or power steering cooling radiators...not necessary...you can remove the radiator without disconnecting the transmission or power steering coolers.just slide the radiator out...and replace new one..do not remove the front grill either, that is a waste of time...
I just did this job today...very easy"
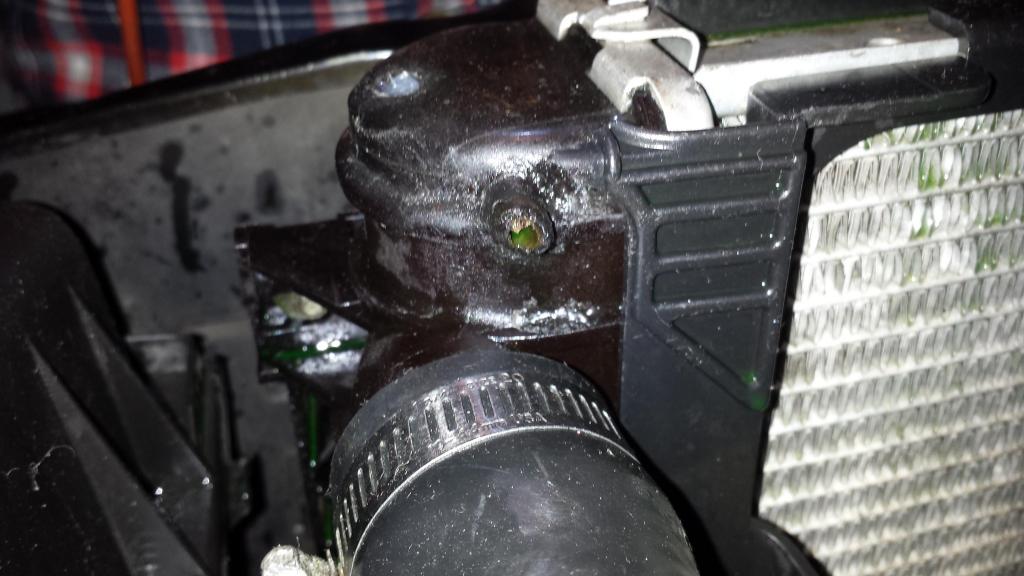
First I'm going to try Locktite plastic apoxy for the microscopic "screw area" crack on the top right, then fill in the scew hole with RTV silicone, followed by the "zip tie method".
I am going to follow-up with a new radiator if need be.
If anyone has a link to a 2000 Disco II Radiator at a good price please list! Thanks.
#13
Thought I'd share the present outcome...
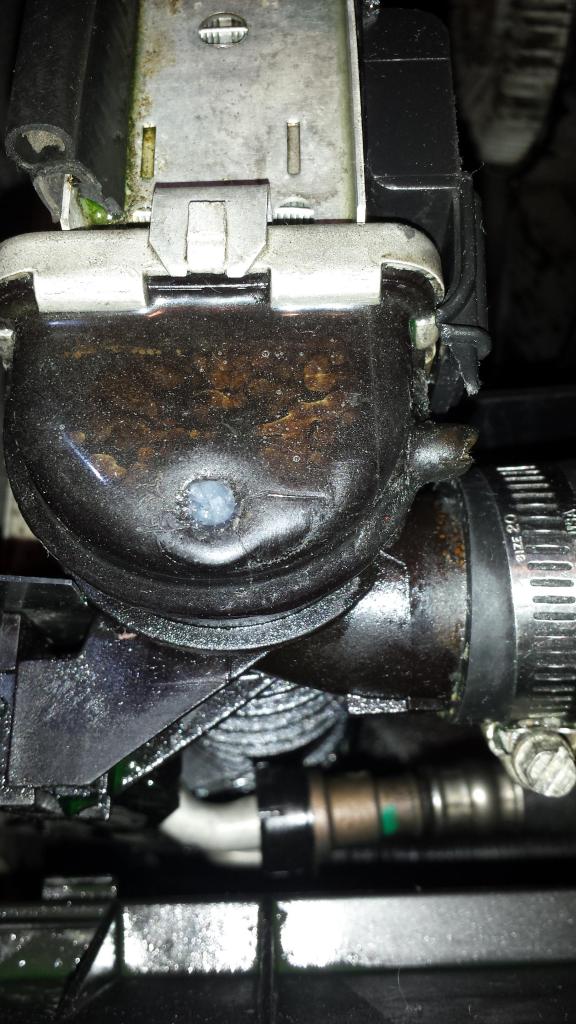
I used Loctite Epoxy Plastic Bonder to seal the "wierd" microscopic crack to the left of the screw hole on the right side. Seem to be holding well.

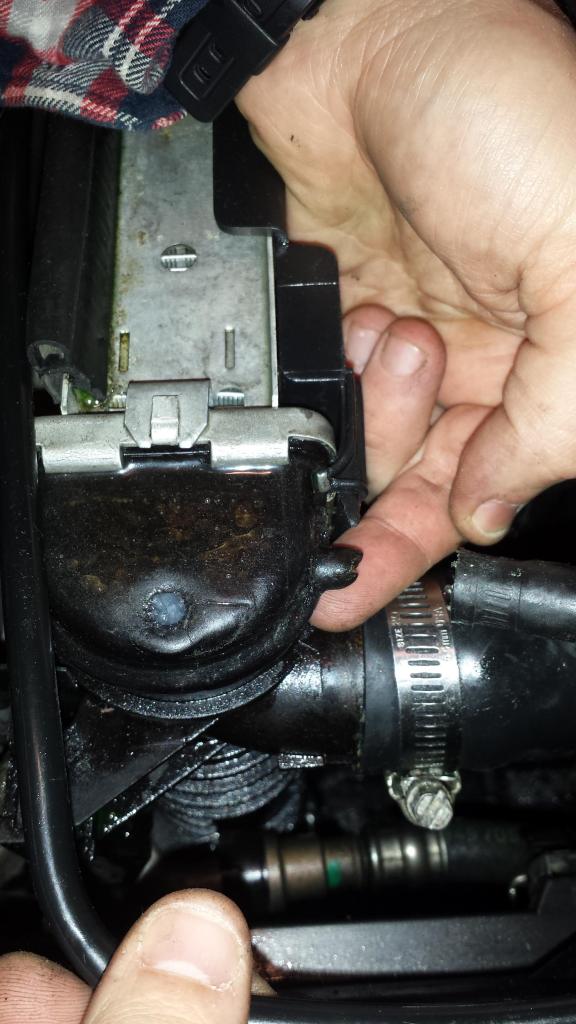
Which brings me to the 2/2 problems. The Radiator Outlet Nipple has broken off rather short and completely is unable to be attached with a small phillips head clamp. The clamp want to squeeze down on the smaller portion of the radiator hose pulling pressure away from the radiator.

I thought about seeing if I could plastic bond a little tube to fit on the broken piece to then attach the small radiator hose. Thoughts??
Thanks for any suggestions/recommendations!!
I used Loctite Epoxy Plastic Bonder to seal the "wierd" microscopic crack to the left of the screw hole on the right side. Seem to be holding well.

Which brings me to the 2/2 problems. The Radiator Outlet Nipple has broken off rather short and completely is unable to be attached with a small phillips head clamp. The clamp want to squeeze down on the smaller portion of the radiator hose pulling pressure away from the radiator.


I thought about seeing if I could plastic bond a little tube to fit on the broken piece to then attach the small radiator hose. Thoughts??
Thanks for any suggestions/recommendations!!
Last edited by Flyhighdp; 01-11-2015 at 10:21 PM.
#14
I hate to say this, but you need a new radiator. The same thing happened to me, broke the dumb little nipple. It is a high pressure line, so I don't think a repair would hold.
Having said all of that, if you still want to repair, the one idea I do have is to use a threaded brass hose fitting you can find at home depot. Tap through the plastic and seal everything with resin or JB weld or something.
Having said all of that, if you still want to repair, the one idea I do have is to use a threaded brass hose fitting you can find at home depot. Tap through the plastic and seal everything with resin or JB weld or something.
The following users liked this post:
Flyhighdp (01-12-2015)
#16
Looks like a new radiator it will be! I'll post back with final resolution.. not to mention do I want to be out and about anywhere and break down. I prepping this baby for MT, WY. My girlfriend family has had this 2000 LRD2 since almost new.. it has been through 3 female teenagers through adults and selling it to me for $1600 when I'm sure they could get somewhere around $3500ish. Over the year ole betty has been in and out of the shop with minor repairs, thermostat, etc. Thoughts for winterizing // making more reliable.
Thread
Thread Starter
Forum
Replies
Last Post
Butch
Retired - Private 'Wanted' Classifieds
0
04-20-2005 09:07 PM


