Sway Bar Disconnect Install ??


Thread Starter
|
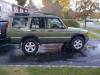
Recovery Vehicle
Joined: Sep 2009
Posts: 1,135
Likes: 14
From: Roanoke Valley, VA
I am trying to get my Lucky8 D2 sway bar disconnects installed. Seems pretty straightforward, but some notes on all these pieces in the box and a picture of them assembled to mount would be helpful. Hint Hint! Hey, or a video  EDIT: OK, thanks for the link below to the video.
I replaced the front brake pads today and thought I would take a shot at it while I had the wheel off. I was able to break the lower bolt free, but as I thought when it came loose relatively easy, the back side was spinning. What exactly is on the back side of the mount between the frame mount point and the bottom of the front sway bar? Seems to be a rubber covered boot of some kind, down in there, but is there a nut or bolt head under there that I can hold with a open-end wrench or vise-grips and then be able to break the outer nut loose and remove the lower connecting point? The top looks pretty straight forward with the nut on top of a threaded shaft pointing straight up, but I did not tackle that today, since I did not have that much time, and did not have success in getting the bottom mount loose.
EDIT: OK, thanks for the link below to the video.I replaced the front brake pads today and thought I would take a shot at it while I had the wheel off. I was able to break the lower bolt free, but as I thought when it came loose relatively easy, the back side was spinning. What exactly is on the back side of the mount between the frame mount point and the bottom of the front sway bar? Seems to be a rubber covered boot of some kind, down in there, but is there a nut or bolt head under there that I can hold with a open-end wrench or vise-grips and then be able to break the outer nut loose and remove the lower connecting point? The top looks pretty straight forward with the nut on top of a threaded shaft pointing straight up, but I did not tackle that today, since I did not have that much time, and did not have success in getting the bottom mount loose.
Last edited by Rover_Hokie; May 11, 2014 at 10:44 PM.


Thread Starter
|
Recovery Vehicle
Joined: Sep 2009
Posts: 1,135
Likes: 14
From: Roanoke Valley, VA
Thanks guys, as always on the spot. Thanks for the tips on removing the originals. I could of swore I looked for the video, I have all those nice pieces, was just not sure of all the pieces to assemble each disconnect together like the one Justin was holding. I may have to give this another go this week. Dumb question, maybe, as I am not always up to speed on suspension pressures when on jacks or on ramps, but if I put the D2 up on ramps, can I get to these OK, or do I need to have the wheel off to get in there with the wrenches?
Last edited by Rover_Hokie; May 13, 2014 at 10:14 PM.
Thread Starter
|
Recovery Vehicle
Joined: Sep 2009
Posts: 1,135
Likes: 14
From: Roanoke Valley, VA
OK, got the front left sway bar link off. Use 17mm open-end wrench on the nut on the top connection point below the sway bar and 18mm on the nut on top. I ended up using ViseGrips on the inside of the frame on the shaft over the rubber covering on the bottom mount once I broke it loose from the outside with a breaking bar, and then used 18mm box-end. Slow going moving only a little each turn with the years of crude, even after some PB Buster soaking, but not too bad. I am now trying to assemble the new parts. I have it pretty much like Justin in the video, I hope, and need some advice/instruction on how to mount it back to the sway bar and frame.
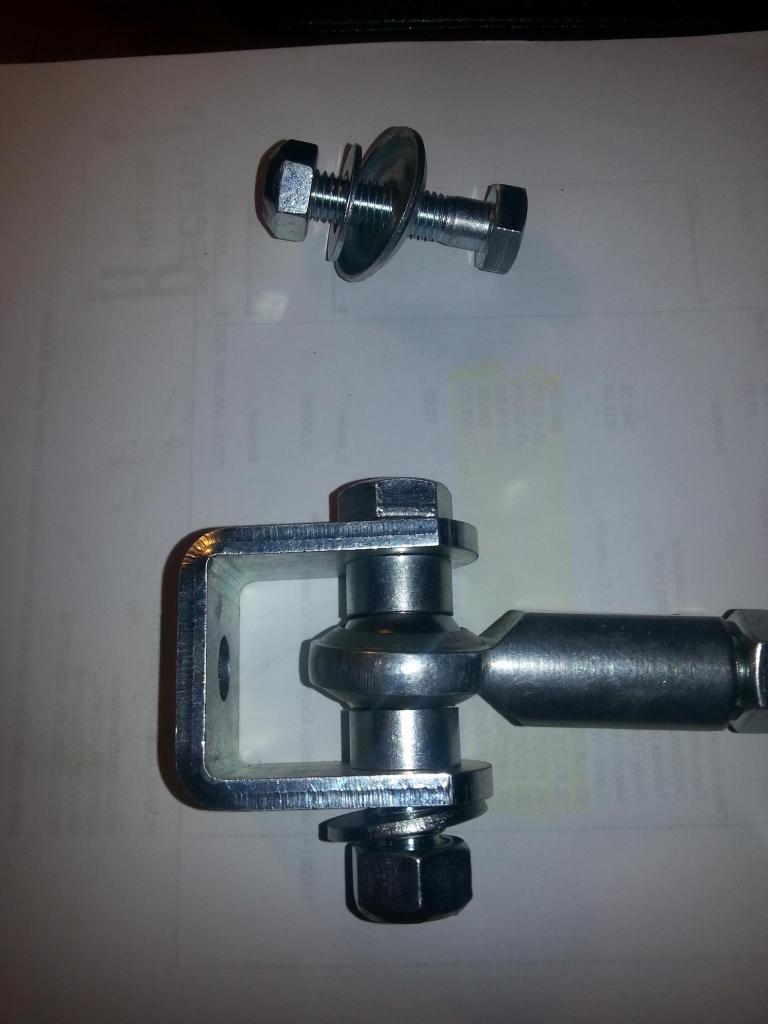
At the top of the new disconnect/link is the bracket with a upward threading bolt and a few different washers. I have some flat washers and some of the dome (concave) shaped washers I am used to seeing around shock mount bushings, but I have no bushings to mount the top of the disconnect. I have the bolt with a flat washer and dome shaped washer and nut in the pic below that are assembled together just for the picture. Can someone tell me the mounting order from the bottom up for the top connection point? I was thinking bolt going up, bracket, dome washer with shoulders up, rubber bushing that I do not see in the kit?, sway bar end, flat washer & nut. Also, do I need a flat washer on the outside on both sides of the top bracket on the disconnect left and right? I just have one on the nut side and not the head of the bolt side in the picture.
ON THE DESK TONIGHT ...
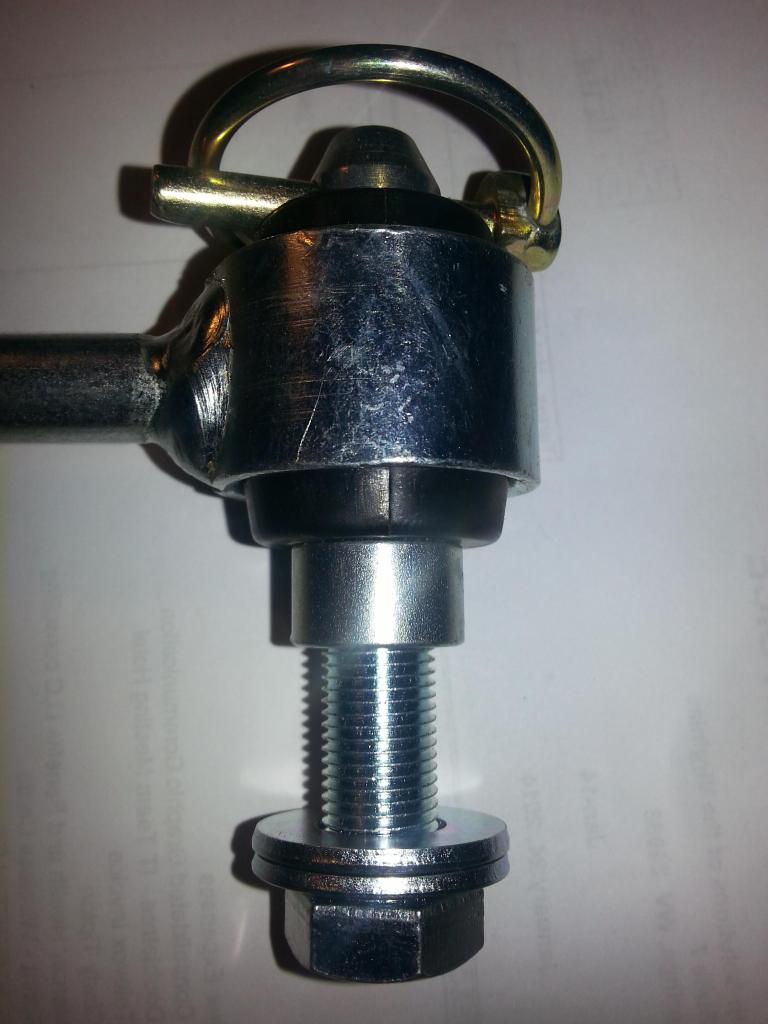
On the bottom end, The large shaft with inside threads that goes in the bottom bushing goes horizontal on the inside of the frame mount point, and then from outside the frame mount point you have bolt going in, flat washer, frame, flat washer, and the large shaft with inside threads on the inside. I think I have this one correct, just making sure I have washers where they need to be.

Last edited by Rover_Hokie; May 13, 2014 at 10:47 PM.
Thread Starter
|
Recovery Vehicle
Joined: Sep 2009
Posts: 1,135
Likes: 14
From: Roanoke Valley, VA
FYI, I hate opening bags of parts like a bag of chips and the pieces go everywhere. Makes it fun to assemble the last disconnect link when you come up short a couple pieces  It was my own fault, was not really that hard to open, just did it on the bench in the garage rather than at the desk at the computer to assemble the disconnects. Ended up knocking the bag in the floor and across the garage floor the parts went.
It was my own fault, was not really that hard to open, just did it on the bench in the garage rather than at the desk at the computer to assemble the disconnects. Ended up knocking the bag in the floor and across the garage floor the parts went.
Last edited by Rover_Hokie; May 13, 2014 at 10:22 PM.