Then what? HG
#1
#2
#3
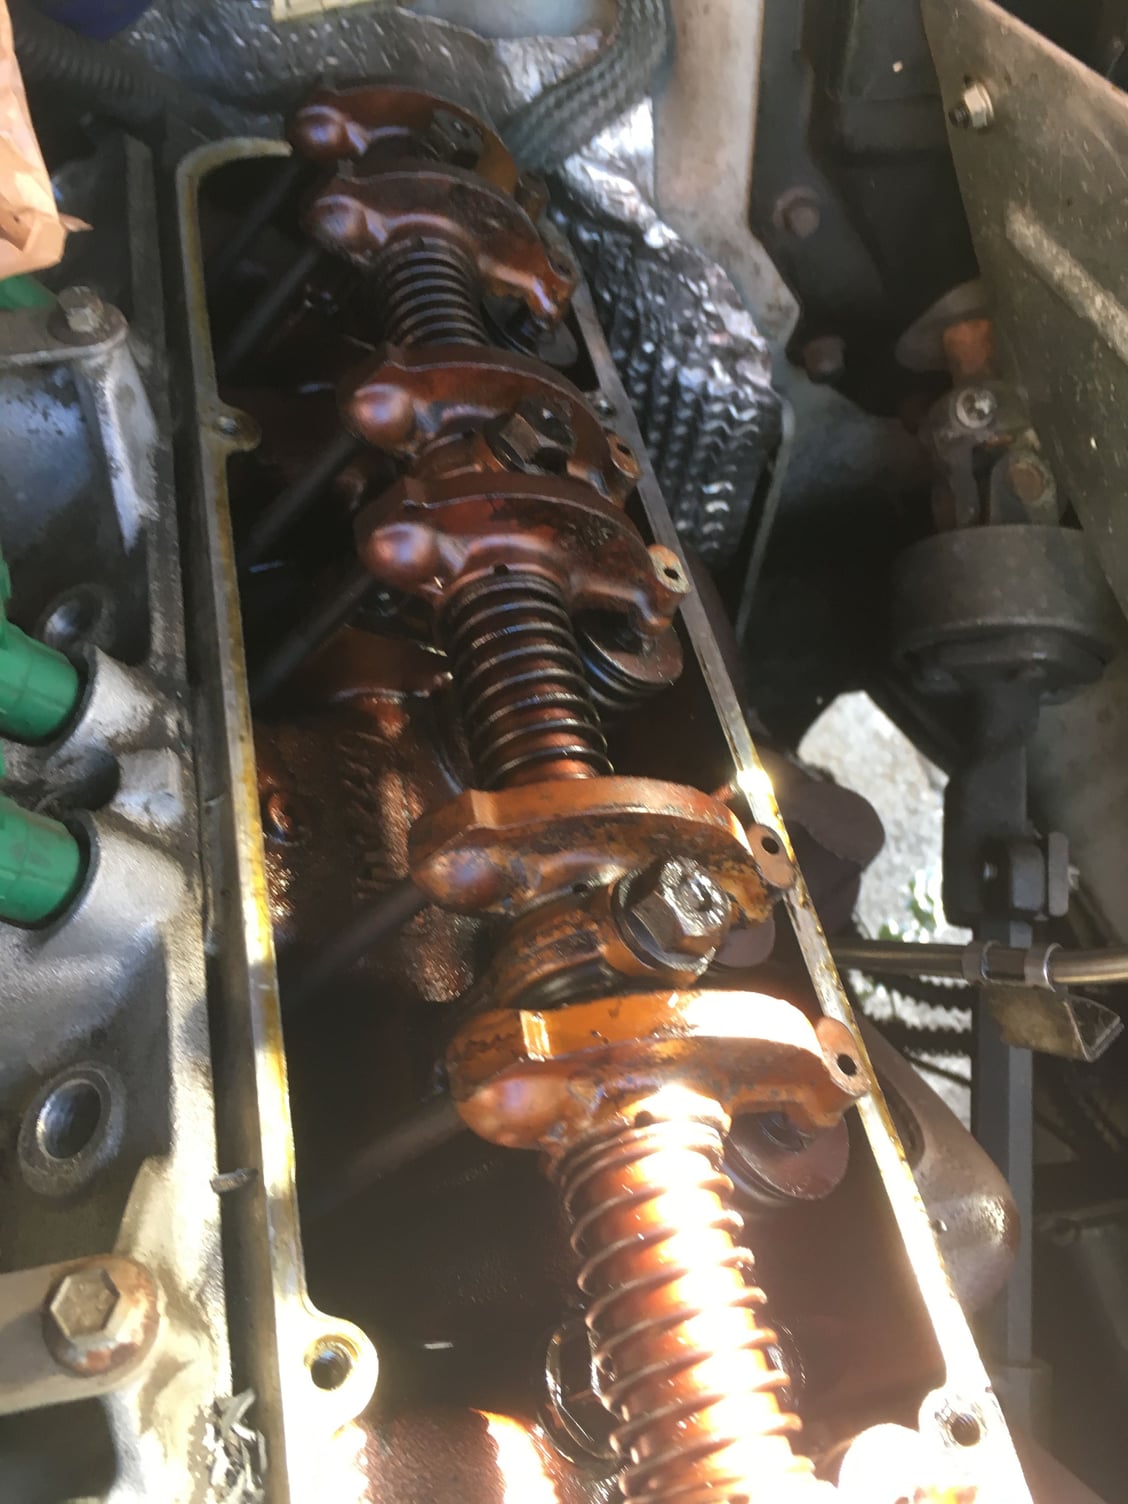
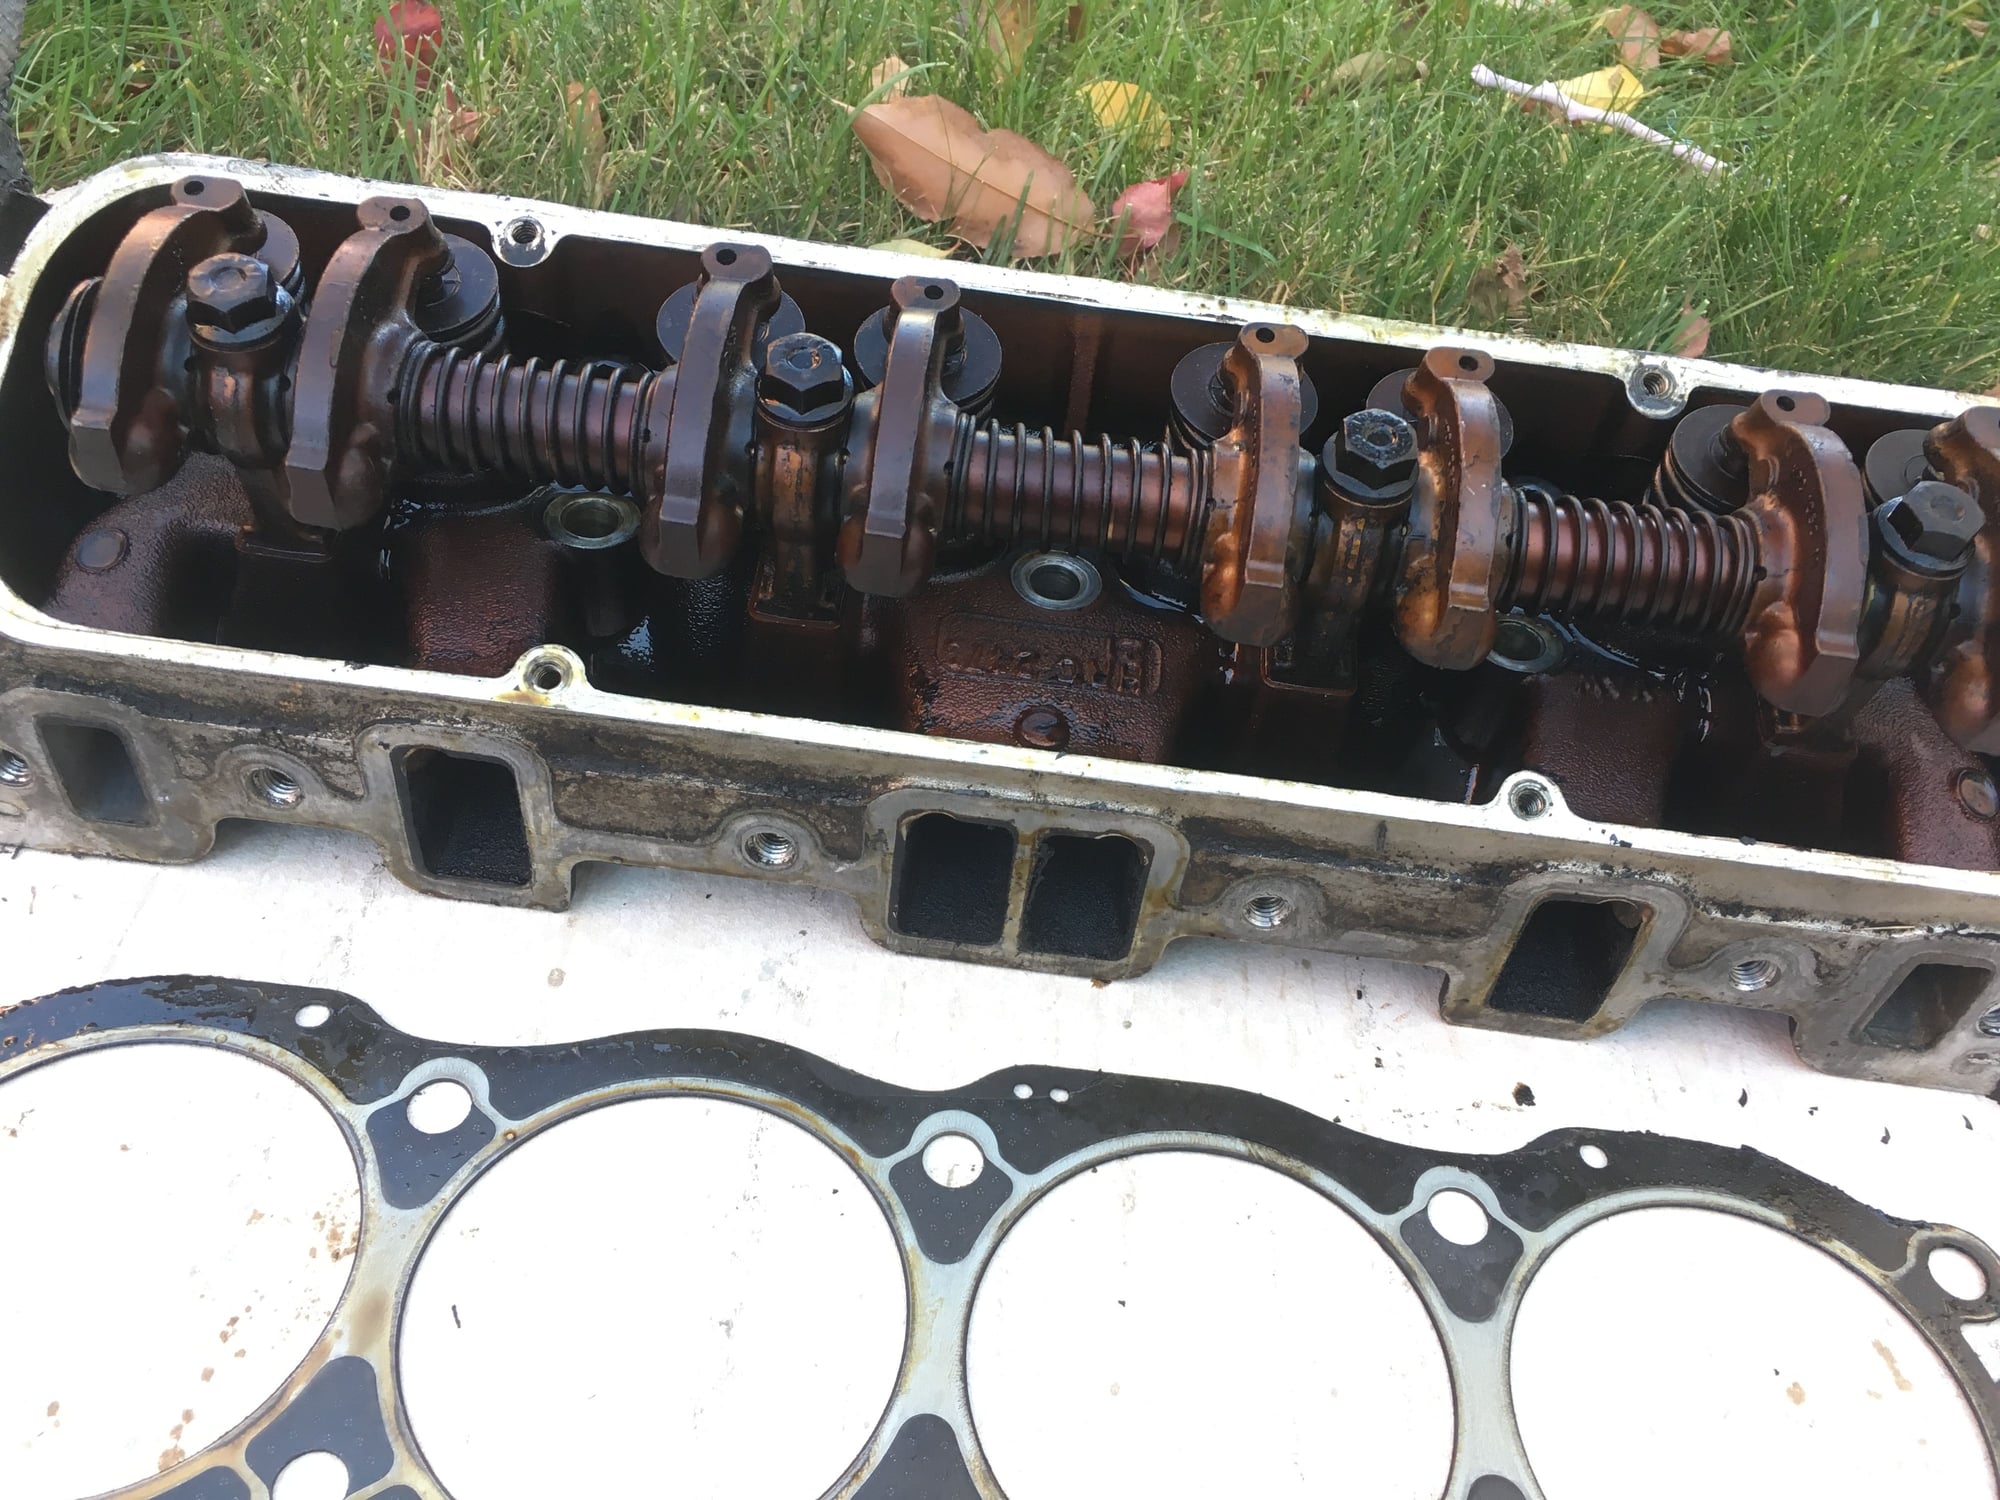
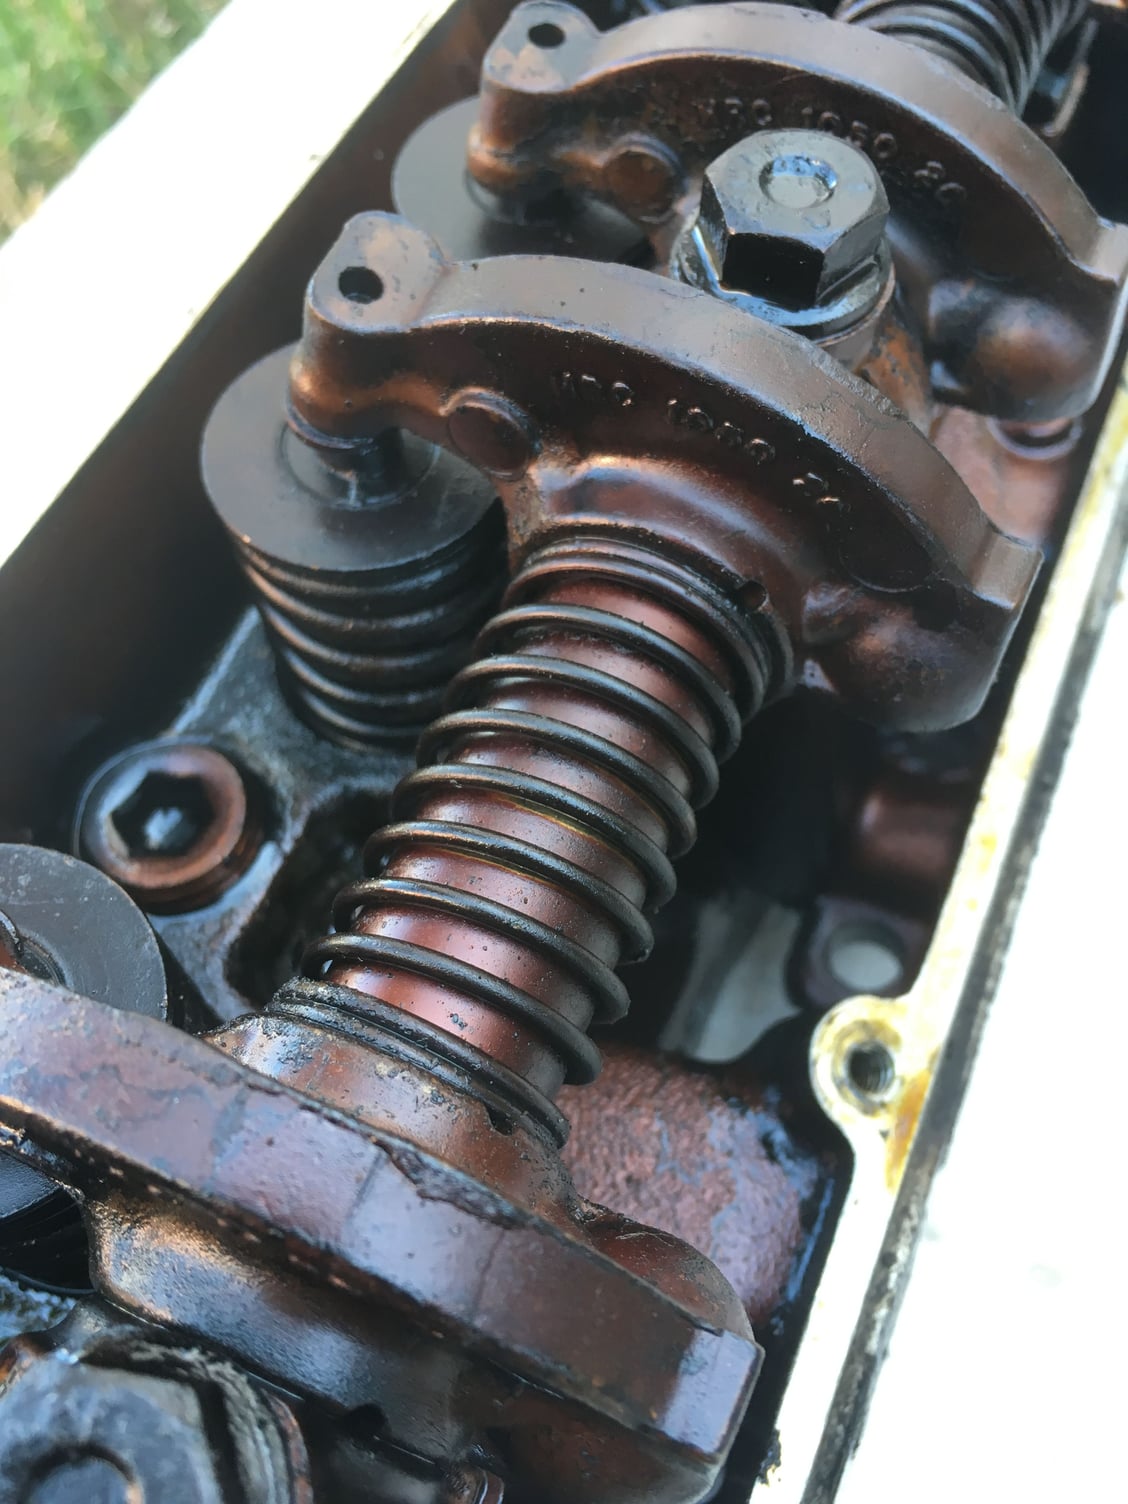
That actually looks to be in really good condition, sludge-wise anyway. My rocker covers were full of gritty carbon to the point where I was sure someone had poured sand into the oil filler.
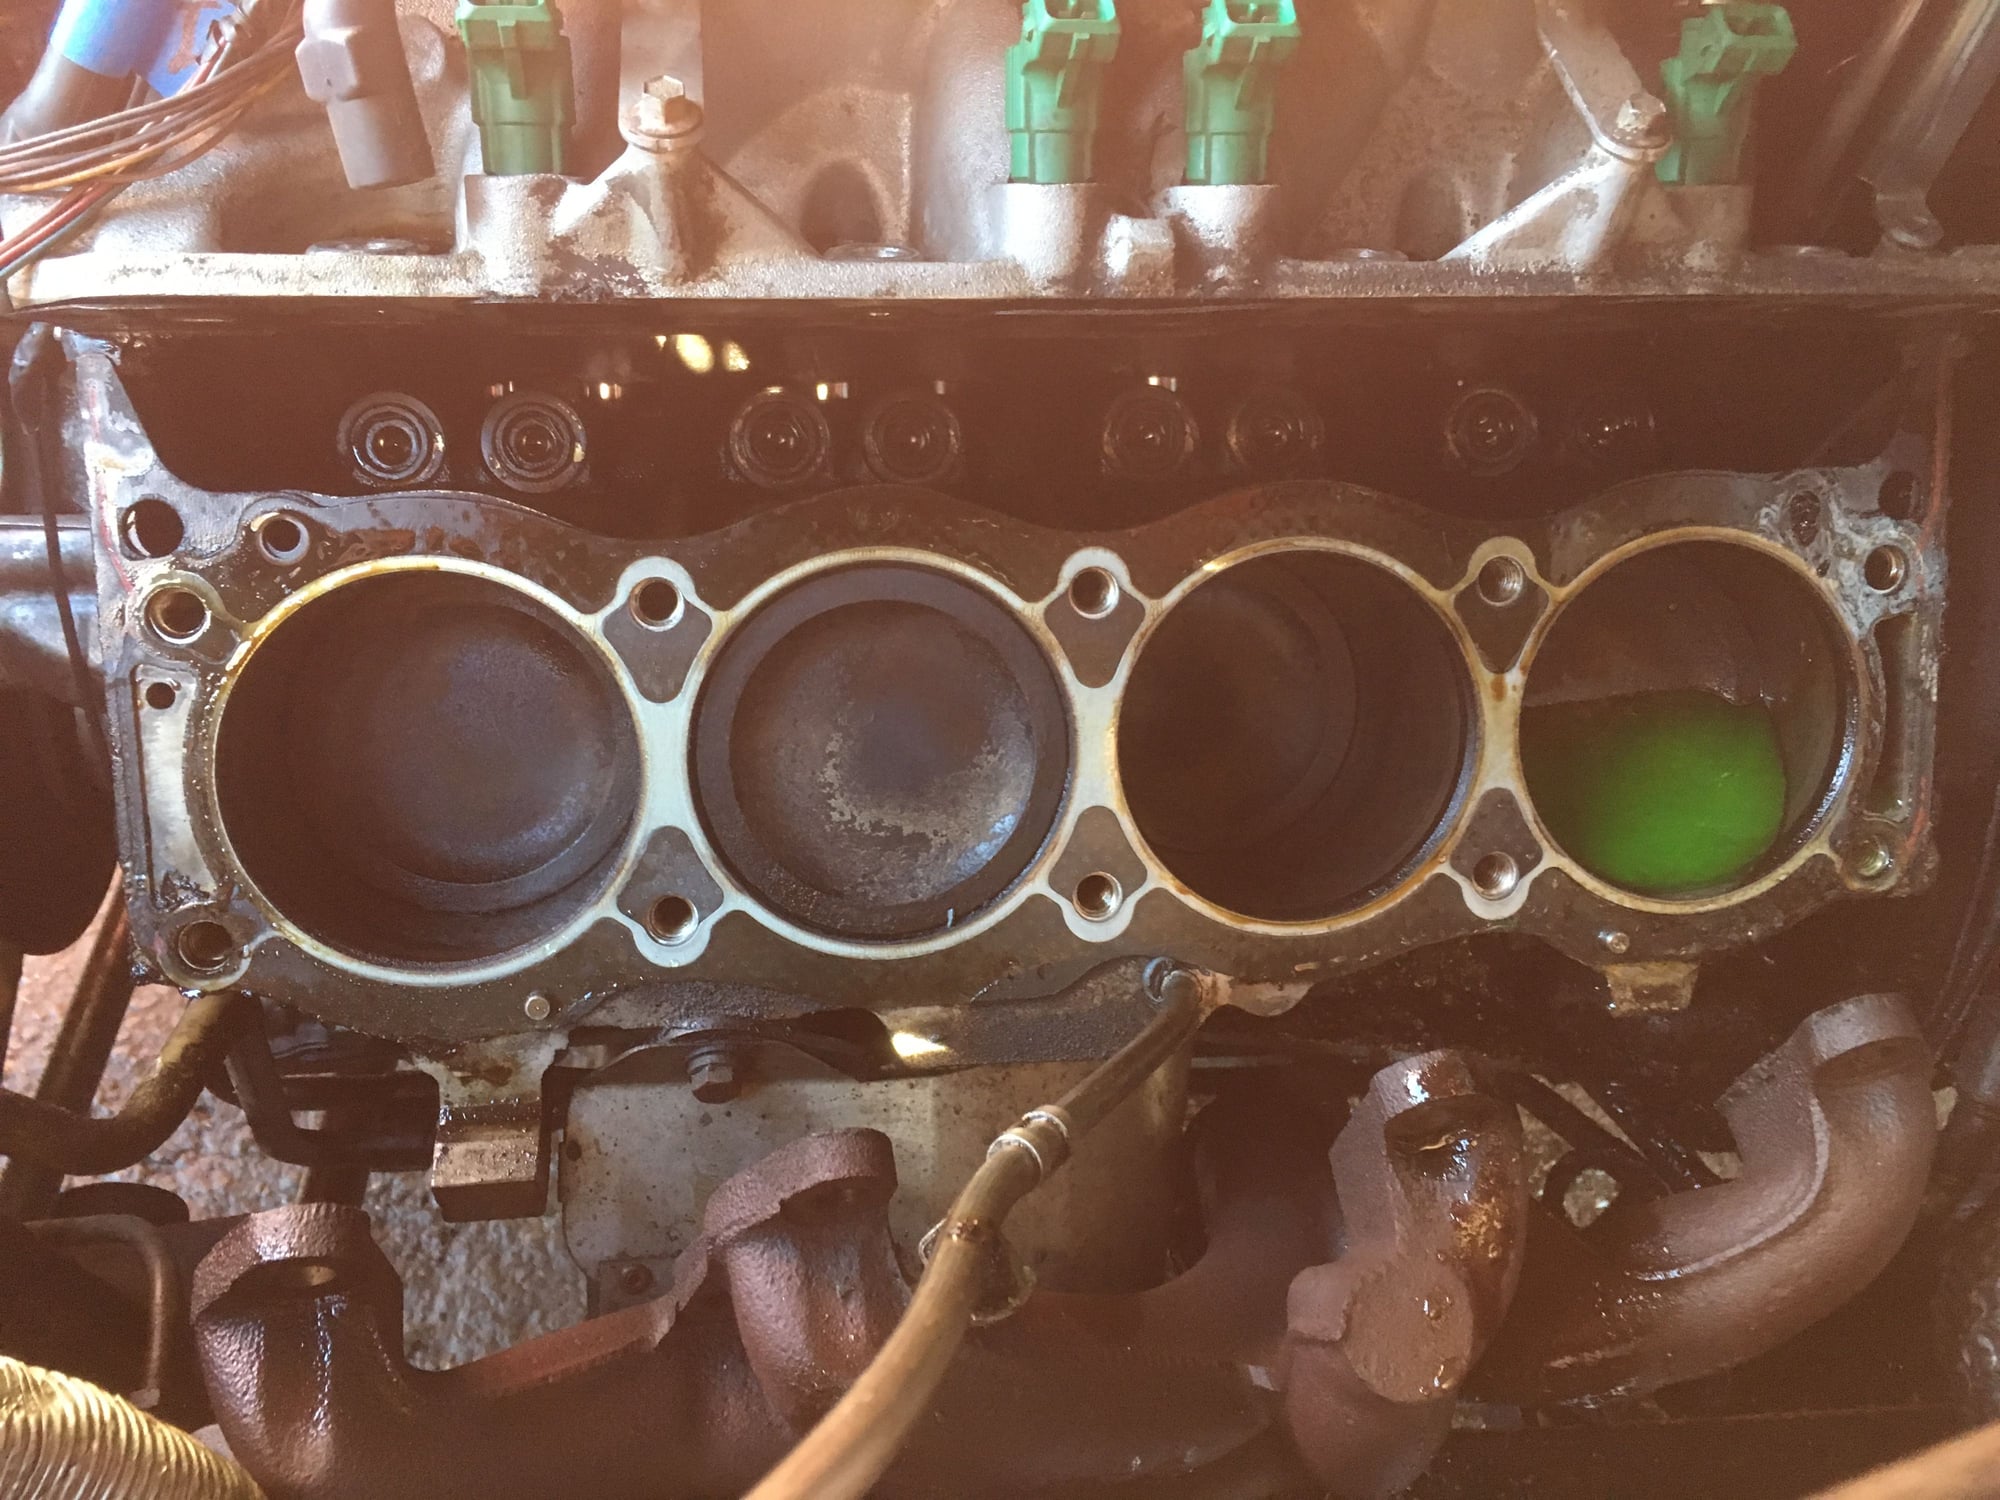
Get the coolant out of the cylinders. Paper towels work well to soak it up. Clean the top of the block with a plastic scraper and some engine degreaser. Try to get as little gunk as possible into the oil galleries.
Remove the rockers by undoing the bolts stepwise, alternating up and down their length so that you don't have loose points. You're aiming to not let anything bend. When it comes to reassembling, use a molybdenum assembly grease on the journal surfaces.
Use a valve spring compressor to remove each valve, then clean it and lap it against the valve seat and replace the valve stem seal before reinstalling. Do this one valve at a time so that everything goes back in the same place as it came out of.
Check all the oil passages and ensure they're clear.
Get the heads skimmed so that they're true. I understand that you need to have as little material removed as possible.
Order replacement head bolts -- or studs if you're going that route. The head bolts that you removed cannot be re-used.
What part of NJ are you in? I might be able to lend a hand although I'm pretty busy for the next couple of weeks. I did my heads a couple of months ago and have tools.
#4
Wow! First of all thank you for the offer and quick response. We would love that but our pace working is about 3 nuts and 3 bolt per day. Lol. We are very close to you, probably 4 to 6 miles away. We are in linden close to the oil tanks. Me and my son would like to meet up with rover people once its done, so I guess coffee someday soon and talk about our rovers.
#5
Sounds like a plan! I'm right near the Bayonne Bridge on the SI side.
And don't worry about speed -- I took at least a month to get mine done and I've rebuilt several engines in my time. Shoot me a message if you need any assistance.
Once we get you back on the road we'll have to head down to Wharton State Forest for some offroading.
And don't worry about speed -- I took at least a month to get mine done and I've rebuilt several engines in my time. Shoot me a message if you need any assistance.
Once we get you back on the road we'll have to head down to Wharton State Forest for some offroading.
The following users liked this post:
LR03NJ (11-11-2016)
#6
Take the heads to an experienced machinist who has done work on LR heads for a full valve job ($300-400). I wouldn't recommend doing this yourself as mollusc suggested. Just take the heads as-is to the shop and they will take care of everything. My machinist pointed out so many quality control issues from factory: springs installed upside down, etc. Make sure to bring them a set of new valve stem seals
The valve train looks to be in pretty good shape. Check the lifters for any wear. I'll warn you though, once I crossed that point I couldn't resist a full engine rebuild.
Roll the push rods on a flat surface to make sure they're straight
check lifter preload when re-assembling
The valve train looks to be in pretty good shape. Check the lifters for any wear. I'll warn you though, once I crossed that point I couldn't resist a full engine rebuild.
Roll the push rods on a flat surface to make sure they're straight
check lifter preload when re-assembling
#8
My machinist claims that the heads almost always need to be resurfaced (debatable) so a trip to the machinist should already be in the works.
#9
I'm in agreement with your machinist, IF you have had an actual head gasket breach or you're unsure of the longer history of your engine. If you're absolutely certain that you have never overheated and you have not had any coolant, gas, or oil leaks at the cylinder/head interface you can usually get away without having the head(s) planed.
Refreshing the valves doesn't take much in the way of extra equipment, especially simple heads like these. Porting and polishing or dealing with valve guides is a whole other matter though -- definitely pro jobs there.
Refreshing the valves doesn't take much in the way of extra equipment, especially simple heads like these. Porting and polishing or dealing with valve guides is a whole other matter though -- definitely pro jobs there.
#10


