When you click on links to various merchants on this site and make a purchase, this can result in this site earning a commission. Affiliate programs and affiliations include, but are not limited to, the eBay Partner Network.
Finally got the Tuff Rok Headlights. I decided to order them direct. Because they have a newer “Tornado” headlight beam, which looks better than the original imo, longer range.
1. Beam is fully sealed.
2. It’s DOT approved, and it’s also on the beam housing. So road legal.
install wasn’t to bad. Plan 2hours, 3 if you have a brush bar. (I had to remove it to get the new housing on.)
all in all I give it a 10/10. Because it’s literally the BEST upgrade option. Bar non.
Install difficulty:
2 of 5 (5 Being a Pro Mechanic or shop).
Required tools:
Socket wrench set.
philips screwdriver
looong philips to get side turn signal off.
drill + drill bit (to tap out rivots shown on instructions)
cutting tool (I used the drill bit as a saw, to cut away plastic for housing to fit right). NOT called out in instructions.
Note:
instructions are decent, support via text is great, but if you have a 98-2002, DRL is an easy Blue plugin to the “red” line as it’s a separate bulb. I’m guessing this does not exist in 03+?
here are the Pics.
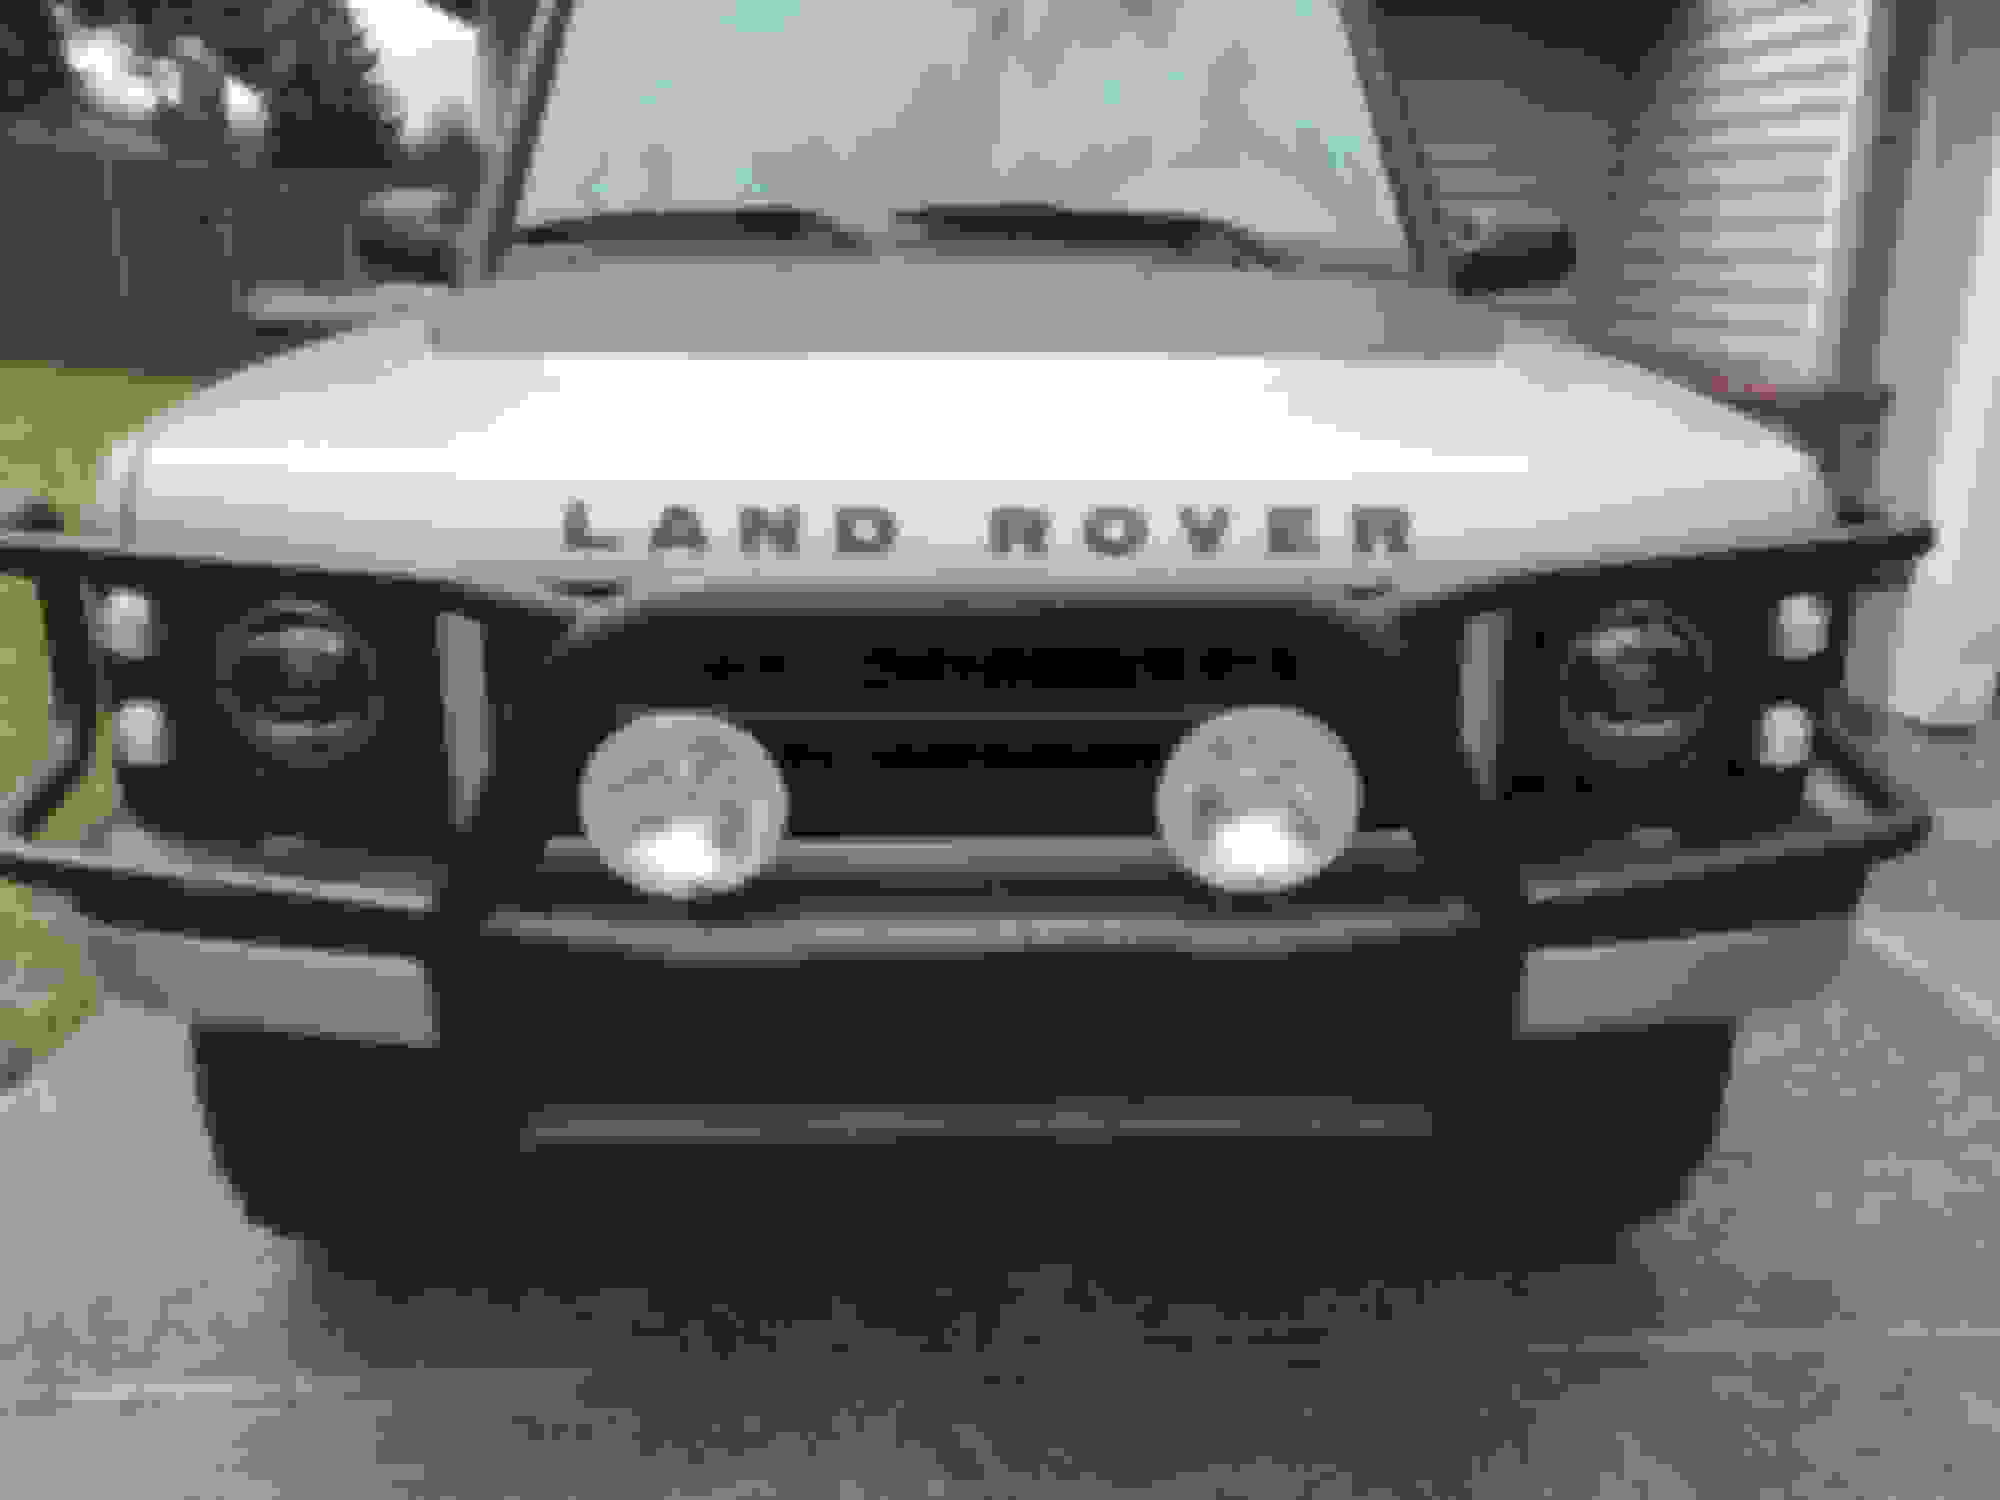
Before the install. OEM lights and corner lights
After - Tuff Rok headlight housing with “Tornado” headlights.
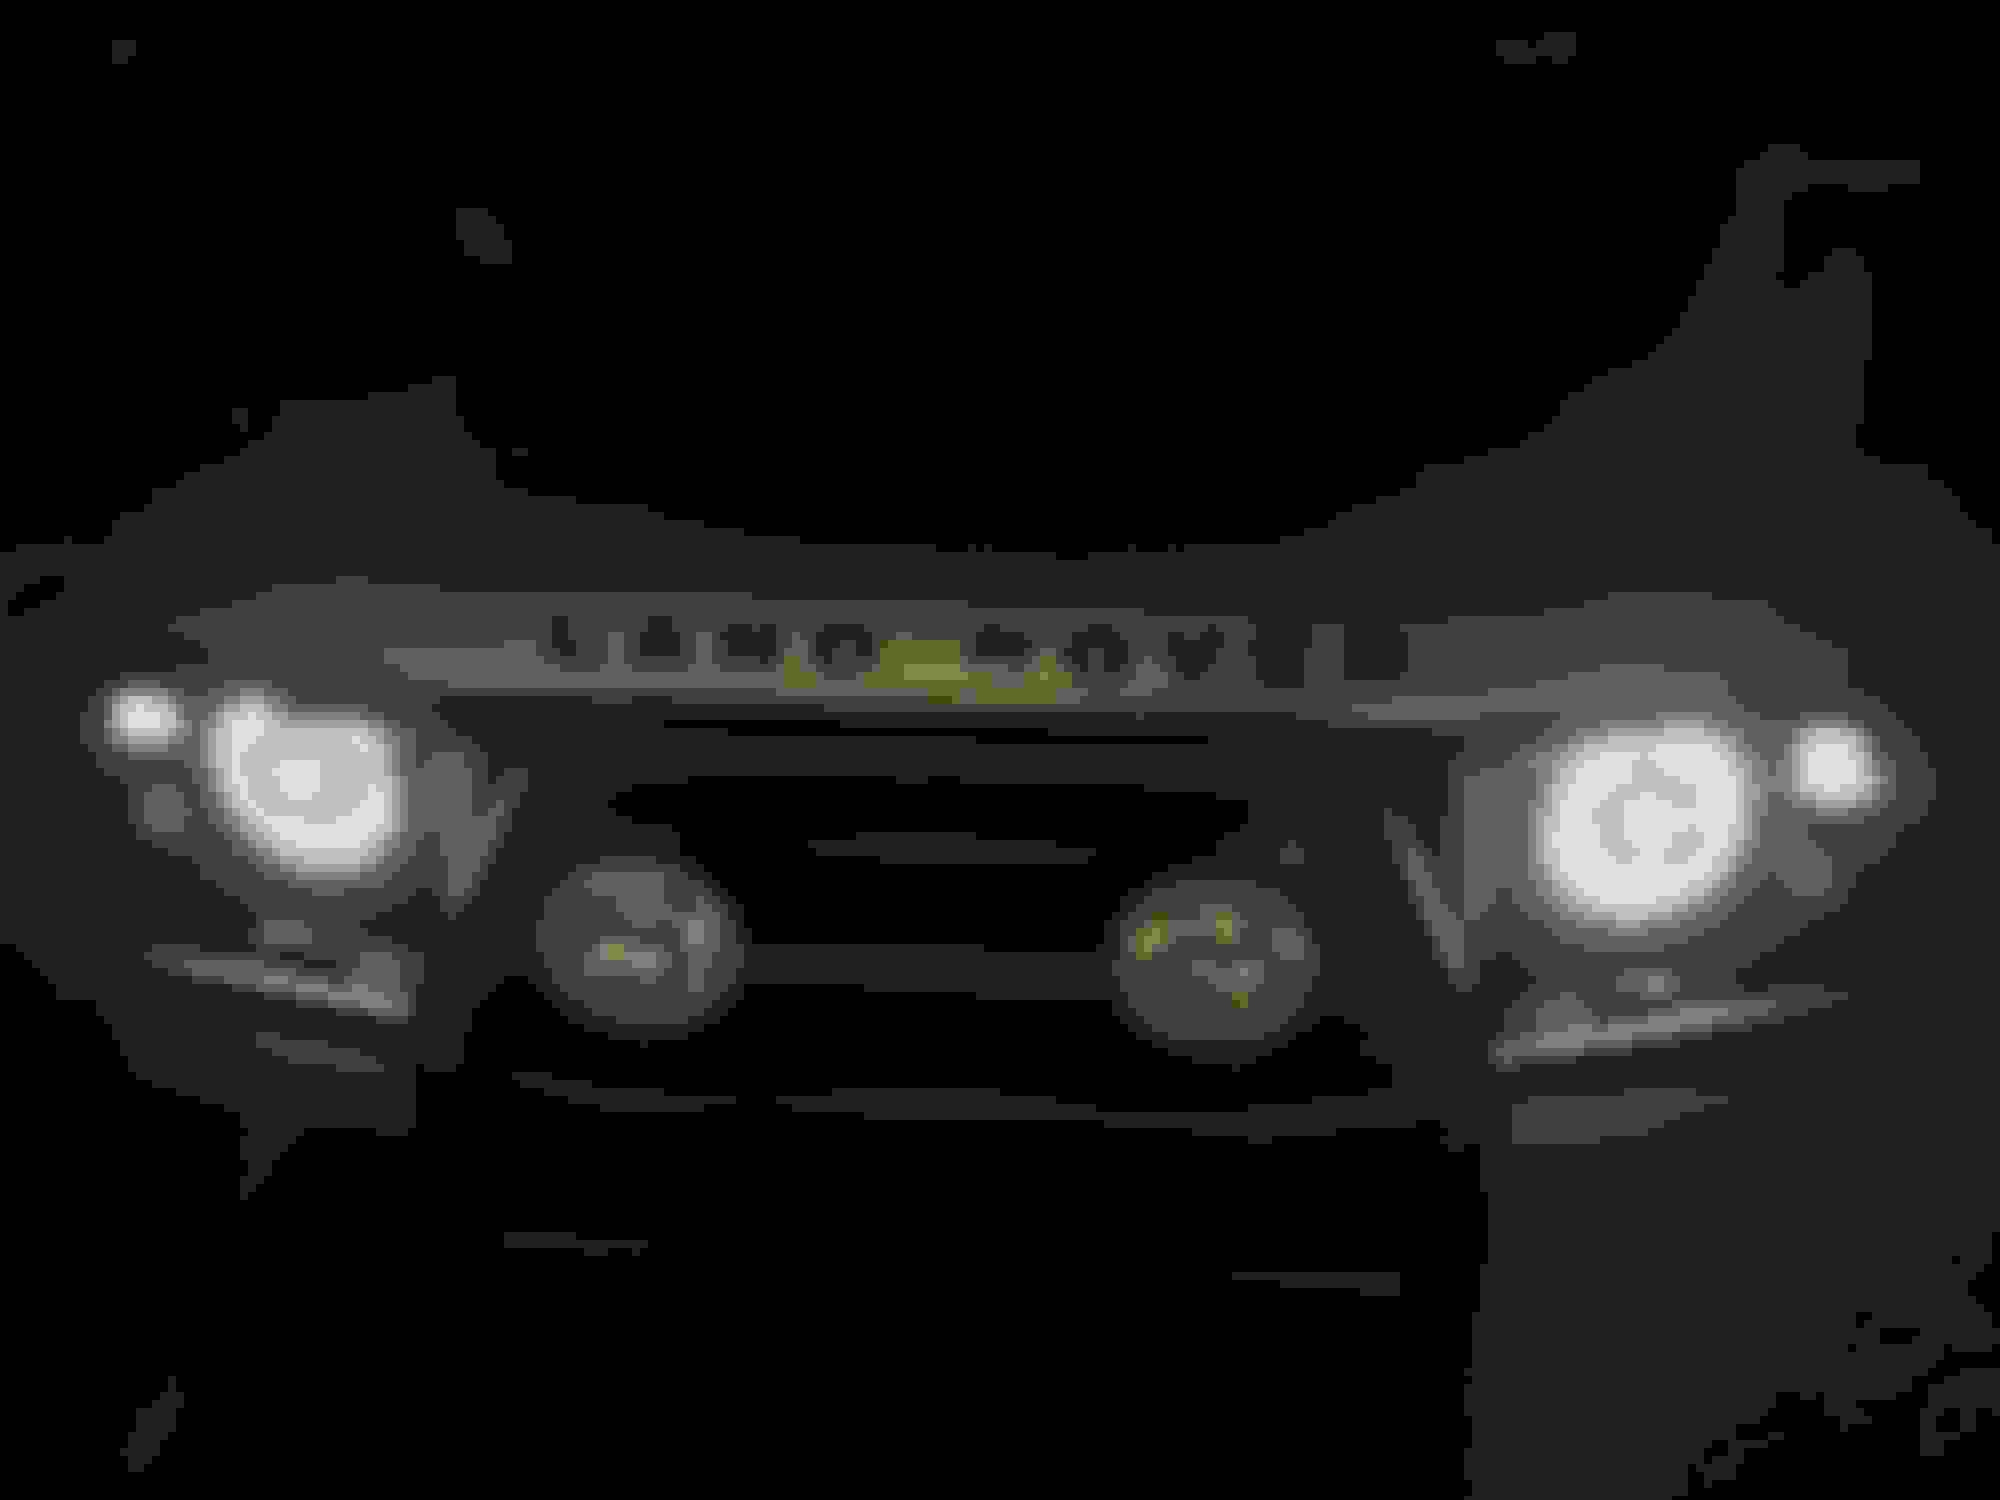
After . Was later at night. This is all lights on lights are bright! Driver side profile.
Headlight pics:
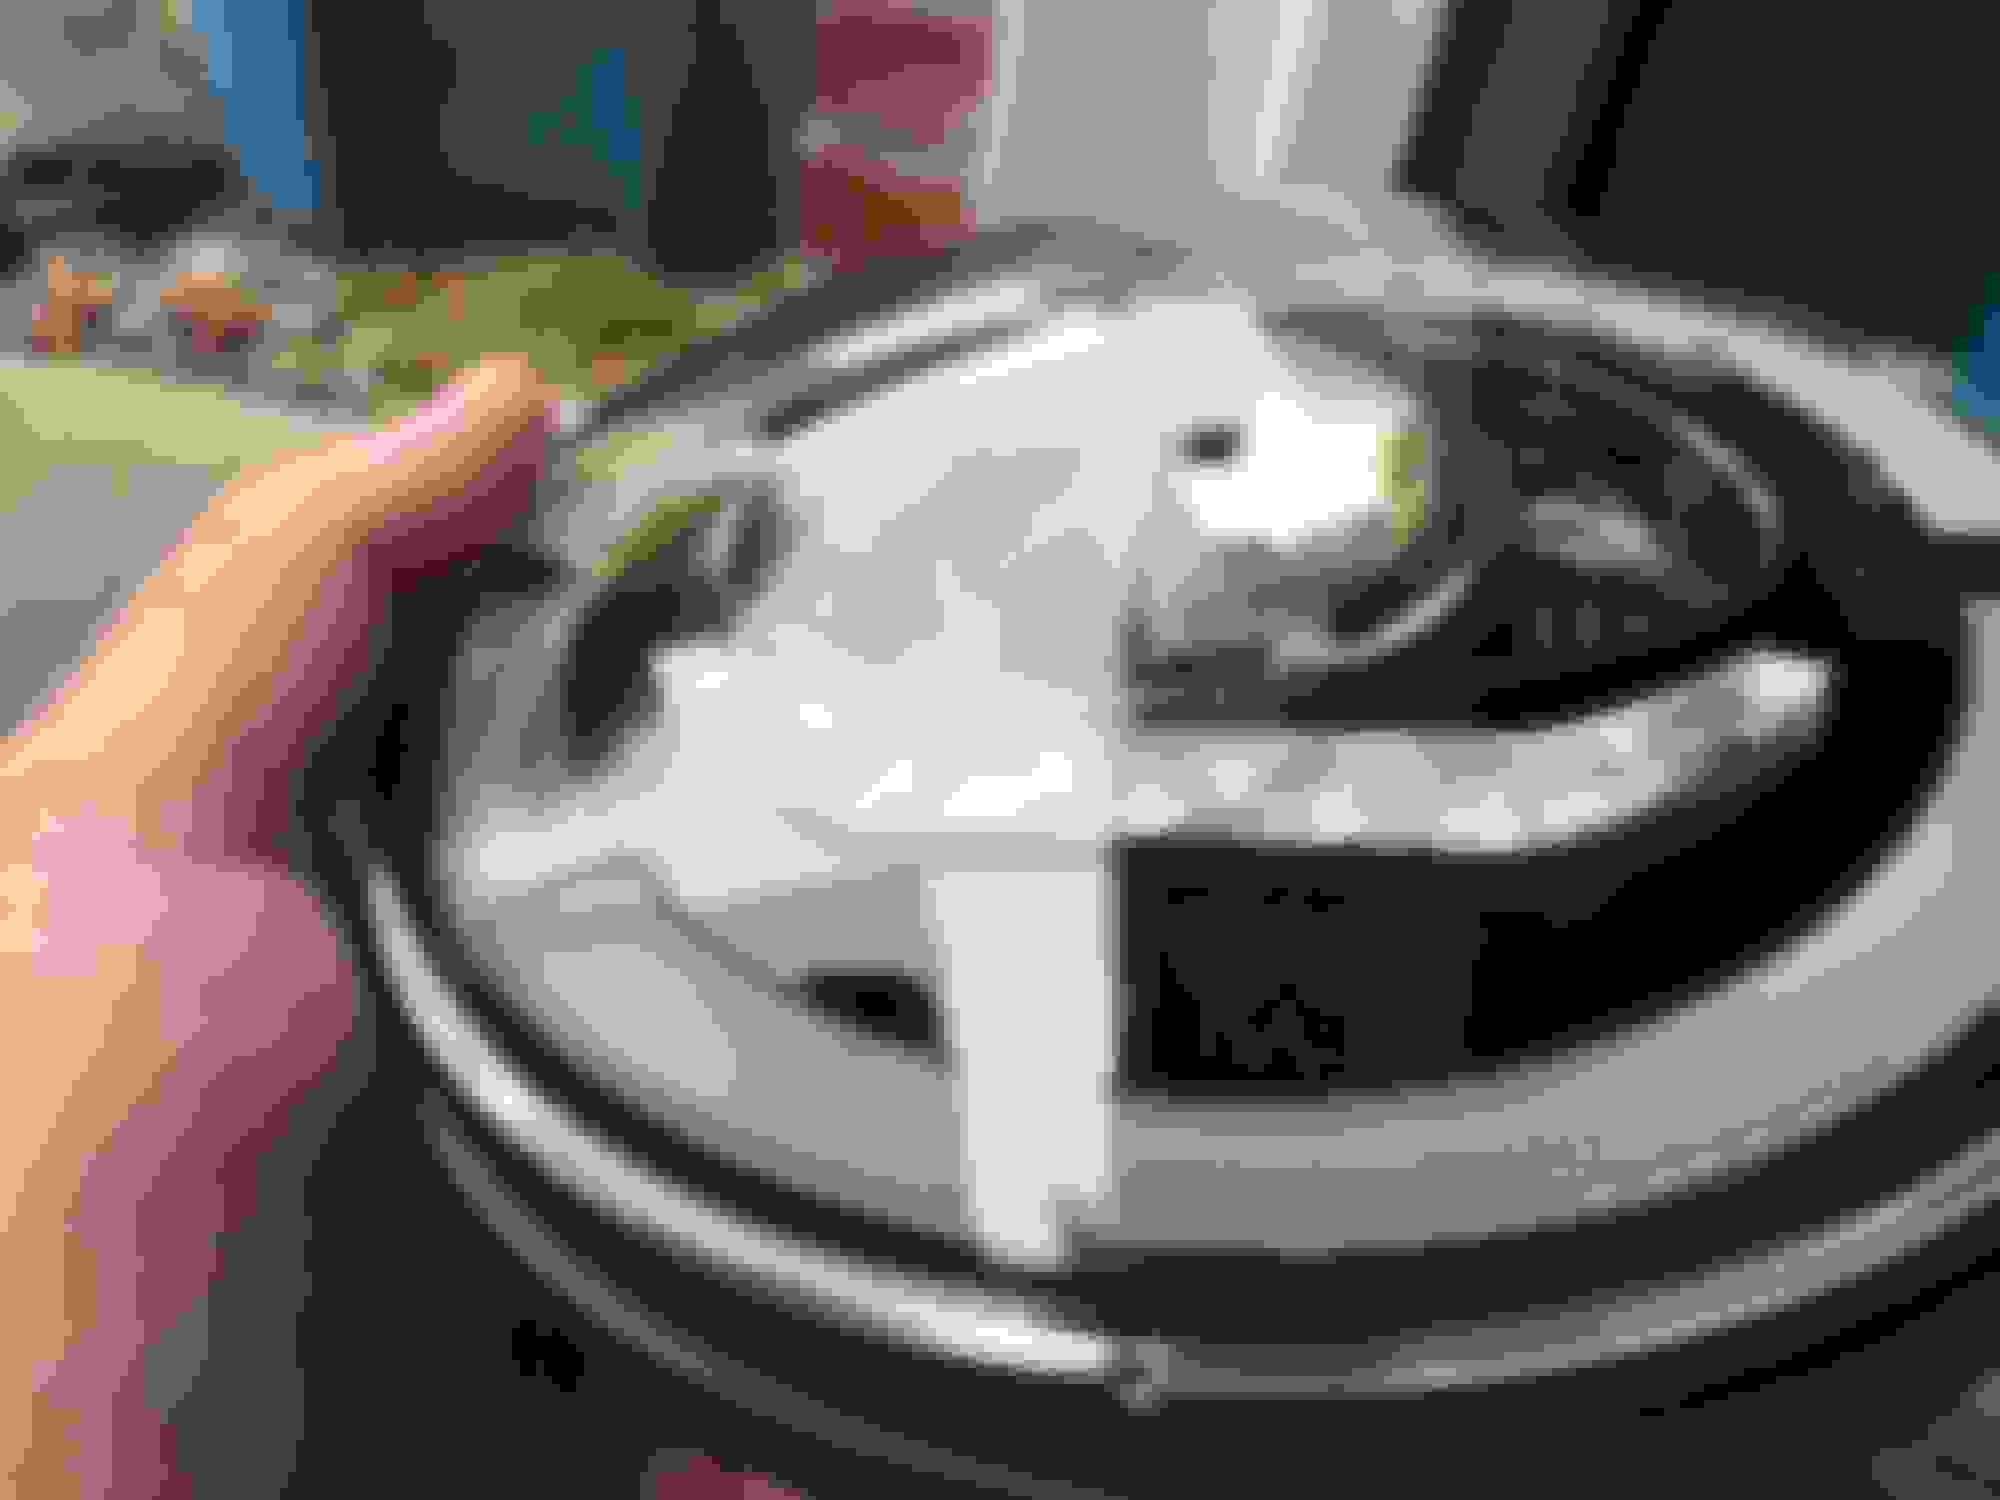
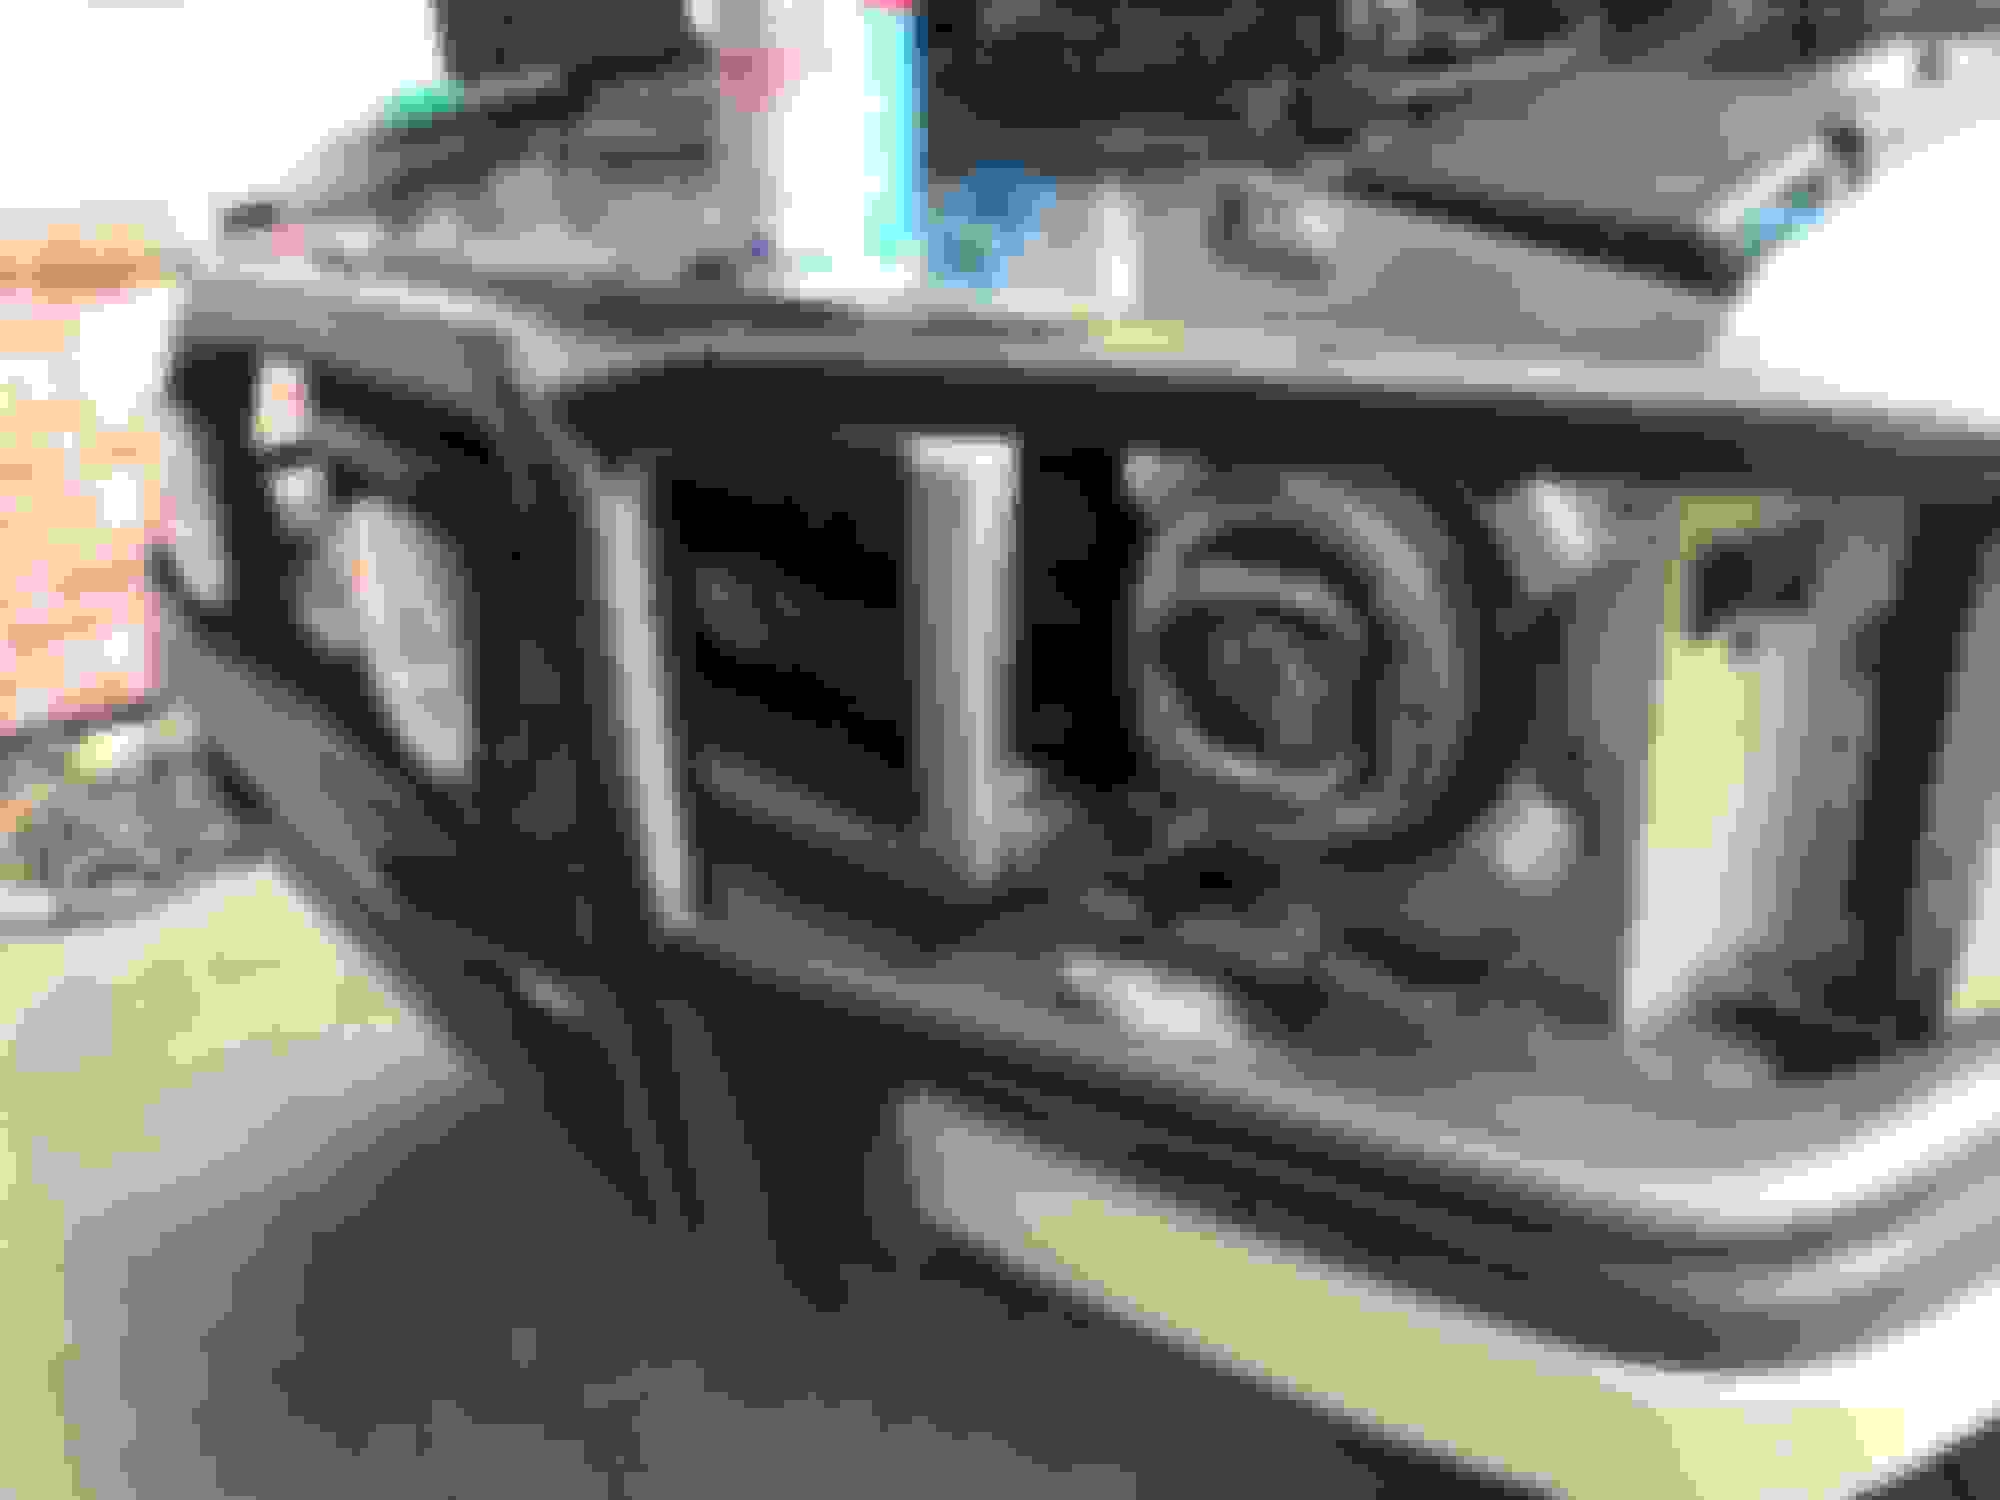
Tuff Rok “Tornado Headlights”. Note DOT / SAE stamp.
Rear of light. Note the blue Wire is needing to be properly wired for the halo led part to function.
Mounted. With the custom bracket without the fascia
. Secret sauce = Patented adapter. This is well designed, and putting in a round sealed beam looks to be a standard design… to potentially allow other models. But the “tornado” light fits like oEM, and easy to swap if you don’t have a brush bar. 😬 these pop right in like the oem ones.
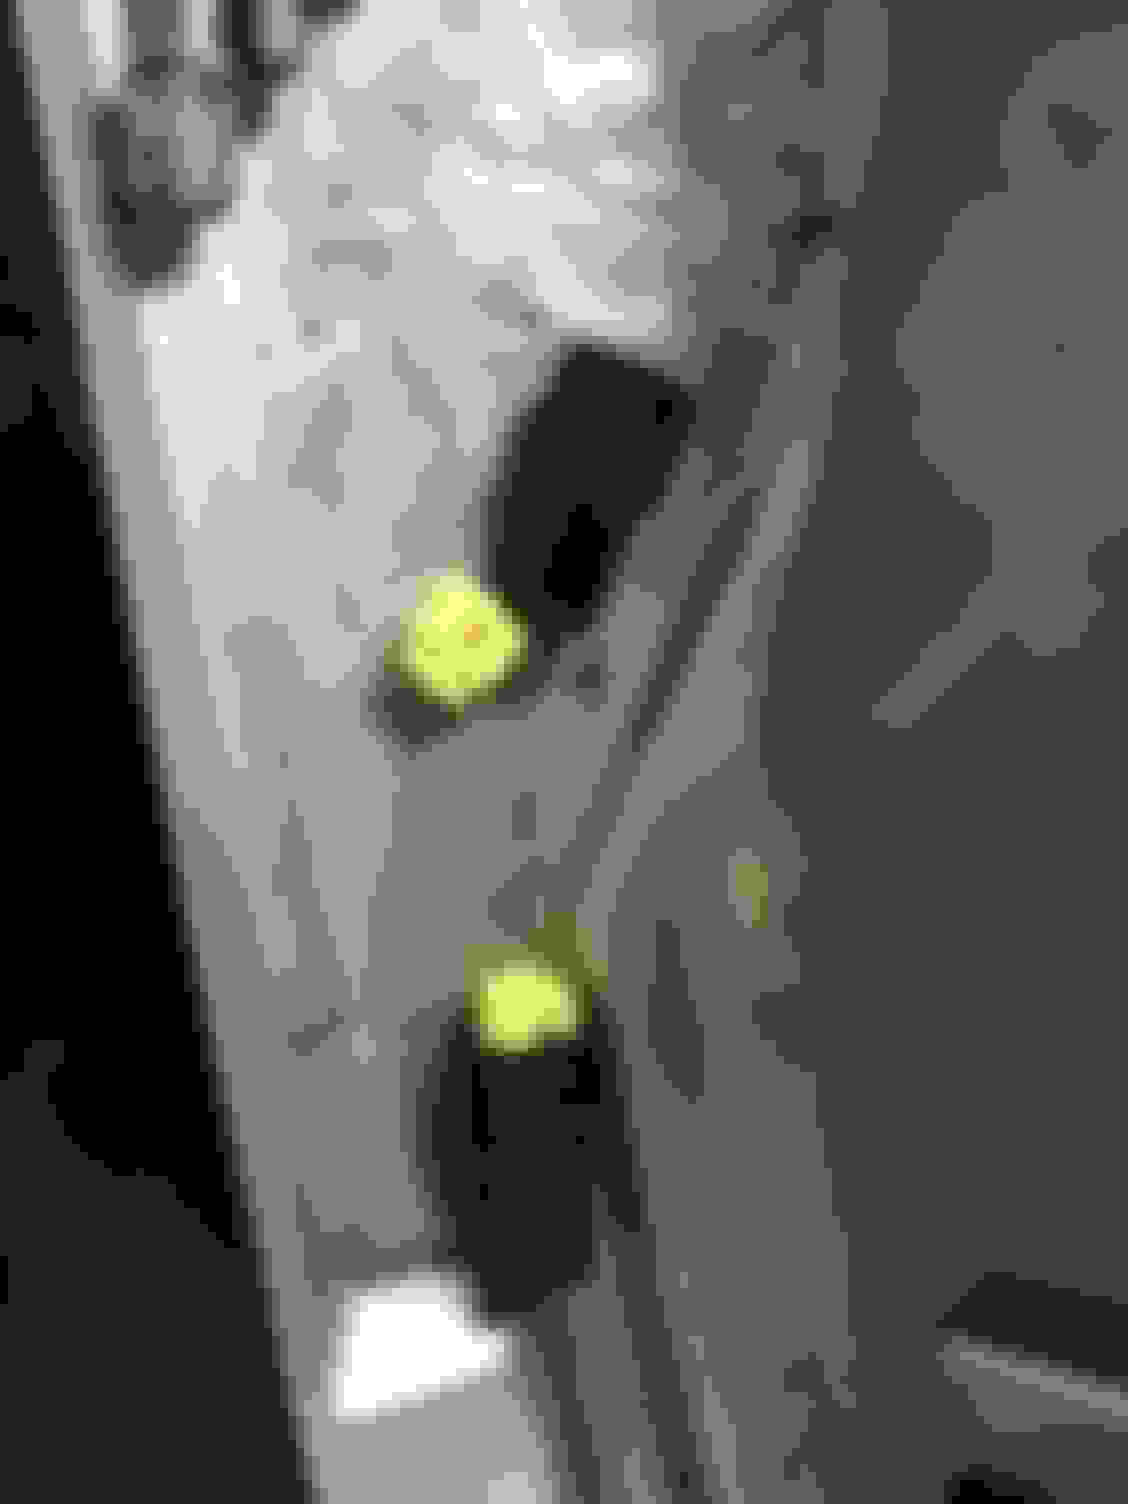
Pin adapters for side flashers (part of the housing) nice this is included with the install..
What the pin adapters connect to, as well as the parking light wiring. Both are part of the new housing(left pic is the back of the housing).. Which goes over the front.
(Drivers Side view)
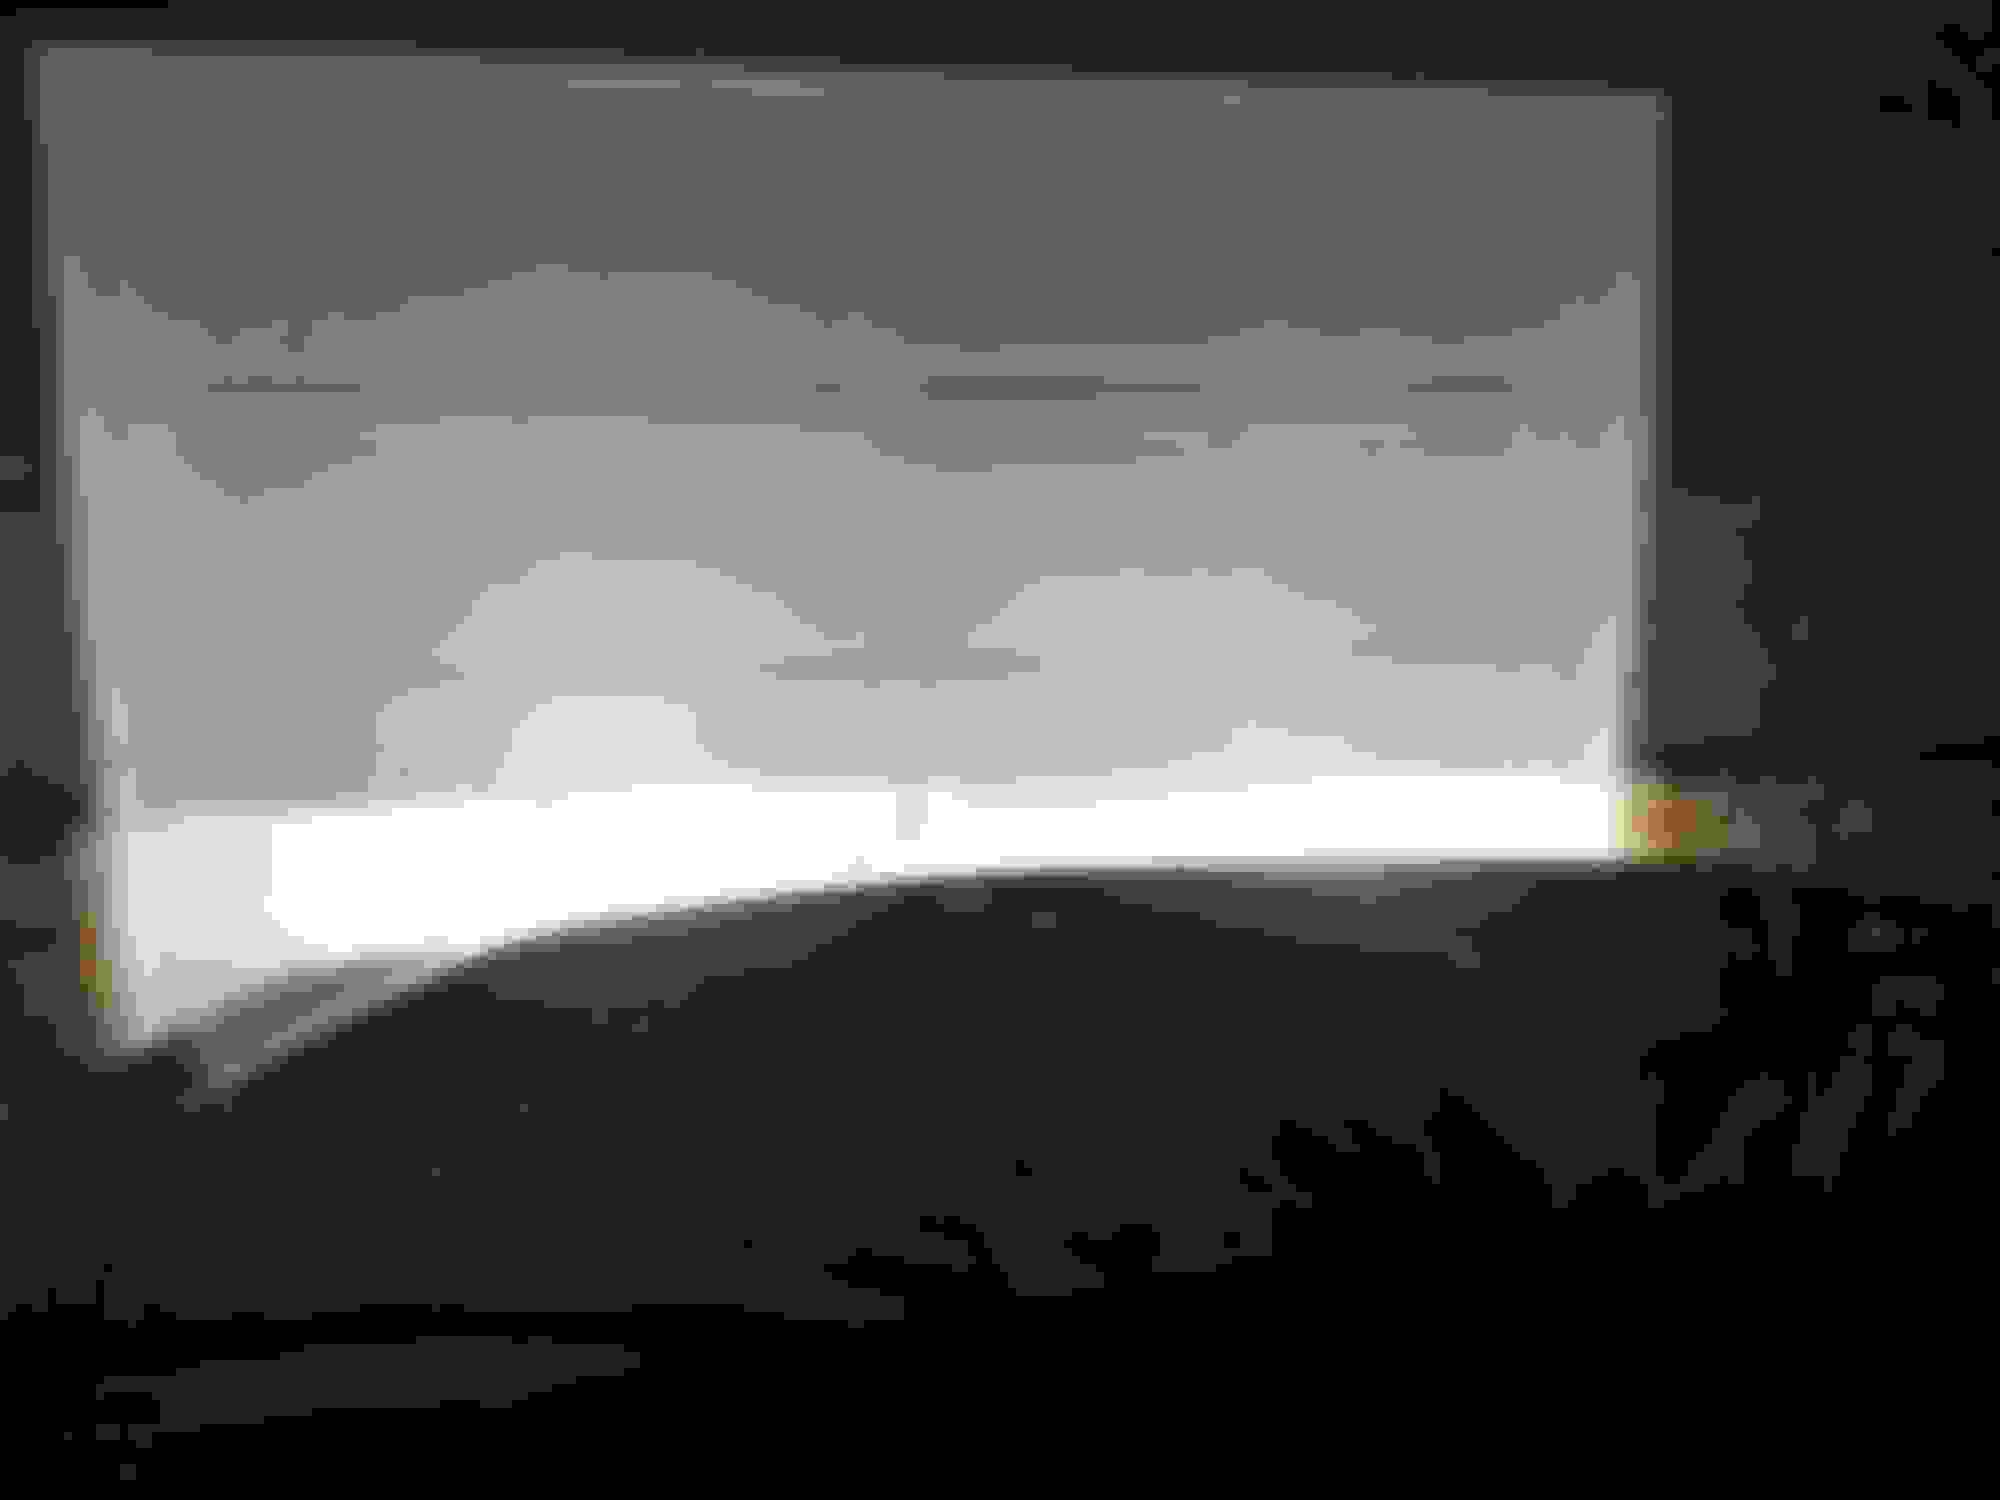
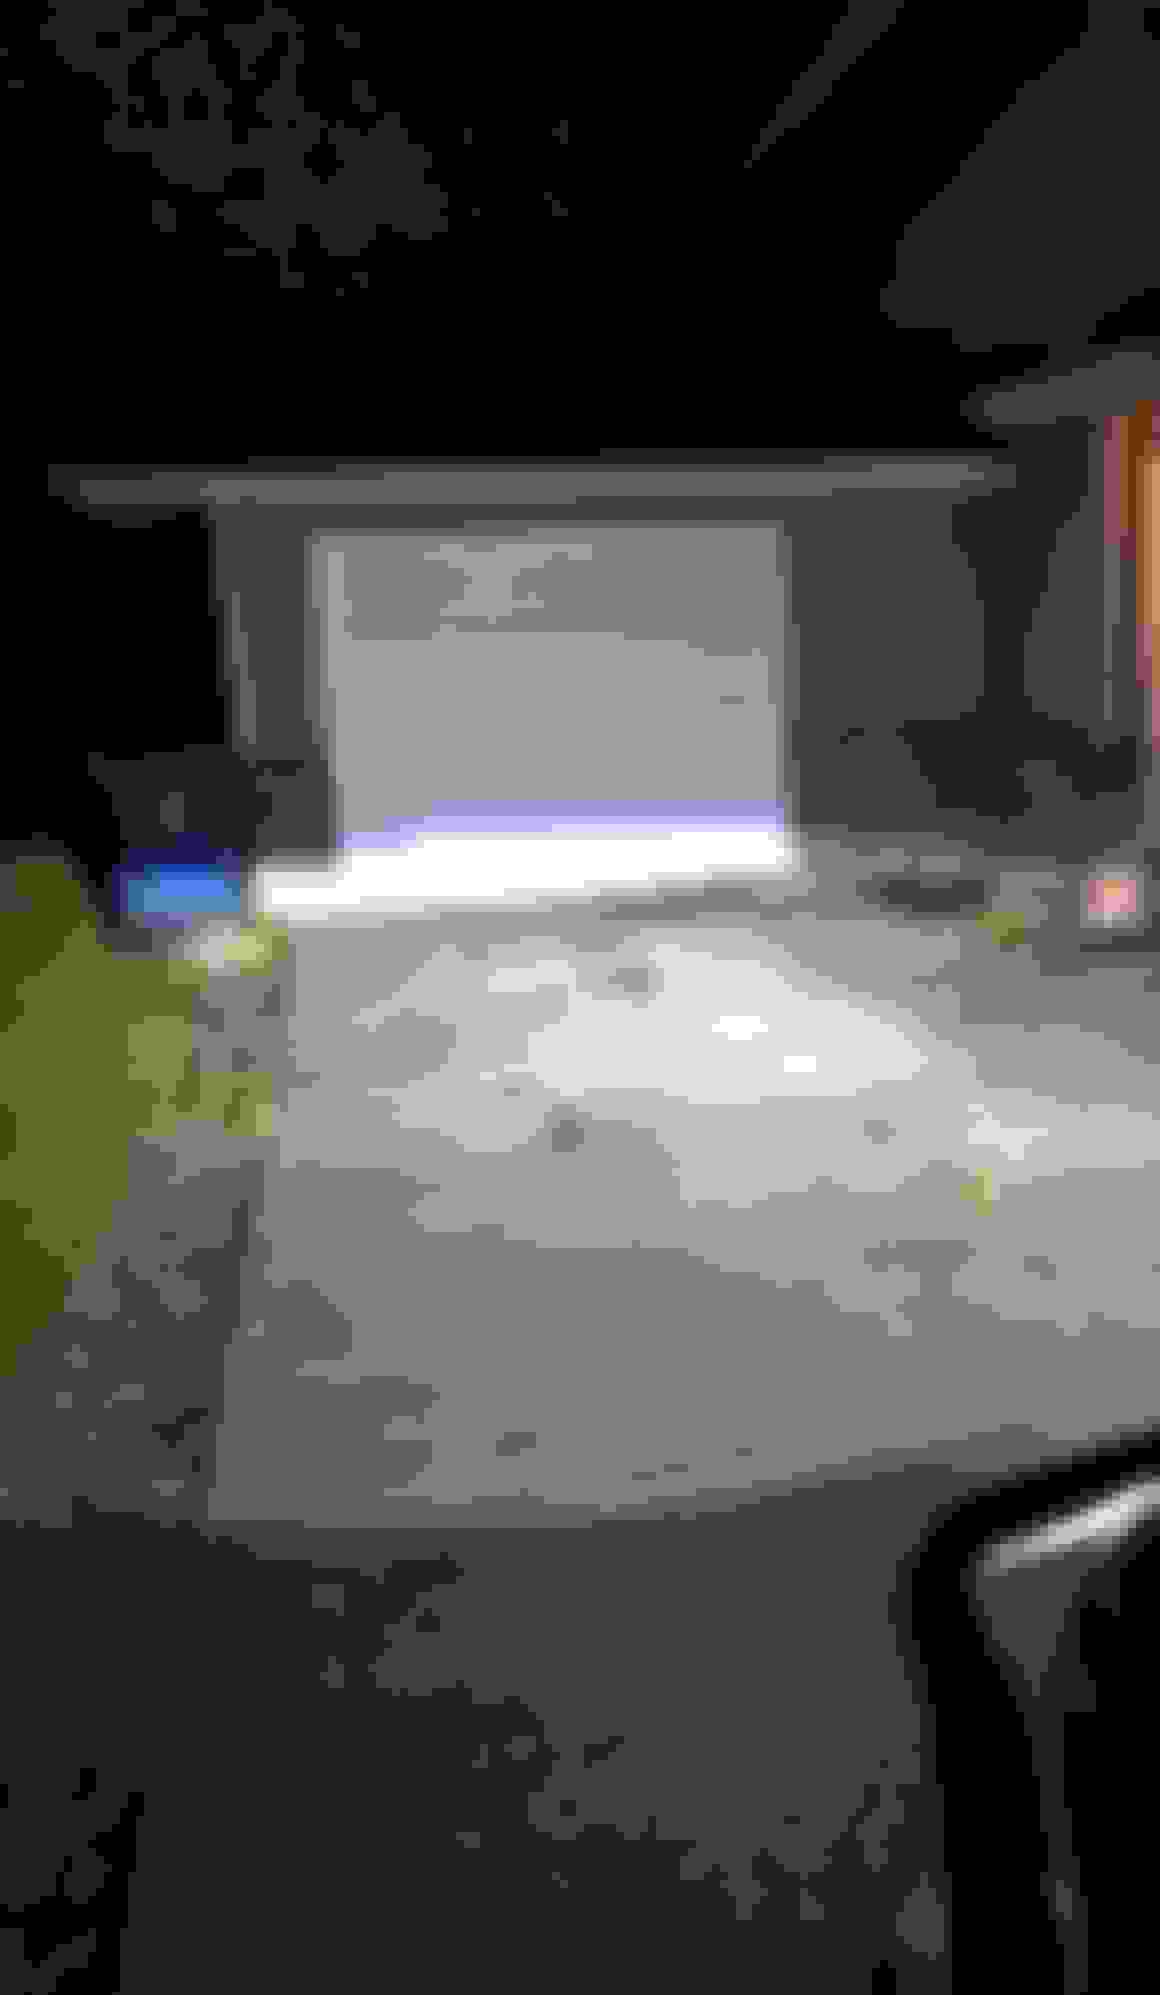
Final Photo of Beam pattern(s)
Drivers view. 3’ from garage door
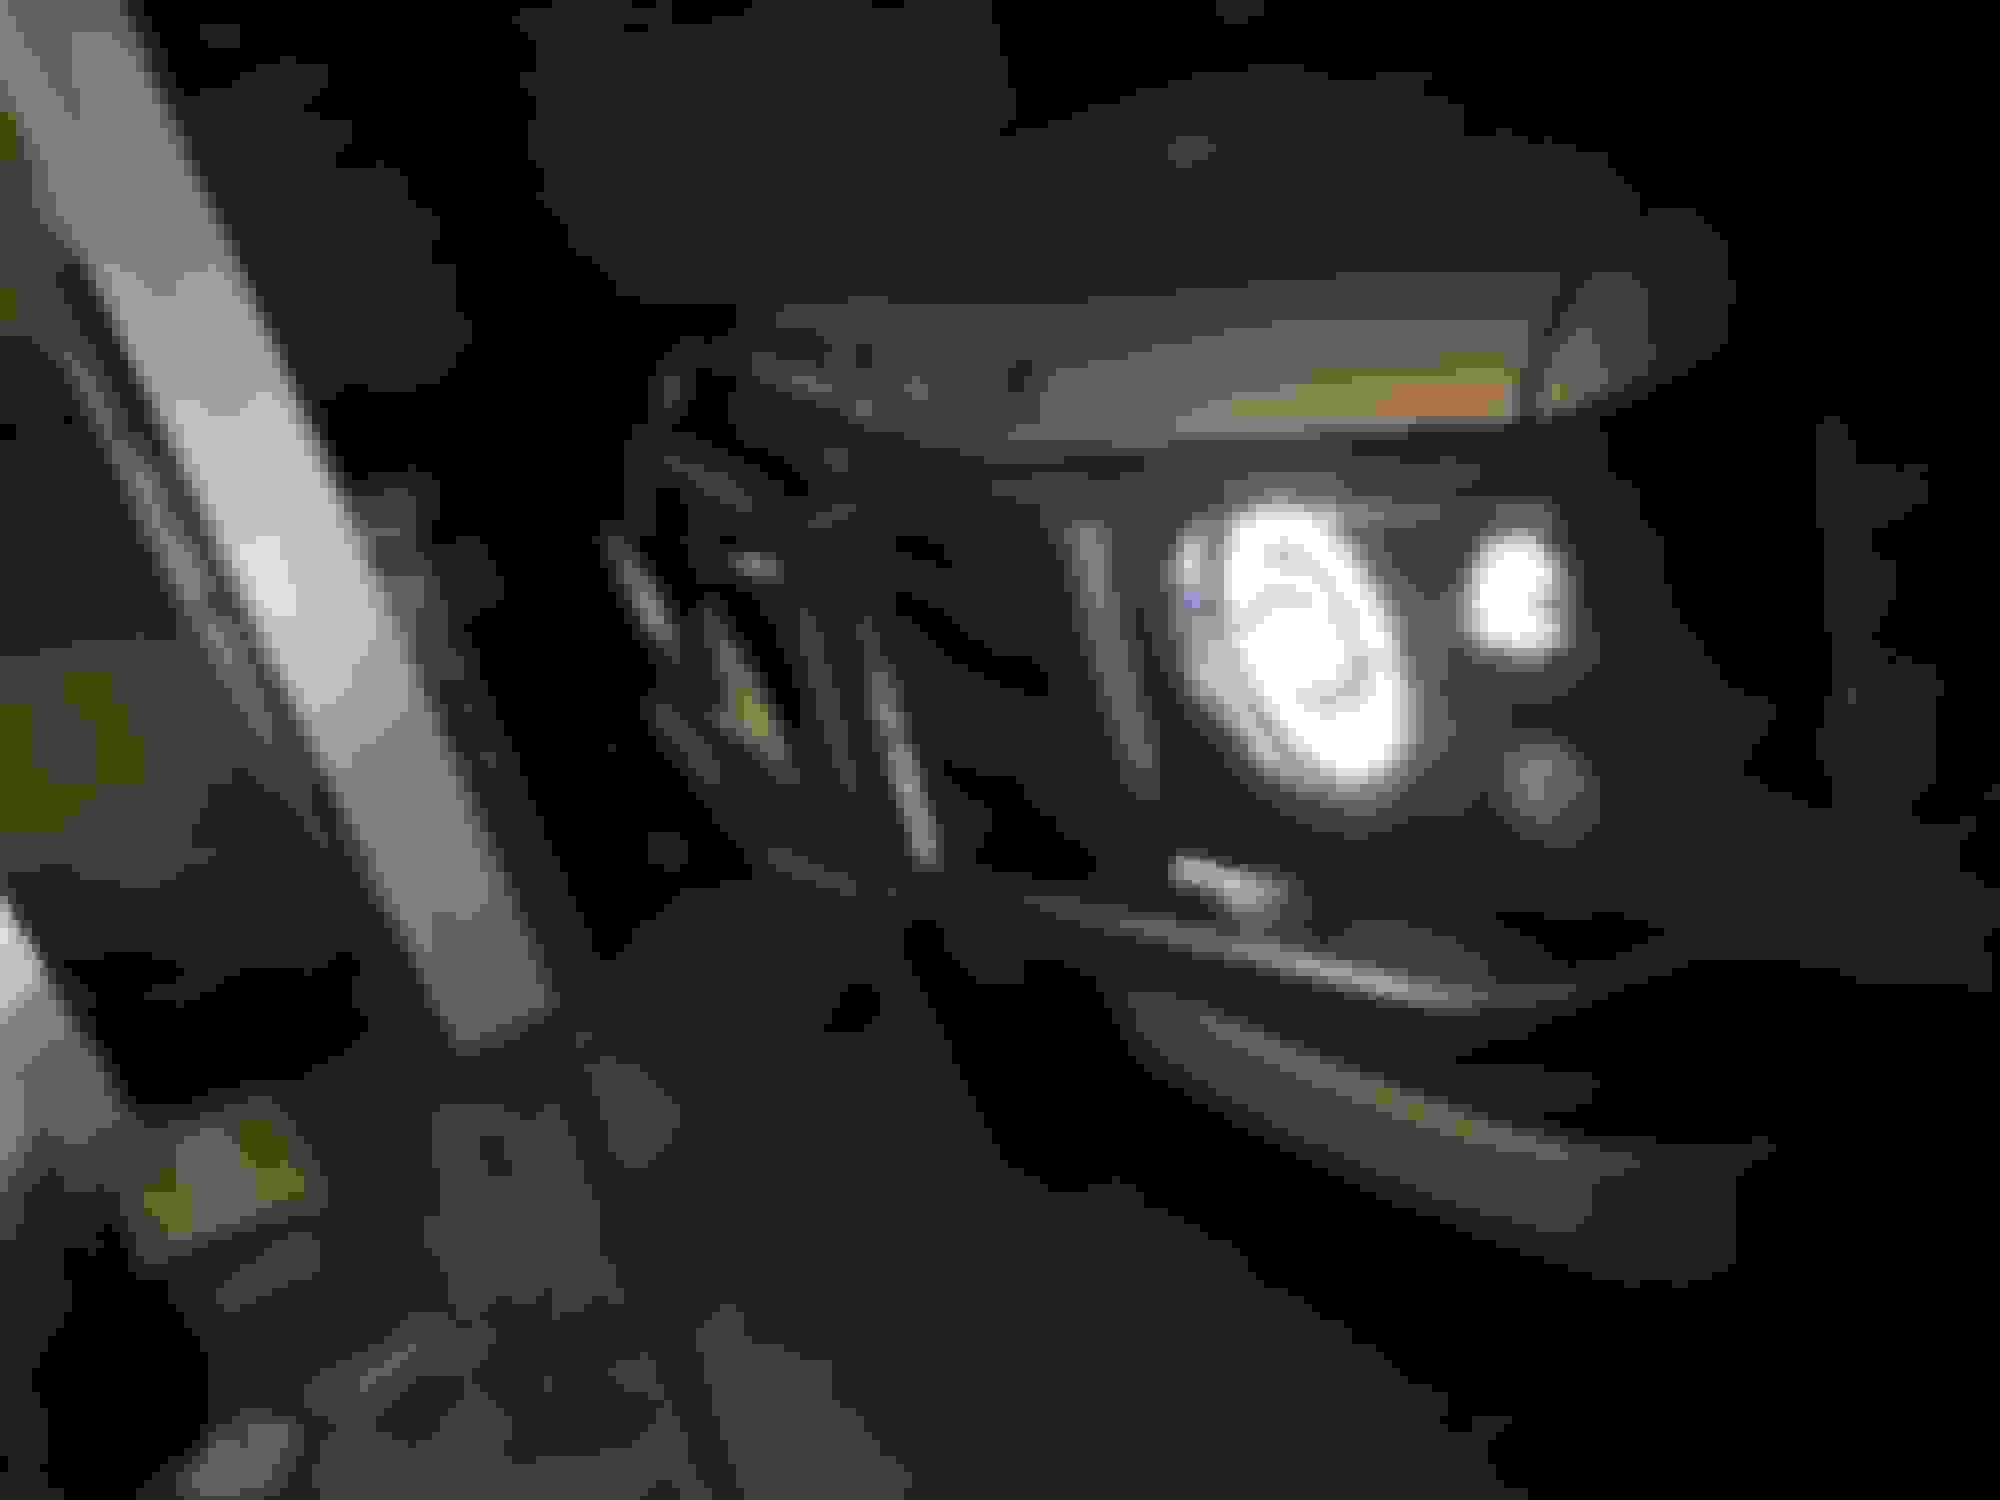
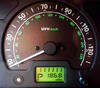
Outside drivers side. 30’ from garage.
All in all. 100% plug & Play. New cover housing fits “ok”. I’ll have day photos to show what I’m talking about.
but worth the money for the upgrade for night driving imo.
Last edited by Seattled2; 05-10-2021 at 05:34 PM.
Reason: - Blue wire instead of Blue light, adding dayrunner pic
I really wish they made a set for facelifted d2s. I've been considering getting a set and adapting them to work with my truck but haven't pulled the trigger yet. Coming from cars with factory xenons, its a bit tough going back to a halogen reflector even with a bright LED bulb fitted.
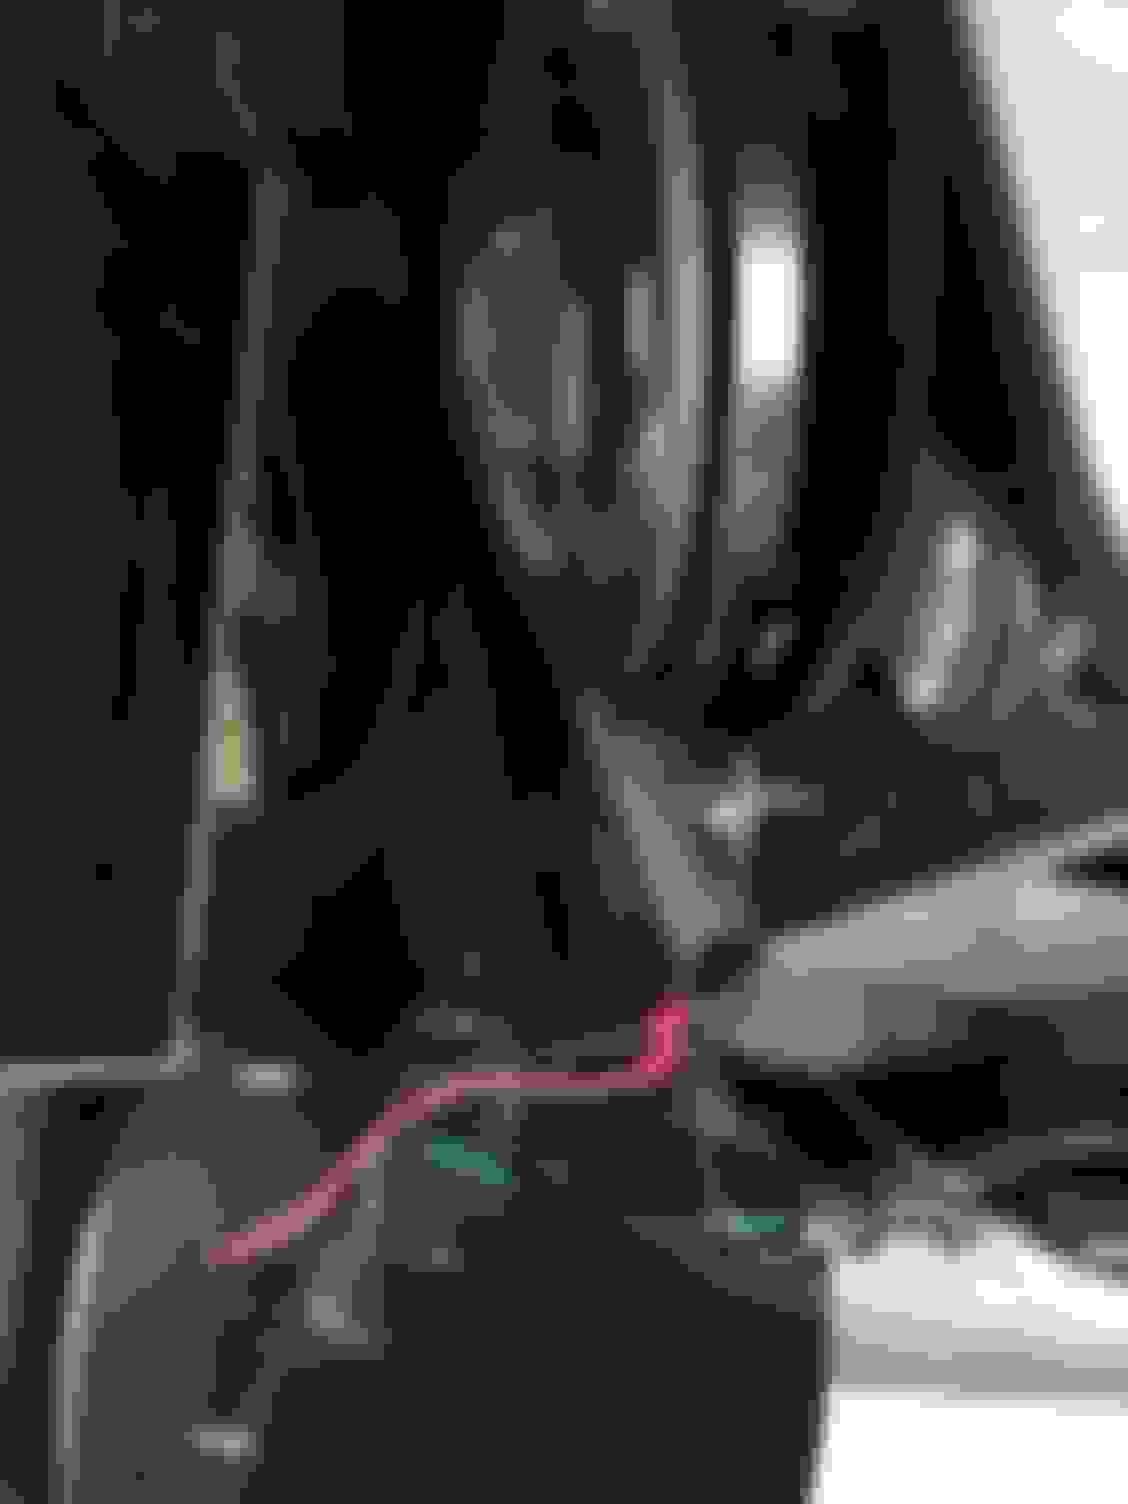
The headlights came with conversion cables. I’ll upload a pic. The are H4 wired by default. So it might with later. Just never tested? I didn’t have to use the extra wiring provided in the box
heres the pics . 😅
Extra wiring if you don’t have h4 which are direct plug and play Diagram provided with the tornado kit… clear instructions
Last edited by Seattled2; 05-09-2021 at 11:42 PM.
Reason: Adino pics
I put LHD european spec lights into my 2003, The beam pattern is almost the same as those lights. The only difference in looks is that the upper parking light is clear instead of amber
There are LED DOT headlights and round LED turn lights for Jeep ($80 in total on ebay). It shouldn't be to hard to make a mounting bracket/cover with a 3D printer for the facelift D2. I hate the stock because they get fogged in winter or after rain a lot. I tried with silicon already, but that didn't last long. I could sell my original headlights used on ebay easily to pay for such a kit. A set of original headlights is new over $1000.
Finally got the Tuff Rok Headlights. I decided to order them direct. Because they have a newer “Tornado” headlight beam, which looks better than the original imo, longer range.
After - Tuff Rok headlight housing with “Tornado” headlights.
What are your thoughts on the fit and finish and overall quality of the kit?

 05-09-2021, 01:30 AM