When you click on links to various merchants on this site and make a purchase, this can result in this site earning a commission. Affiliate programs and affiliations include, but are not limited to, the eBay Partner Network.
First here is the reason for this Mod/Upgrade should be performed on your 99-04 Land Rover Discovery Series II or 99-02 Land Rover Range Rover with the Bosch 4.0L/4.6L V8.
As you can clearly see in the image above the air going thru the engine (documented in Red) stops flowing at the passenger side valve cover at the OEM Plastic Baffle, where the air (documented in Yellow) is no longer flowing thru the engine.
Here is the same setup with the V288/FV308 installed at the passenger side valve cover. Now you can see the airflow thru the engine is no longer restricted. This is how a PCV setup is supposed to work. Allowing the engine crankcase to properly vent.
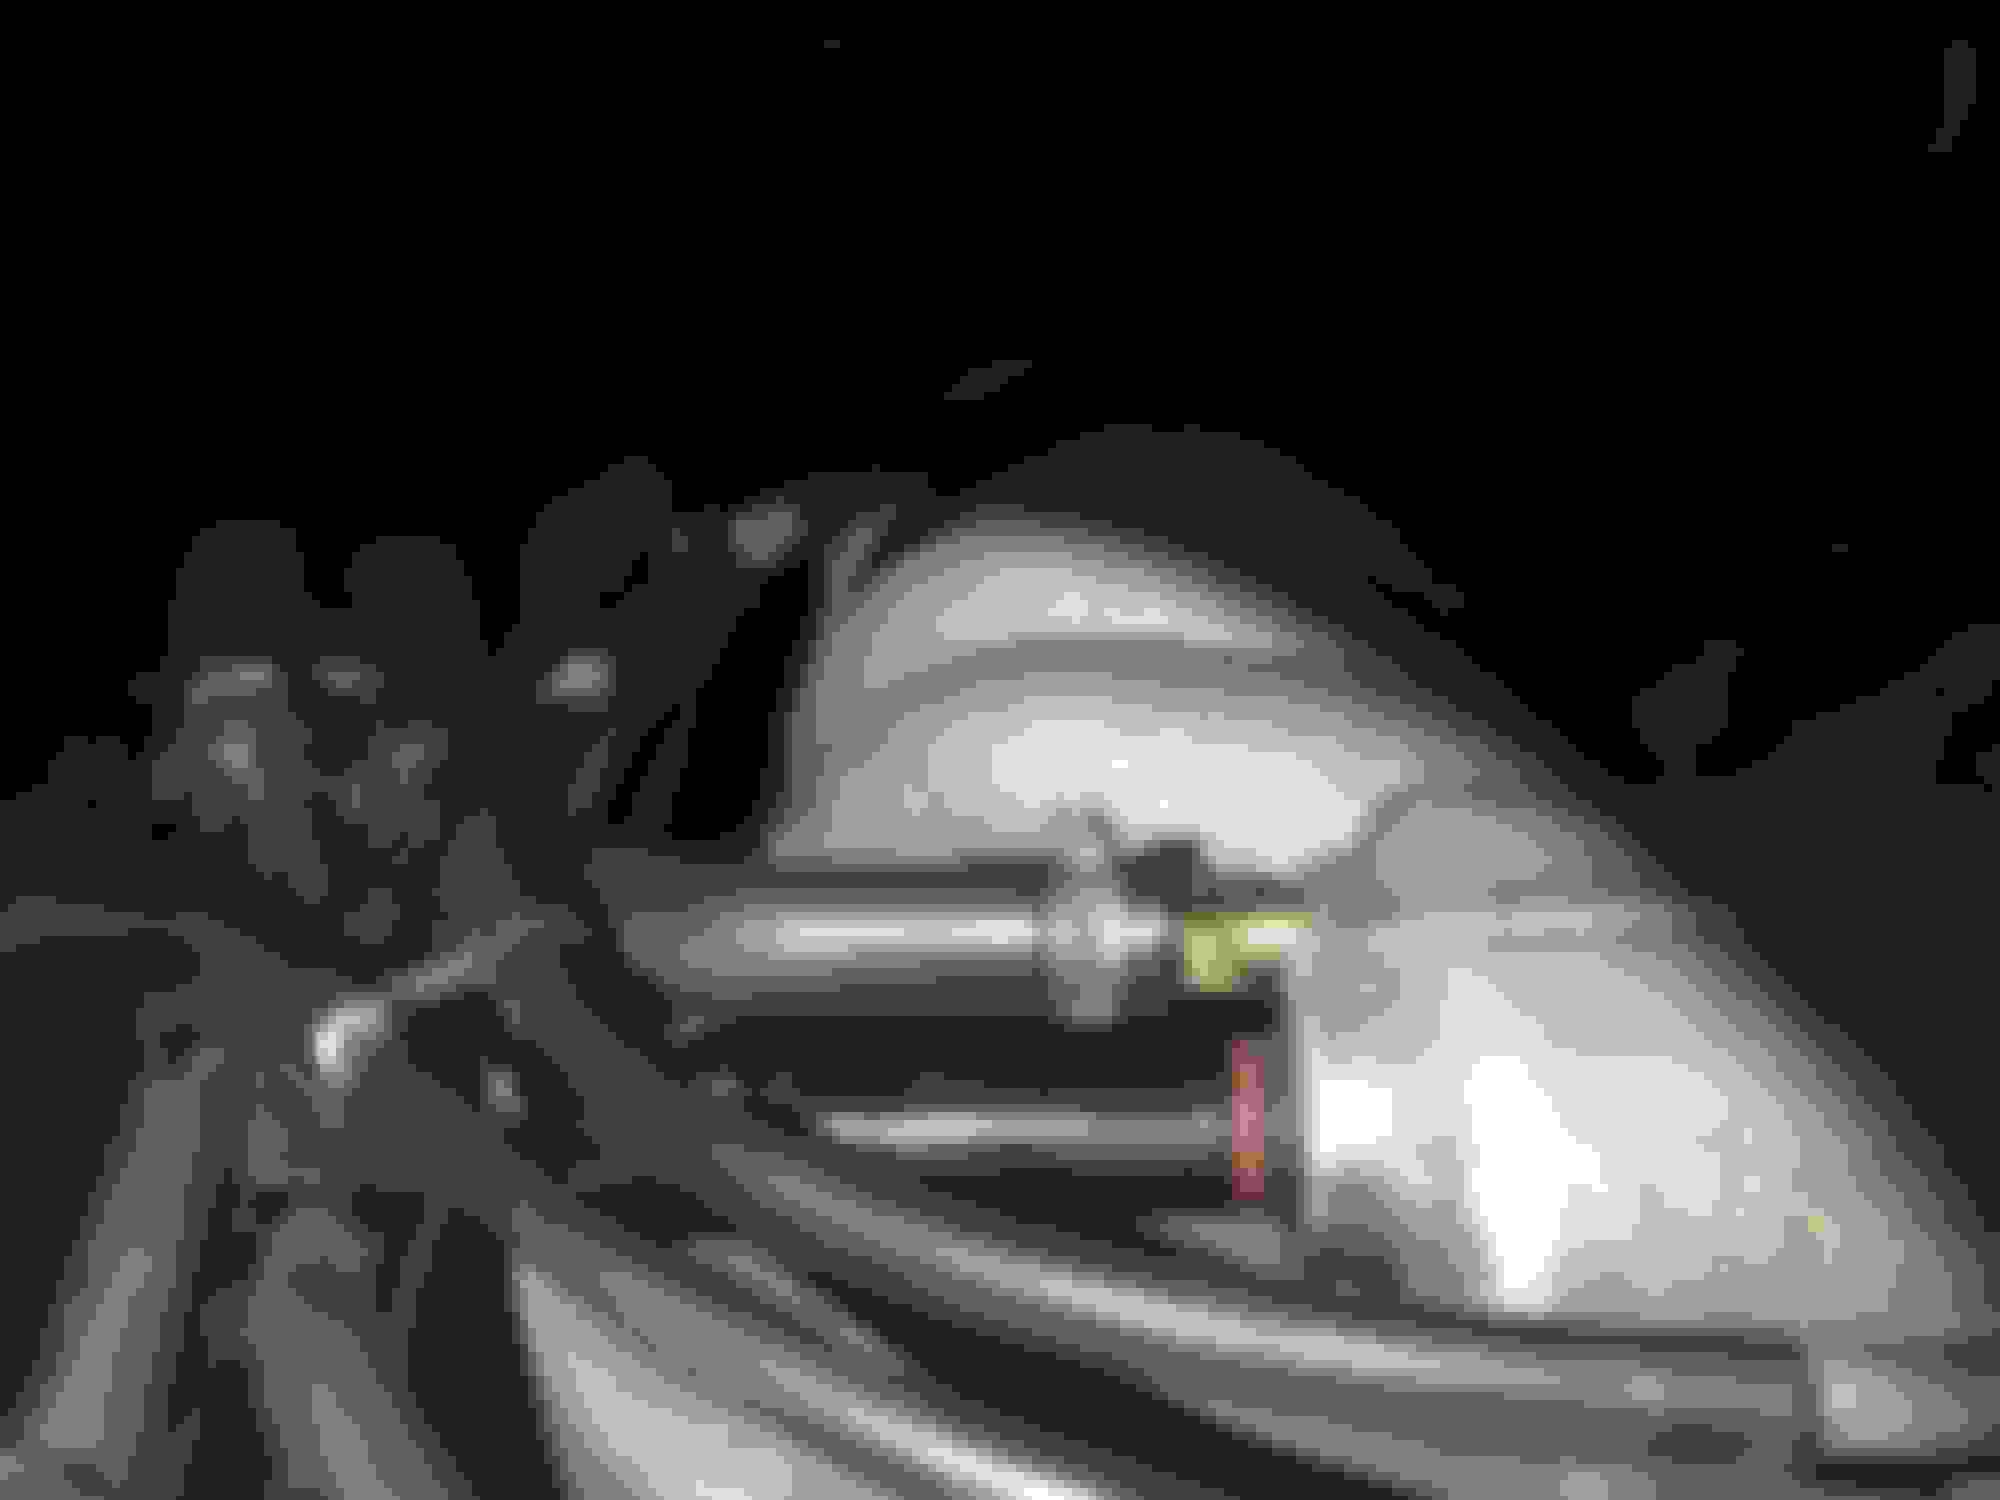
With the OEM setup you have two plastic pieces in the system. One is located at the Intake Manifold (Black 1/4 Threaded Nipple) and the black plastic baffle mounted inside the tube on the passenger valve cover. The nipple mounted on the intake manifold is well known for breaking clean off & the fix most people performed was to replace it with a standard 1/4 threaded nipple found at any auto parts store or even a hardware store. That solved the weak link at the intake manifold, but it left you with the OEM plastic baffle sitting in the tube at the valve cover that can very easily clog causing your valve cover gaskets to seep like crazy due to increased pressure inside the engine. I wanted to find a permanent solution, but at the same time I wanted it to look OEM. I searched and searched and finally found the V288/FV308 PCV. Below are the very simple instructions on installing it.
Step #1Purchase the V288/FV308 PCV from either Rock Auto, Ebay, or your local parts store.
Step #2Disconnect the clamp holding the breather hose onto the OEM Black Plastic Nipple (mounted on the intake).
Step #3Remove the breather hose and then using a 14mm box end wrench remove the OEM Black Plastic Nipple.
Step #4Thread the V288/FV308 into place, and re-install the breather hose and breather hose clamp.
Step #5Remove the breather hose clamp on the opposite end going to the passenger valve cover and the breather hose.
Step #6On 99-02 models spray a bit of carb spray into the hole to loosen it up, and then gently pull up and remove the OEM plastic baffle.
On 03-04 models you will actually have to remove the tube containing the OEM plastic baffle from the valve cover. I've had success with using
electrical tape around the tube and then gently twisting it out. Once out remove the baffle and then drill out the hole at the end of the tube. Then
re-install the tube into the valve cover. I use a 13mm socket, with a 6inch 3/8 extension to tap it back into place.
Step #7Re-install the breather hose and hose clamp and you are done.
Above is a picture of what it will look like when completed. You can clearly see the new bronze V288/FV308 PCV installed on the intake manifold. Now you've got a metal nipple at the intake which now also contains a PCV.
***If you have a 99-02 D2 and when you tried to remove the baffle it broke into pieces don't panic.
I've had this happen on a few I've installed for friends/customers. Take a cordless drill with a small drill bit, and carefully
and slowly drill all the way thru the baffle. Once all the way thru take a 2.0inch long drywall screw and thread it into place
until you have about 1/4 of an inch hanging out above the nipple. Then just take your needle nose or pliers and carefully pull up.***
***If you have an 03-04 D2 you will want to open up the hole in the tube once you have it out to remove the baffle. You can drill it out to 5/16 or carefully just chop the top off. Then you'll have the best flow to the V288/FV308.***
***The V288/FV308 PCV Mod is of my own design and creation***
Here is a list of all the cross reference P/N's
AC-DELCO CV940C
AUTO-TUNE PT3858
BECK/ARNLEY 045-0264
BECK/ARNLEY 045-0272
BORGWARNER PCV380
CANADIAN TIRE 17-9275
CARQUEST V288
CENEX PC193
CHAMP PC193
COBRA WCV219
DEUTSCH PCV147
FILKO P257
GRAND PRIX PC193
GROUP 7 PV1027
HASTINGS HV130
HONDA 17130-PM3-003
JIFFY LUBE MV1023
JIFFY LUBE MV1027
KEM PCV146
KRALINATOR V233
LEE LV-193
LUBER-FINER PC193
MAGNUM PRODUCTS MV1023
MIGHTY 6-1018
MOBIL PV1027
NOVO 2233
PUROLATOR PV1027
QUAKER STATE PV1027
SCARLEN INDUSTRIES AV1023S
SERVICE 1 59242
SHELL PV1027
STANDARD V288
STANDARD MOTOR PRODUCTS V288
WARNER PC193
WIX 66084
I read this very informative post and have a couple of questions.
First the OEM Black Plastic Nipple on mine unscrewed very easily in fact it came out by hand.
seems in good shape! blew thru it not a problem.
Second my leak is at the other end of the hose going into the valve cover and it doesn't seem to be threaded am I mistaken?
Is the FV308 PCV located in the valve cover?
Is that what I need to remove and replace? see picture is this the FV308 PCV
The leak is mostly very small with no evidence upon inspection except twice where it leaked enough upon shutting the vehicle off and causing the leaking antifreeze to burn with noticeable vapor or smoke.
will cleaning help until the new part arrives?
Thanks and for the humor!
Fixing this then having new front springs and turrets and shocks installed next week.
Next the 3 amigos they only come on once in awhile but it bugs me to have lights on.
I got the same PCV, but this one works in the wrong direction. I blew air with my mouth into the threaded end and the valve blocked the air flow quickly. When blowing air into the other side, the air flows freely. Actually, the thread has to go into the valve cover in order to replace the function of the plastic oil separator. So I kept the plastic oil separator in place (it is brand new and clean) and installed the PCV nevertheless, since my plastic connector was broken too. In result I don't see any difference, especially with oil consumption.
I got the same PCV, but this one works in the wrong direction. I blew air with my mouth into the threaded end and the valve blocked the air flow quickly. When blowing air into the other side, the air flows freely.
i think that's the way it's supposed to work. vapour-laden gases should be able to flow from the rocker cover into the intake manifold. with the threaded end of the pcv screwed into the manifold, gases can flow in but not out.
Originally Posted by Discorama
Actually, the thread has to go into the valve cover in order to replace the function of the plastic oil separator.
i don't think that's true. not allowing the gases to flow out of the rocker cover will increase the pressure inside.
the plastic part doesn't affect the direction of flow, it just slows it so that it drops its vapour load.