
Welding Exhaust - Question For You Welders Out There
#11
 05-02-2022, 02:46 PM


Recovery Vehicle
The following users liked this post:
Karmakannon (05-02-2022)
#12
05-02-2022, 03:12 PM

Camel Trophy
I cut my teeth welding exhaust on my Disco well more than half a decade ago now.
First, the factory exhaust is some kind of stainless.
Second, you *can* weld stainless steel no problem with any flux core welder. You just can't run stainless wire, so all your welds will be mild steel and will rust, but not significantly. This is a non-issue unless you're laying mirrors under your rig at a car show.
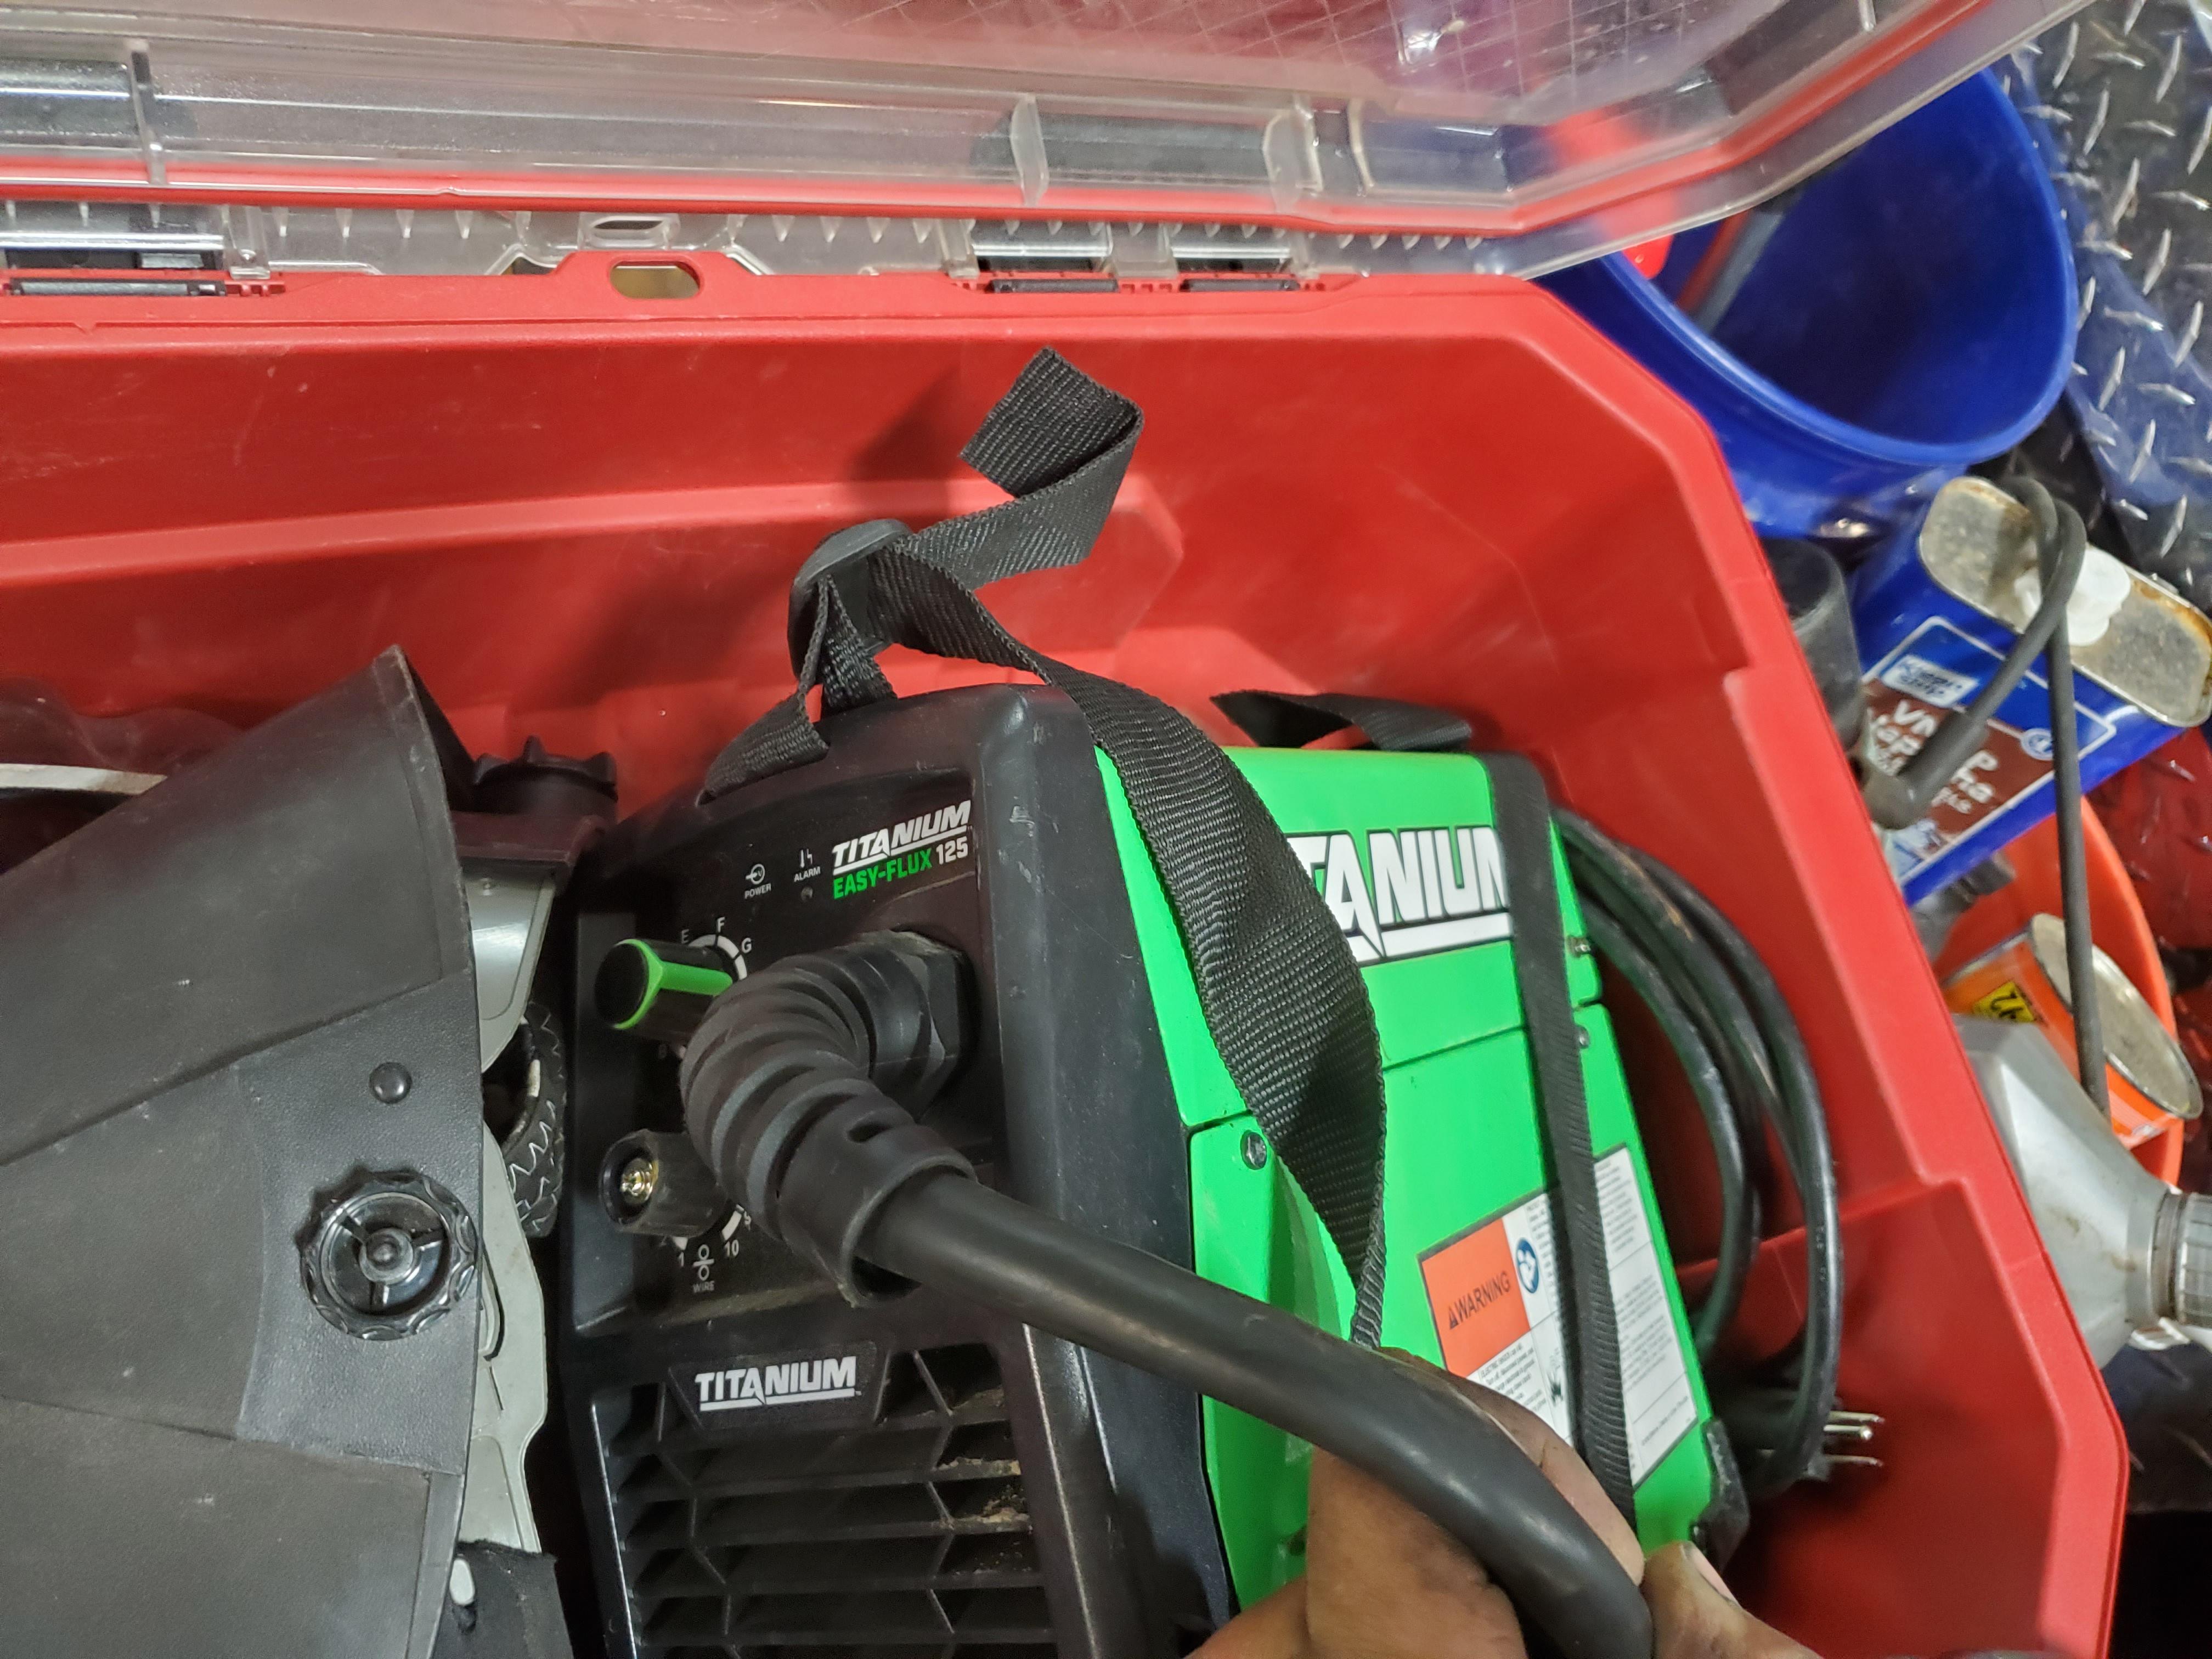
Third, I've had a few welders at this point. For a beginner machine I *really* like this Titanium flux core welder from harbor freight. It's small, light weight, and you have full settings control unlike most entry line welders. It welds nice as well. Pictured is the one I keep in a tote in my work truck.
Fourth, welding exhaust is a bit tricky because it's thin. You'll want your settings low. I generally go by the settings inside the cover of the welding machine, but add a bit more wire speed. If you're burning thru them you're going to need to just tack and tack and tack all the way around. If it's not burning thru them I would weld 3/4" to 1" beads at a time and let the material cool a second between beats. Just maybe 2 or 3 seconds makes a big difference. The heat adds up and you will burn thru eventually on thin material. At the same time, you want to make sure your welds are penetrating both pieces of parent material. I can't tell you how many Flowmasters I've scavenged off the side of the road because someone's weld only stuck to either the muffler or the pipe.
Fifth, throw away (or keep for backup) the filler wire that comes with *any* entry level machine. Get yourself a good quality wire. Lincoln .030 flux core wire is good and readily available. The cheap wires just don't work well. Even some will give you a pretty weld, but they don't penetrate as well. I've also run Hobart wire with fairly good results.
Sixth, get welding gloves and a good long sleeve cotton shirt with a collar. I wear a Carhartt knockoff and button all the way up. Welding let's off a *lot* of UV. I have a sunburn in my neck right now because I got in a rush the other day and didn't button my shirt all the way up. Make sure your gloves go over the ends of your sleeves. Boots and jeans. If slag gets in your clothes you will know it quickly. Do NOT wear synthetic materials or clothes with frilly worn thru spots. I've been on fire welding a few times, not a ton of fun. It's always because of a ragged spot on my jeans that caught. Welding leathers are also nice, but expensive for a hobbyist who won't weld much. Also not a *huge* fan of auto darkening masks, but your mileage will vary.
If you've got any other questions, ask away. I've got a bunch of time under my belt. I am taking a break from welding exhaust on a work truck as we speak.
First, the factory exhaust is some kind of stainless.
Second, you *can* weld stainless steel no problem with any flux core welder. You just can't run stainless wire, so all your welds will be mild steel and will rust, but not significantly. This is a non-issue unless you're laying mirrors under your rig at a car show.
Third, I've had a few welders at this point. For a beginner machine I *really* like this Titanium flux core welder from harbor freight. It's small, light weight, and you have full settings control unlike most entry line welders. It welds nice as well. Pictured is the one I keep in a tote in my work truck.
Fourth, welding exhaust is a bit tricky because it's thin. You'll want your settings low. I generally go by the settings inside the cover of the welding machine, but add a bit more wire speed. If you're burning thru them you're going to need to just tack and tack and tack all the way around. If it's not burning thru them I would weld 3/4" to 1" beads at a time and let the material cool a second between beats. Just maybe 2 or 3 seconds makes a big difference. The heat adds up and you will burn thru eventually on thin material. At the same time, you want to make sure your welds are penetrating both pieces of parent material. I can't tell you how many Flowmasters I've scavenged off the side of the road because someone's weld only stuck to either the muffler or the pipe.
Fifth, throw away (or keep for backup) the filler wire that comes with *any* entry level machine. Get yourself a good quality wire. Lincoln .030 flux core wire is good and readily available. The cheap wires just don't work well. Even some will give you a pretty weld, but they don't penetrate as well. I've also run Hobart wire with fairly good results.
Sixth, get welding gloves and a good long sleeve cotton shirt with a collar. I wear a Carhartt knockoff and button all the way up. Welding let's off a *lot* of UV. I have a sunburn in my neck right now because I got in a rush the other day and didn't button my shirt all the way up. Make sure your gloves go over the ends of your sleeves. Boots and jeans. If slag gets in your clothes you will know it quickly. Do NOT wear synthetic materials or clothes with frilly worn thru spots. I've been on fire welding a few times, not a ton of fun. It's always because of a ragged spot on my jeans that caught. Welding leathers are also nice, but expensive for a hobbyist who won't weld much. Also not a *huge* fan of auto darkening masks, but your mileage will vary.
If you've got any other questions, ask away. I've got a bunch of time under my belt. I am taking a break from welding exhaust on a work truck as we speak.
The following users liked this post:
whowa004 (05-02-2022)
#13
05-02-2022, 03:25 PM
Camel Trophy
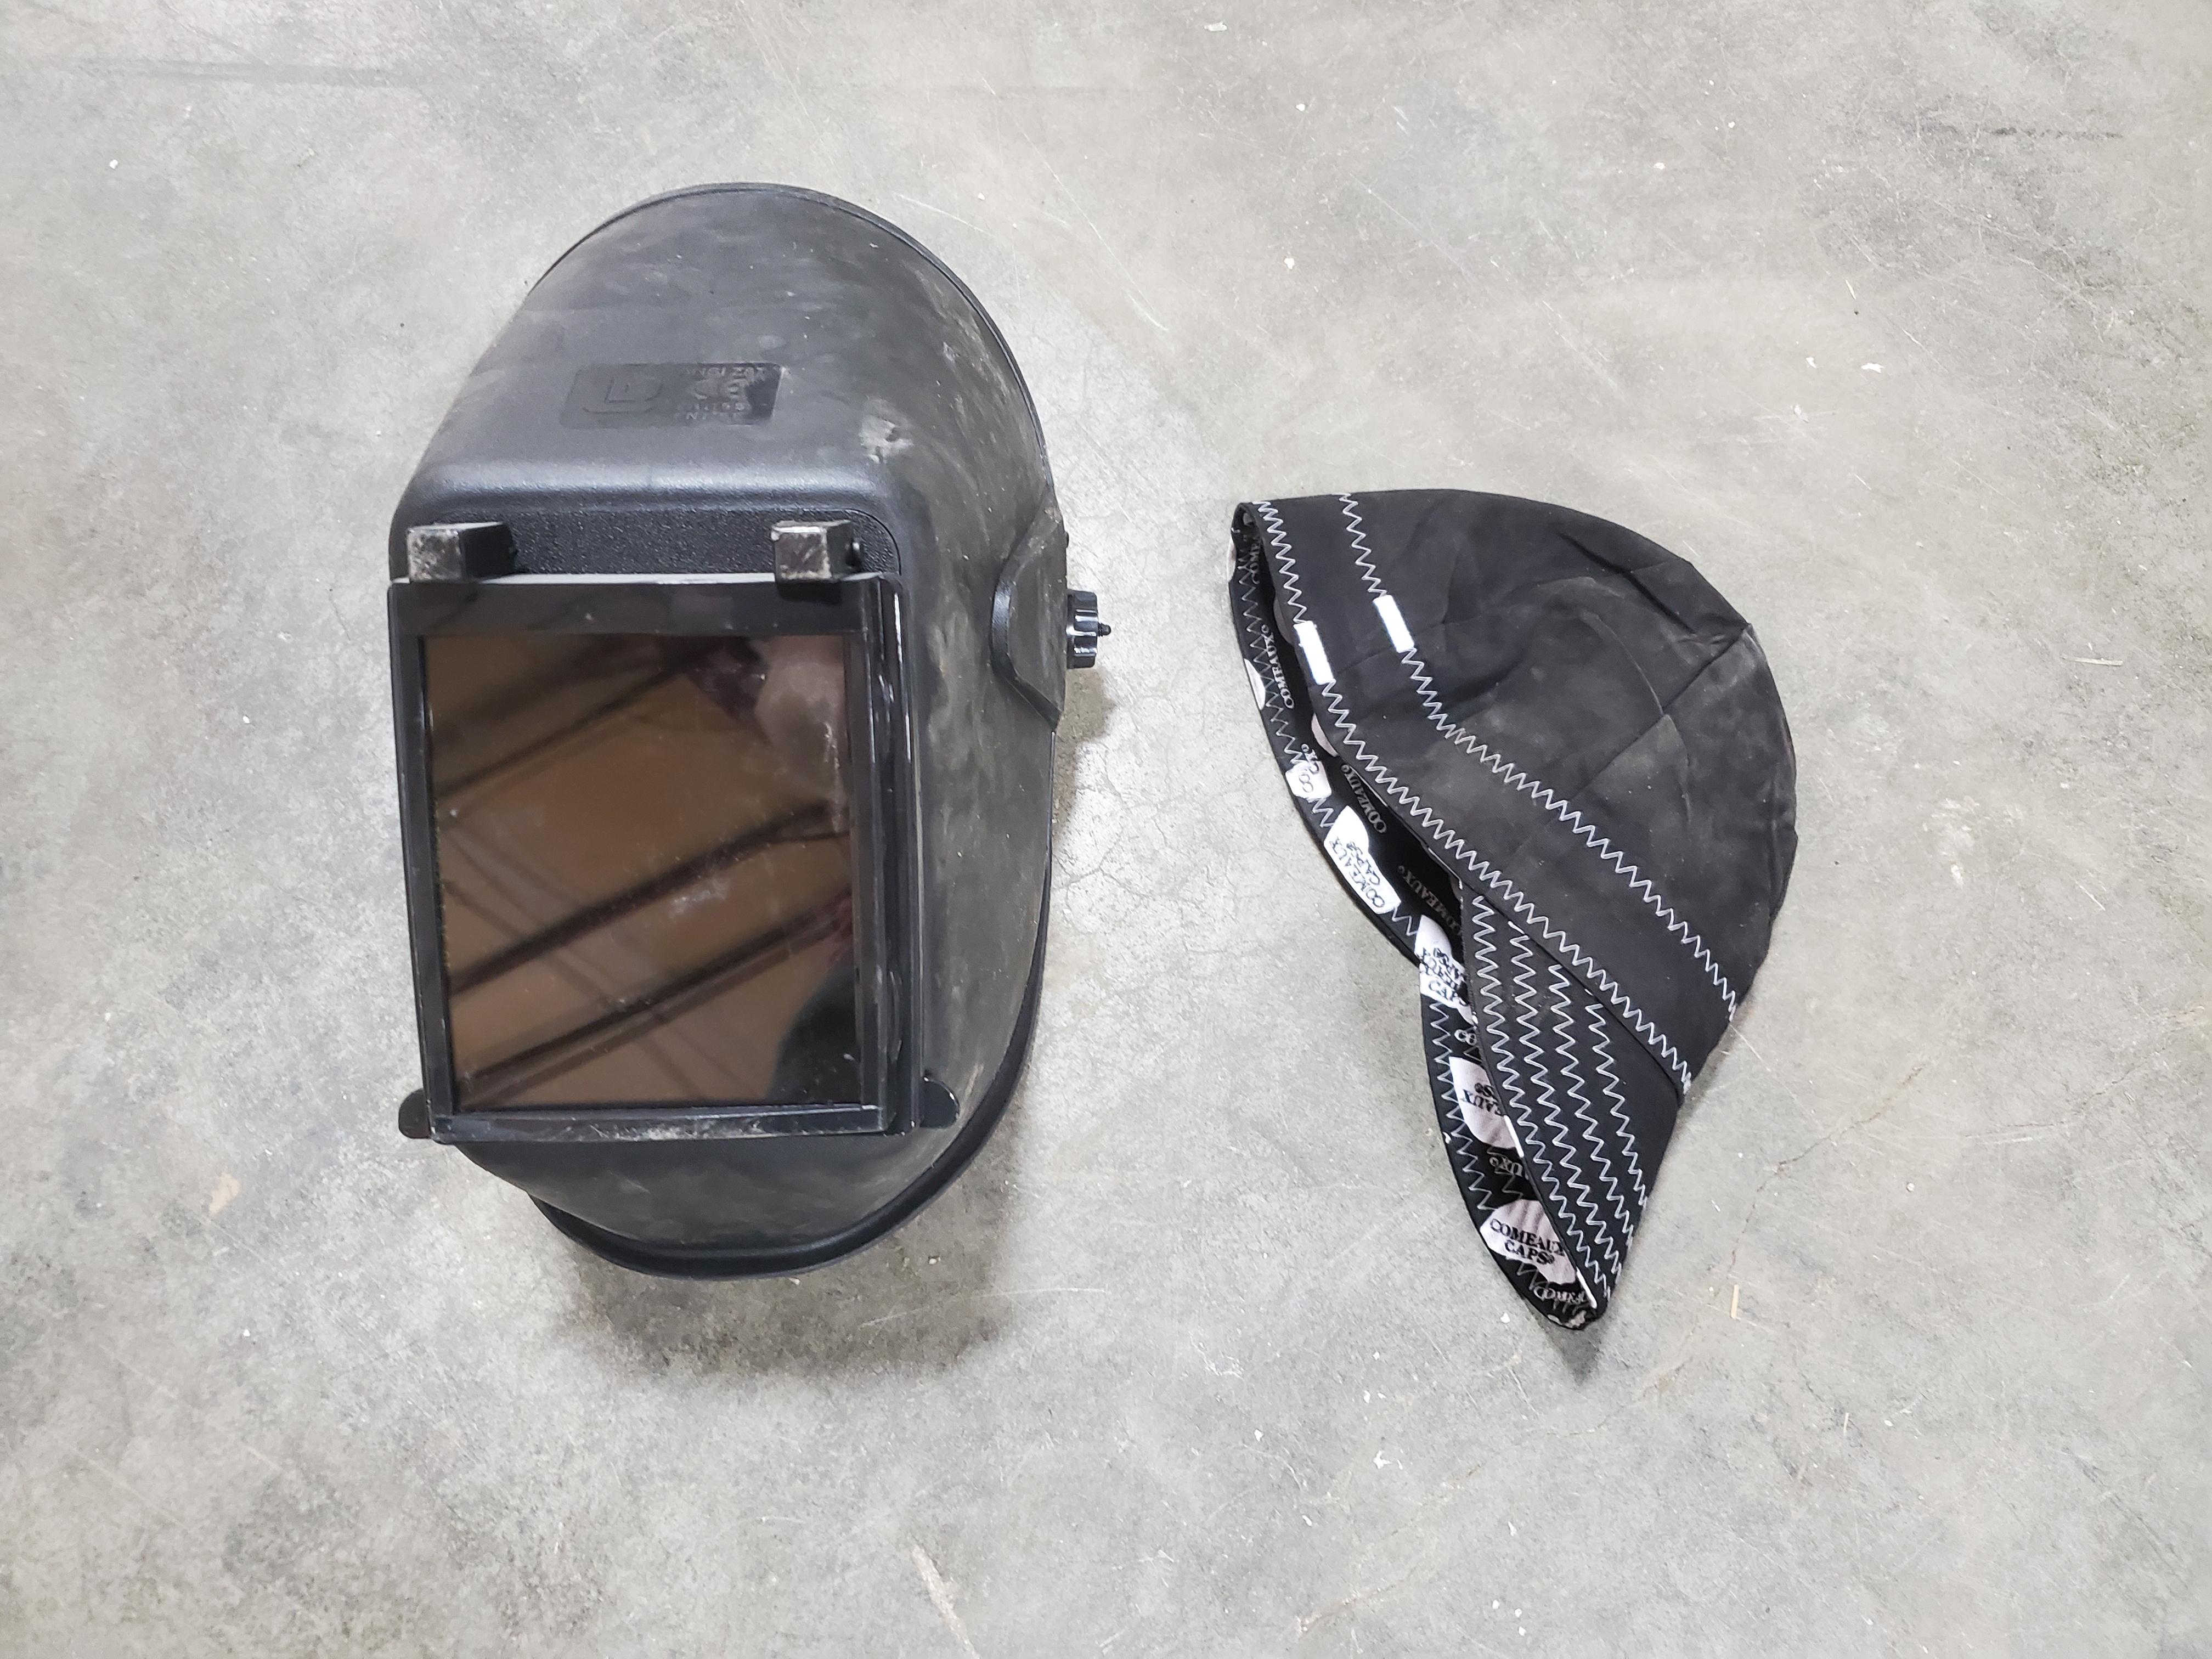
Oh, a welding cap is also important. Scalp burns suck and your hair won't grow back where you've been burned.
I also specifically like a hood with a large lens. I get the Hobart single shade hoods from Rural King. I also have used a "sugar scoop" hood that I liked a lot, but they're heavy and more expensive.
I also specifically like a hood with a large lens. I get the Hobart single shade hoods from Rural King. I also have used a "sugar scoop" hood that I liked a lot, but they're heavy and more expensive.
The following 2 users liked this post by Alex_M:
Karmakannon (05-02-2022),
whowa004 (05-02-2022)
#14
05-02-2022, 04:15 PM

I cut my teeth welding exhaust on my Disco well more than half a decade ago now.
First, the factory exhaust is some kind of stainless.
Second, you *can* weld stainless steel no problem with any flux core welder. You just can't run stainless wire, so all your welds will be mild steel and will rust, but not significantly. This is a non-issue unless you're laying mirrors under your rig at a car show.
Third, I've had a few welders at this point. For a beginner machine I *really* like this Titanium flux core welder from harbor freight. It's small, light weight, and you have full settings control unlike most entry line welders. It welds nice as well. Pictured is the one I keep in a tote in my work truck.
Fourth, welding exhaust is a bit tricky because it's thin. You'll want your settings low. I generally go by the settings inside the cover of the welding machine, but add a bit more wire speed. If you're burning thru them you're going to need to just tack and tack and tack all the way around. If it's not burning thru them I would weld 3/4" to 1" beads at a time and let the material cool a second between beats. Just maybe 2 or 3 seconds makes a big difference. The heat adds up and you will burn thru eventually on thin material. At the same time, you want to make sure your welds are penetrating both pieces of parent material. I can't tell you how many Flowmasters I've scavenged off the side of the road because someone's weld only stuck to either the muffler or the pipe.
Fifth, throw away (or keep for backup) the filler wire that comes with *any* entry level machine. Get yourself a good quality wire. Lincoln .030 flux core wire is good and readily available. The cheap wires just don't work well. Even some will give you a pretty weld, but they don't penetrate as well. I've also run Hobart wire with fairly good results.
Sixth, get welding gloves and a good long sleeve cotton shirt with a collar. I wear a Carhartt knockoff and button all the way up. Welding let's off a *lot* of UV. I have a sunburn in my neck right now because I got in a rush the other day and didn't button my shirt all the way up. Make sure your gloves go over the ends of your sleeves. Boots and jeans. If slag gets in your clothes you will know it quickly. Do NOT wear synthetic materials or clothes with frilly worn thru spots. I've been on fire welding a few times, not a ton of fun. It's always because of a ragged spot on my jeans that caught. Welding leathers are also nice, but expensive for a hobbyist who won't weld much. Also not a *huge* fan of auto darkening masks, but your mileage will vary.
If you've got any other questions, ask away. I've got a bunch of time under my belt. I am taking a break from welding exhaust on a work truck as we speak.
I am mostly just fixing cracks in the Y flange which is in an awkward position so I am going to practice my position on the creeper and do some live welds on some spare exhaust pipe pieces I have laying around.
I've ordered gloves, helmet and arms but still need to get a long sleeve heavy cotton shirt. I got the Forney Easy Weld 140 which is in the same class as the Titanium with a few upgrades (e.g. longer leads, etc).
The following users liked this post:
Karmakannon (05-02-2022)
#15
05-02-2022, 06:29 PM

Mudding
Yes it looks like mild steel (I think). I think I got it mixed up with my chevy cats because they look like stainless and the Chevy exhaust was much harder to cut through. With the Rover exhaust being mild steel I don't know if I'm more impressed it wasn't completely rusted or more disgusted the frame shows just as much corrosion.
As for welding stainless with the stainless flux core... I might give it a try this week. If I didn't have a tig welder I wouldn't feel bad about using mild steel flux or solid wire for stainless exhaust. I'd just keep my expectations in check. The weld will rust.
Hopefully the stainless flux core stuff is decent. I'd really like to not refill my argon or get tri mix for solid stainless wire.weld away!
#16
05-02-2022, 10:20 PM

Pro Wrench
This is great explanation. Thank you!
I am mostly just fixing cracks in the Y flange which is in an awkward position so I am going to practice my position on the creeper and do some live welds on some spare exhaust pipe pieces I have laying around.
I've ordered gloves, helmet and arms but still need to get a long sleeve heavy cotton shirt. I got the Forney Easy Weld 140 which is in the same class as the Titanium with a few upgrades (e.g. longer leads, etc).
#17
05-03-2022, 06:38 AM
Did the same repair and would 10/10 recommend putting the exhaust on a bench, not doing this under the car with it installed. You'll probably have to go around the entire circumference too depending on the leak. I thought, for example, just one portion was cracked, and then took it off the truck and when examining the welds on a bench with better light, noticed the crack was nearly the entire weld, all around the flanges.
#18
05-03-2022, 07:30 AM

Pro Wrench
Soak it in PB blaster or penetrating oil of choice a day or so before a few times. The manifold to downpipe is the most annoying part to get as if you haven't had it off recently those studs/nuts can be bit stubborn. Couldn't hurt to have new gaskets and studs for the manifold to downpipe connection. If it all cooperates it's 8 bolts/nuts and then disconnecting the O2 sensors so maybe 10-15 min to pull and replace or it could be significantly longer if you say have a stud break in the manifold and have to pull the manifold and drill it out...however that still isn't that bad if you don't have secondary air.
While it's off closely check joint around the downpipe to flange as that's a popular spot for these exhausts to leak especially if you've driven with broken motor mounts.
While it's off closely check joint around the downpipe to flange as that's a popular spot for these exhausts to leak especially if you've driven with broken motor mounts.
The following users liked this post:
cvhyatt (05-03-2022)
#19
05-03-2022, 09:30 AM
Pro Wrench
It took about 20 minutes to drop the entire thing but I also have a entirely rust-free CA disco. Definitely soak the manifold nuts in some kind of penetrant and let it do it's thing for 20 minutes. (I use Liquid Wrench. PB Blaster is the famous one, but LW works a lot better in my experience. I used PB foreeevvverrrr and then watched a ProjectFarm video comparing a bunch of brands. LW won, so I gave it a shot, and yeah, it's way better.) Leave the front cross member in so when the manifold nuts are undone (easy to do under the car with extensions) it has a place to rest while you make sure everything (o2 sensors) are disconnected and such. I'd leave the tailpipe portion in unless you need to weld something there too. Just remove from the manifold connection to the back of the resonator.
#20
05-03-2022, 01:44 PM

Mudding
I am lucky. My son is general manager of Lauck Manufacturing, Inc. in Indianapolis, and can MIG or TIG anything I need. Lasers to cut the steel, aluminum, etc, anything I need.
https://lauckmfg.com
I'm spoiled.
https://lauckmfg.com
I'm spoiled.