When you click on links to various merchants on this site and make a purchase, this can result in this site earning a commission. Affiliate programs and affiliations include, but are not limited to, the eBay Partner Network.
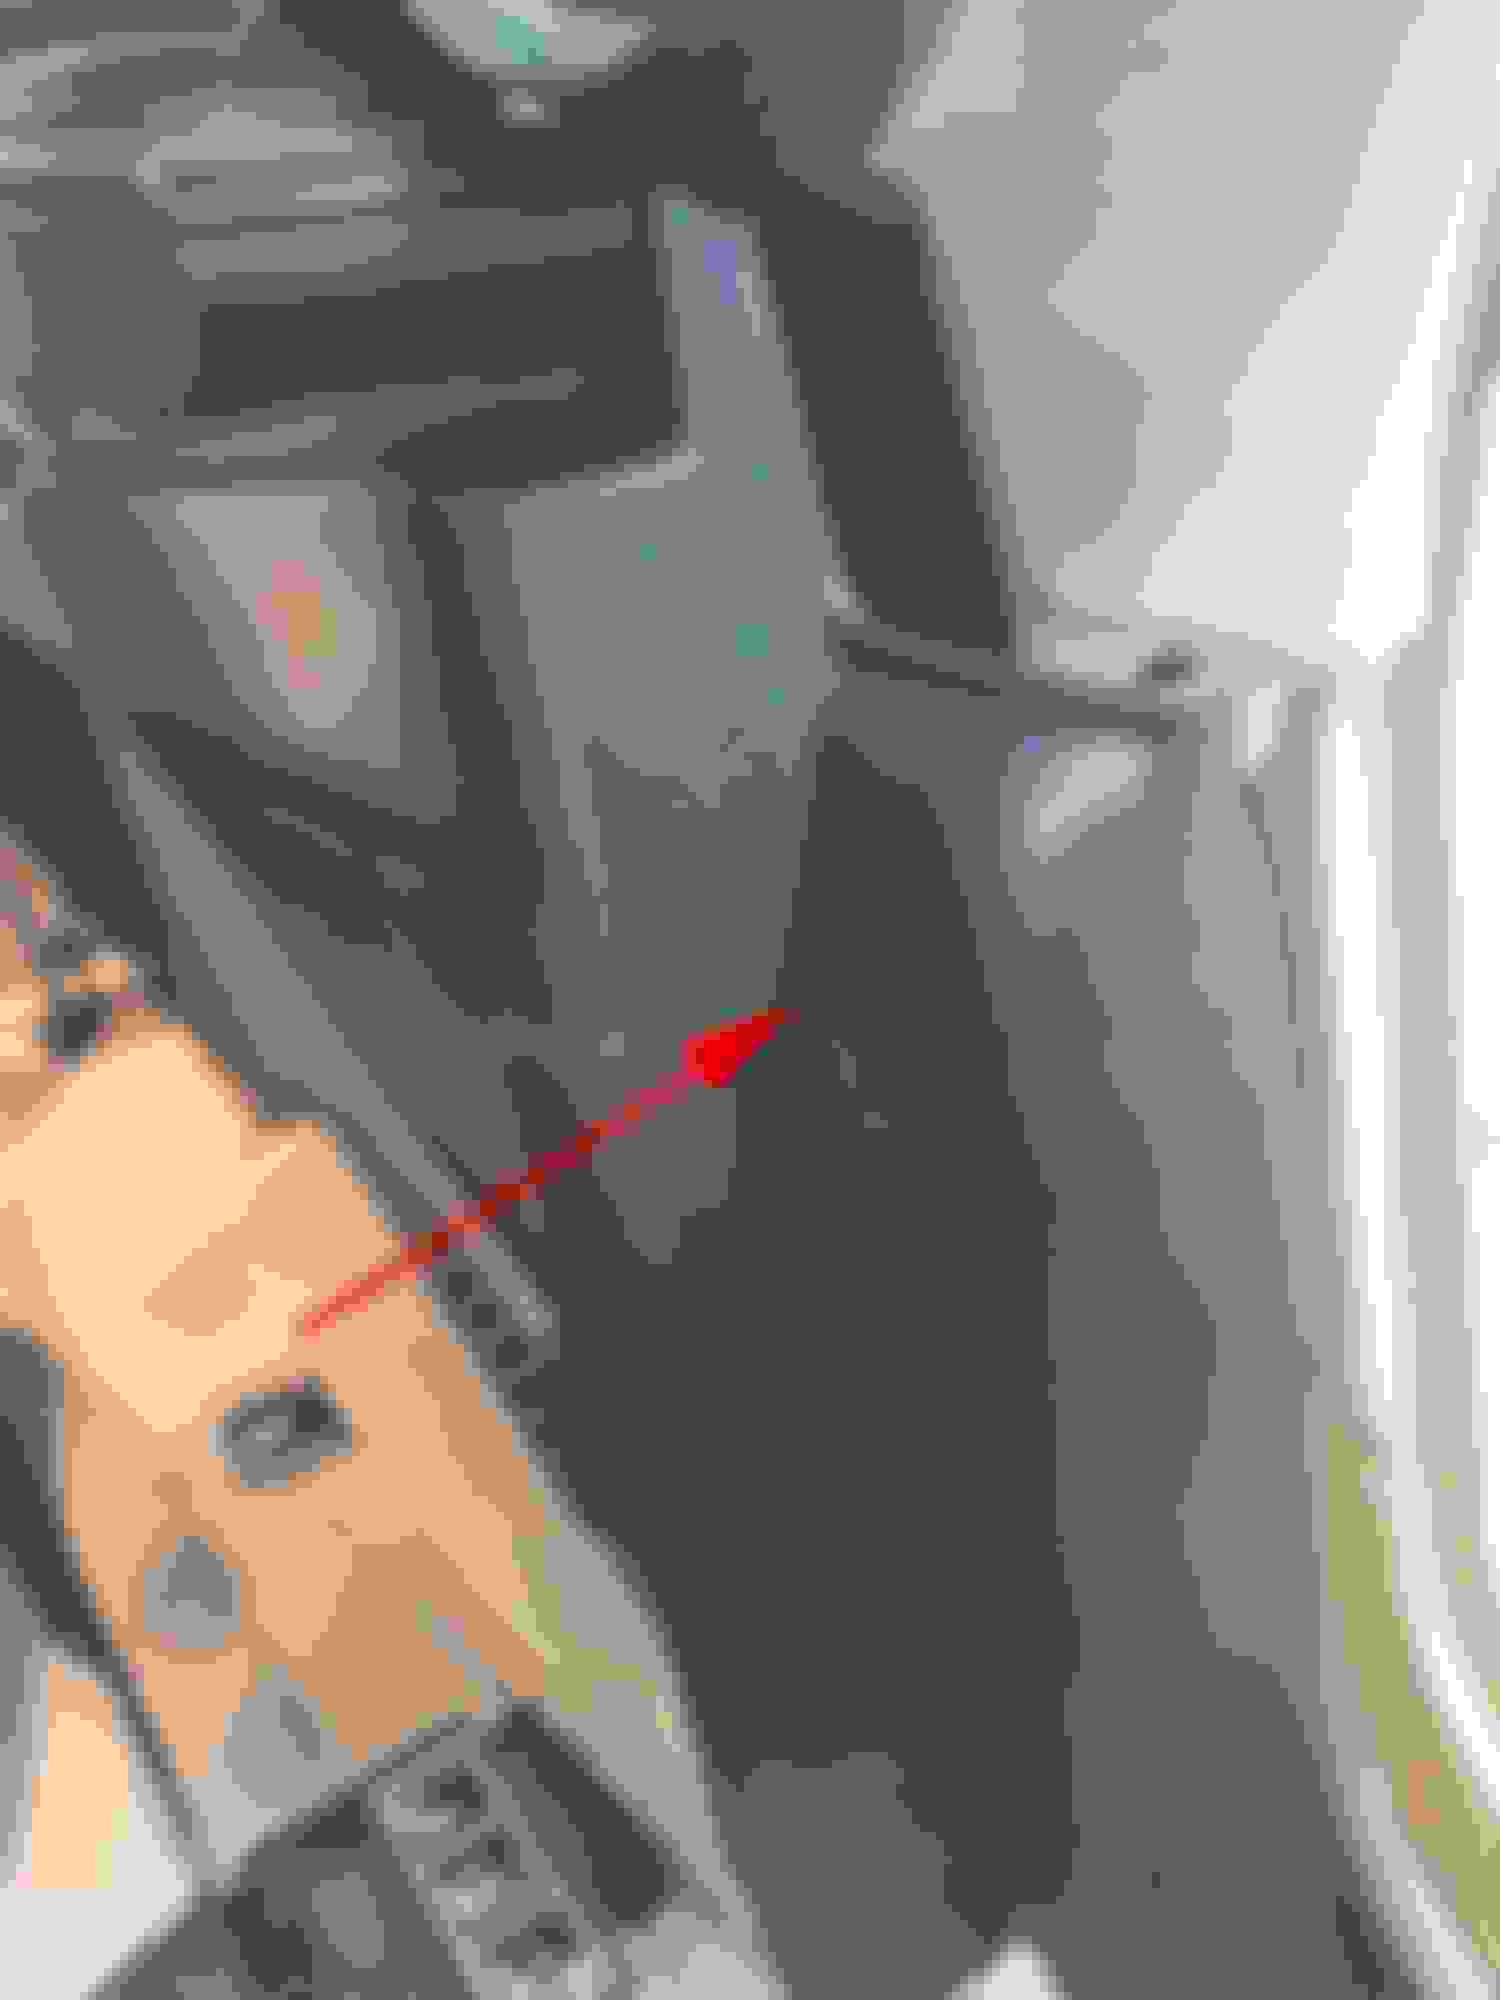
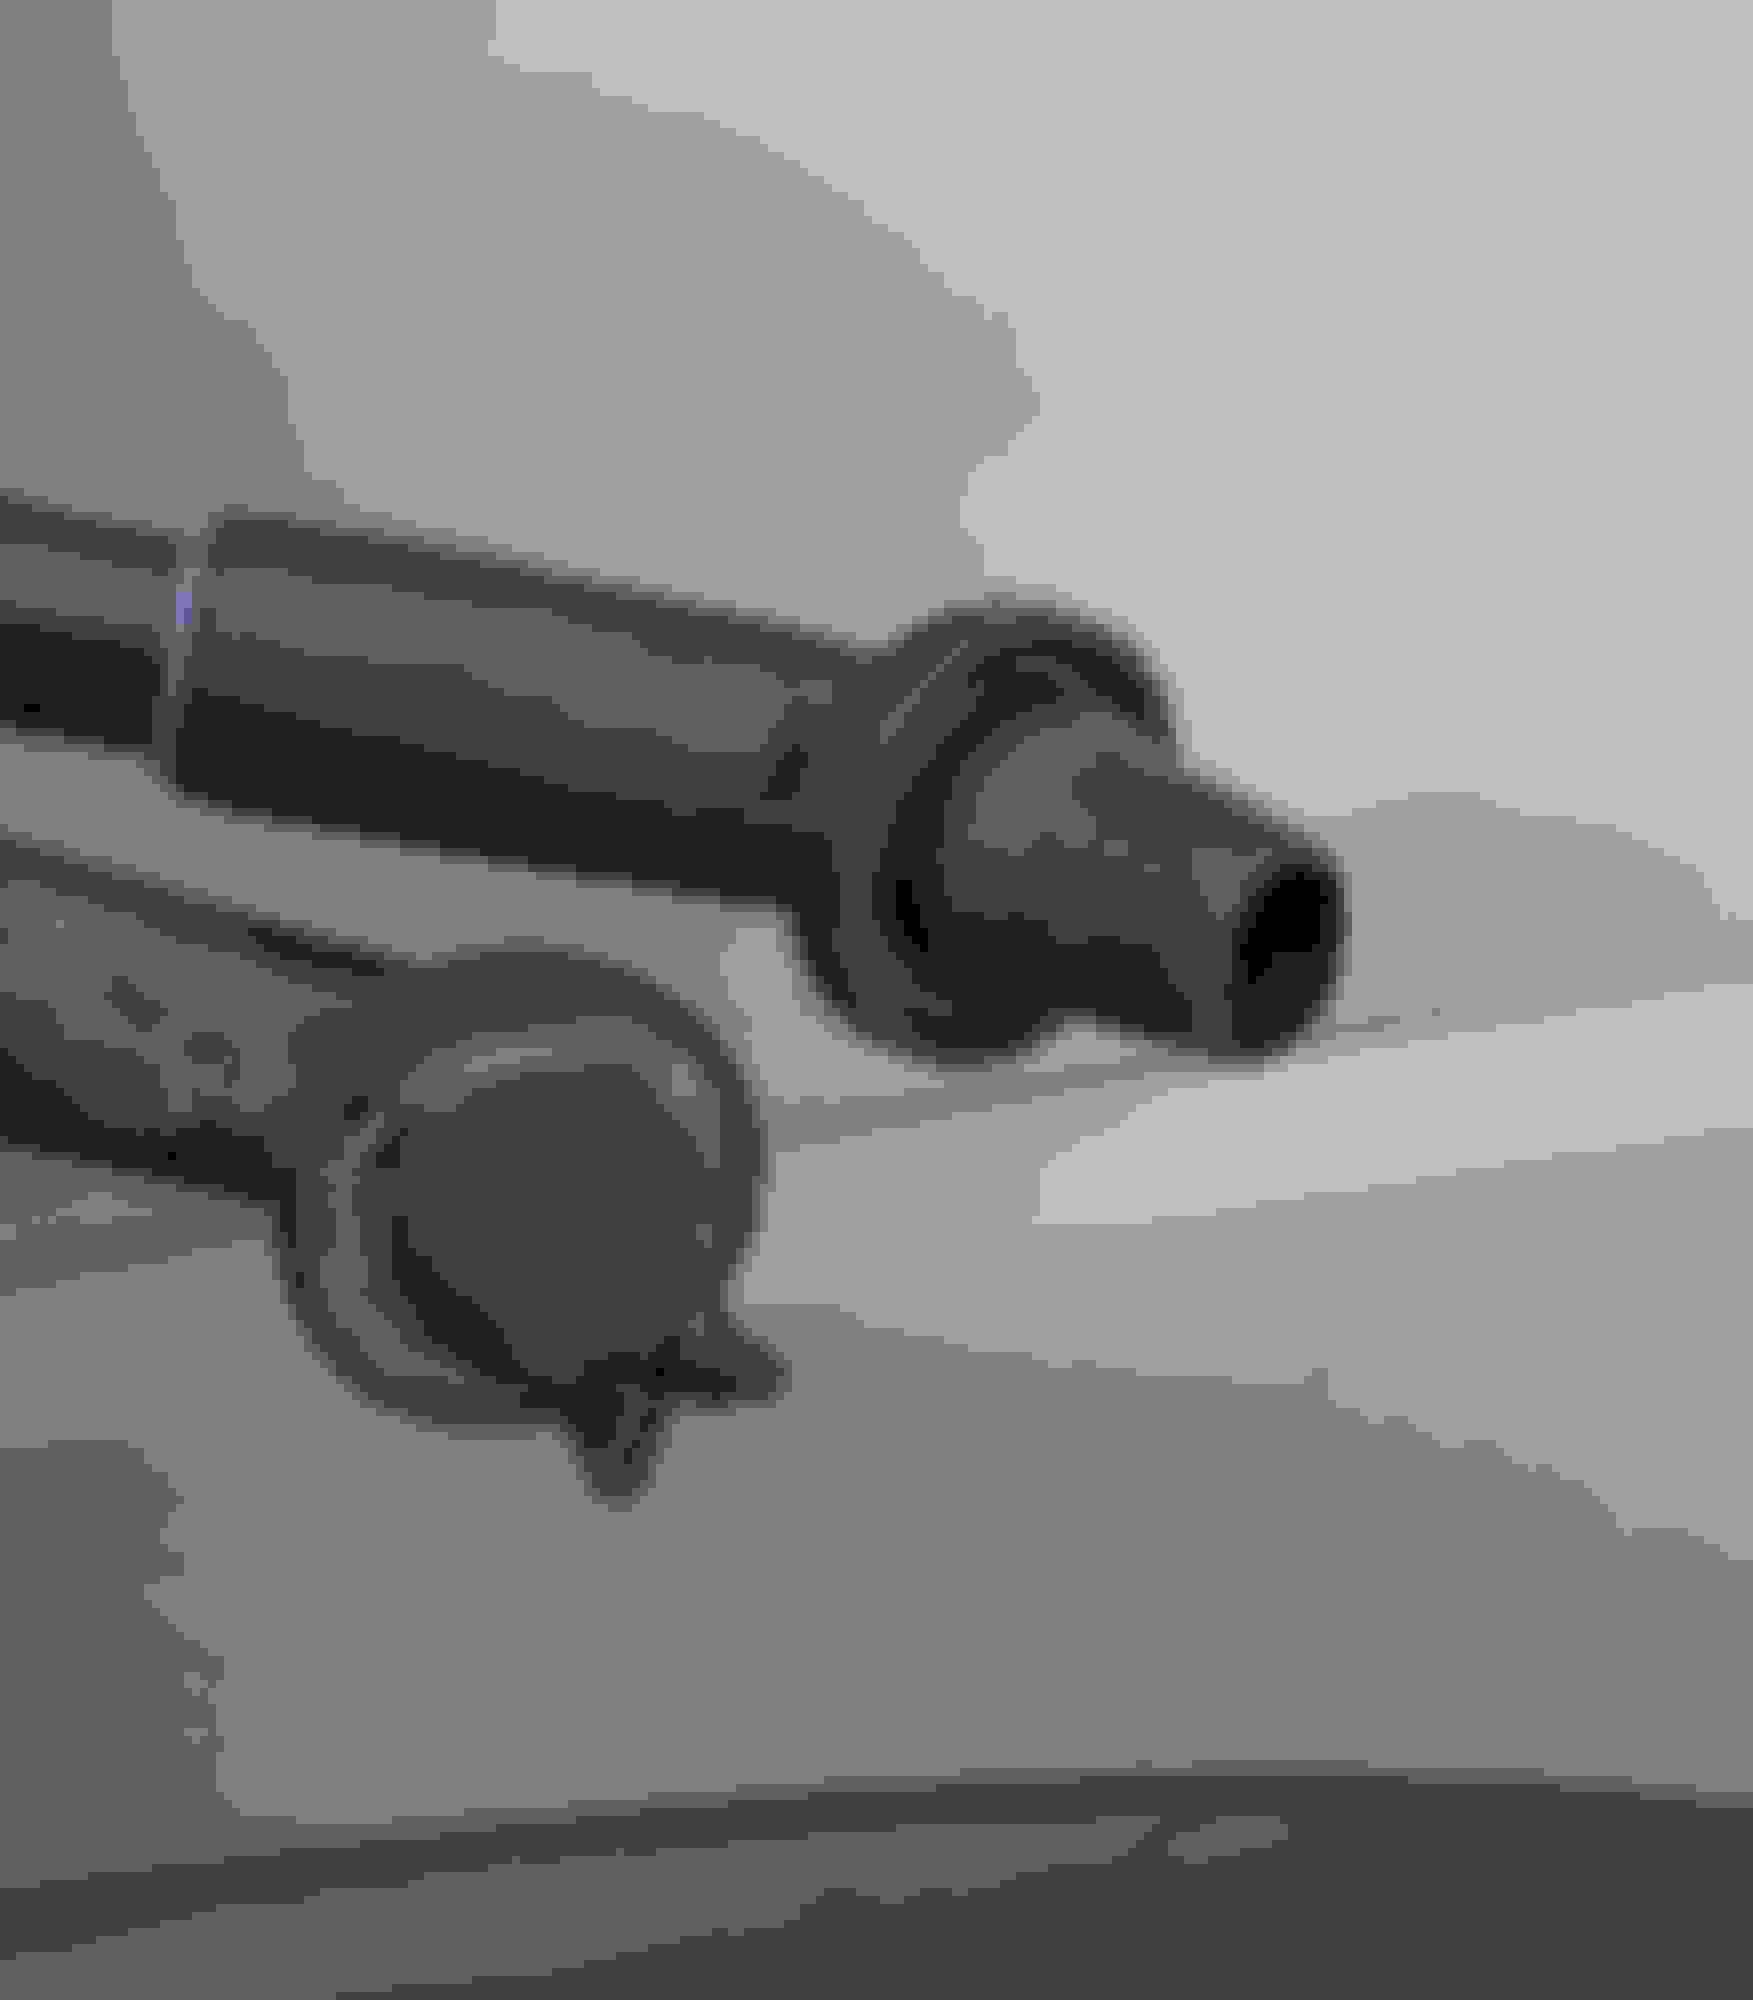
While there is plenty of info on the front drains, there is little info on the rear drain locations. Repair is the same as front in my case, cut off the end a splice on a new end versus replacing the entire hose. I used hoses from a different model, the sport, which cost $11 USD each shipped, cheaper than any LR3 part at about $22 each. The part I used for front and rear is EEH500120. The rears might be a different type with a sharper 90 formed rubber end, but using fronts worked fine. And looking at pics, they appeared to have the same degree of bend anyway. If you want to use rear to be certain, that part is EEH500130 and costs more. Make sure you buy the ones with WHITE tape on them, I think these are the updated models where the rubber end has a nylon insert. The red ones I think are older and lack the insert. The insert should help a little with longevity of the rubber end. Driver side, LHD, is a little more work because of a module in the way. Whole process took an hour maybe.
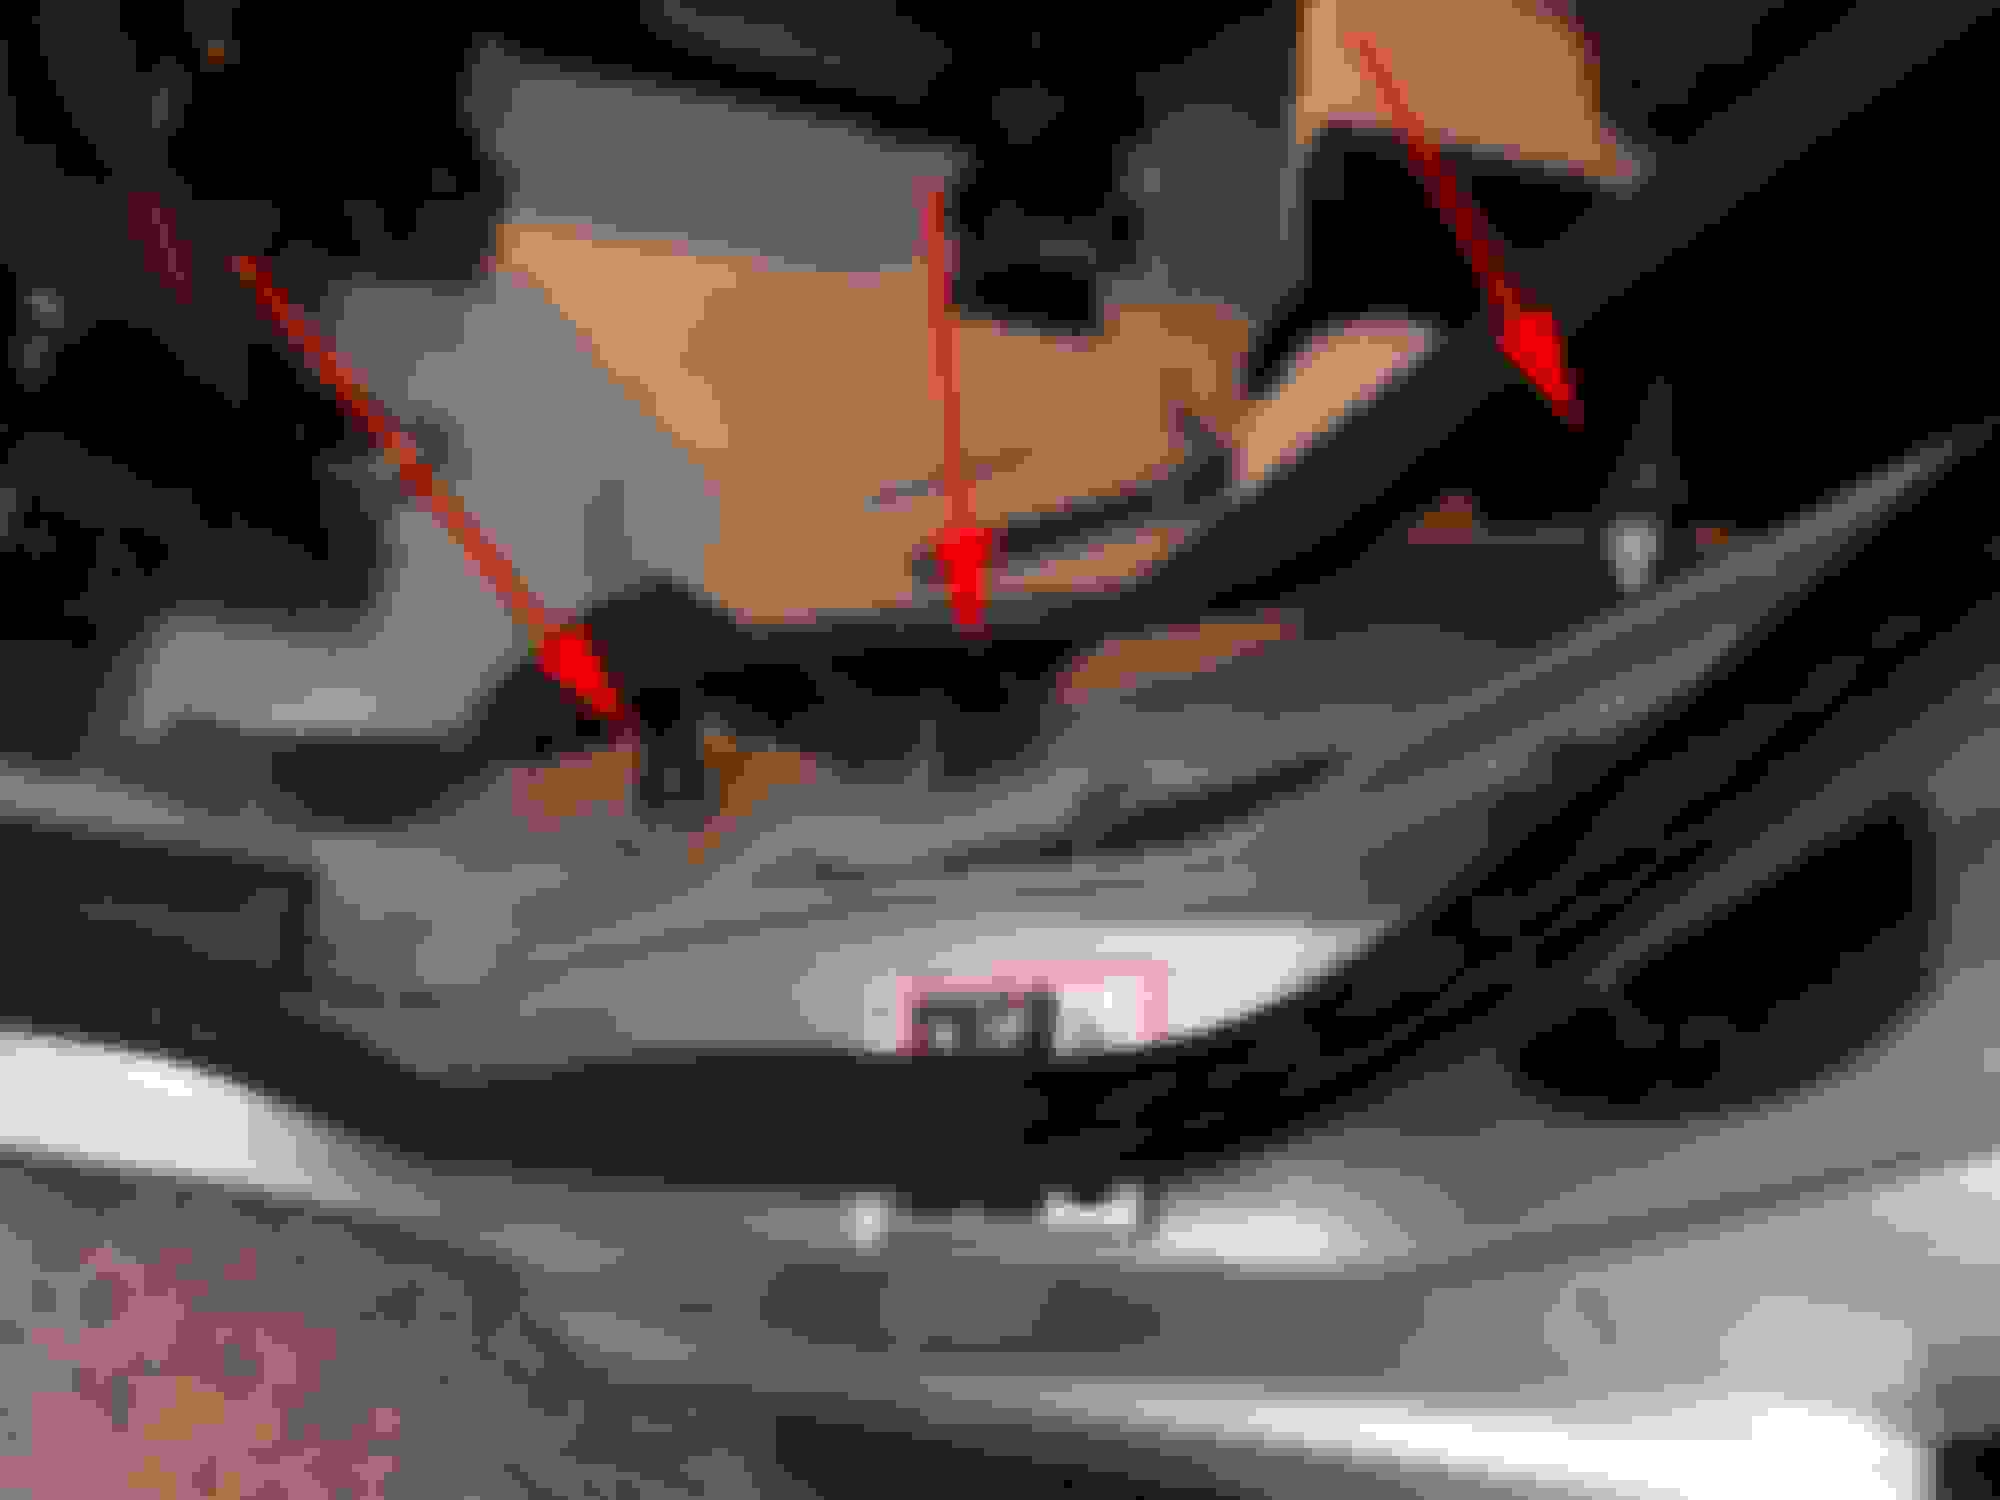
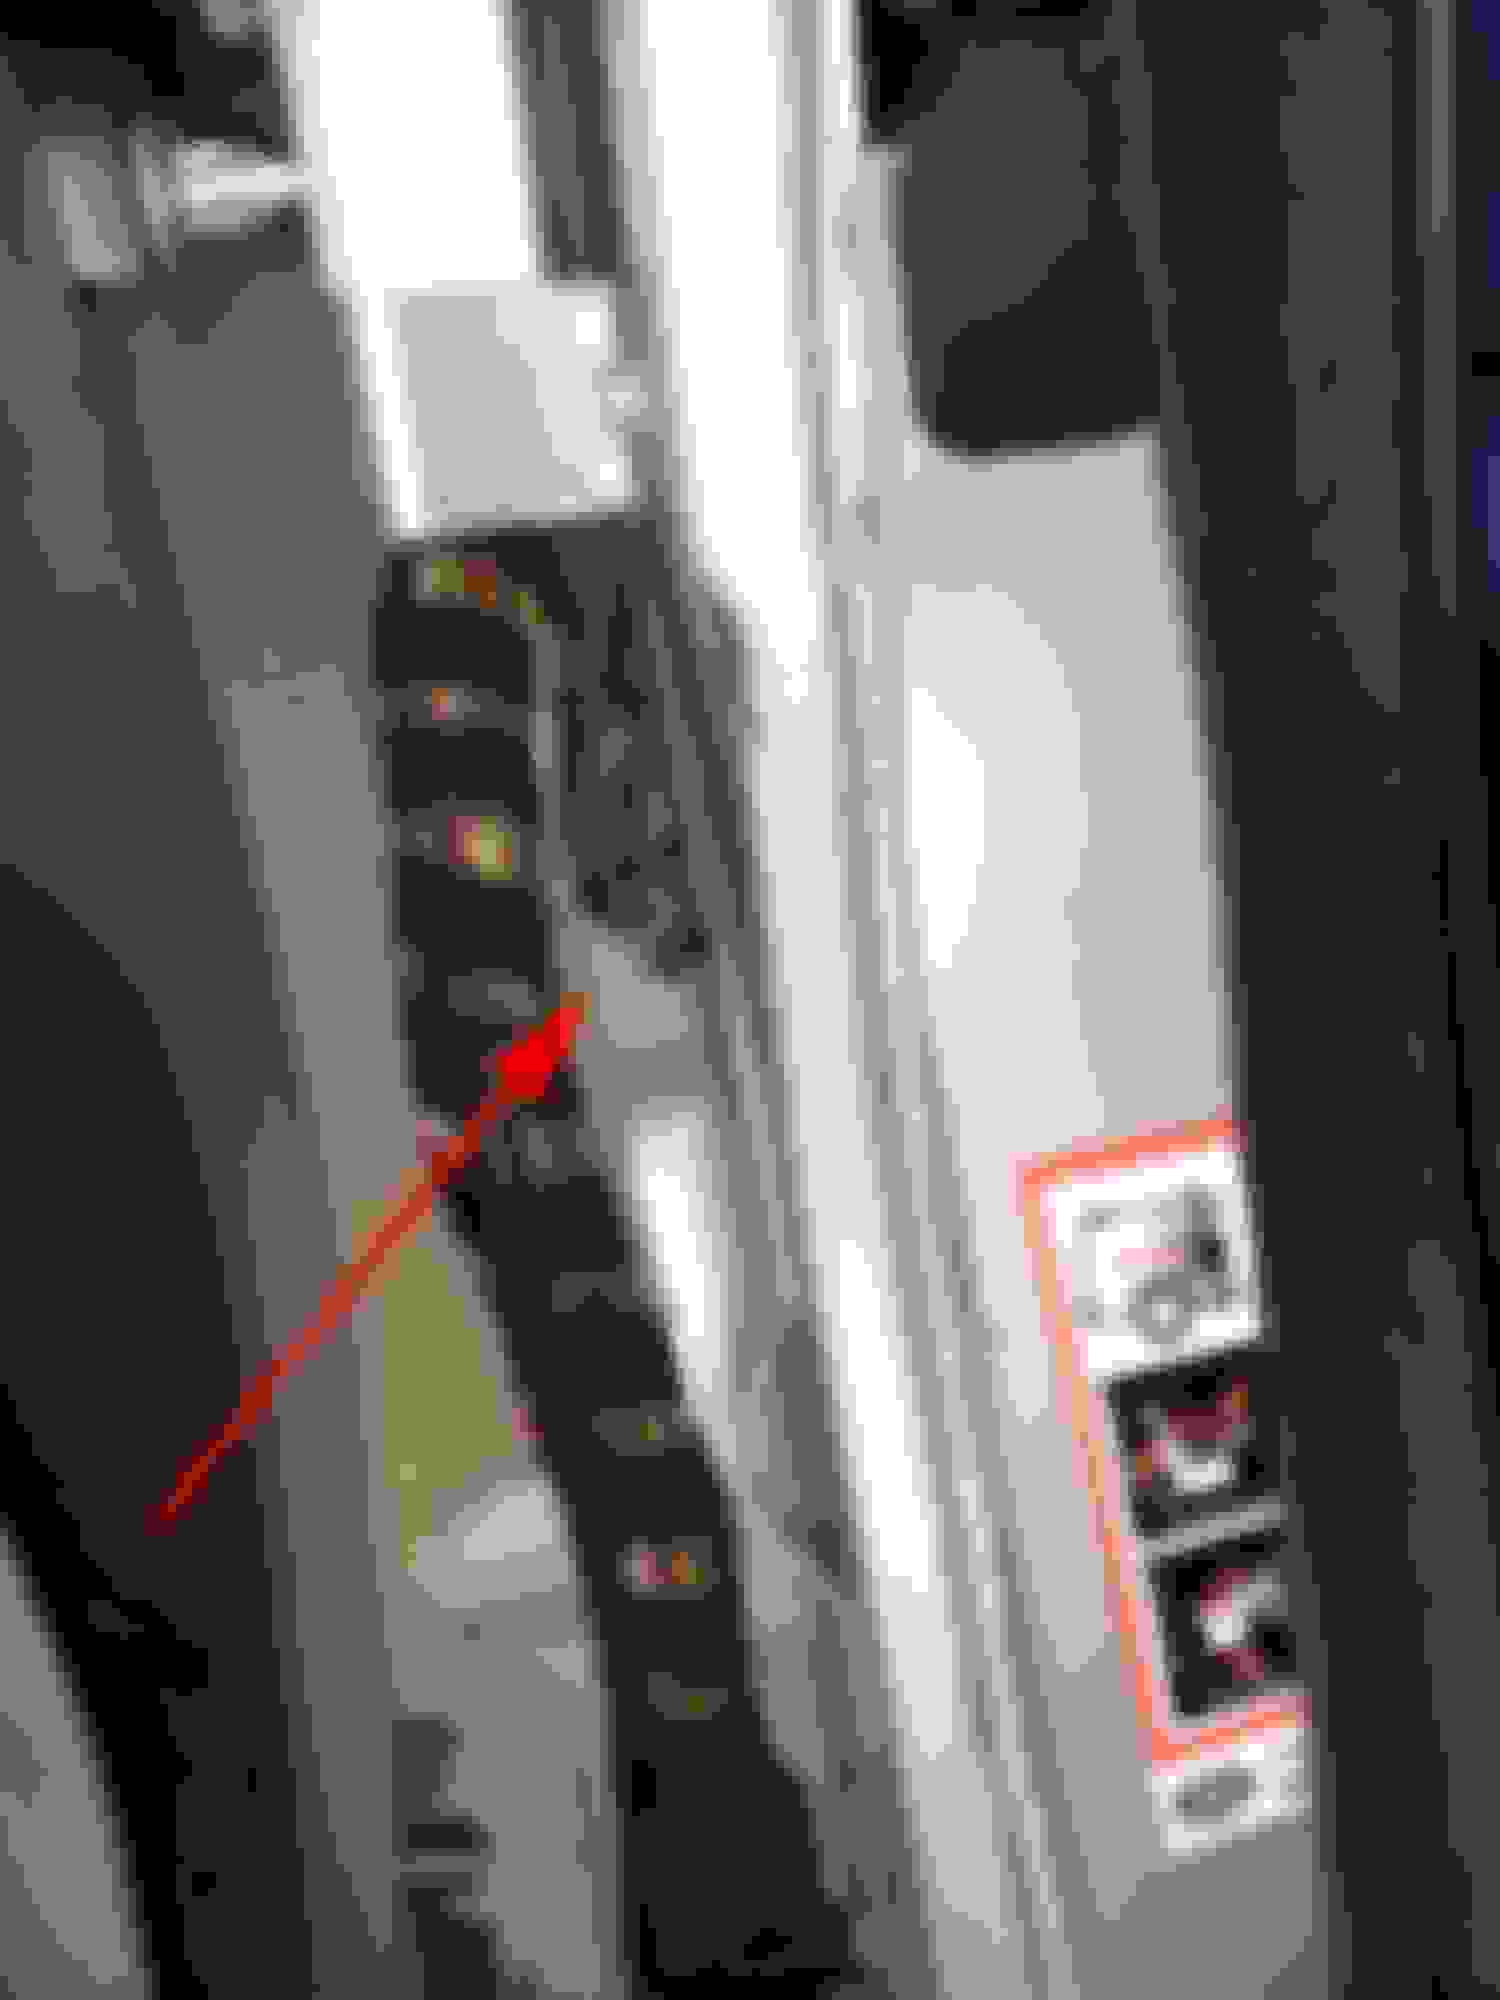
Remove cover for large Philips retaining screw. It just pops off. Careful not to misplace the screw. Remove seatbelt bolt using torx bit. I set the end in the cup holder above to keep it out of the way. Carefully pull inward to pop these three retainers. Be careful of the bottom flange. You will have to pull up the sill plate also. I pulled the original drain out a bit. You can see some rust but it was not bad. The drain was actually in good shape and soft, unlike the fronts. Neither rear drain was leaking in the back. But they are the stay that clog, so they had to go anyway. Comparing the old, lower, and new drain ends. The old was packed full of crap and under heavy rain I am sure the tube was filling up. The passenger side was fairly clear. Installing the new hose. I vacuumed them out first to be safe. See push connector at top. It helps greatly to remove the two bolts hooding the module. That way you can connect push the lines together, tuck and reinstall those bolts. I found it very difficult to anything with the module bolted in place. A 5/16" will sorta work to remove them. They are a torx sorta style. Once the module is bolted back in, you can work the hose to get the end installed better. Above, the end is not fulled inserted yet.
While there is plenty of info on the front drains, there is little info on the rear drain locations. Repair is the same as front in my case, cut off the end a splice on a new end versus replacing the entire hose. I used hoses from a different model, the sport, which cost $11 USD each shipped, cheaper than any LR3 part at about $22 each. The part I used for front and rear is EEH500120. The rears might be a different type with a sharper 90 formed rubber end, but using fronts worked fine. And looking at pics, they appeared to have the same degree of bend anyway. If you want to use rear to be certain, that part is EEH500130 and costs more. Make sure you buy the ones with WHITE tape on them, I think these are the updated models where the rubber end has a nylon insert. The red ones I think are older and lack the insert. The insert should help a little with longevity of the rubber end. Driver side, LHD, is a little more work because of a module in the way. Whole process took an hour maybe.
Remove cover for large Philips retaining screw. It just pops off. Careful not to misplace the screw. Remove seatbelt bolt using torx bit. I set the end in the cup holder above to keep it out of the way. Carefully pull inward to pop these three retainers. Be careful of the bottom flange. You will have to pull up the sill plate also. I pulled the original drain out a bit. You can see some rust but it was not bad. The drain was actually in good shape and soft, unlike the fronts. Neither rear drain was leaking in the back. But they are the stay that clog, so they had to go anyway. Comparing the old, lower, and new drain ends. The old was packed full of crap and under heavy rain I am sure the tube was filling up. The passenger side was fairly clear. Installing the new hose. I vacuumed them out first to be safe. See push connector at top. It helps greatly to remove the two bolts hooding the module. That way you can connect push the lines together, tuck and reinstall those bolts. I found it very difficult to anything with the module bolted in place. A 5/16" will sorta work to remove them. They are a torx sorta style. Once the module is bolted back in, you can work the hose to get the end installed better. Above, the end is not fulled inserted yet.
So these rear drains tend to clog, but not disintegrate like the front drains? Or is that also an issue?
Once or twice I feel like I've felt a bit of dampness on the carpet right next to the back seat, which lines up right with the drains. I should probably tackle this once it warms up, I'm sure that plastic piece isn't cheap if it cracks.
I am sure the rears will break down just like the fronts. But I think there is a slight rake to the roof so typically the front drains are favored more and thus a greater issue. I know people have had issues with rears leaking, which is why I had to look at mine anyway. The fact that one of mine was clogged meant that tube could fill, but then in theory it would just cause the front drains to take more water.
I think i'll check the condition of these rear drain hoses over summer, i feel that at least one is blocked and possibly 2.
Access is much better than fronts at least.