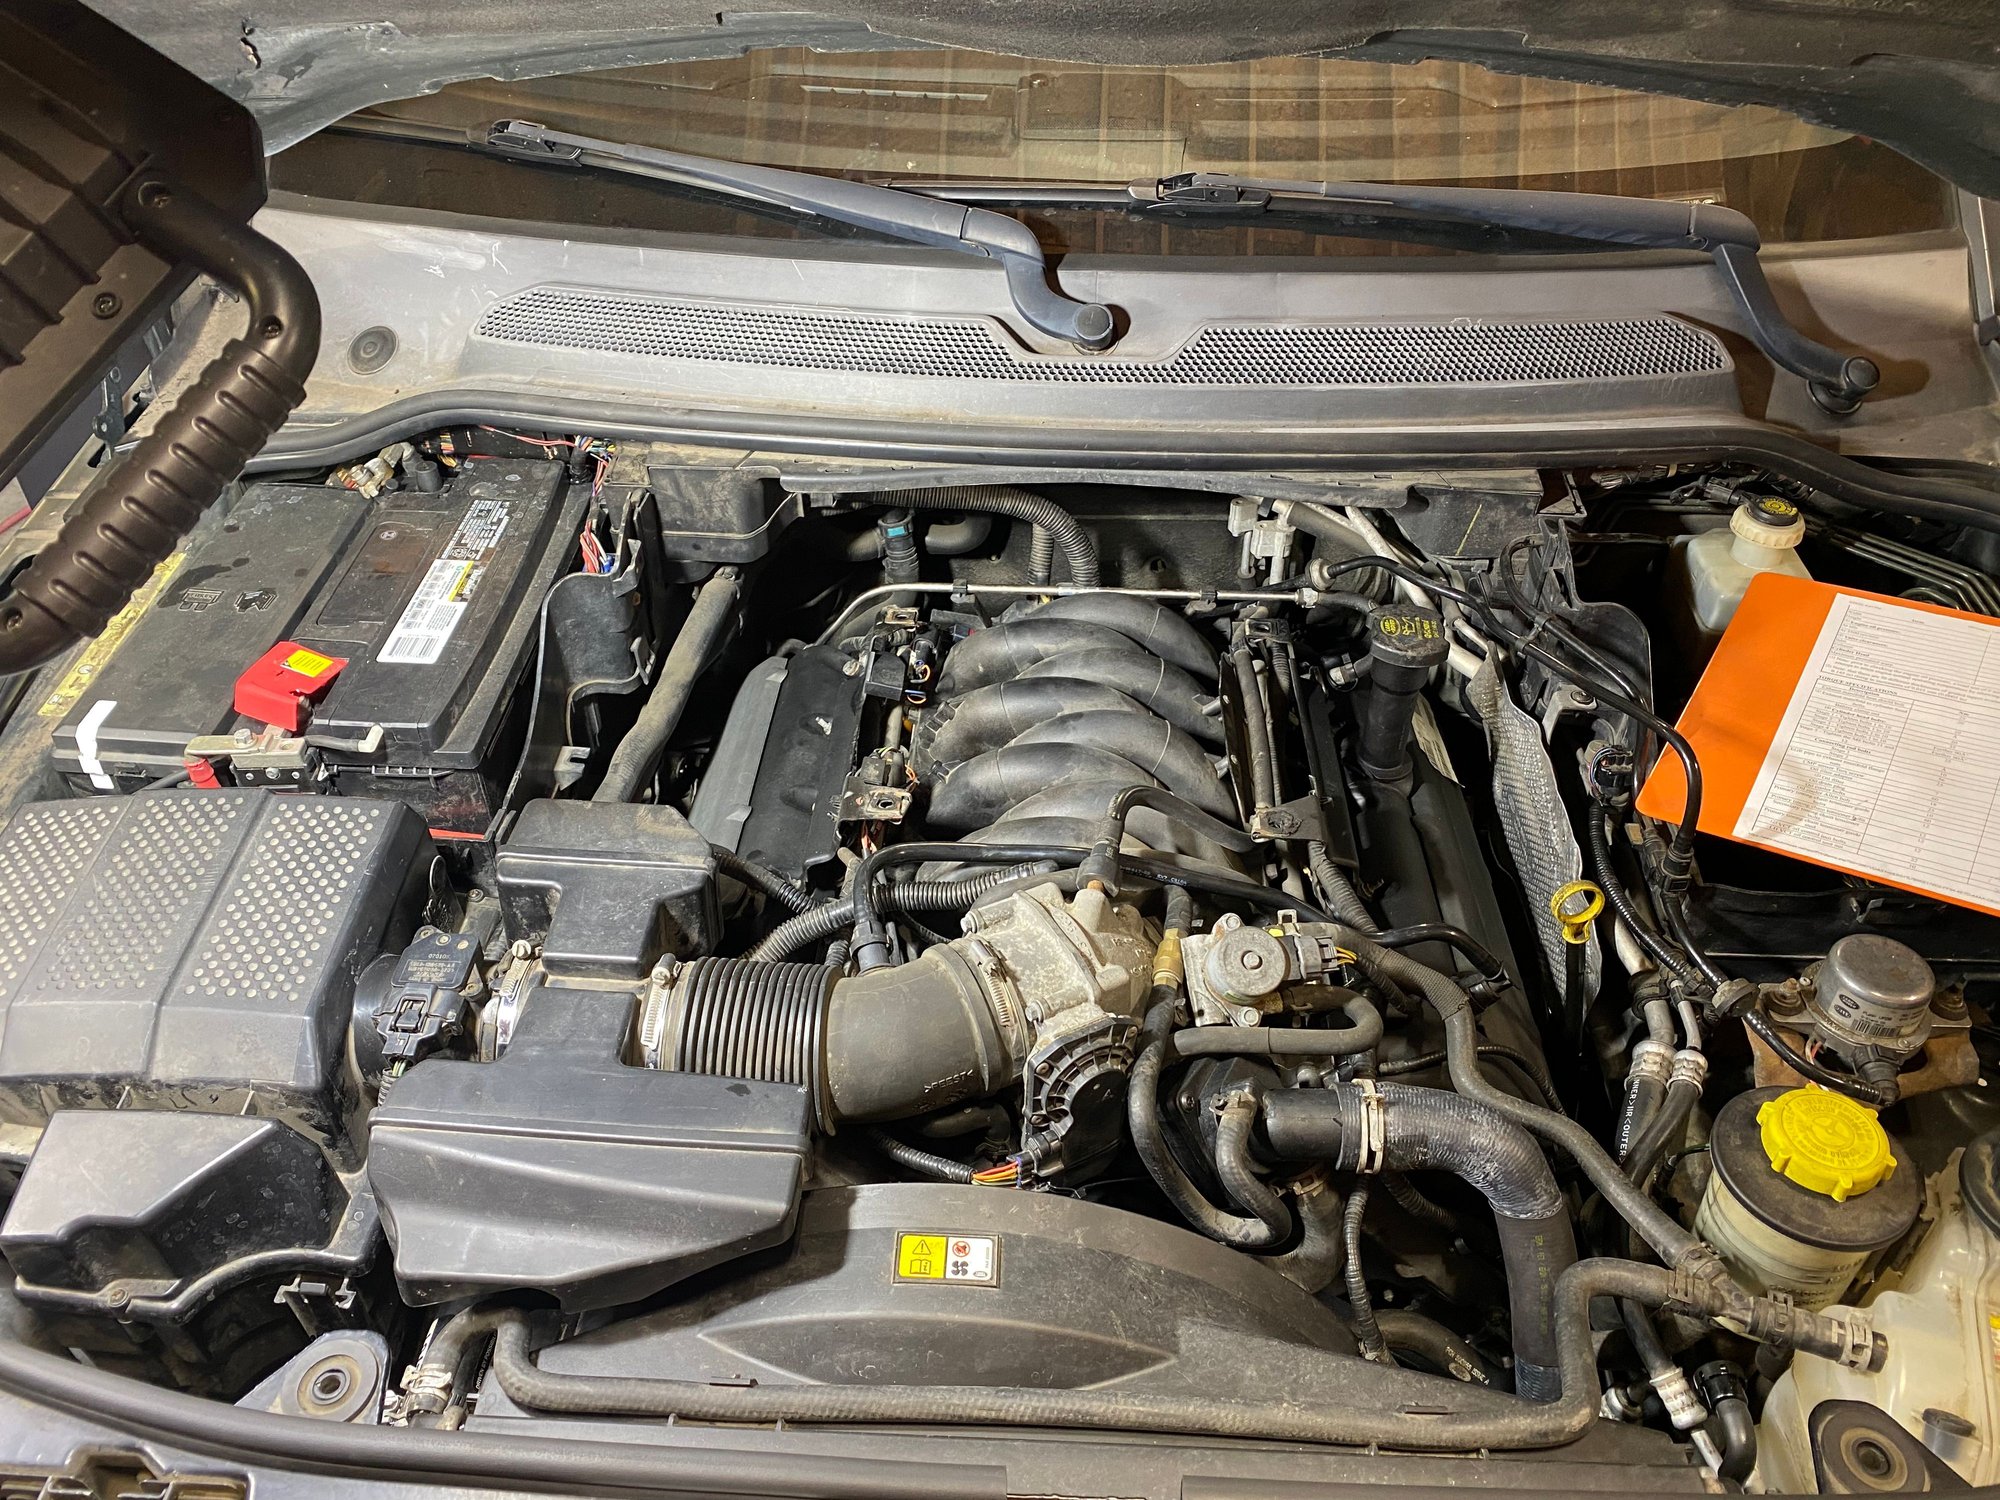
LR3 Timing Set Replacement
#61
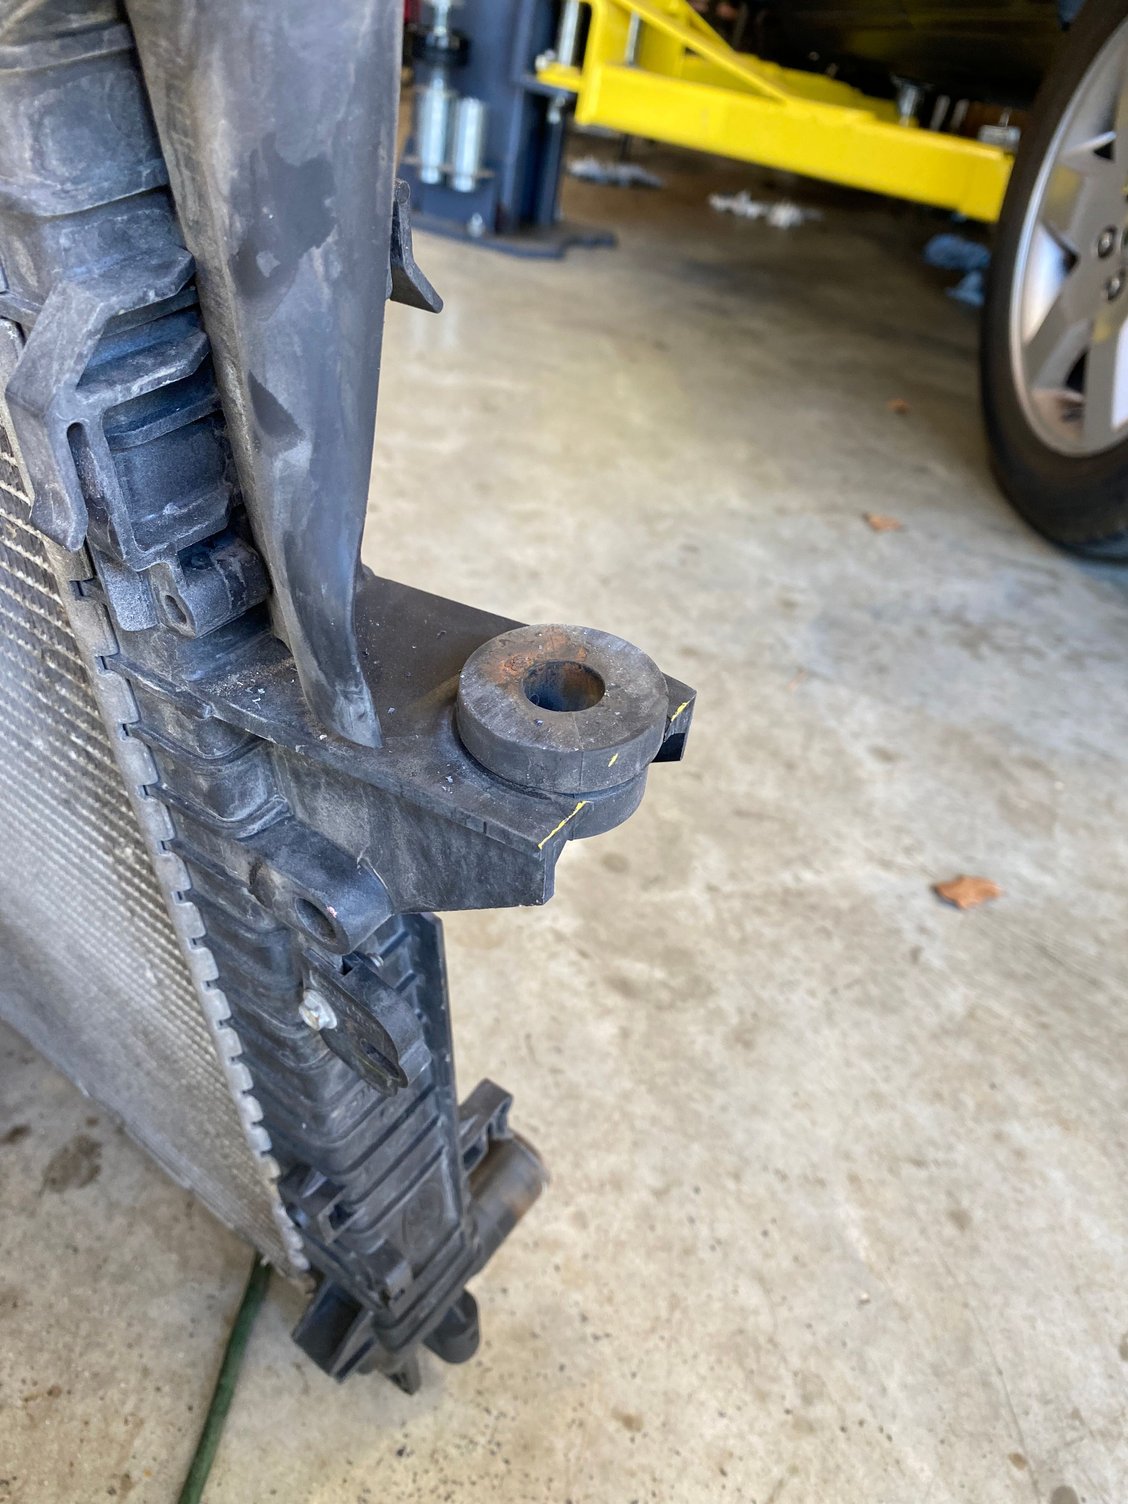
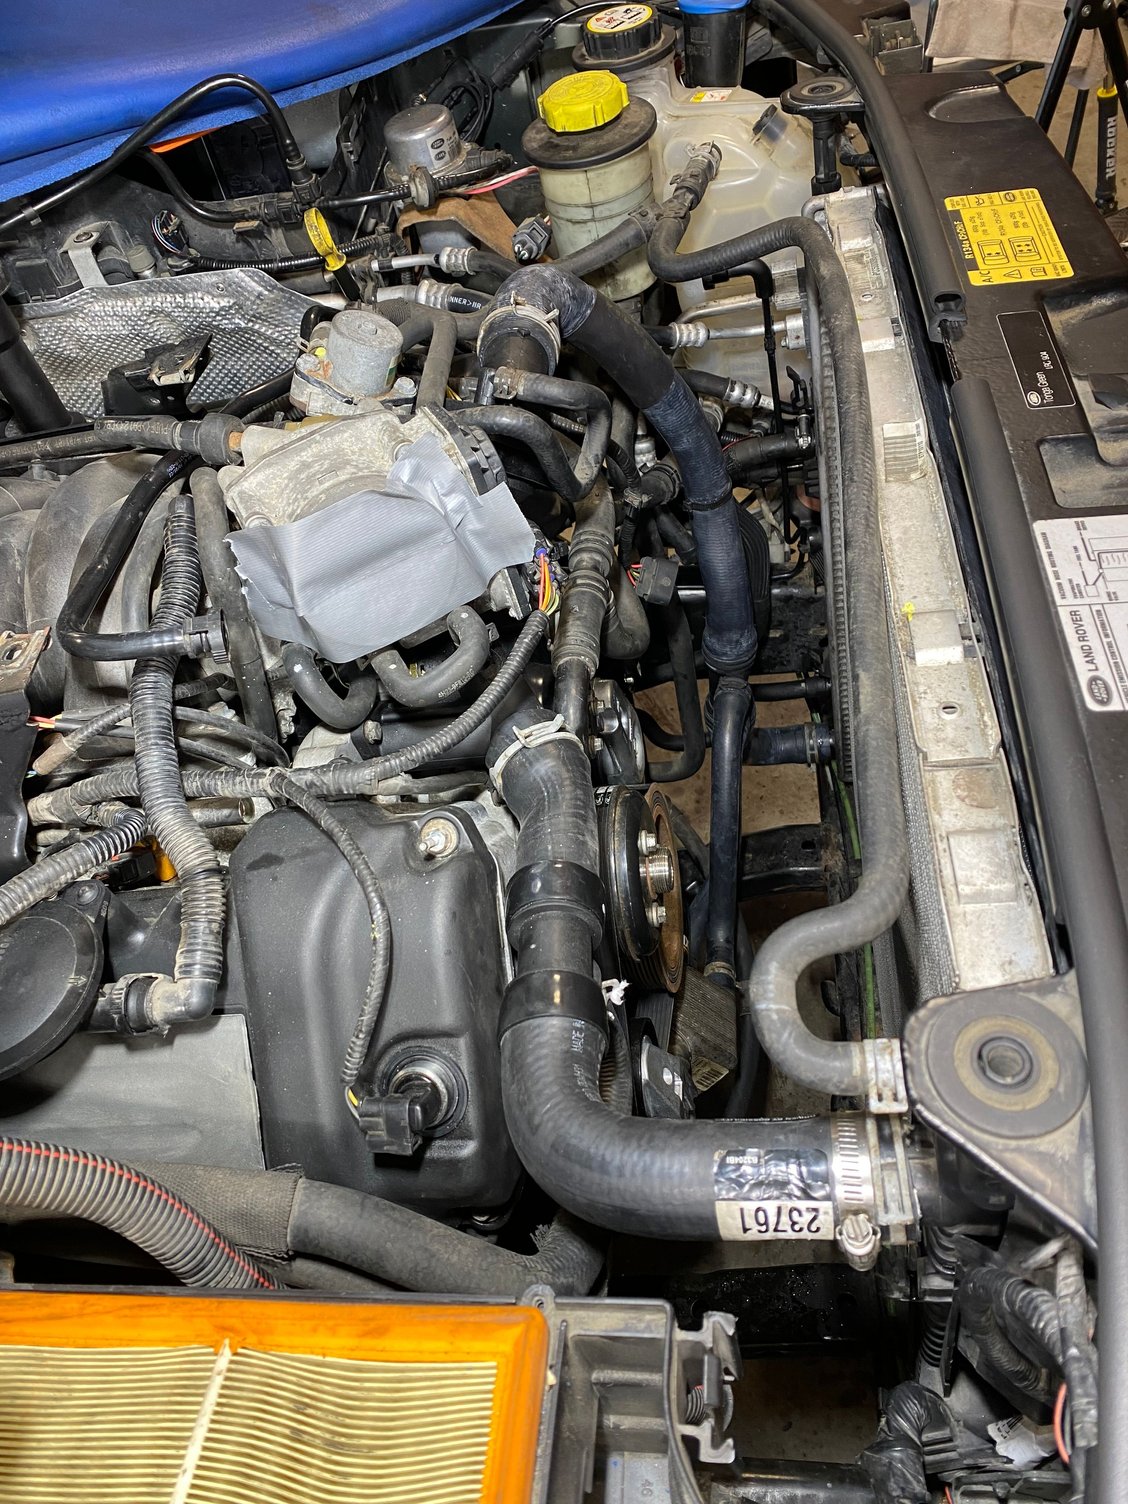
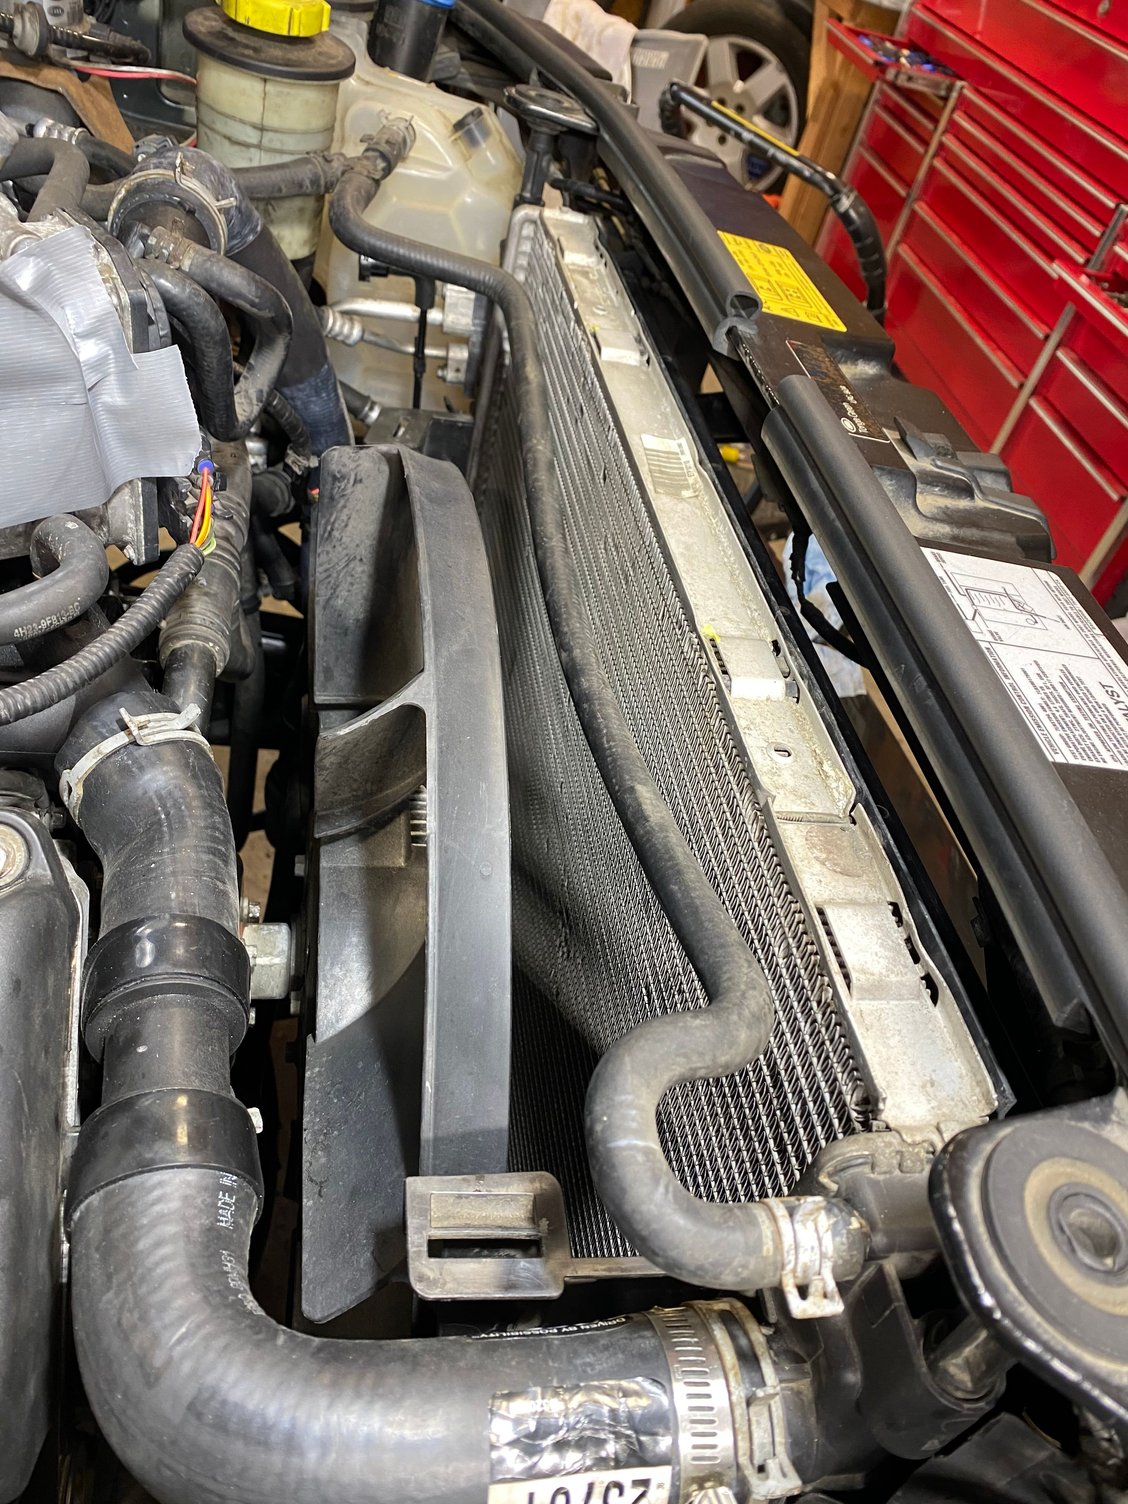
I cut about 5/8 in. off of the ear. There’s no way it hurts the radiator. I have a feeling there’s a new radiator in my future, and this will make next time easier.

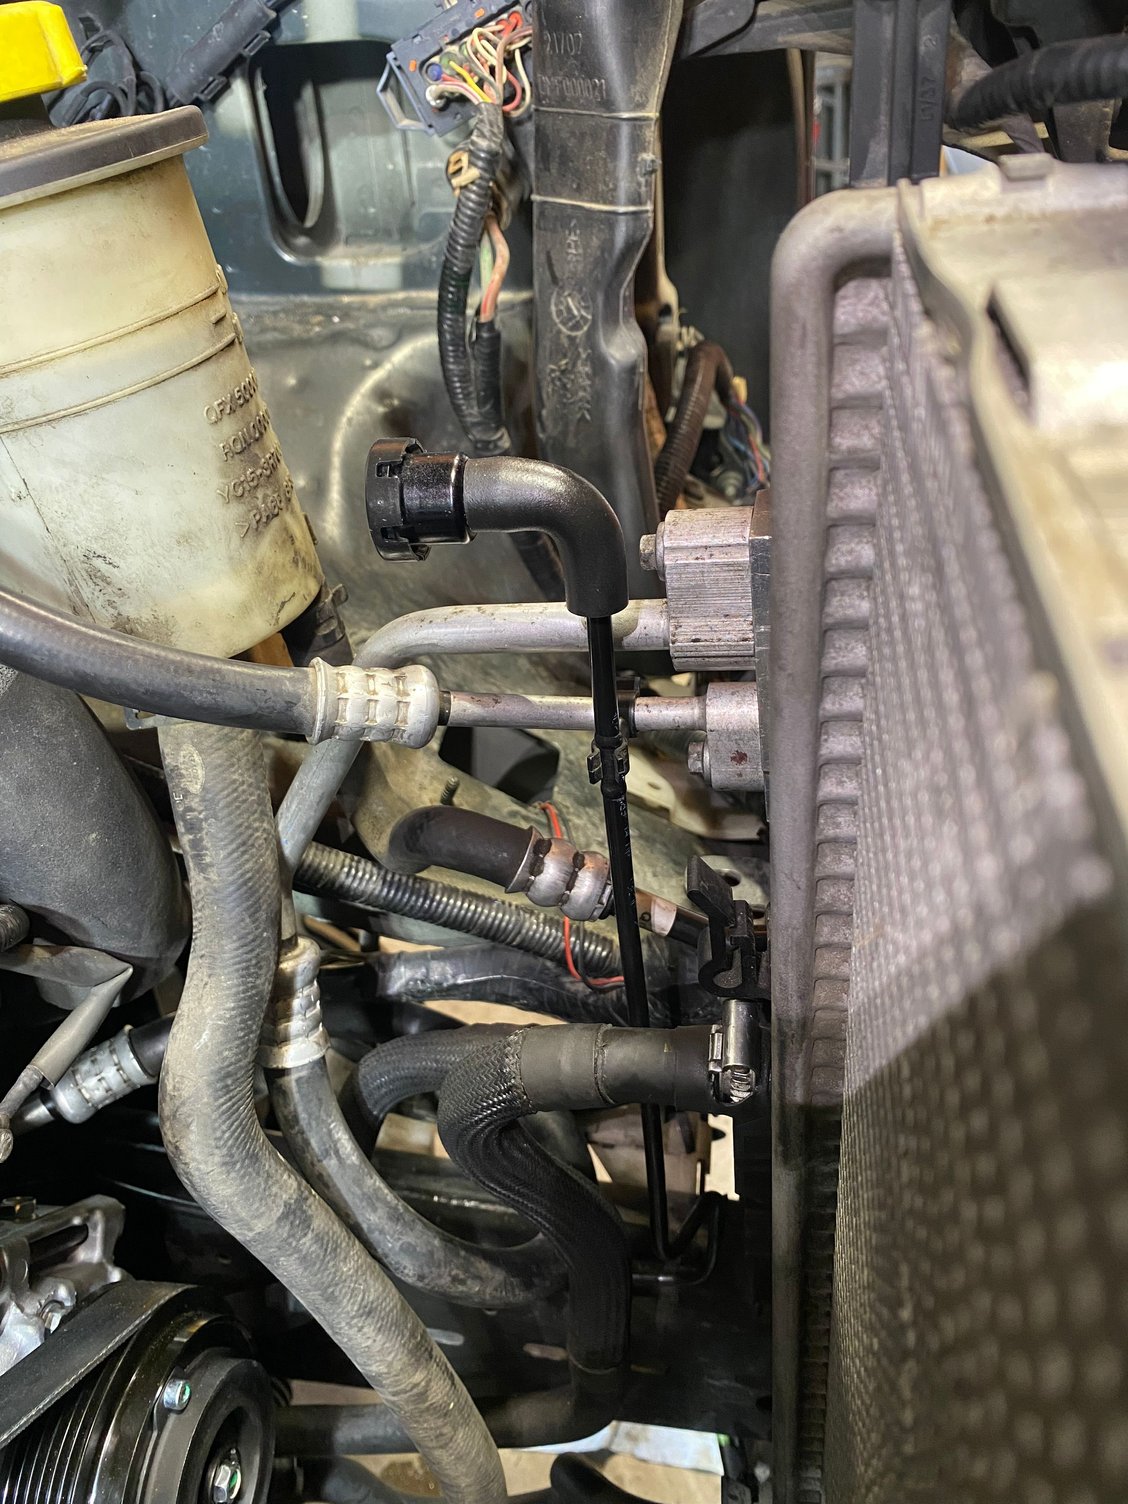
I also cut the condenser port mounting tabs off. The aftermarket condenser coil didn’t fit perfectly to the tabs. I think that maybe this will also make a future radiator job easier.
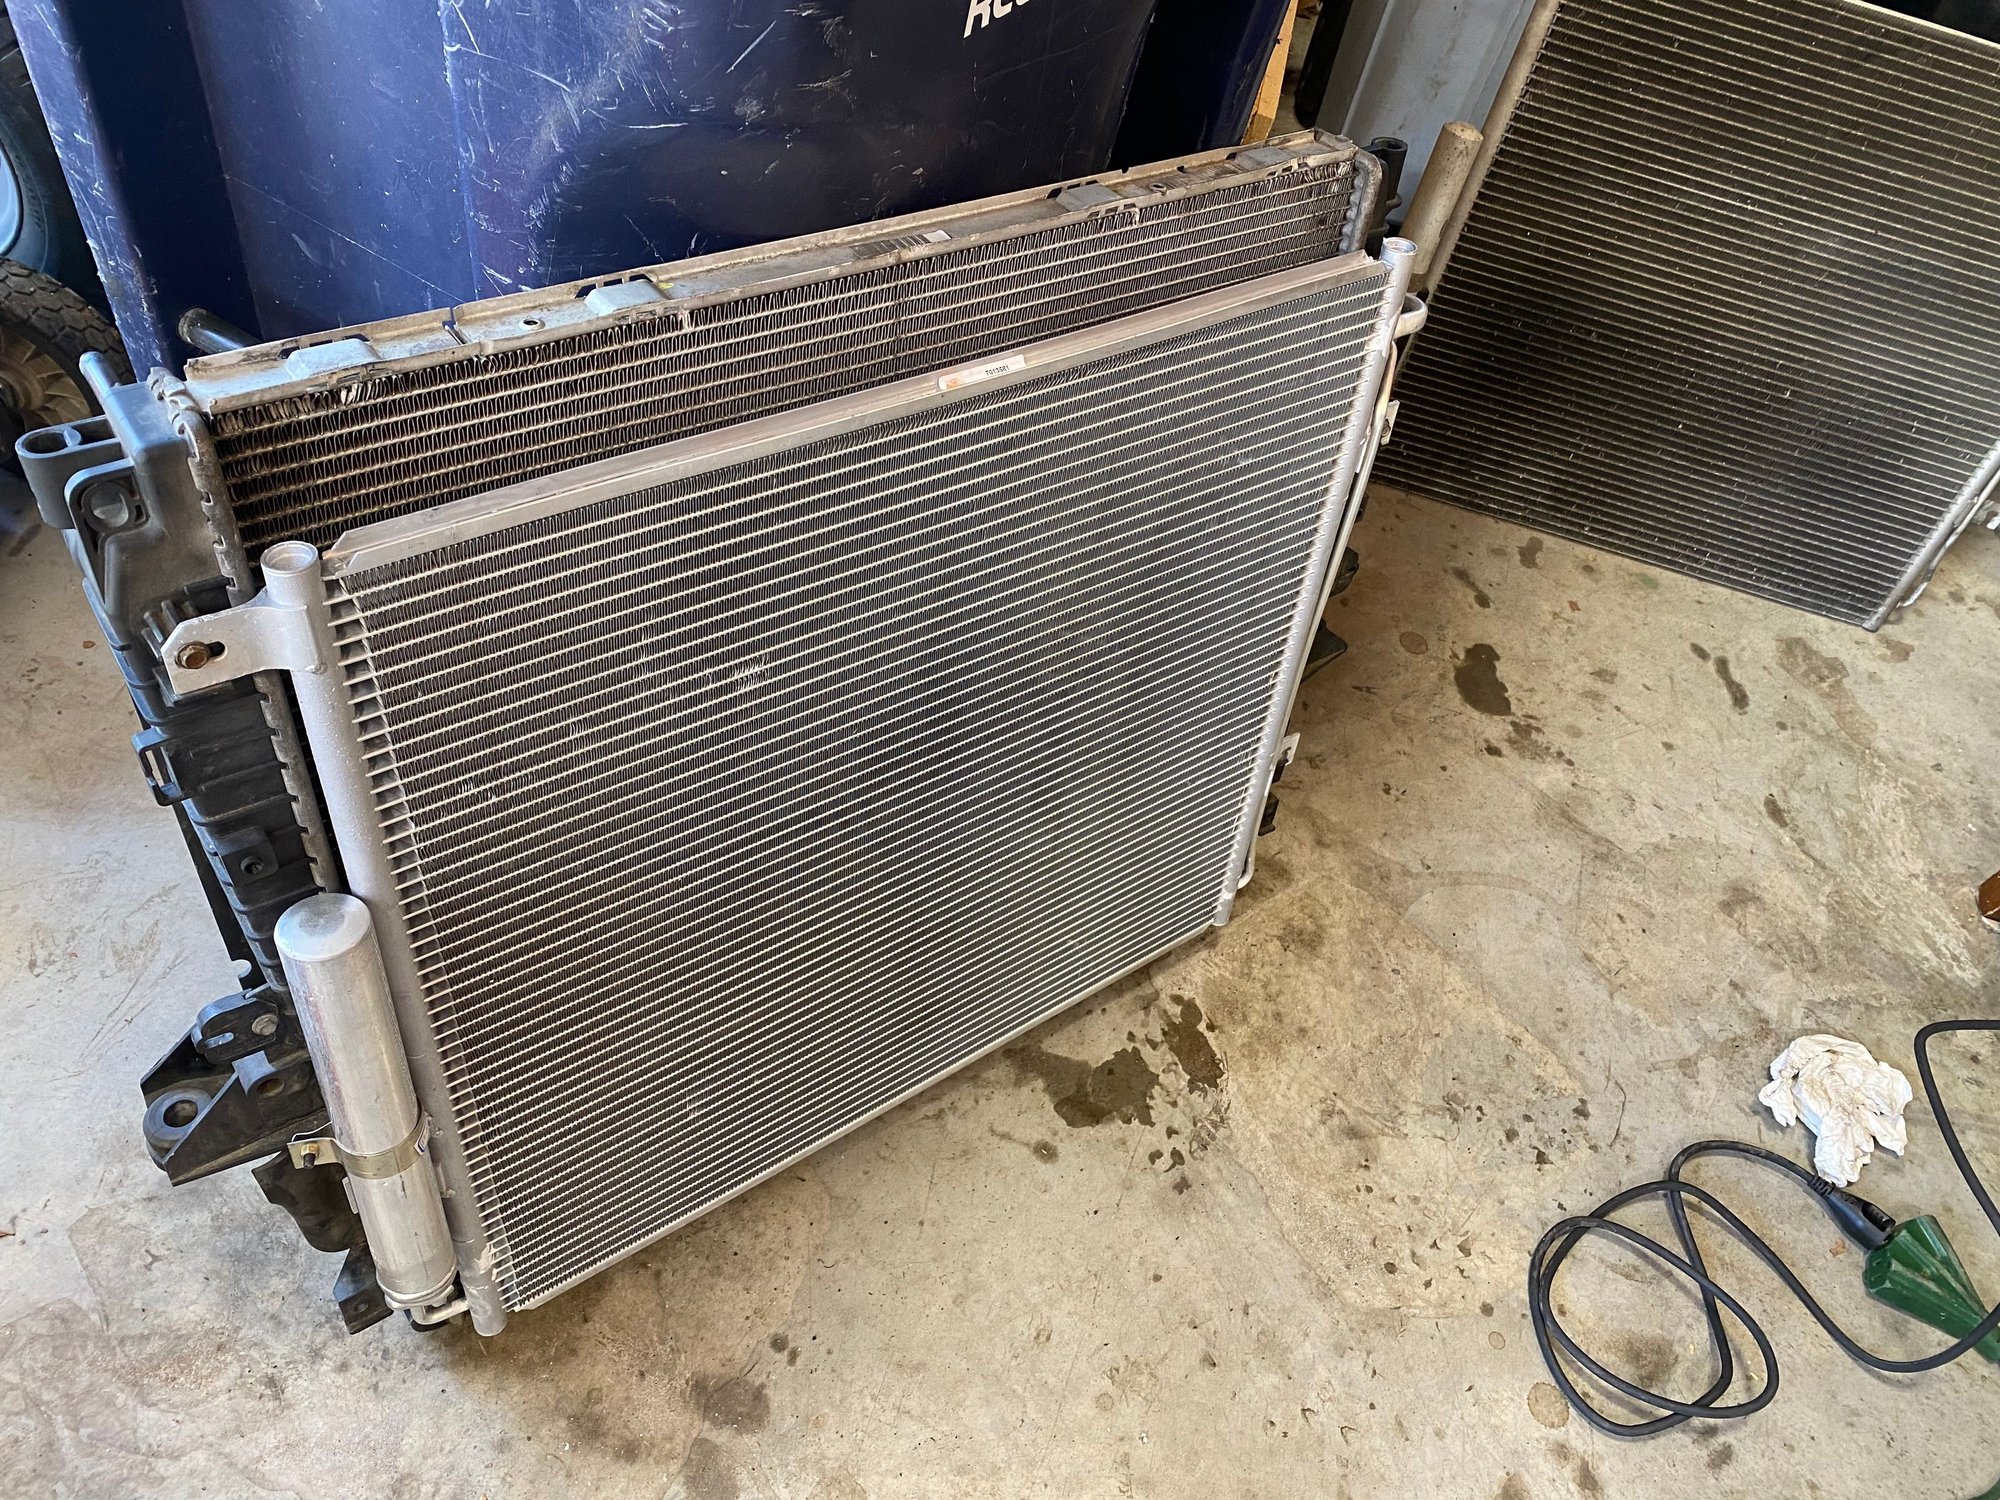
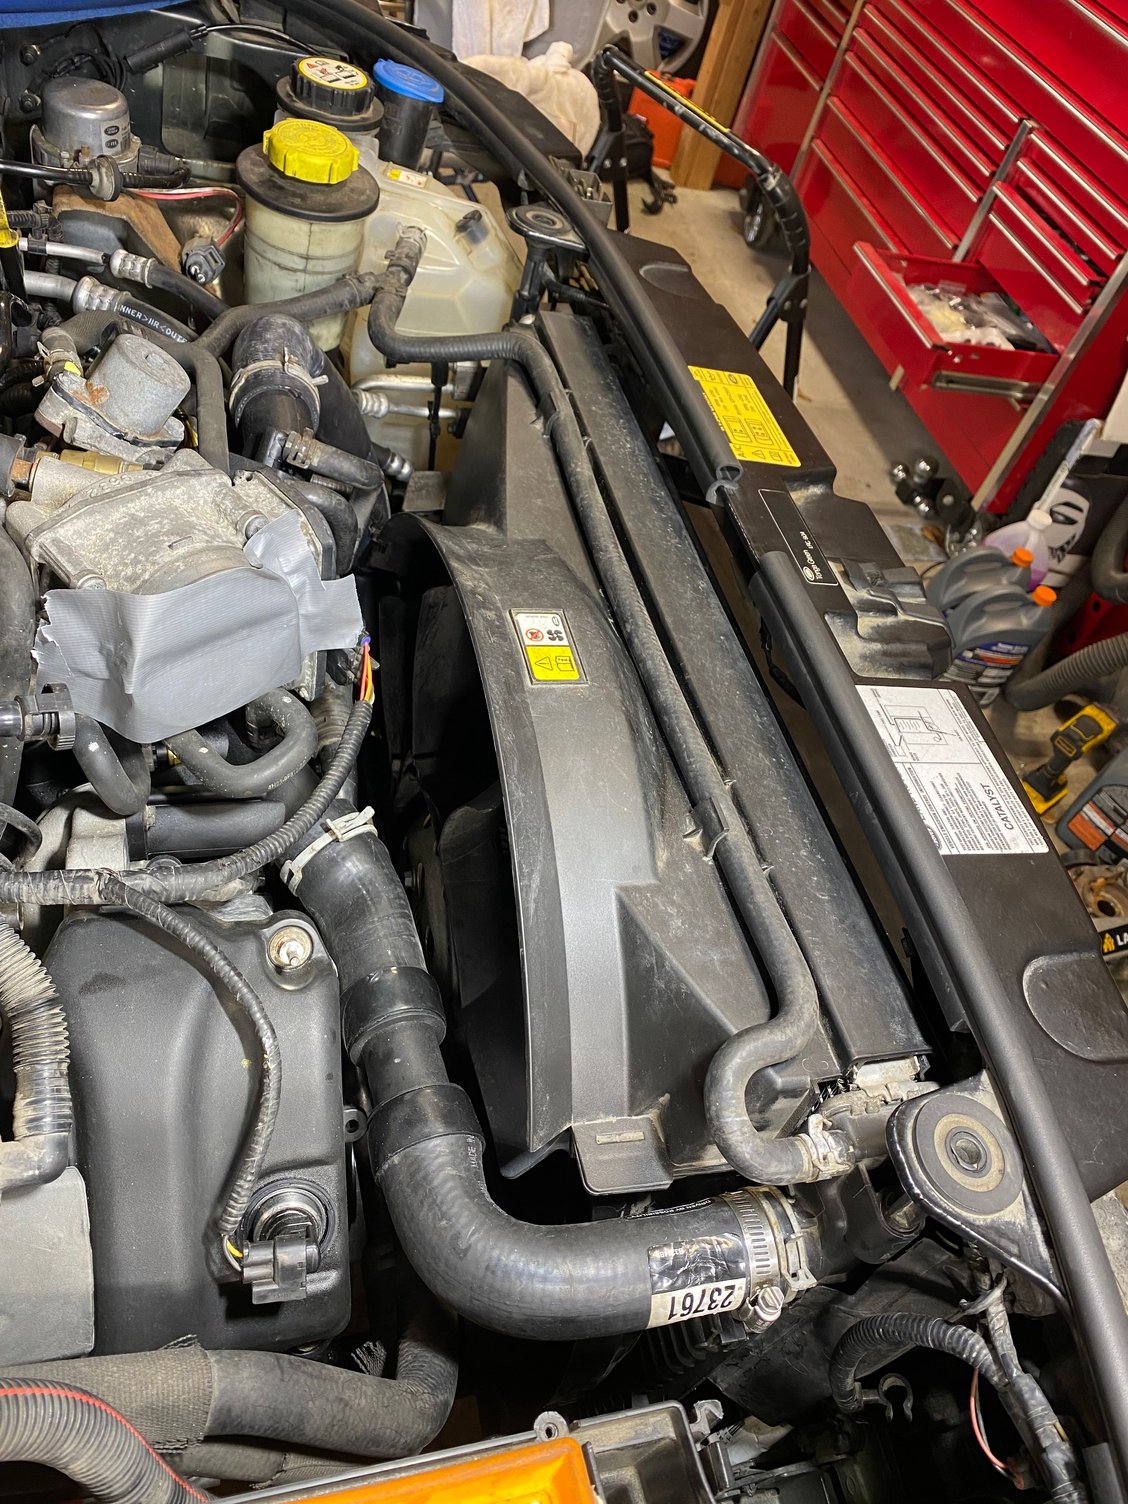
Condenser fitted to the radiator.
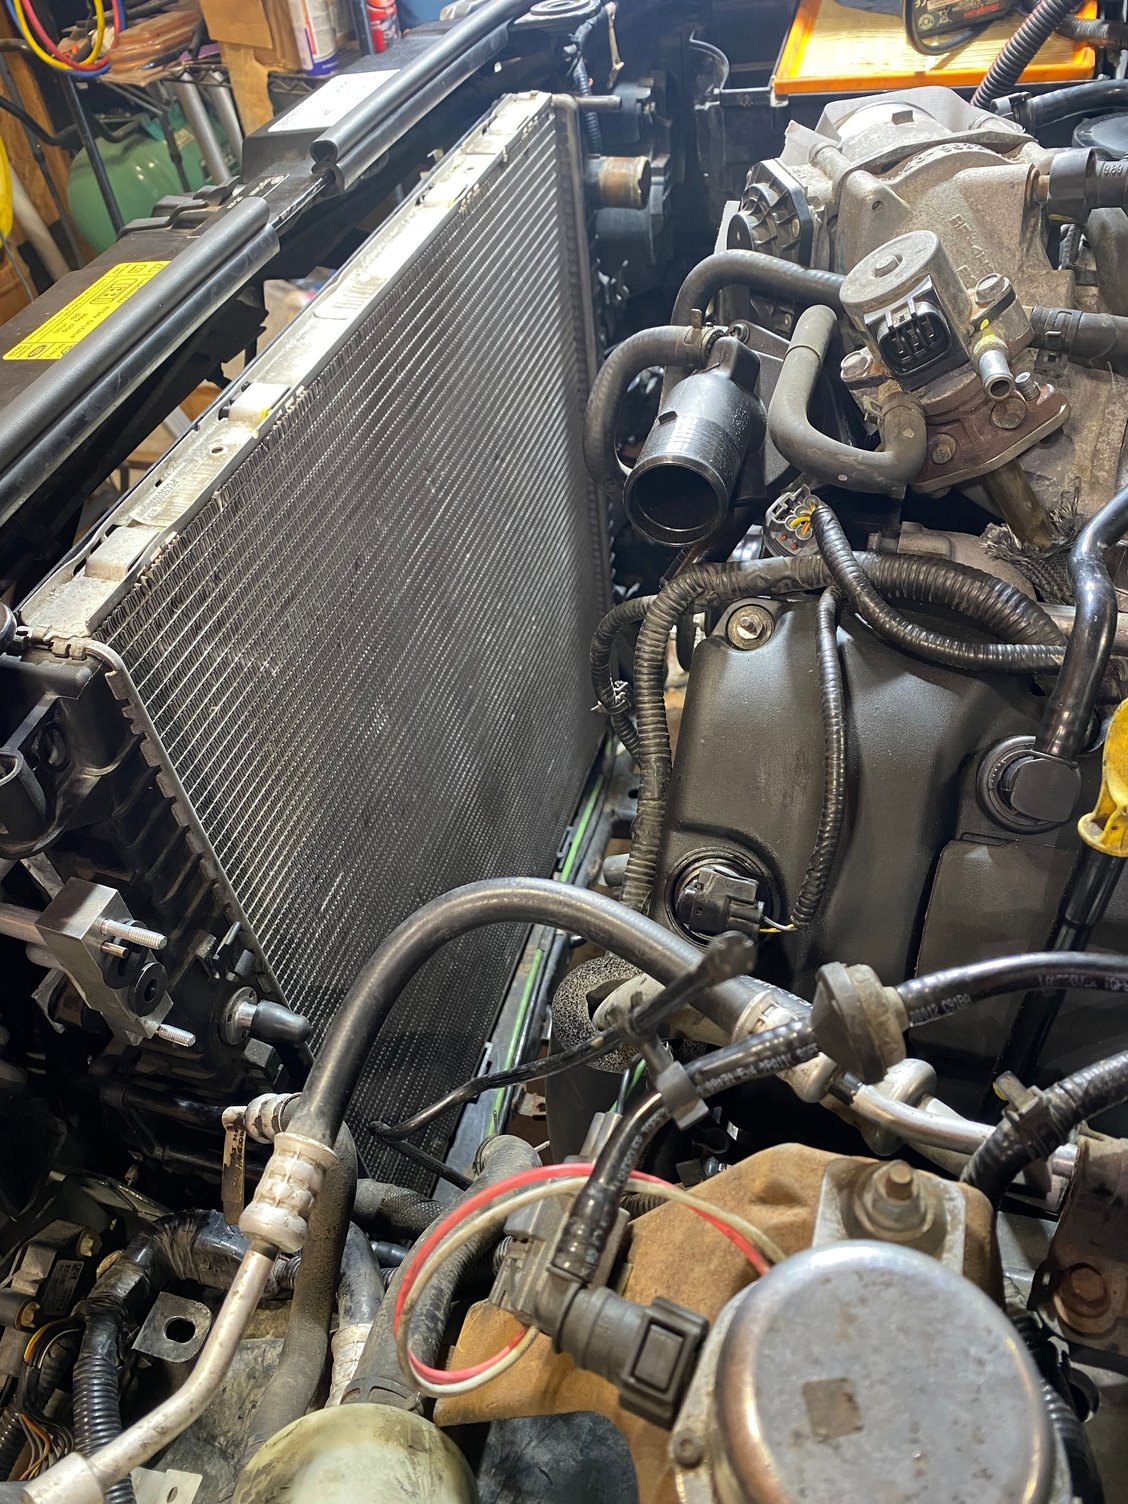
It was easier with a shorter tab, but still tight.
#62
The following 2 users liked this post by P-Bod:
DakotaTravler (04-03-2022),
houm_wa (04-03-2022)
#63
The following 4 users liked this post by P-Bod:
#66
The following 4 users liked this post by P-Bod:
#67
Here’s the first cold start. No more clatter! The air compressor kicks on in the background and shuts off about a half second after I stopped filming.
Thanks all for your encouragement on this project!
https://youtu.be/DlimVJQz90A
Thanks all for your encouragement on this project!
https://youtu.be/DlimVJQz90A
The following users liked this post:
P-Bod (04-15-2022)
#69
Right now, I'm trying to get the new A/C compressor to compress. The old A/C compressor was seized with a sheared front plate. I autopsied it last night, and yes, it was seized. I do not appear to have power to the refrigerant solenoid valve on the compressor. I can see where someone before me pierced the wires at the connector to test for voltage. I rigged a light bulb to the feed and it remains dead. It also took me longer than it should to realize that the ECON switch is the opposite of the A/C switch on every other vehicle I've ever seen! I've ID'd the wires in the diagram from the refrigerant solenoid to Climate Control Module. That's where I'm headed. Wish me luck!
The following users liked this post:
tracyc (04-06-2022)
#70
I've narrowed down my A/C compressor problem to the temp control module. Waiting on a used one from Ebay.
For the parts:
I found this kit which was very helpful.
LAND ROVER 4.2 & 4.4L,V8 2005-2009 TIMING CHAIN KIT,EVERYTHING IN ONE – CHRISTOPHERS FOREIGN CAR PARTS.COM
There were a few seals that were not used on the LR 4.4L. I ended up not using the chain guides or primary tensioners that came with the kit. I saw absolutely NOTHING wrong with the originals after 105k miles and figured they might be better than the new aftermarket ones. The guides looked like good quality, but there's a sleeve for the mounting hole to be transferred from the old one that had a smidge of play on the new one. So I kept the old one. I did use all 4 new chains, and the secondary tensioners. The original secondary tensioners had small grooves worn in the plastic where the chain rides. I weighed the OEM chains and the replacement chains on a scale—they are equivalent. I wrestled with that choice, but went with the replacements. The original primary tensioners are ratchet style, and just looked a little better than the new ones so I kept the originals. All-in-all, this is a nice kit at a fiar price, but you'll need to use judgement on which parts you use and which ones you don't. Dakota called out that aftermarket VVT solenoid seals on top of the valve covers are prone to leaking, but easily replaced. The ones in the kit are URO brand, I mistakenly said they were Italian made in the thread. I'll keep my eye on mine.
I bought the special tools from the same place:
LANDROVER V8 2005-2011 FRONT CRANK PULLEY LOCKING TOOL KIT – CHRISTOPHERS FOREIGN CAR PARTS.COM
As noted in the thread, I did not need the crank holder to remove the crank bolt. I was able to do that with my Dewalt impact. The kit has a puller for the harmonic balancer that worked fine. The balancer holder also worked well for install, and is essential to get the crank bolt to proper torque (picture in the thread).
Cam holder kit from the same place:
ROVER,V8 4.4L TIMING ALIGNMENT TOOL SET, DELUXE KIT 2005-2009 – CHRISTOPHERS FOREIGN CAR PARTS.COM
I tried to show pictures where each piece of this kit was used. As noted in the thread, one cam holder did need the holes wallowed out just a little bit so the bolts would thread into the head. The shop manual shows that you can do the job with on cam holder tool, but it was sure nice to have two. There were two crank holder tools in the kit for different engines. Ultimately one fit after working it into place and the other one didn't. This kit was very nice in that once the motor is locked down, you can be confident that you can't screw up the timing on reassembly.
I bought the VVT Gears (4536849) from a Land Rover dealer. I found them online ranging in price from $460 to almost $900 each. I don't think there is an aftermarket option out there and probably wouldn't risk it if there was. All 4 cam bolts (4165653) MUST be replaced as they are torque to yield. FCP Euro had these on closeout so I got them for $2-3 each, I think.
Other parts from RockAuto:
ÜRO PARTS PQG500220 Fan Belt Tensioner $ 72.79
GATES 38279 Accessory Belt Tensioner $ 53.79
Happy with both tensioners
GATES 23762 Radiator Hose $ 55.79
GATES 23761 Radiator Hose $ 19.73
GATES K060926 Belt $ 24.99
GATES K080334 Belt $ 13.31
GATES 36270 Idler Pulley $ 14.52
GATES 43503 Water Pump $ 60.79
I have used many Gates parts and have considered them to be an OEM quality brand, but less than great here. The water pump and belts are fine. I had to trim the upper radiator hose on both ends to fit. The lower hos fit OK. I would consider OEM hoses.
GPD 3581 A/C Condenser $ 95.79 — Poor fit, had to tweak the connection ends and trim the radiator to fit.
GPD 1321301 [Kit Component] O-Rings / Seals $ 7.65 — Not sure why these o-ring packs NEVER have the size you really need!
GPD 6512768 [Kit Component] A/C Compressor $ 247.60 — I have used a couple of GPD's in the past with good results. This one has a hair-too-small hole for the suction line and I could NOT fit the hose. I was able to salvage the top manifold from the old compressor. PITA, but I made it work.
ÜRO PARTS LR005631 Thermostat Housing / Water Outlet $ 56.79 — Poor fitment as well. I had a difficult time getting the mounting holes lined up with the motor, but I eventually won.
Other than the specialty tools mentioned above, this job can be done with basic tools and an assortment of torque wrenches. Not required, but I do have Bendpack XPR-10AS lift which is a dream. I always wanted one as a kid and finally got it done about 4 years ago. I don't know how I ever lived without one! The majority of this job is done from above, but I don't think I would want to do it without removing the radiator and A/C condenser. The access through the front is nice.
So, the main symptom and sole reason for doing the job was to fix the cold-start rattle. The AJ-V8 pdf in the first post properly describes the symptom, and solution to the letter. The job is certainly a lot of work. Knowing what I know now, and seeing that the rest of the timing components in the motor were in exceptionally good shape, ultimately the only part needed replacing was one VVT Gear, just like the document says. If I had the startup rattle on another rig, and the "feel test" clearly identified the offending VVT gear as it did in mine, I would be very tempted to buy a set of 5-point torx sockets, remove only the valve cover from the offending side, and try to reset the oil chamber ring to allow the VVT gear to lock. I think it can be done. You wouldn't need any special tools at all, and only a few seals for the valve cover. You would need to hand crank the motor to expose and loosen the three 5-point torx bolts on the VVT gear, just a little, then twist the oil chamber housing ring as far as possible counter clockwise, and tighten back down the bolts. DONE!
The following 2 users liked this post by P-Bod:
douglastic (08-27-2024),
SeattleDriver (04-14-2022)


