

Lucky8’s Project Discovery 3


Three Wheeling
Joined: Feb 2014
Posts: 88
Likes: 8
LR3NJ: Rock Crawl Mode doesn't cut power per se....it just makes the throttle response REALLY sensitive and going fast and/or gaining momentum is nearly impossible in that mode. I truly only use Rock Crawl if I'm driving over big rocks.
Mud/Ruts, to me, is the most versatile mode. I use it most of the time when I'm off-road or in deep snow. It seems to be the least invasive to me and does a great job of locking the diff(s) when needed. ...and yes, also kill the DSC. I do that most of the time, not just in snow. I generally am set up off-road with Mud/Ruts selected plus my "three amigos" (shameless re-purposing of nickname): Lo-Range Icon, HDC Off Icon, DSC Off Icon.
If I am about to go down a steep hill with deep pot holes, I'll turn HDC back on so that it can work as a torque-arrester....otherwise it annoys the hell out of me!
Also I turn it on if I do a hill climb, in the event I fail, I want to have HDC on in Reverse as I back down. Very handy feature!
...how's your D2 sounding NOW, Dusty? Pffffhh...
Thanks for that info.
After all the years of driving 4x4 pickups I am not used to having a choice of what 4x4 mode I would like. It was either low or high and that was it.
After having the LR3 only two weeks so far, I get more and more impressed with its potential.


I use driver mode and do fine in the 110 no trickery just finesse 
The wheels look much better in black by the way
The wheels look much better in black by the way
Last edited by ArmyRover; Mar 7, 2014 at 08:04 AM.


Mudding
Joined: Nov 2013
Posts: 179
Likes: 19
From: Mackenzie BC Canada
I don't know about the rest of you, but I either don't know how to drive this thing off road and I need more trail time to test modes or there is just too much tech and not enough mech. Seems I am stuck more often than not when I try to "show off a bit" using all the computerised stuff, where as a buddy with a two wheel drive Chev S-10 can go places I can't. I have been paying attention to posts relating the TC and I plan to try some new methods when we have less than 4 ft of snow.
(also to be noted, I have a V6, which, I find to be quite under-powered for turning 33s on the trail.)
(also to be noted, I have a V6, which, I find to be quite under-powered for turning 33s on the trail.)
Three Wheeling
Joined: Feb 2014
Posts: 88
Likes: 8
I think the S10 going places you can't may have more to do with weight than the different modes of 4x4.
These LR3's are heavy. It weighs the same as my '09 Chevy 2500, 4x4 Ext Cab, 8' bed, LTZ Silverado, 6.0 gasser, in a lot more compact package.
These LR3's are heavy. It weighs the same as my '09 Chevy 2500, 4x4 Ext Cab, 8' bed, LTZ Silverado, 6.0 gasser, in a lot more compact package.

Thread Starter
|
Winching
Joined: Jan 2009
Posts: 628
Likes: 18
Lucky8’s Project Discovery 3 Update : Testing 1,2,3…..4
After having all the issues in the sugar snow, I was thankful that SCARR in Texas was the next event on the docket.
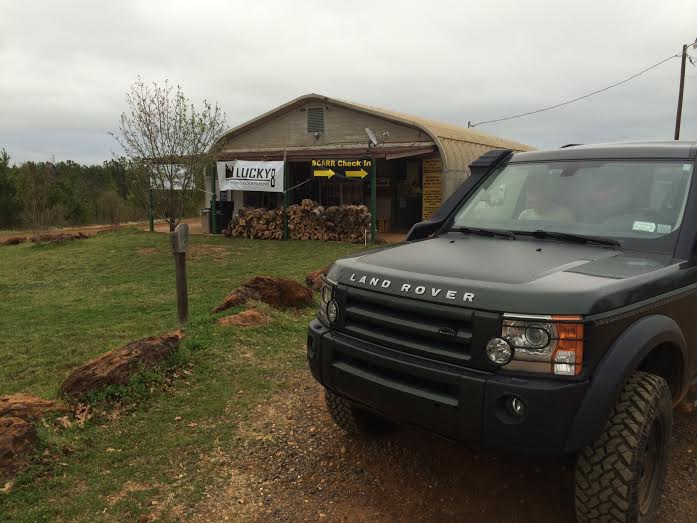
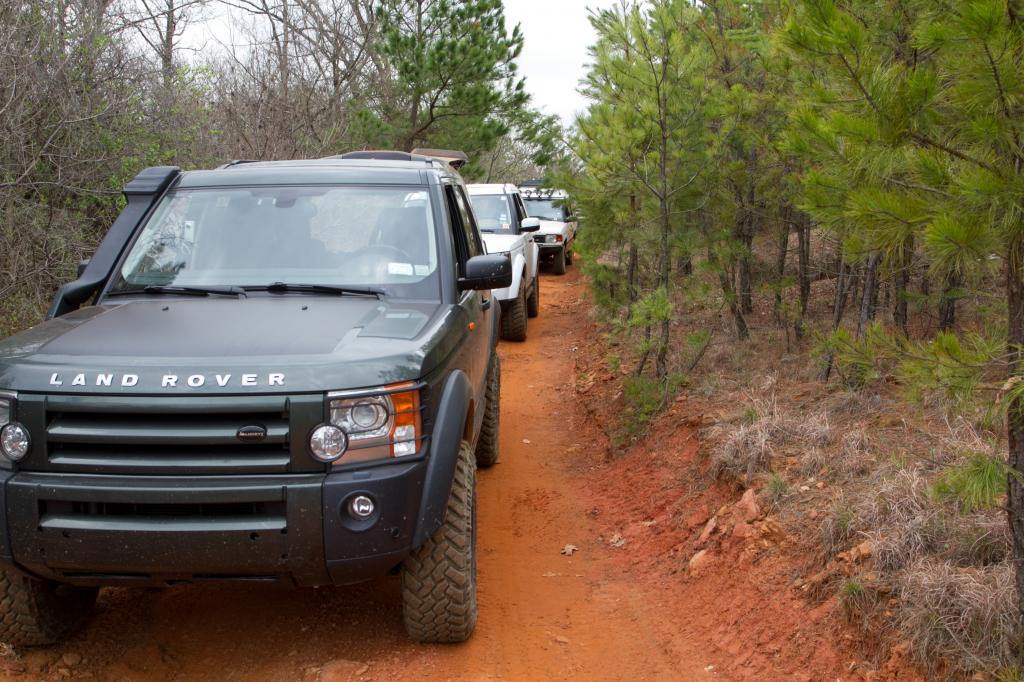
SCARR is a fantastic event held by Texas Rovers at Barnwell Mountain. Barnwell has over 1800 acres of trails and we thought this would be a perfect venue to challenge our Disco 3. In fact we were so excited that we hit the trails as soon as we arrived.
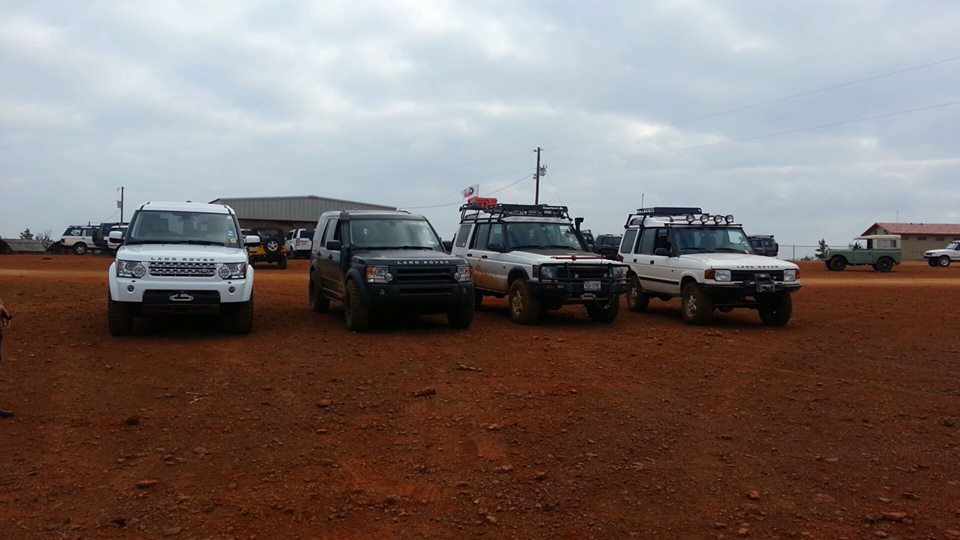
To make things more interesting, we arranged to have a D1, D2 and D4 tackle the trails along side the L8 Disco 3. The goal was to see what truck was best if any at all.
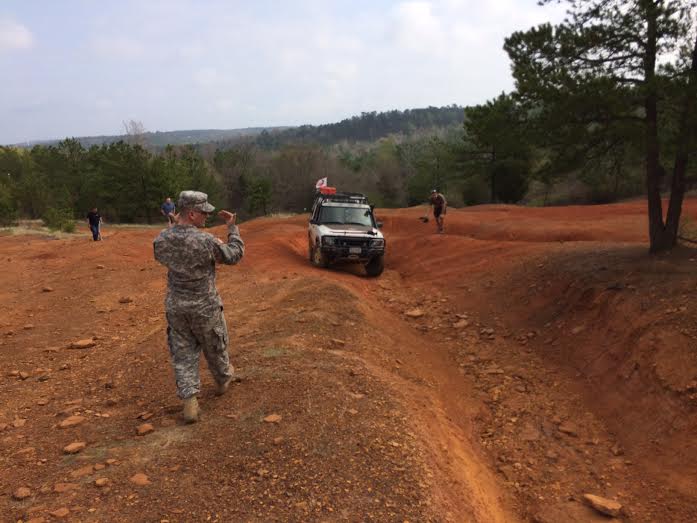
To make sure nobody cheated, we enlisted the services of Staff sargent Army Rover.
After doing a little bit of reading courtesy of Nathan Woods, I was armed with button-pressing knowledge and ready to prove that the D3 was the best of the Discos.
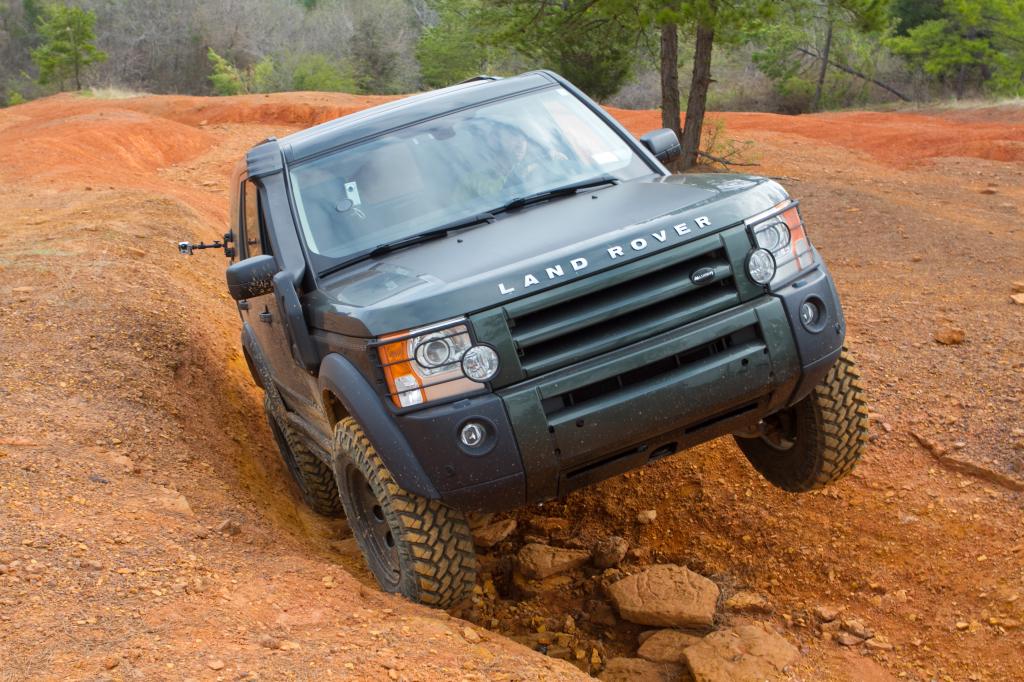
The conditions in Texas were mostly dry, hard-packed clay with some rocks thrown in for good measure. In my opinion this is some of the most ideal conditions for the Disco 3 and thankfully the farthest thing from snow.
The Disco 3 danced around every obstacle it encountered. For the first time I was truly happy with the truck.
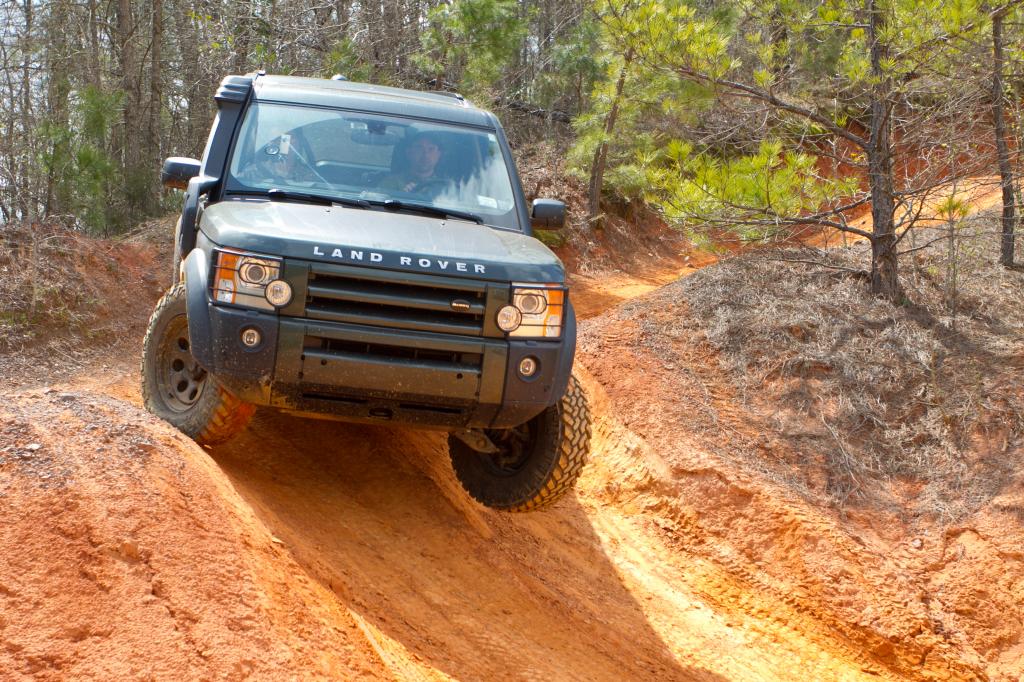
I think the Disco felt my content and decided to seek revenge for all the bad things I had said in the past. First, there was a little starter issue. It was my turn to tackle one of the obstacles so I turned the key to fire up the truck and………… nothing. I hit the key a few more times and luckily the starter jumped to life. Not wanting to test fate I pledged to never shut the truck off again.
The Disco 3 is a smart truck, maybe a little too smart. I think the computer did not like the off-road abuse it was getting so it shut the starter off. Since that did not work the next most logical step was to kill the alternator.
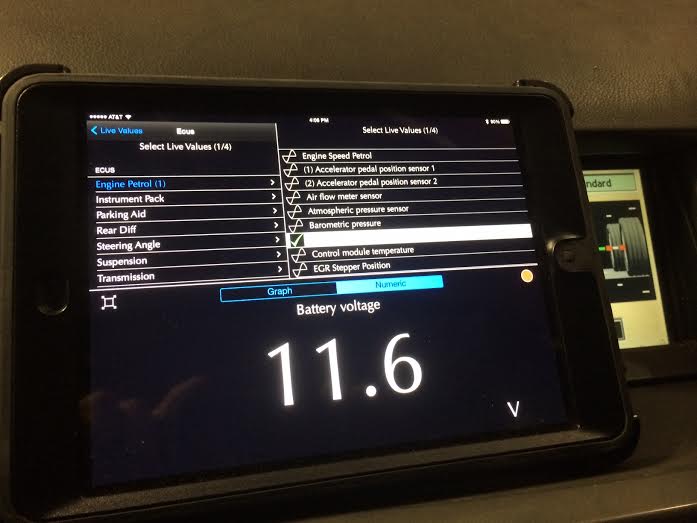
We were in big trouble now. Thank god we had a Gap Diagnostics tool and could monitor the voltage.
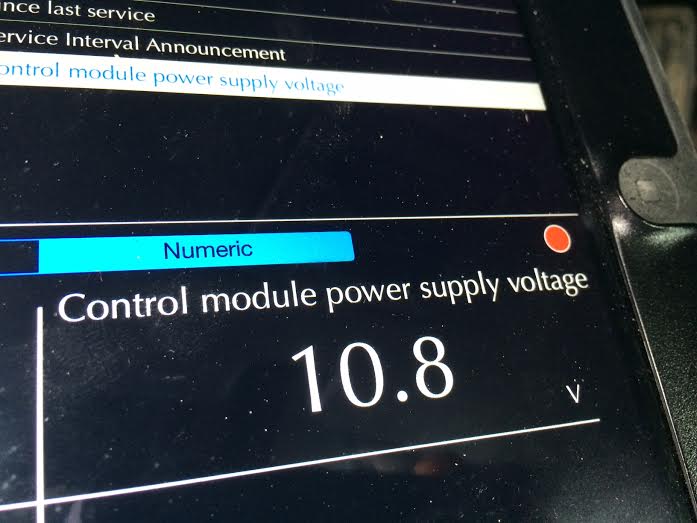
In the interest of science we continued to push the truck to see were it would die. Around 10.8v is where we started to lose systems. Unfortunately, traction control was one of the first to go.
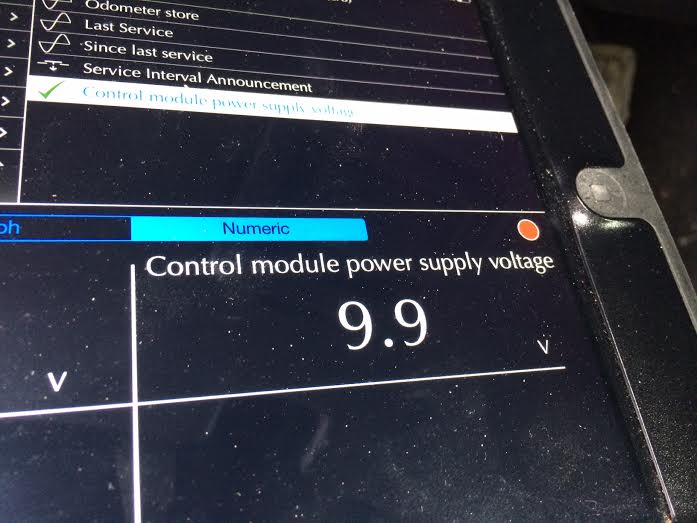
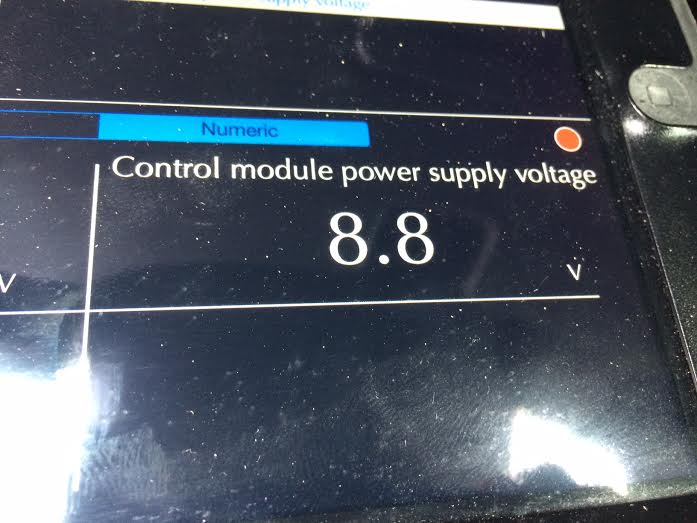
By 9v the truck was on life support. I’m guessing only the engine ECU was getting the remaining power from the battery.
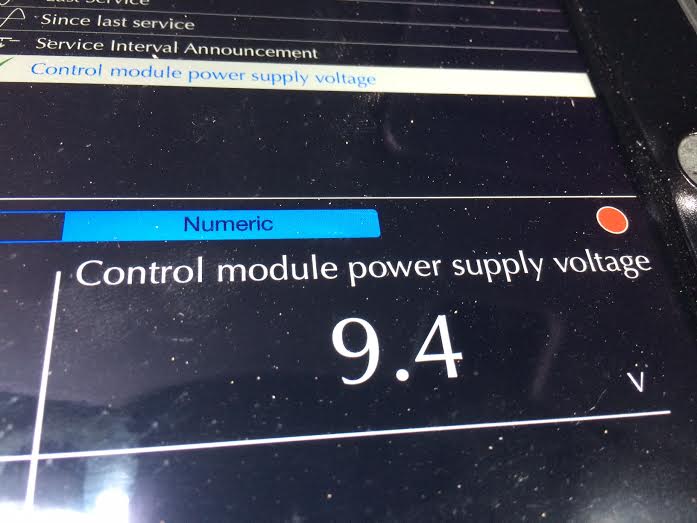
At 8.8v the Smell R Three had given up the ghost.
After having all the issues in the sugar snow, I was thankful that SCARR in Texas was the next event on the docket.

SCARR is a fantastic event held by Texas Rovers at Barnwell Mountain. Barnwell has over 1800 acres of trails and we thought this would be a perfect venue to challenge our Disco 3. In fact we were so excited that we hit the trails as soon as we arrived.

To make things more interesting, we arranged to have a D1, D2 and D4 tackle the trails along side the L8 Disco 3. The goal was to see what truck was best if any at all.

To make sure nobody cheated, we enlisted the services of Staff sargent Army Rover.

After doing a little bit of reading courtesy of Nathan Woods, I was armed with button-pressing knowledge and ready to prove that the D3 was the best of the Discos.

The conditions in Texas were mostly dry, hard-packed clay with some rocks thrown in for good measure. In my opinion this is some of the most ideal conditions for the Disco 3 and thankfully the farthest thing from snow.

The Disco 3 danced around every obstacle it encountered. For the first time I was truly happy with the truck.


I think the Disco felt my content and decided to seek revenge for all the bad things I had said in the past. First, there was a little starter issue. It was my turn to tackle one of the obstacles so I turned the key to fire up the truck and………… nothing. I hit the key a few more times and luckily the starter jumped to life. Not wanting to test fate I pledged to never shut the truck off again.

The Disco 3 is a smart truck, maybe a little too smart. I think the computer did not like the off-road abuse it was getting so it shut the starter off. Since that did not work the next most logical step was to kill the alternator.

We were in big trouble now. Thank god we had a Gap Diagnostics tool and could monitor the voltage.

In the interest of science we continued to push the truck to see were it would die. Around 10.8v is where we started to lose systems. Unfortunately, traction control was one of the first to go.

By 9v the truck was on life support. I’m guessing only the engine ECU was getting the remaining power from the battery.

At 8.8v the Smell R Three had given up the ghost.

Thread Starter
|
Winching
Joined: Jan 2009
Posts: 628
Likes: 18
On the bright side, here is a quick "How-to" on swapping the starter in a field.
You will need to get under the truck. I used an open deck trailer but in theory you could find a little ravine to work in. What ever you do, make sure it is safe.
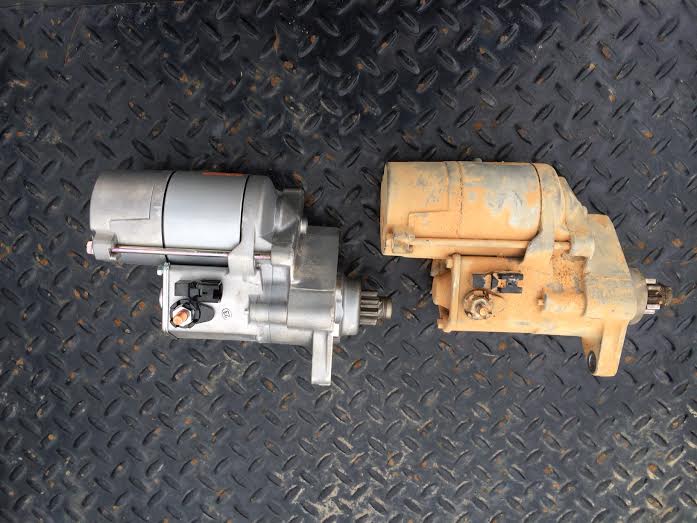
Just for reference this is what the starter looks like. You can guess the old vs. new
Step 1: Disconnect the battery.
Step 2: From under the truck, undo the easier of the 2 starter bolts just so you can feel good about yourself. Unfortunately that good feeling will be over soon.
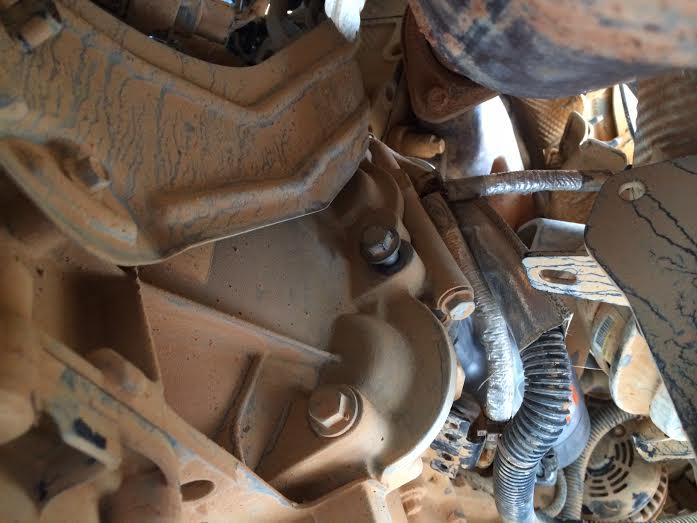
Step 3: Remove the passengers side front tire and pull off the heat shield by removing these little nuts.
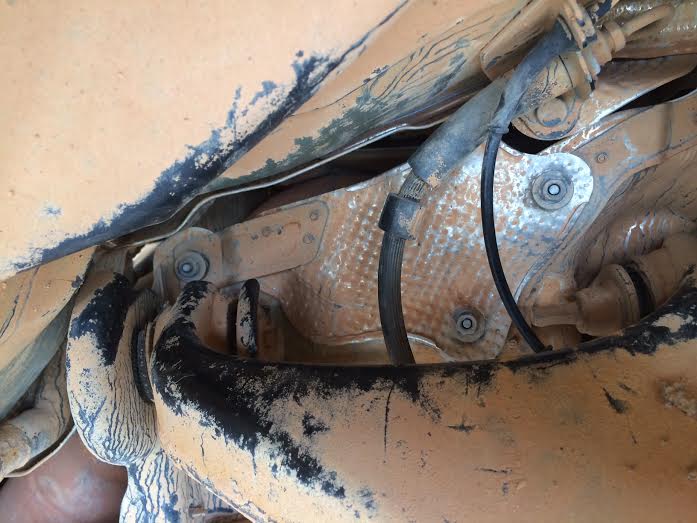
Oh yeah, don’t forget this extra bolt on the side.
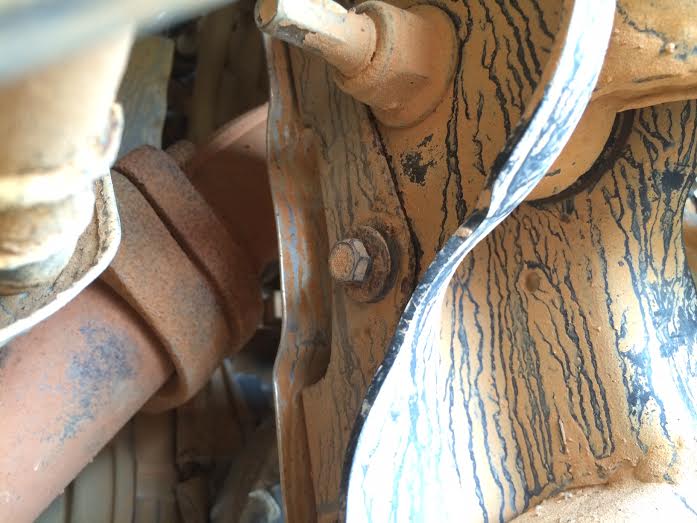
Step 4: With the heat shield out of the way, think of every bad word you have used in your life. You"re going to need all of them. Stick a box wrench in between the control arm and slowly undo the top starter bolt. Without removing the arm there is no room to do any thing fast. You get a 1/64th of a turn on the bolt at a time. If you're lucky, when the bolt is loose, you can undo it with your fingers. Good luck and I'll talk to you in 2 hrs.
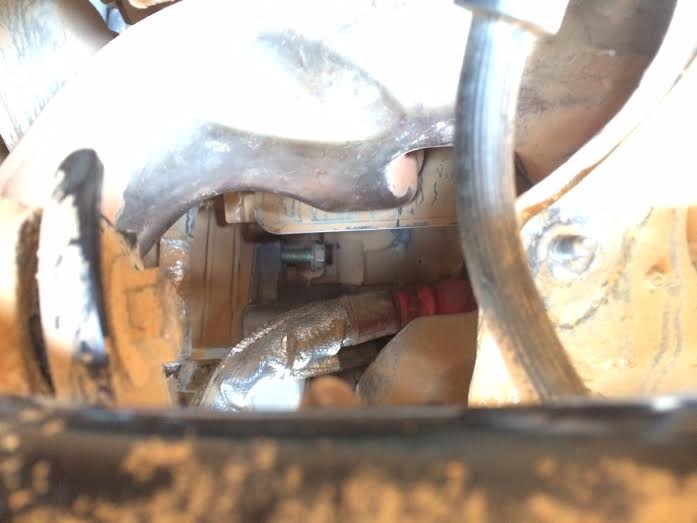
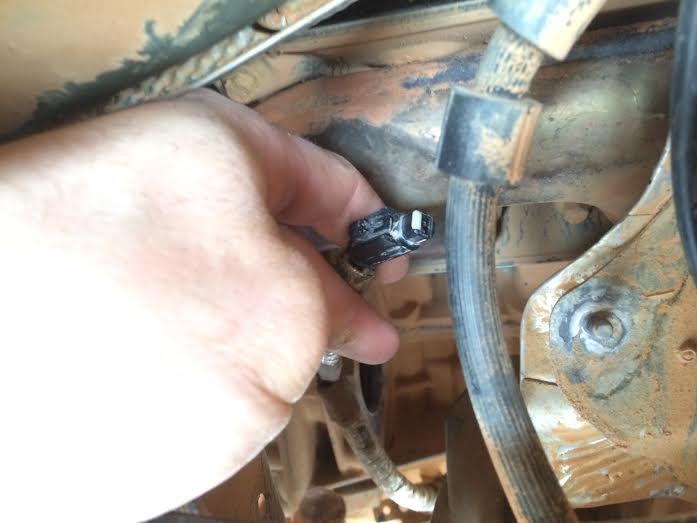
Step 5: With the starter free, undo the solenoid input wire quick disconnect.
Step 6: Undo the main starter wire.
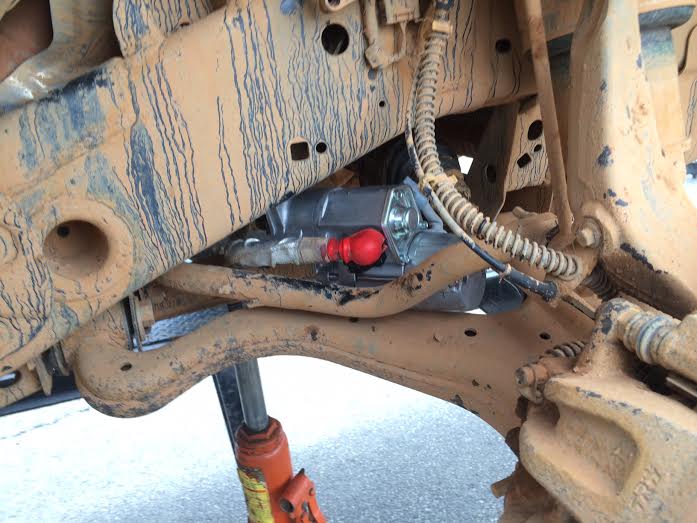
Step 7: Reinstall and smile.
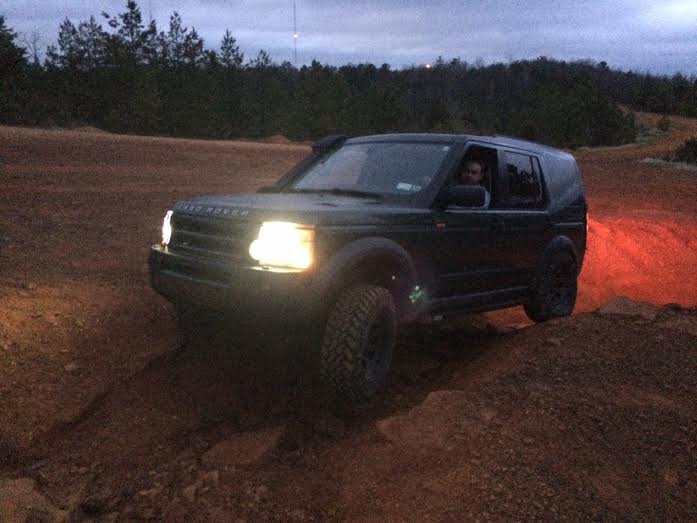
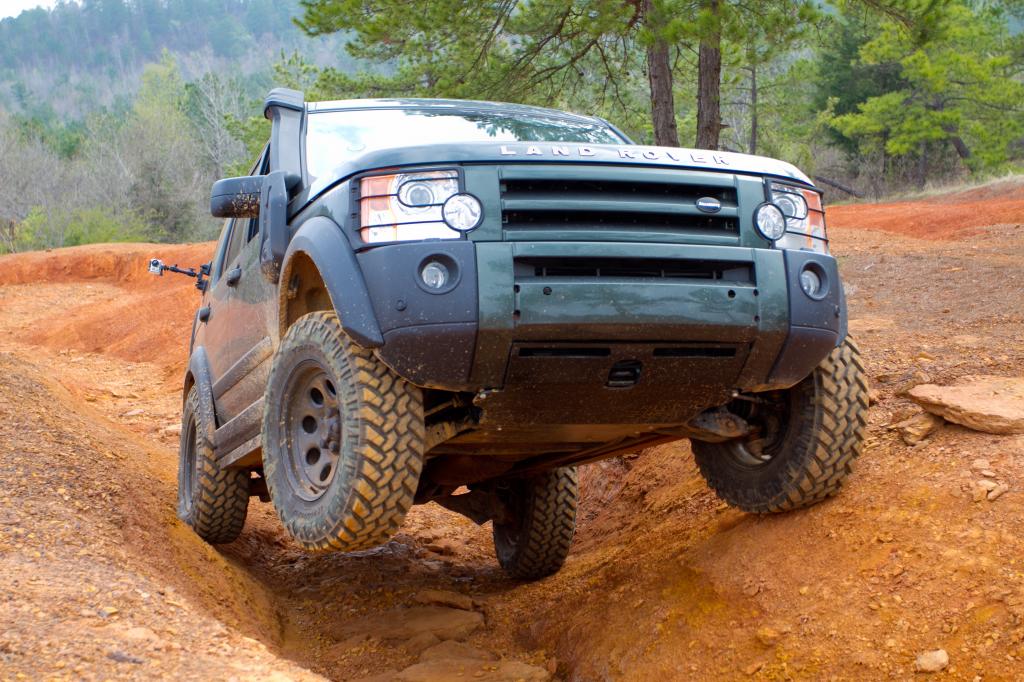
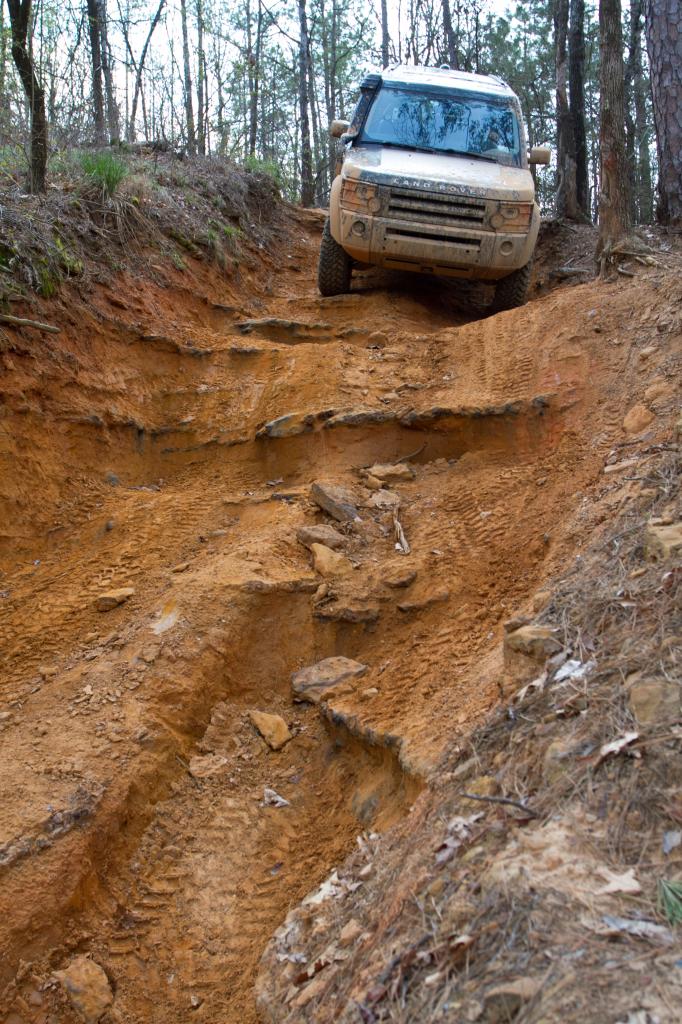
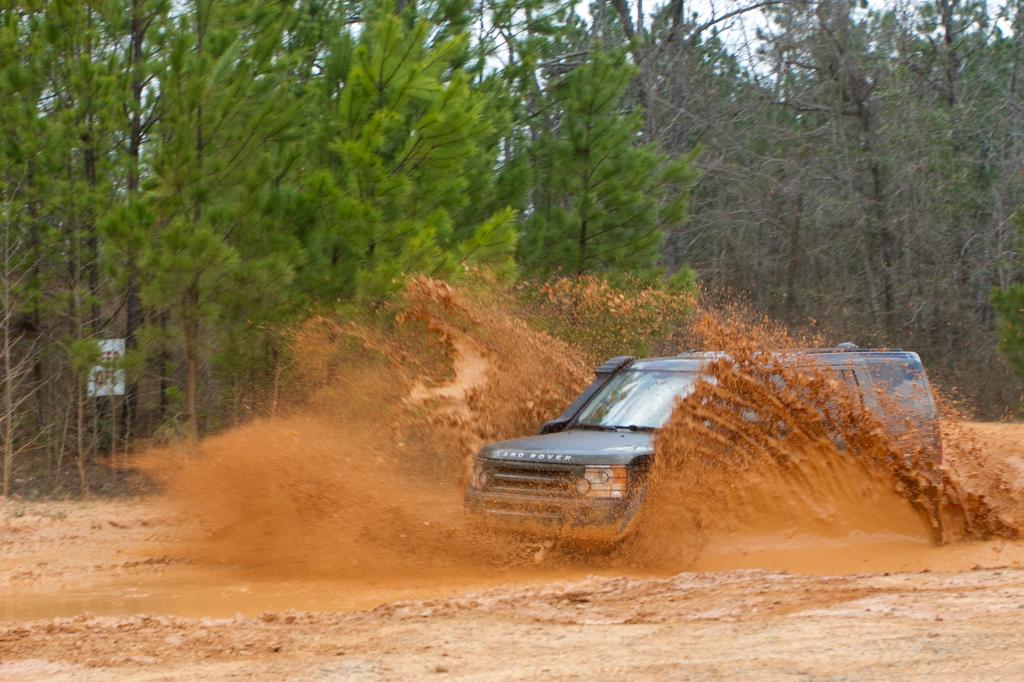
And finally, the poser pic that cost us the starter and alternator.
You will need to get under the truck. I used an open deck trailer but in theory you could find a little ravine to work in. What ever you do, make sure it is safe.
Just for reference this is what the starter looks like. You can guess the old vs. new

Step 1: Disconnect the battery.
Step 2: From under the truck, undo the easier of the 2 starter bolts just so you can feel good about yourself. Unfortunately that good feeling will be over soon.

Step 3: Remove the passengers side front tire and pull off the heat shield by removing these little nuts.

Oh yeah, don’t forget this extra bolt on the side.

Step 4: With the heat shield out of the way, think of every bad word you have used in your life. You"re going to need all of them. Stick a box wrench in between the control arm and slowly undo the top starter bolt. Without removing the arm there is no room to do any thing fast. You get a 1/64th of a turn on the bolt at a time. If you're lucky, when the bolt is loose, you can undo it with your fingers. Good luck and I'll talk to you in 2 hrs.

Step 5: With the starter free, undo the solenoid input wire quick disconnect.

Step 6: Undo the main starter wire.

Step 7: Reinstall and smile.
And finally, the poser pic that cost us the starter and alternator.
