

my 05 lr3


The thermostat housing is known for cracking, I'm on my third. It is recommended to replace it with the entire crossover assembly, as they split as well. It comes complete, with the thermostat.
Keep up the great work!
Keep up the great work!

Drifting
Joined: Feb 2015
Posts: 45
Likes: 4
From: Milwaukee, WI
I have an 05 with the same brush guard and lights. I took off the covers, started the engine, turned on the lights, and hit the light 2 button and noticed that they do not turn on. I haven't investigated yet. Could it be that they were put on for show? That would suck, but then, why does the light 2 button light up?
Thread Starter
|
Baja
Joined: Mar 2009
Posts: 5,736
Likes: 230
From: south n.j. and ne va.
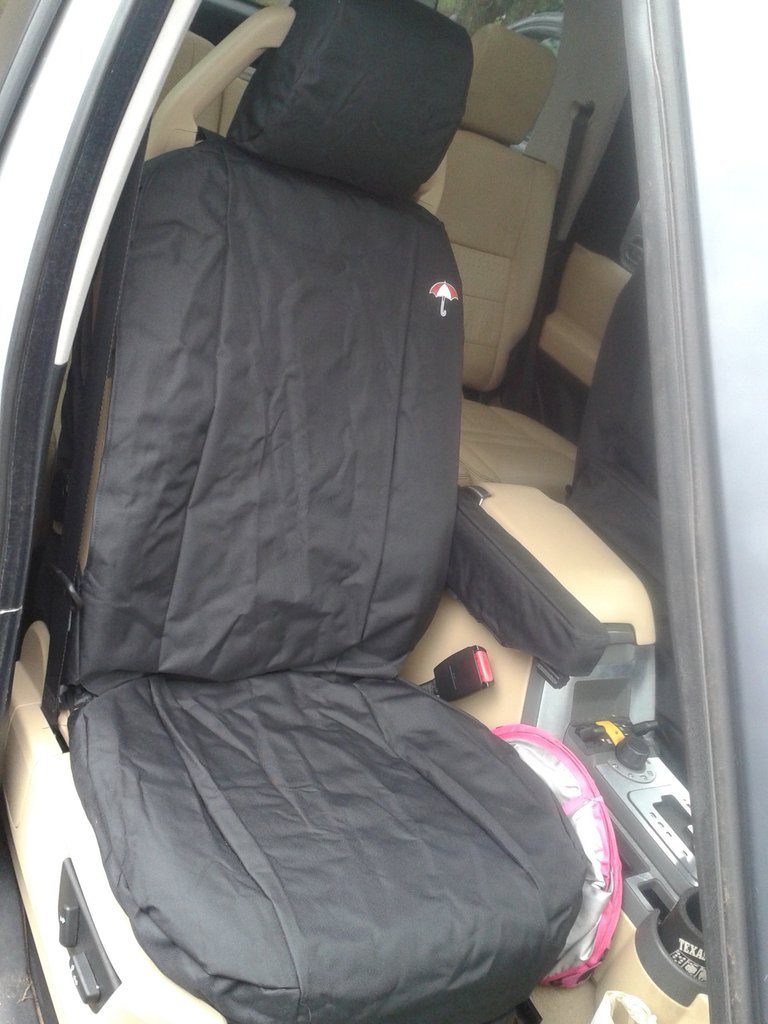
Installed a set of britpart waterproof front seat covers from lucky 8, fit pretty good, a little loose for my taste but should make the wife happy since she hates leather seats, they are a decent weight canvas and just Velcro on
Thread Starter
|
Baja
Joined: Mar 2009
Posts: 5,736
Likes: 230
From: south n.j. and ne va.
I have an 05 with the same brush guard and lights. I took off the covers, started the engine, turned on the lights, and hit the light 2 button and noticed that they do not turn on. I haven't investigated yet. Could it be that they were put on for show? That would suck, but then, why does the light 2 button light up?
Last edited by unseenone; Jul 10, 2015 at 10:08 AM.


Pro Wrench
Joined: Sep 2008
Posts: 1,673
Likes: 153
From: Edmonton Alberta Canada
This is the best explanation of the hookup of the driving lights that I have found. The wiring diagrams a few posts down are excellent.
Overland Journal Project Land Rover Discovery 4 (LR4) - Page 5 - Expedition Portal
Overland Journal Project Land Rover Discovery 4 (LR4) - Page 5 - Expedition Portal

Recovery Vehicle
Joined: Sep 2013
Posts: 831
Likes: 146
From: Herndon, VA
Yes, the driving lights should be wired so that they only come on when the high beams are also on.
That wiring diagram provided by bbyer is a great one and it's what I used when hooking my switch up. I did have a difficult time understanding it at first until I realized that the LR light switch actually switches the ground, not the hot wire. Basically, when you depress the button, it connects pins 1 and 4 together to energize the relay. If I remember correctly, pin 5 is simply to provide power to light up the top indicator on the switch when it's depressed and pins 2 and 3 provide dimming and illuminating of the little light "drawing" on the switch itself.
However, if you wire your switch like this diagram, the switch (and your lights) will be operational any time the button is depressed while your ignition is on. If you would rather hook them up so that the lights can only be operated in conjunction with the high beams, then you need to find the appropriate high beam signaling wire in the bundle coming from the light stalk on the steering wheel column and either:
1. If it's a neutral wire, splice into it and run it into pin 1 of the switch instead of simply grounding pin 1 to the car chassis.
OR 2. If it's a hot wire, splice into it and run it to pin 85 of the relay instead of taking power from the lighter socket.
I honestly can't remember which the high beam wire is... positive or negative, but the LR wiring diagrams should tell you that in the RAVE manual.
The other dilemma I dealt with was wondering whether I wanted the lights to come on only when I turned my high beams on, or if I also wanted them to come on when I flashed my high beams. Ultimately, I decided that I didn't care about the flashing aspect. However, if you want them to come on in both situations, then I think you need to solder some diodes into your circuit.